Lian Li O11 Vision-M PC Case Review
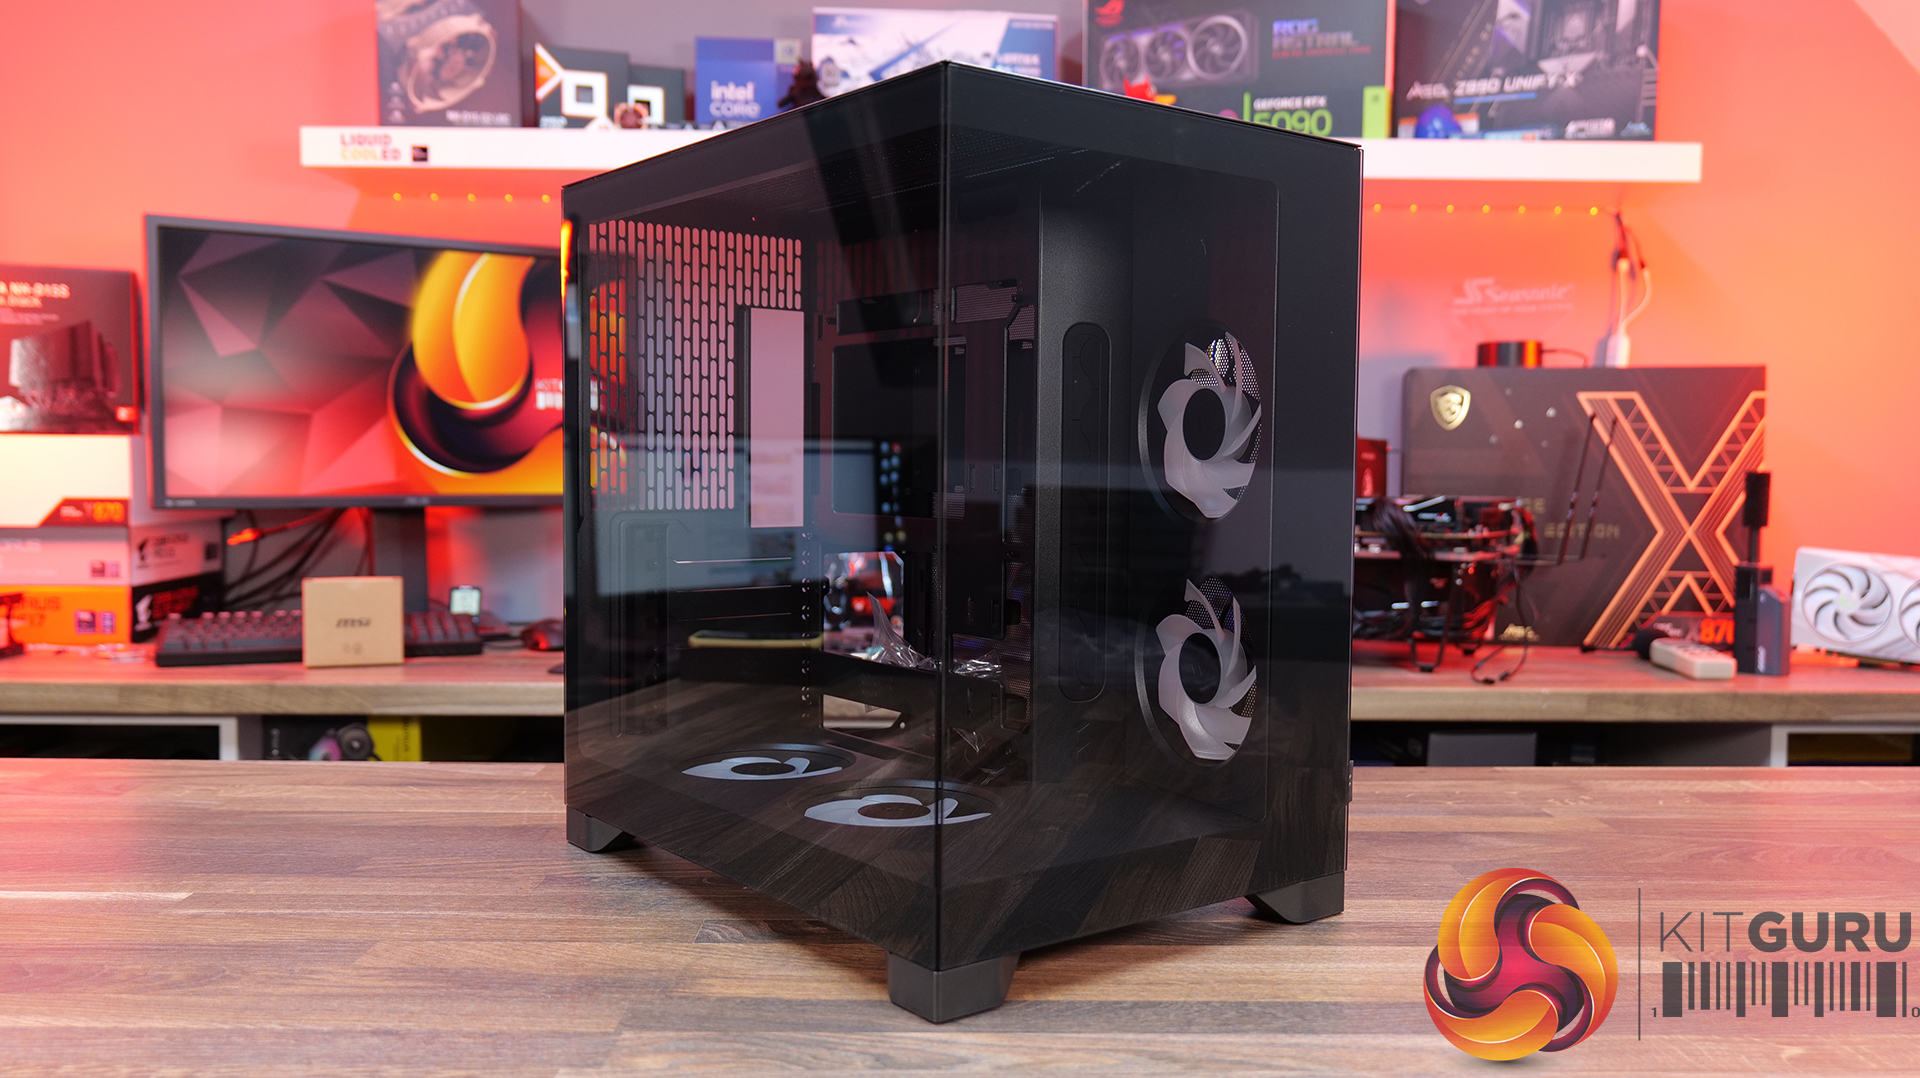
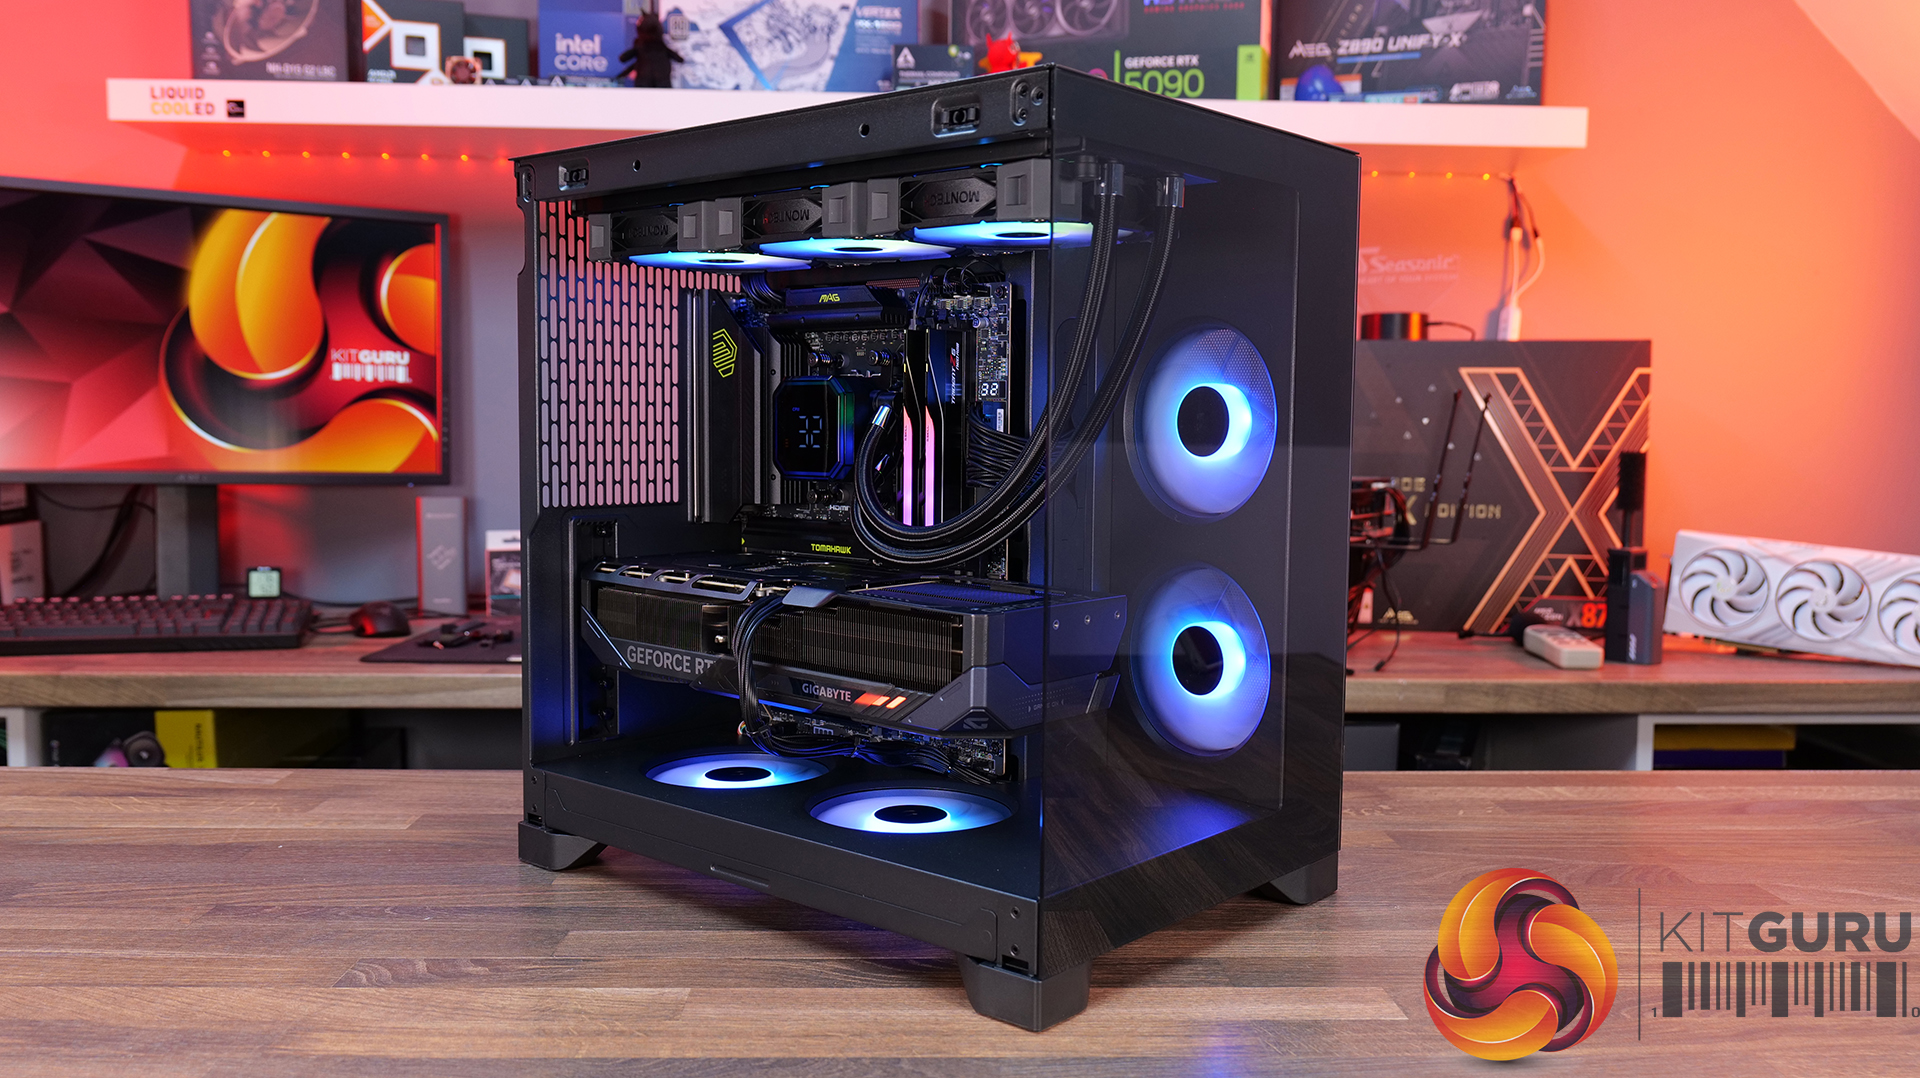
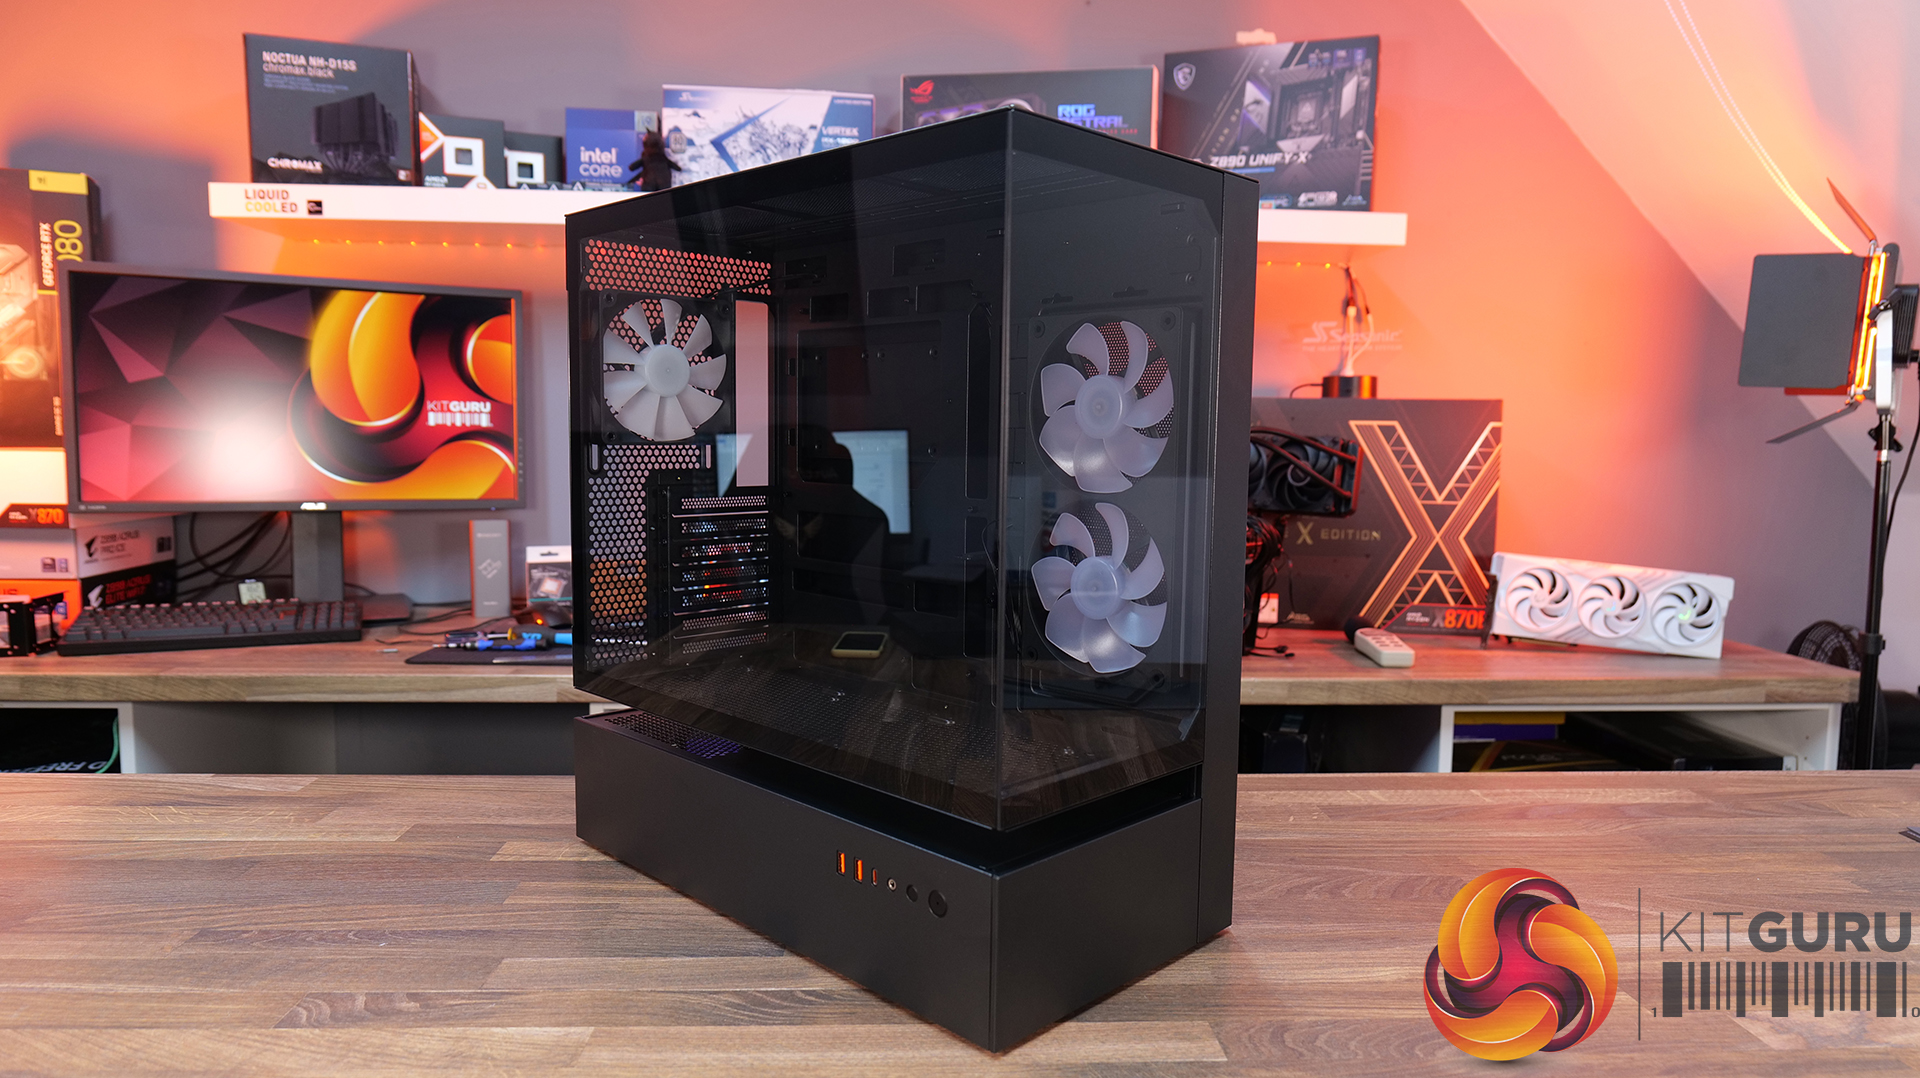
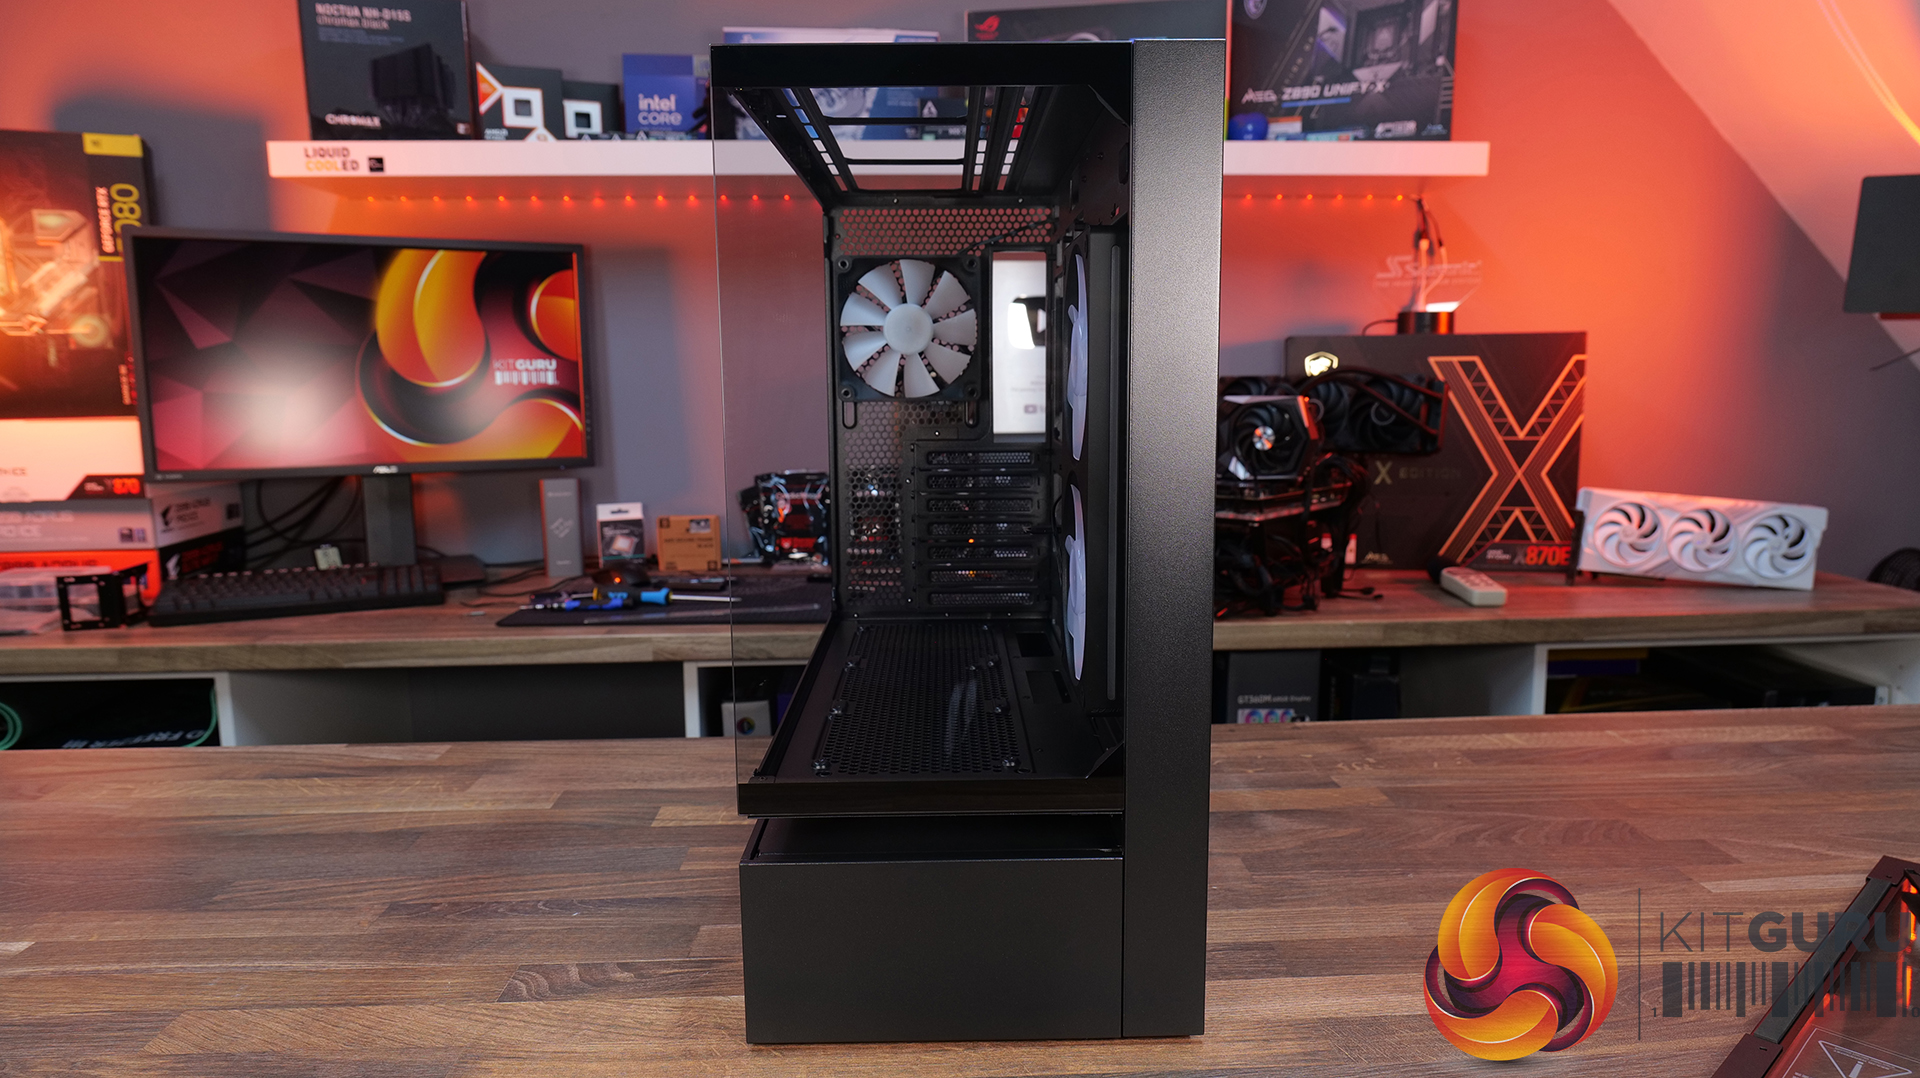
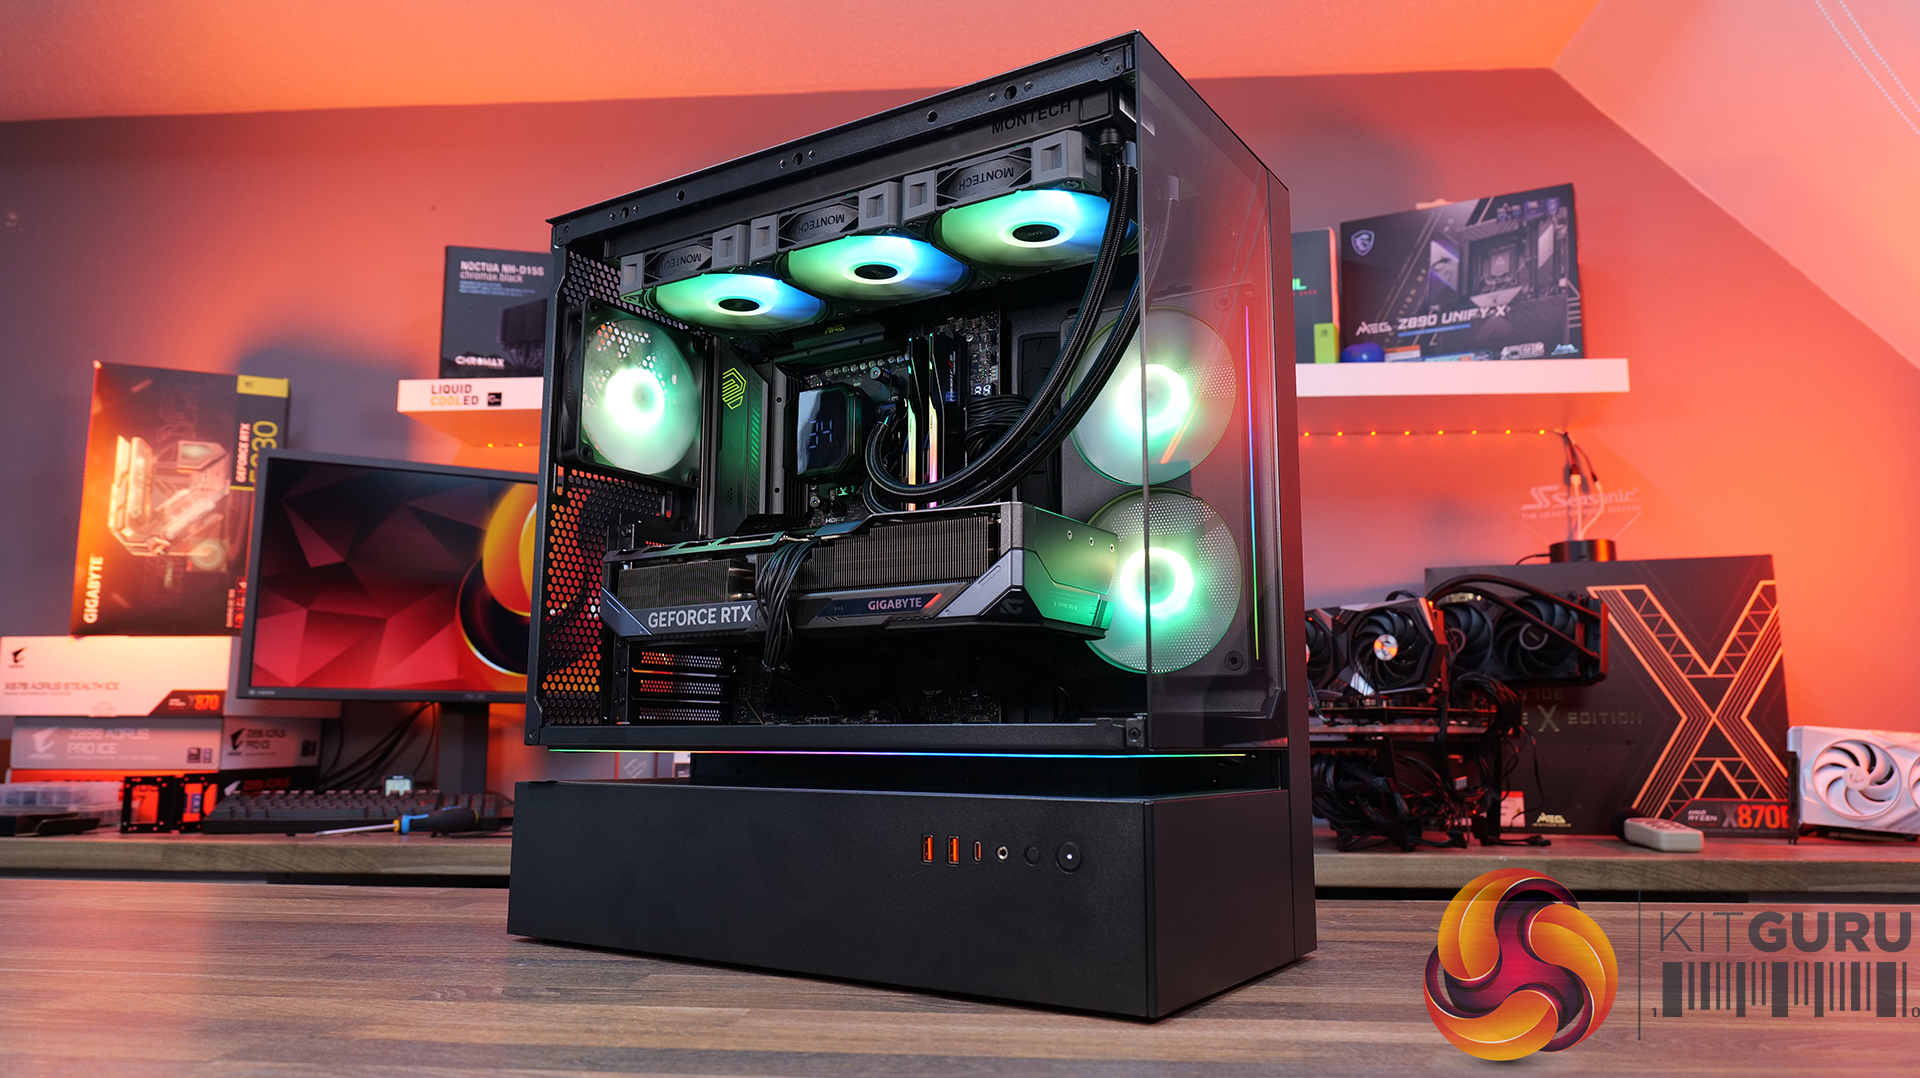
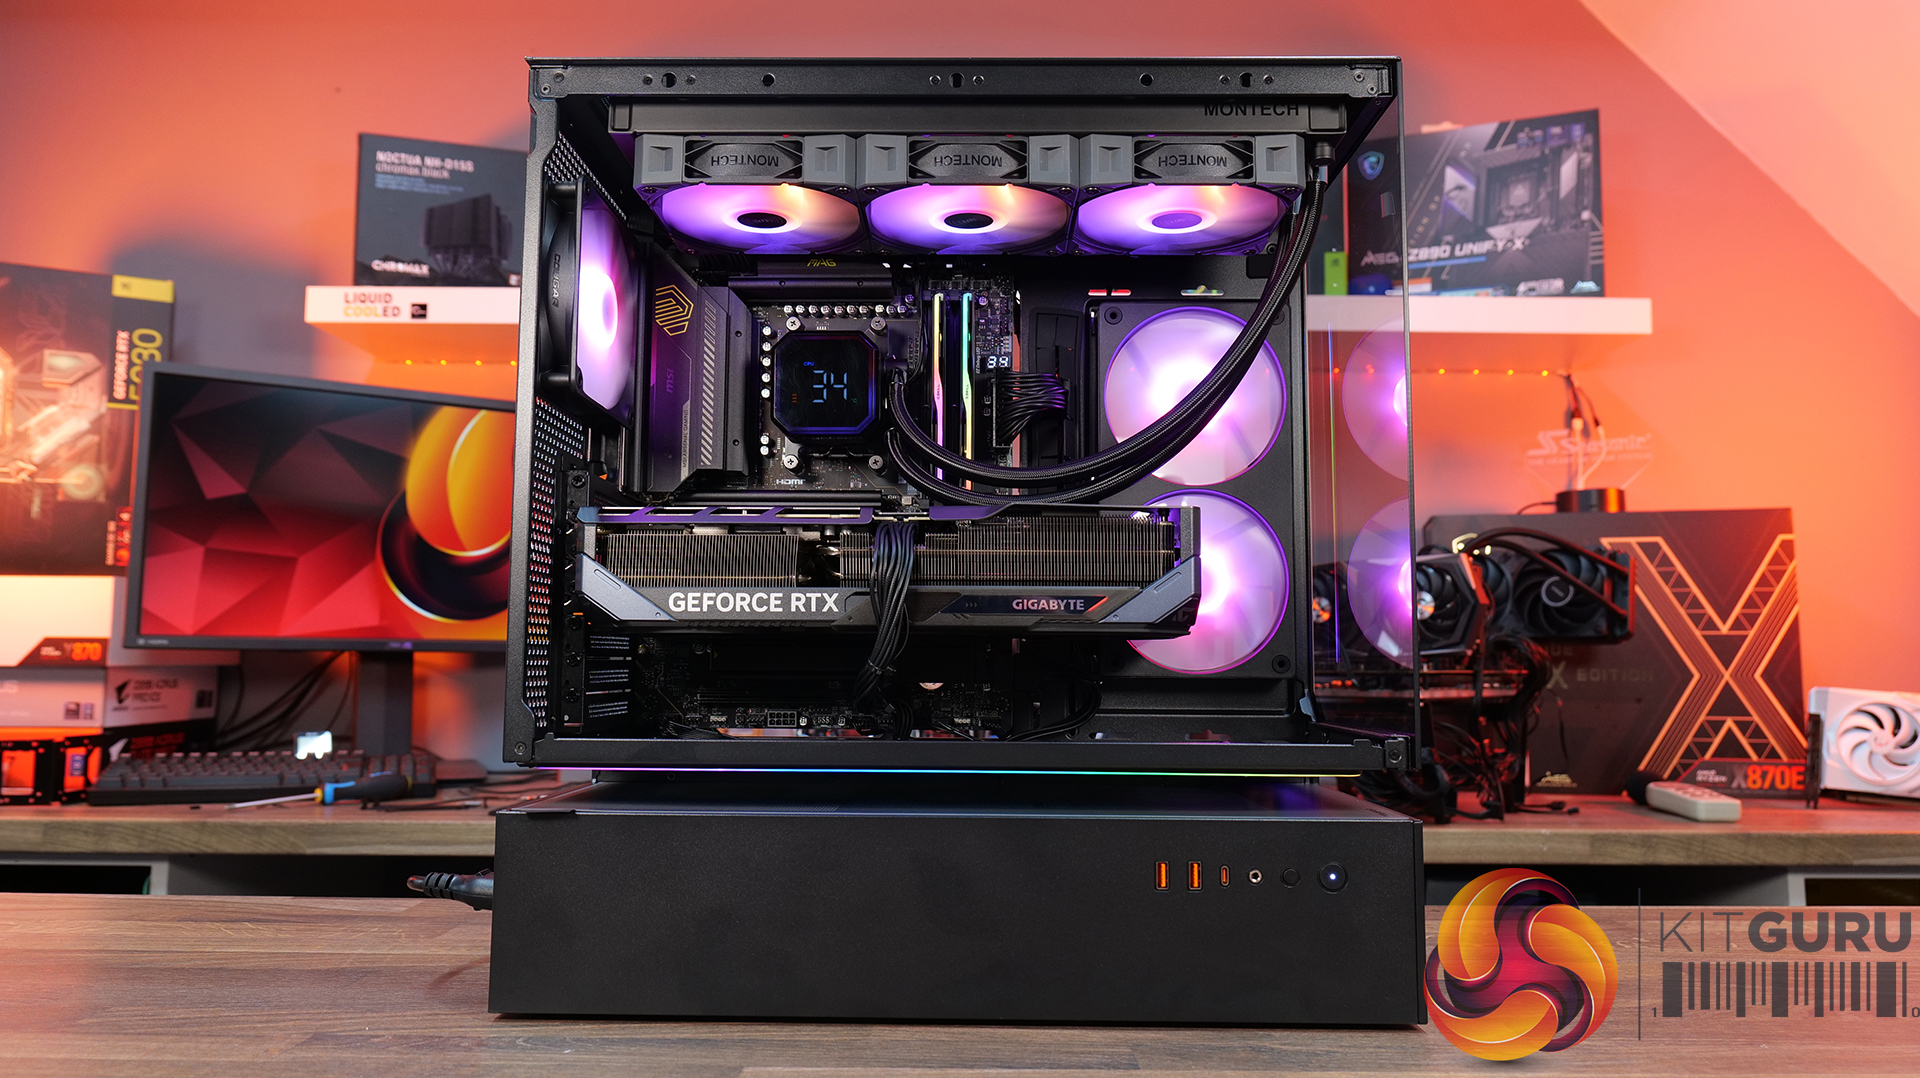
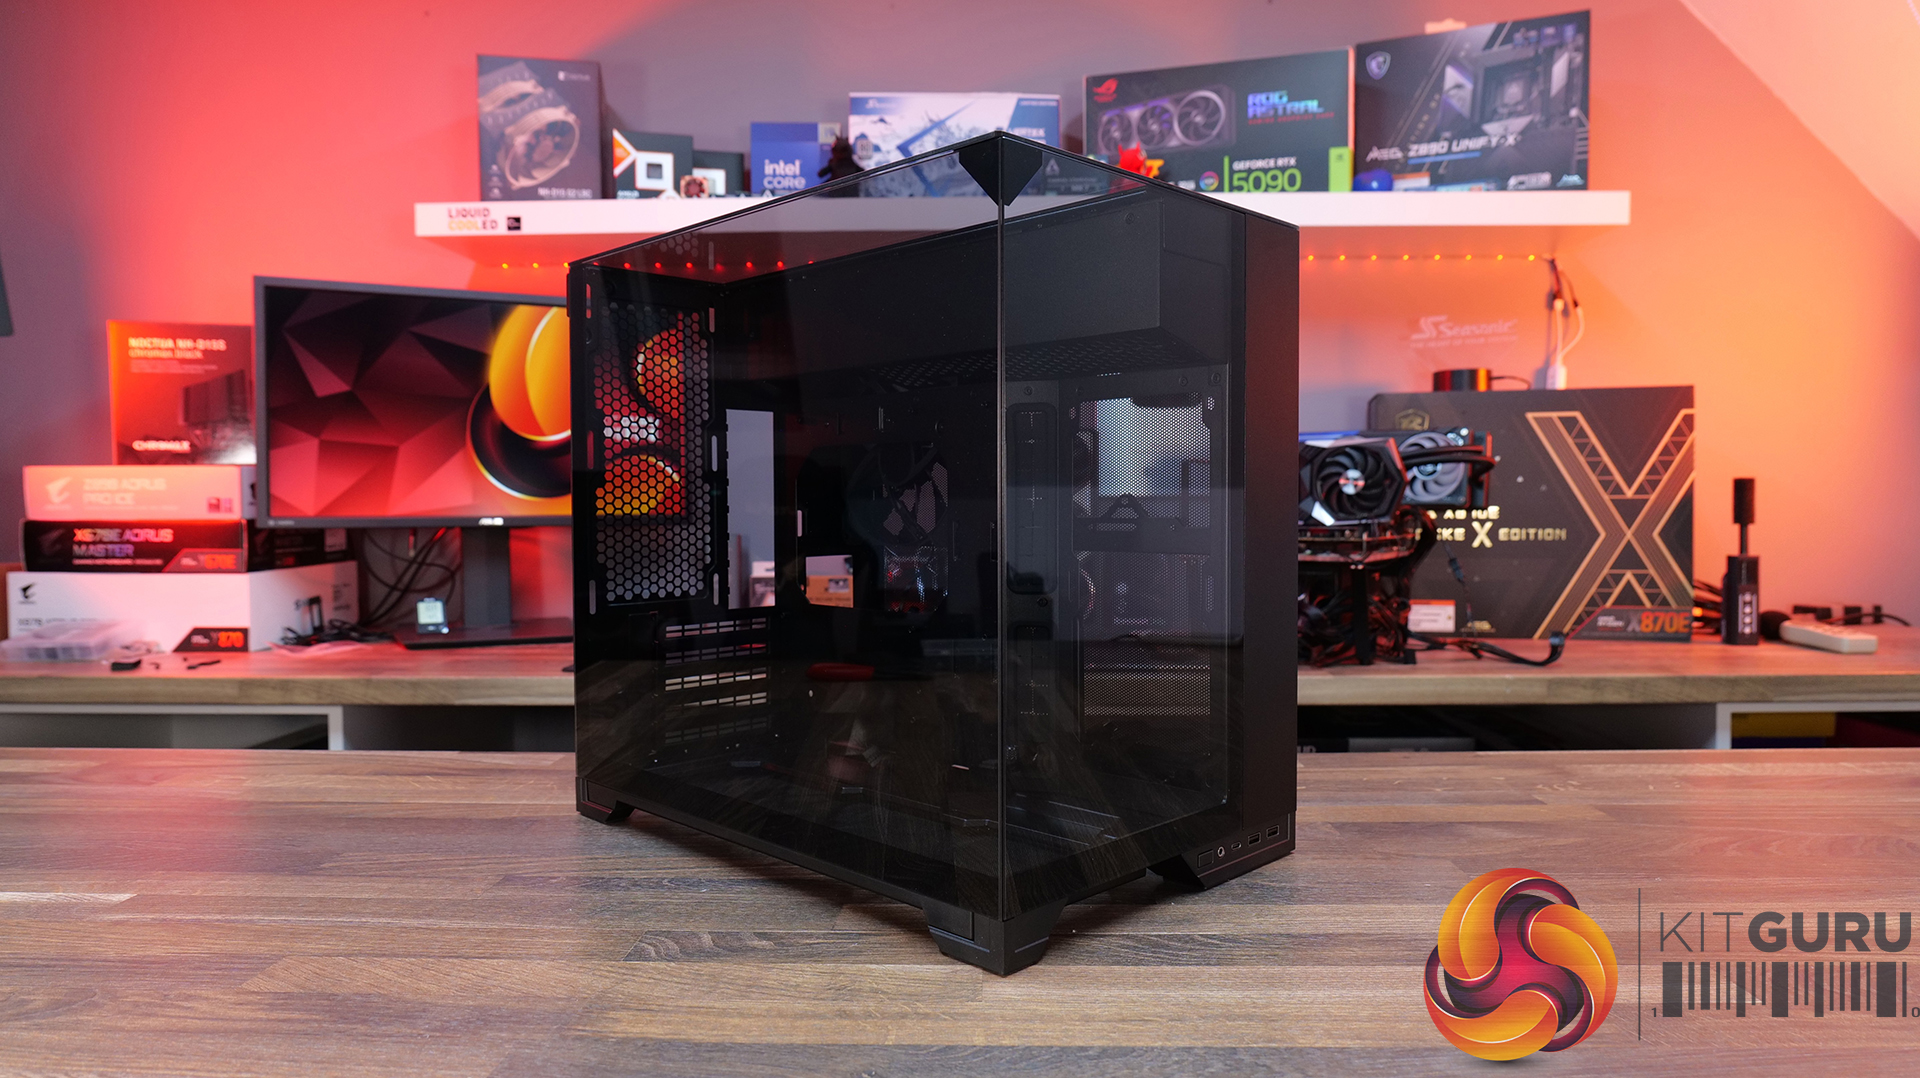
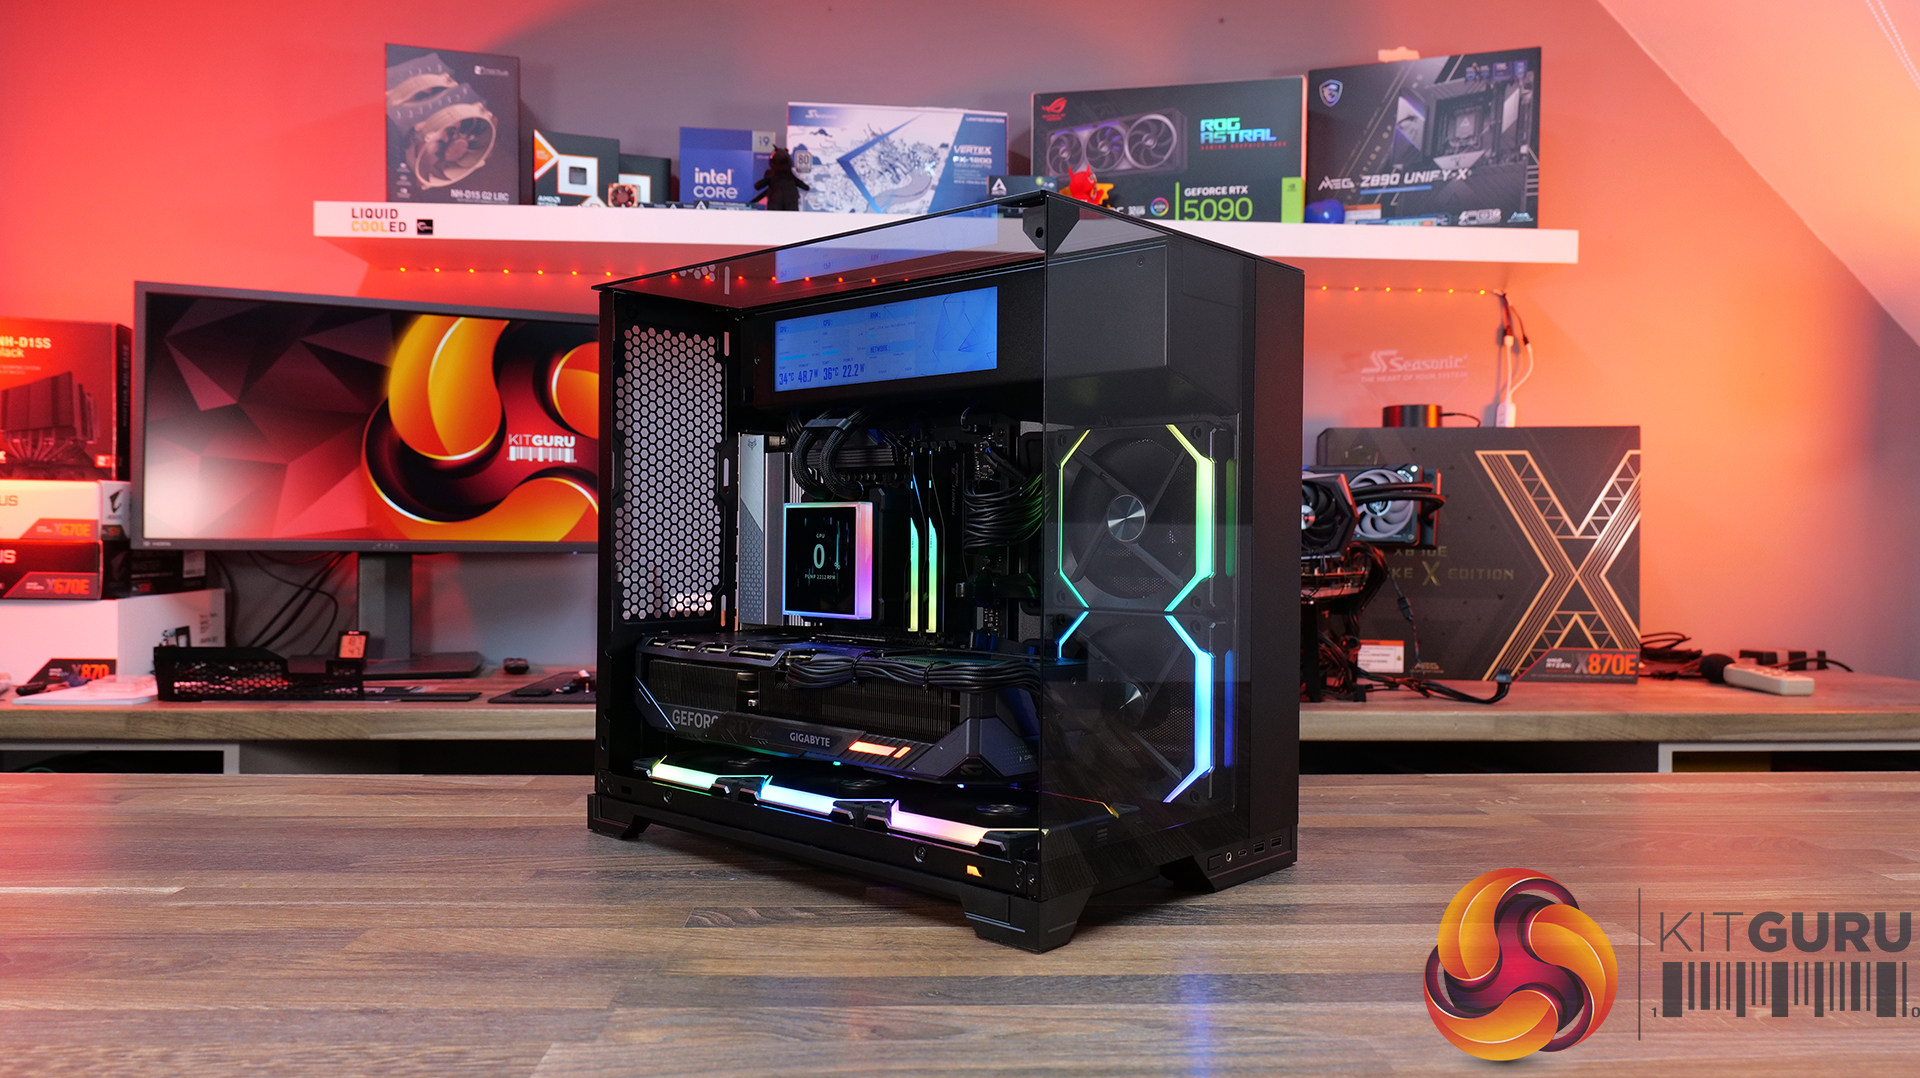
Today, we’re looking at the new Lian Li O11 Vision-M PC case. It’s a compact dual-chamber chassis built around a full glass design, with a clean-looking showcase style. You get support for micro-ATX and mini-ITX motherboards, graphics cards up to 410mm, 360mm radiators, and air coolers up to 162mm tall, plus a hidden top radiator compartment to keep things looking tidy without compromising cooling. On paper, it looks like the perfect blend of compact size, strong hardware support, and the signature O11 aesthetic… but does it actually deliver? Let’s find out.
Timestamps:
00:00 Start
00:57 Pricing / colours
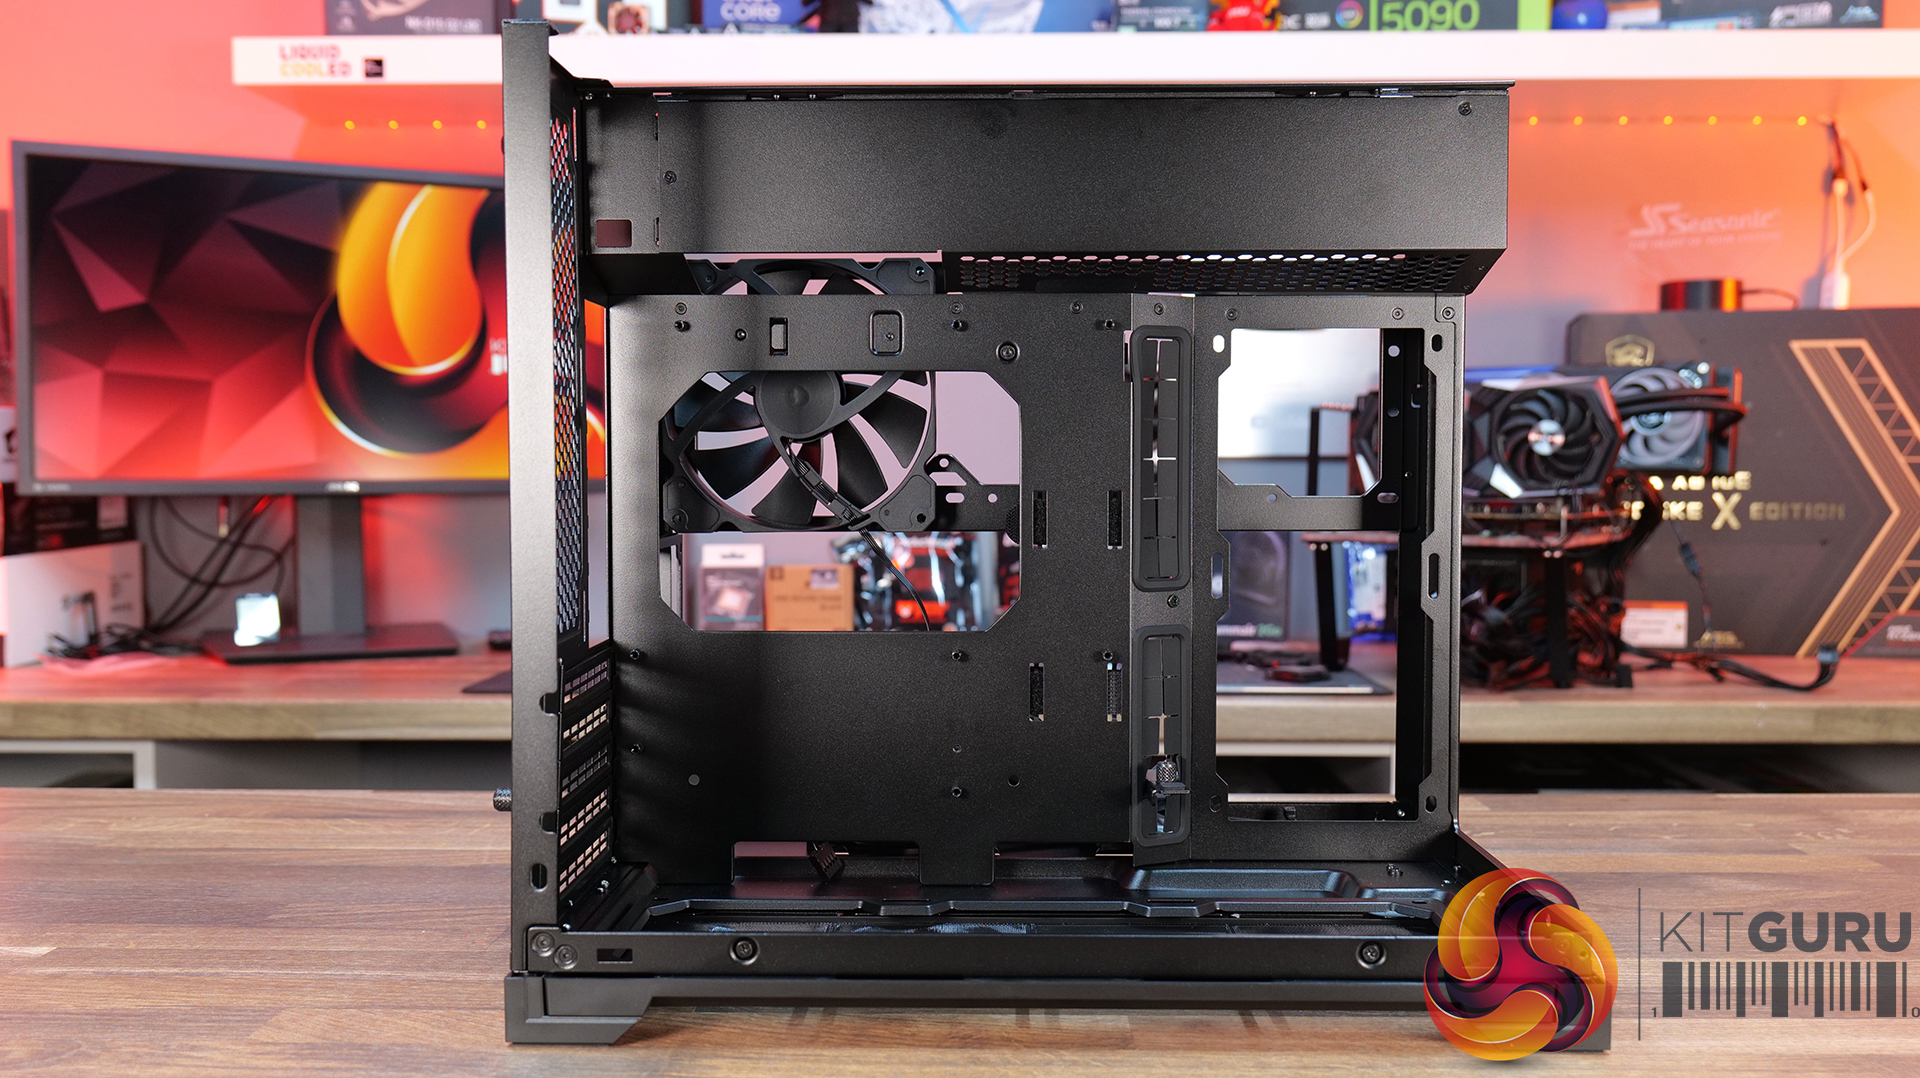
01:41 Overview / Dimensions / Materials
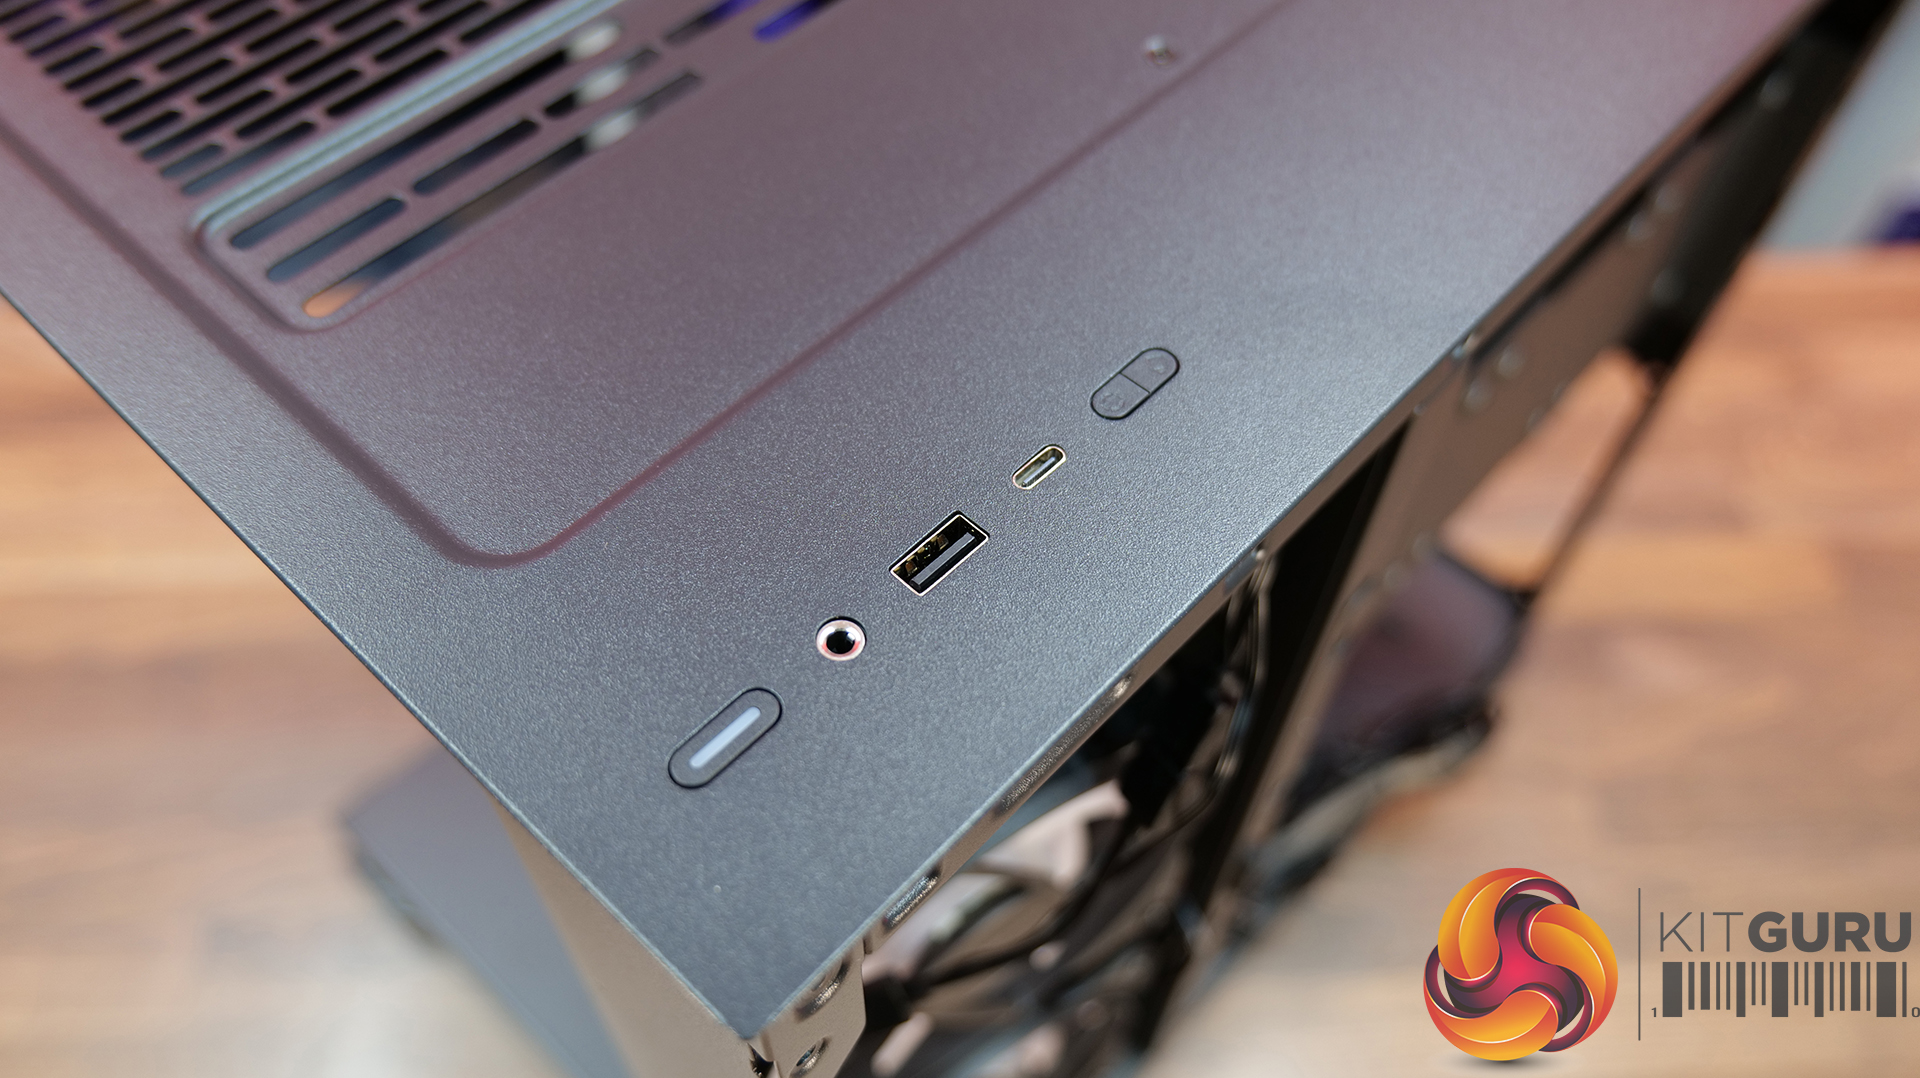
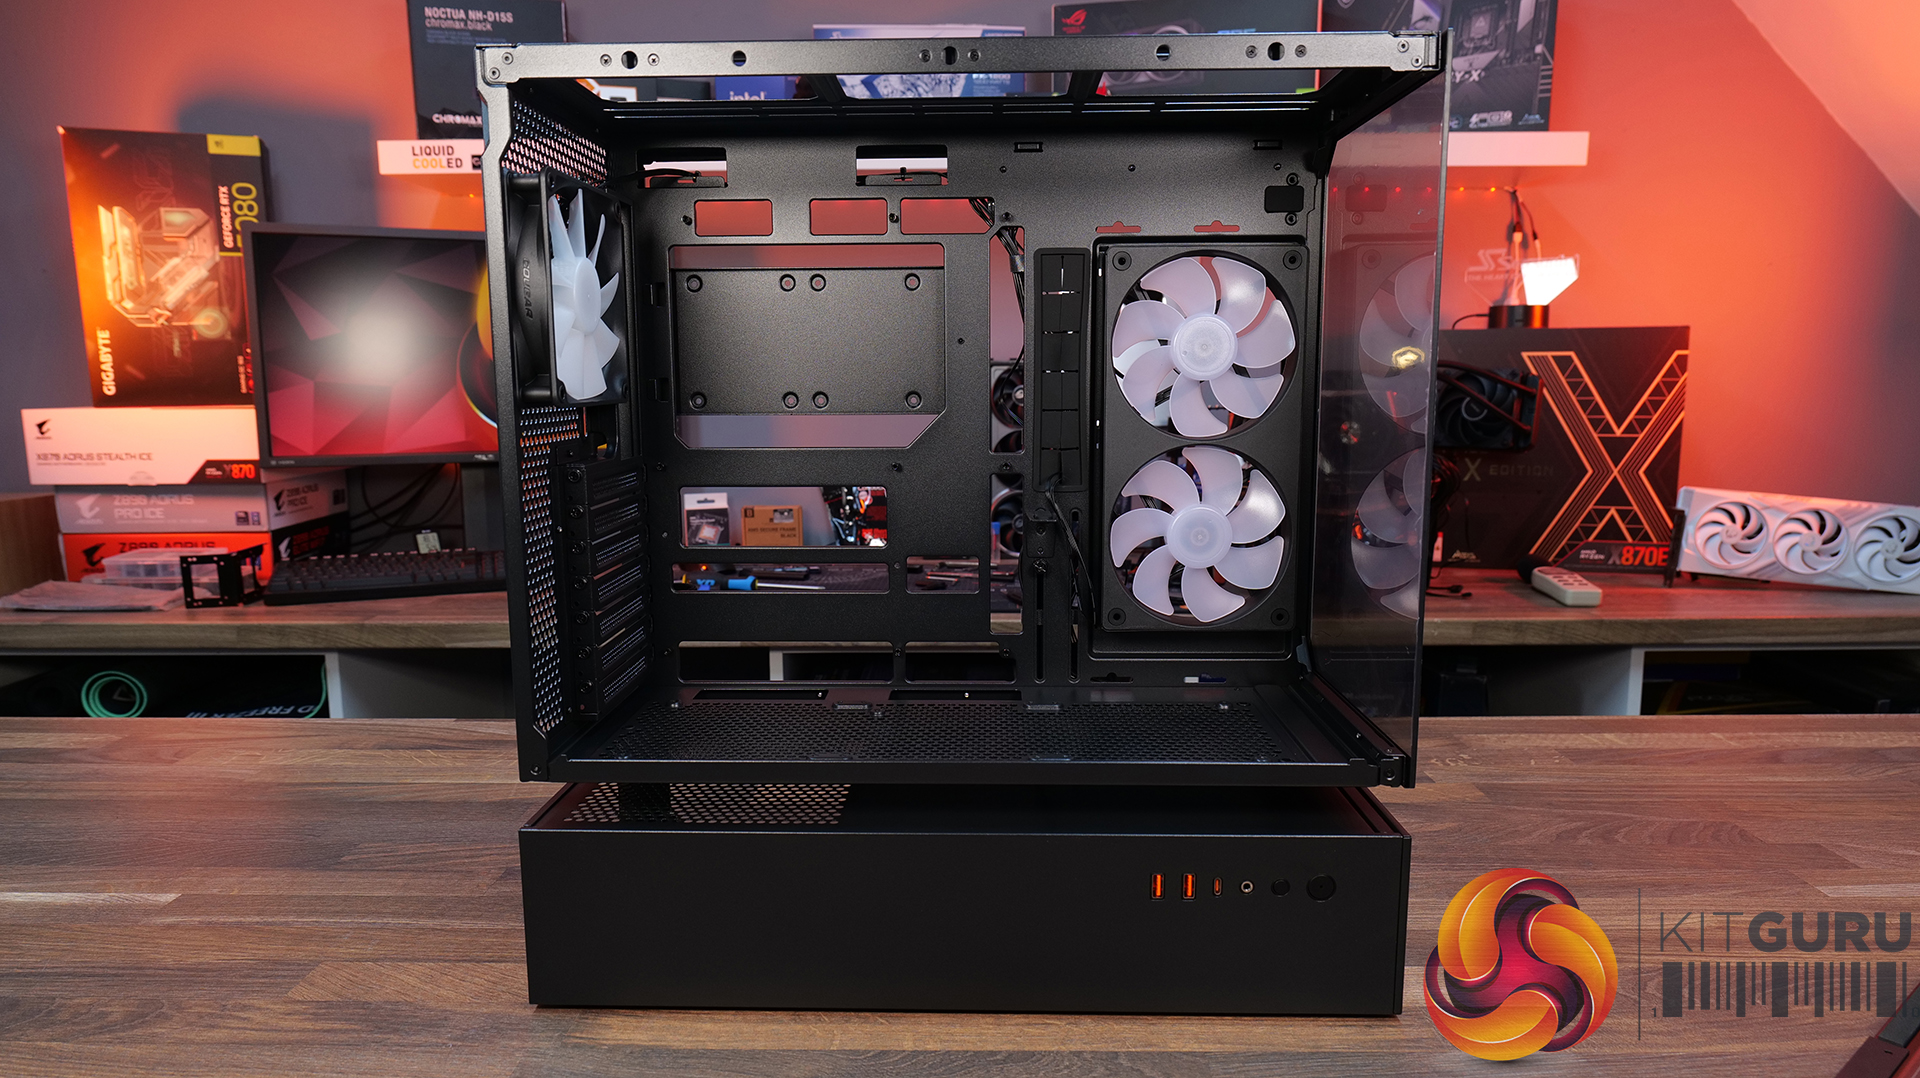
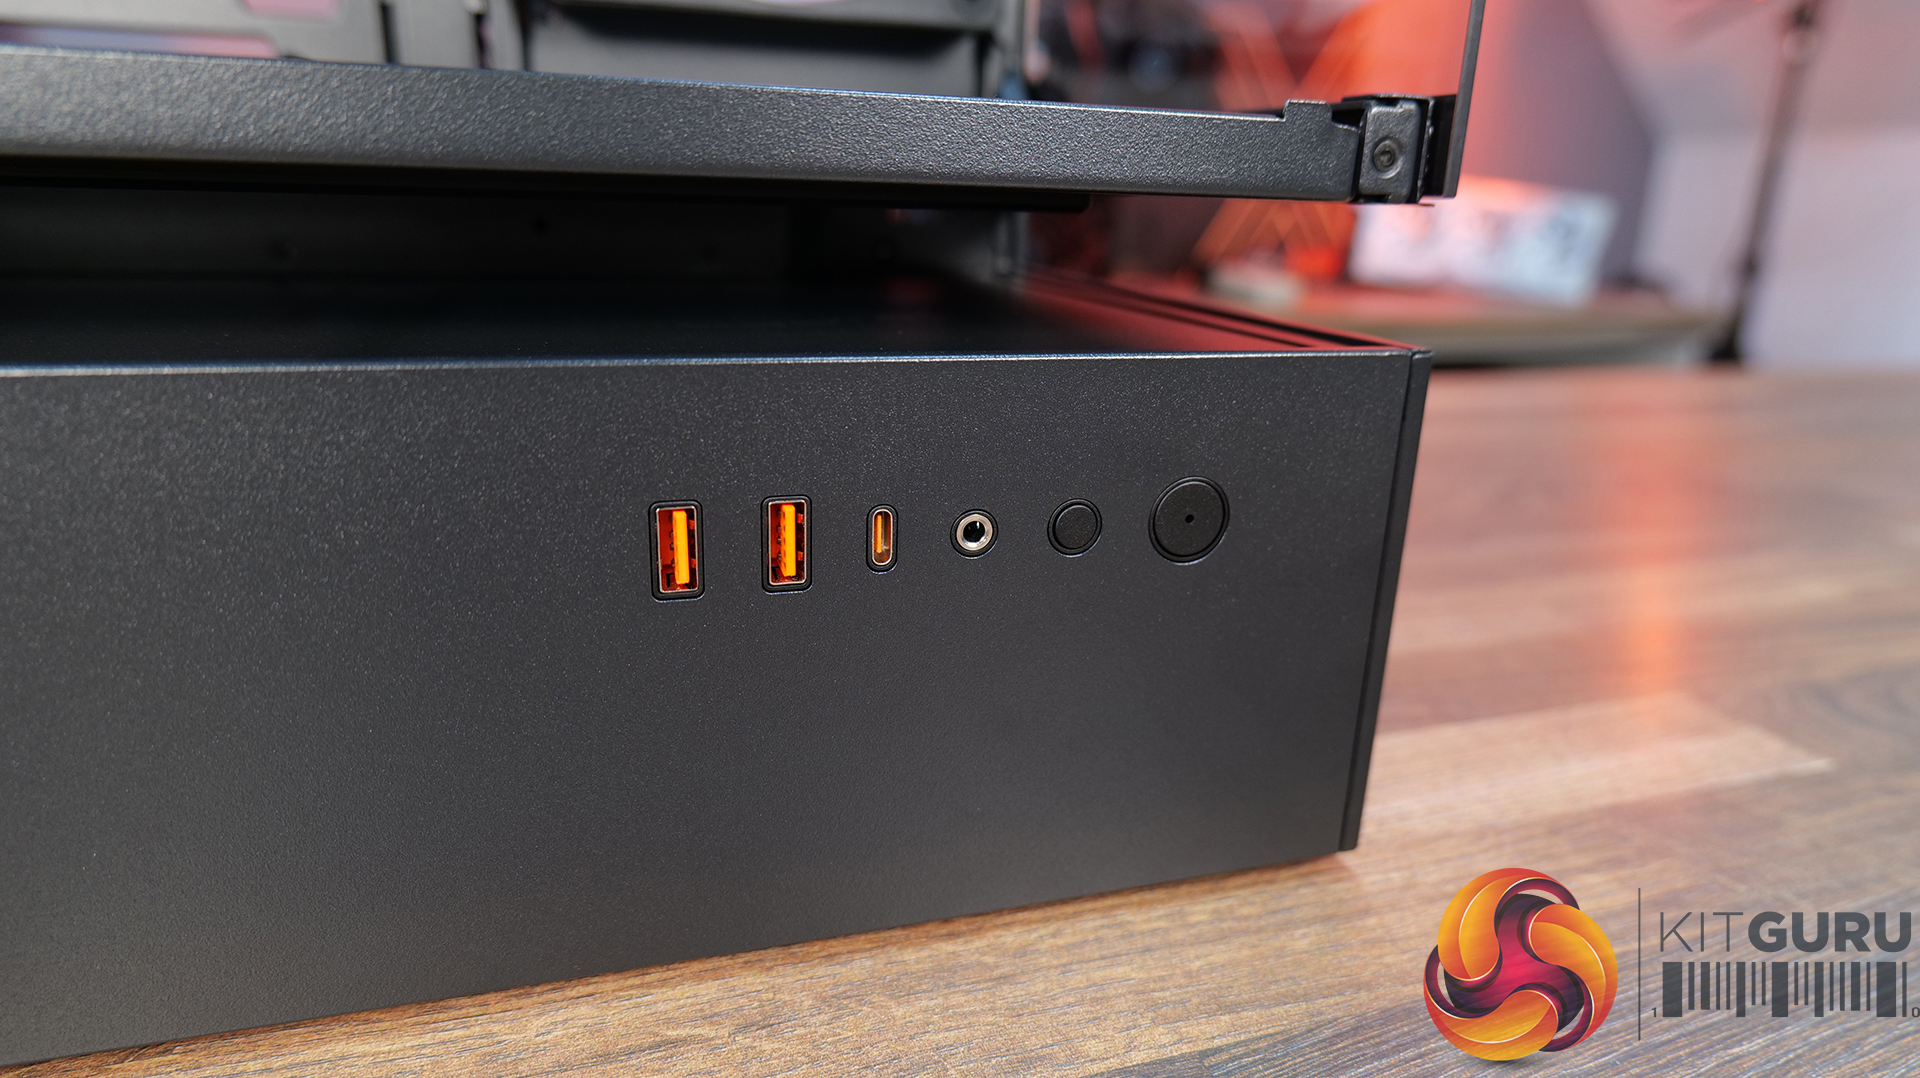
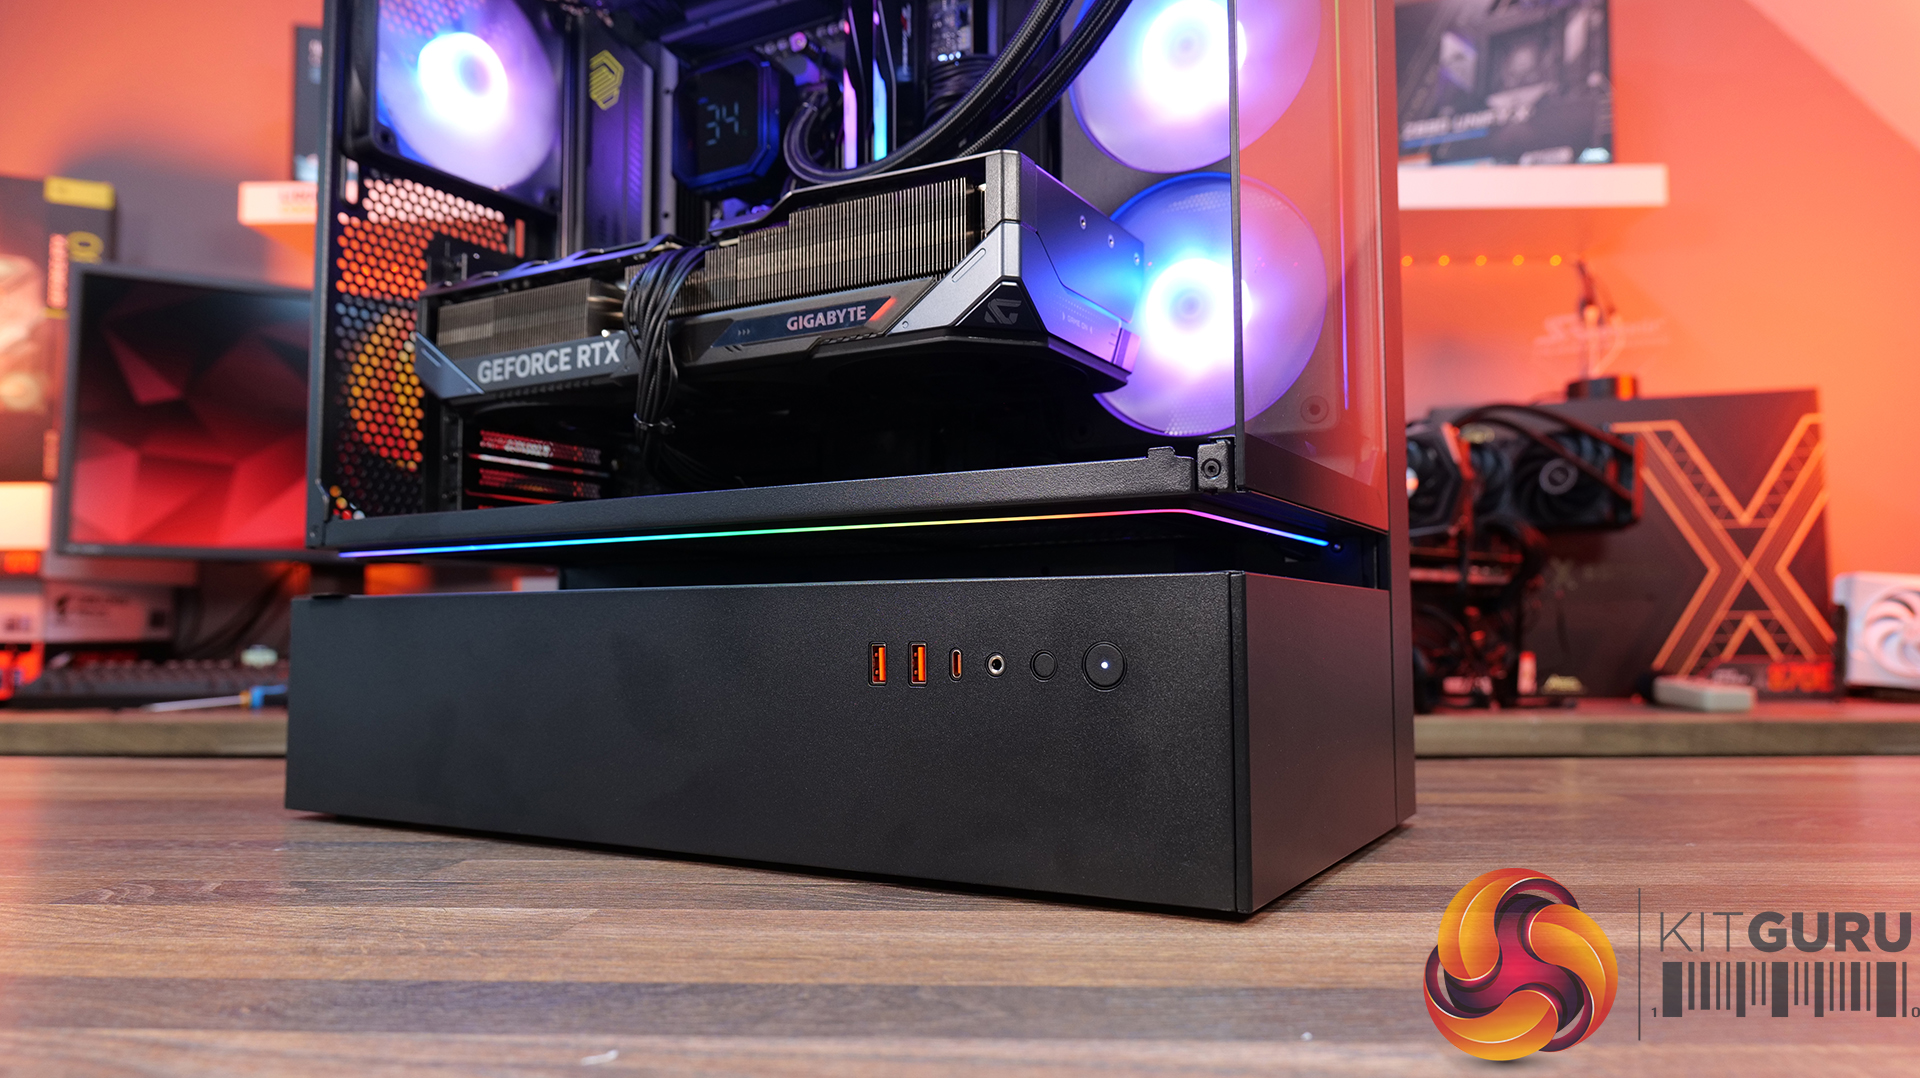
02:31 Front I/O
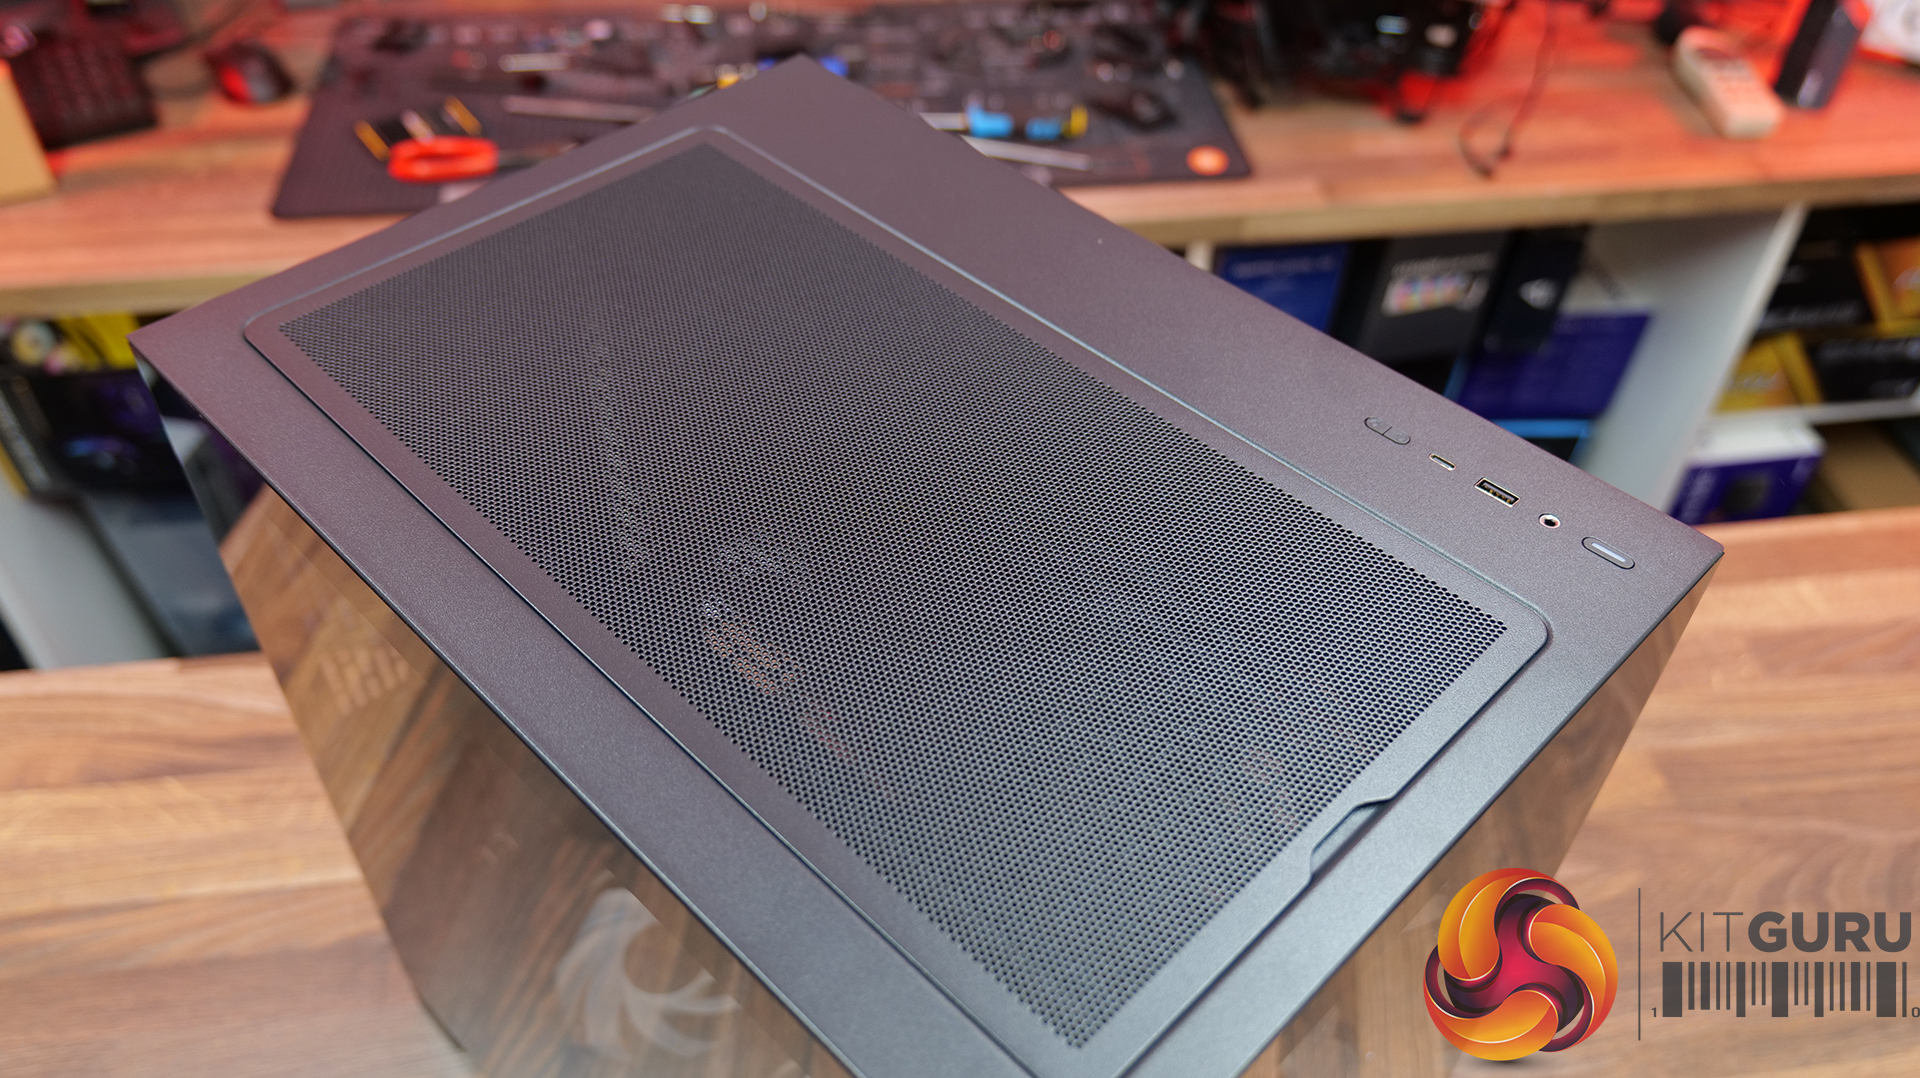
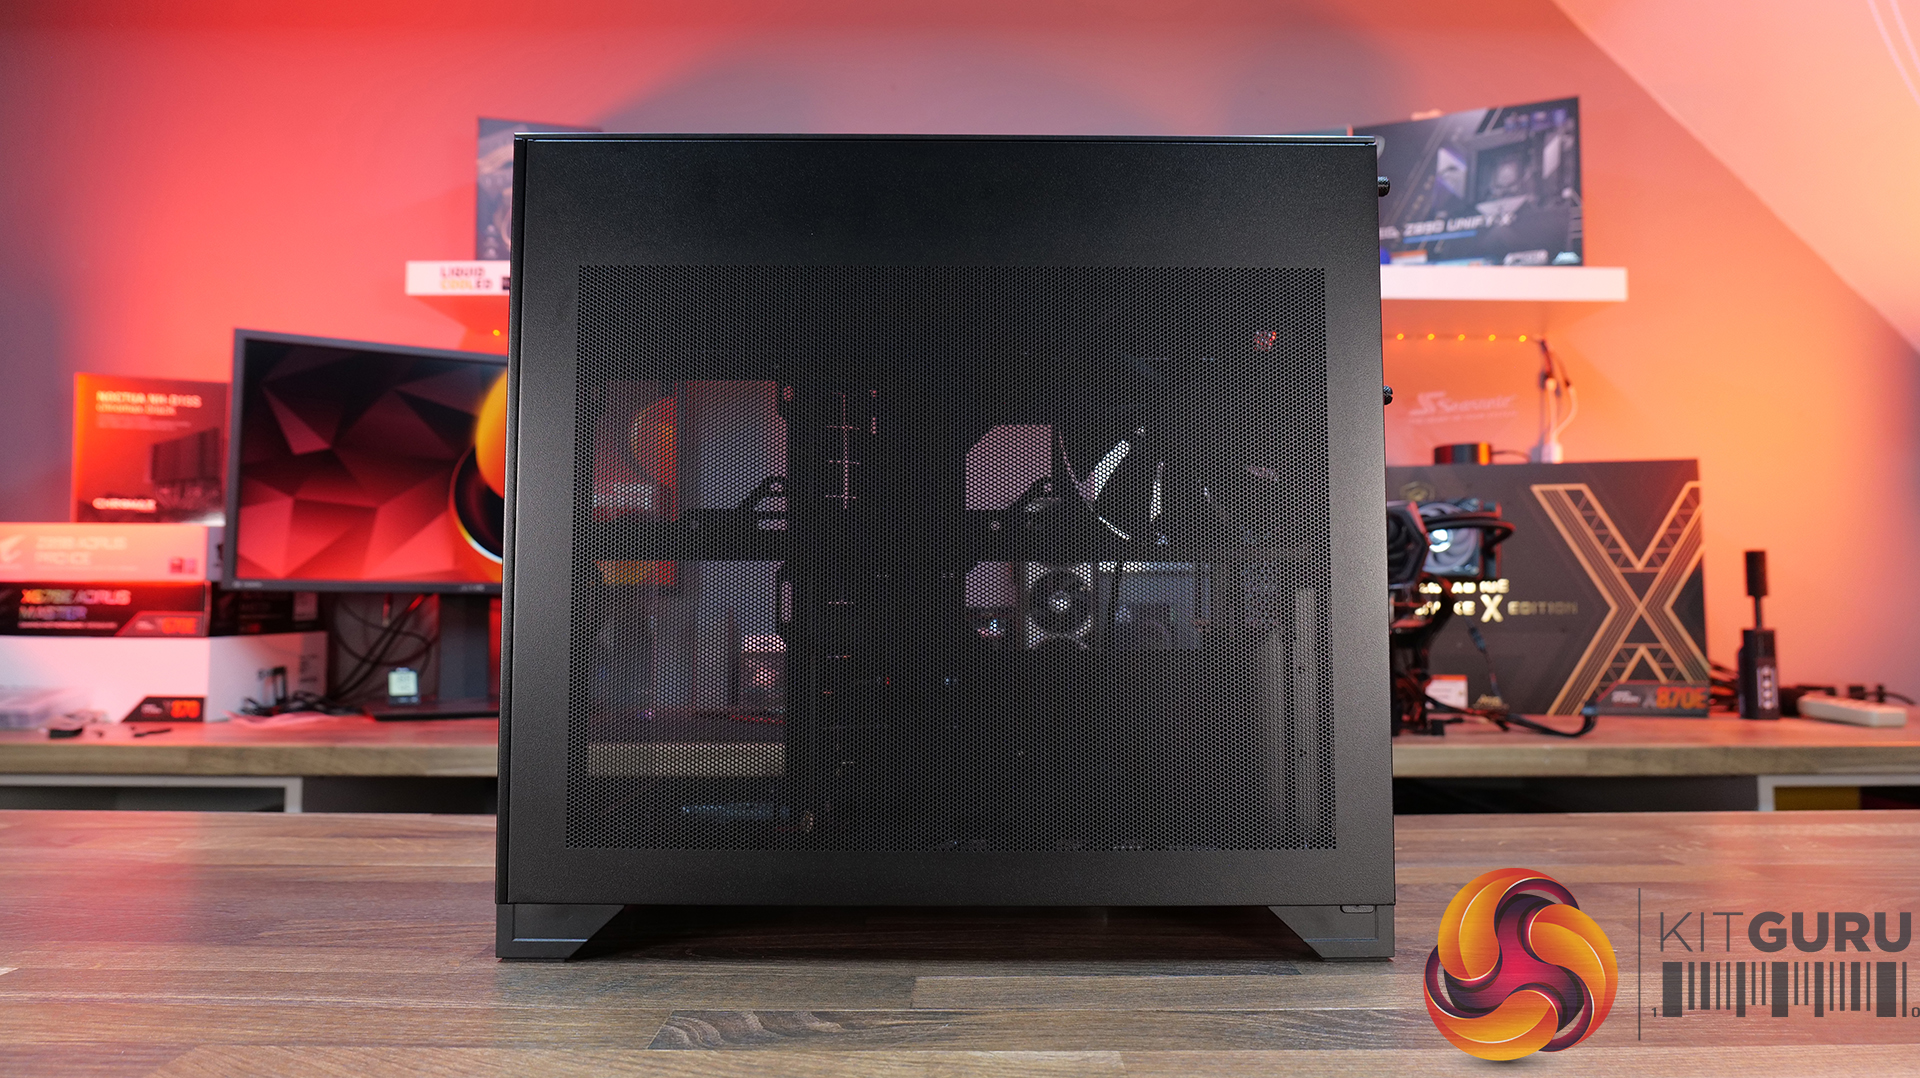
02:53 Panel removal / filters
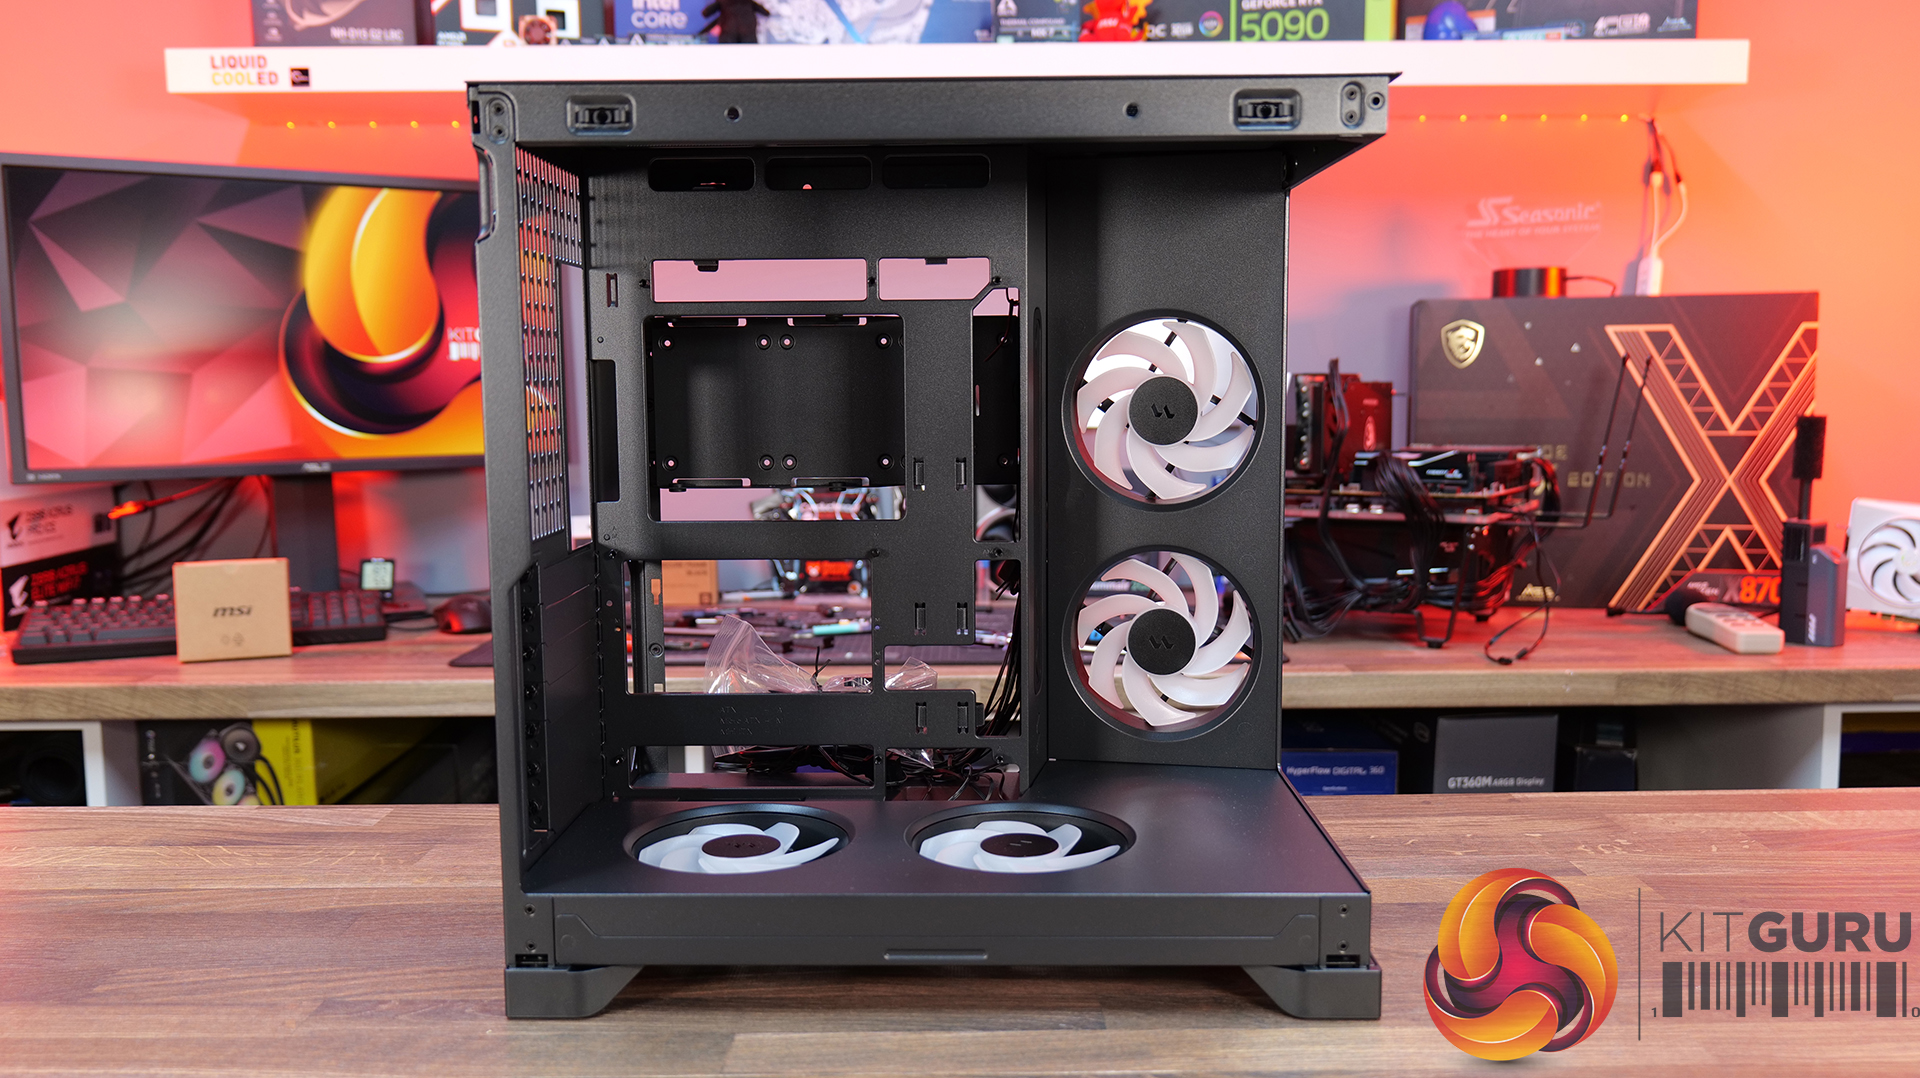
04:34 Motherboard and GPU support
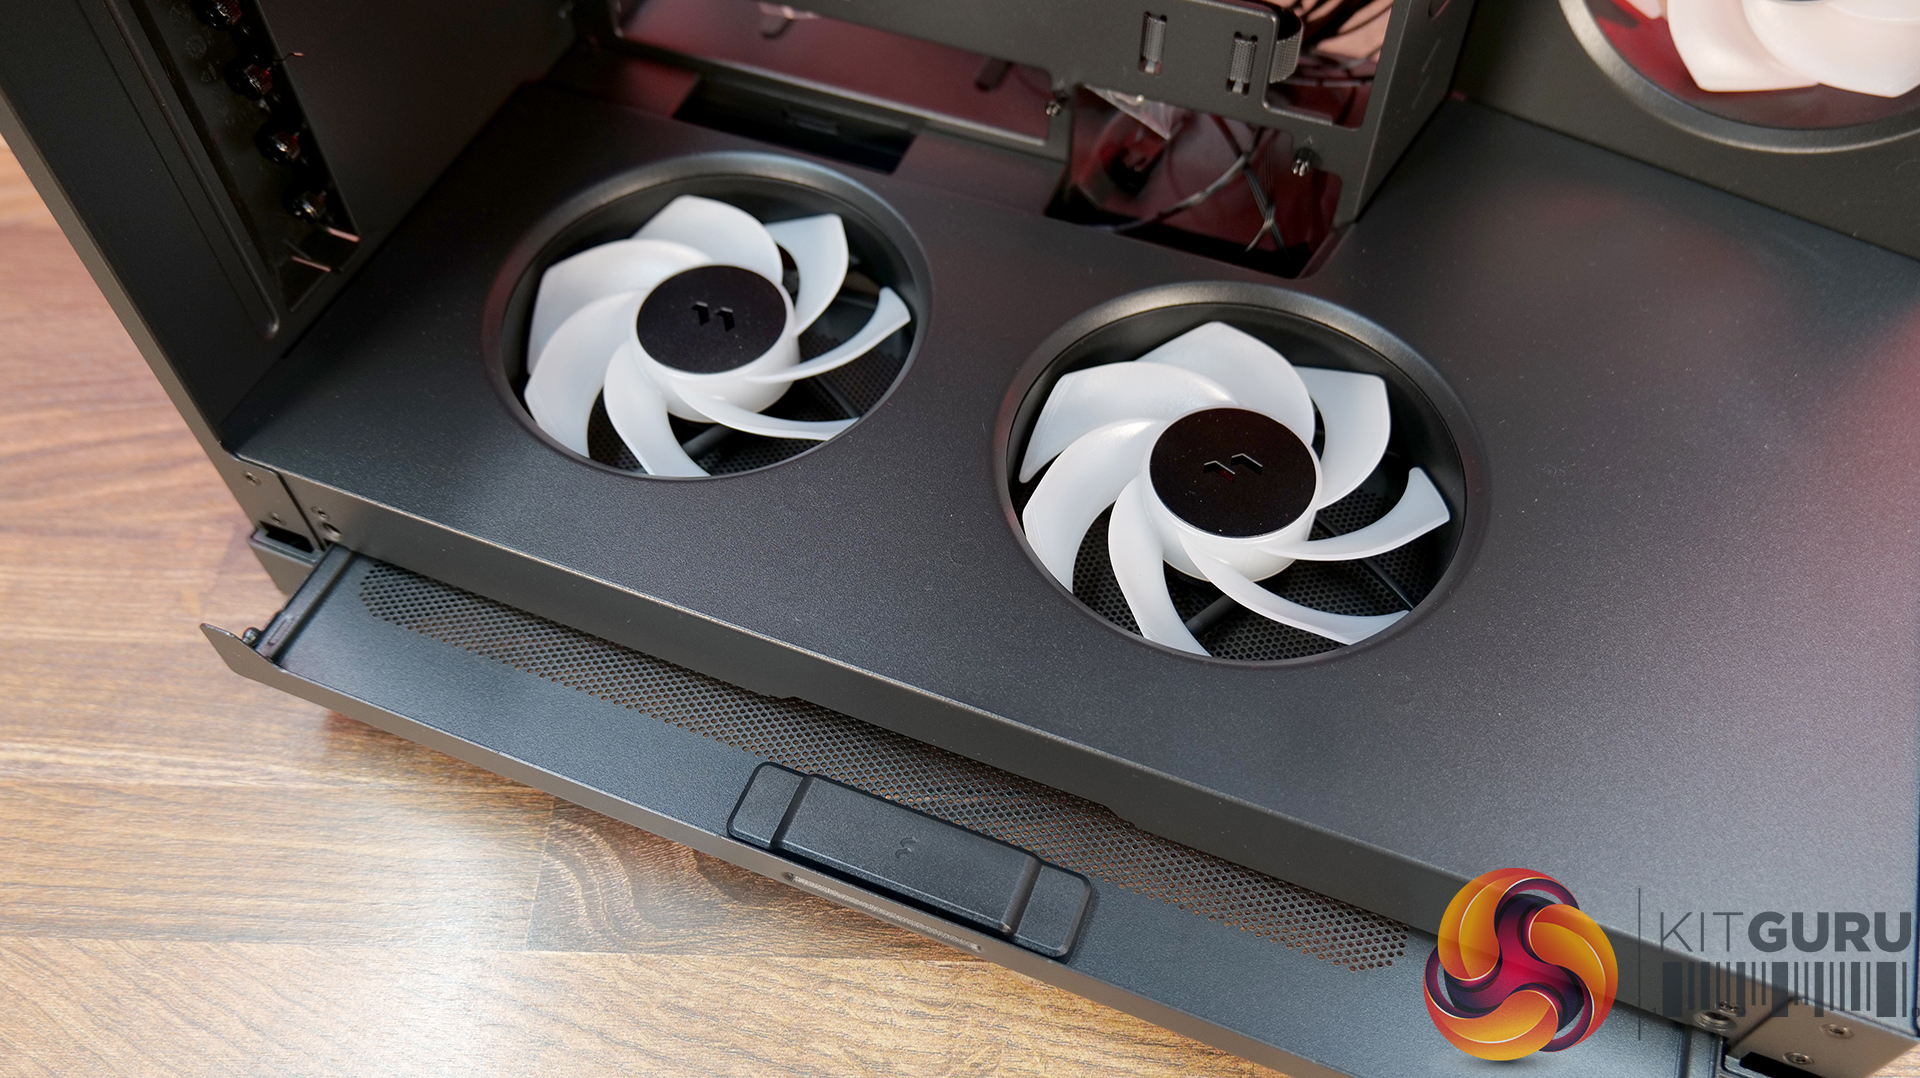
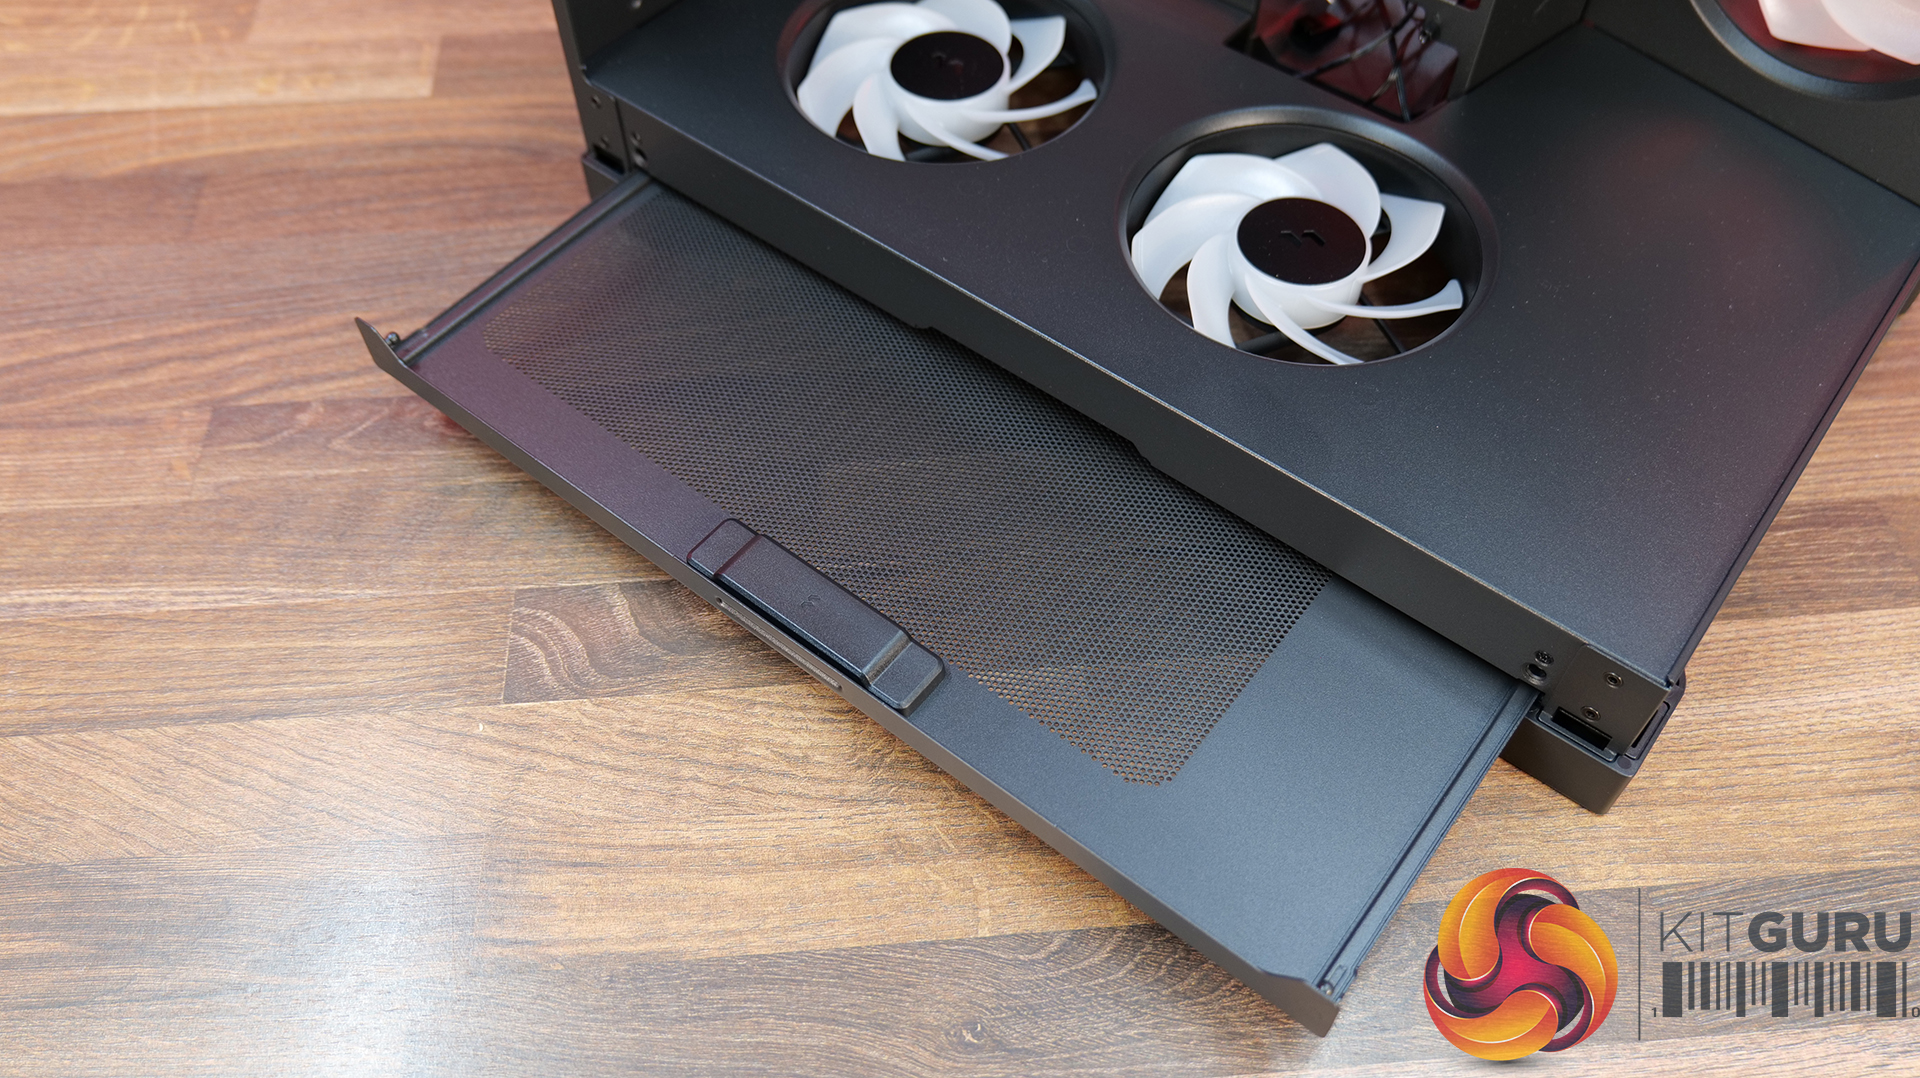
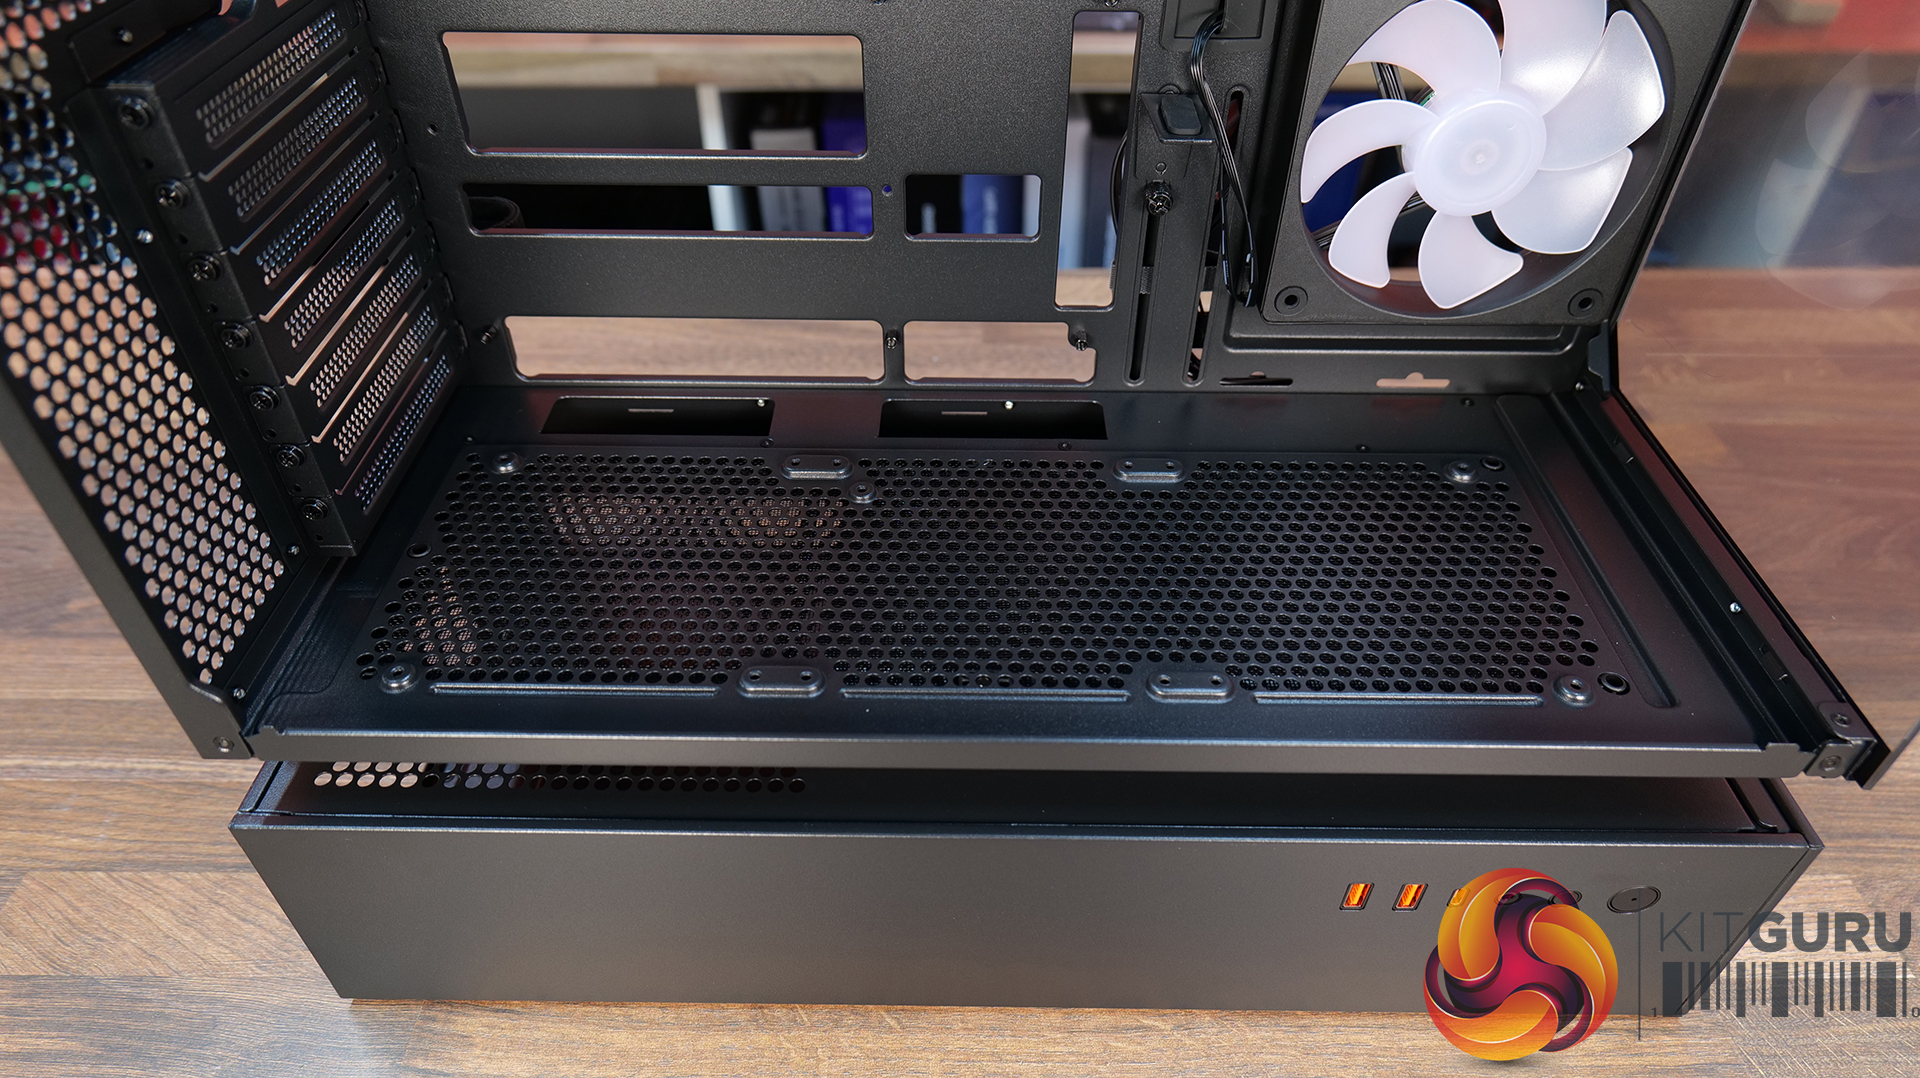
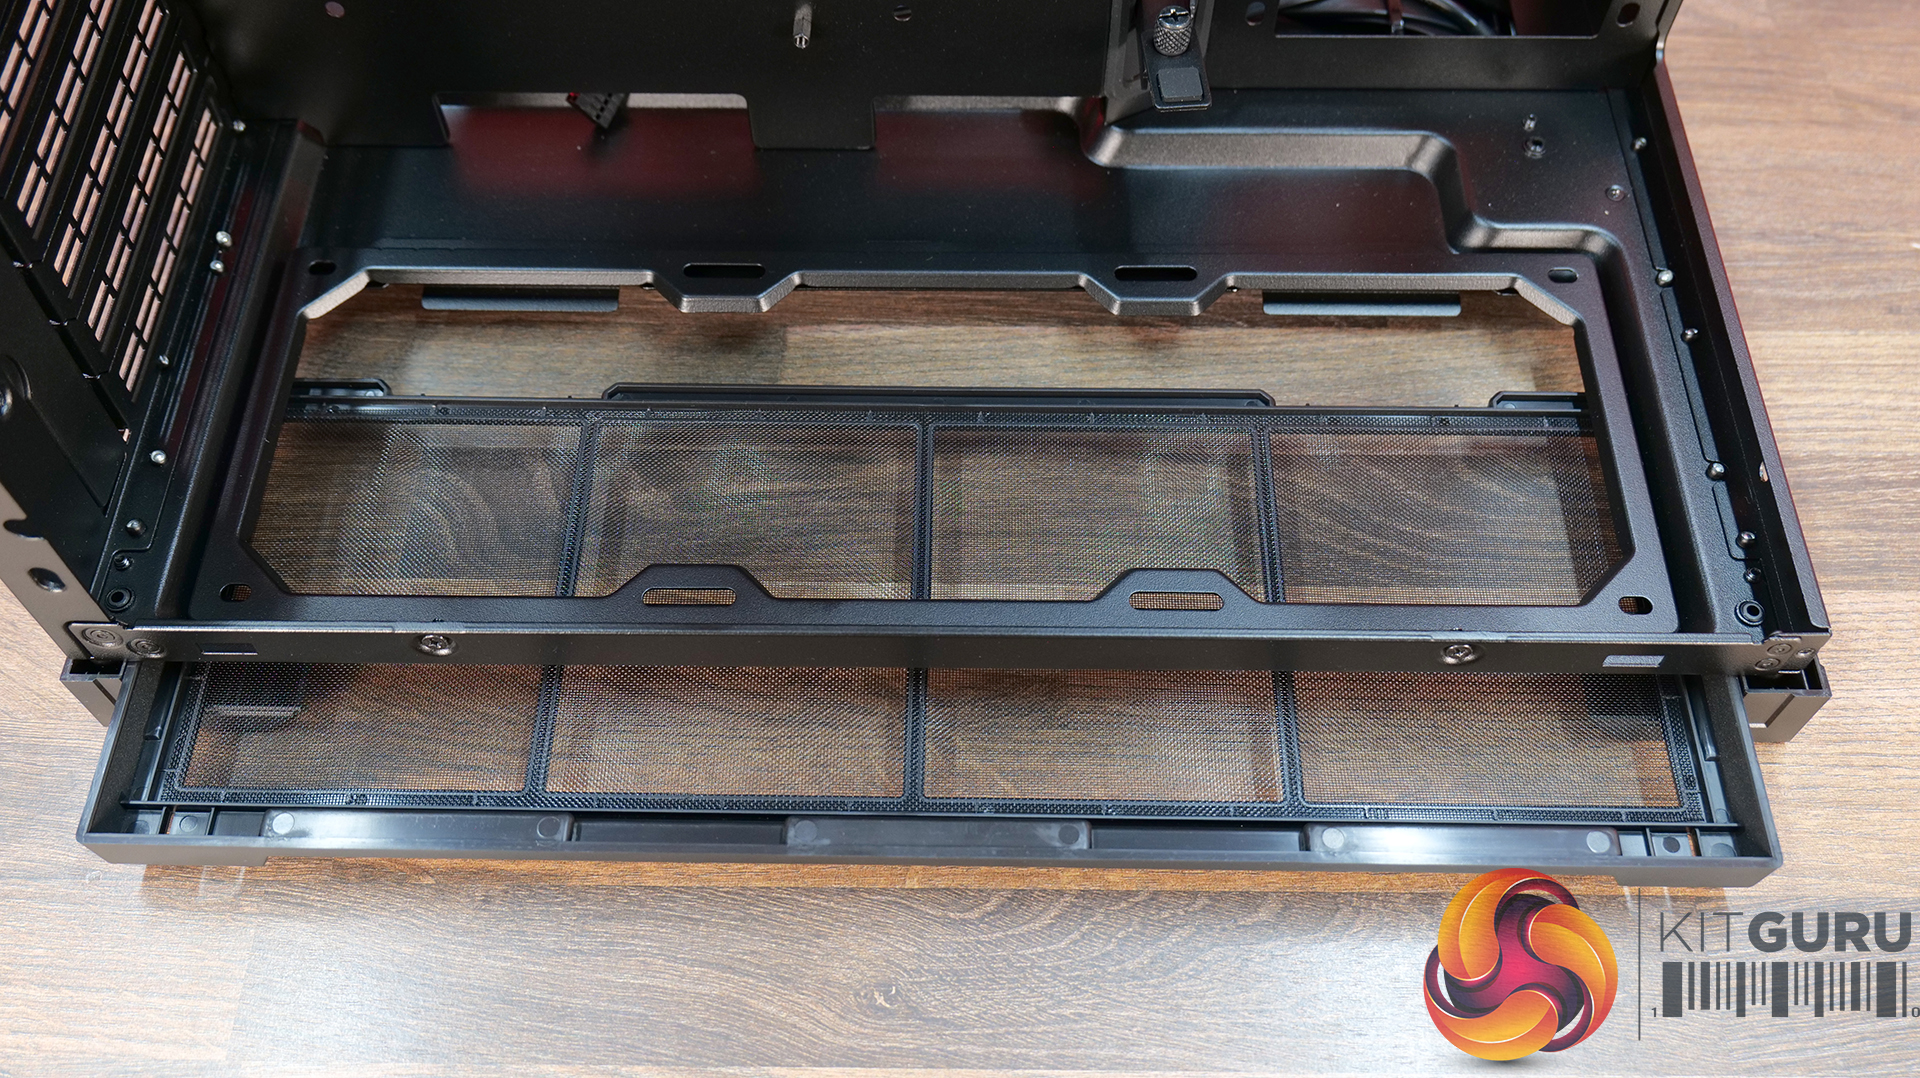
05:19 Bottom tray / filter system
05:41 Cooling Fan / Radiator Support
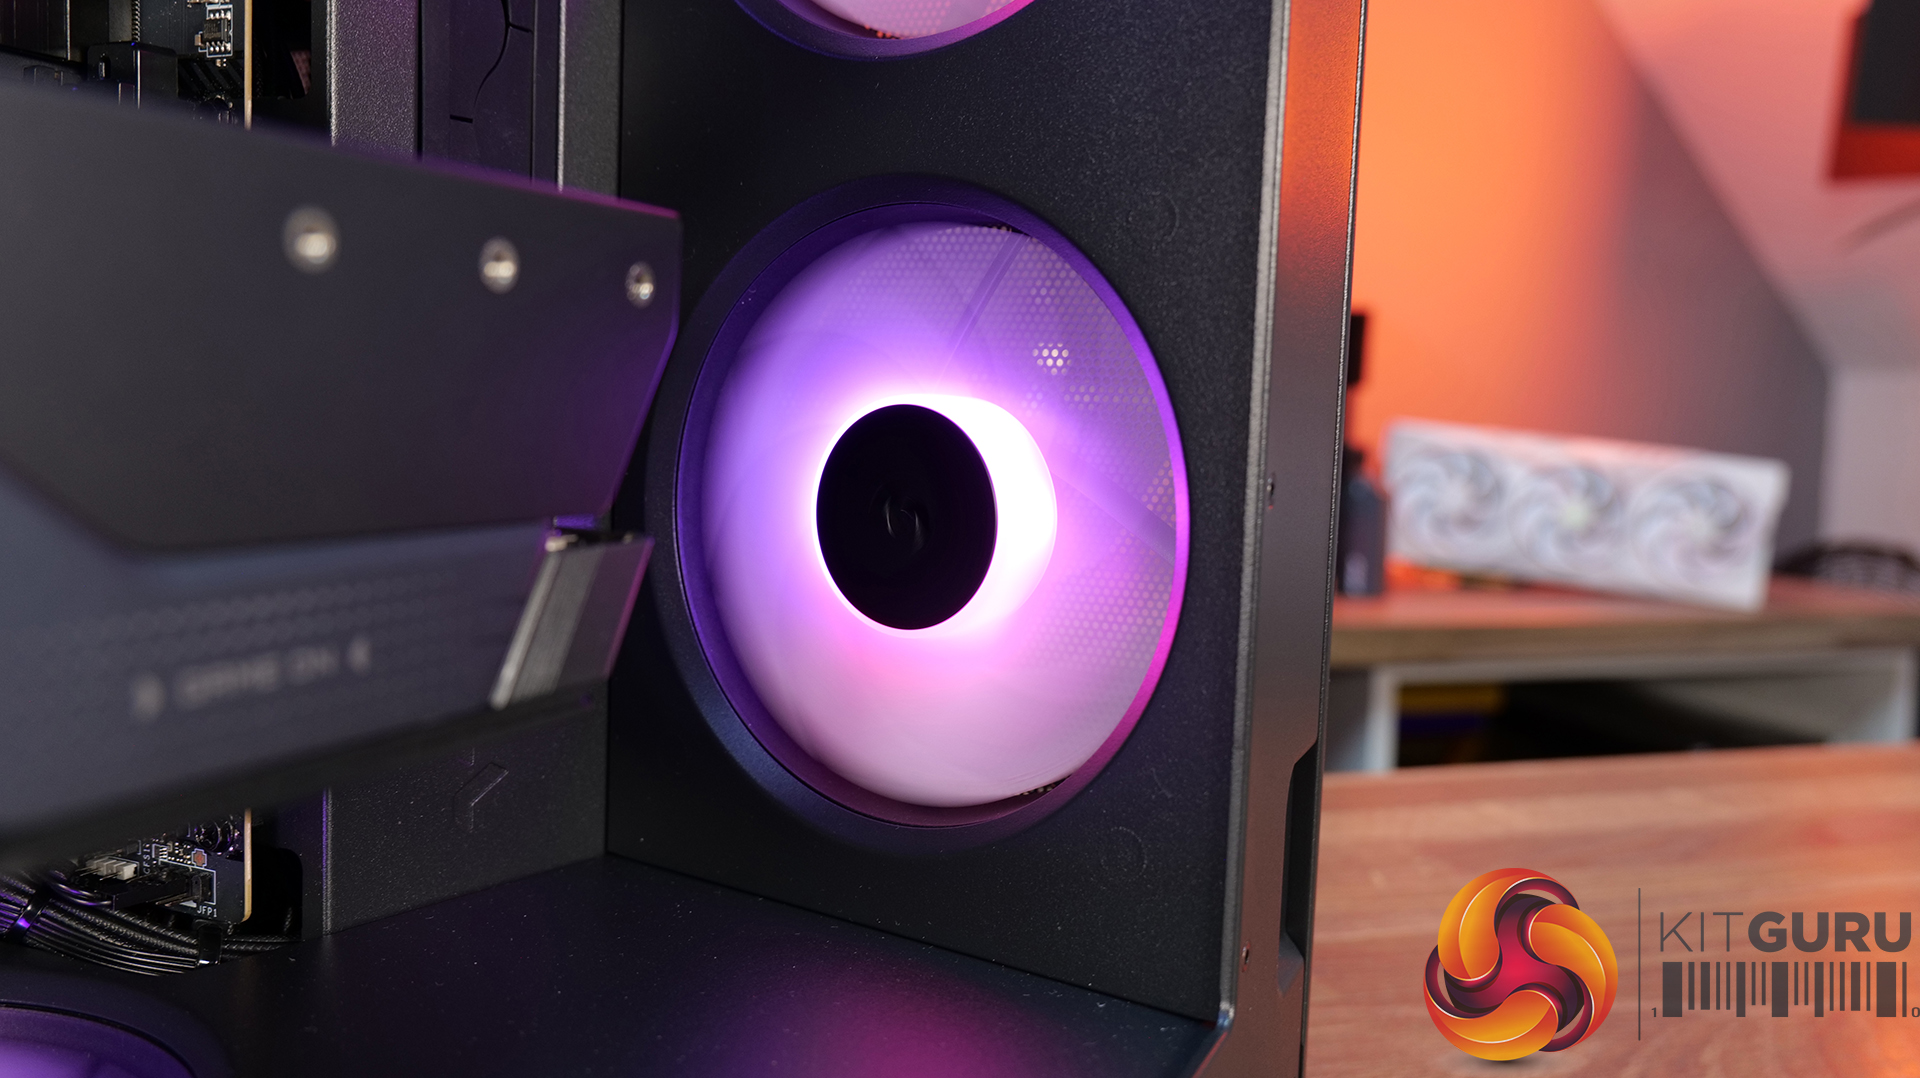
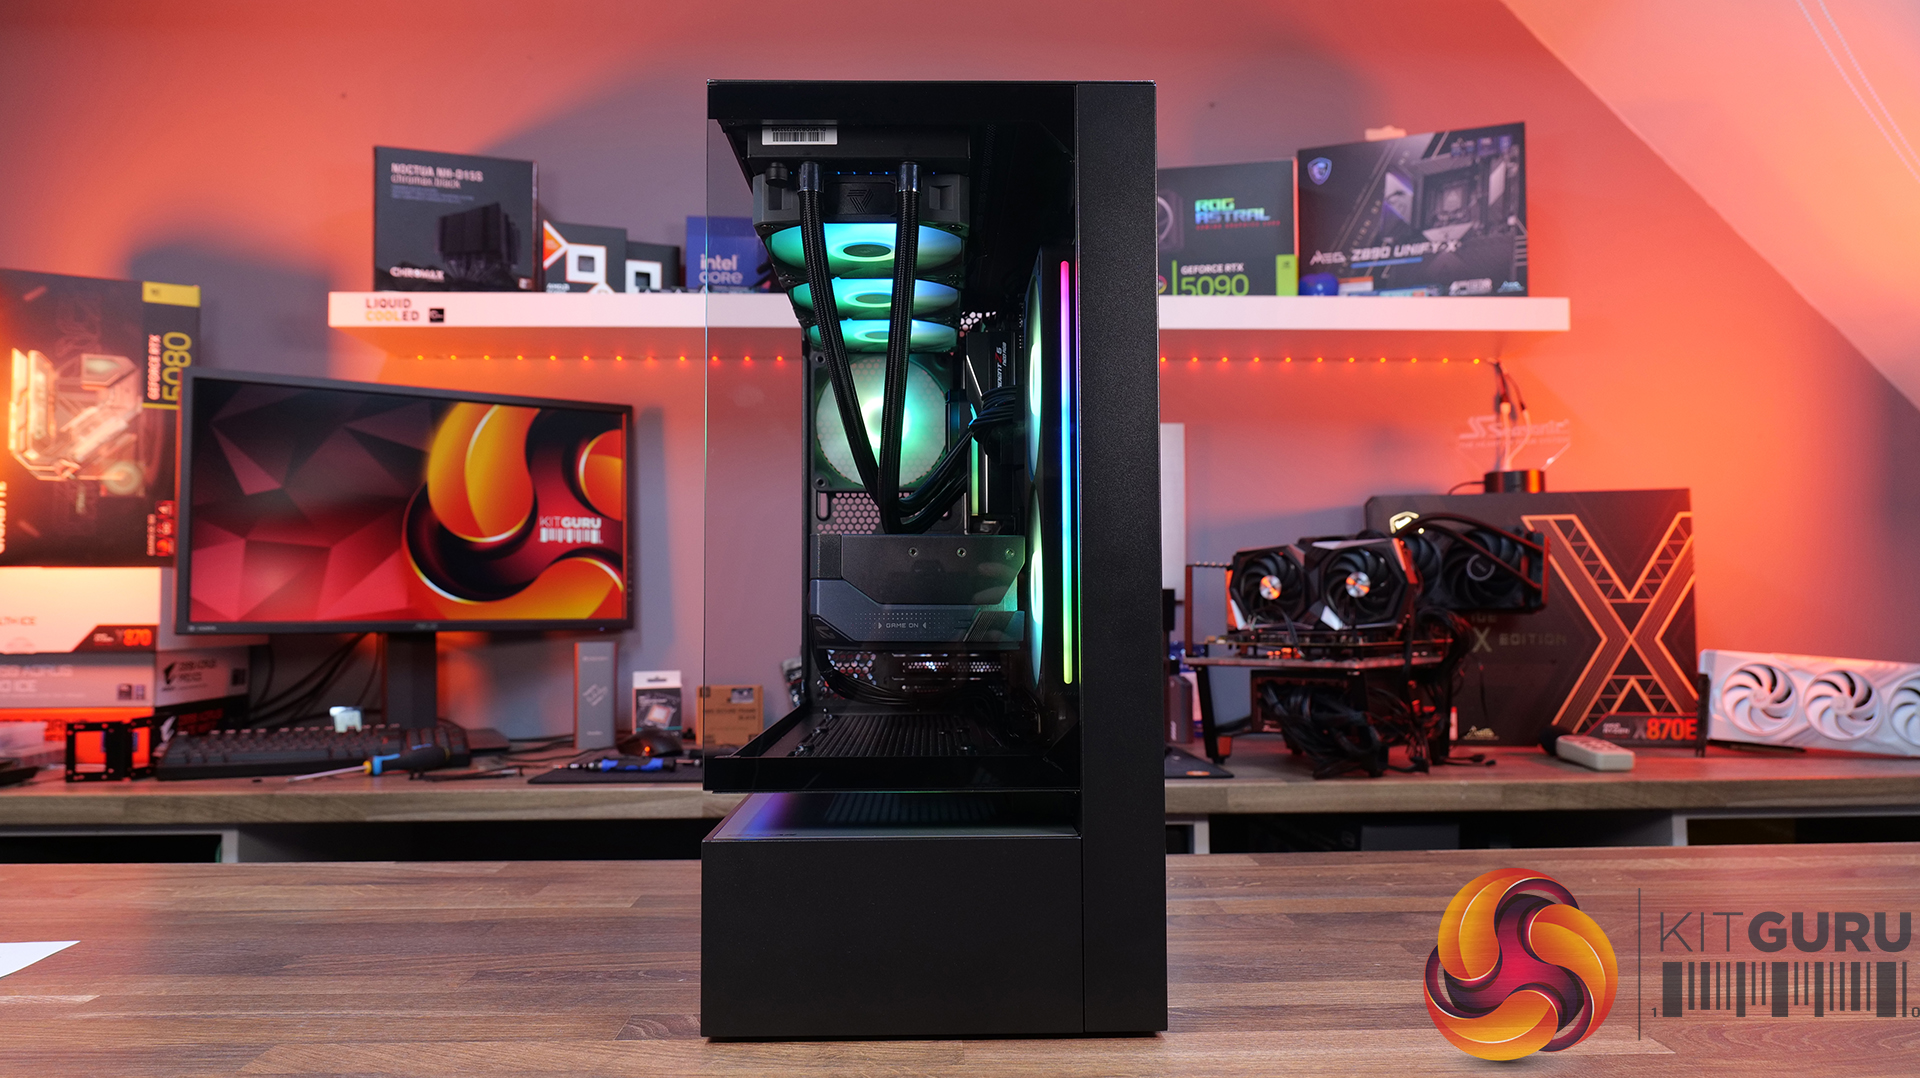
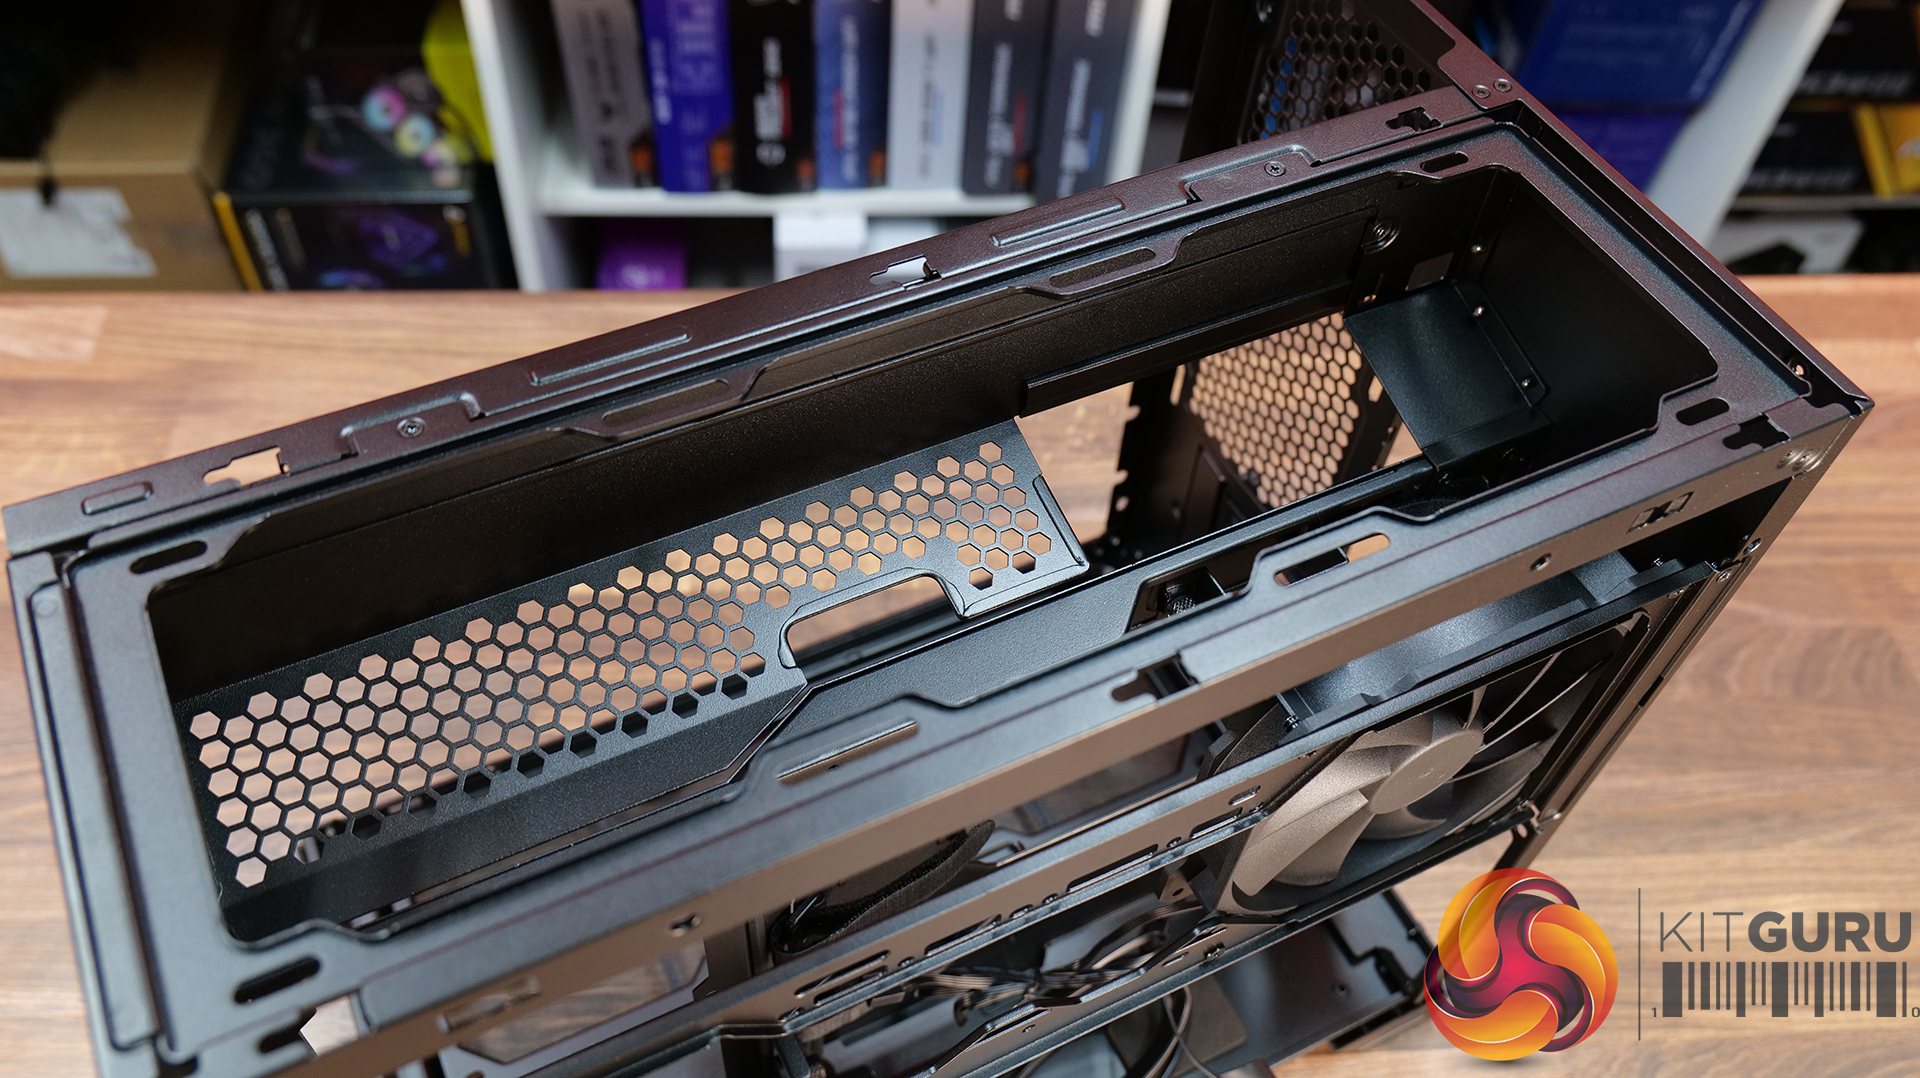
07:20 Vented Shroud and LCD Screen
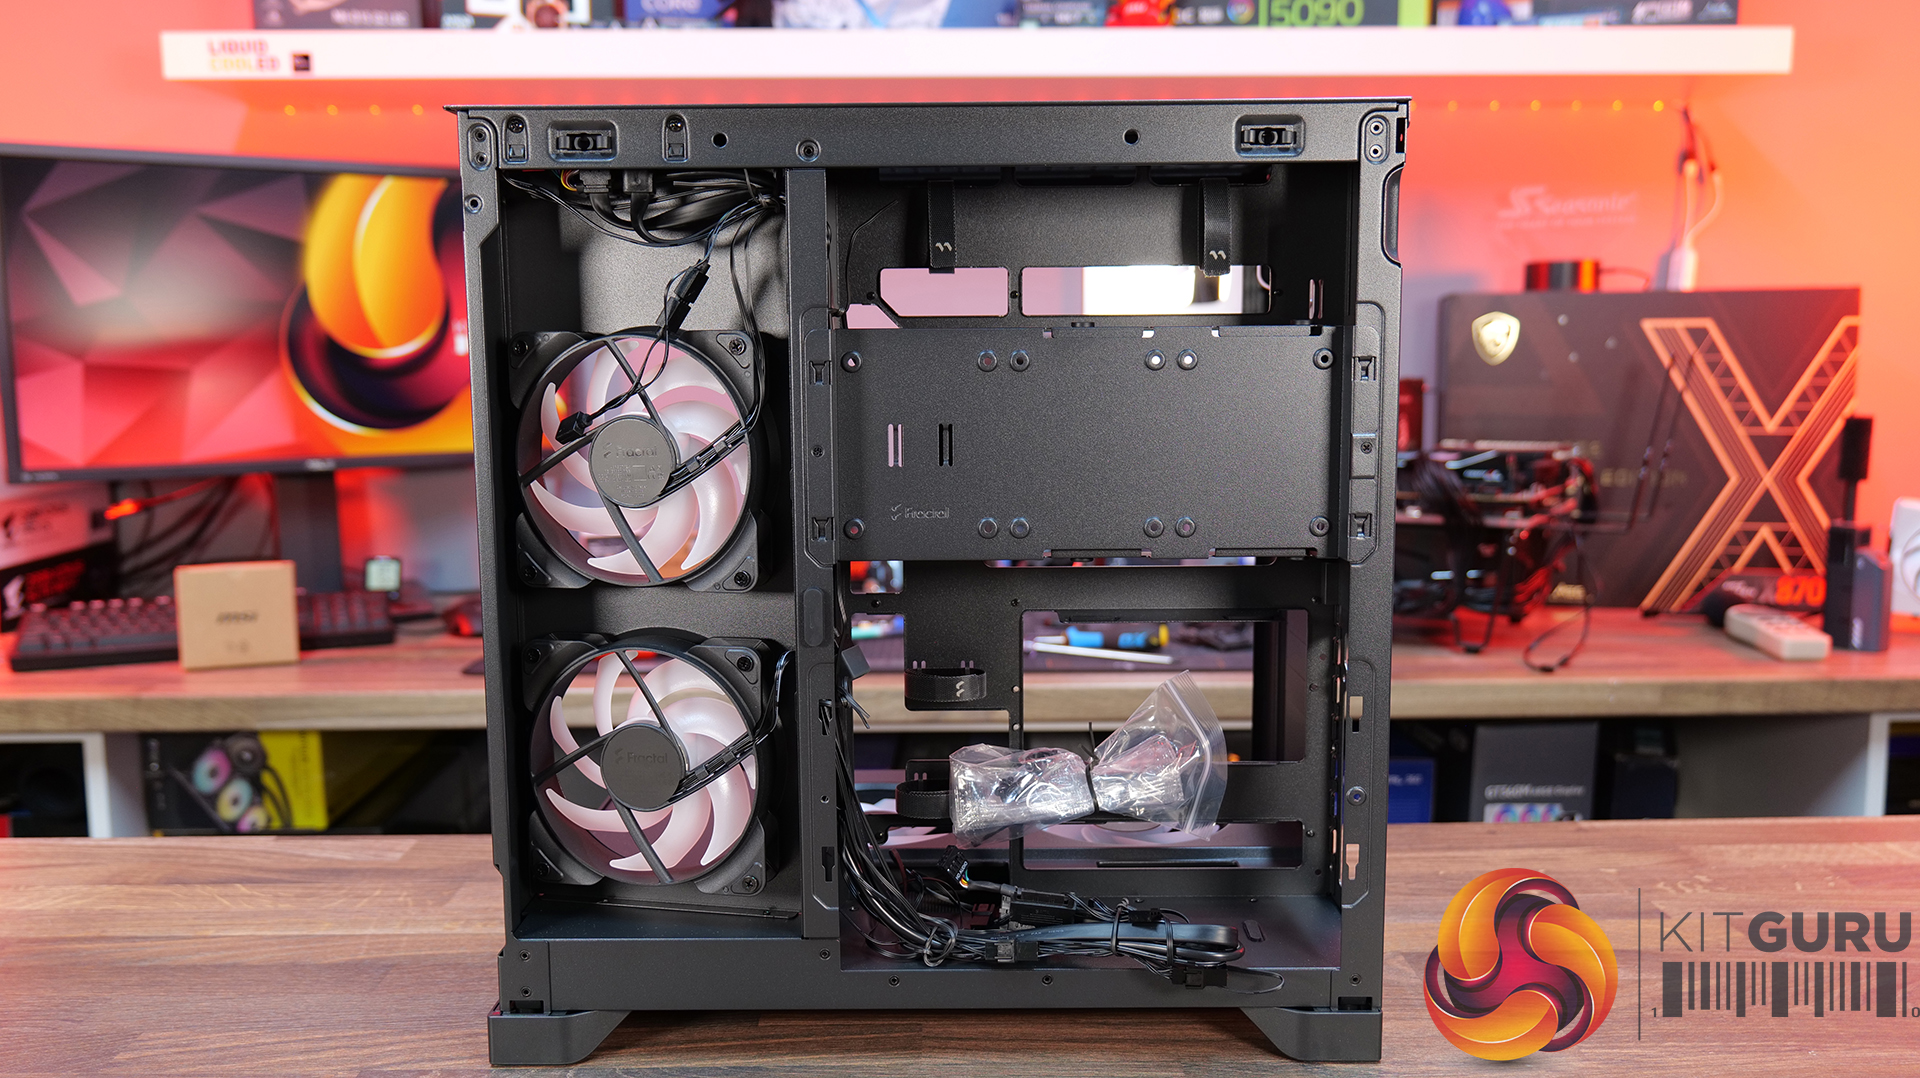
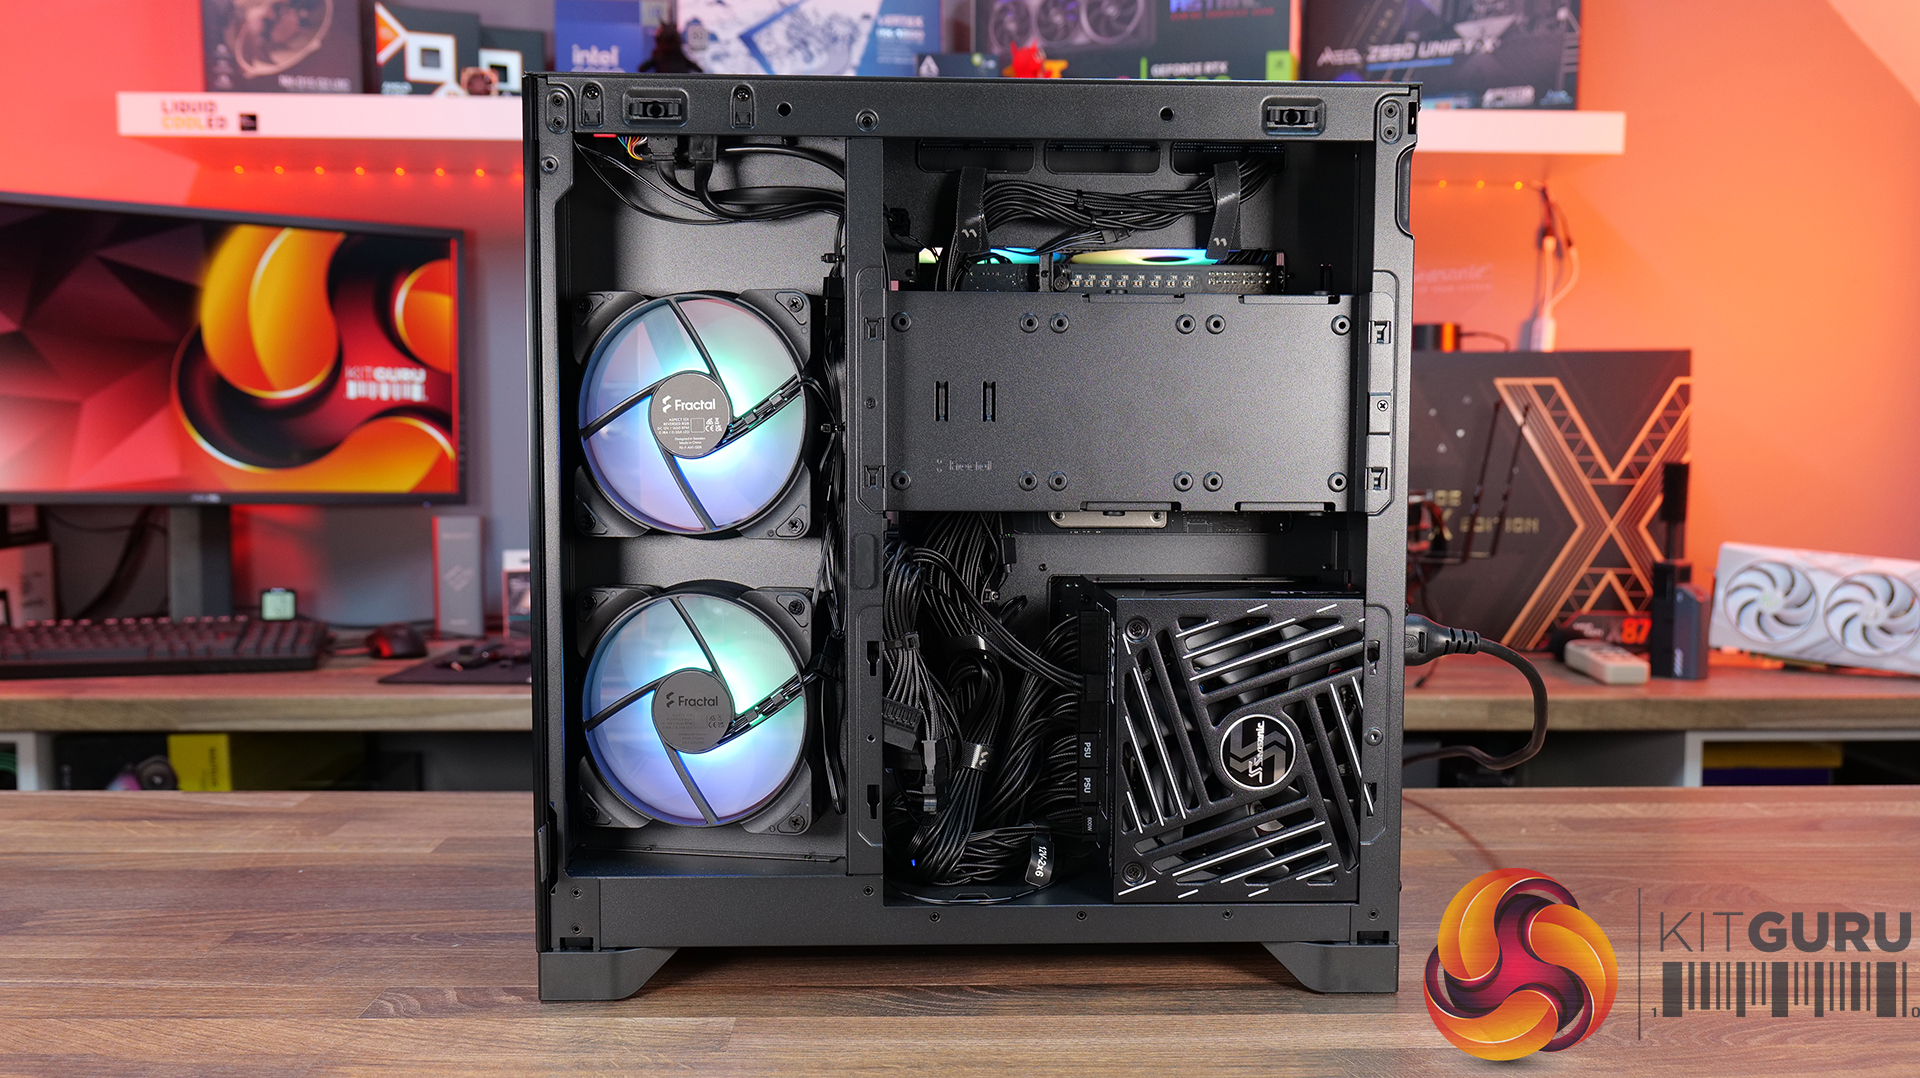
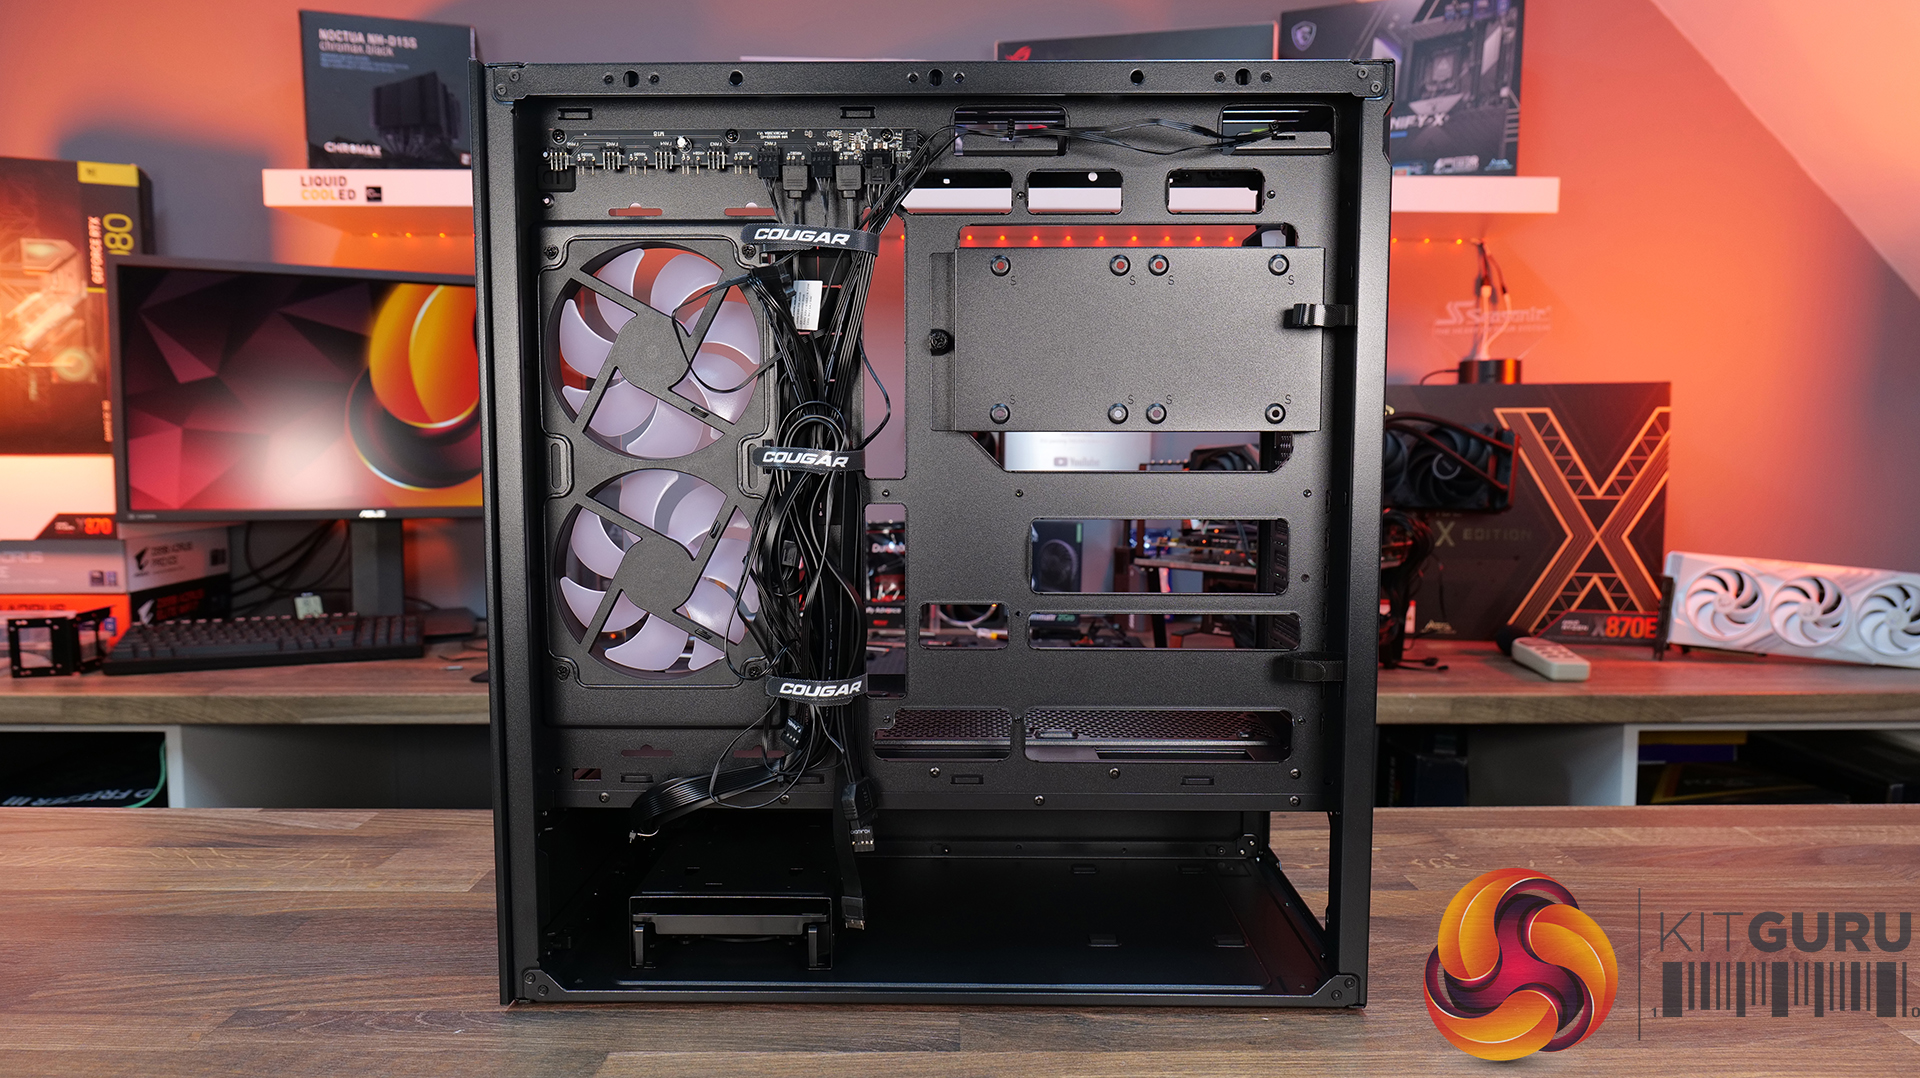
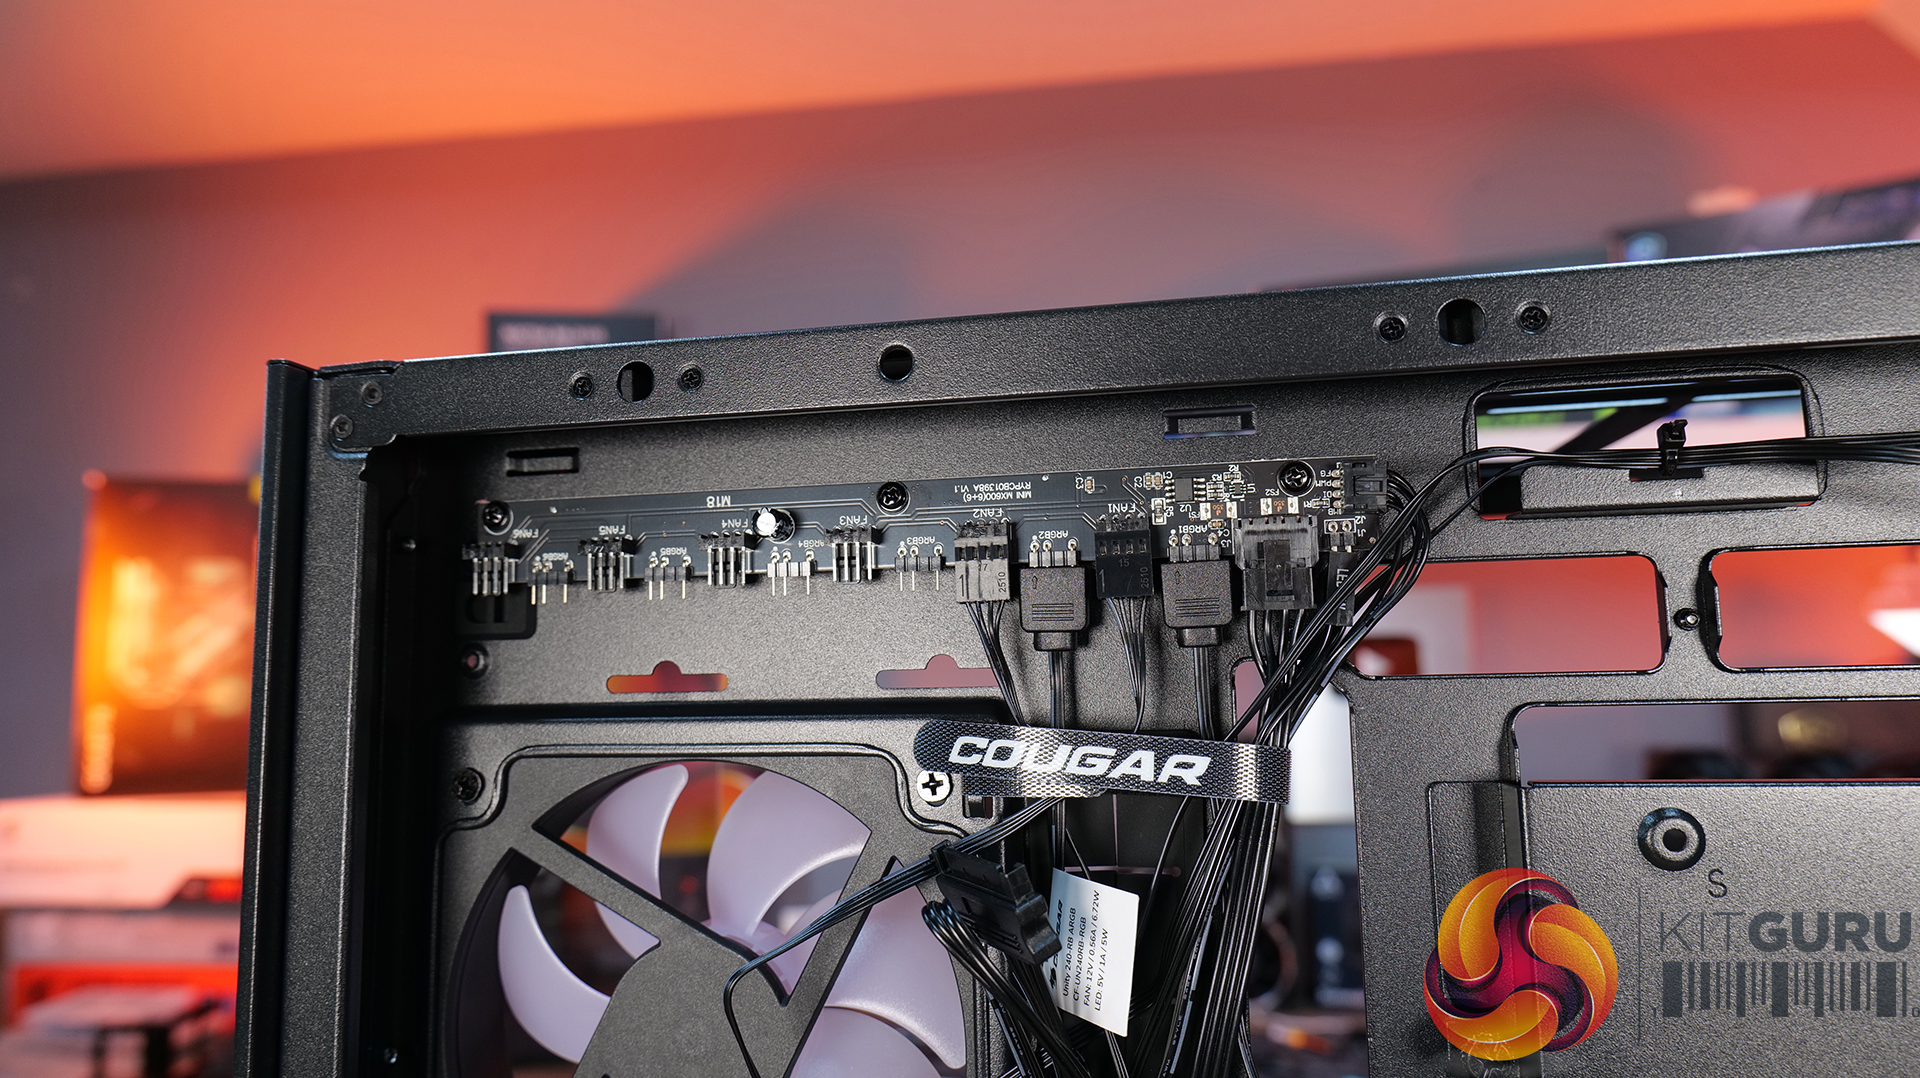
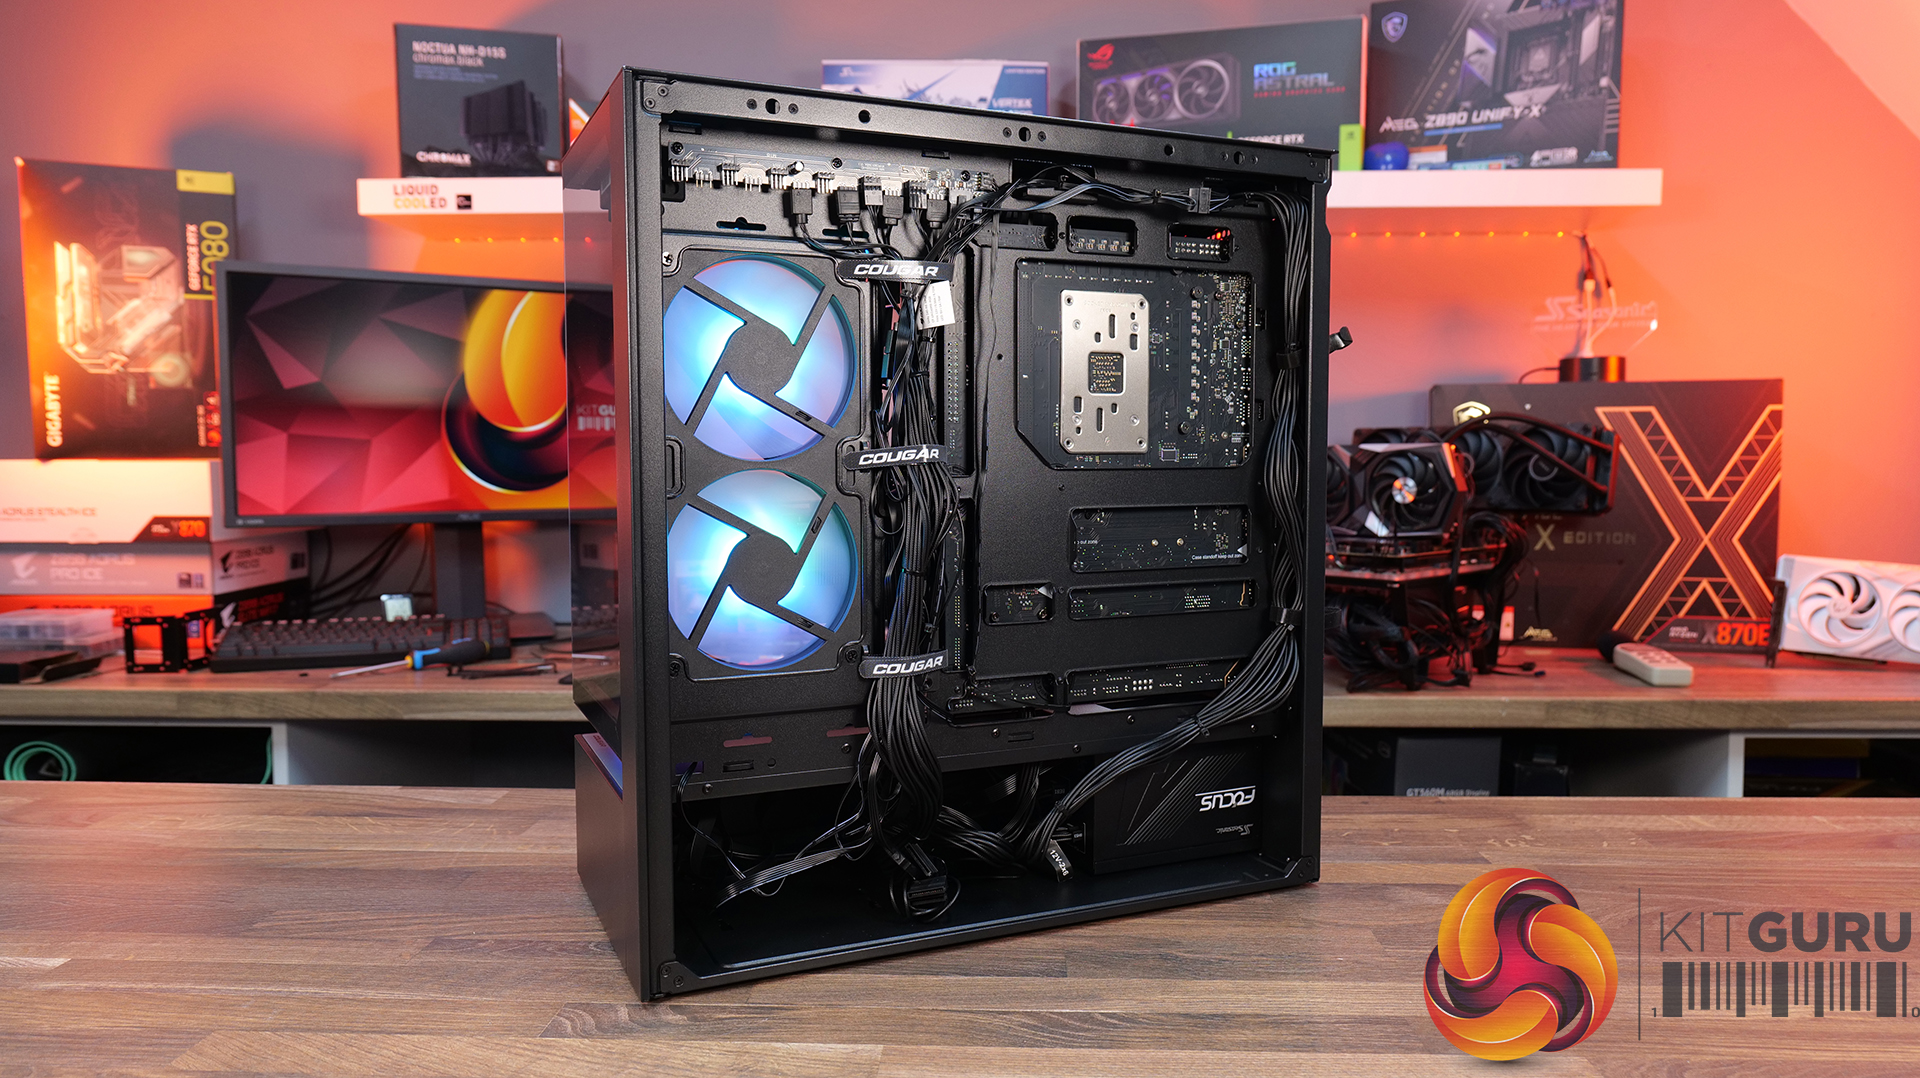
08:09 Cable Management
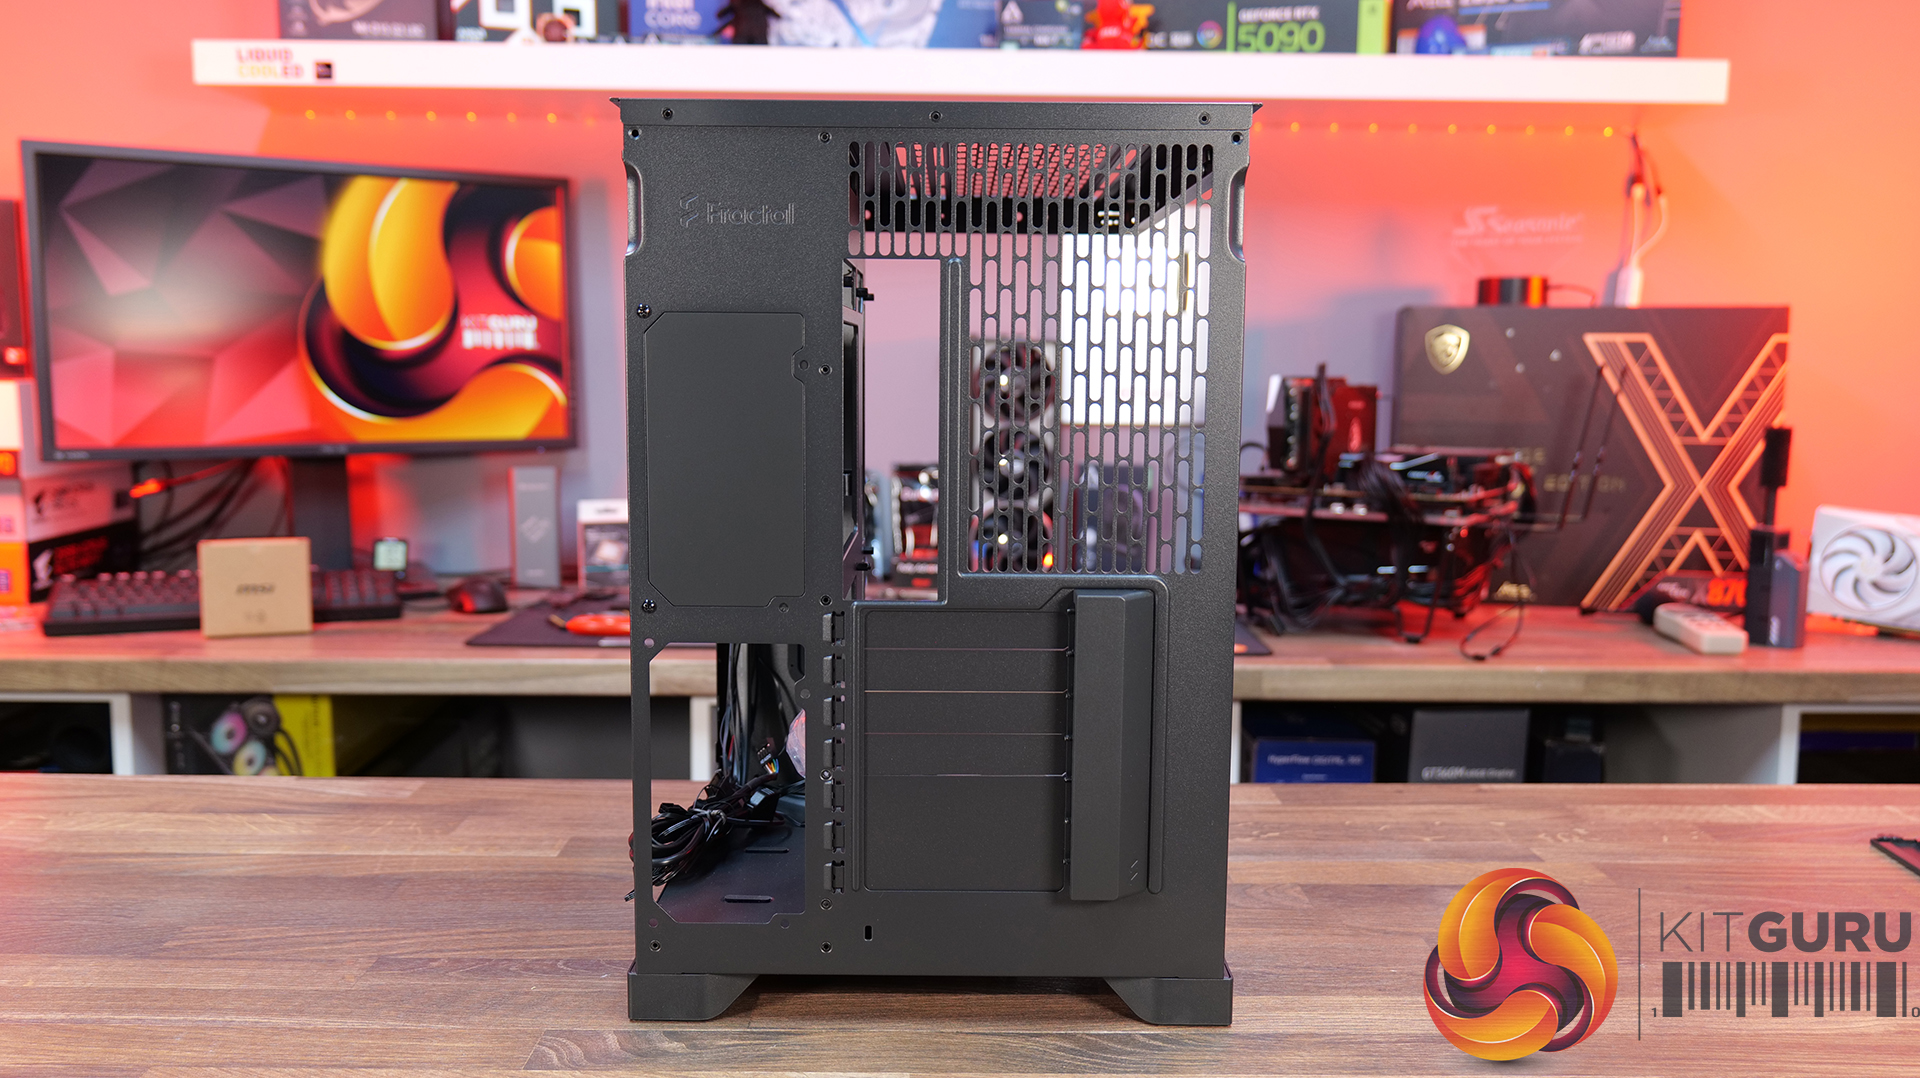
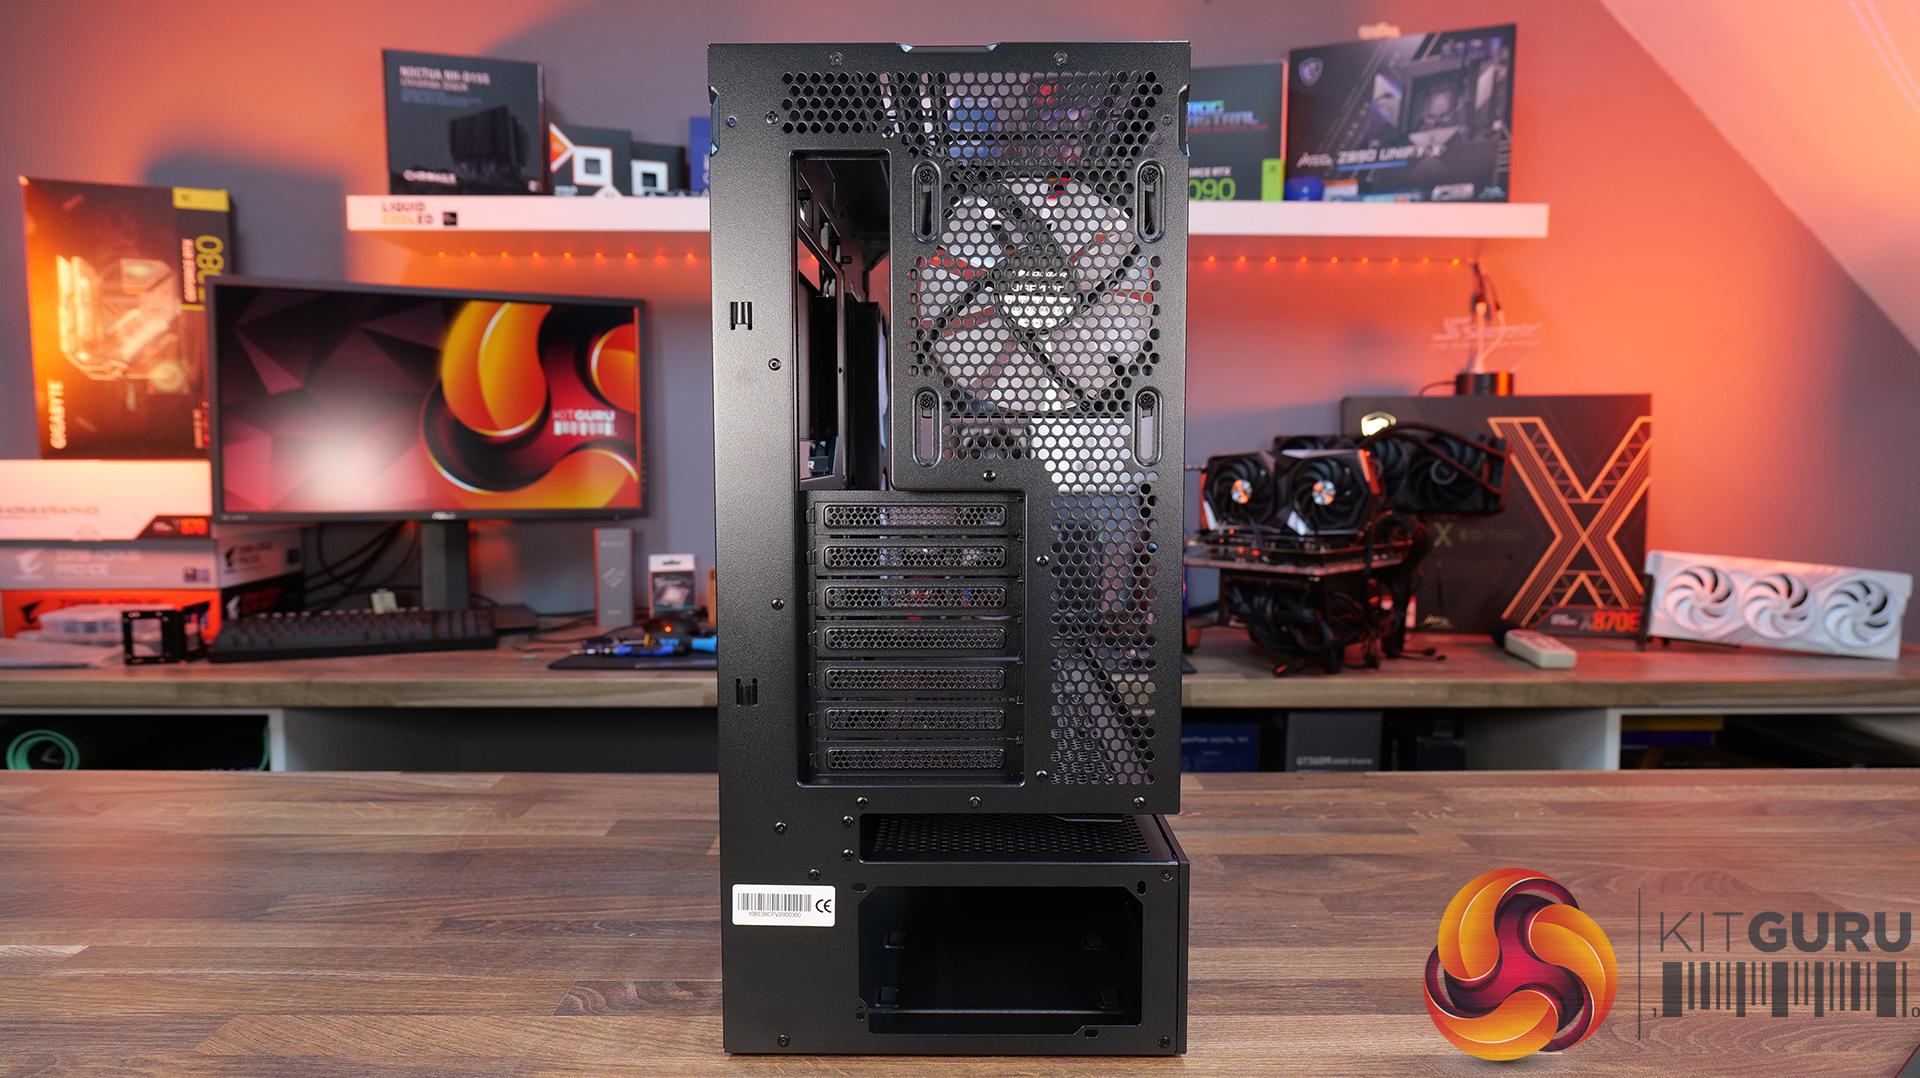
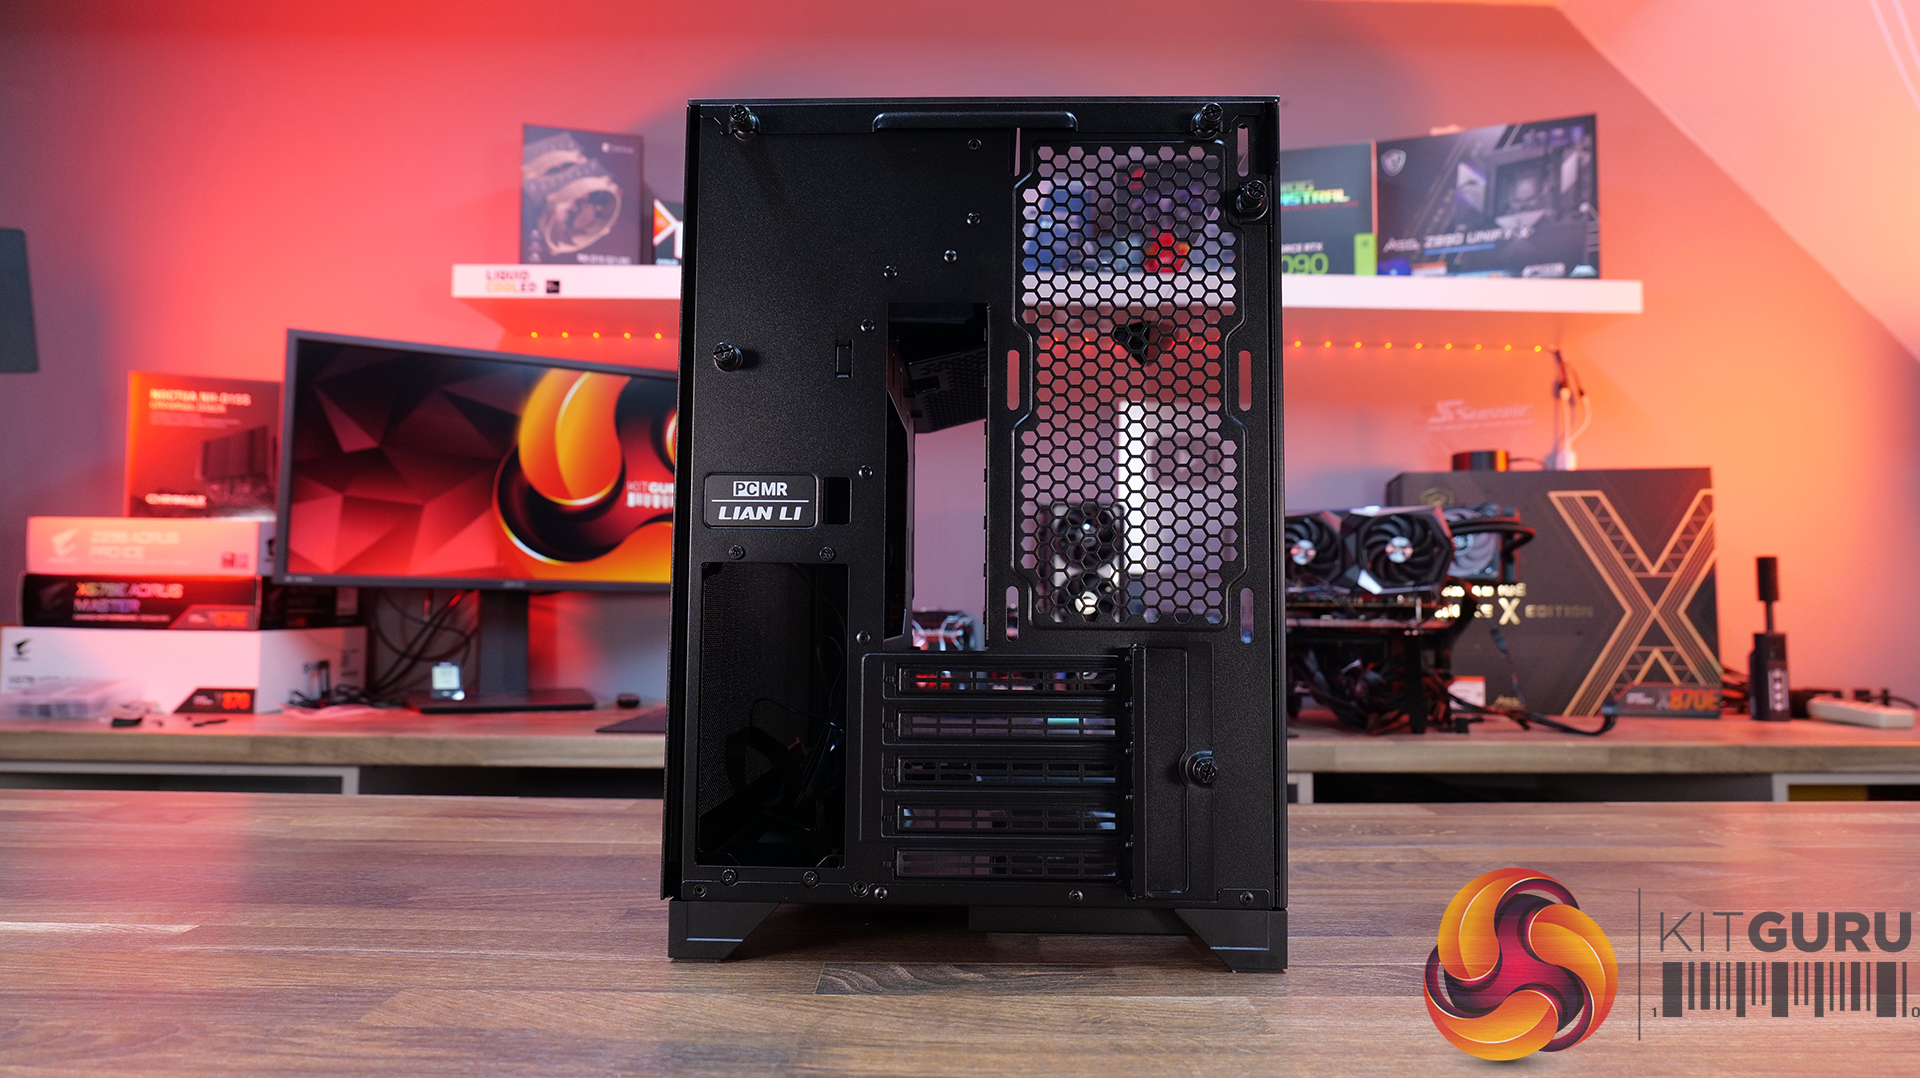
09:00 Rear of the case
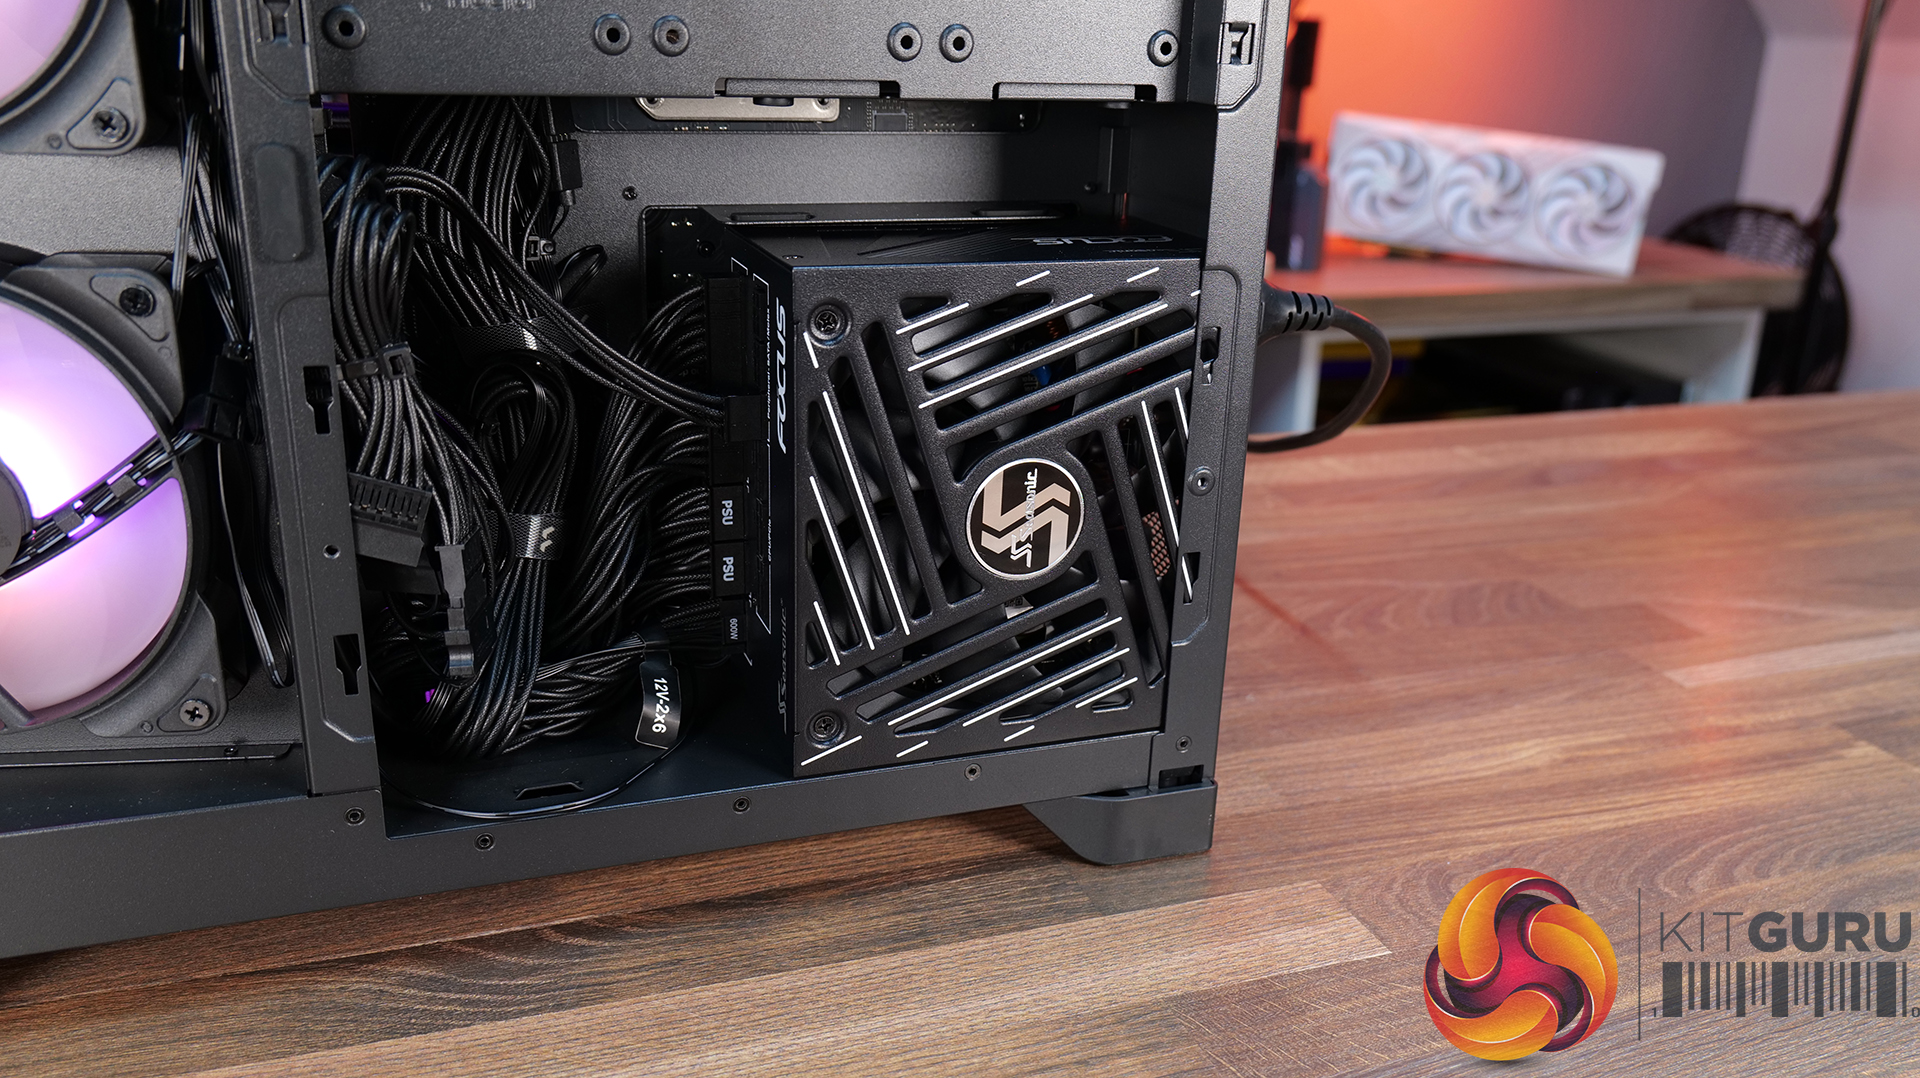
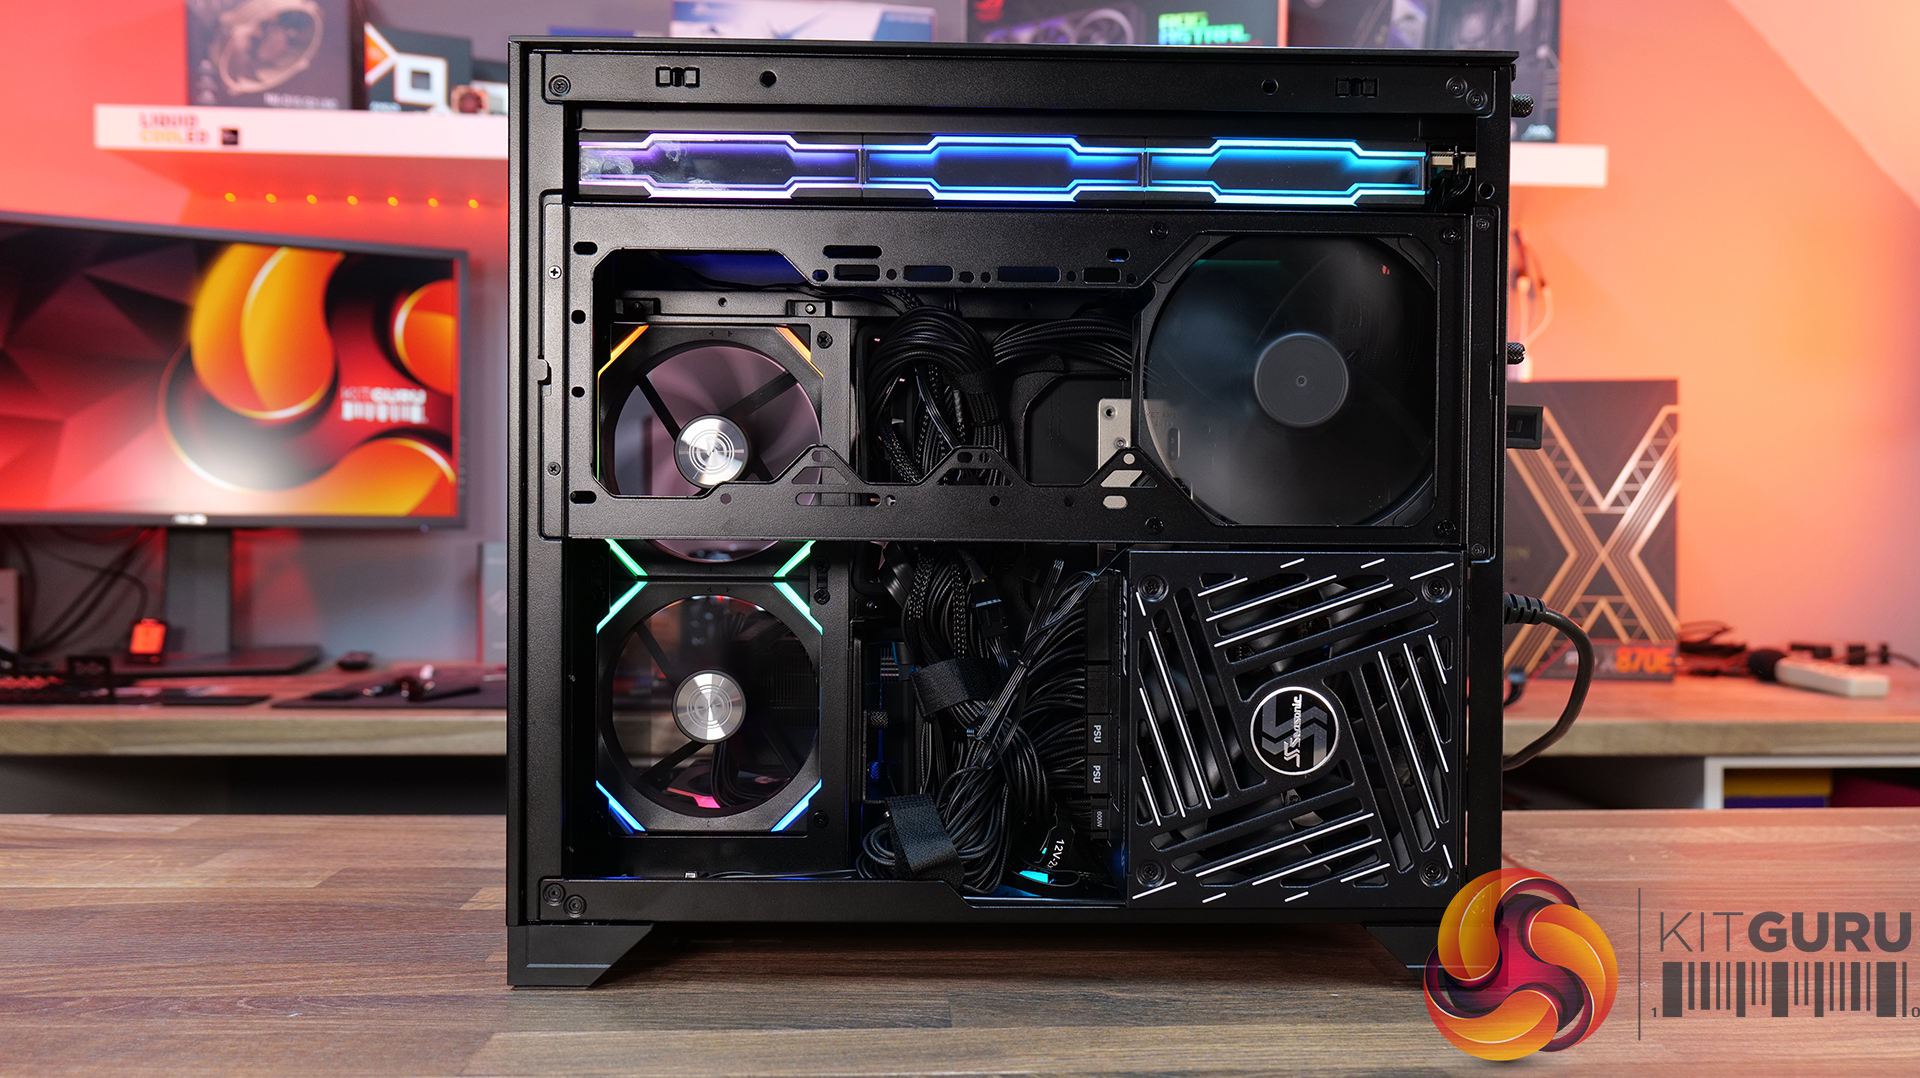
09:32 Side Compartment / PSU
10:54 Drive install / cable shroud options
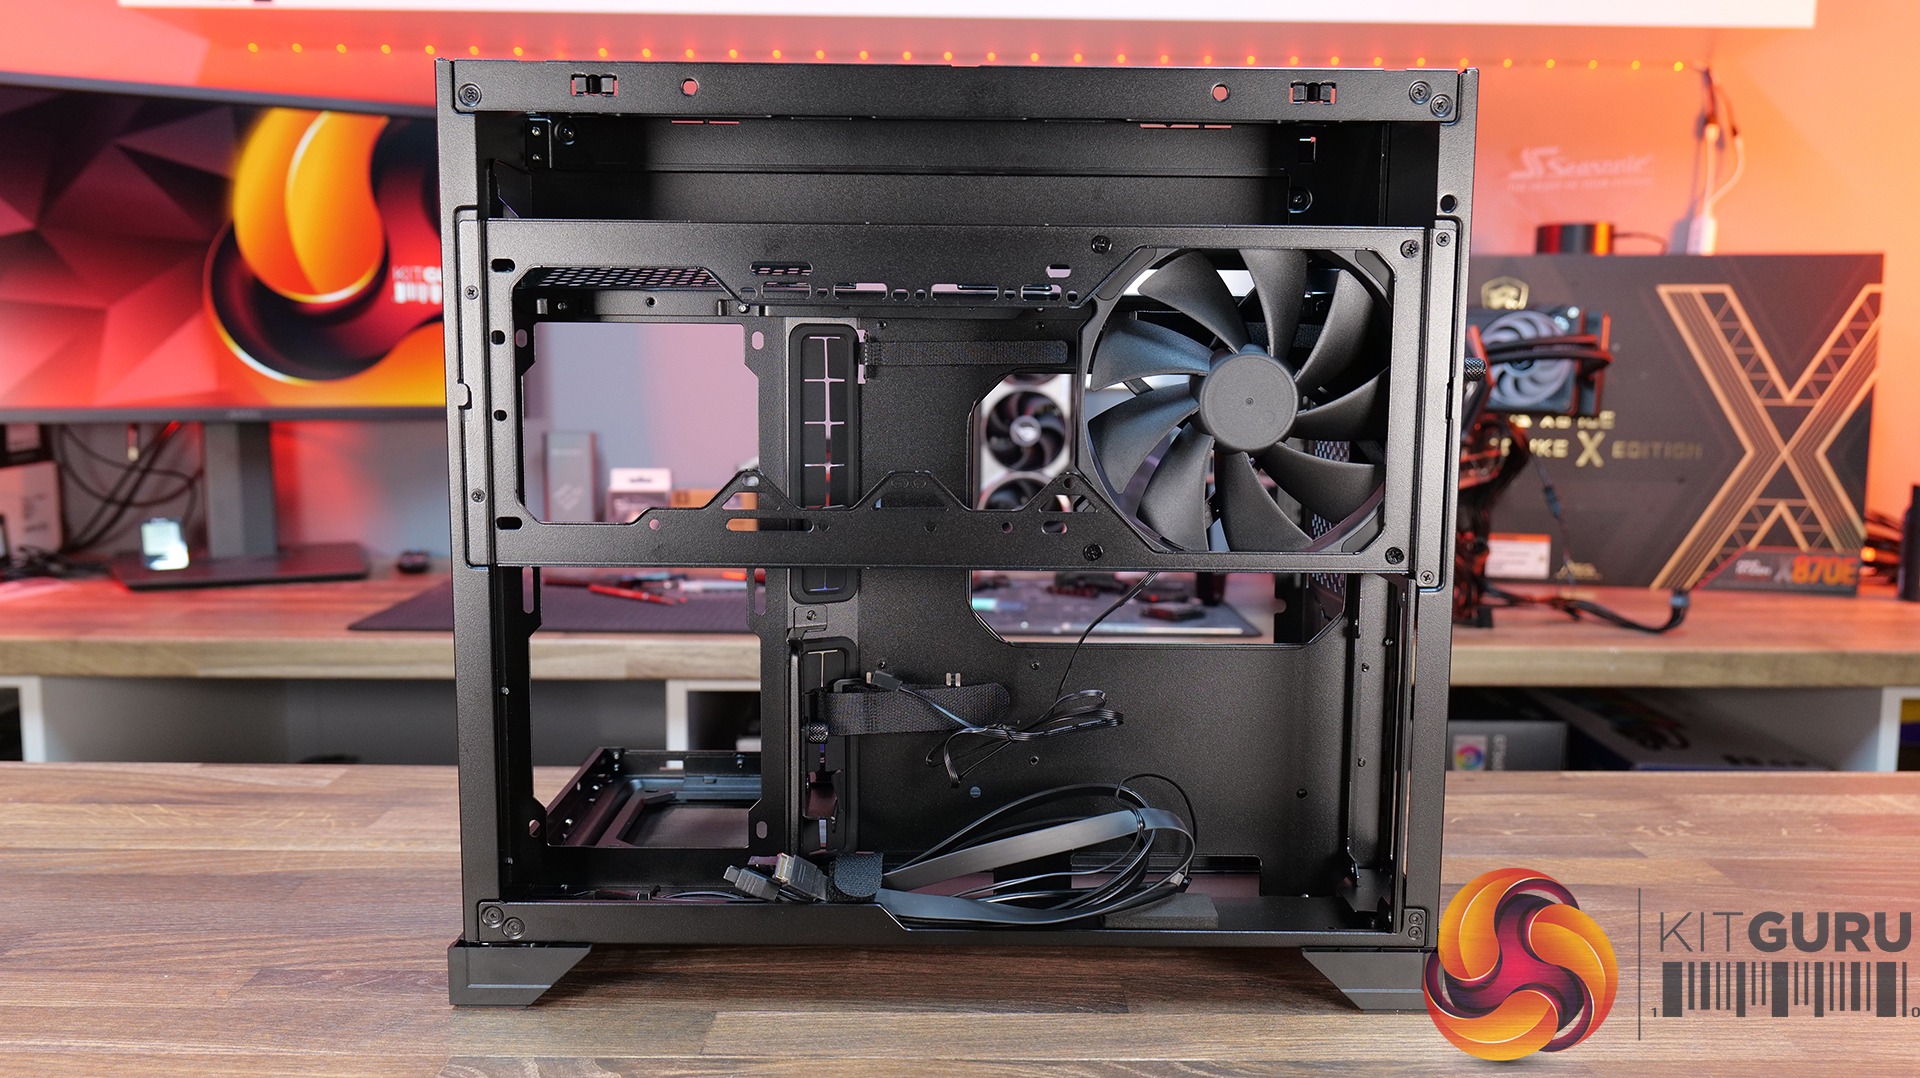
11:54 Top radiator bracket
12:56 GPU Bracket / no reverse MB support
13:59 Bottom of the case / accessories
15:00 3D Printable parts
15:37 Thermal and Noise Performance
17:15 Smoke Test & Thoughts
18:05 Installation / Closing Thoughts

Features:
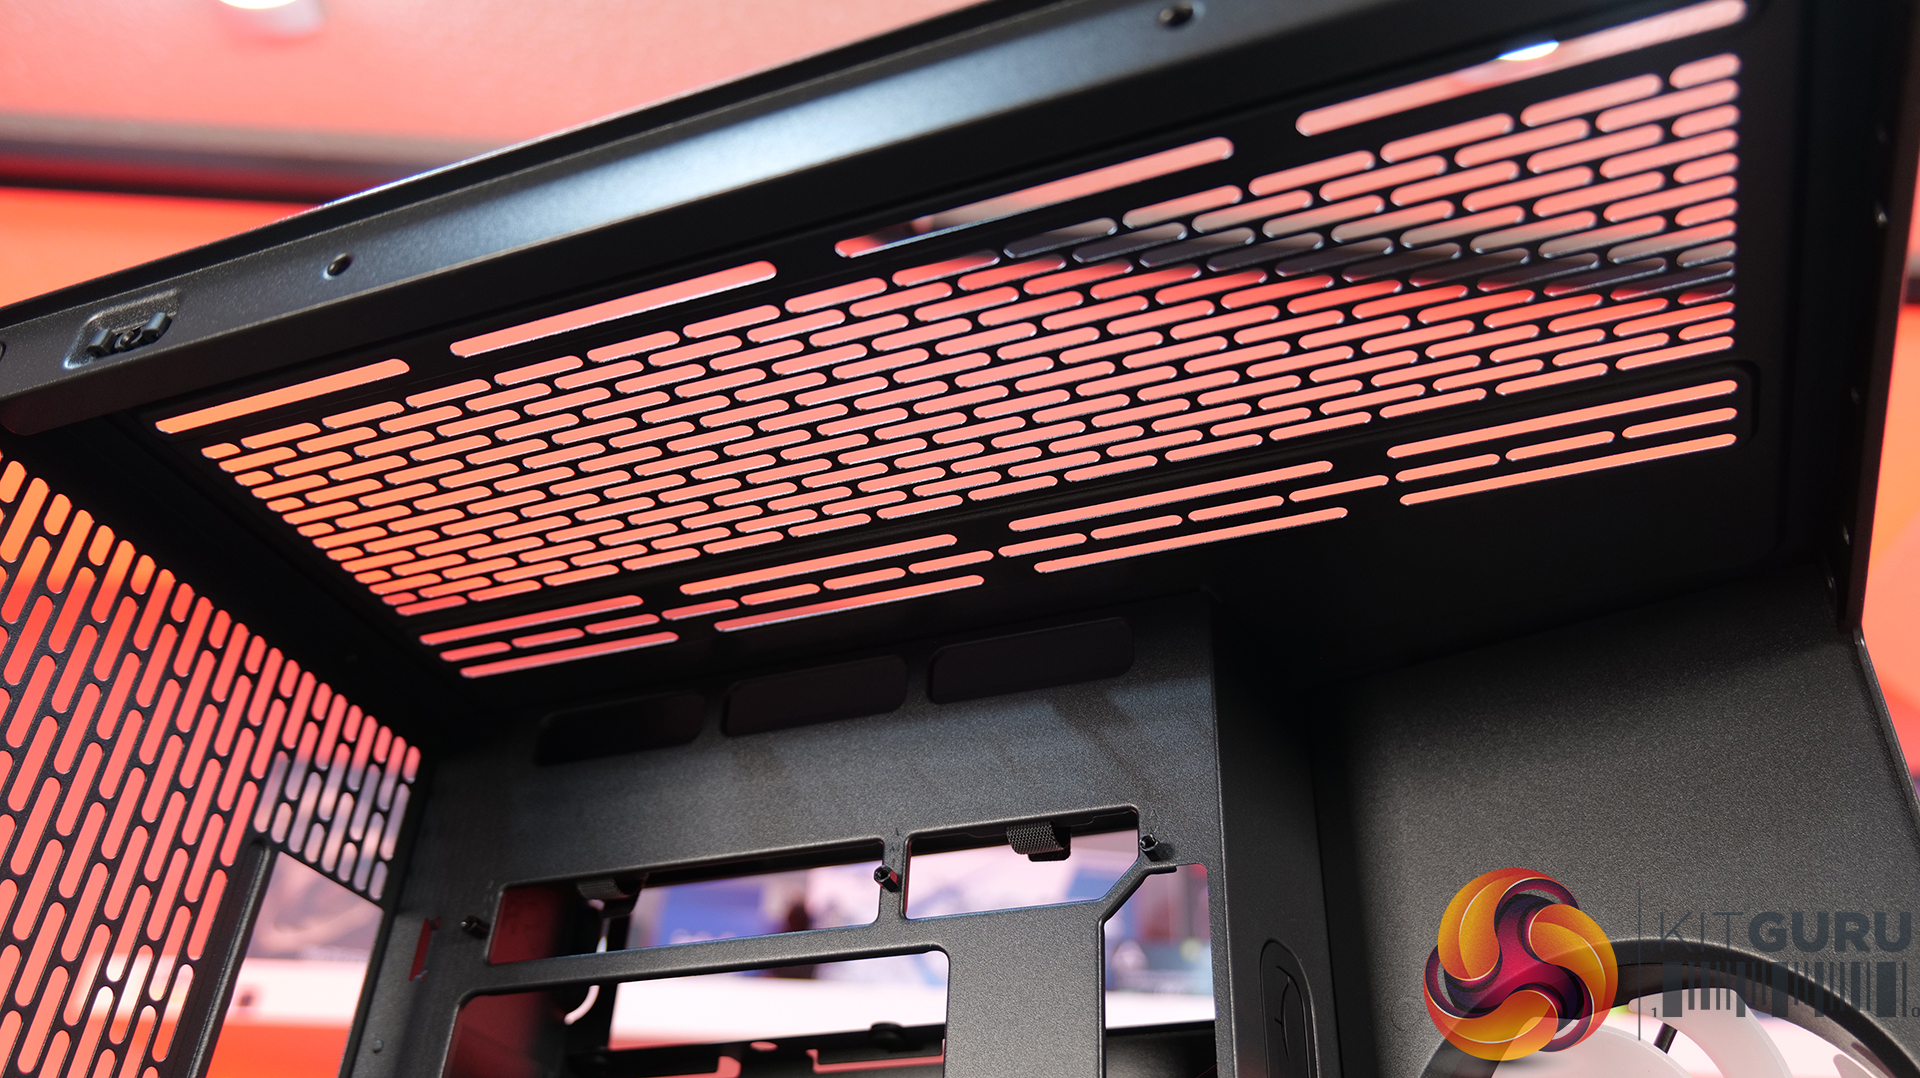
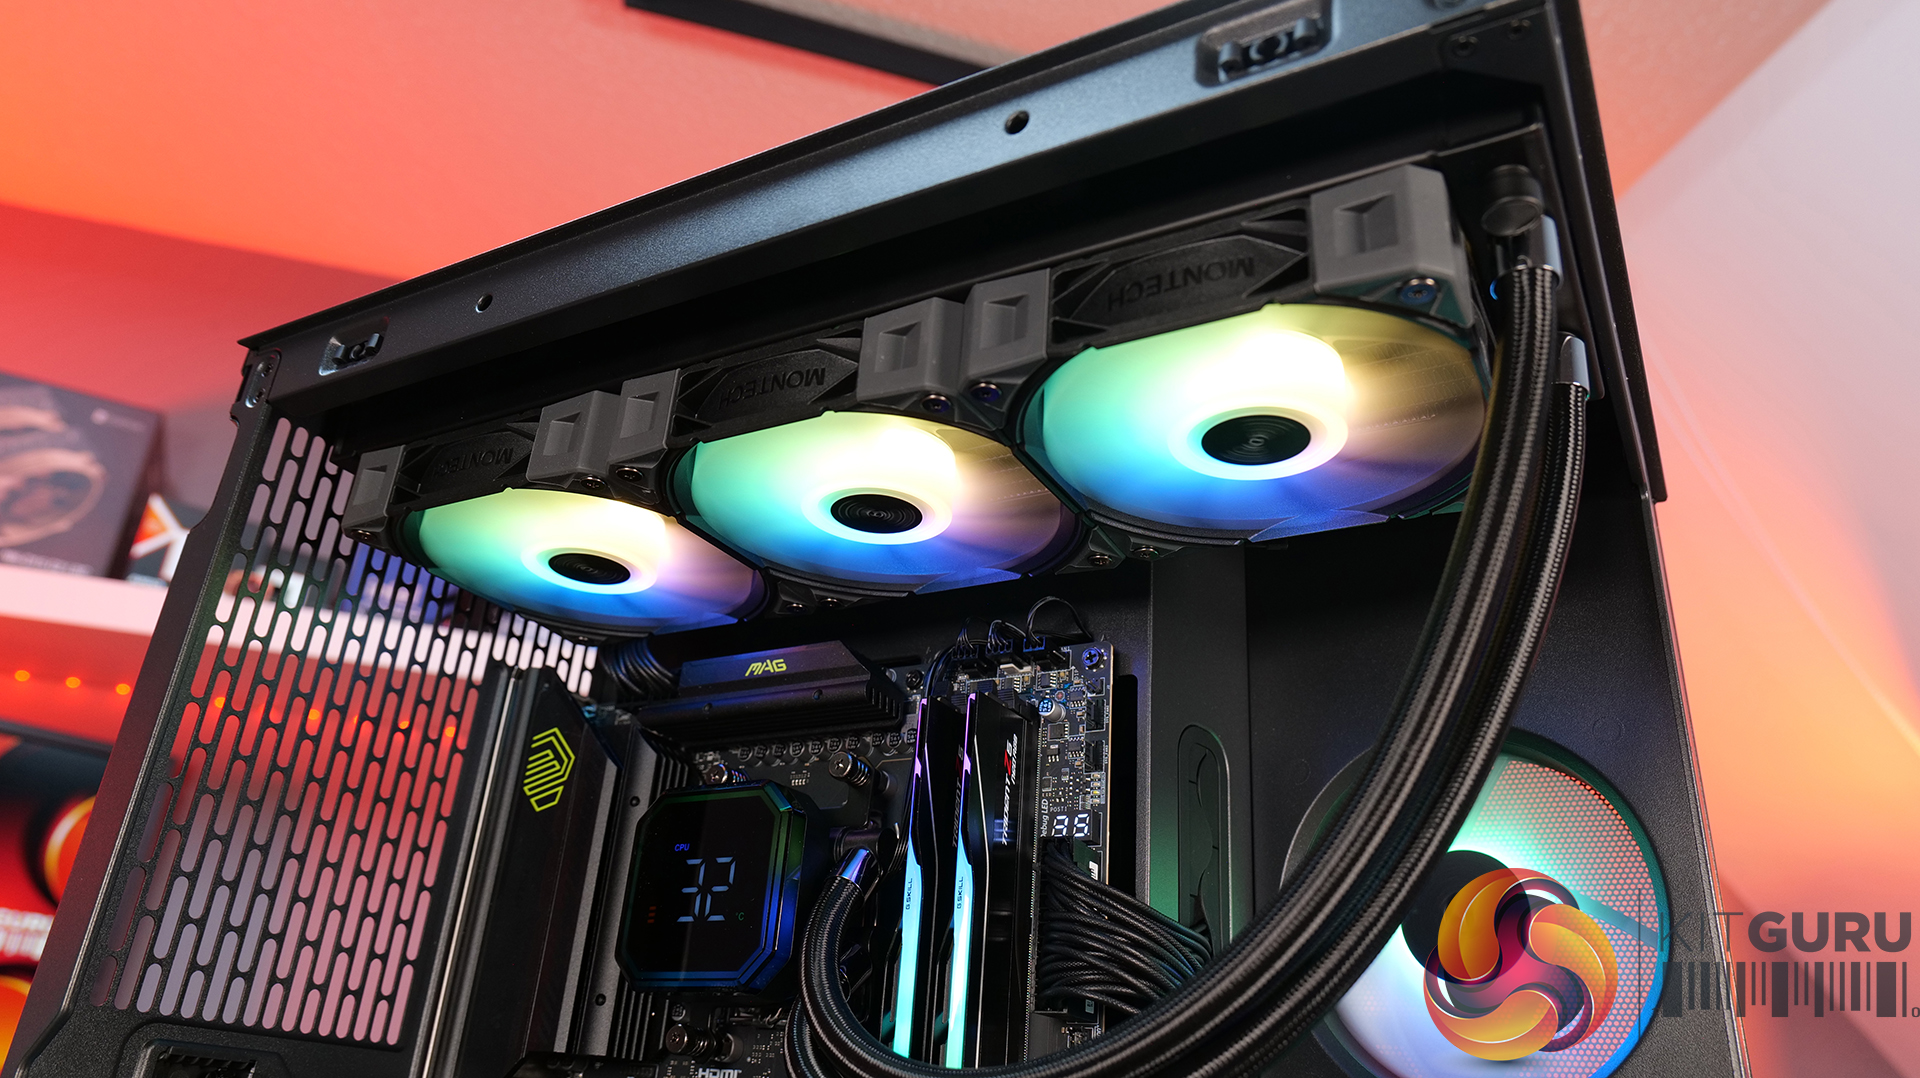
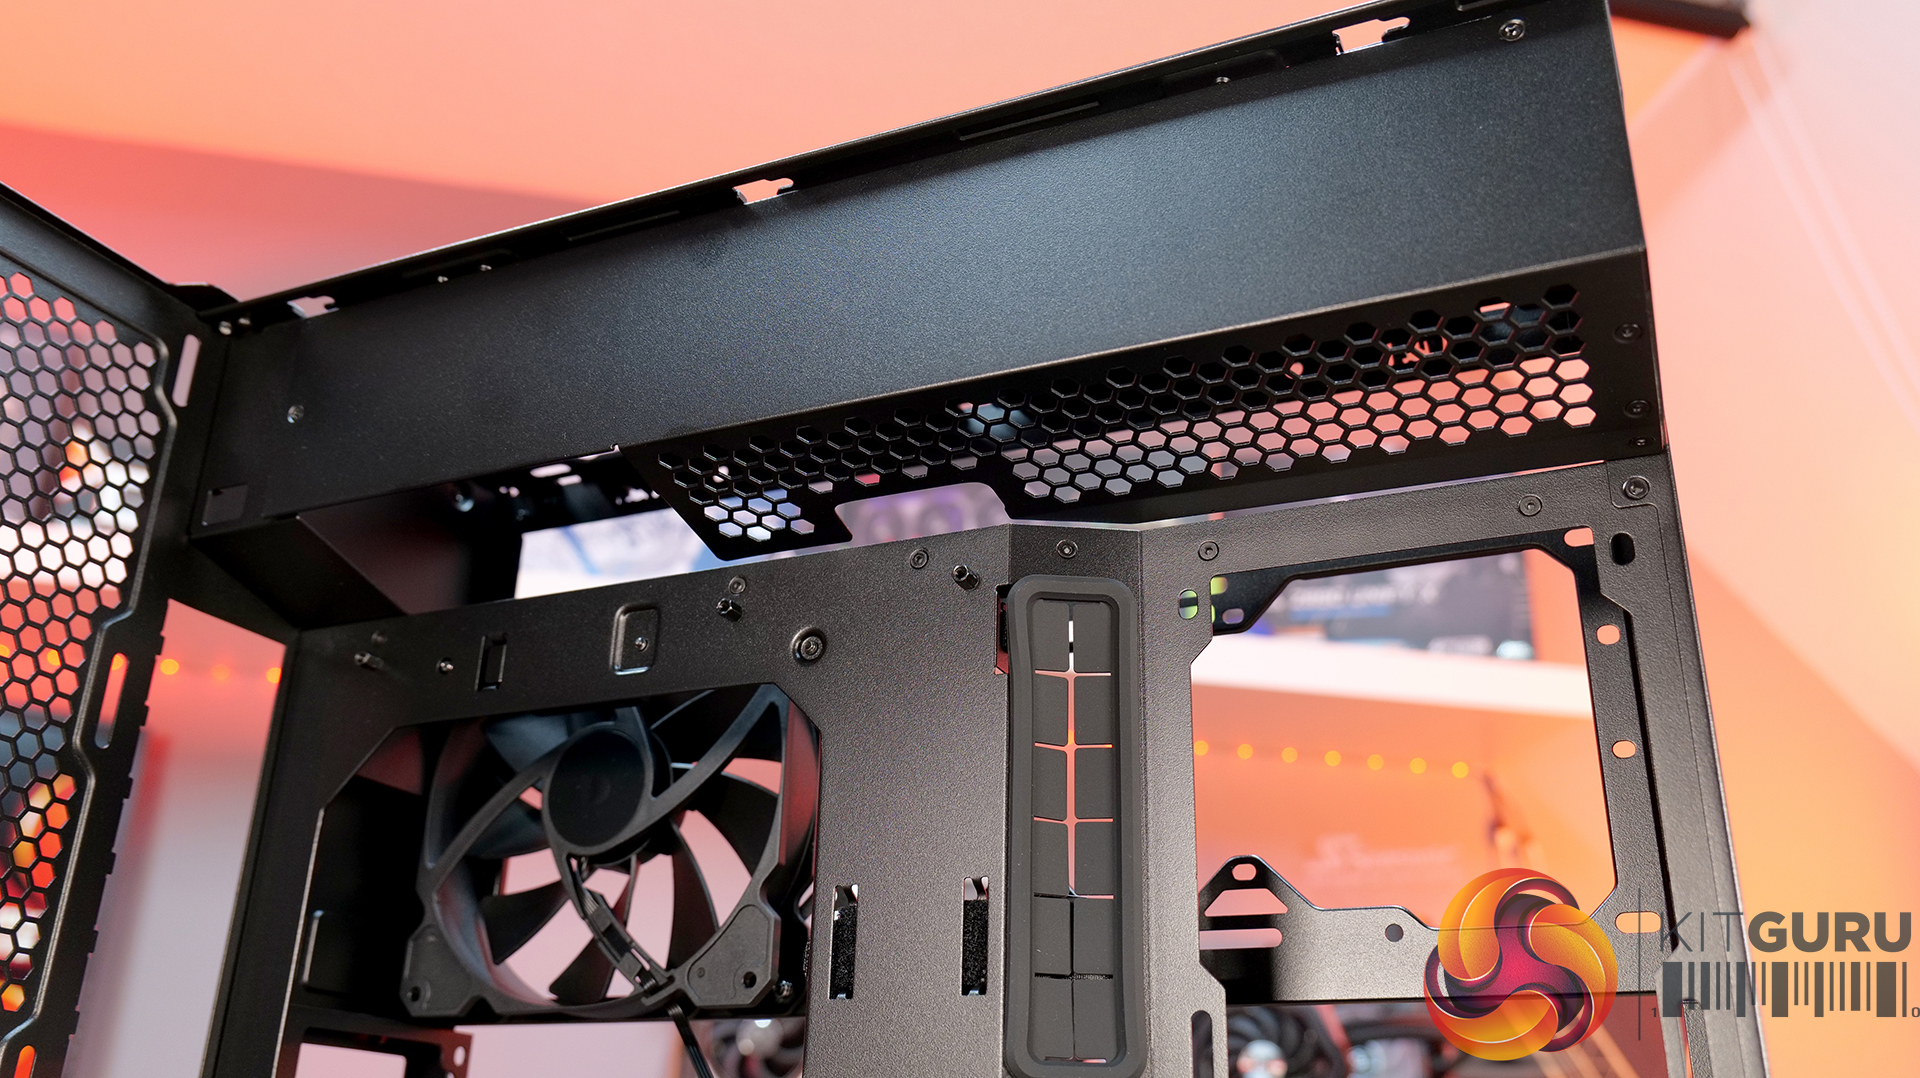
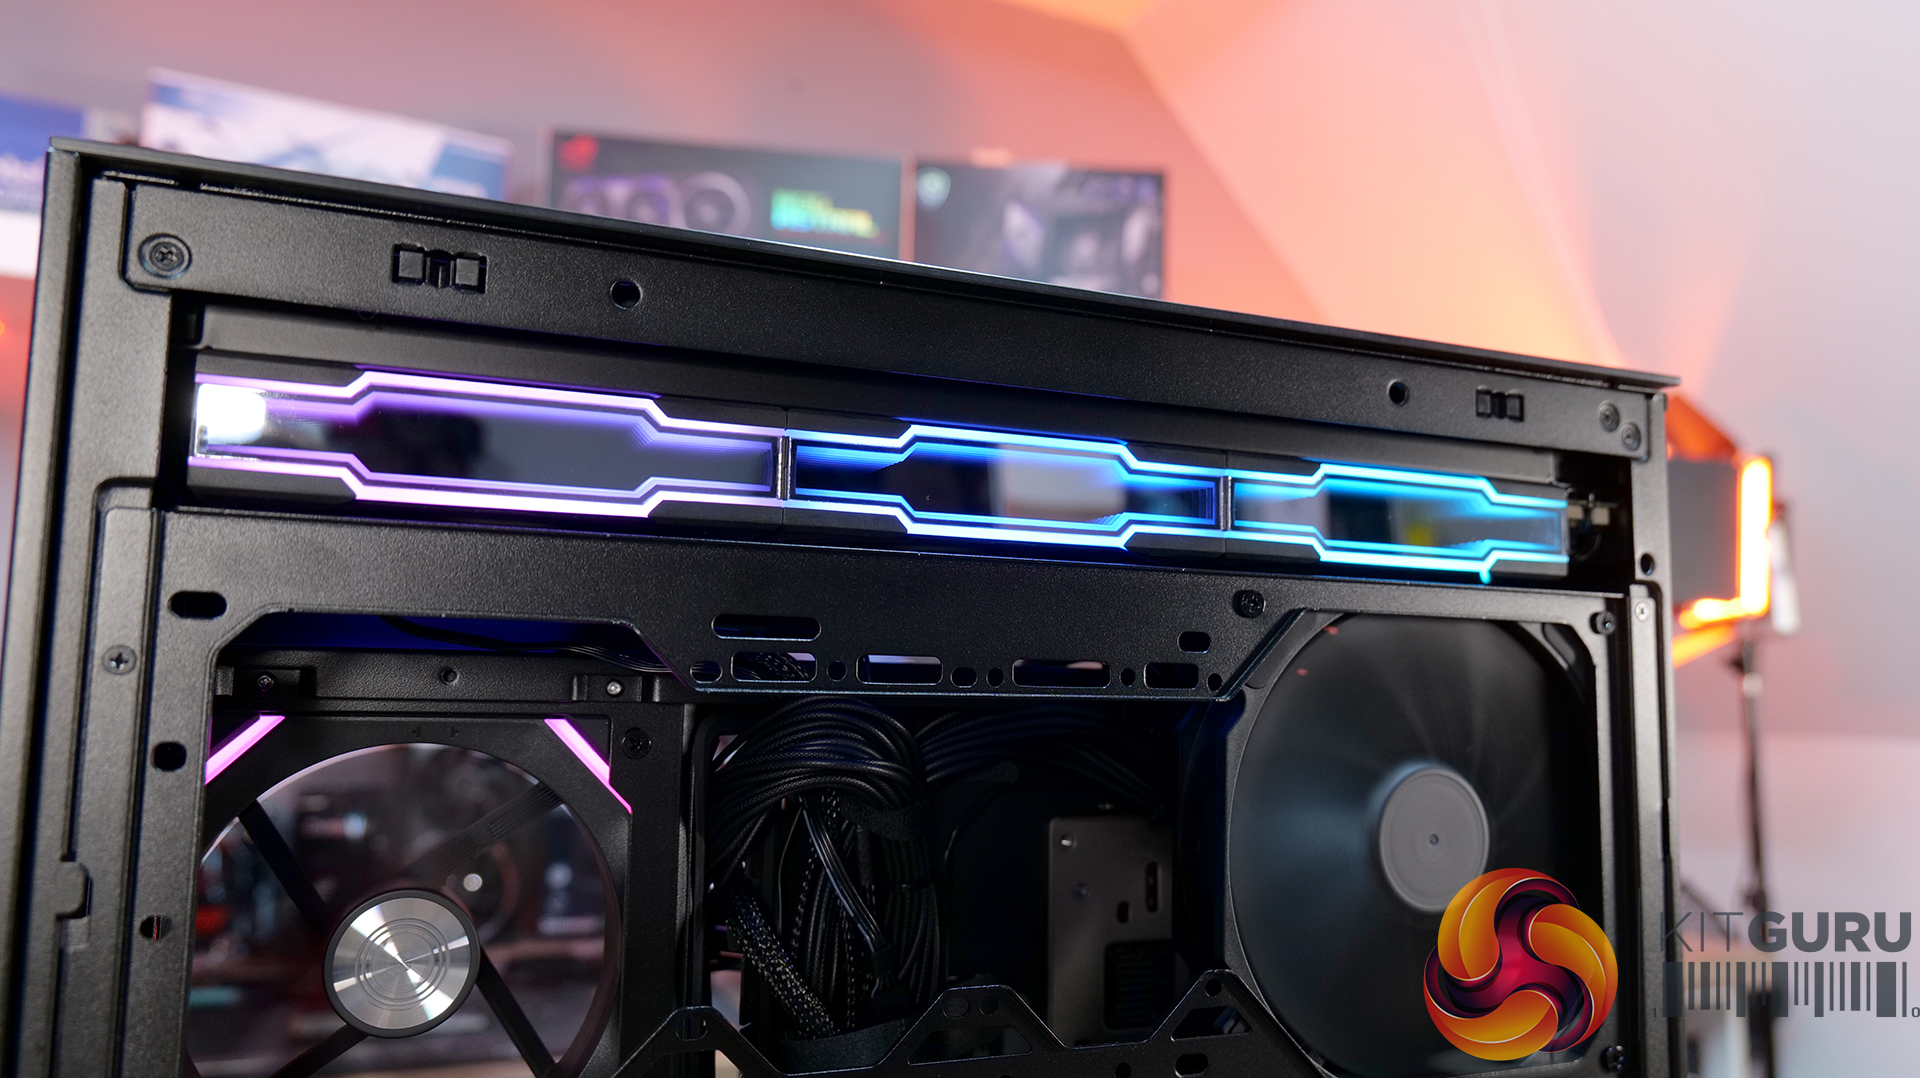
- Ventilated Top Glass – Integrated mesh cut-out vent aligned with the top radiator for top heat exhaust flow and minimal heat buildup from internal system components.
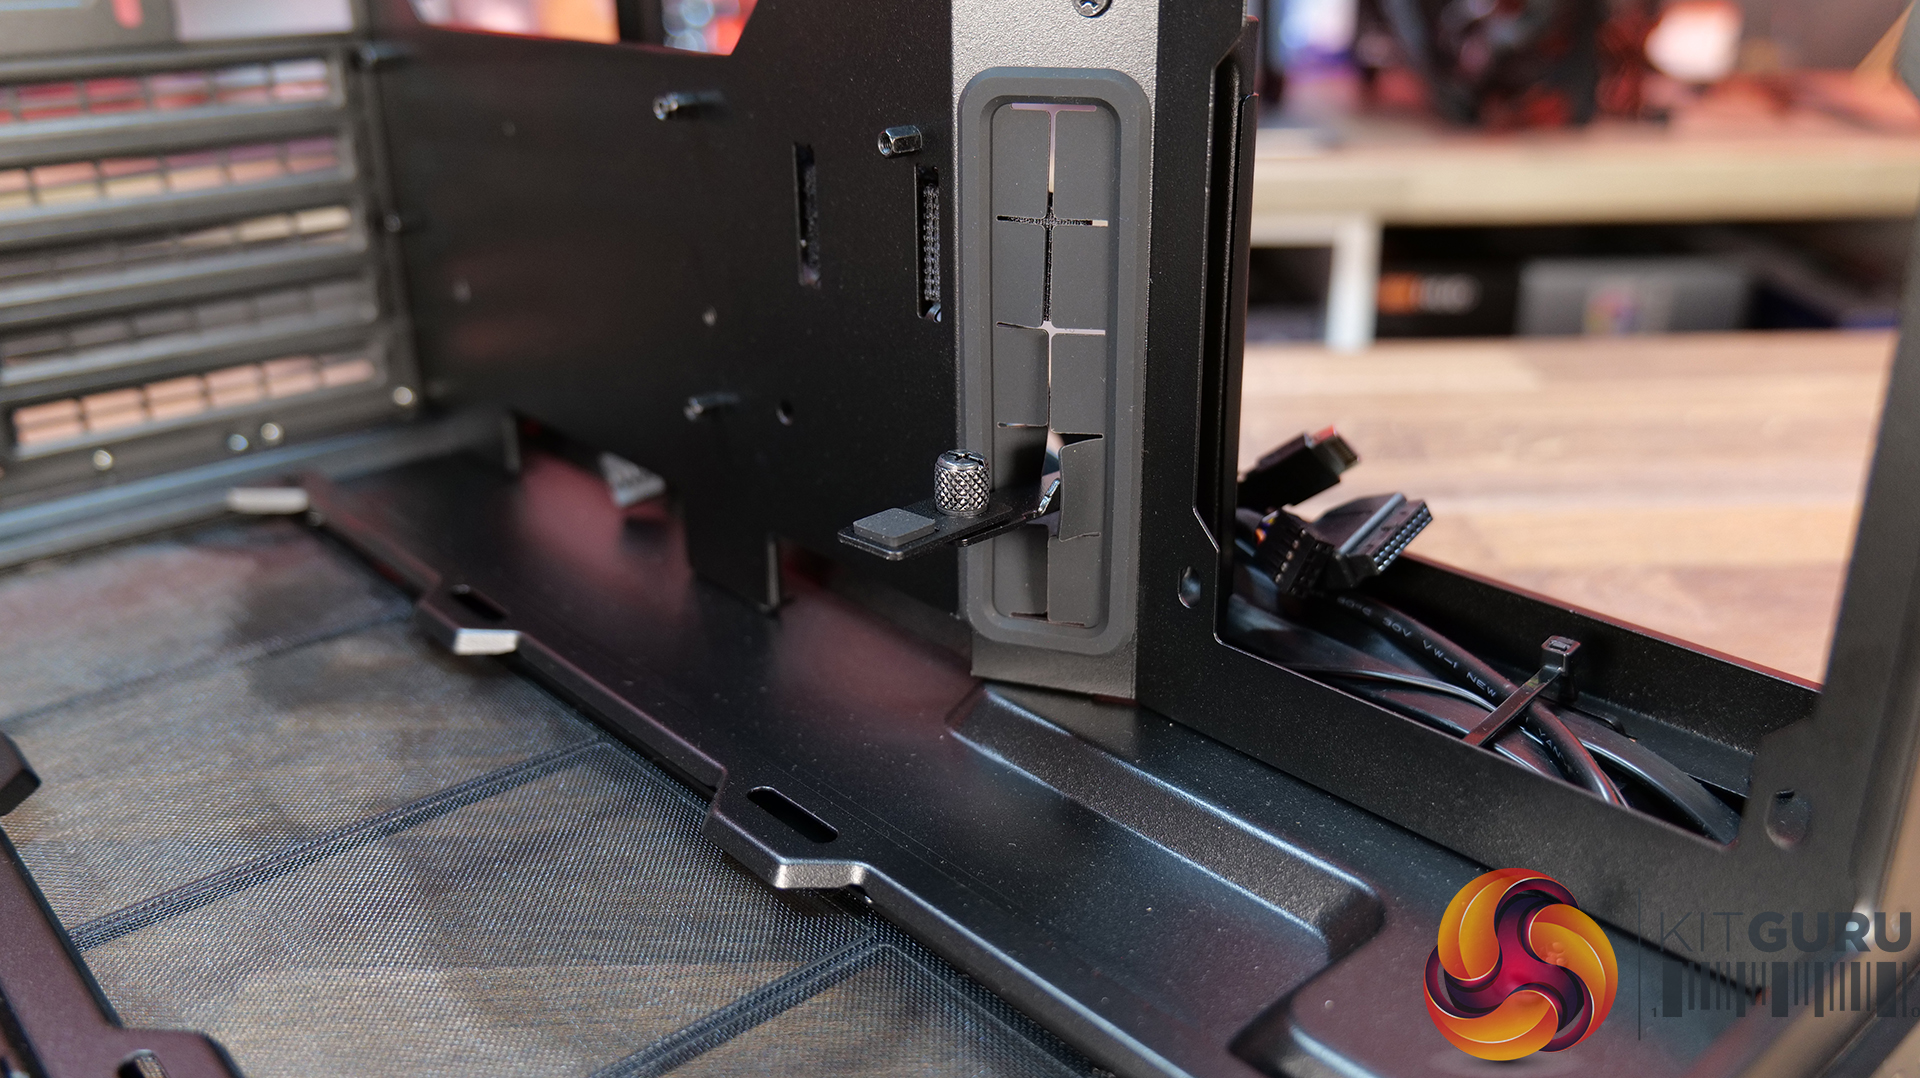
- Modular Divider – A removable divider panel gives the user the choice of a clean, separate dual-chamber look or a more open layout. With the divider panel installed, accessories such as an LCD screen can be easily mounted.
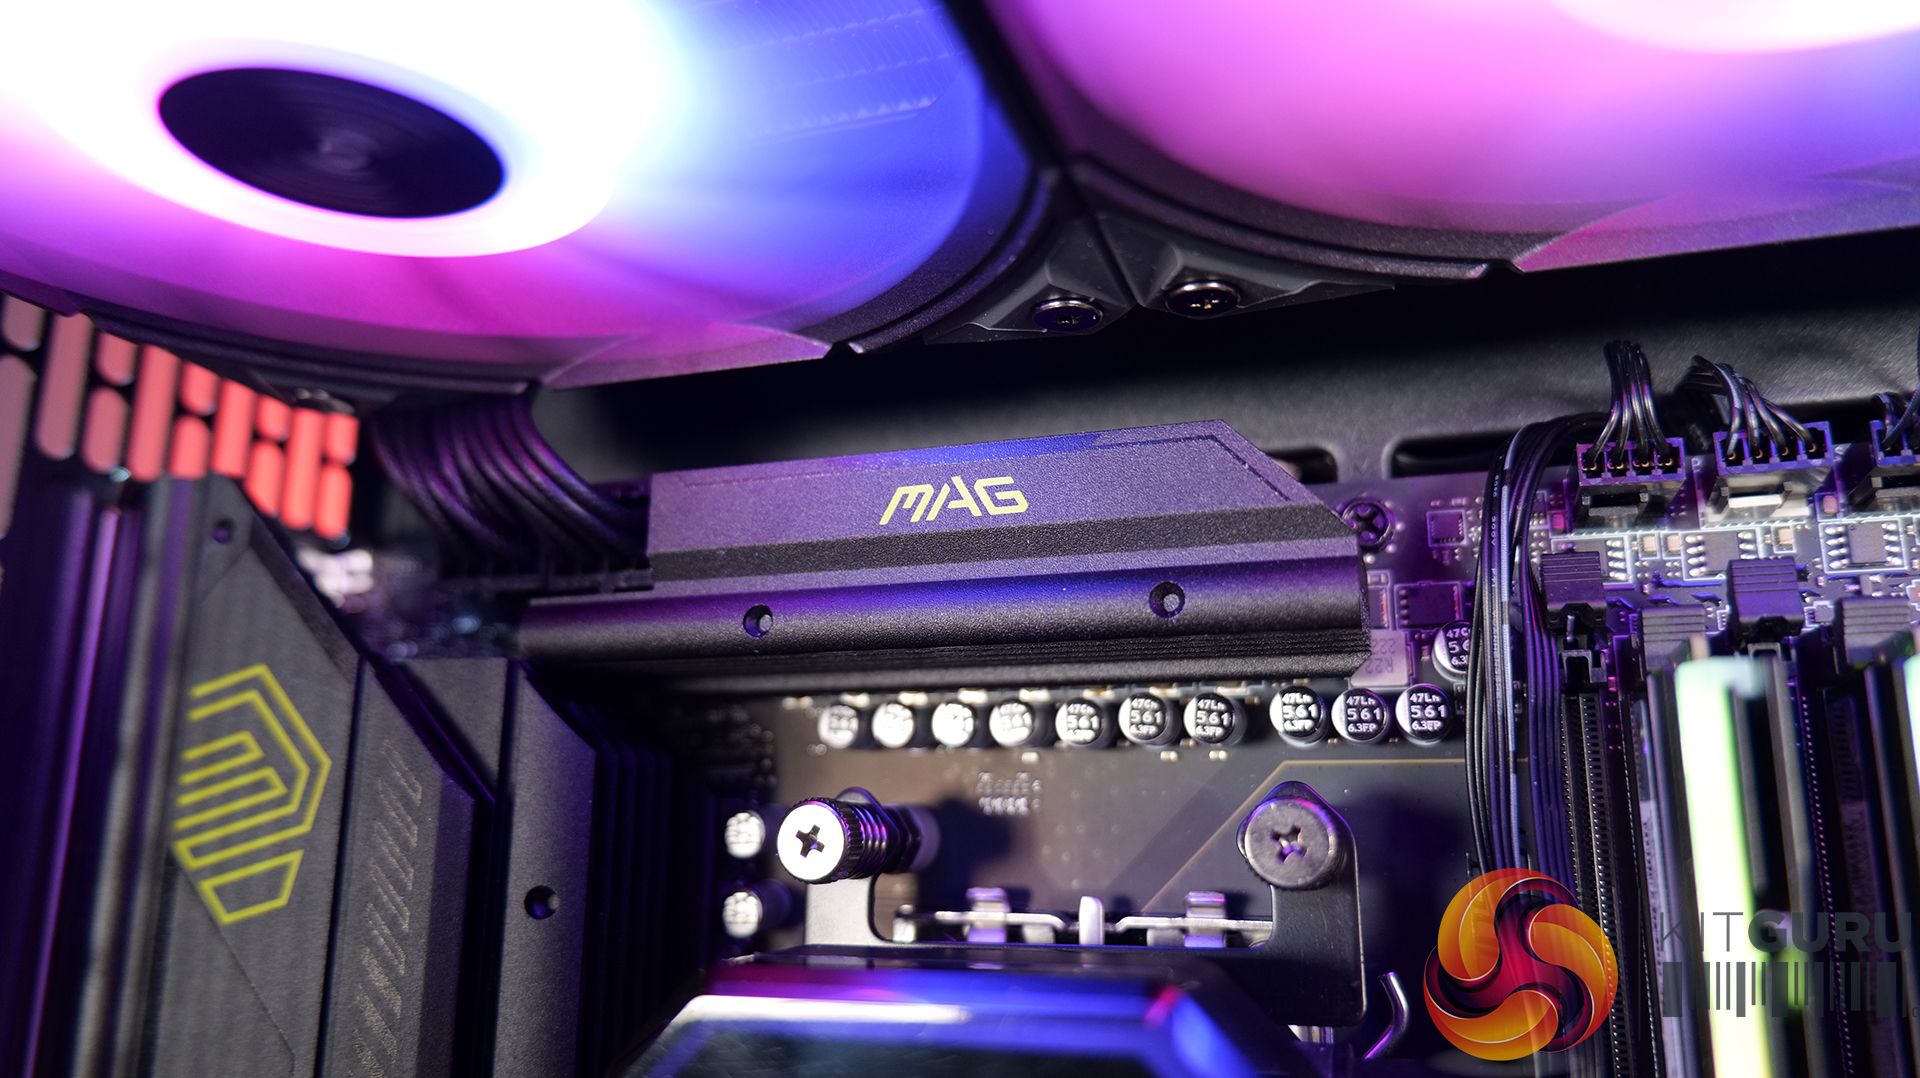
- Hidden AIO Compartment – Designed to hide the AIO radiator and route tubing out of the way, hidden from view in the main chamber for an ultra clean look.
- Compact but high-end hardware support – Including mATX or Mini ITX motherboards, up to 410mm long graphics cards, 162mm tall air coolers and up to 360mm radiator support.
Specifications:
- Case Type: Micro ATX
- Dimensions (DxWxH): 419.6mm x 275.1mm x 395.2mm
- Materials: Steel, 4.0mm Tempered Glass, 3.0mm Tempered Glass, Aluminum
- Motherboard Support: Micro-ATX, Mini-ITX
- Reverse Connector motherboard support: No
- Expansion Slots: 5
- Storage bays: 3.5” HDD x 1 + 2.5” SSD x 2 or 2.5” SSD x 3
- Max GPU Length: 410mm
- Max CPU Cooler Height: 162mm
- PSU Type: ATX (Under 202mm)
- Cable Routing Grommet: Yes (Motherboard Side)
- Hook-and-loop straps: Yes
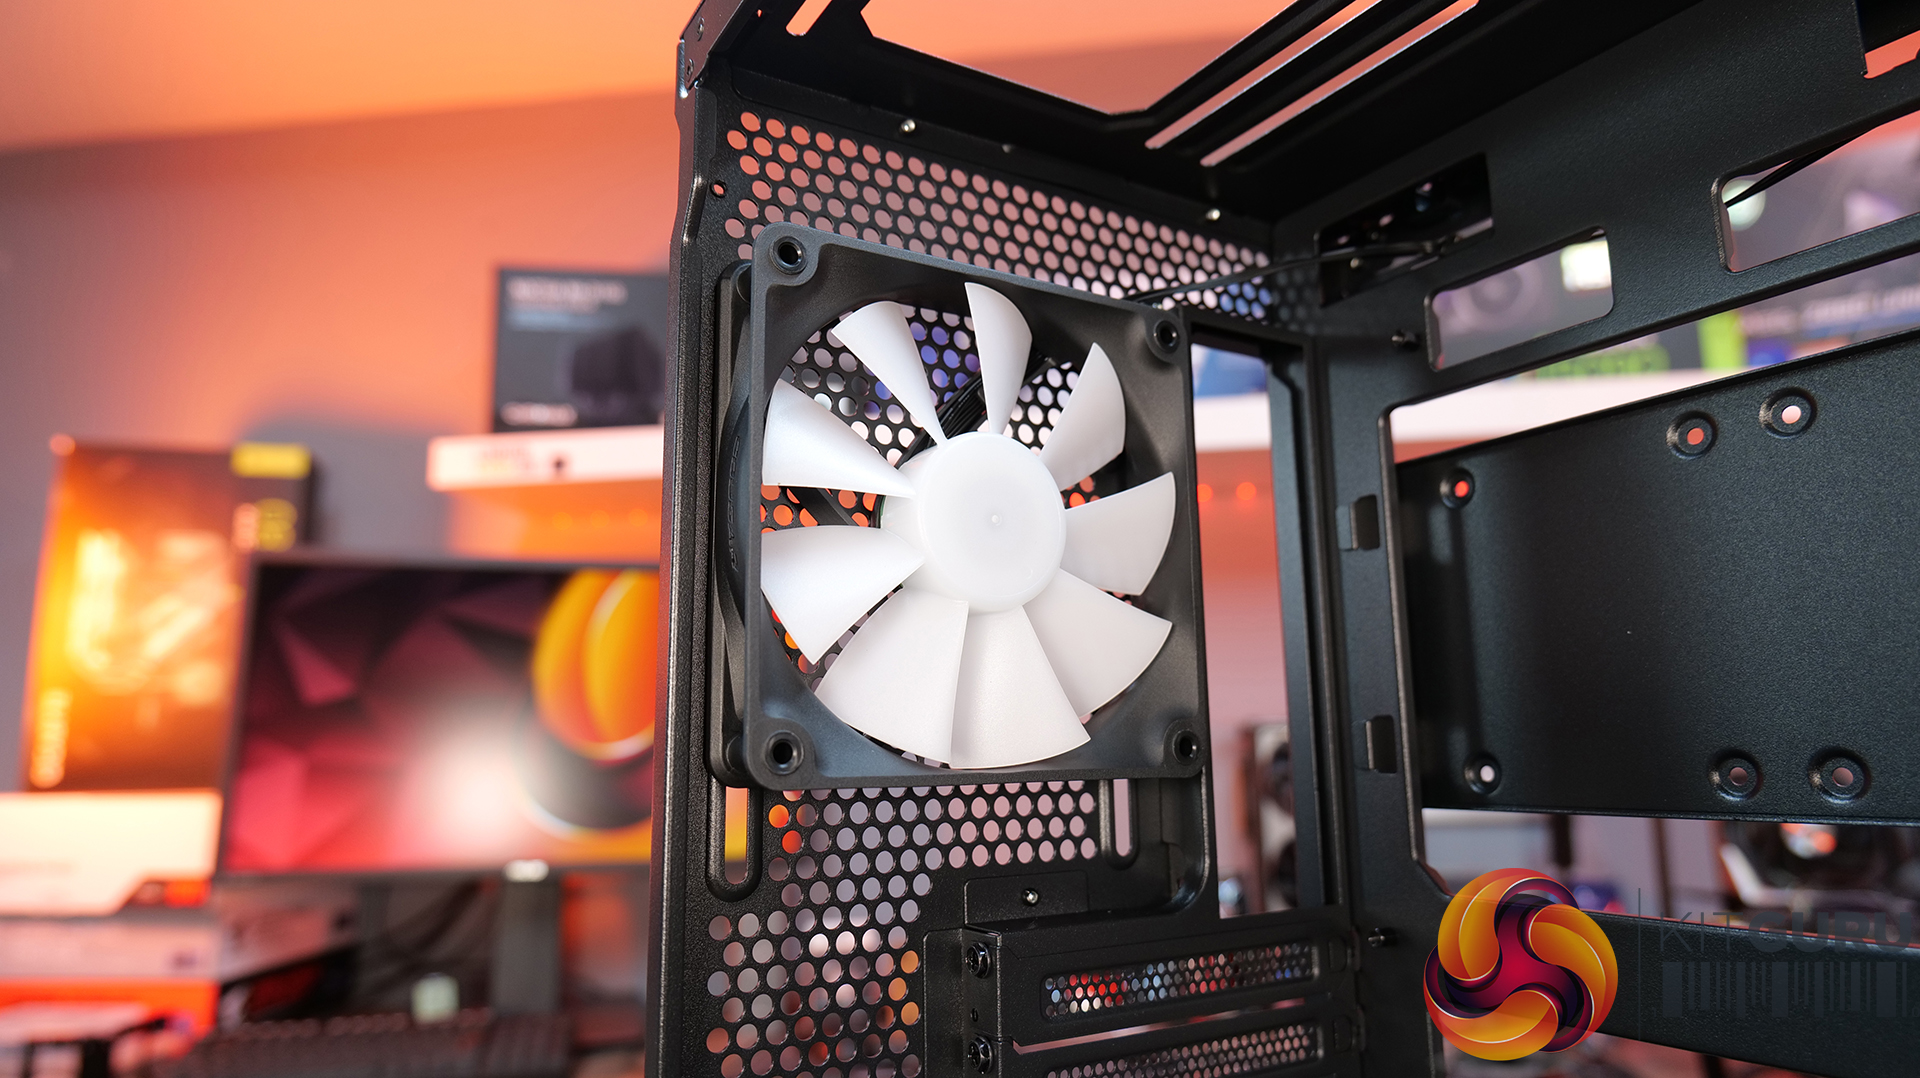
- Supplied Fans: 140mm x 1 (Pre-installed)
- Fan Support: 120mm x 3 (Top) 120mm x 2 (Side) 120 mm x 3 (Bottom) 120 mm x 2 (Rear) 140mm x 1 (Second Chamber)
- Radiator Support: 360mm / 240mm (Top)
- Dust Filters: Removable bottom dust tray x 1
- Front I/O: Power Button x 1, USB 3.0 Type A x 2, USB 3.2 Type C x 1, Audio x 1
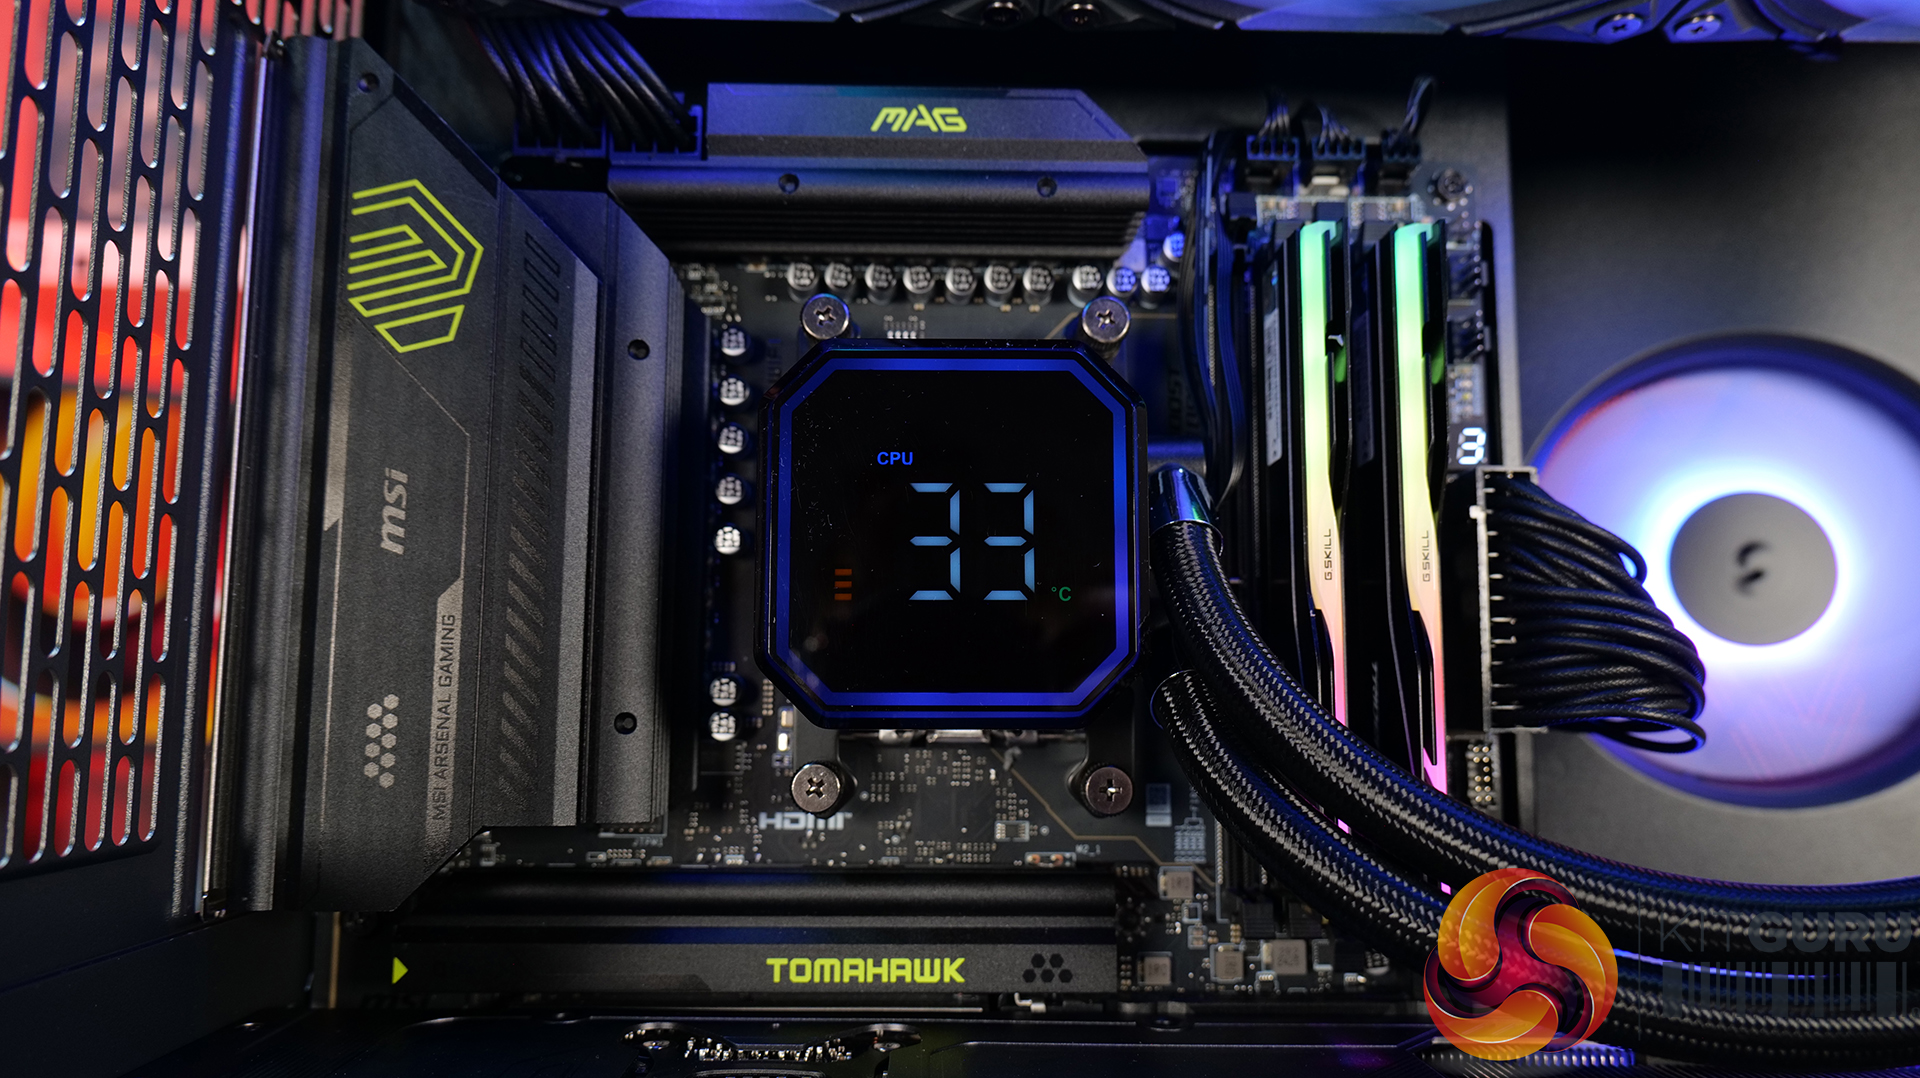
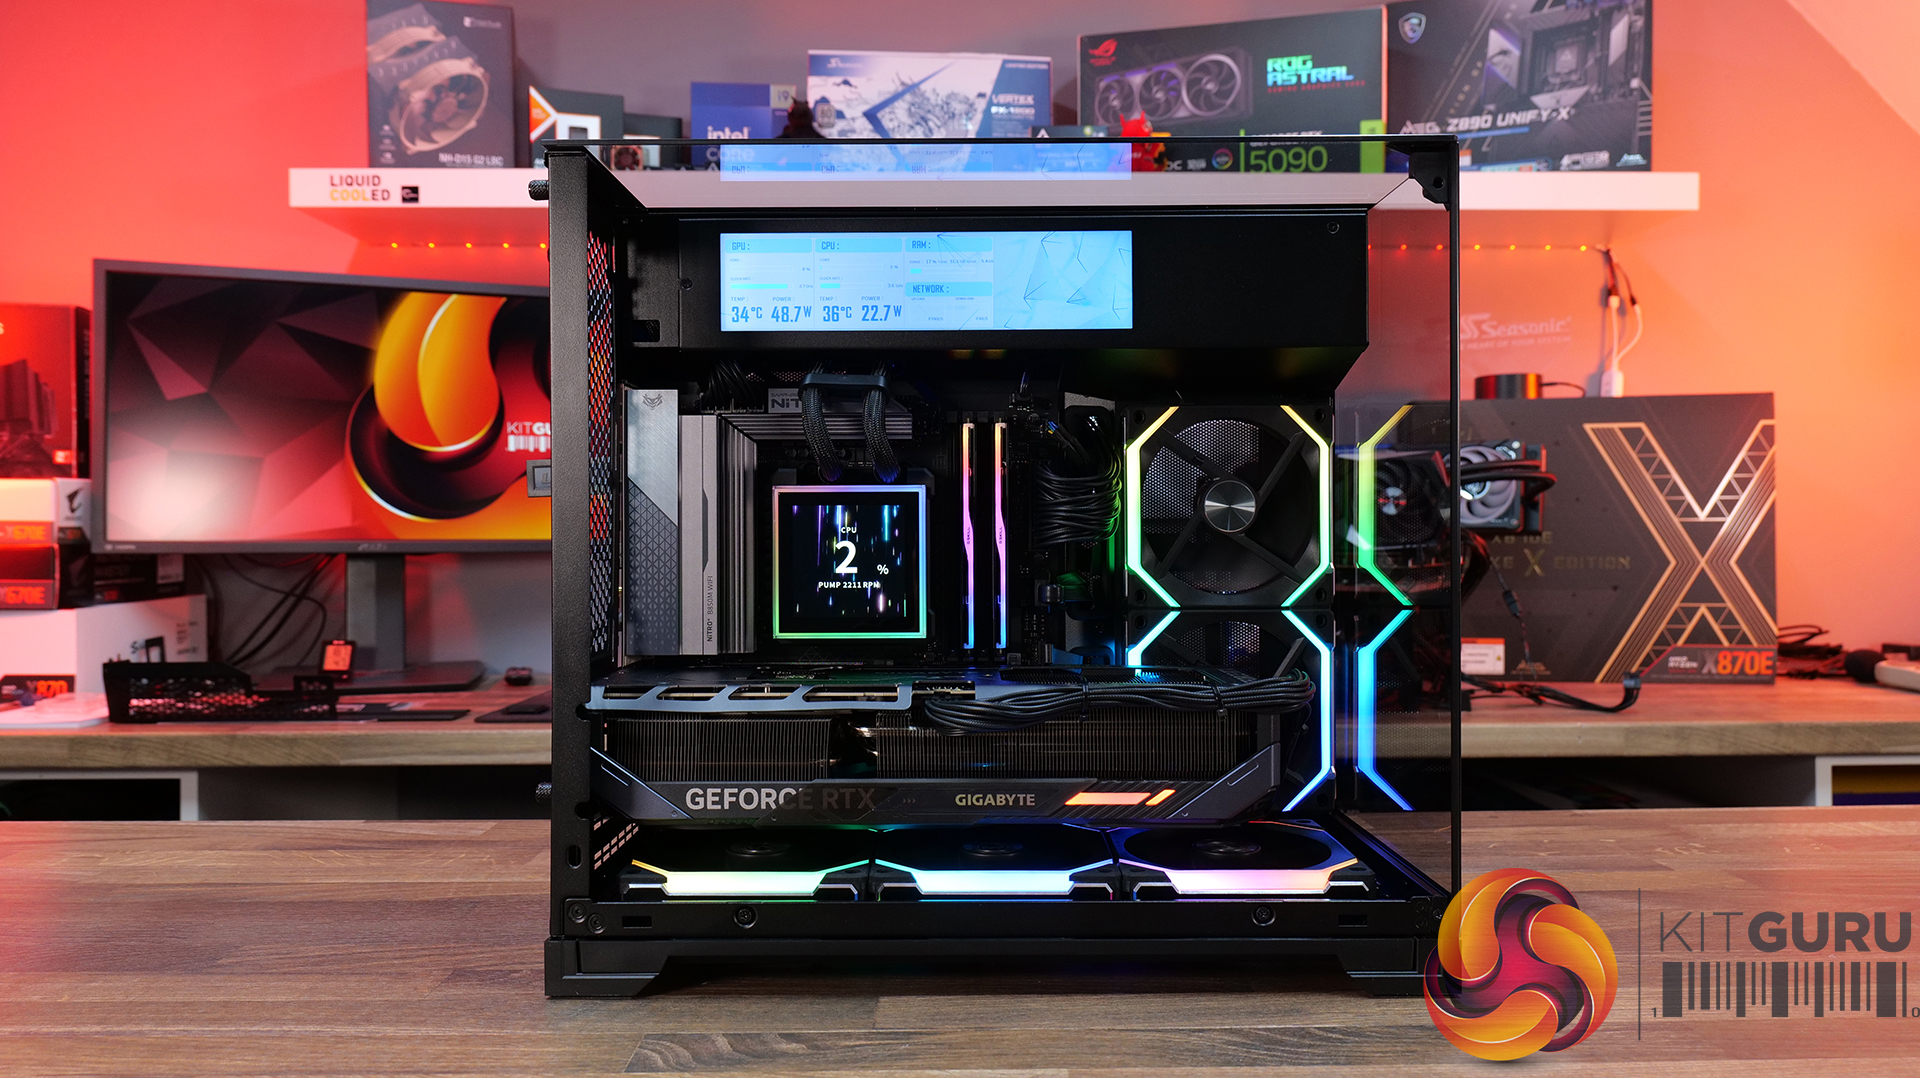
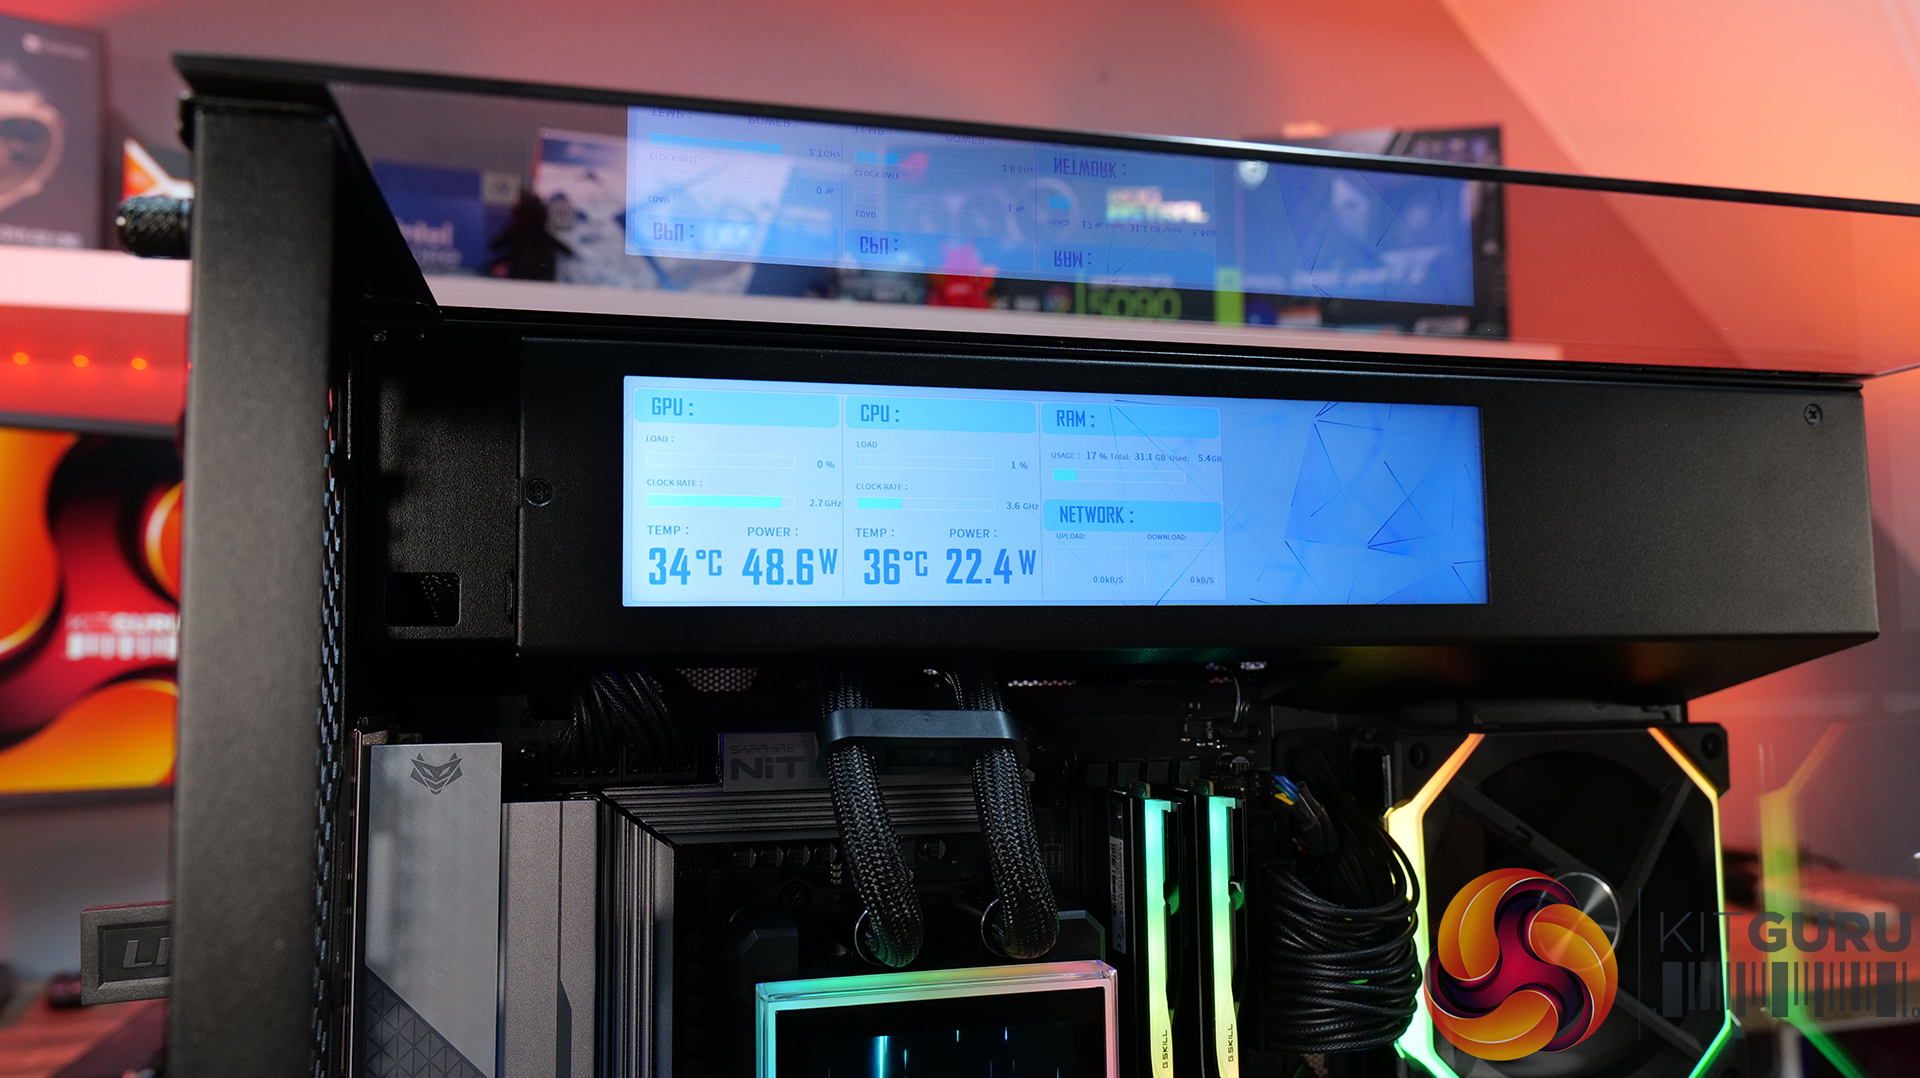
- LCD Screen (O11 Vision-M Digital): Yes, IPS LCD, 9.2”, 60 Hz, 1920×462, 500nits
Thermal Performance Testing
To simulate thermal demand, we run the Cinebench R23 multi-thread benchmark and 3DMark Speed Way stress test simultaneously in a loop for 30 minutes to load the system fully. This gives the CPU and GPU enough time to reach constant steady-state temperature. With this data, we can compare how the system handles the thermal demand and measure peak noise levels.
Thermal performance is measured with the case in various configurations, such as the default, with the tempered glass left-hand side panel removed and with the front panel removed to see how these configurations affect the CPU and GPU temperature. During testing, only stock case fans are used unless otherwise specified. All water pumps are set to maximum RPM and fans are set to a custom RPM curve by the Motherboard software/BIOS.
All temperature measurements are presented as Deltas – meaning the ambient temperature has been deducted from the CPU temperature, giving us a Delta. Data shown in the charts represents the average component temperature over the length of the test as measured by HWiNFO, and then the last 15 minutes of the data are calculated to get the average. The ambient temperature during thermal tests is between 19-20⁰C.
Test System Specification:
- CPU – AMD Ryzen 7 9800X3D
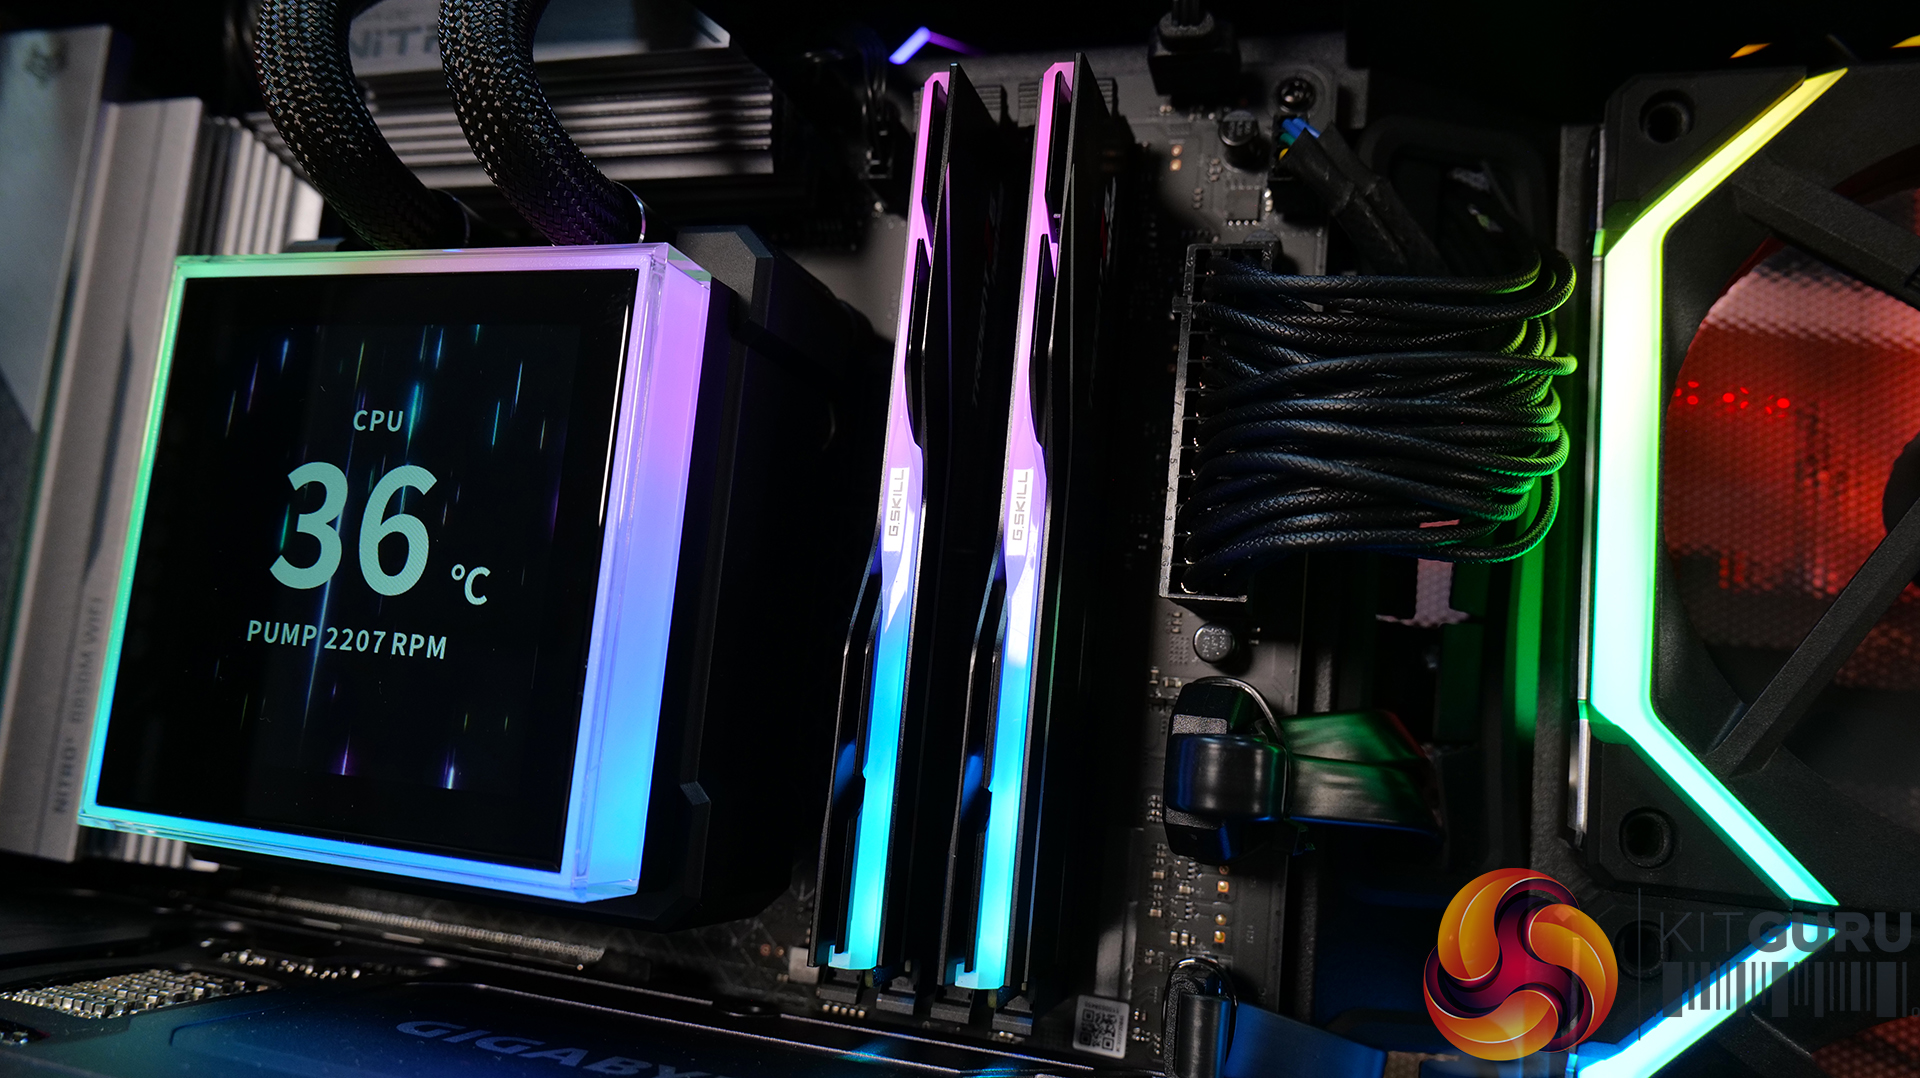
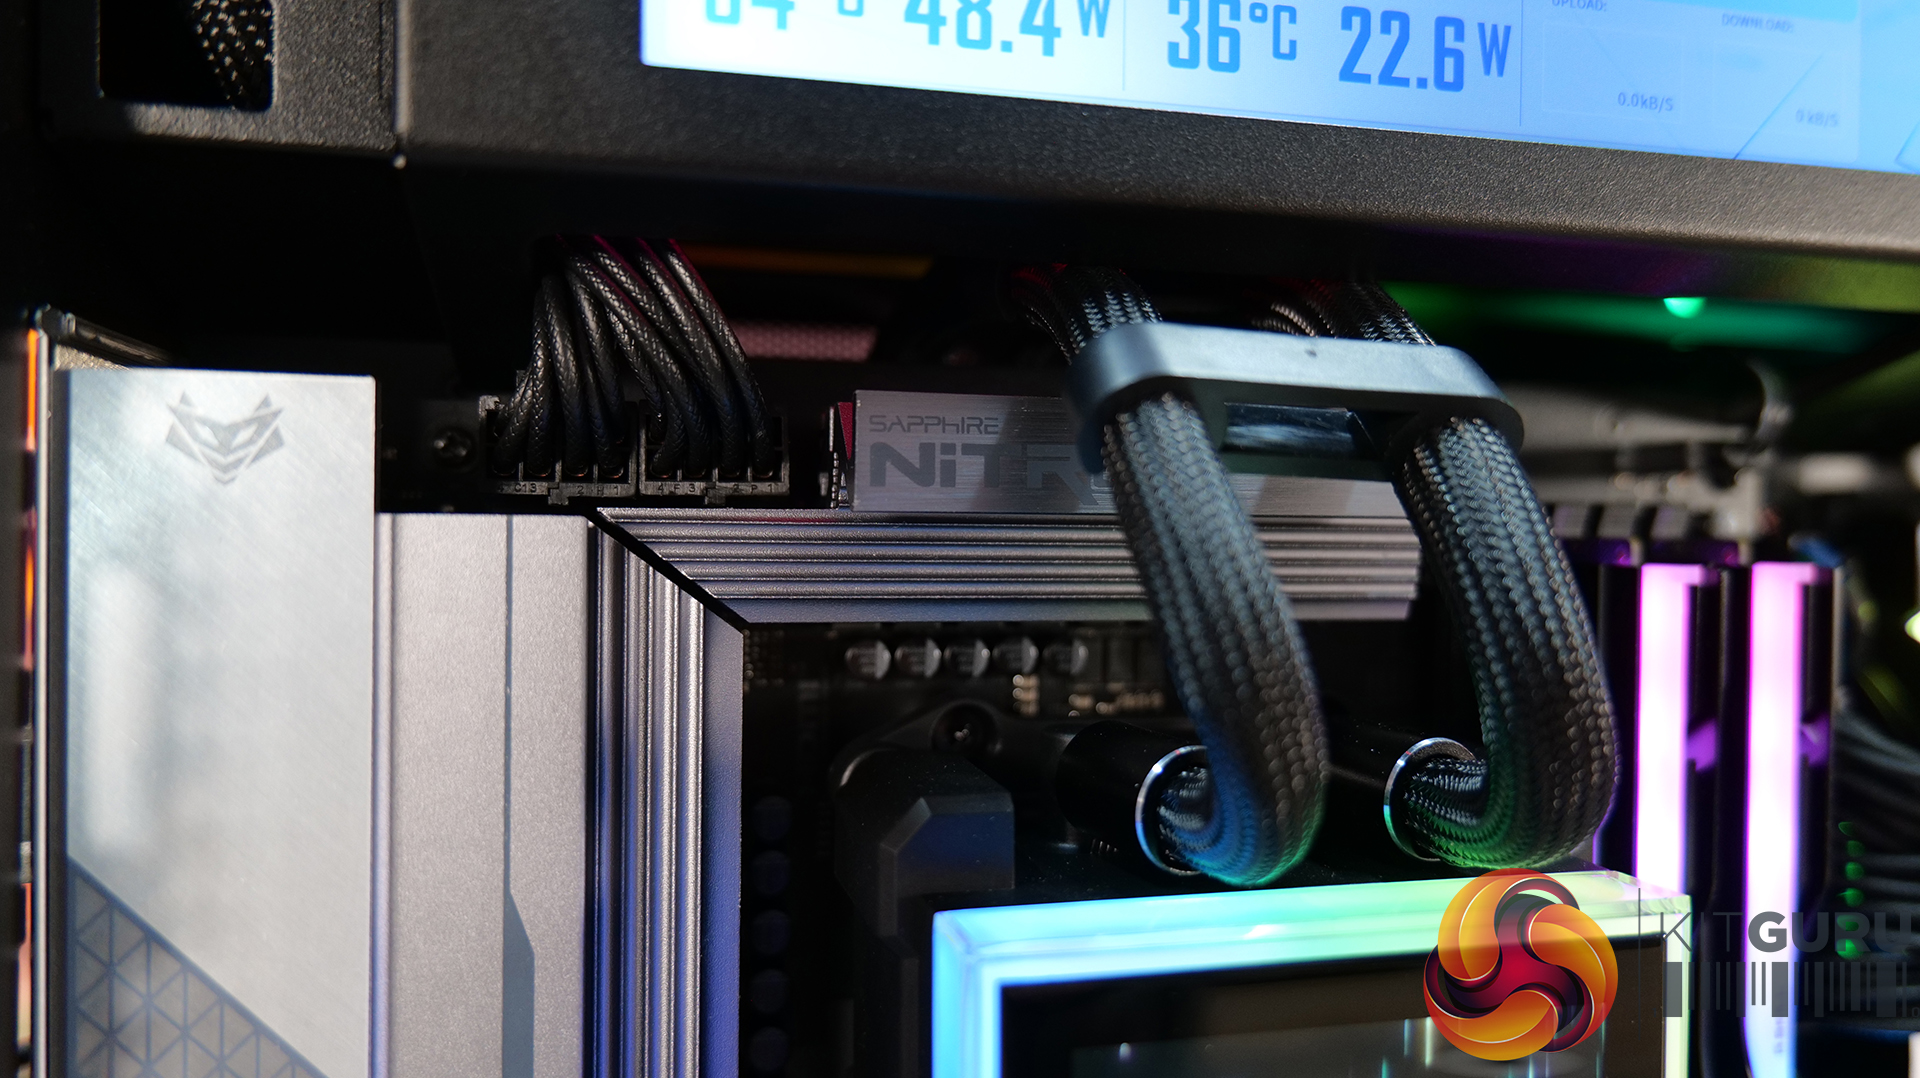
- Motherboard – Sapphire Nitro+ B850 M WiFi
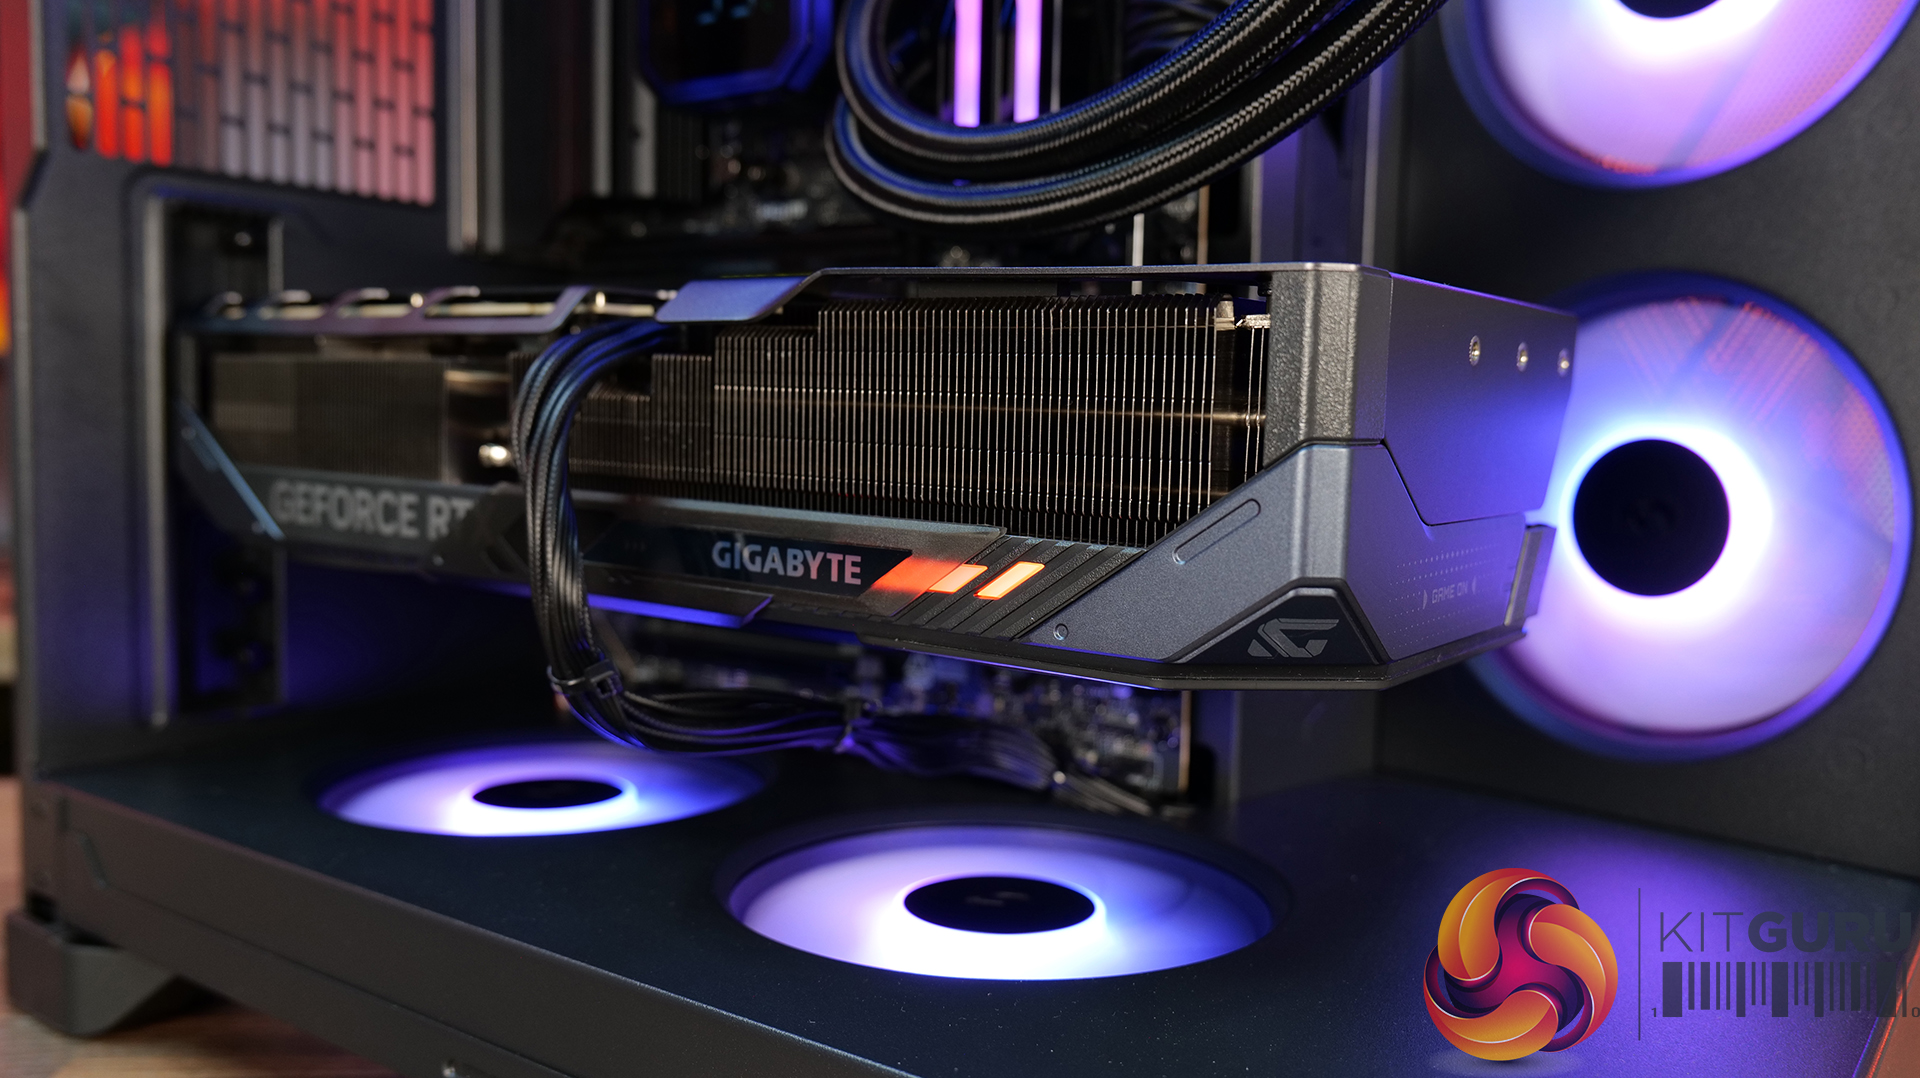
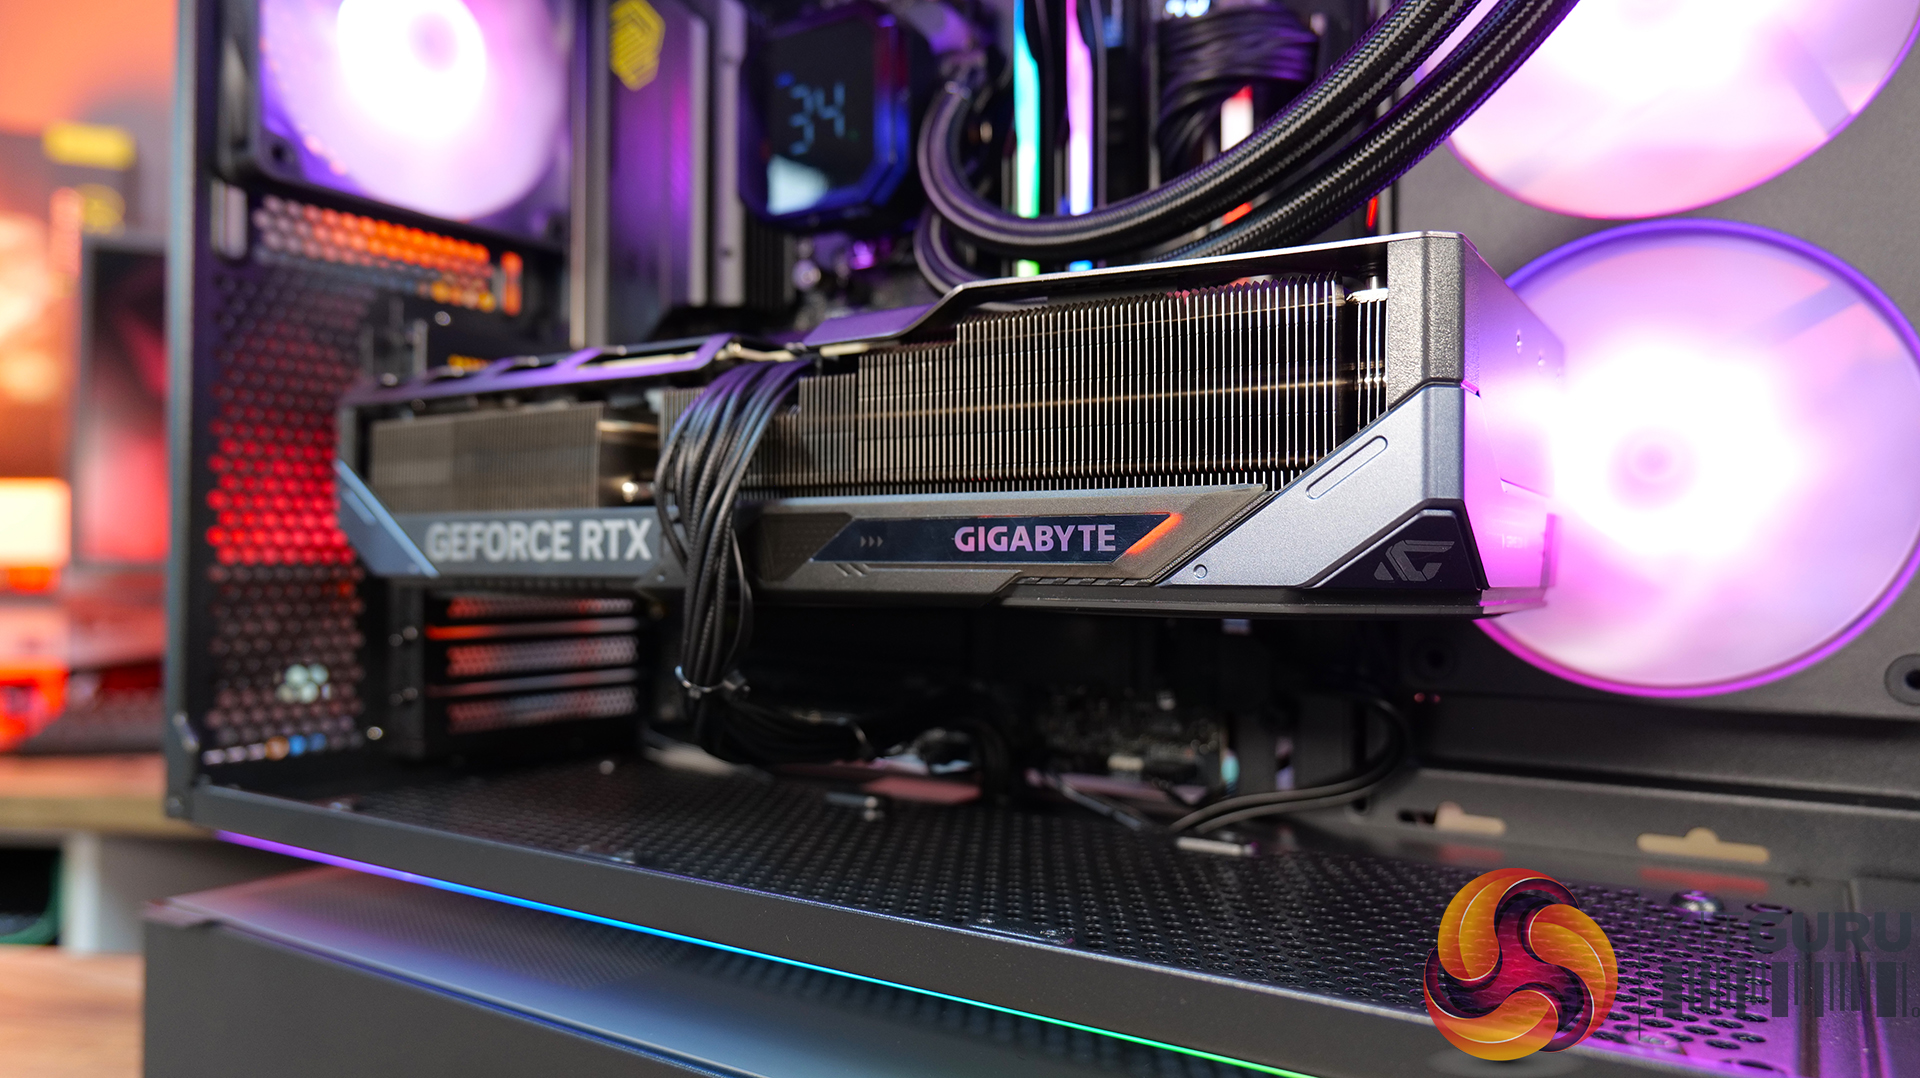
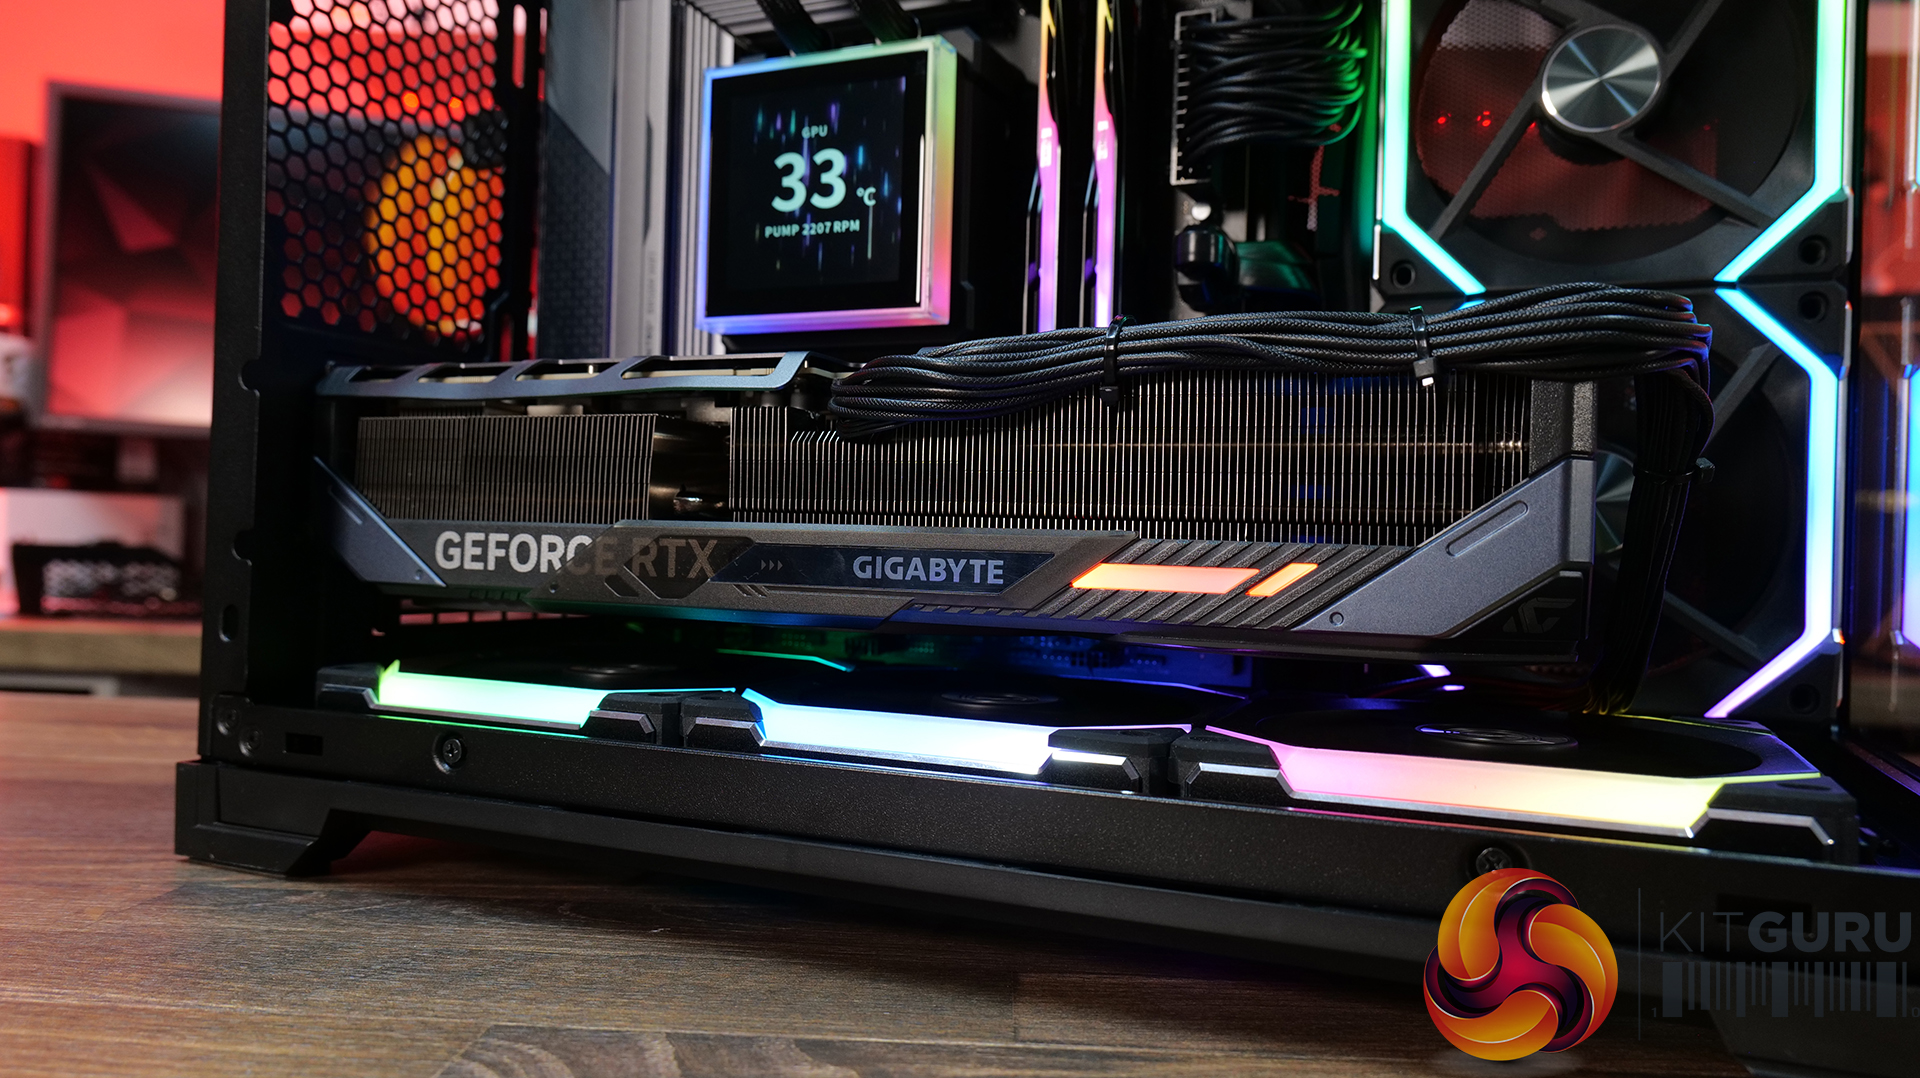
- Graphics Card – Gigabyte RTX 5080 Gaming OC
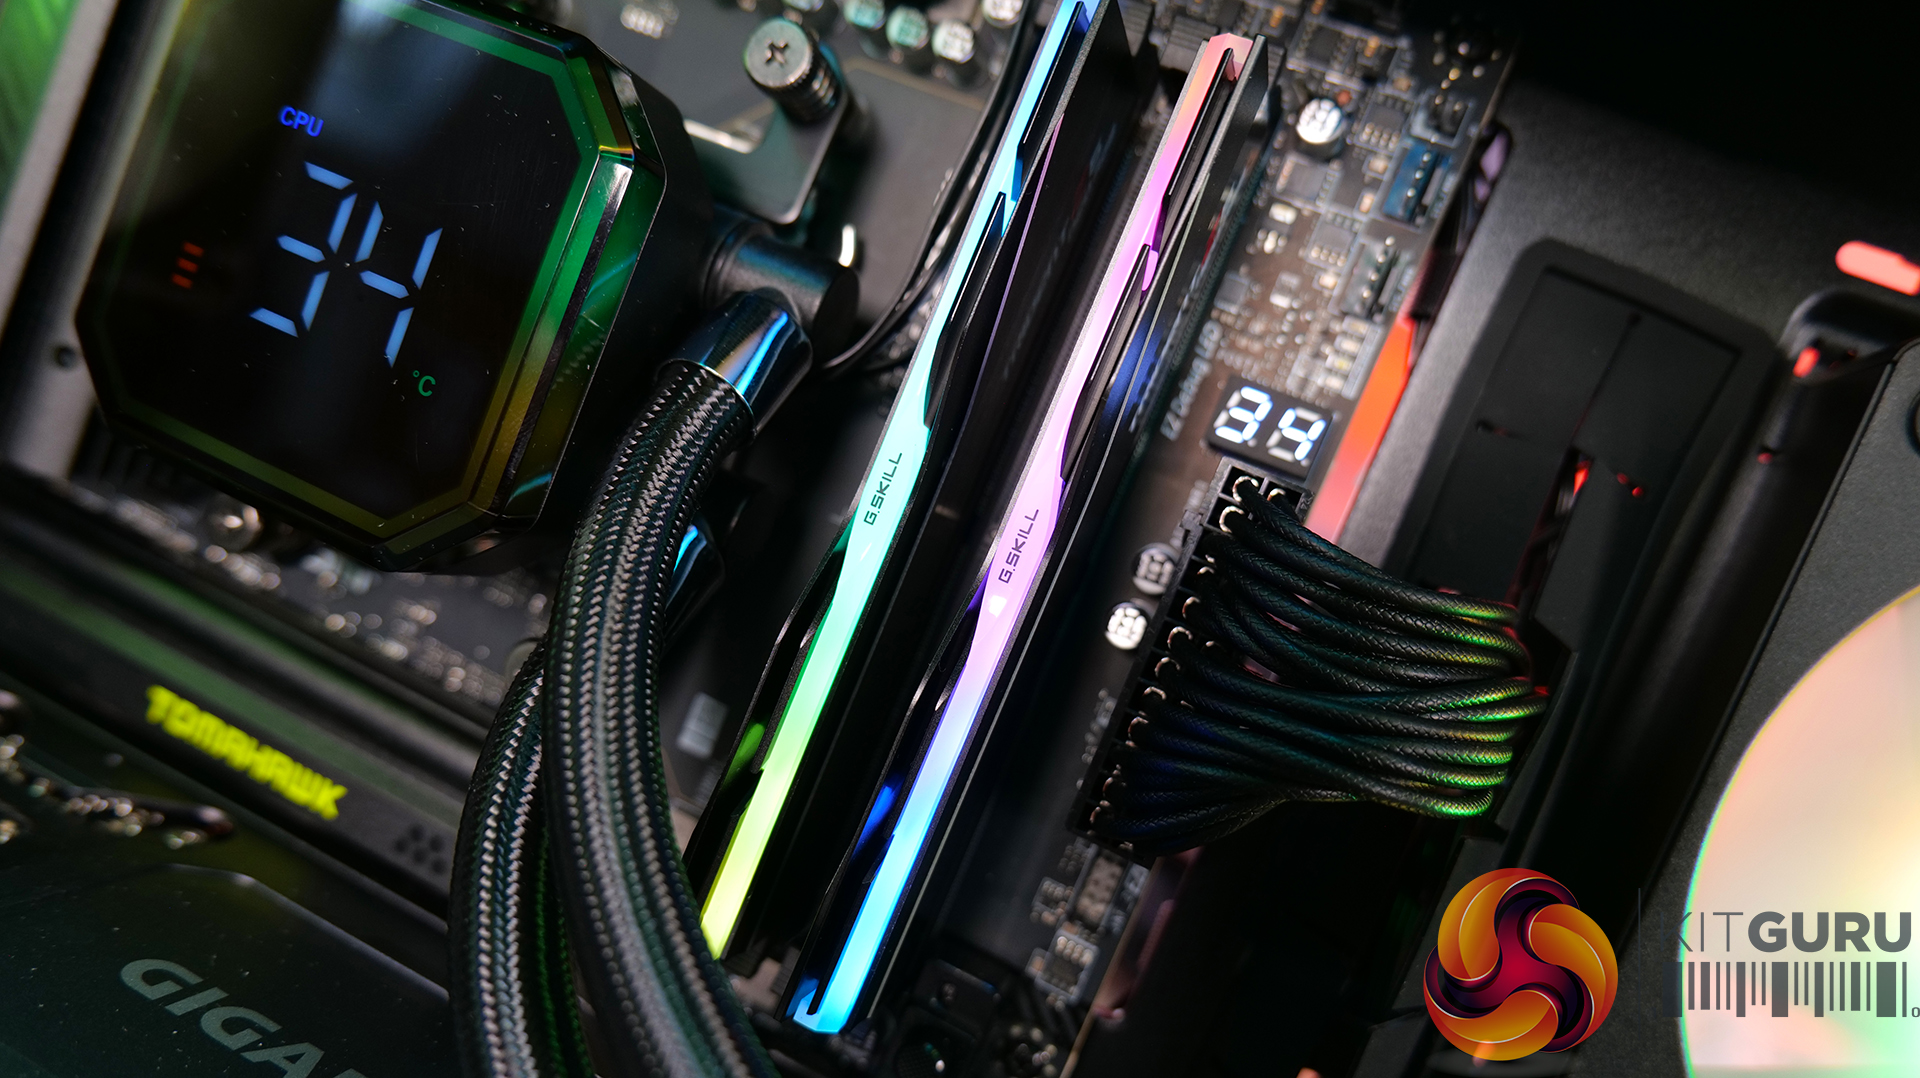
- Memory – 32GB (2 x 16GB modules) G.SKILL Trident Z5 Neo RGB DDR5-6000
- Storage – 1TB Corsair MP600 Elite PCIE Gen4 NVMe M.2 SSD
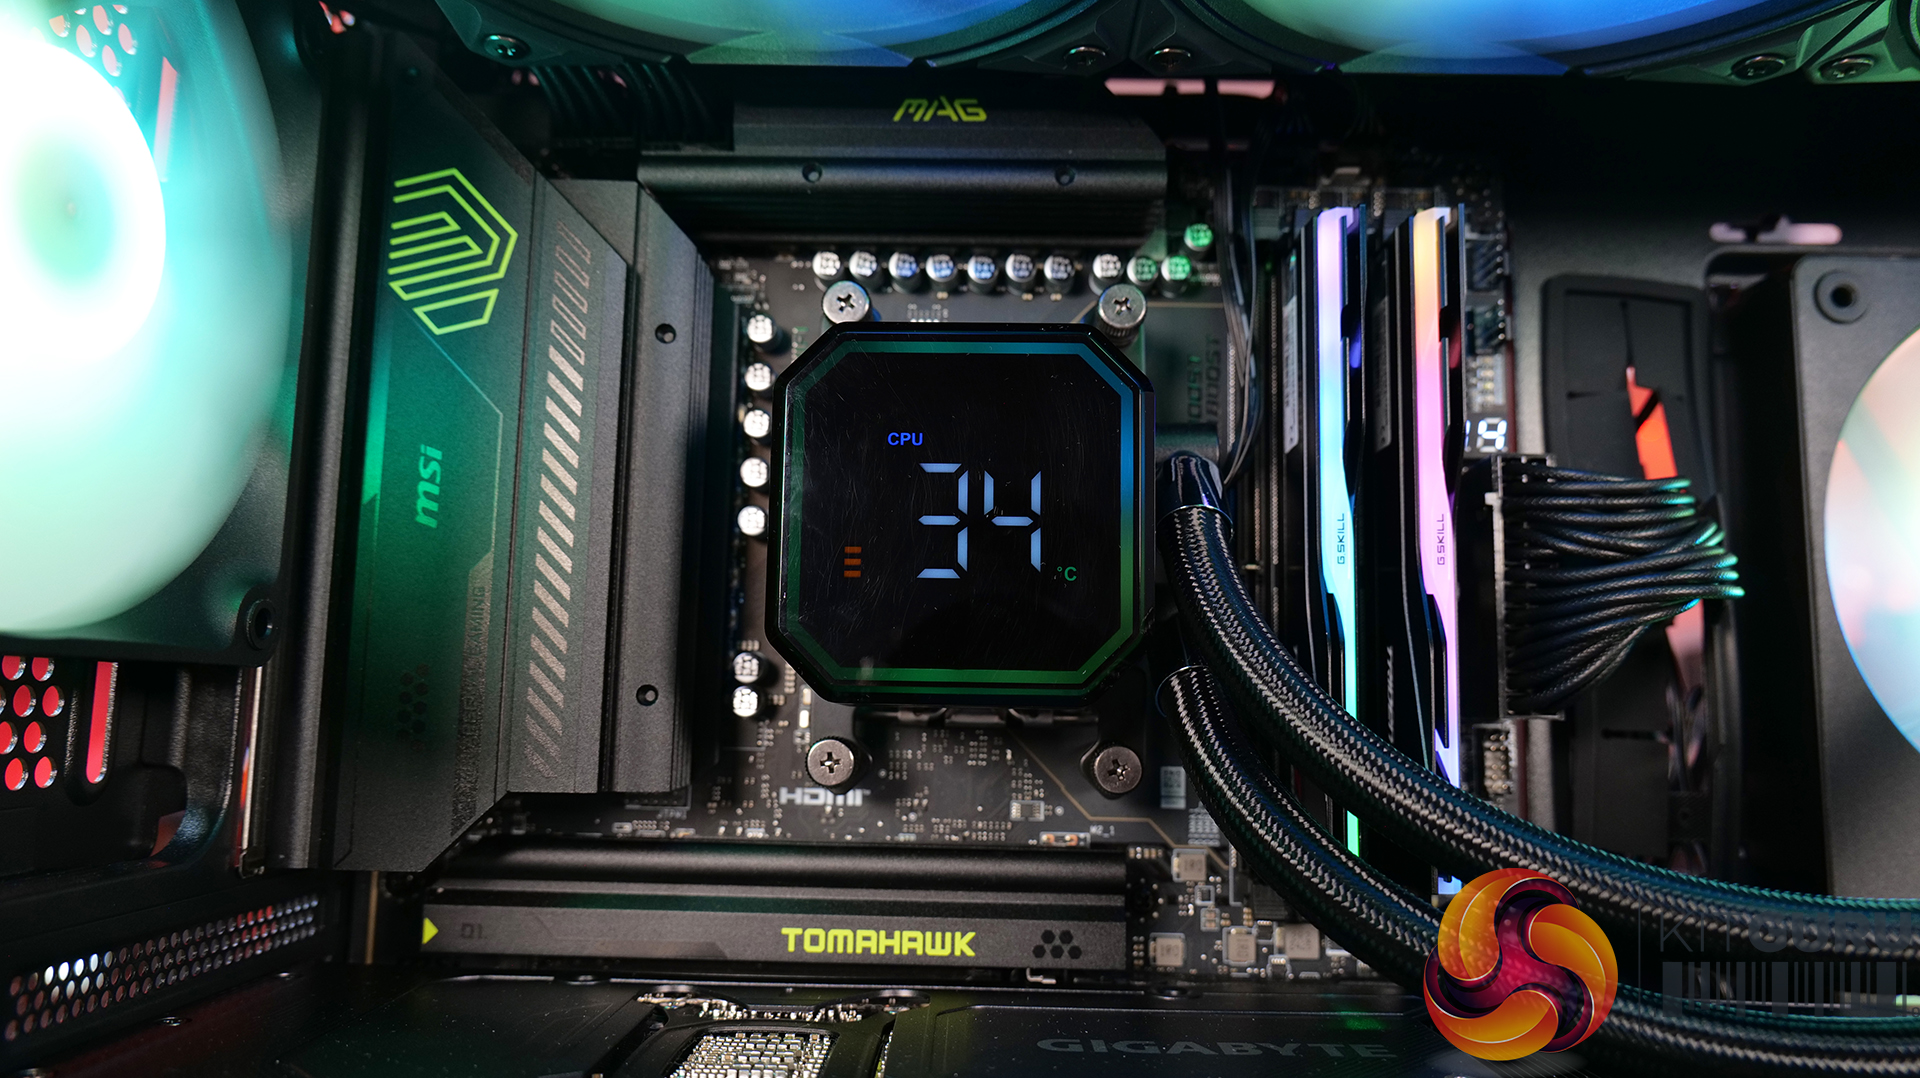
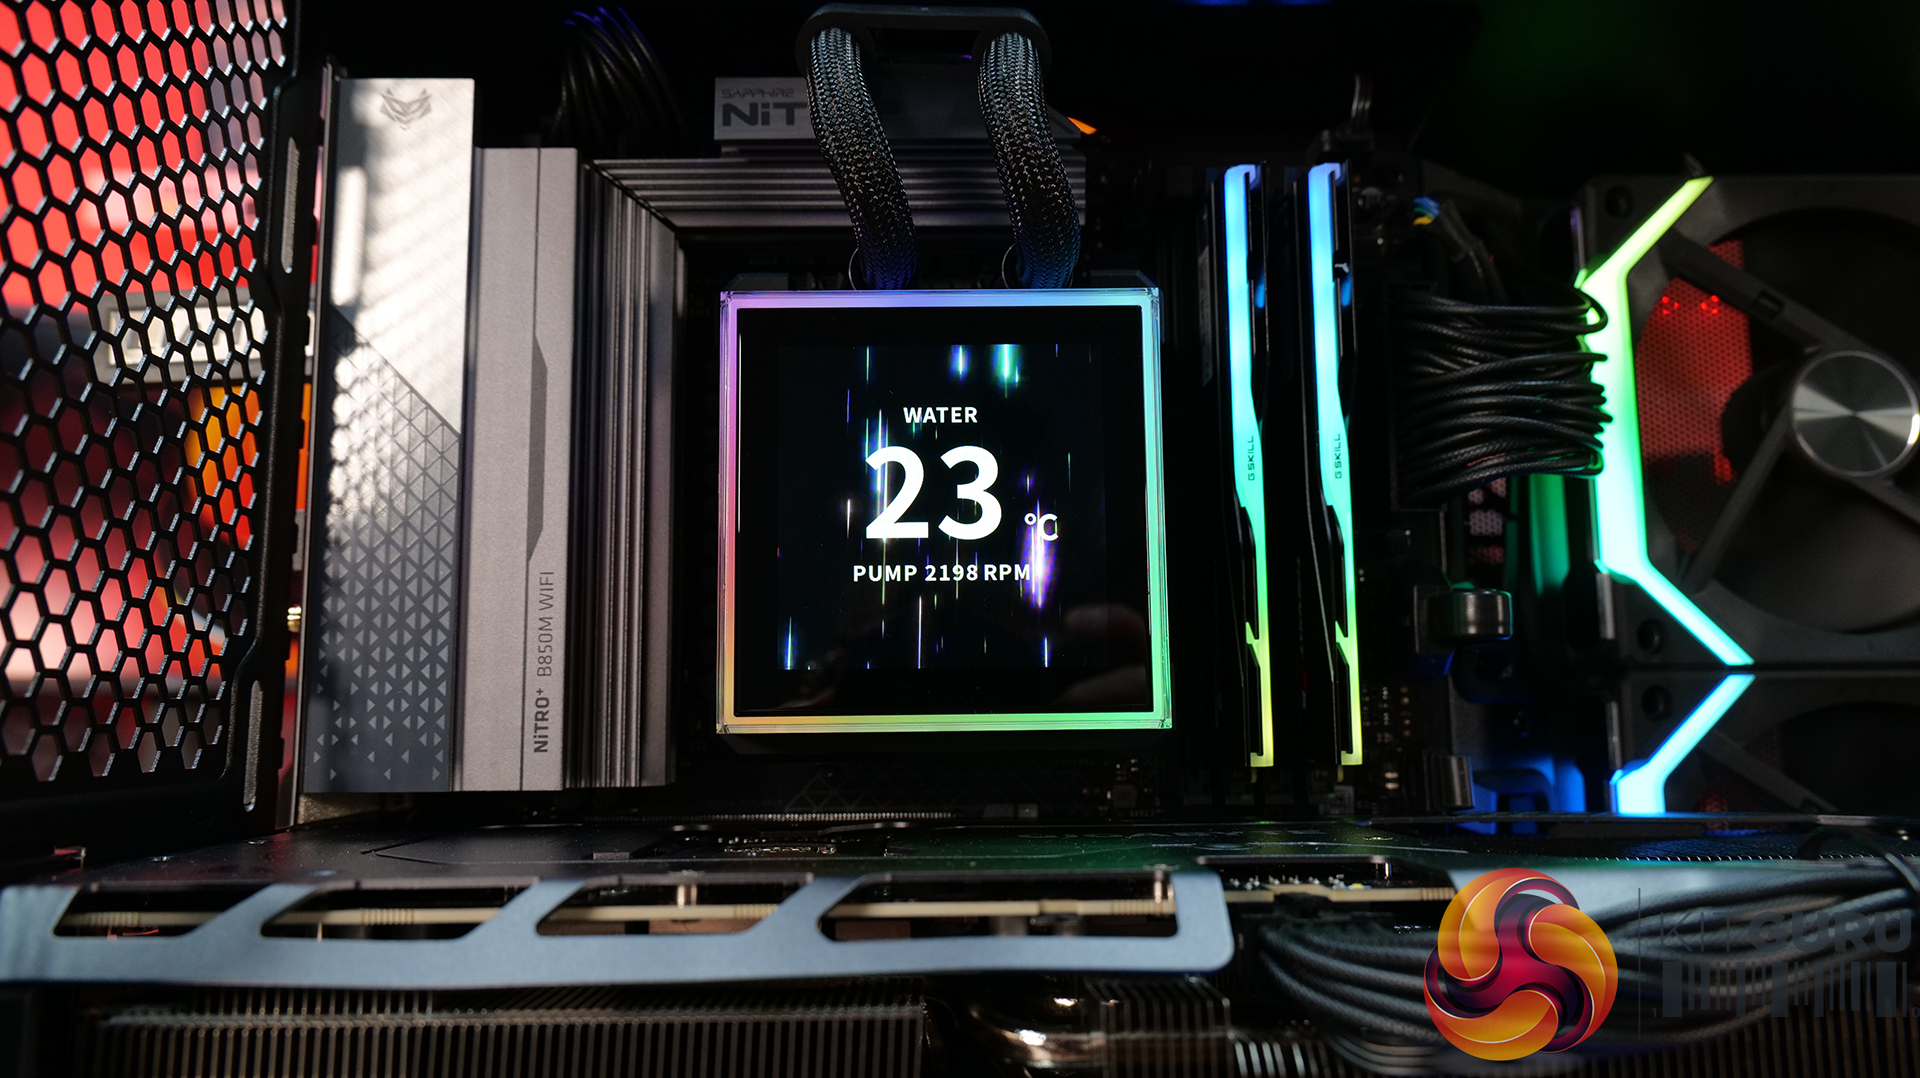
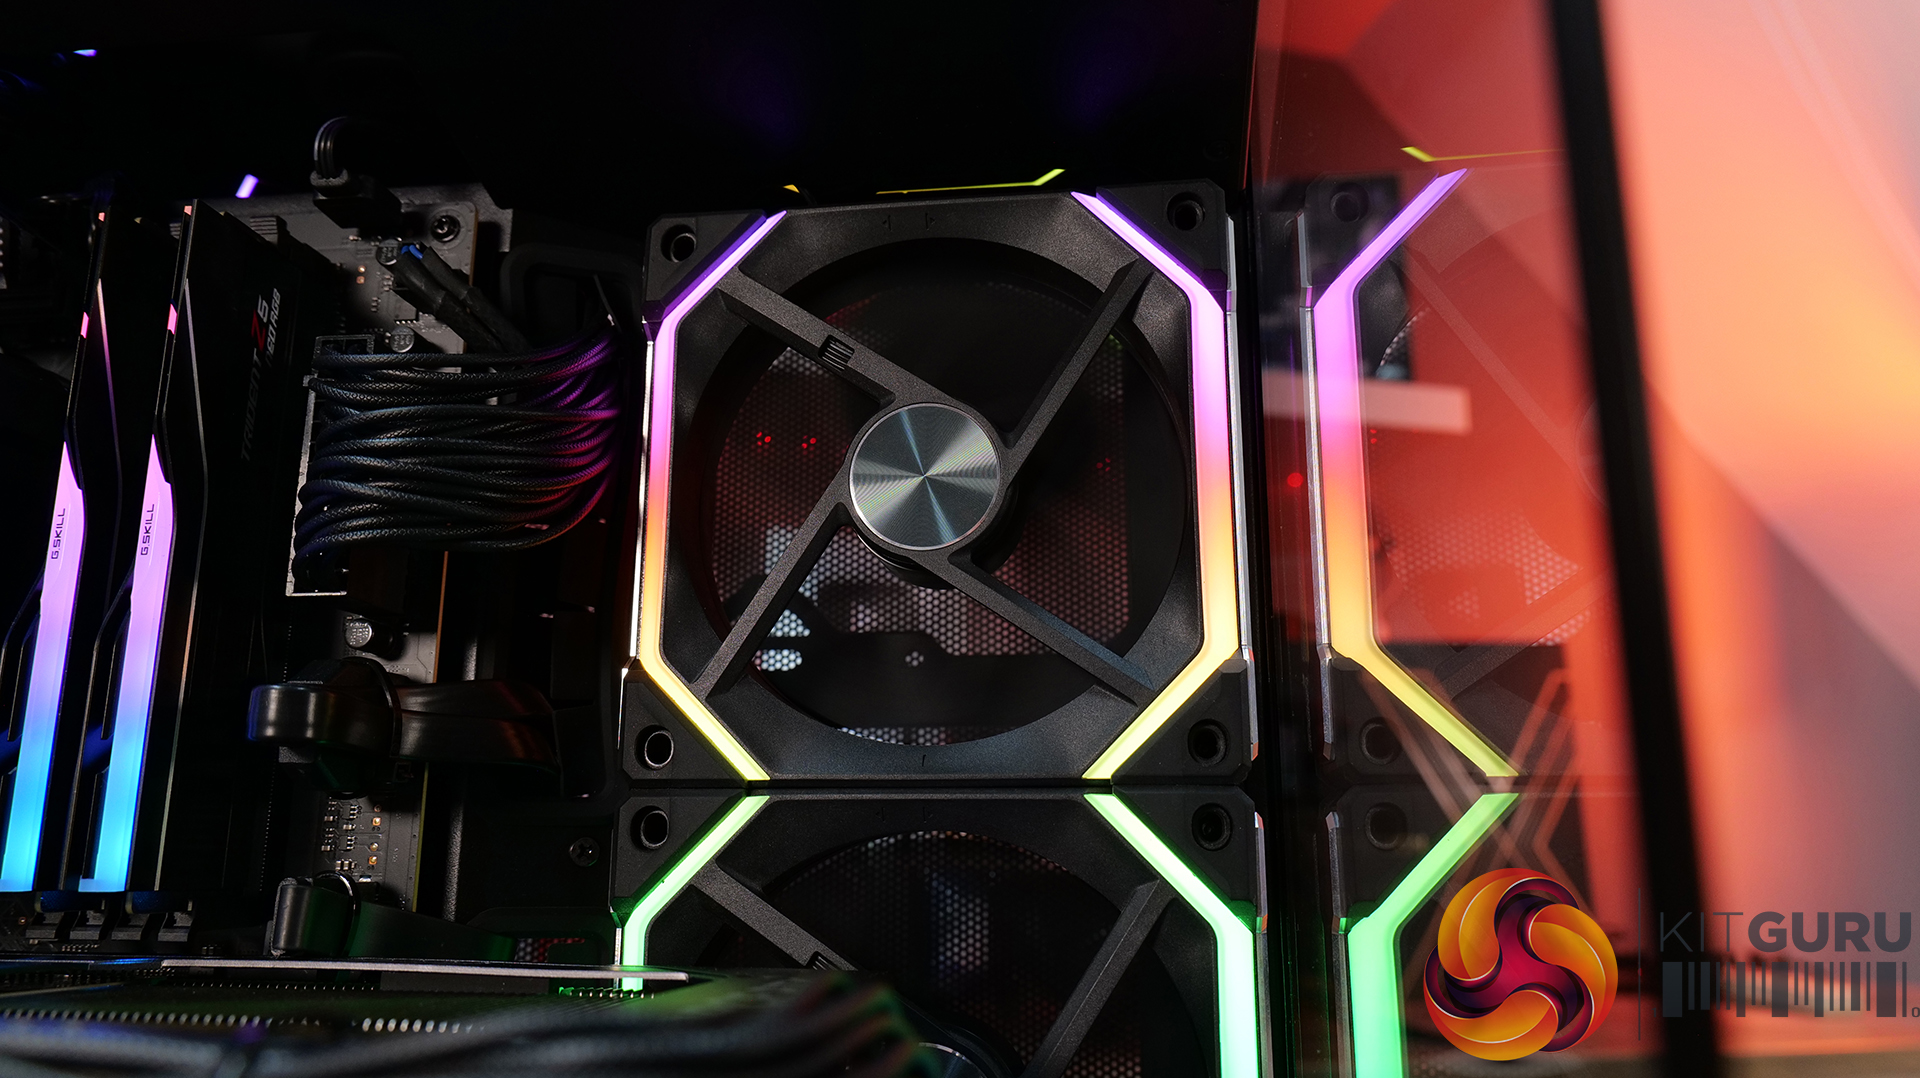
- CPU Cooler – Lian Li Hydroshift II LCD-S 360TL
- Power Supply – Seasonic Focus GX 1000 ATX3
- Case fans – Lian Li UNIFAN SL120 V2 (forward and reverse)
- Chassis – Lian Li O11 Vision M
- Operating System – Windows 11 24H2
Thermal Performance Overview
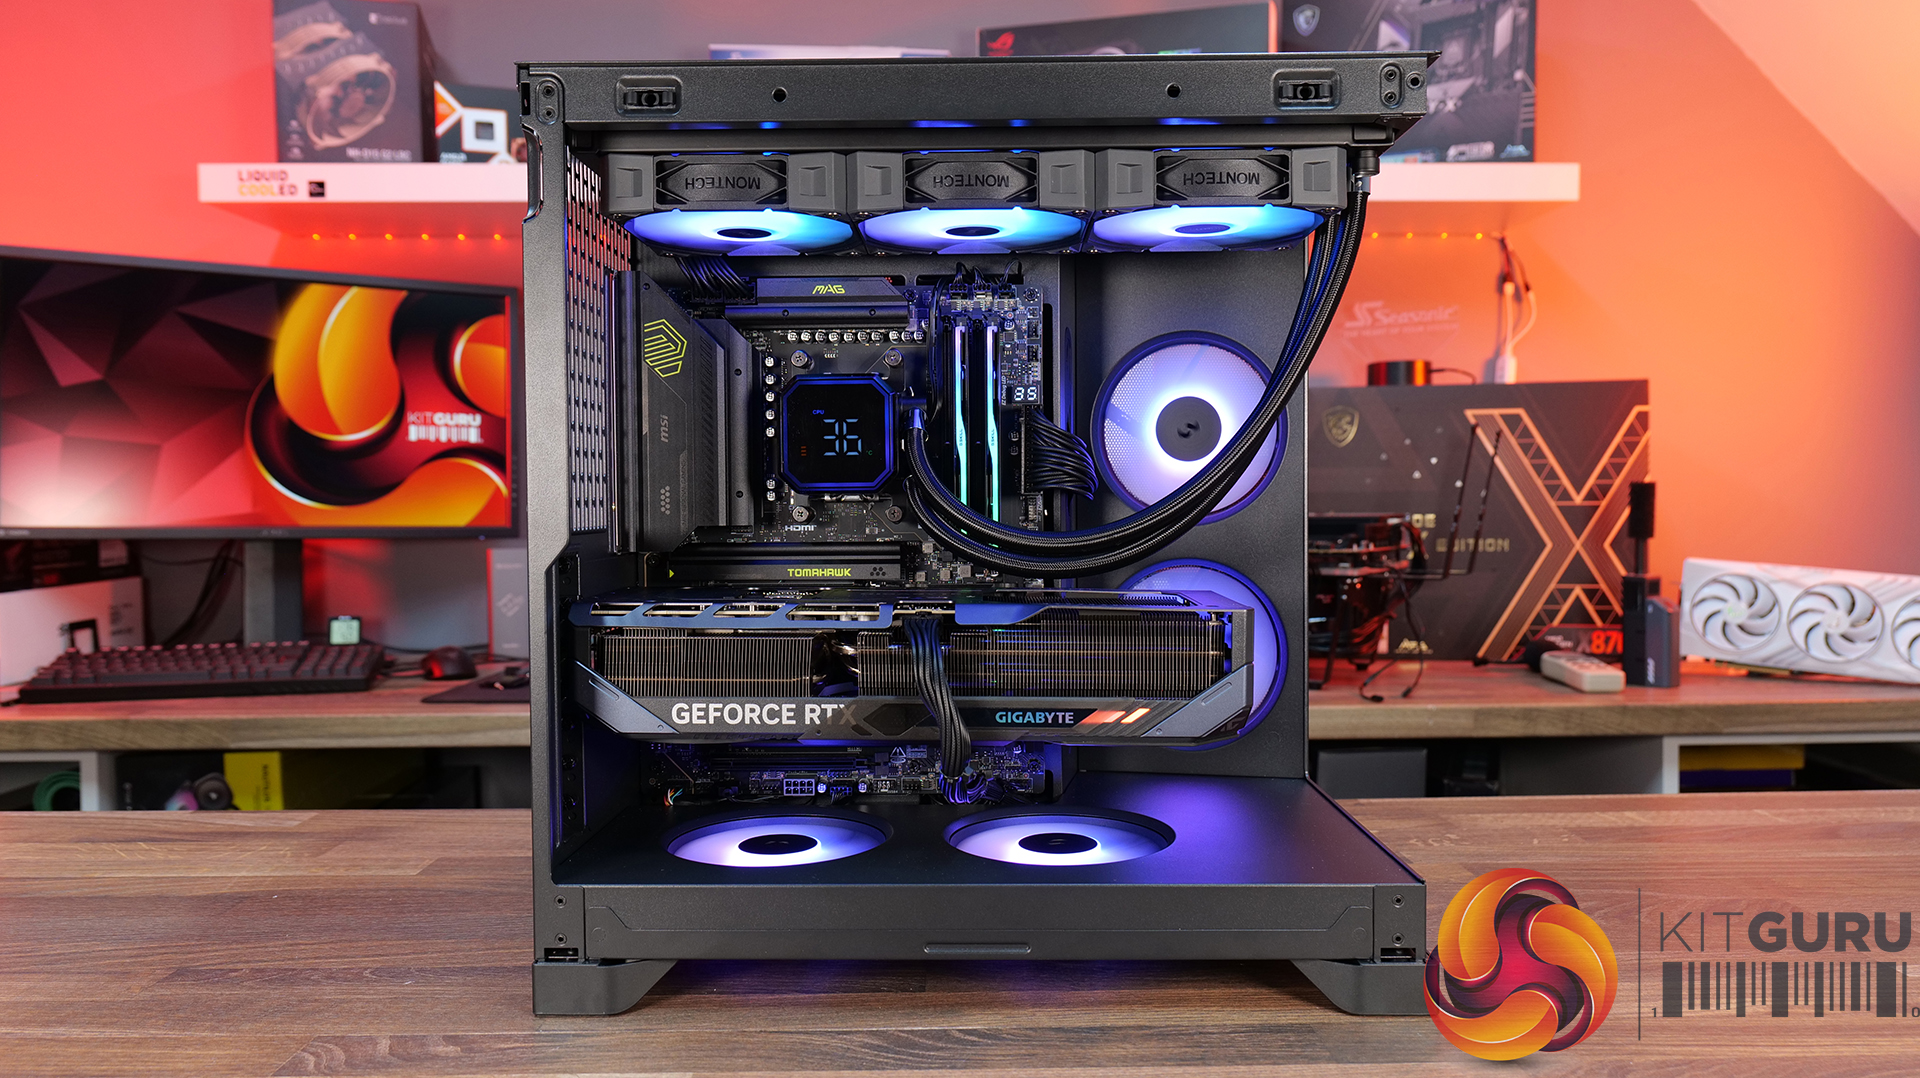
We test case thermals using a 360mm AIO as exhaust at the top and with the case in several different fan configurations. The default configuration shown in the charts is with the top 360mm AIO cooler, 2 x 120mm side intake, 3 x 120mm bottom intake fans and with all case panels installed.
![]()
The O11 Vision-M performs well considering the dual-chamber layout and the number of glass panels it has. In the default configuration, CPU and GPU temperatures measure 54°C and 51°C over ambient respectively. Removing the glass side panel or right-side mesh makes little difference to overall results, suggesting that the stock airflow setup is already very well optimised. The hidden AIO placement keeps heat away from the radiator and CPU temperatures benefit from it.
Bottom intake fans are relatively important for GPU cooling. Removing the floor intake pushes GPU temperatures up to 55°C above ambient, while every other configuration stays very consistent around the 50–52°C mark. So for a compact dual-chamber case with this much glass, thermal performance is genuinely solid.
Noise Output
![]()
Noise performance is consistent across the board too, with the O11 Vision-M sat at 48dBA under full load in most configurations, while idle noise mostly stays fixed at 37dBA. Removing the right-side mesh panel drops load noise slightly to 47dBA, while removing the floor intake fans pushes it up to 49dBA, likely due to the GPU fans working harder to compensate for reduced airflow and slightly raised temperature.
The case has very balanced airflow regardless of configuration changes, and no major spikes in noise. Overall, for a compact dual chamber with multiple glass panels, the O11 Vision-M delivers solid acoustic performance without sacrificing cooling.
Closing Thoughts
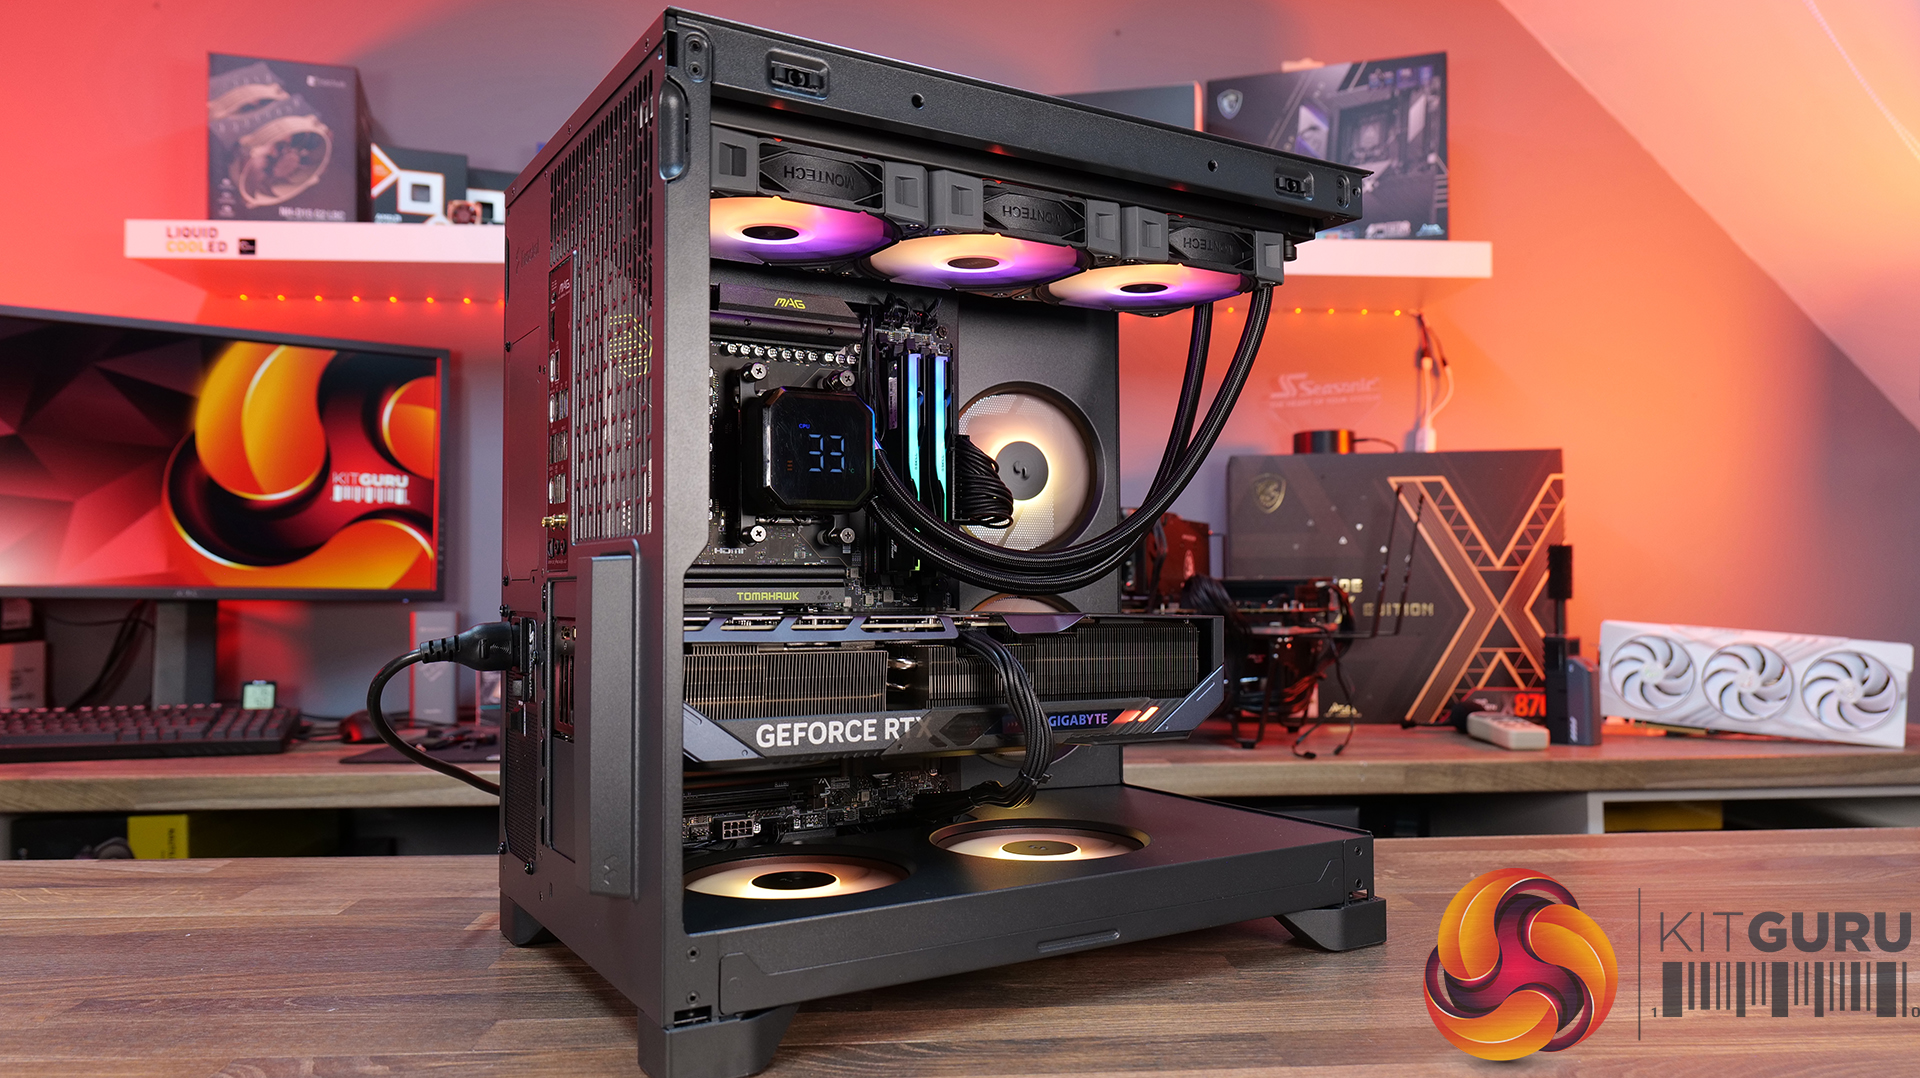
Taken as a whole, the Lian Li O11 Vision-M is a very well-designed compact dual-chamber chassis that does a good job of balancing aesthetics, cooling performance and hardware compatibility. Despite the reduced footprint compared with larger O11 variants, there’s still support crammed in for high-end hardware, including 410mm graphics cards, 360mm radiators or AIOs, up to 13 fans and large CPU air coolers. Plus, thermal performance remains consistently strong even with the use of multiple glass panels.
The standout feature is the hidden top radiator compartment. Not only does it help maintain a clean showcase-style appearance that the O11 Vision series is known for, but it also works well from a cooling perspective without restricting airflow. The digital version looks impressive, with the integrated 9.2-inch LCD screen feeling more refined and useful than the gimmicky implementations we sometimes see from competitors. This screen fits in with the design of the case perfectly.
![]()
However there are a few compromises, such as clearance around the top radiator mount being very tight, so not every 360mm AIO will fit without issue. Checking dimensions before buying is essential. The smaller internal layout also means there’s a more specific hardware installation order required during the build process, which increases build time a little compared to similar dual-chamber cases with more space.
At $70 MSRP for the standard version, the O11 Vision-M offers good value considering the excellent build quality, cooling performance and hardware support it provides. Even the $130 digital version feels reasonably priced given the quality of the integrated display. While it’s technically compatible with Mini-ITX systems, due to its dimensions, it feels more like a compact Micro-ATX case than a true ITX chassis. Even so, if you want a compact case with strong airflow, premium aesthetics and high-end hardware support, the O11 Vision-M is an easy one to recommend.
The Lian Li O11 Vision-M has a £69.99 (black) MSRP for the regular model and $129.99 for the digital version with a 9.2″ LCD.
Pros:
- The hidden AIO compartment gives a clean look.
- Good cooling options for a small dual-chamber glass case.
- Screen integration on the digital version is excellent.
Cons:
- Tight tolerance for top AIO support makes installation fiddly and means that some AIOs will be incompatible.
- Not small enough to be considered for ITX builds.
- The installation process takes a little more time than in some similar cases.
KitGuru says: This is one of the best mATX cases we have seen for a long time. It's packed with high-end cooling options as well as that hidden radiator compartment which gives a clean look to the build. Plus, it's competitively priced too.
![]()