Normal view

There are new articles available, click to refresh the page.
Before yesterdayMain stream

QIDI Plus5 3D Printer Review

INTRODUCTION


qidi plus5 review a


    3D printing has entered a phase where core mechanics matter more than novelty, with modern machines relying on stiffer kinematics, tighter belt paths, and more efficient thermal management to maintain dimensional accuracy across long prints. Improvements in auto‑calibration, nozzle pressure control, and closed‑loop motion have also reduced the variability that once made entry‑level printing unpredictable. As users progress, they often expand into larger build volumes, higher flow rates, or optional multi‑color systems that add complexity without altering the underlying extrusion physics. Within this landscape of increasingly mature hardware and modular capability, QIDI’s new Plus5 is positioned as part of this broader shift toward stable, scalable, and user‑configurable platforms.


    Our story formed in 2014, QIDI Tech began with a small team of engineers with a big vision: we wanted to make 3D printing accessible to everyone. Crazy? A little bit. With our journey have consistently focused on more than just producing machinery; it's about enabling creators of all kinds to bring their ideas to life. Every day, we're doing more than just constructing printers. We are establishing an environment where seasoned designers and adventurous individuals can join forces, work together, realize ideas, and develop. QIDI Tech 3D printers are created to be intuitive and efficient, after all, delivering a hassle free printing process for all users from the beginning should be the top priority. Our extensive manufacturing plant and advanced research and development center embody our commitment to creativity, excellence, and teamwork.


    The Plus5 is built around a CoreXY motion system with a high‑hardness linear guide rail on the X‑axis and automatic belt tensioning, while the Z‑axis uses dual independent lead screw motors supported by 10mm linear shafts and screws for stable vertical movement. Its print volume reaches 320x320x300mm inside a 500x488x558mm chassis weighing 29kg. The print head pushes temperatures up to 370°C, driven by a direct extruder with hardened steel dual gears, a ceramic‑plate heated multi‑metal hot end, and a bimetal nozzle available in 0.4mm standard or 0.2/0.6/0.8mm options, all feeding 1.75mm filament. The bed system combines an aluminum‑silicone heating bed with a dual‑sided textured PEI plate and reaches up to 120°C. Performance is driven by a 600mm/s maximum toolhead speed and acceleration up to 20000mm/s, supported by a full suite of PWM‑controlled fans with RPM feedback for hot end, auxiliary, and part cooling, plus a closed‑loop motherboard fan and a second‑generation chamber heating fan capable of raising the enclosure to 65°C. Air quality is handled by a 3‑in‑1 filtration module combining a G3 pre‑filter, H12 HEPA, and activated carbon. The printer supports a wide range of materials (PLA, ABS, ASA, PETG, TPU, PA, PC, and carbon/glass‑fiber composites) and includes filament cutting, clog detection, tangle detection, run‑out sensing, and print recovery when paired with the QIDI BOX. A full sensor suite adds AI camera detection (640x480p default, 1920x1080p native), resonance compensation, automatic leveling via a loadcell integrated into the hot end, and power‑loss recovery. Power delivery spans 100–240 VAC with a combined rating of 150W for the main system, 550W for chamber heating, and 500W for the hot bed. The electronics include a 4‑inch 800x480p touch screen, 32GB EMMC storage, and USB 2.0 support, while connectivity covers Wi‑Fi 2.4GHz, Ethernet, and USB. Software compatibility extends beyond QIDI Slicer to Cura, PrusaSlicer, and others, with support for STL, OBJ, 3MF, and STEP formats across Windows, macOS, and Linux.


SPECIFICATIONS AND FEATURES


featspecs


PACKAGING AND CONTENTS


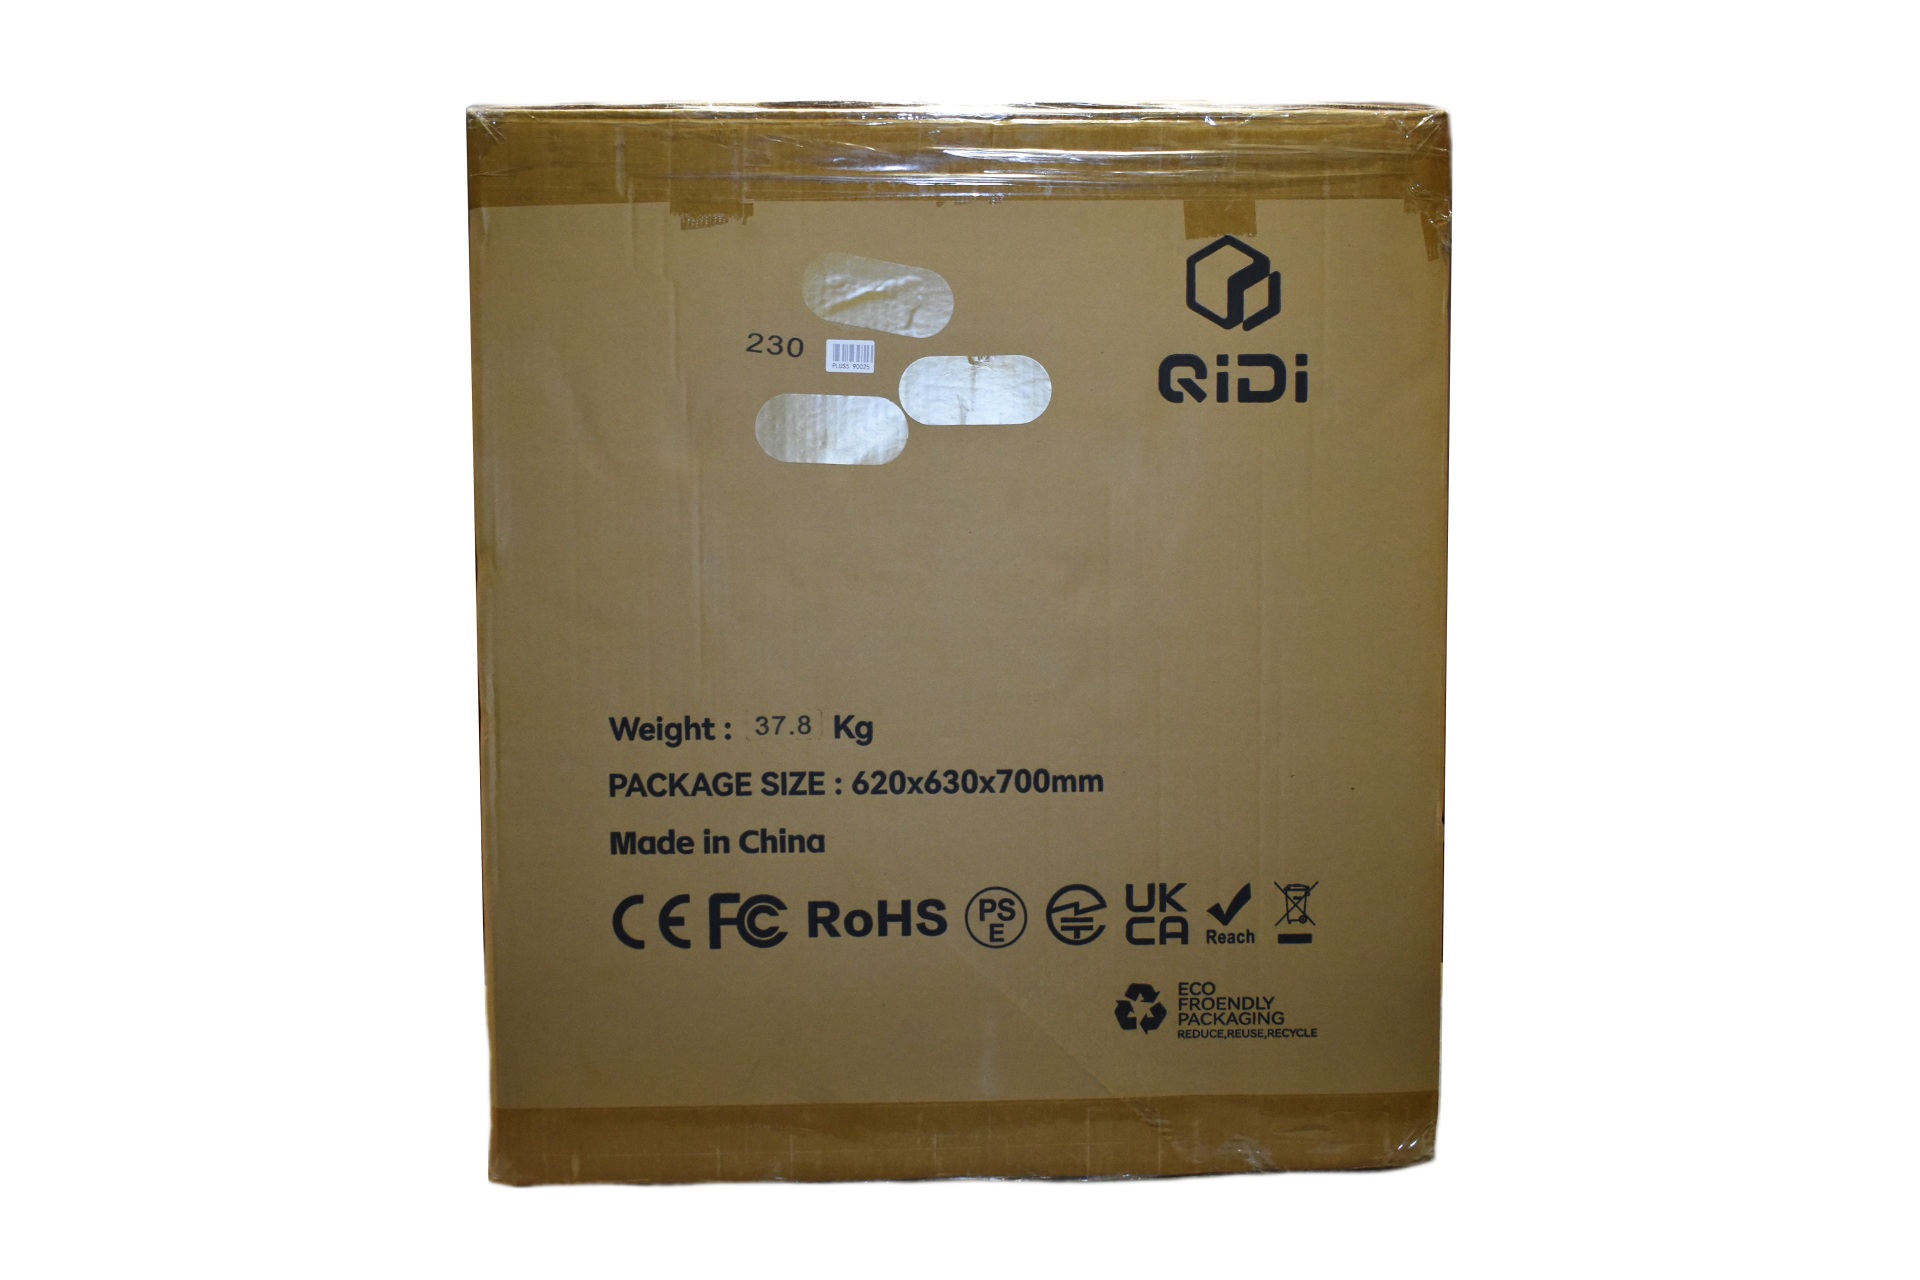
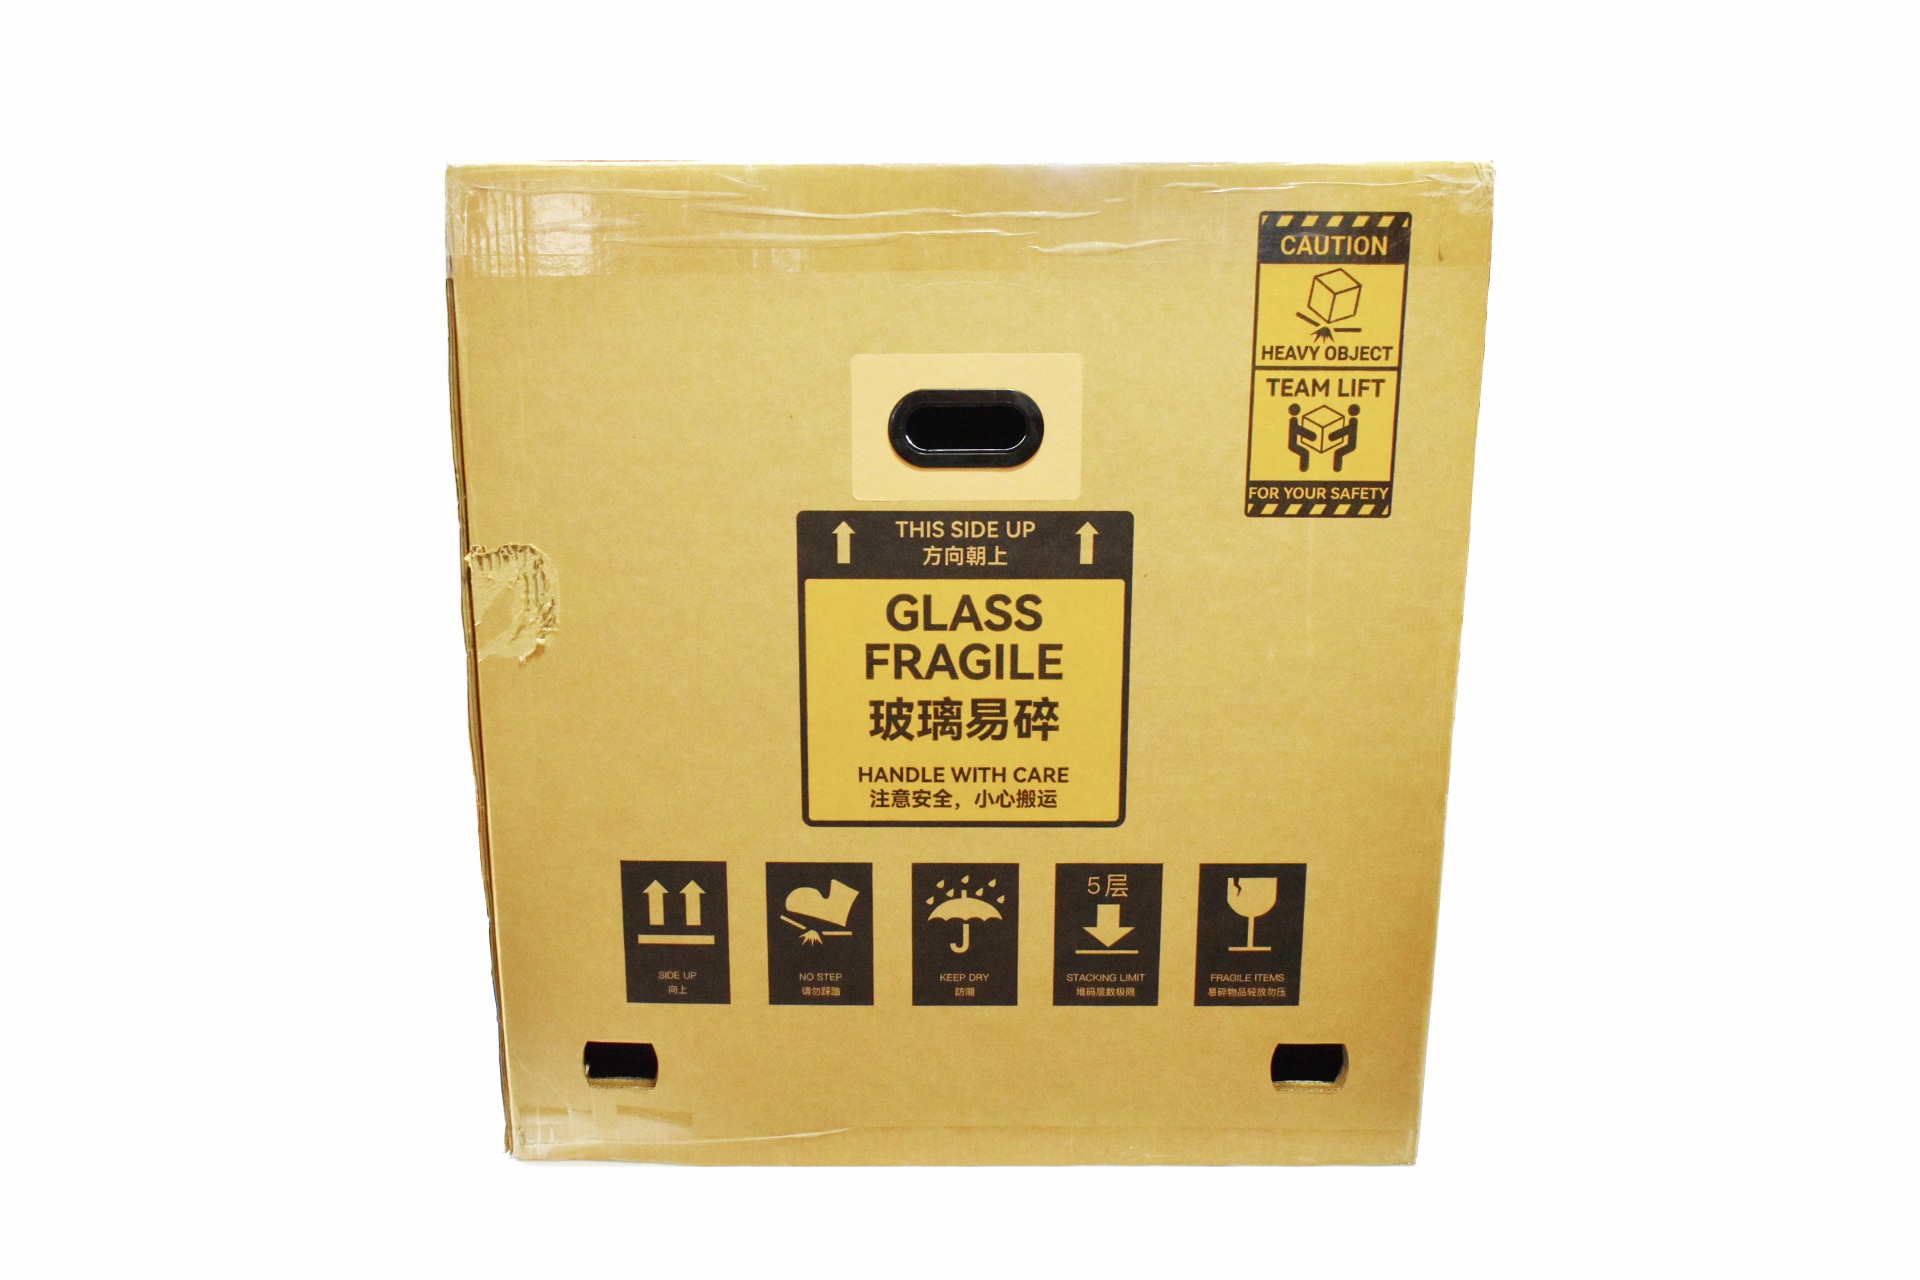
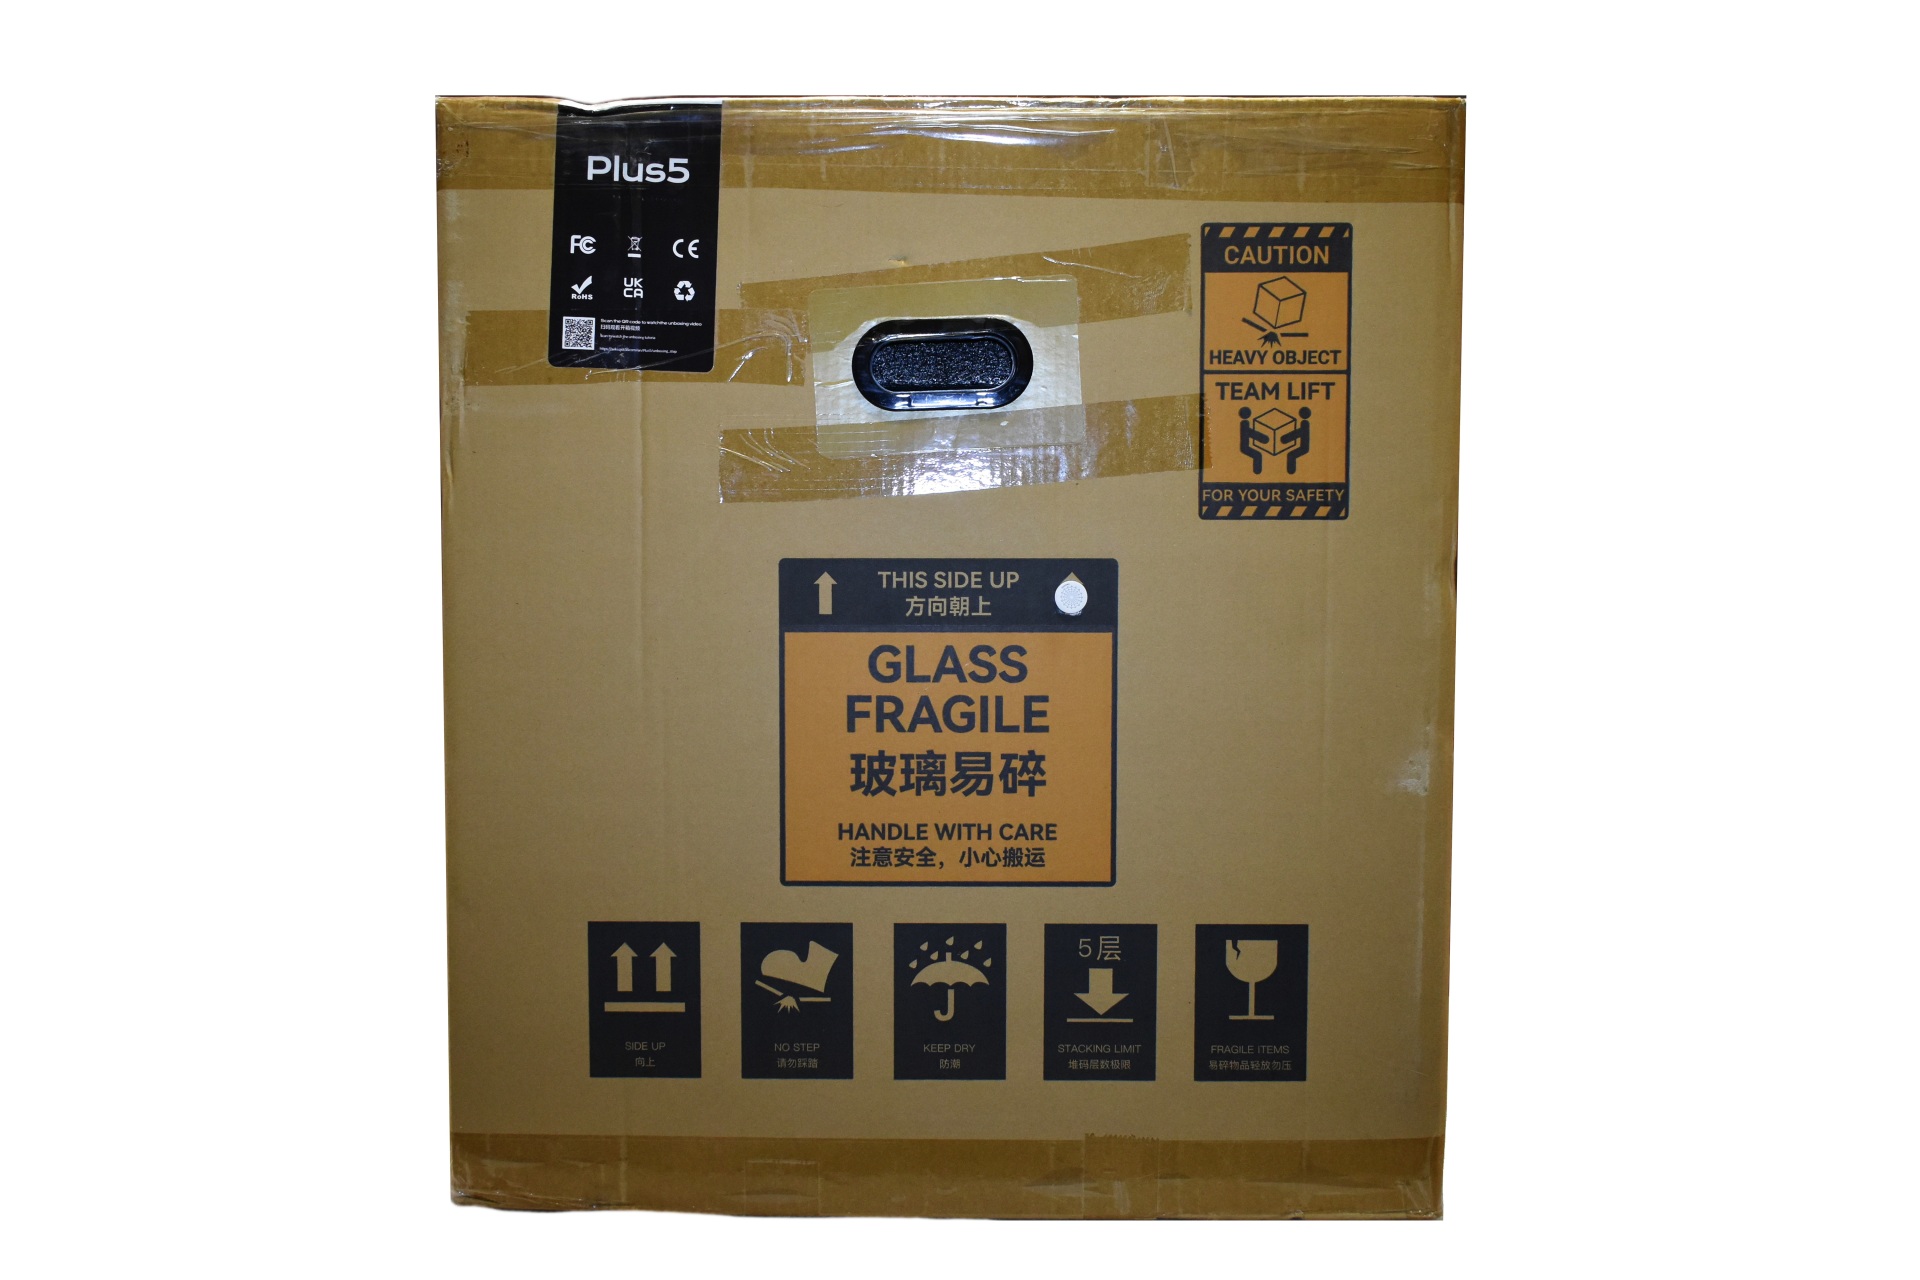
QIDI uses a plain box to ship the Plus5 the front of which is taken by several warning logos (since it's a considerably large and heavy box, I was unable to move it to the photo bench area - no elevator and stairs are too narrow - so all pictures were taken in the test part of the office/lab).


Both the size and weight of the box are printed on the left side.


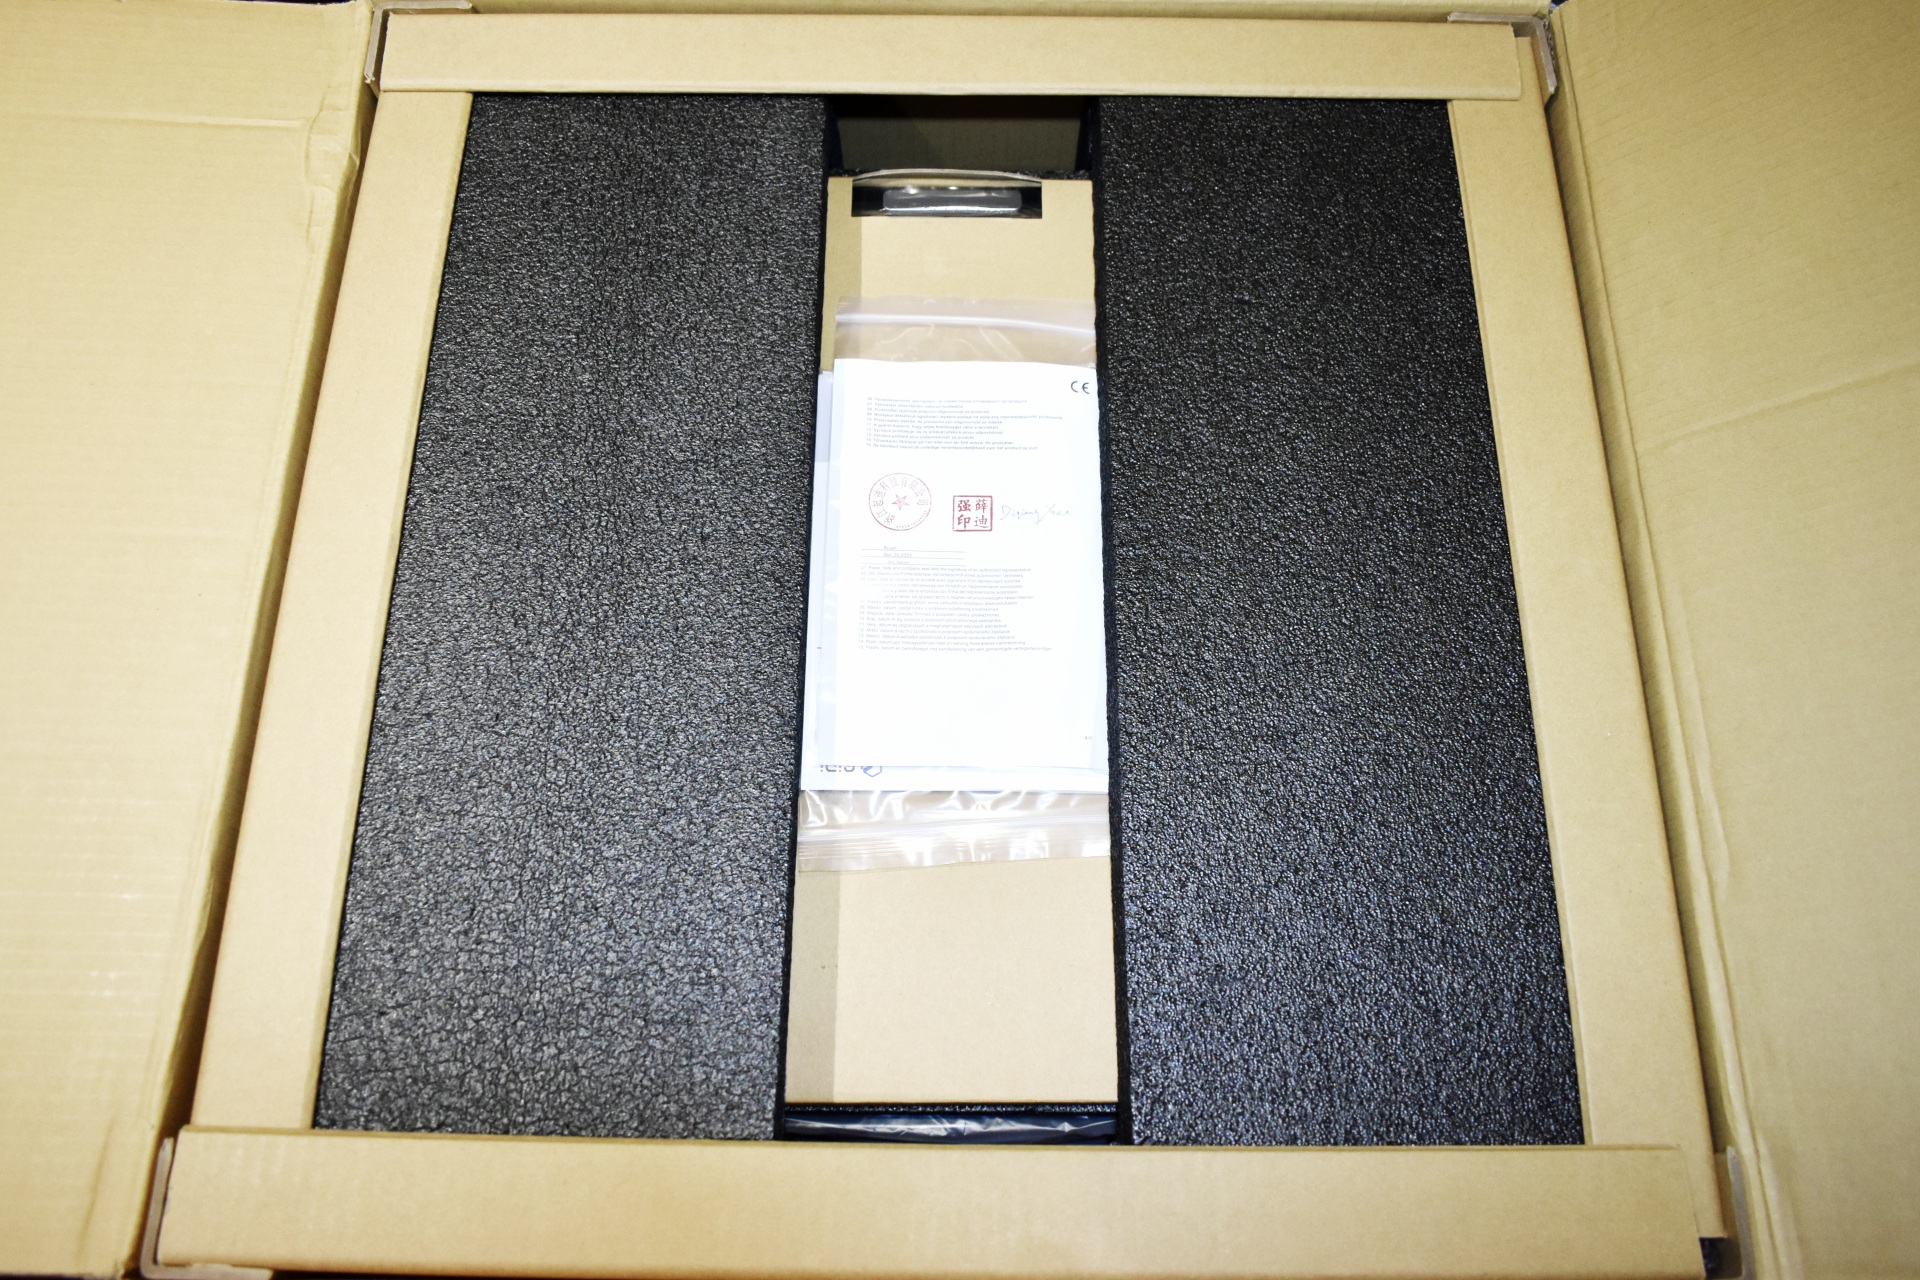
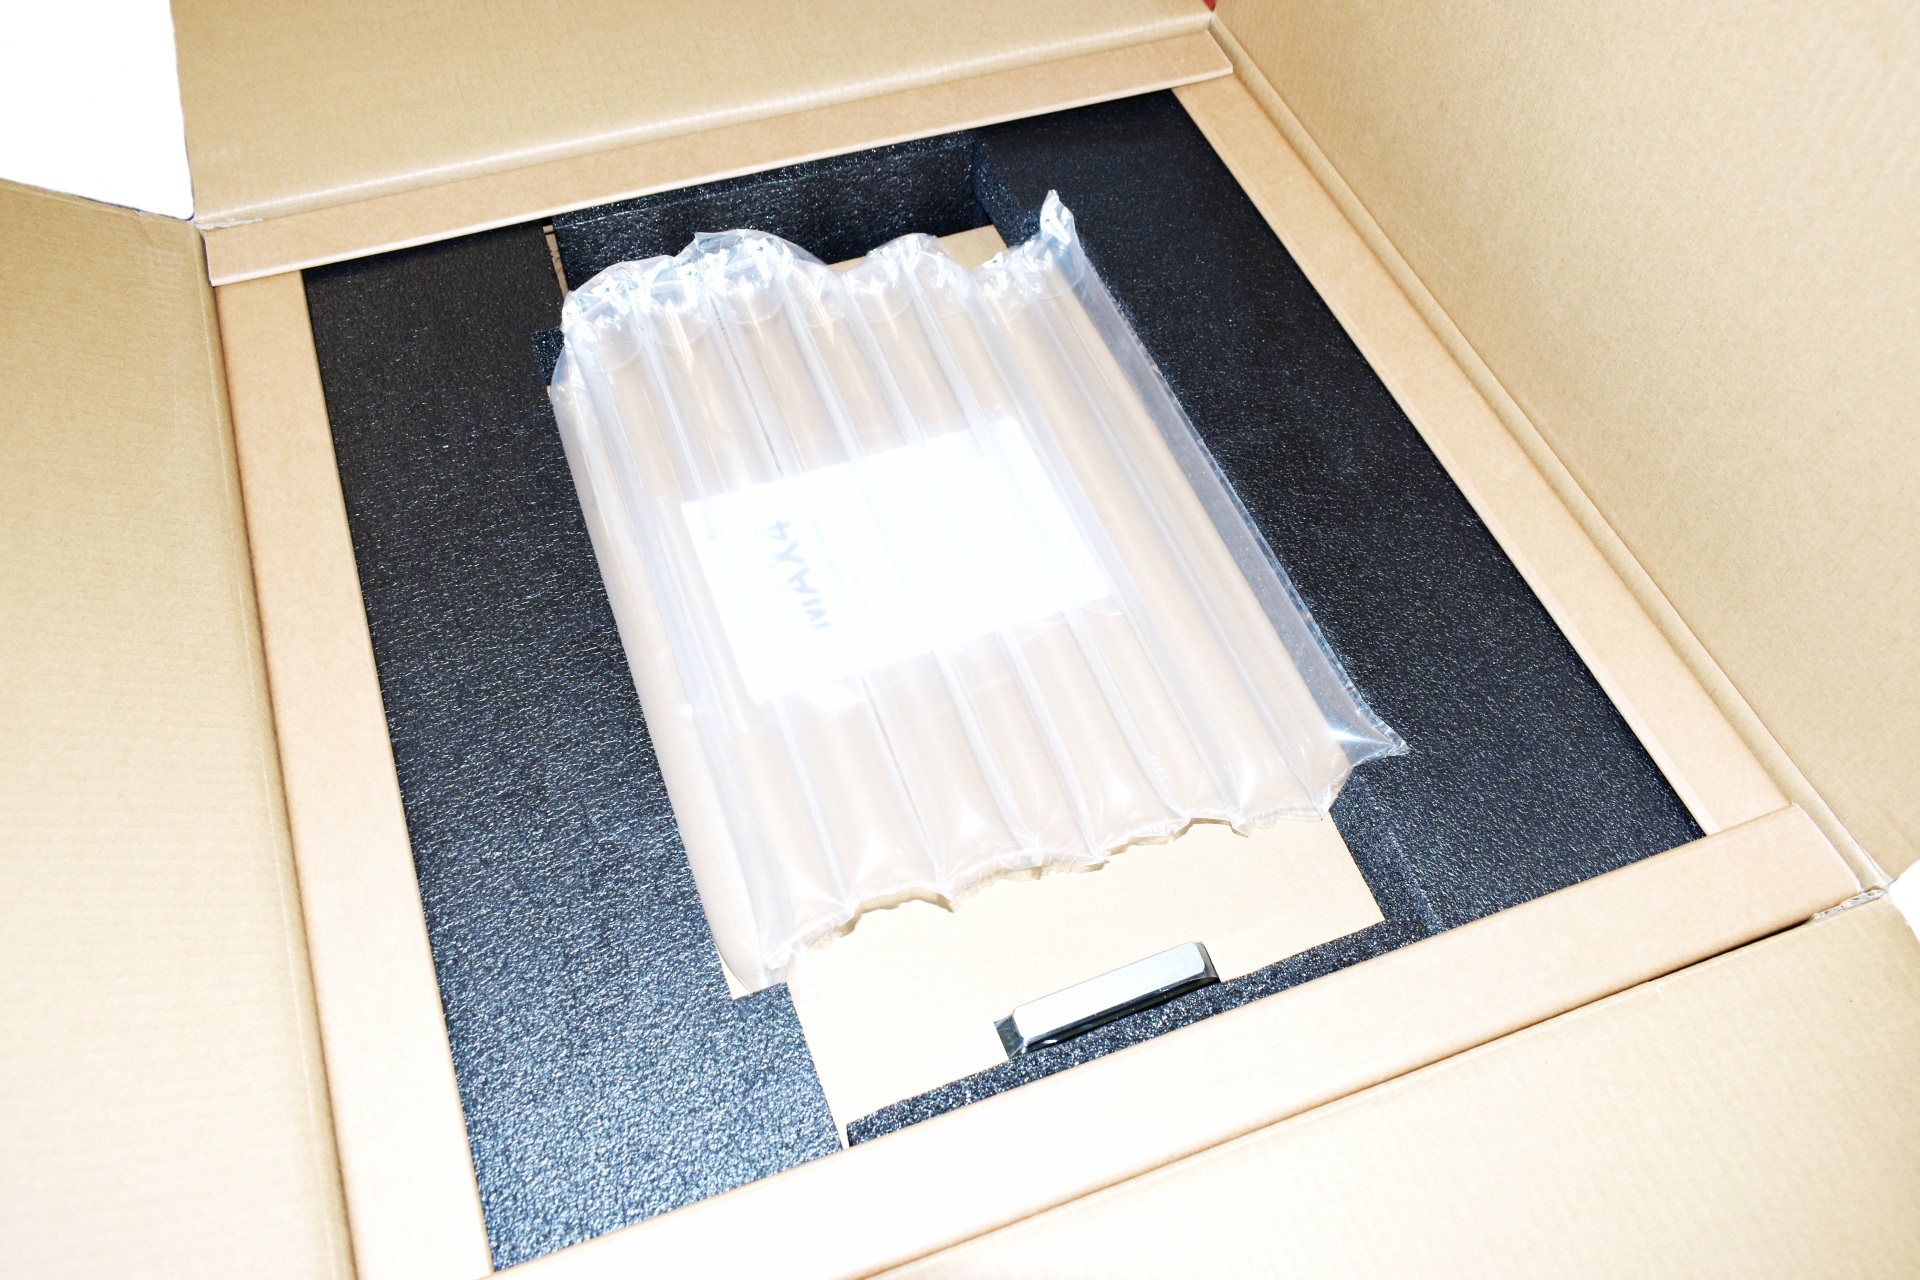
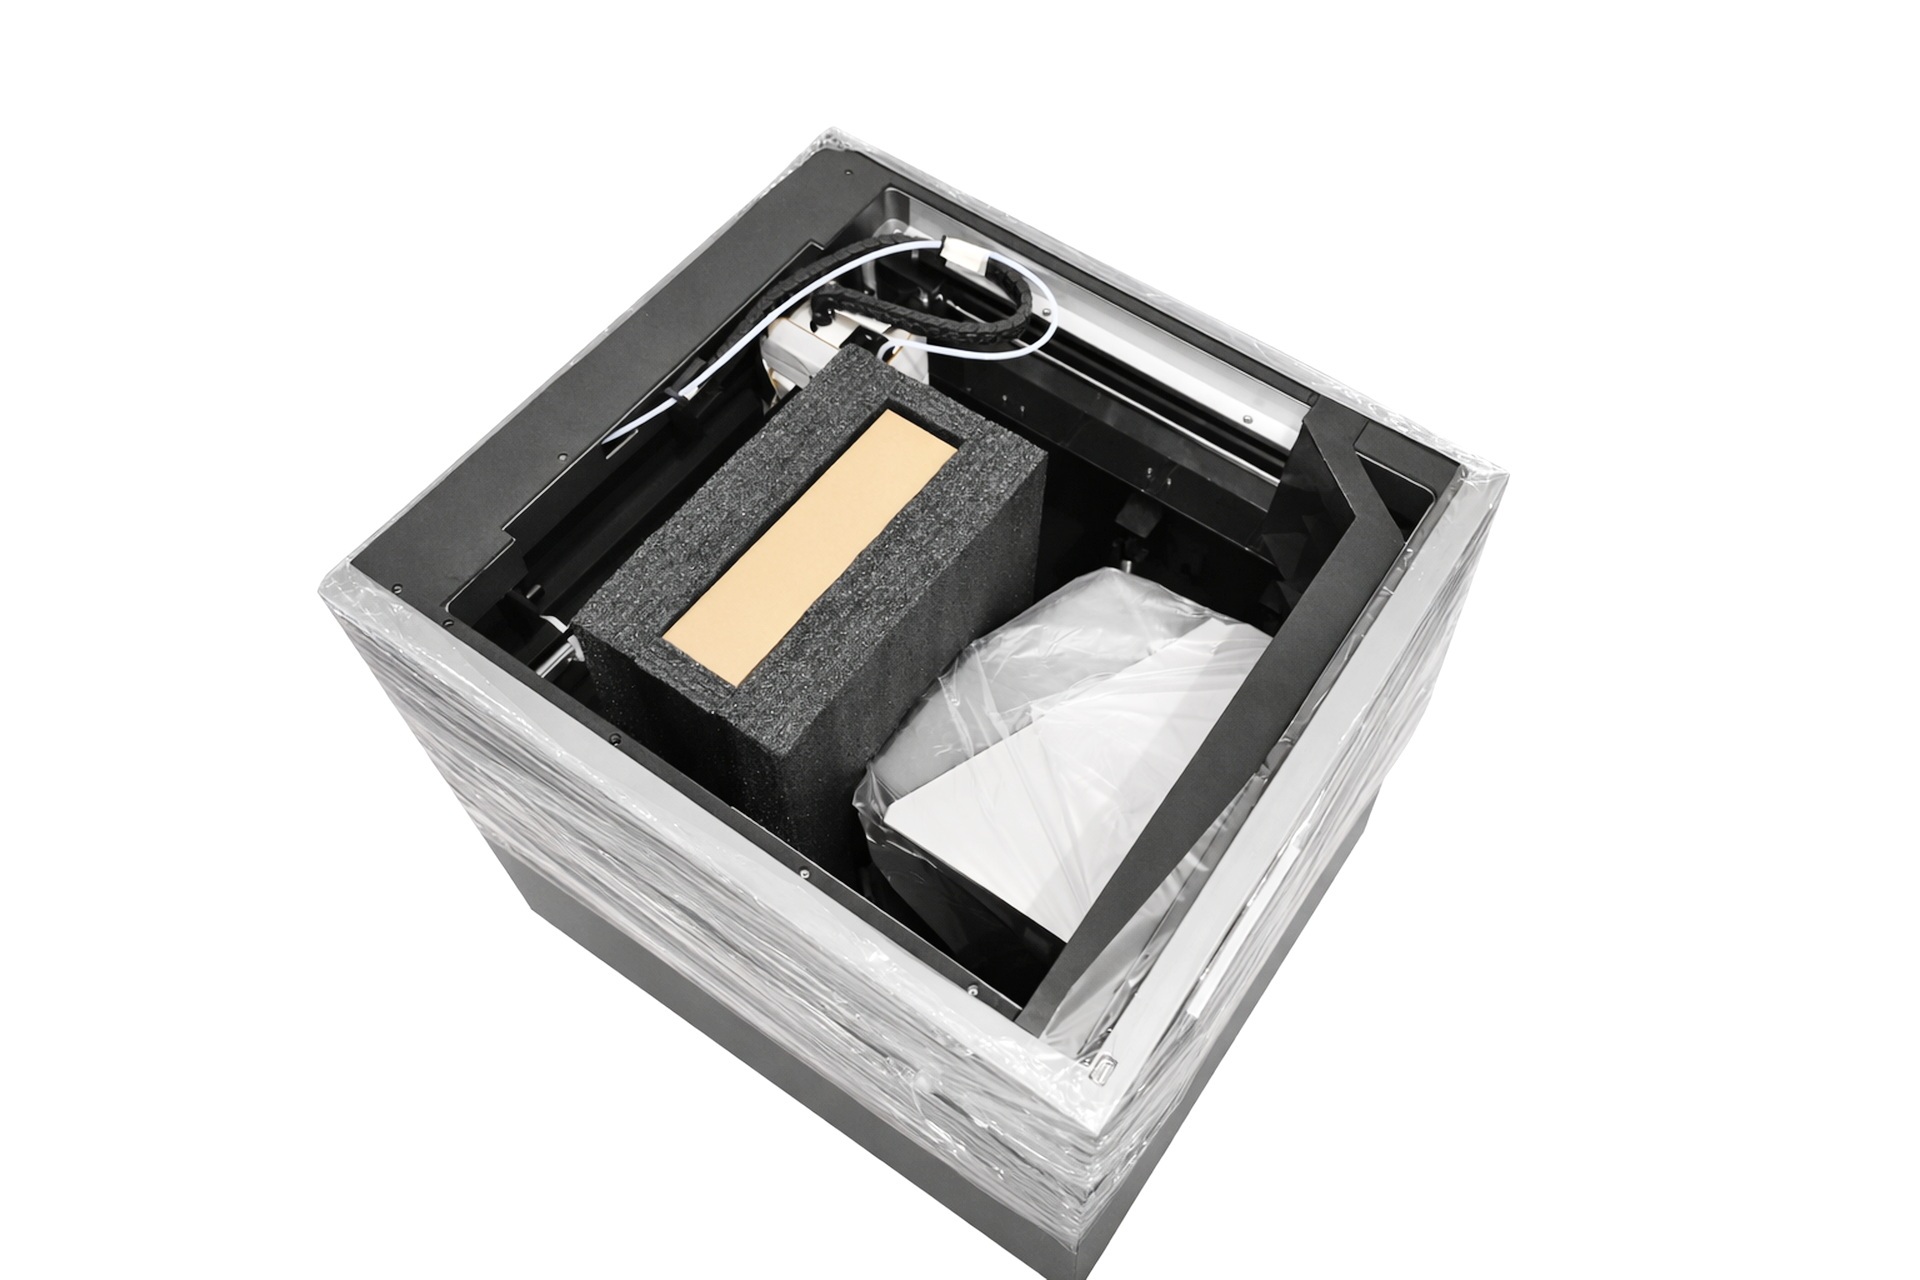
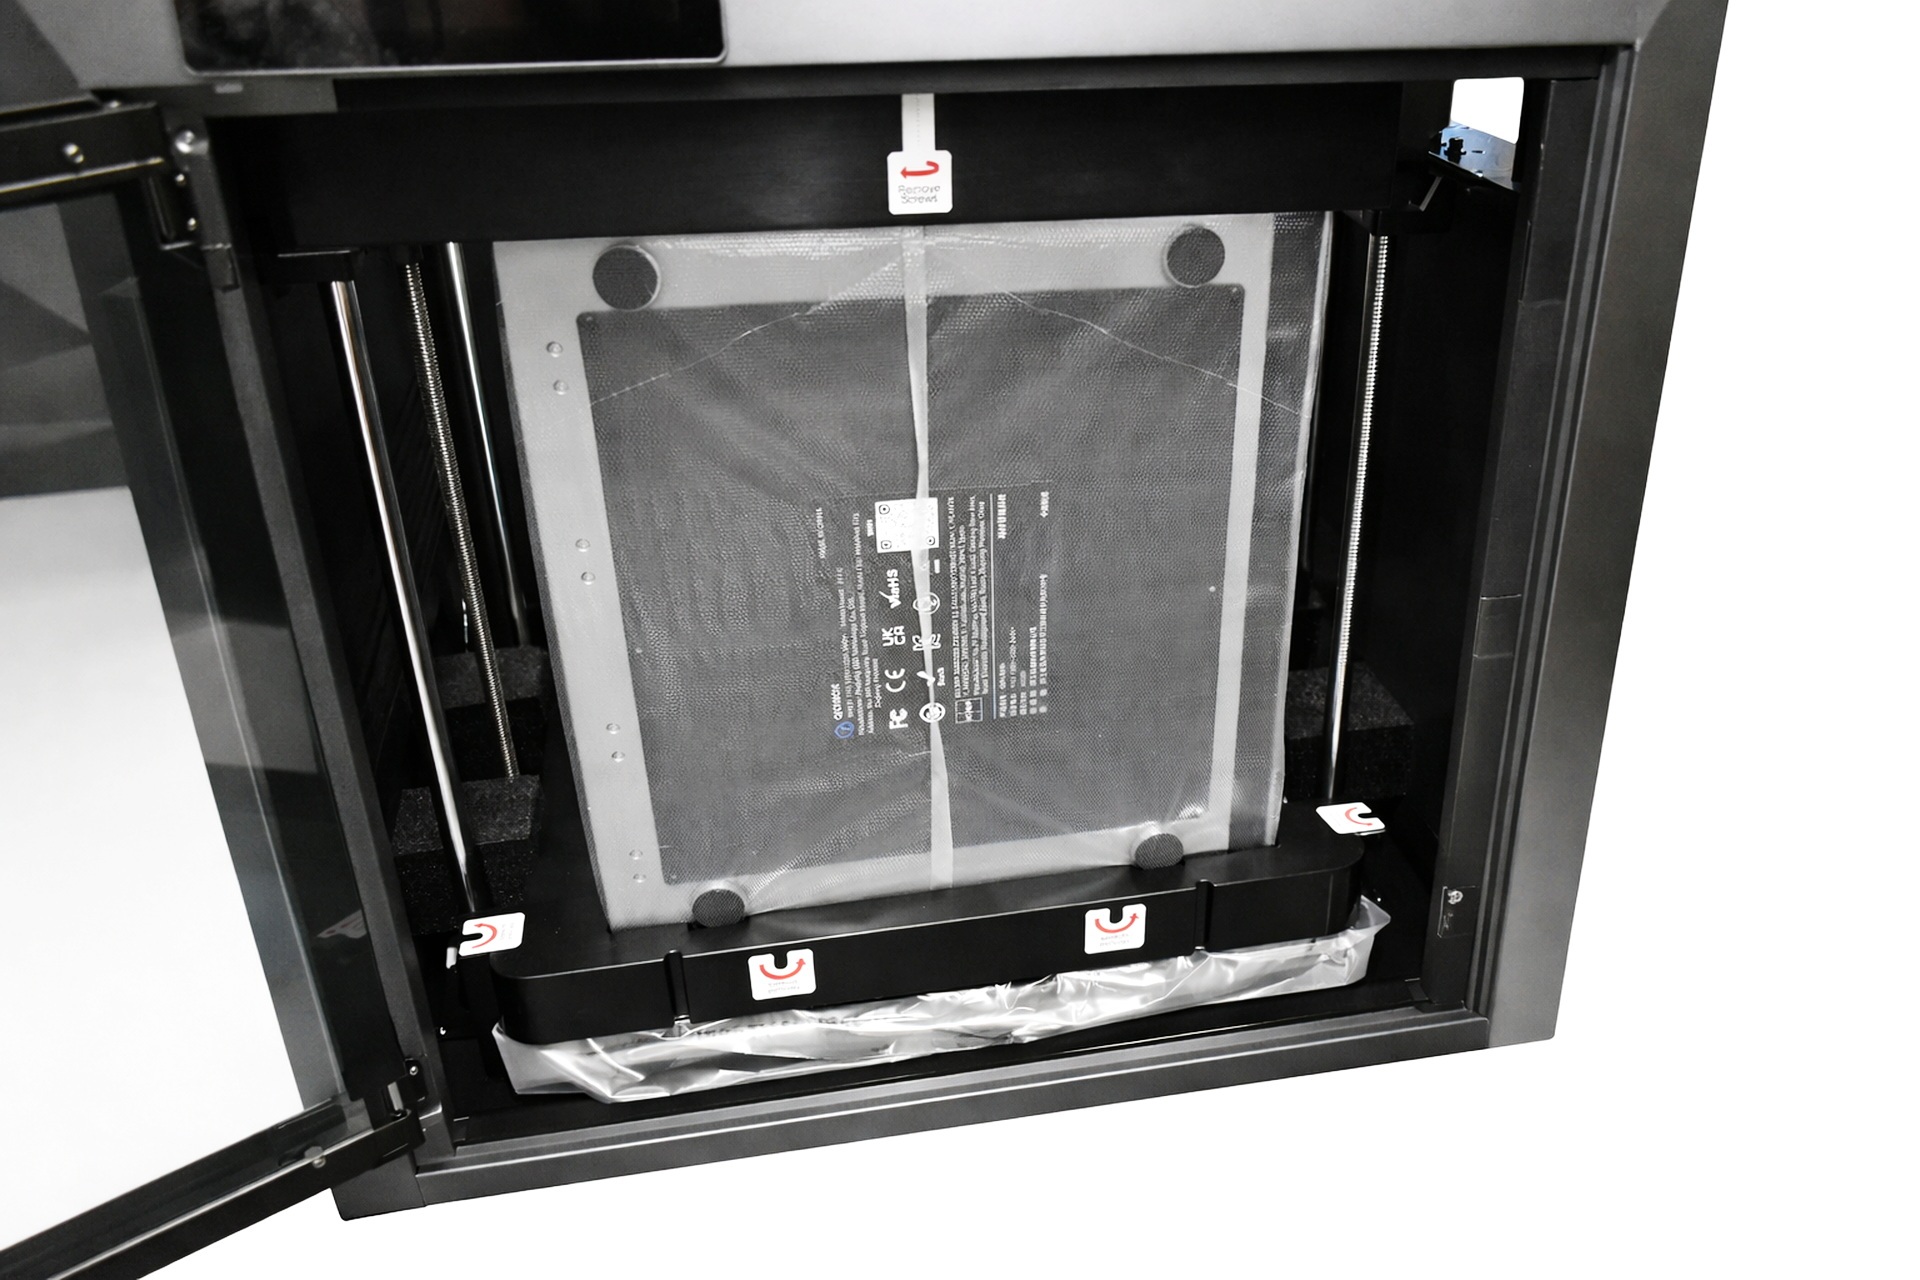
The printer is safely wrapped and placed between several thick pieces of foam.


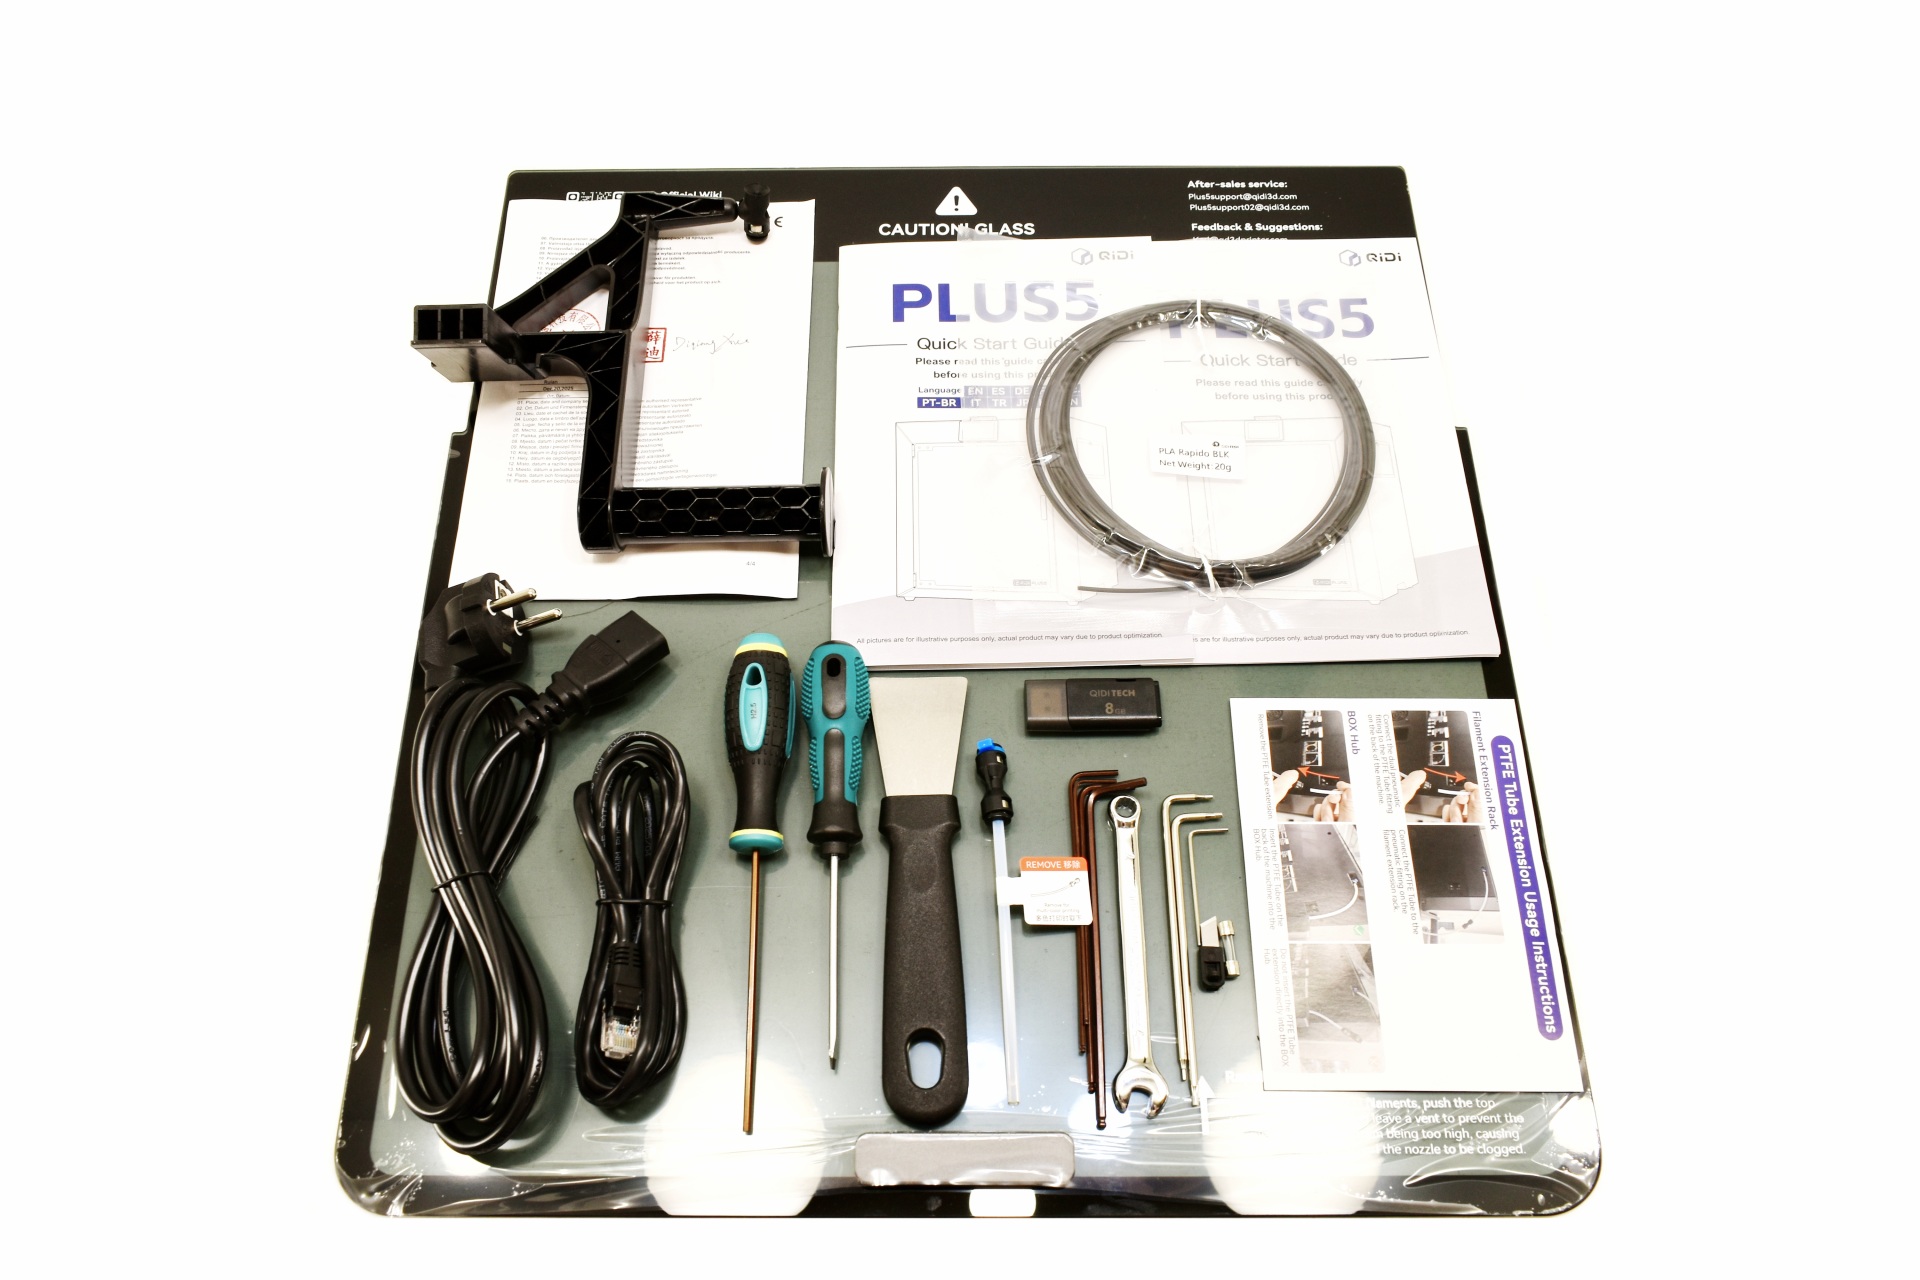
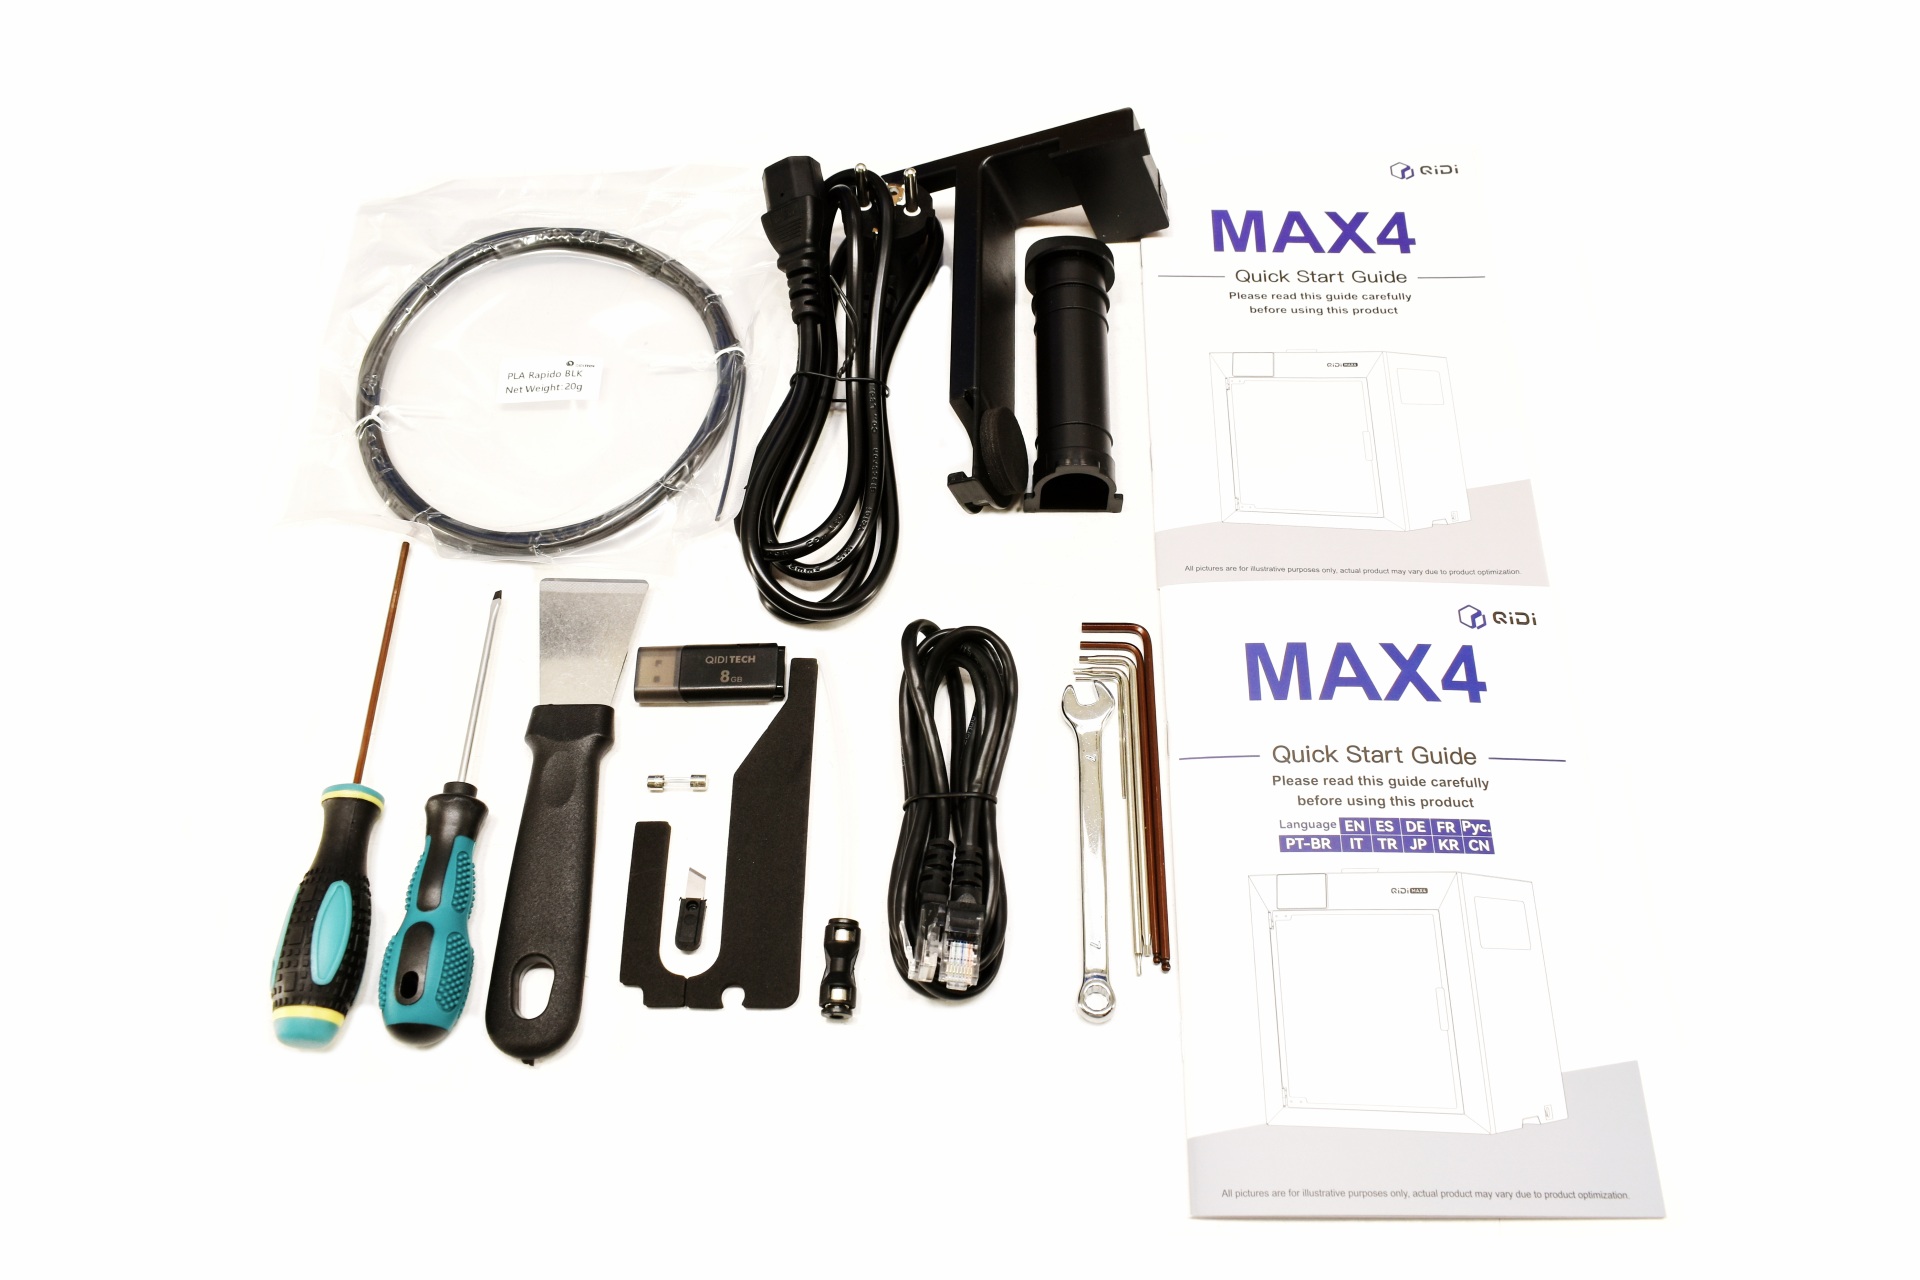
Aside the Plus5 3D printer inside the box QIDI has placed a filament spool holder, combination spanner, power cable, RJ45 ethernet cable, USB 2.0 flash drive, 20g PLA rapido filament, scraper, two screwdrivers (flat head and Torx), 7 Allen keys, replacement nozzle cutter, replacement fuse, PTFE tube extension with instructions, declaration of conformity paper and the quick start guide in numerous languages.


THE PLUS5


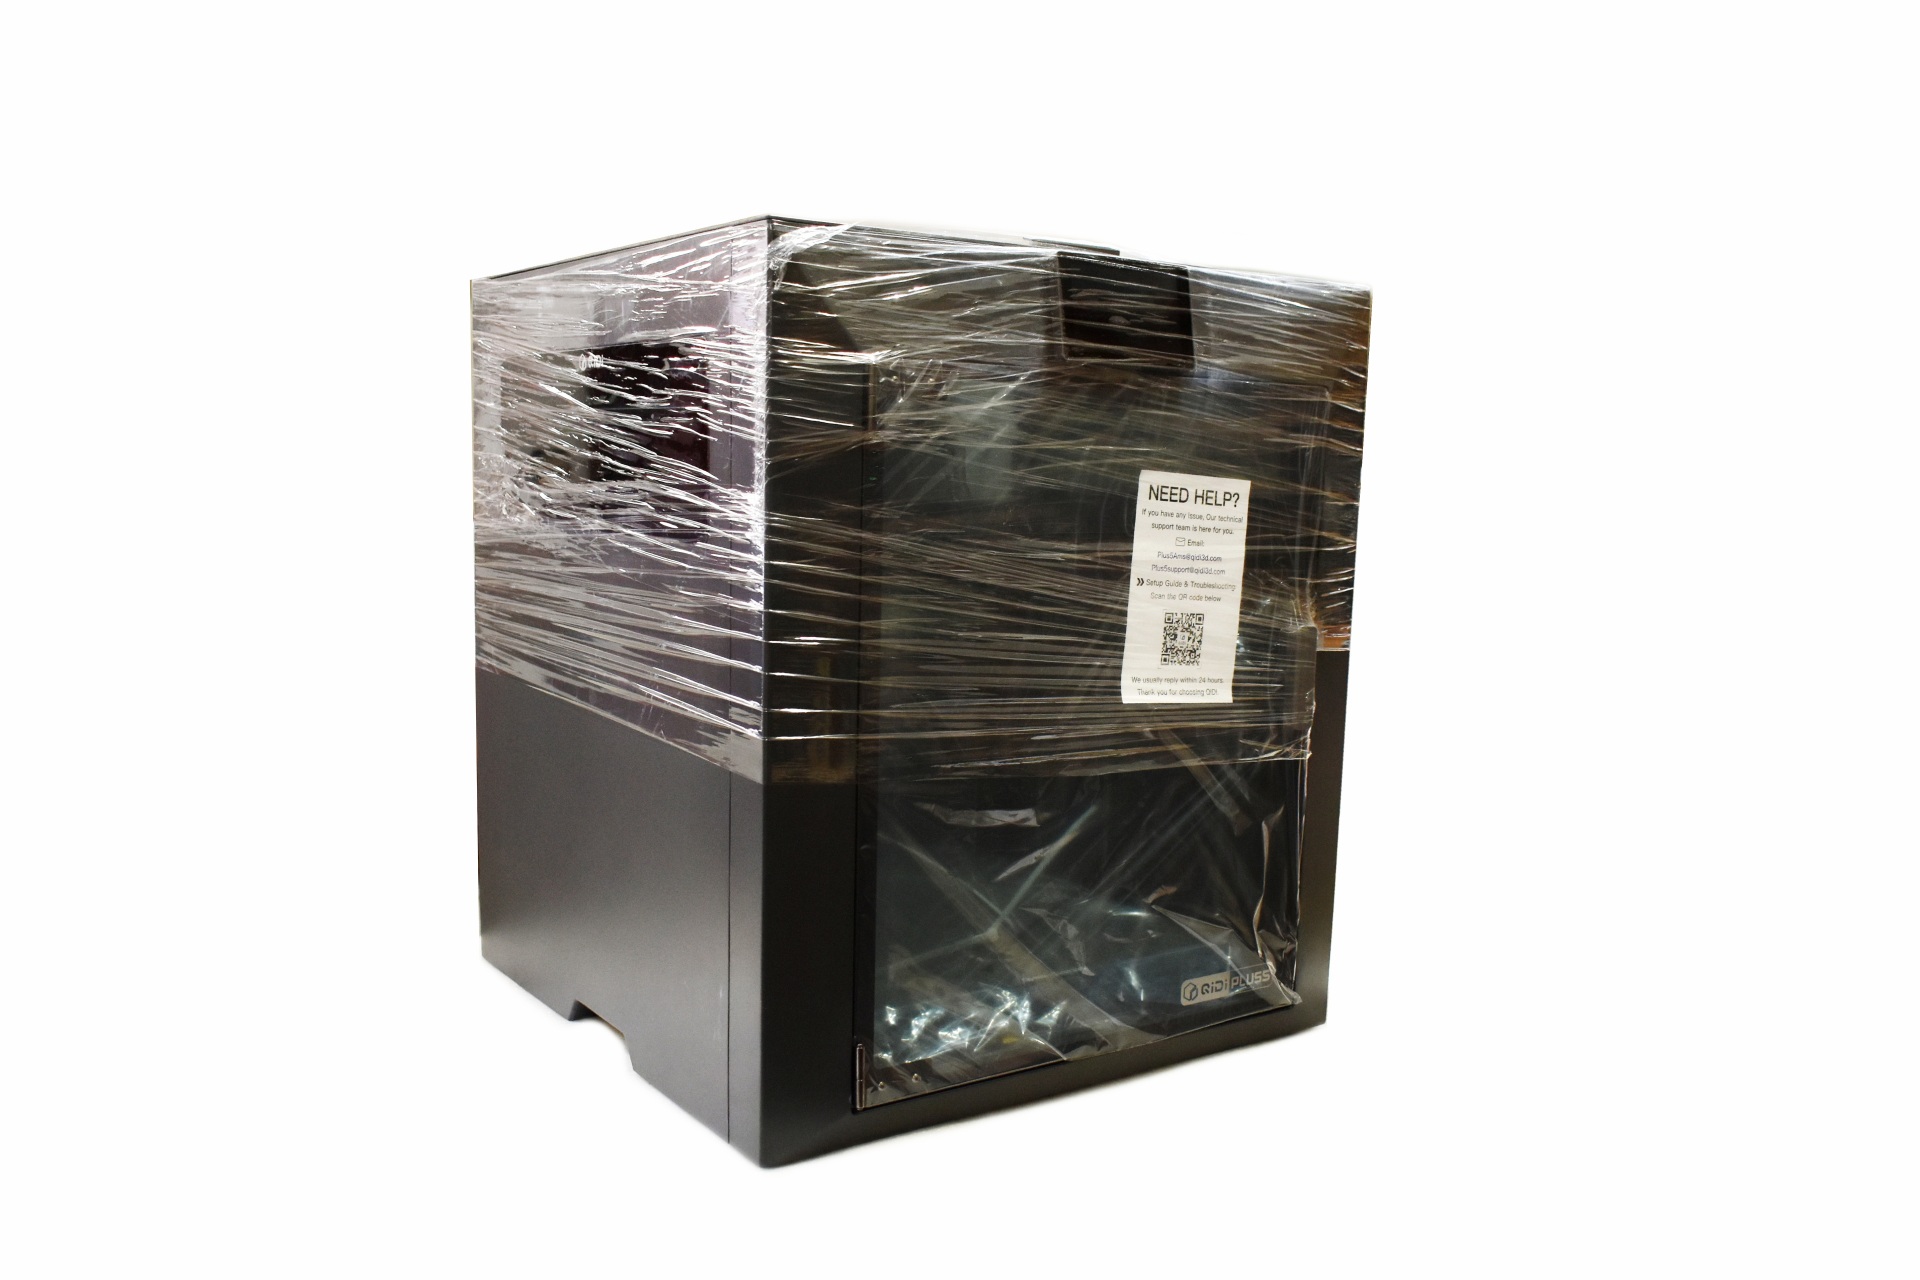
Typically, the Plus5 arrived wrapped in plastic but this time there's a piece of paper at the front with contact details for the specific QIDI support team looking after this model.


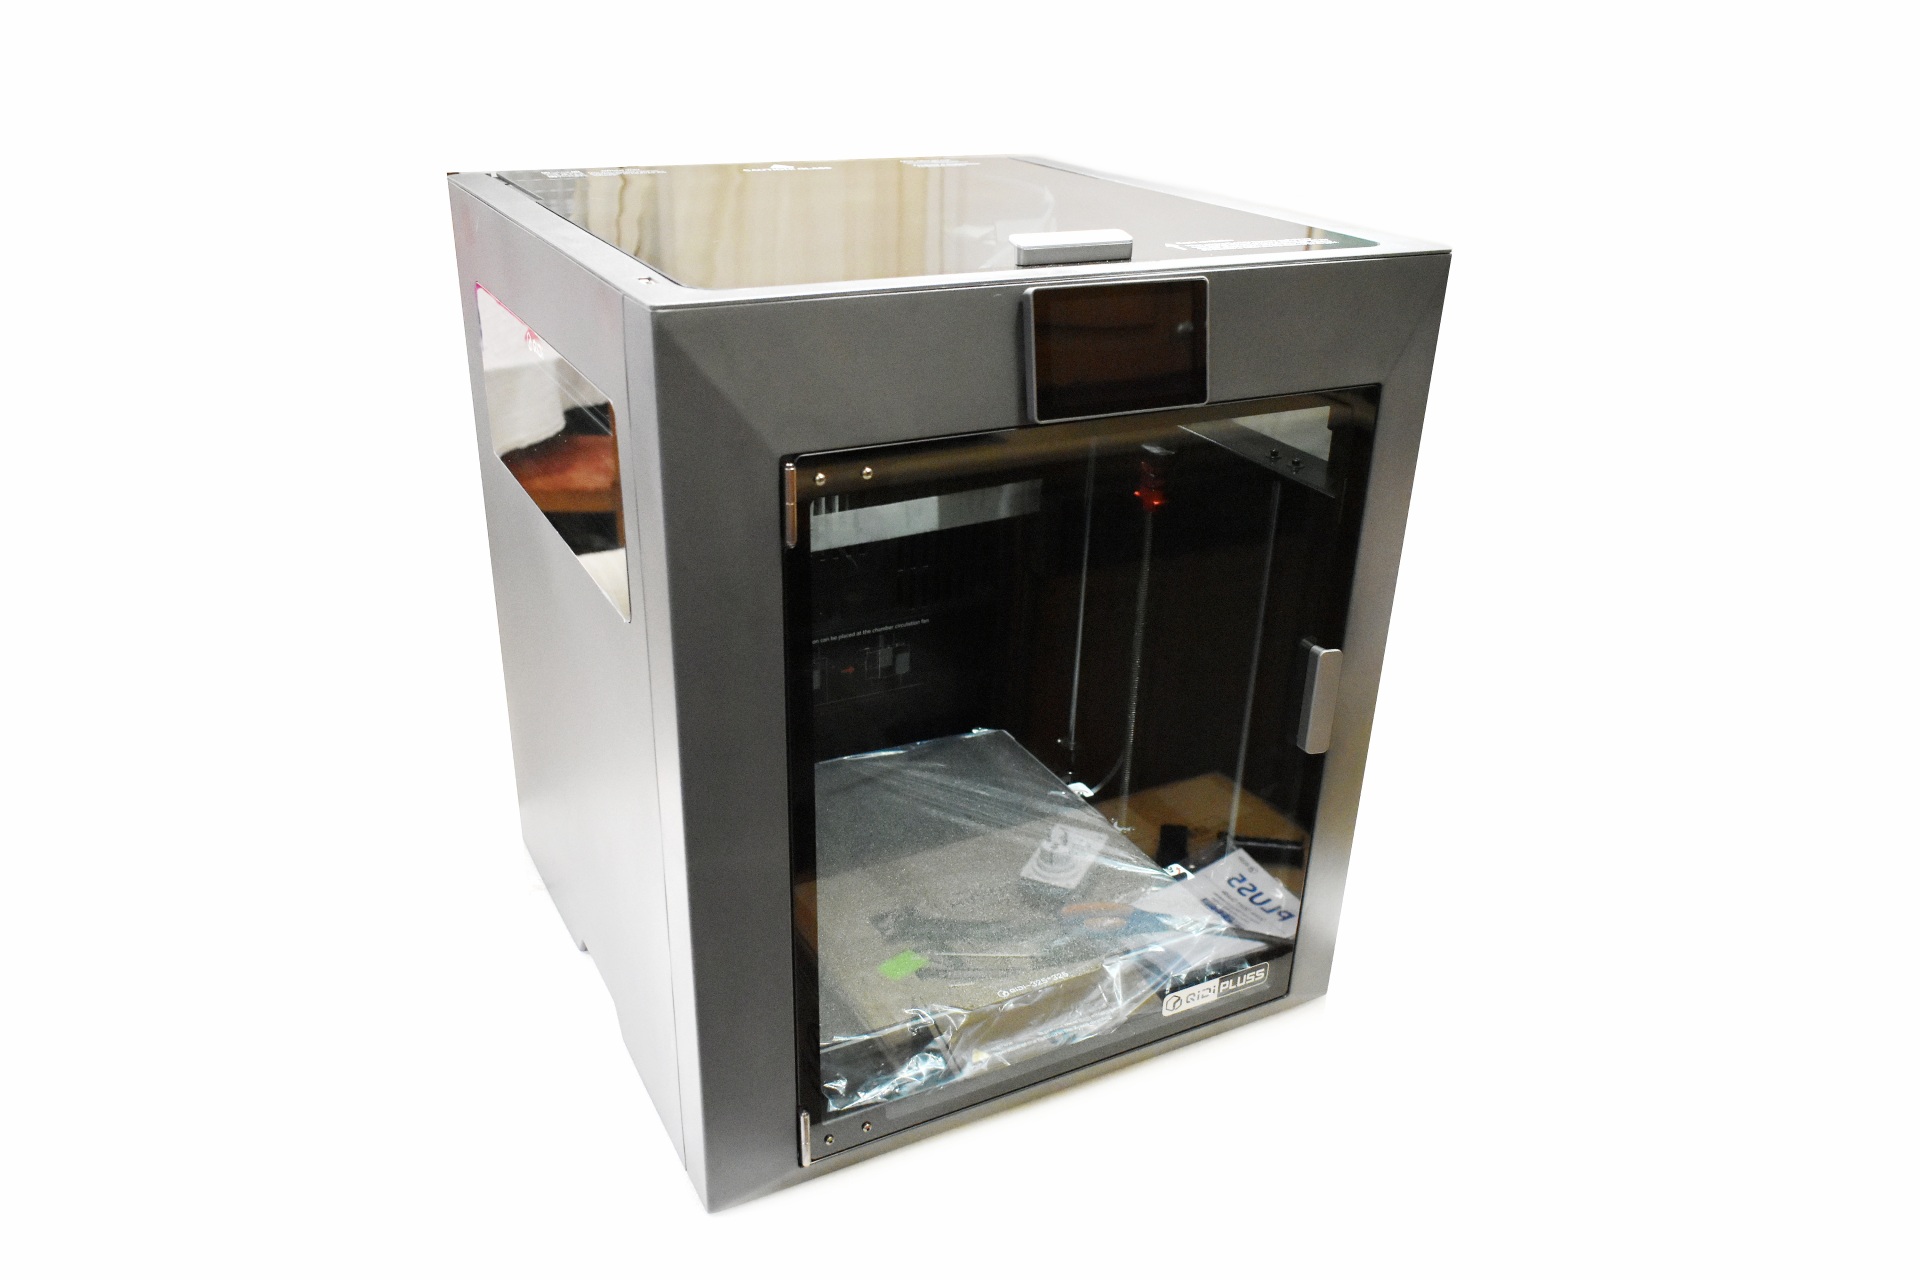
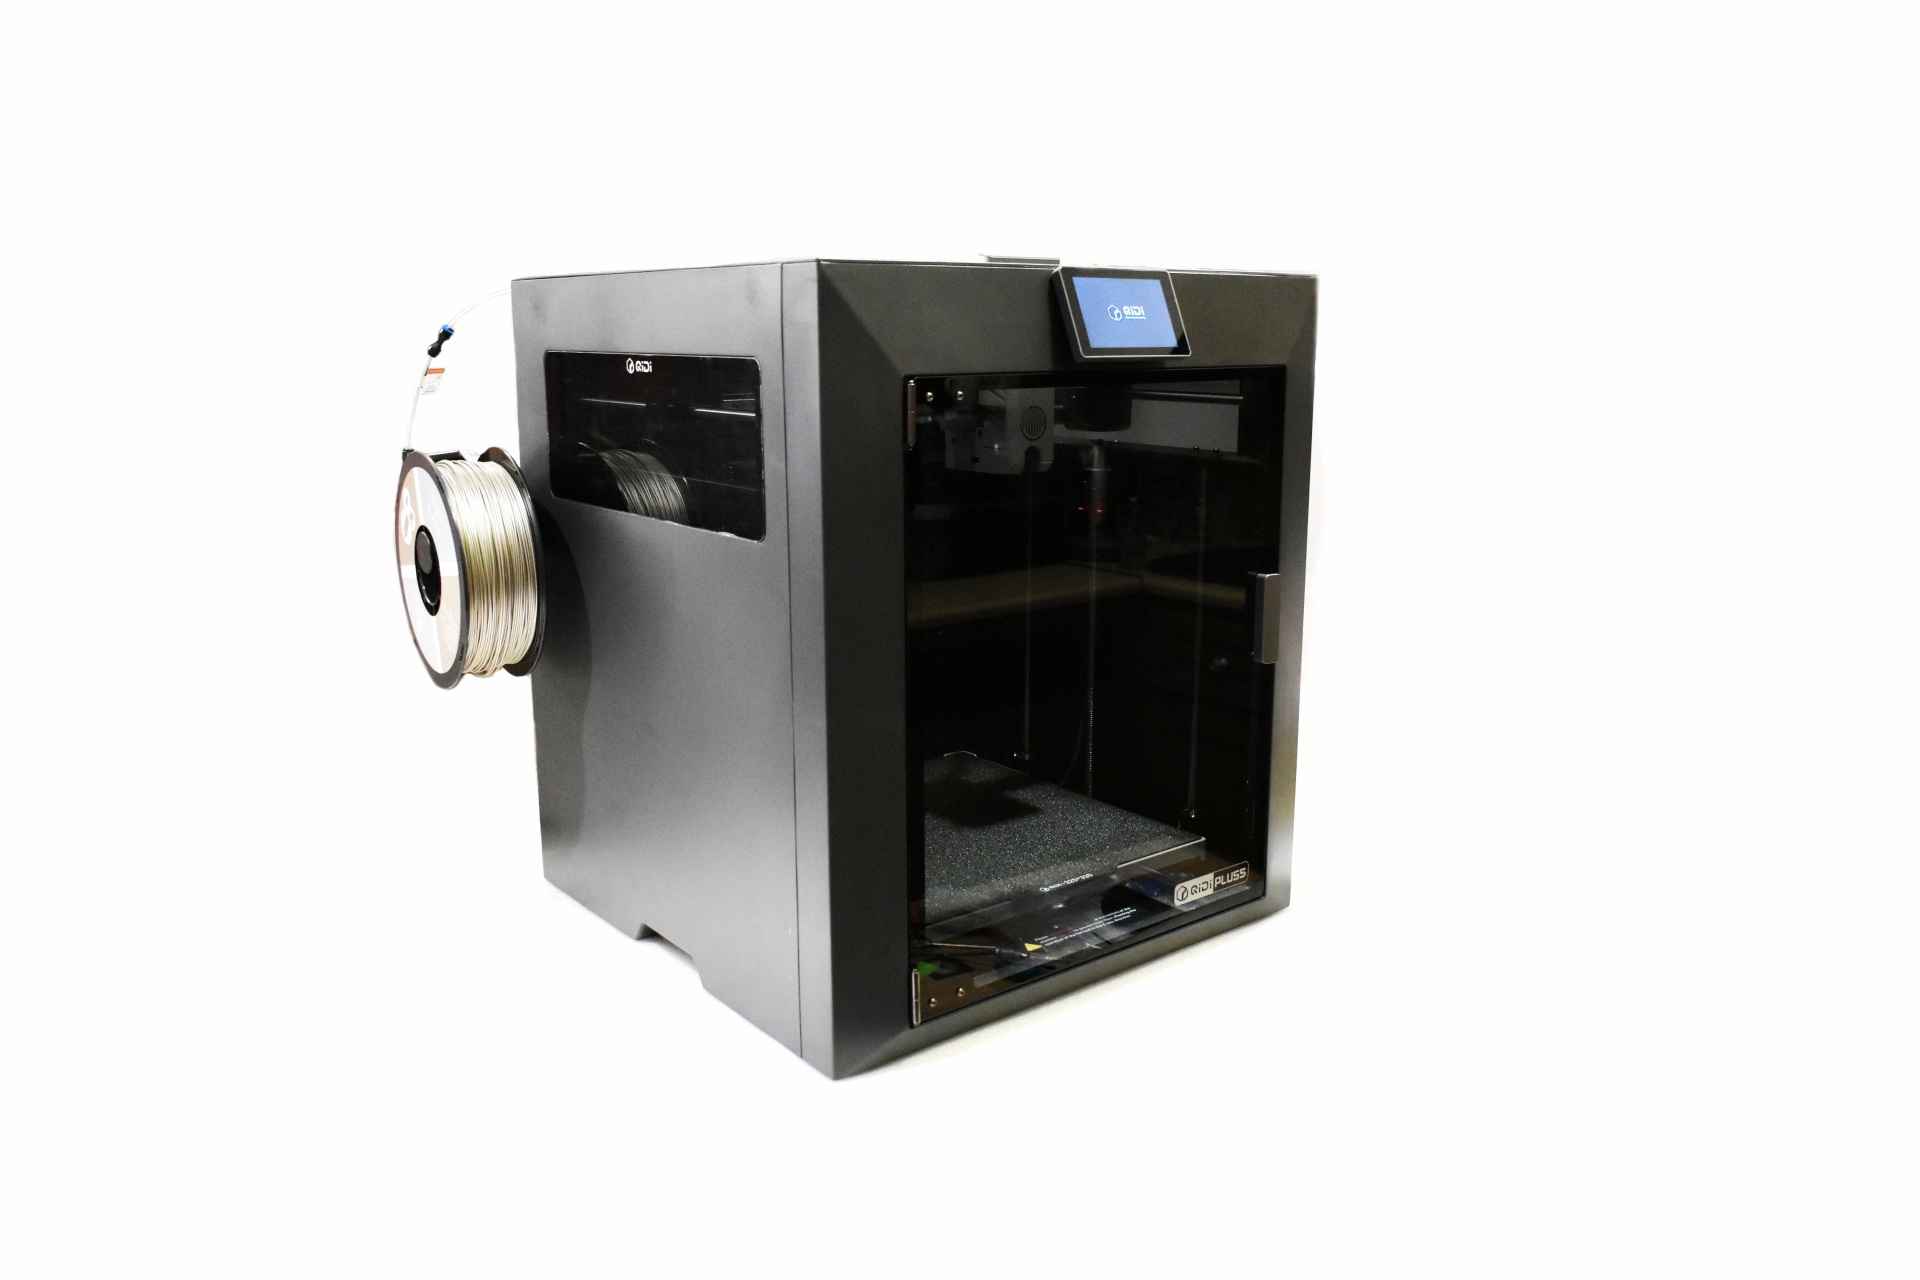
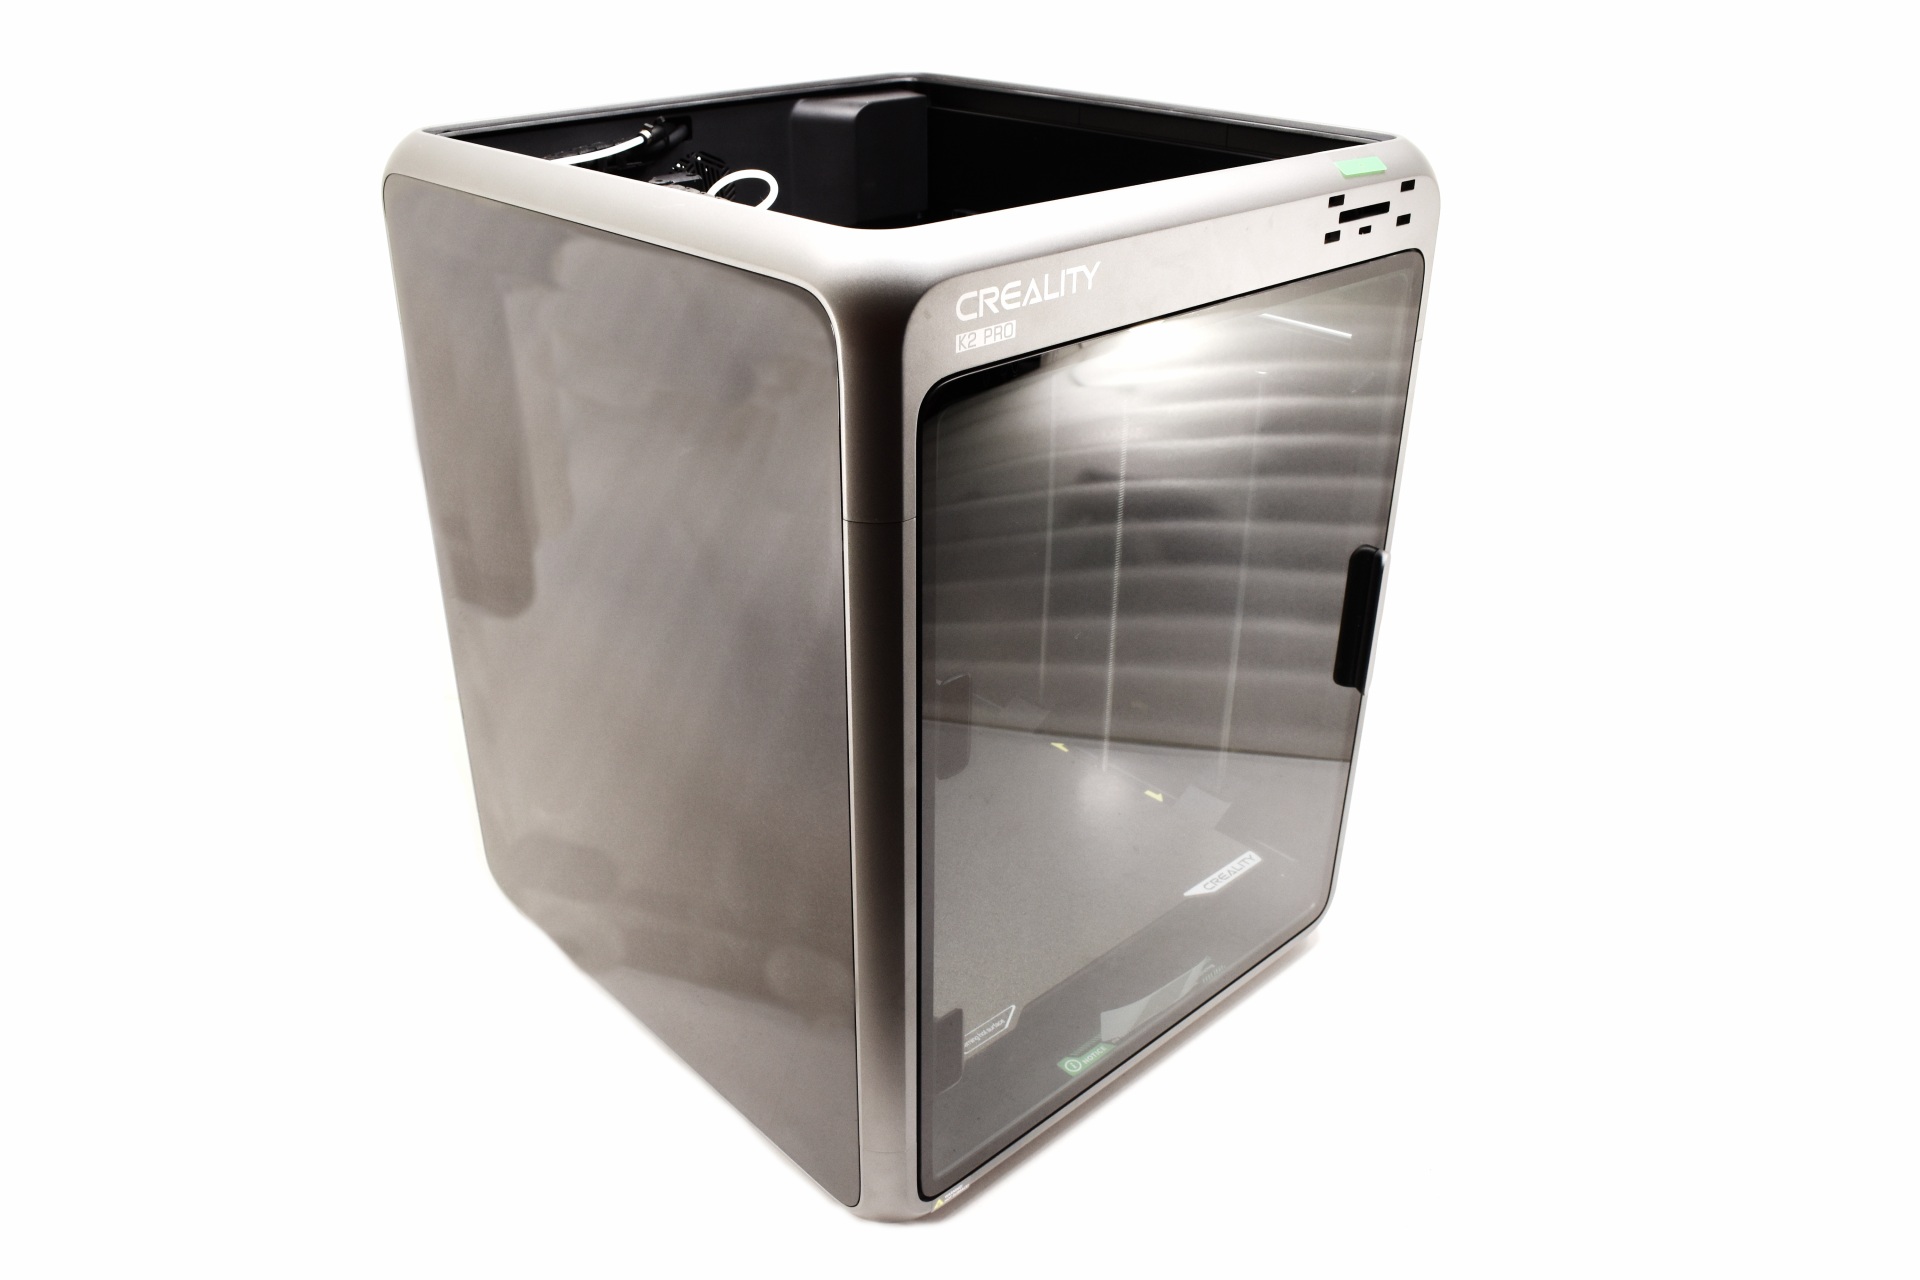
The 500x488x558mm chassis is primarily made out of aluminum and metal and weighs 29Kg.


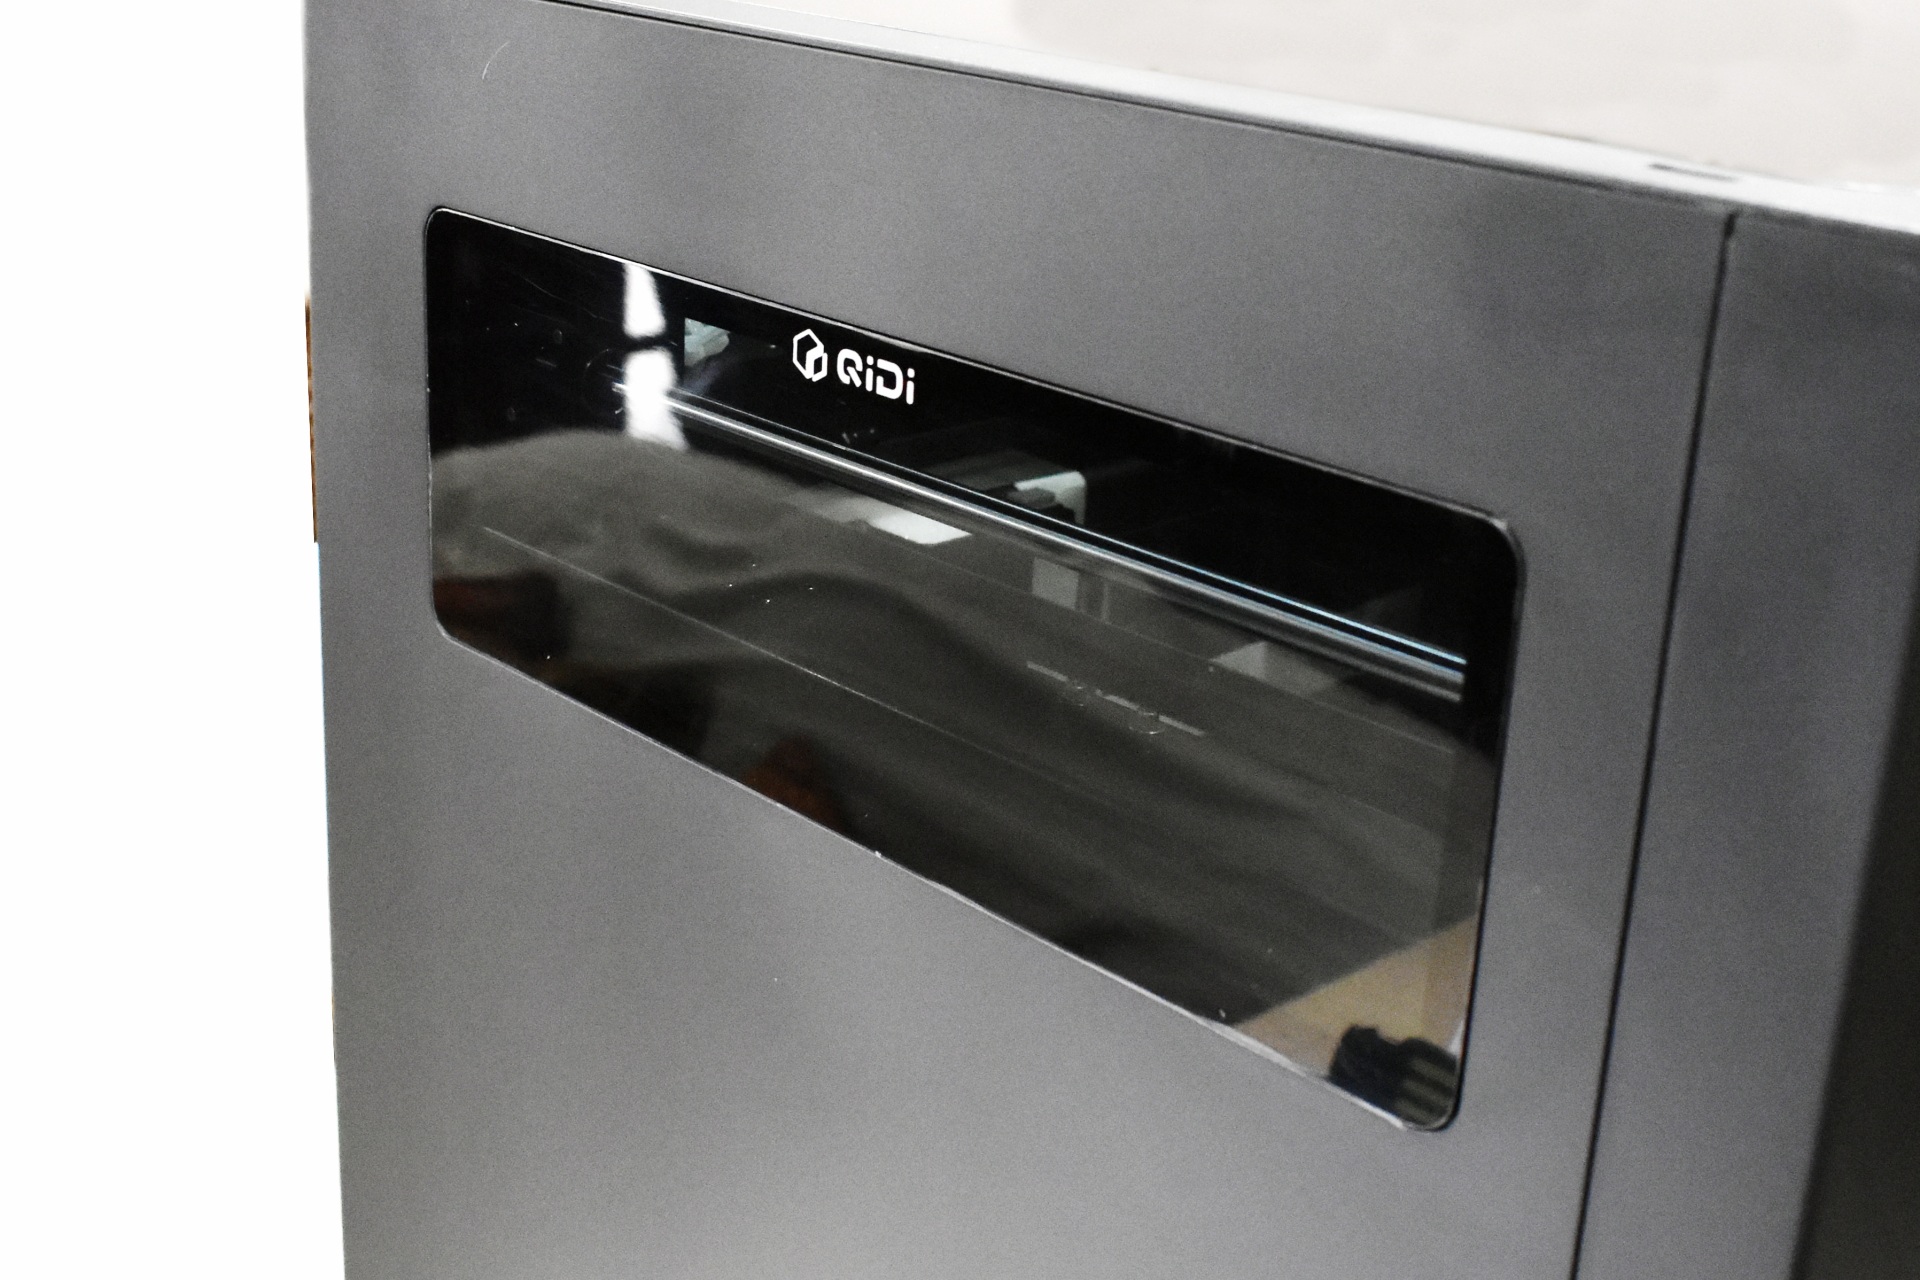
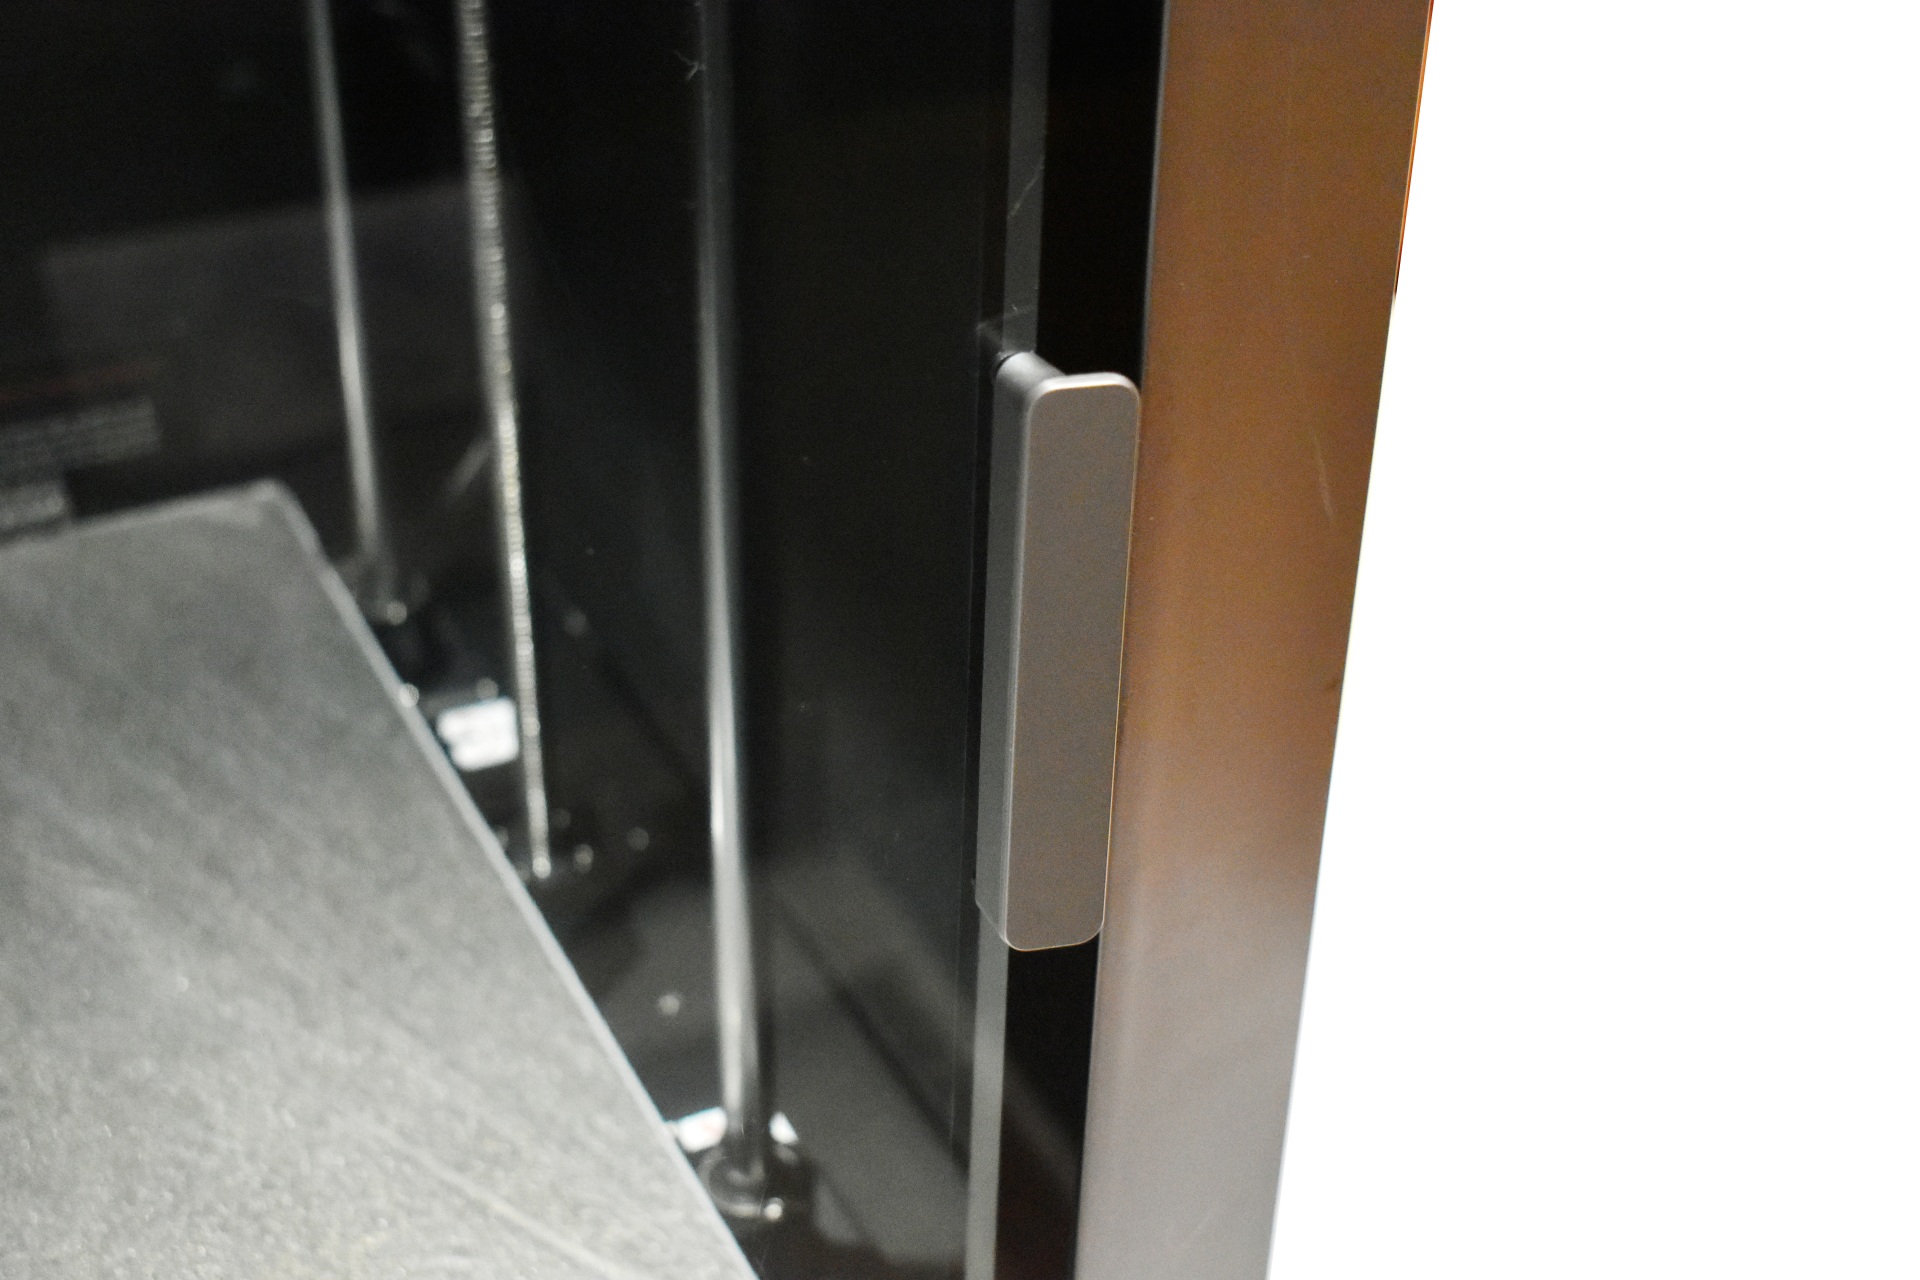
What I like about the latest QIDI models is the addition of clear panels on either side.


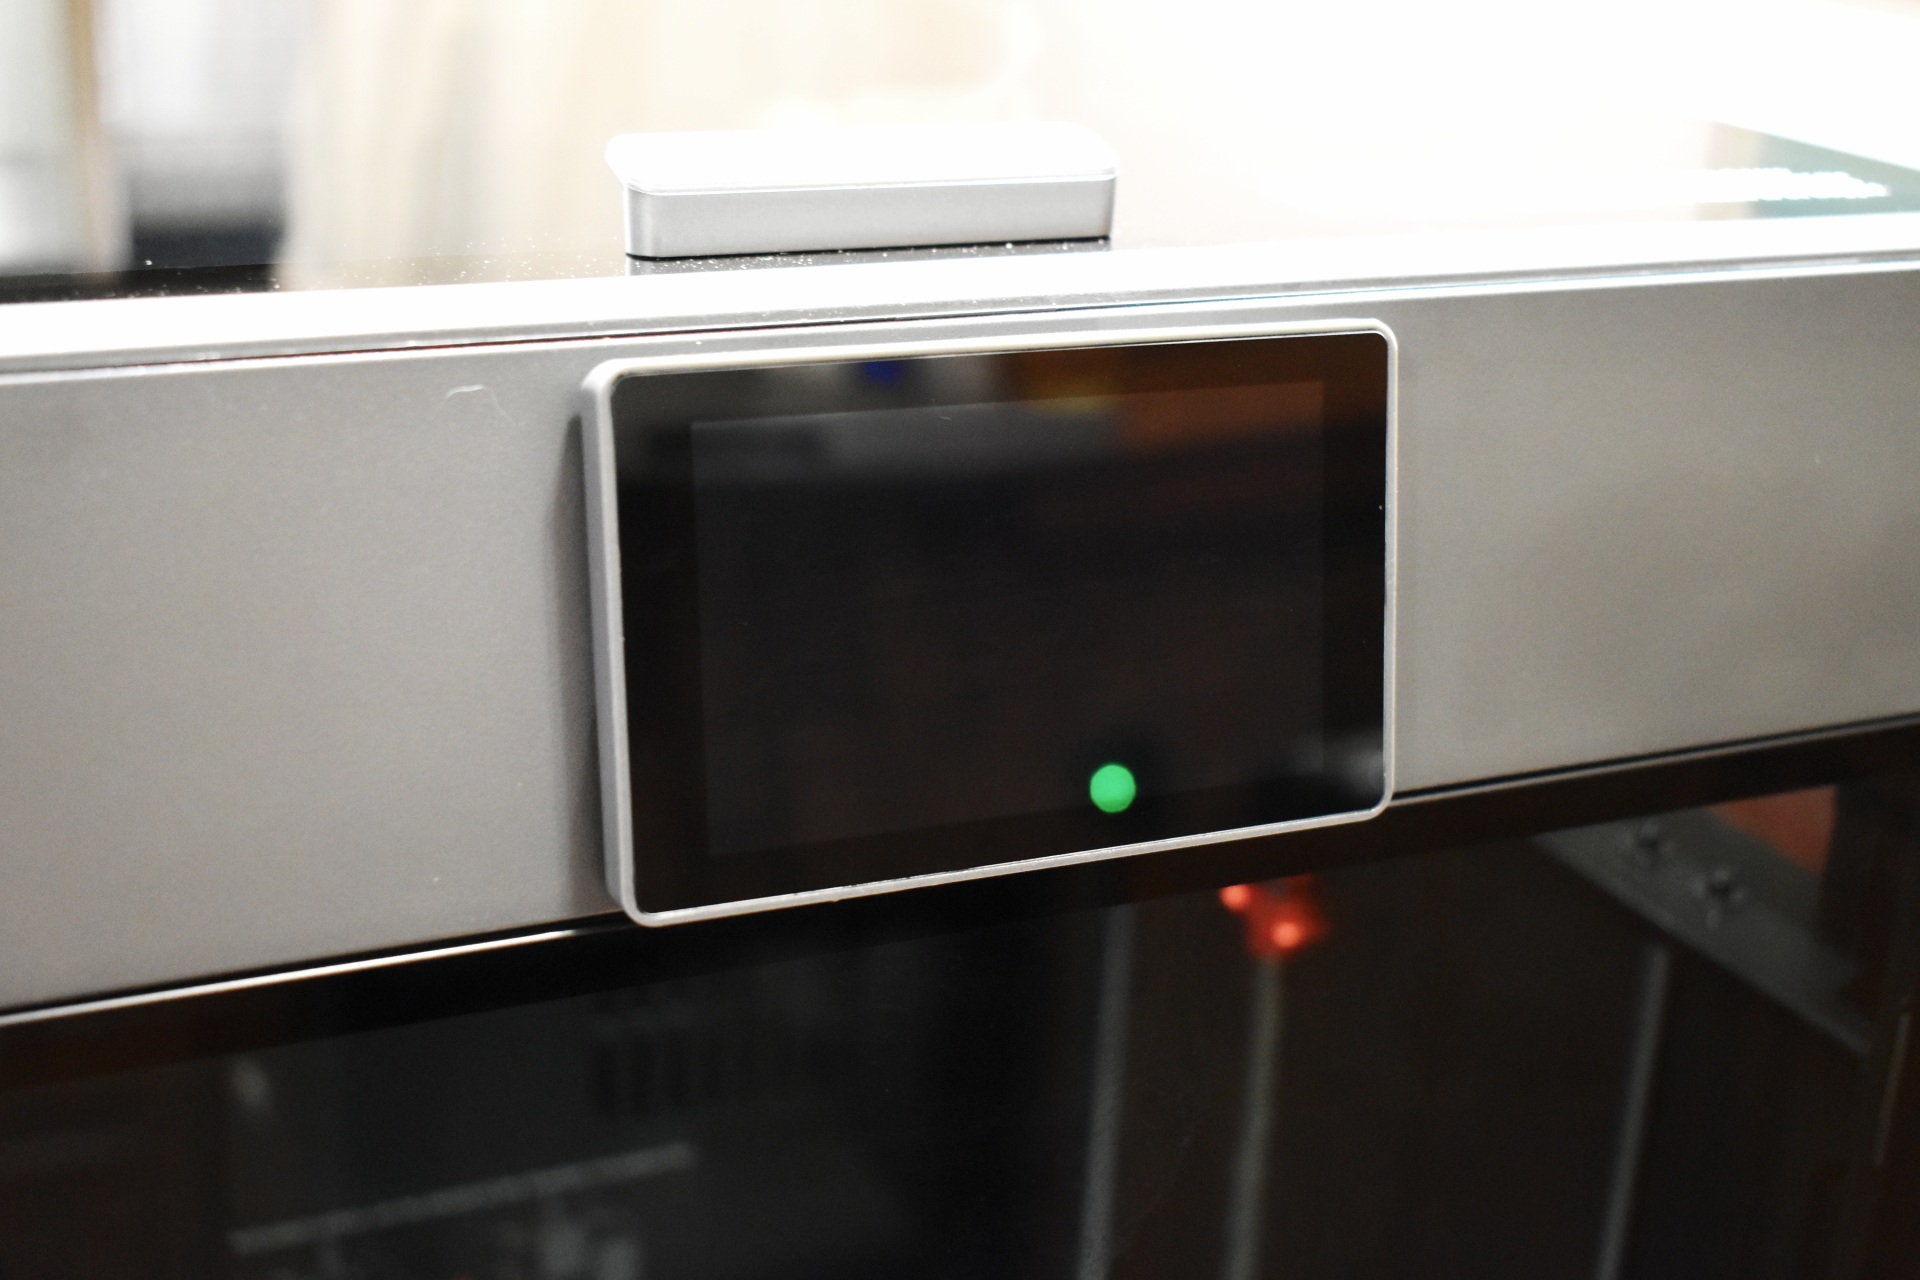
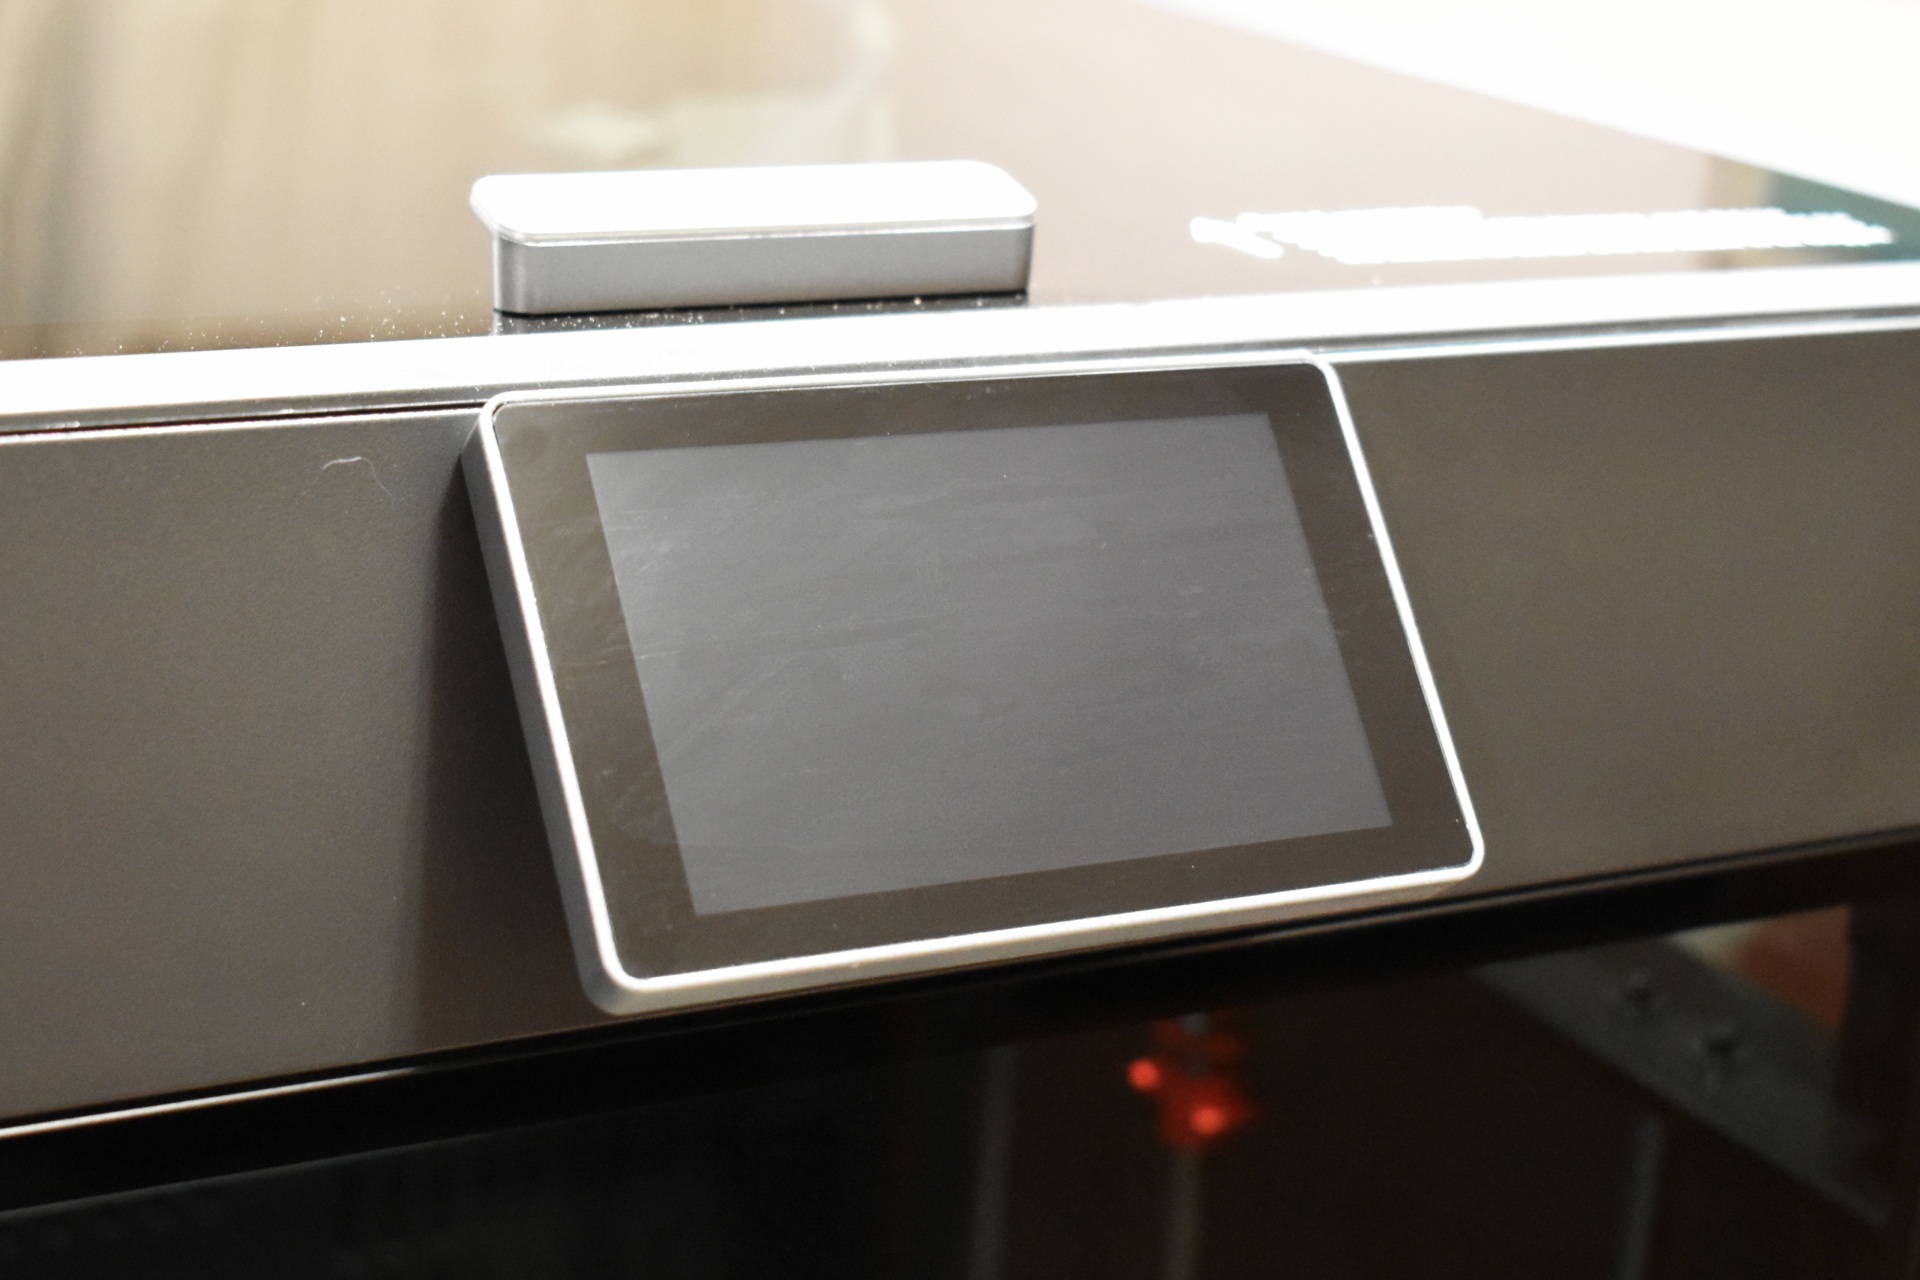
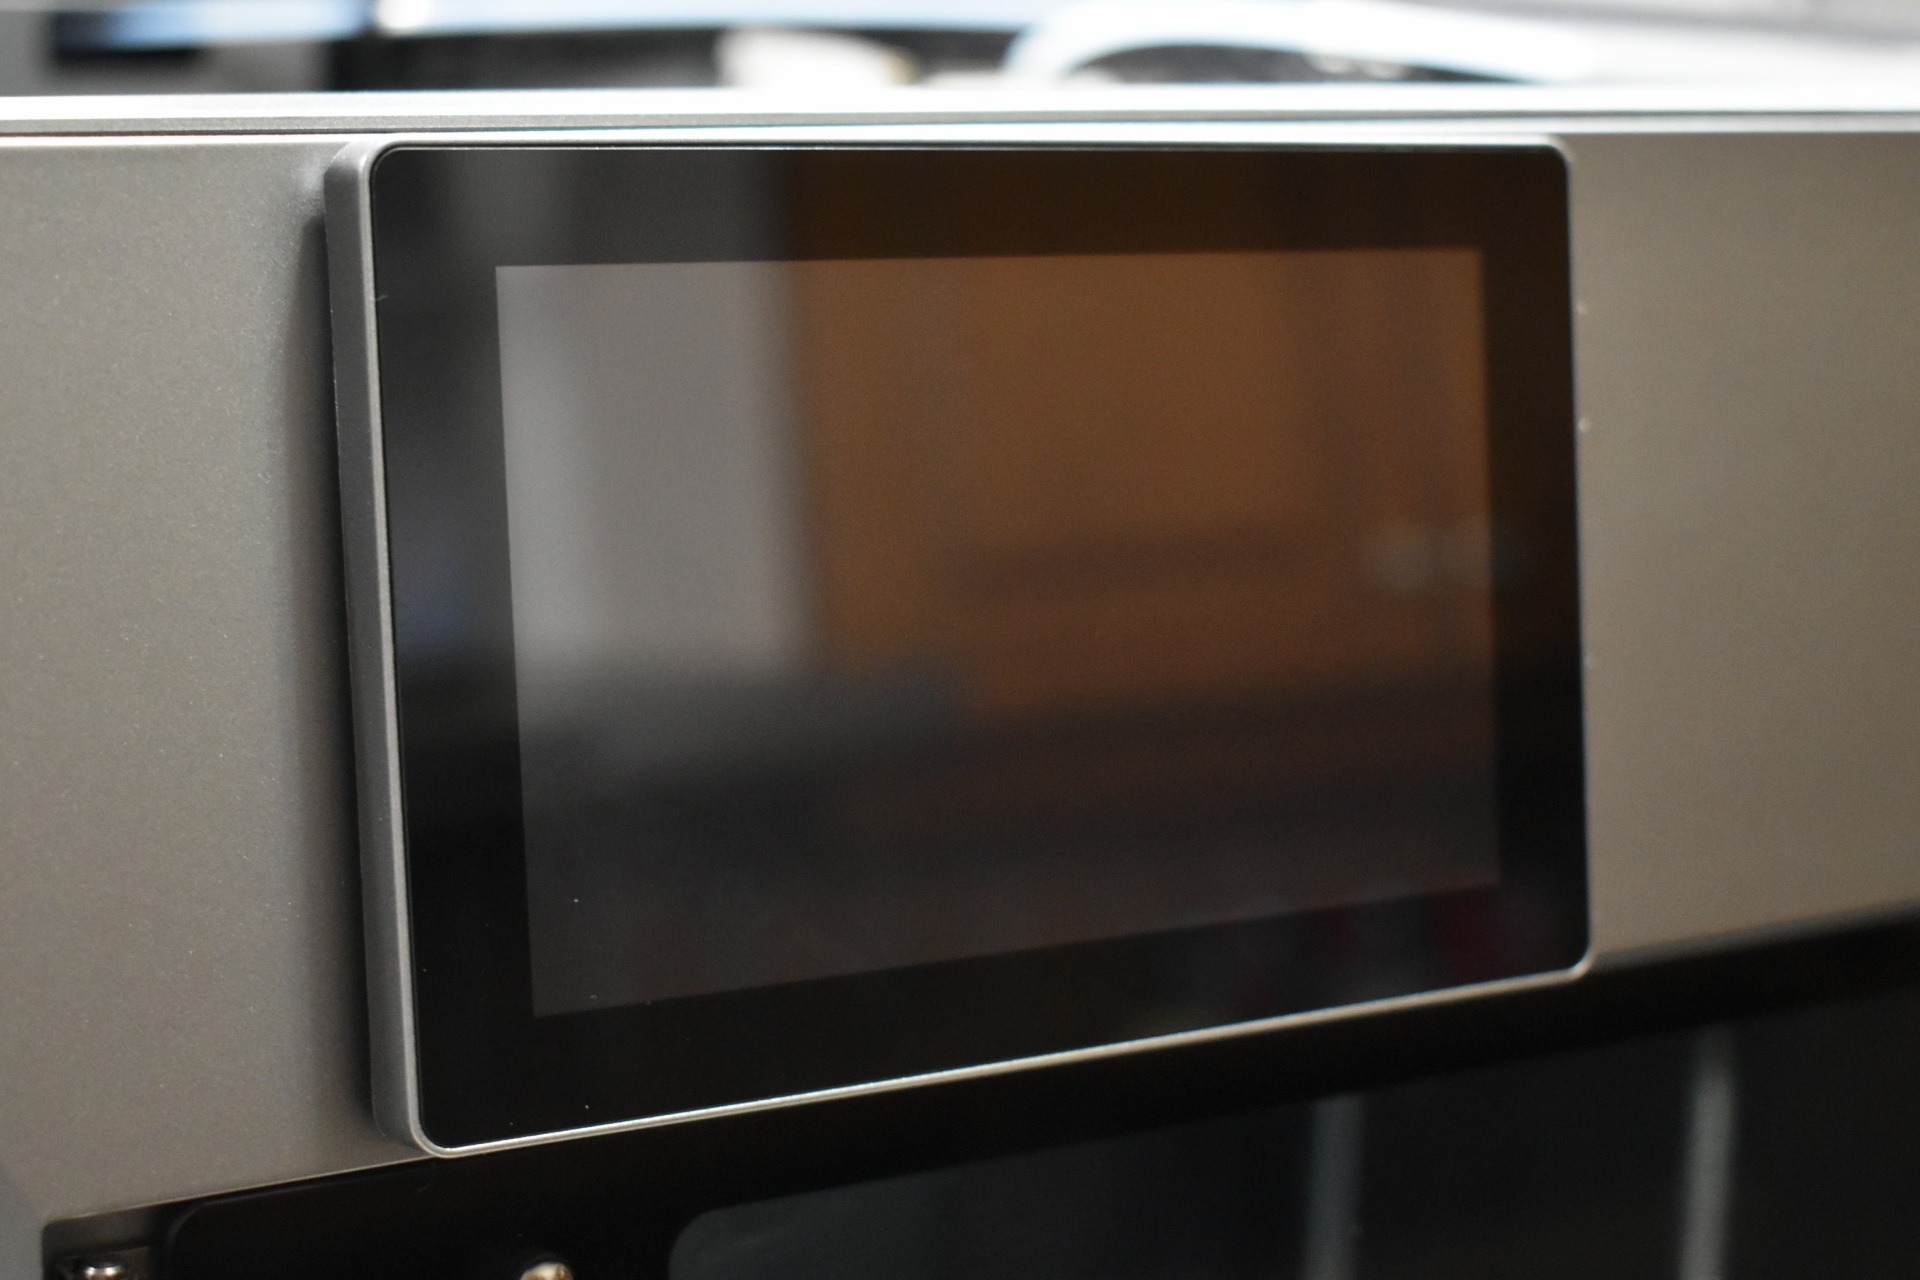
Just like previous models the Plus5 has a 4‑inch 800x480p touch screen on the top center (lifts up slightly).


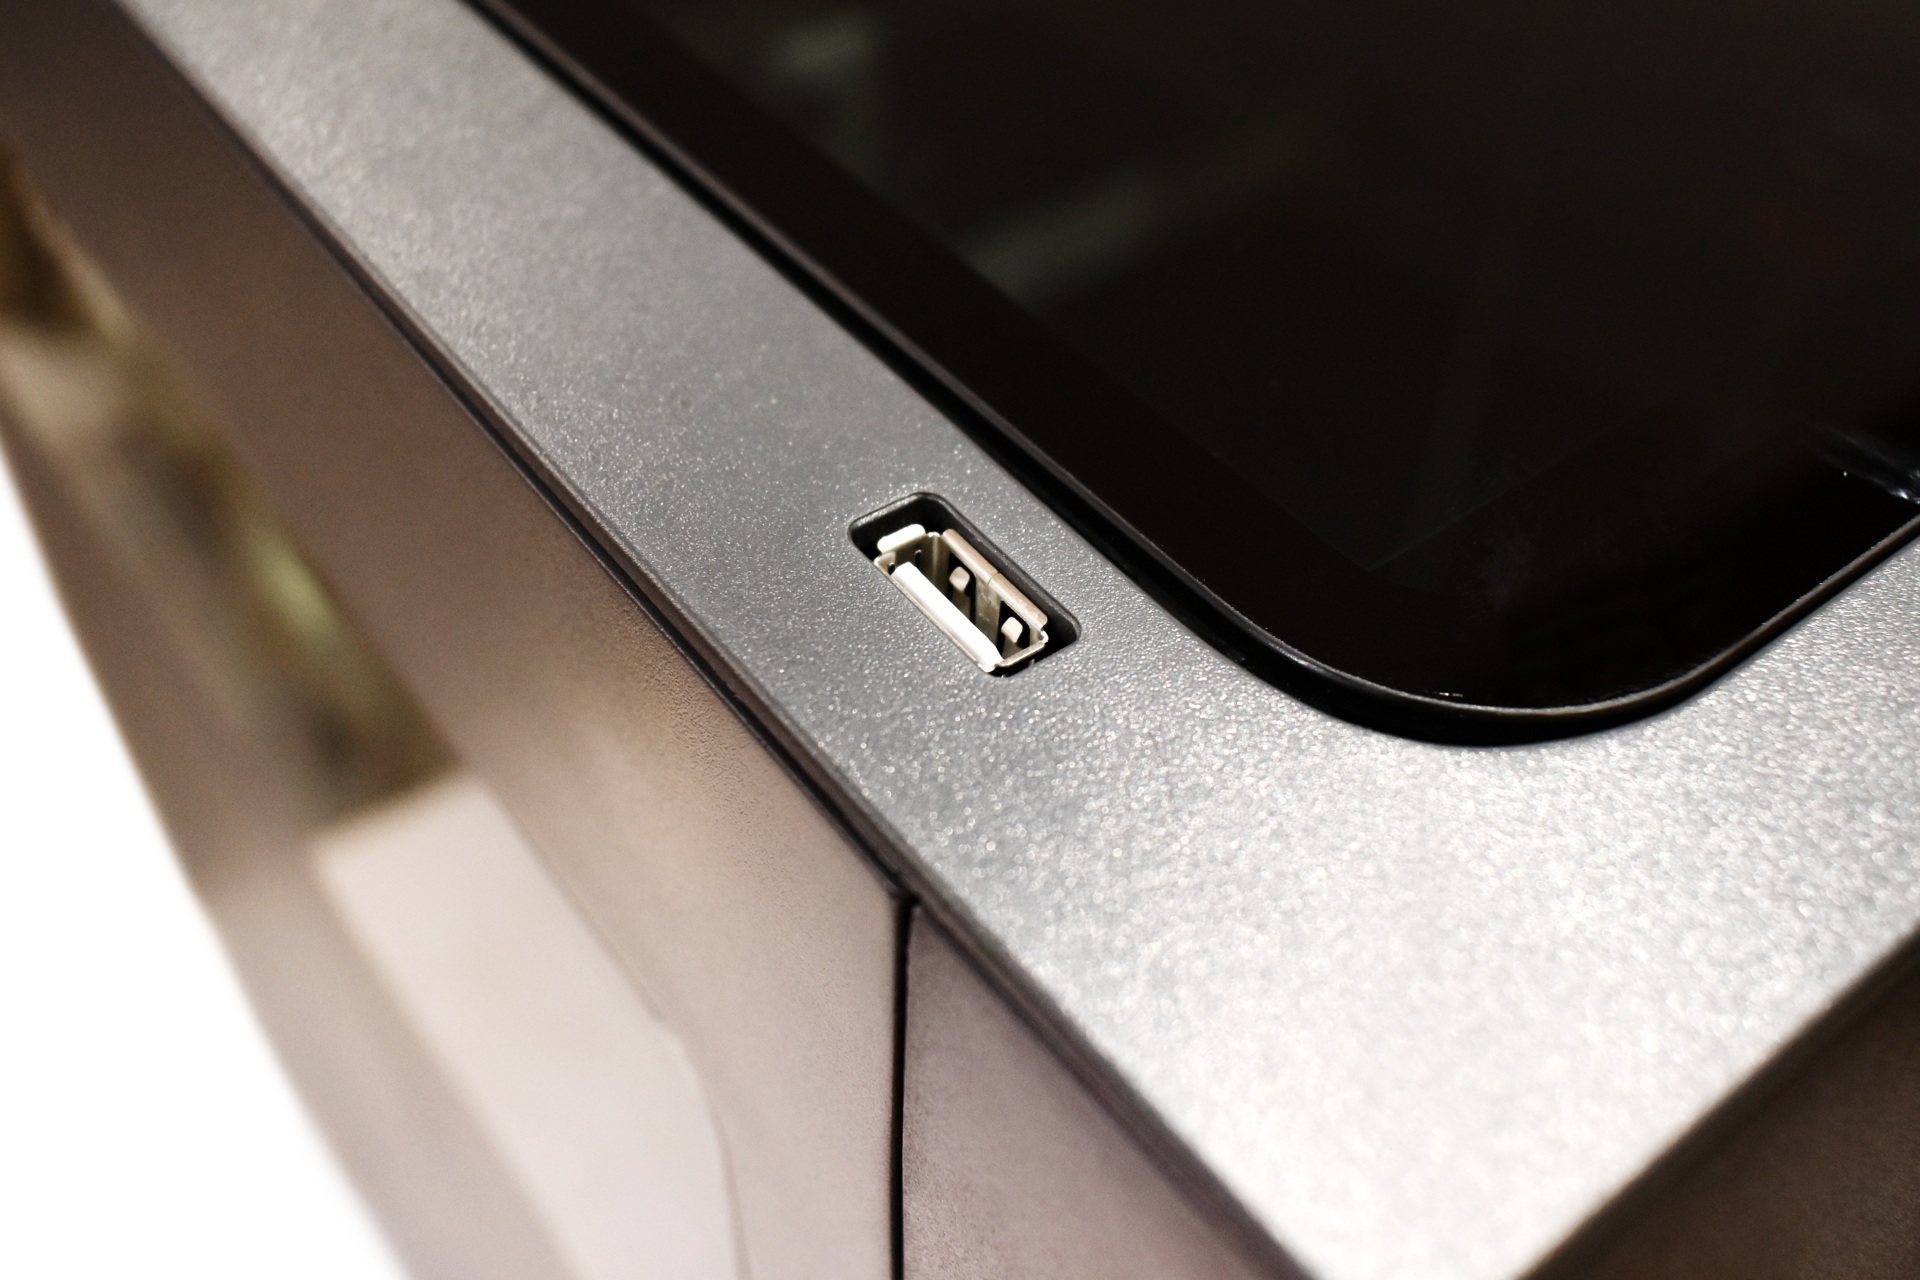
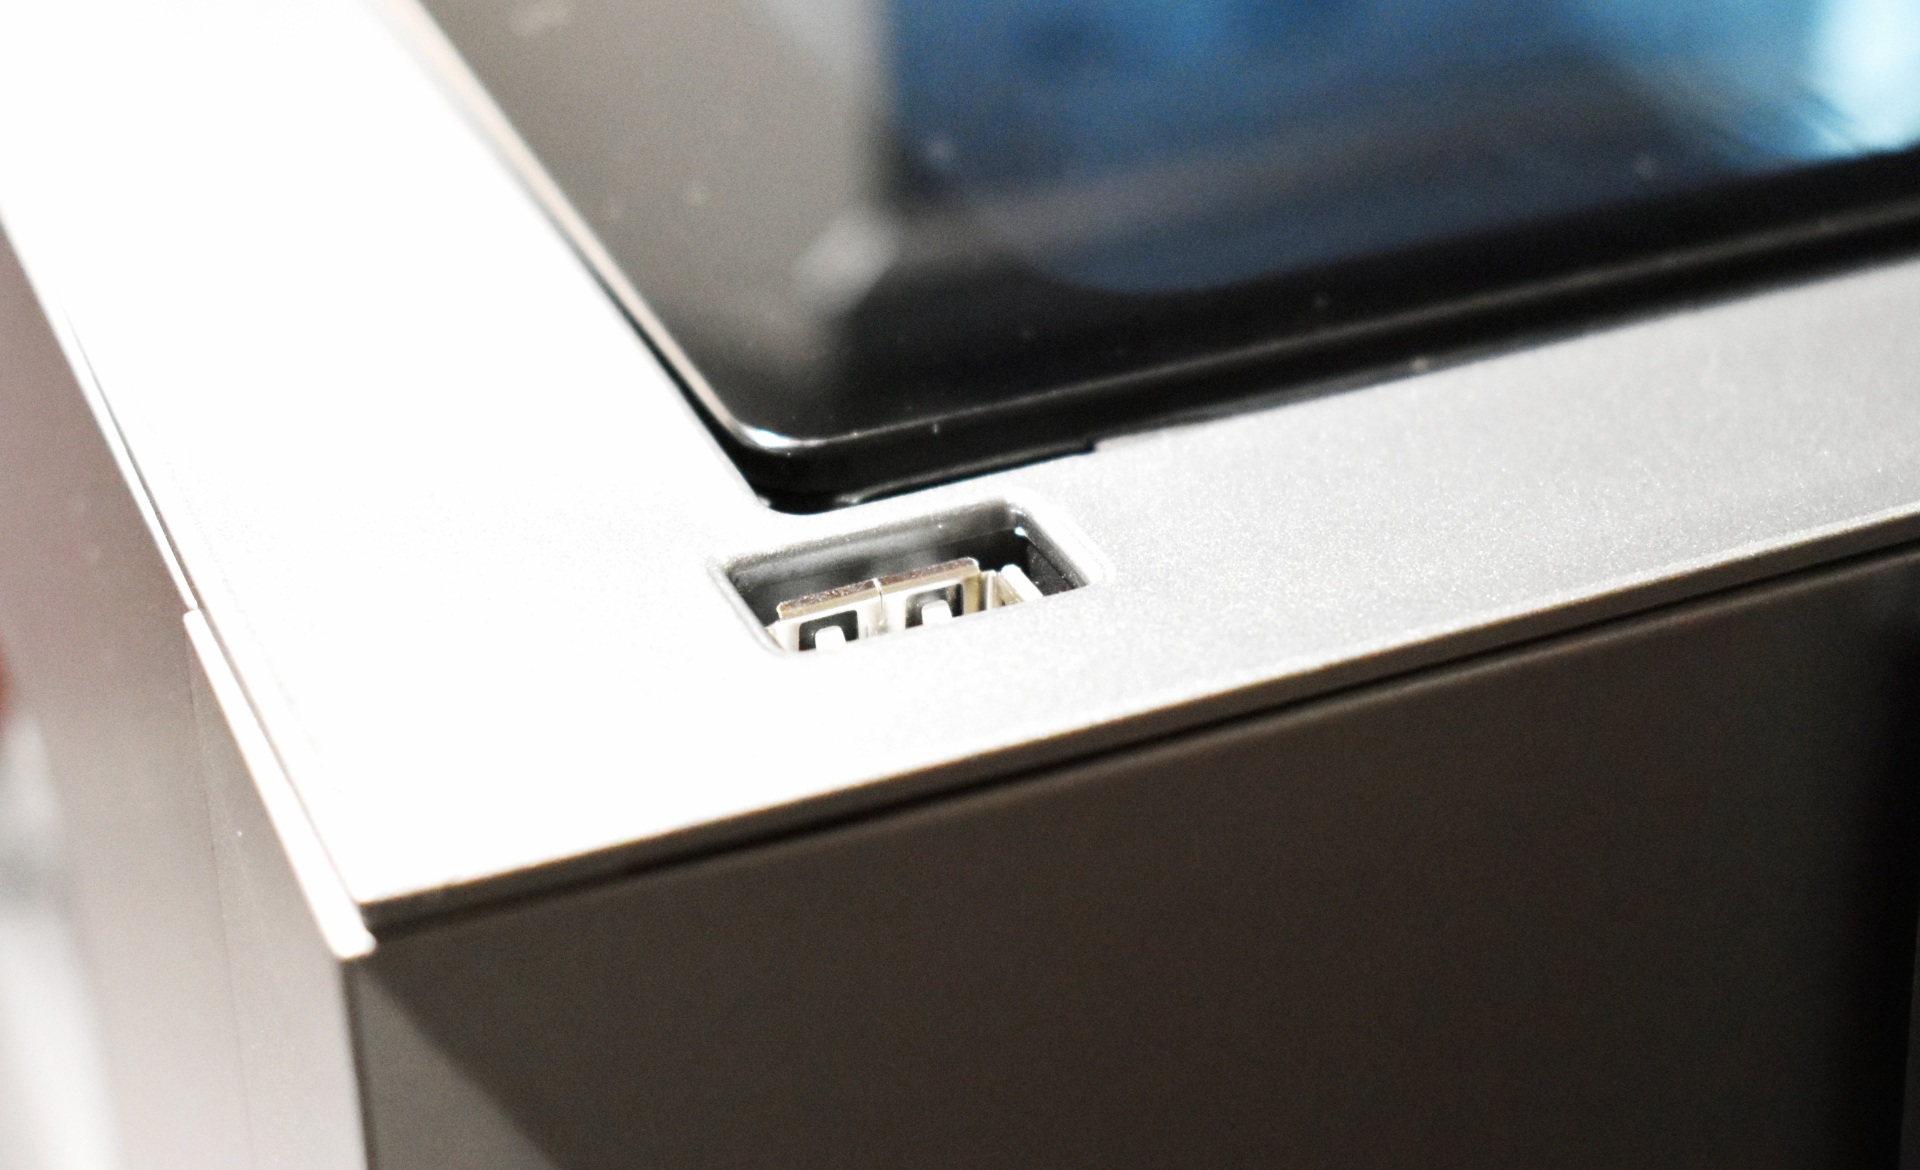
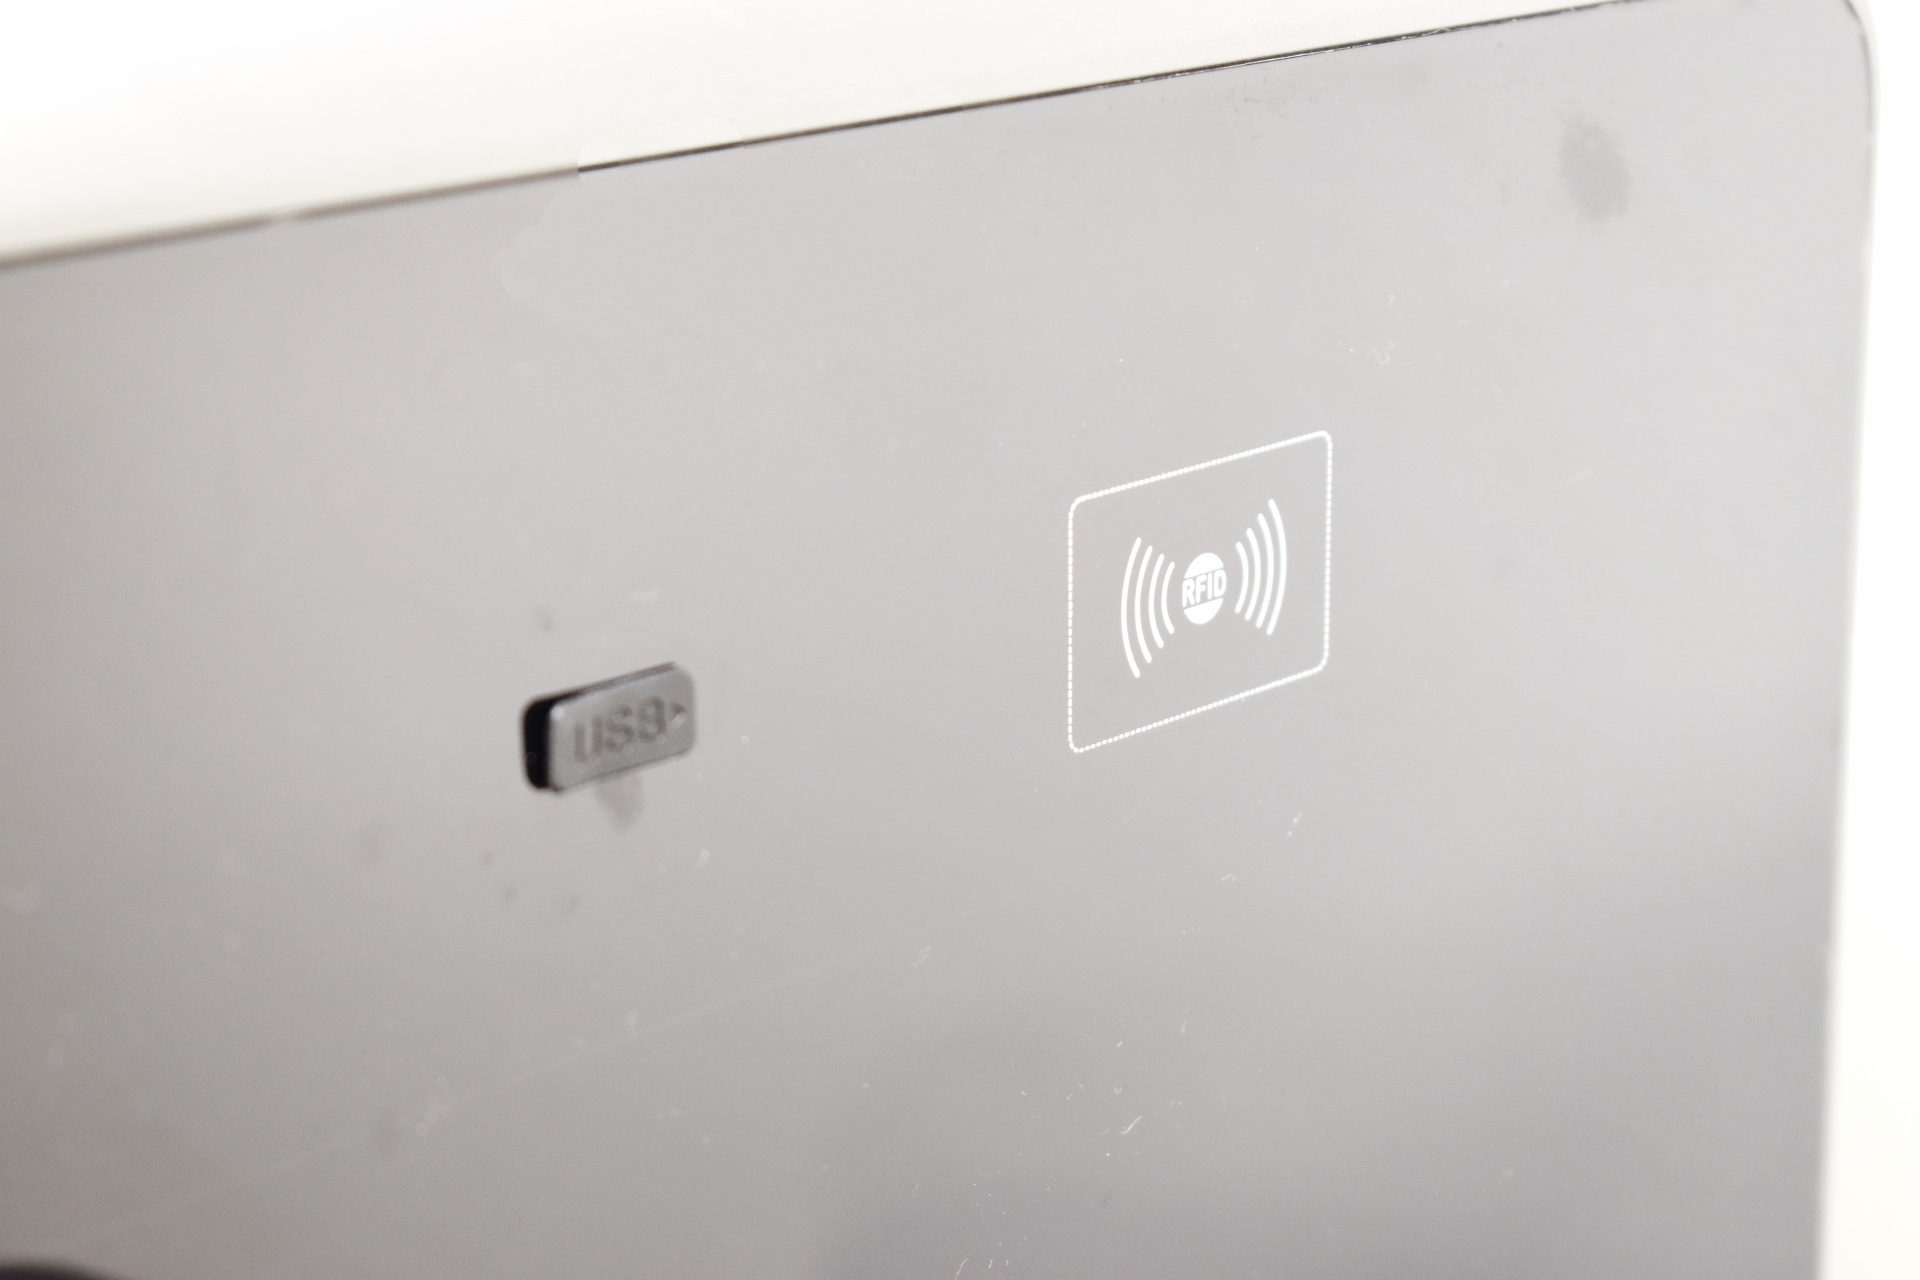
A USB 2.0 port is located on the far left top as seen above.


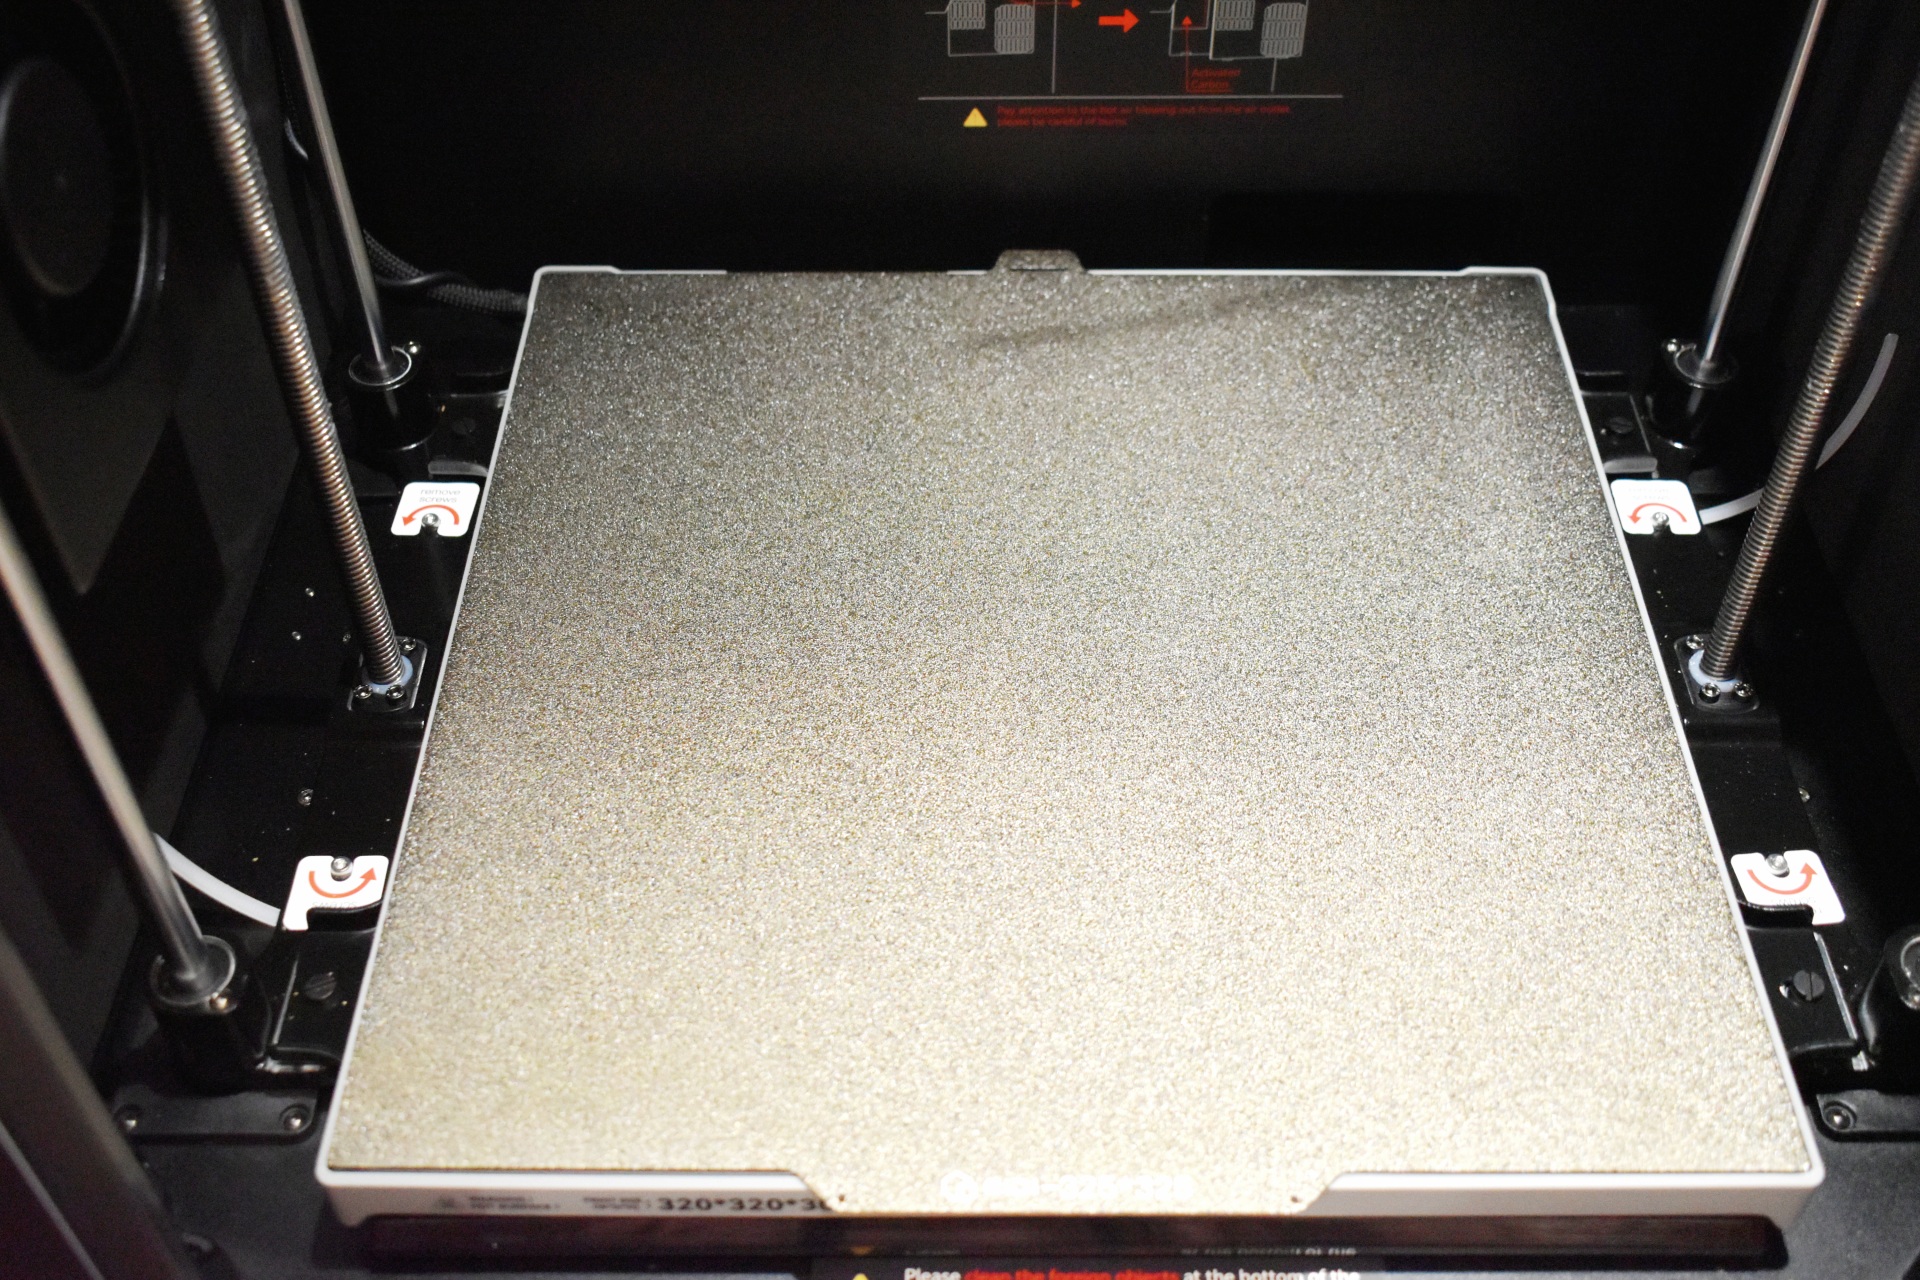
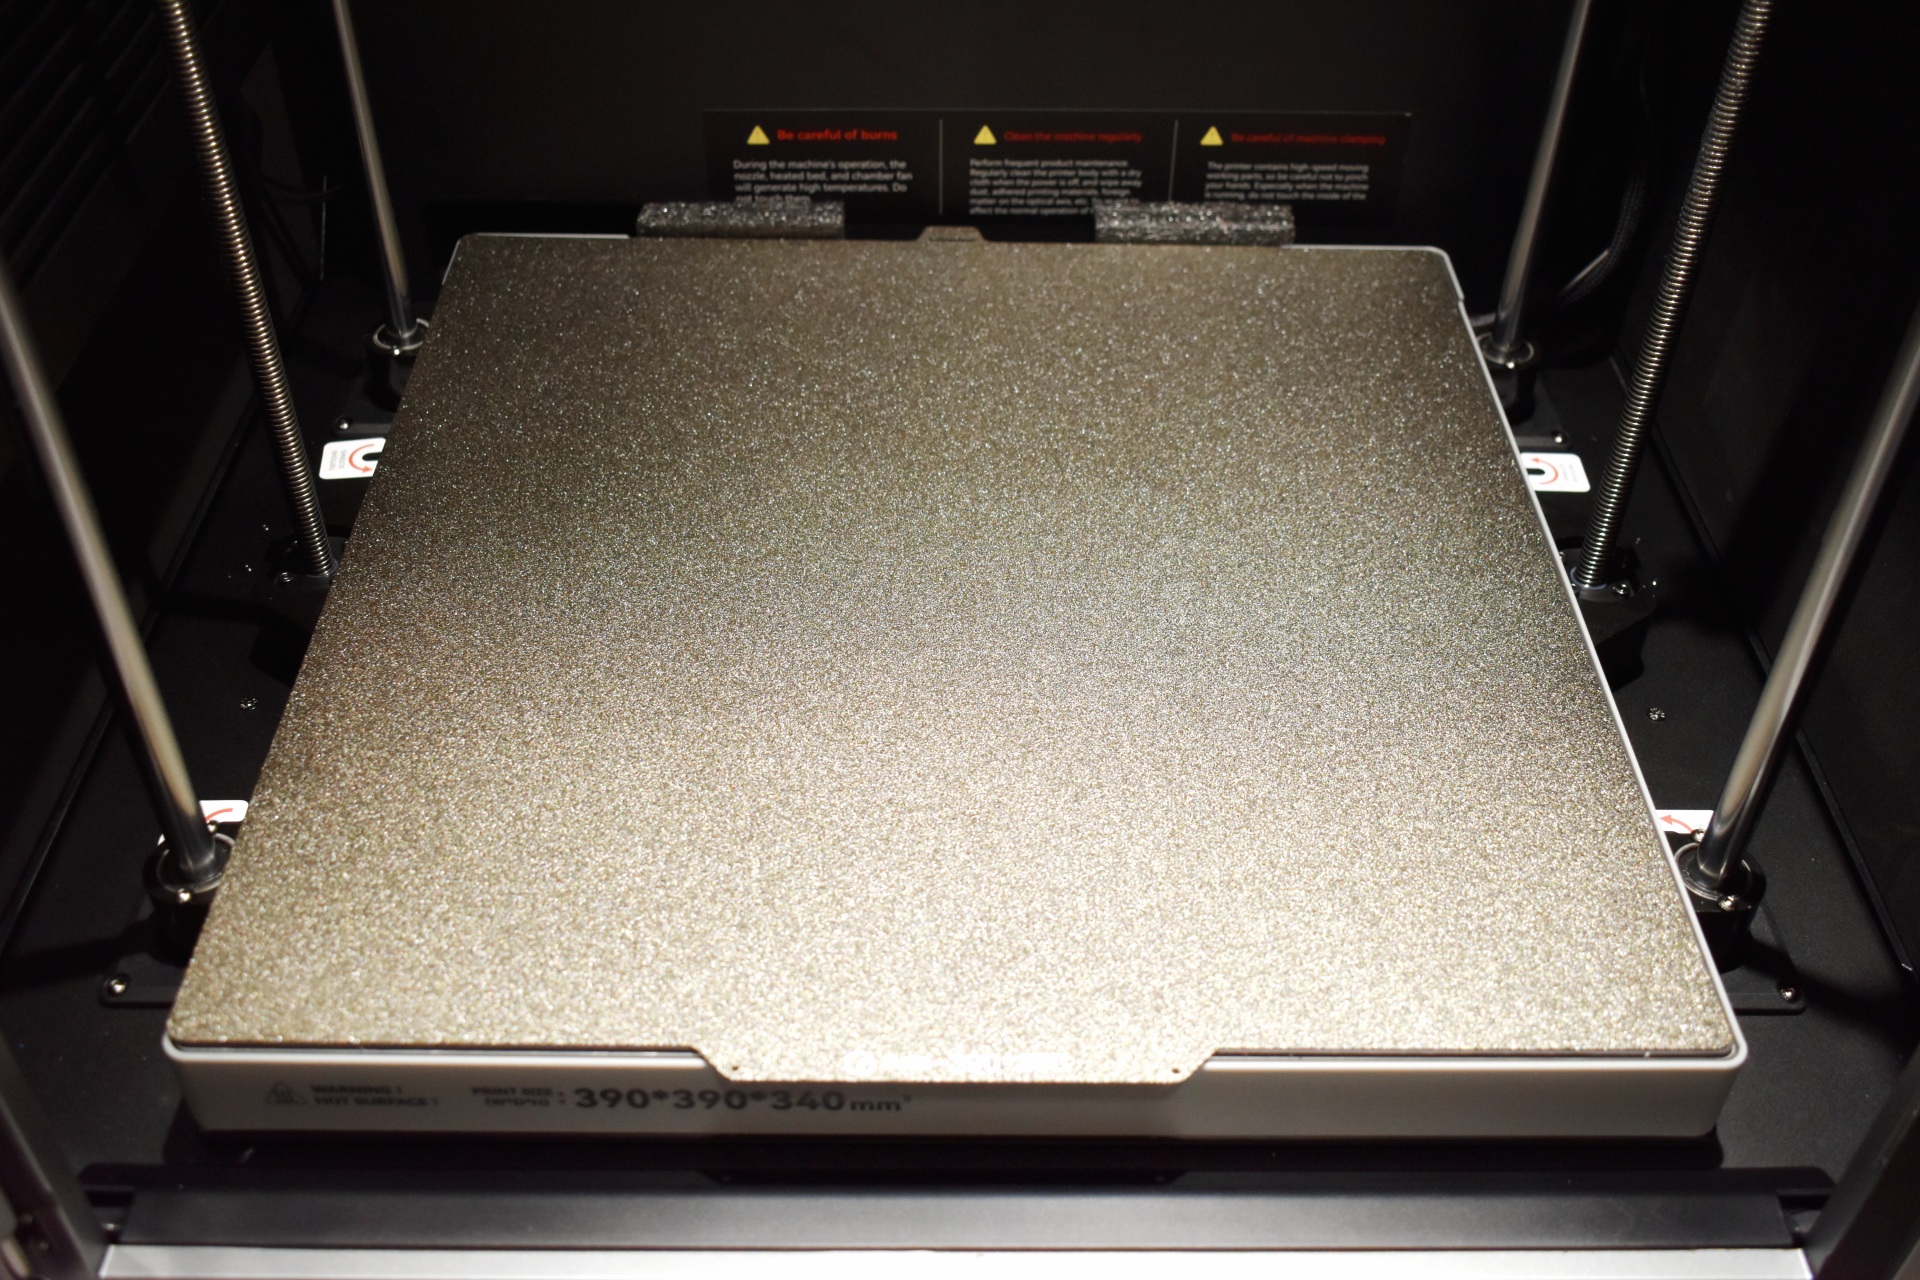
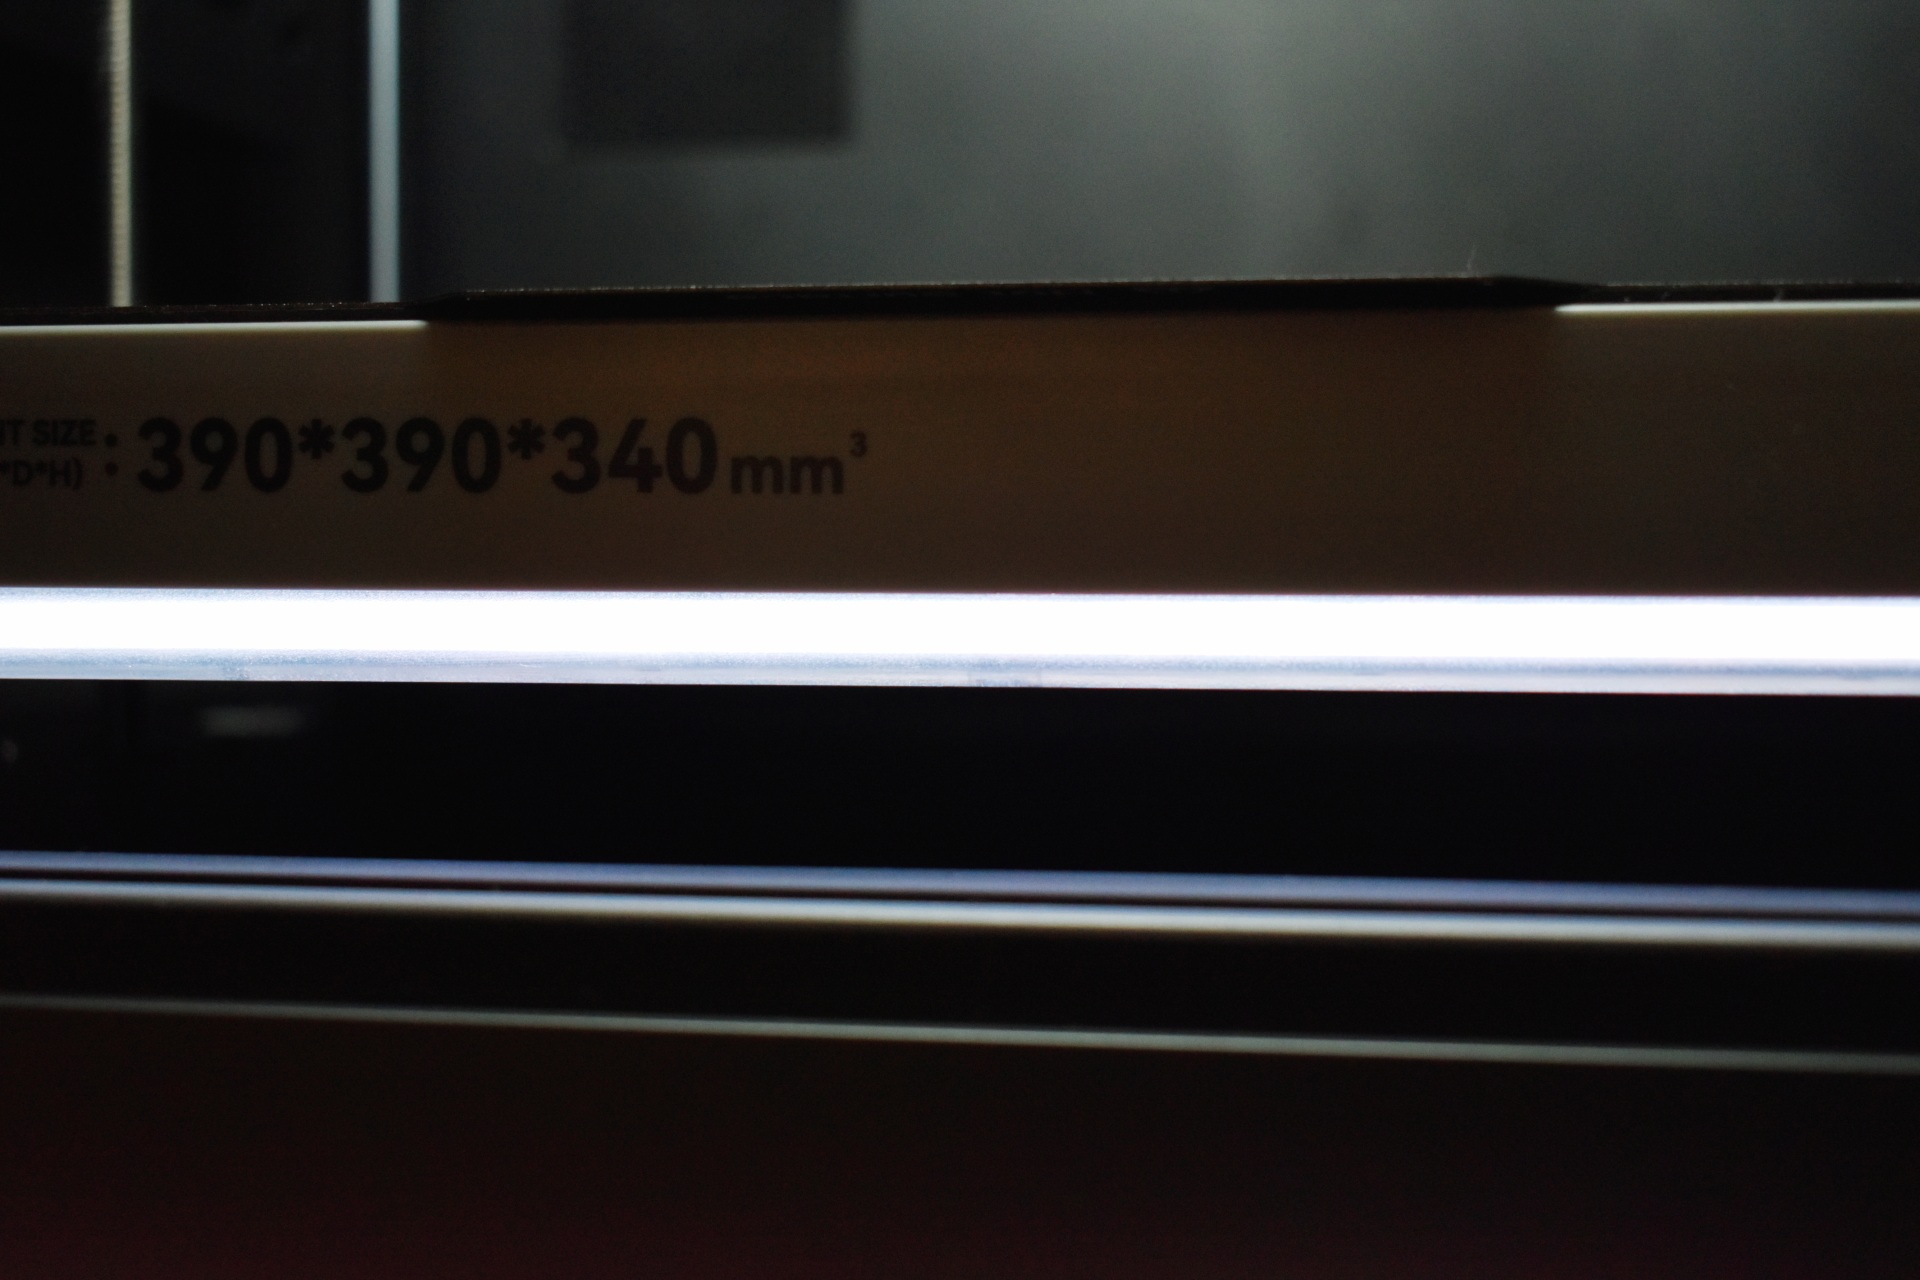
The 320x320x300mm build plate features a detachable textured PEI plate.


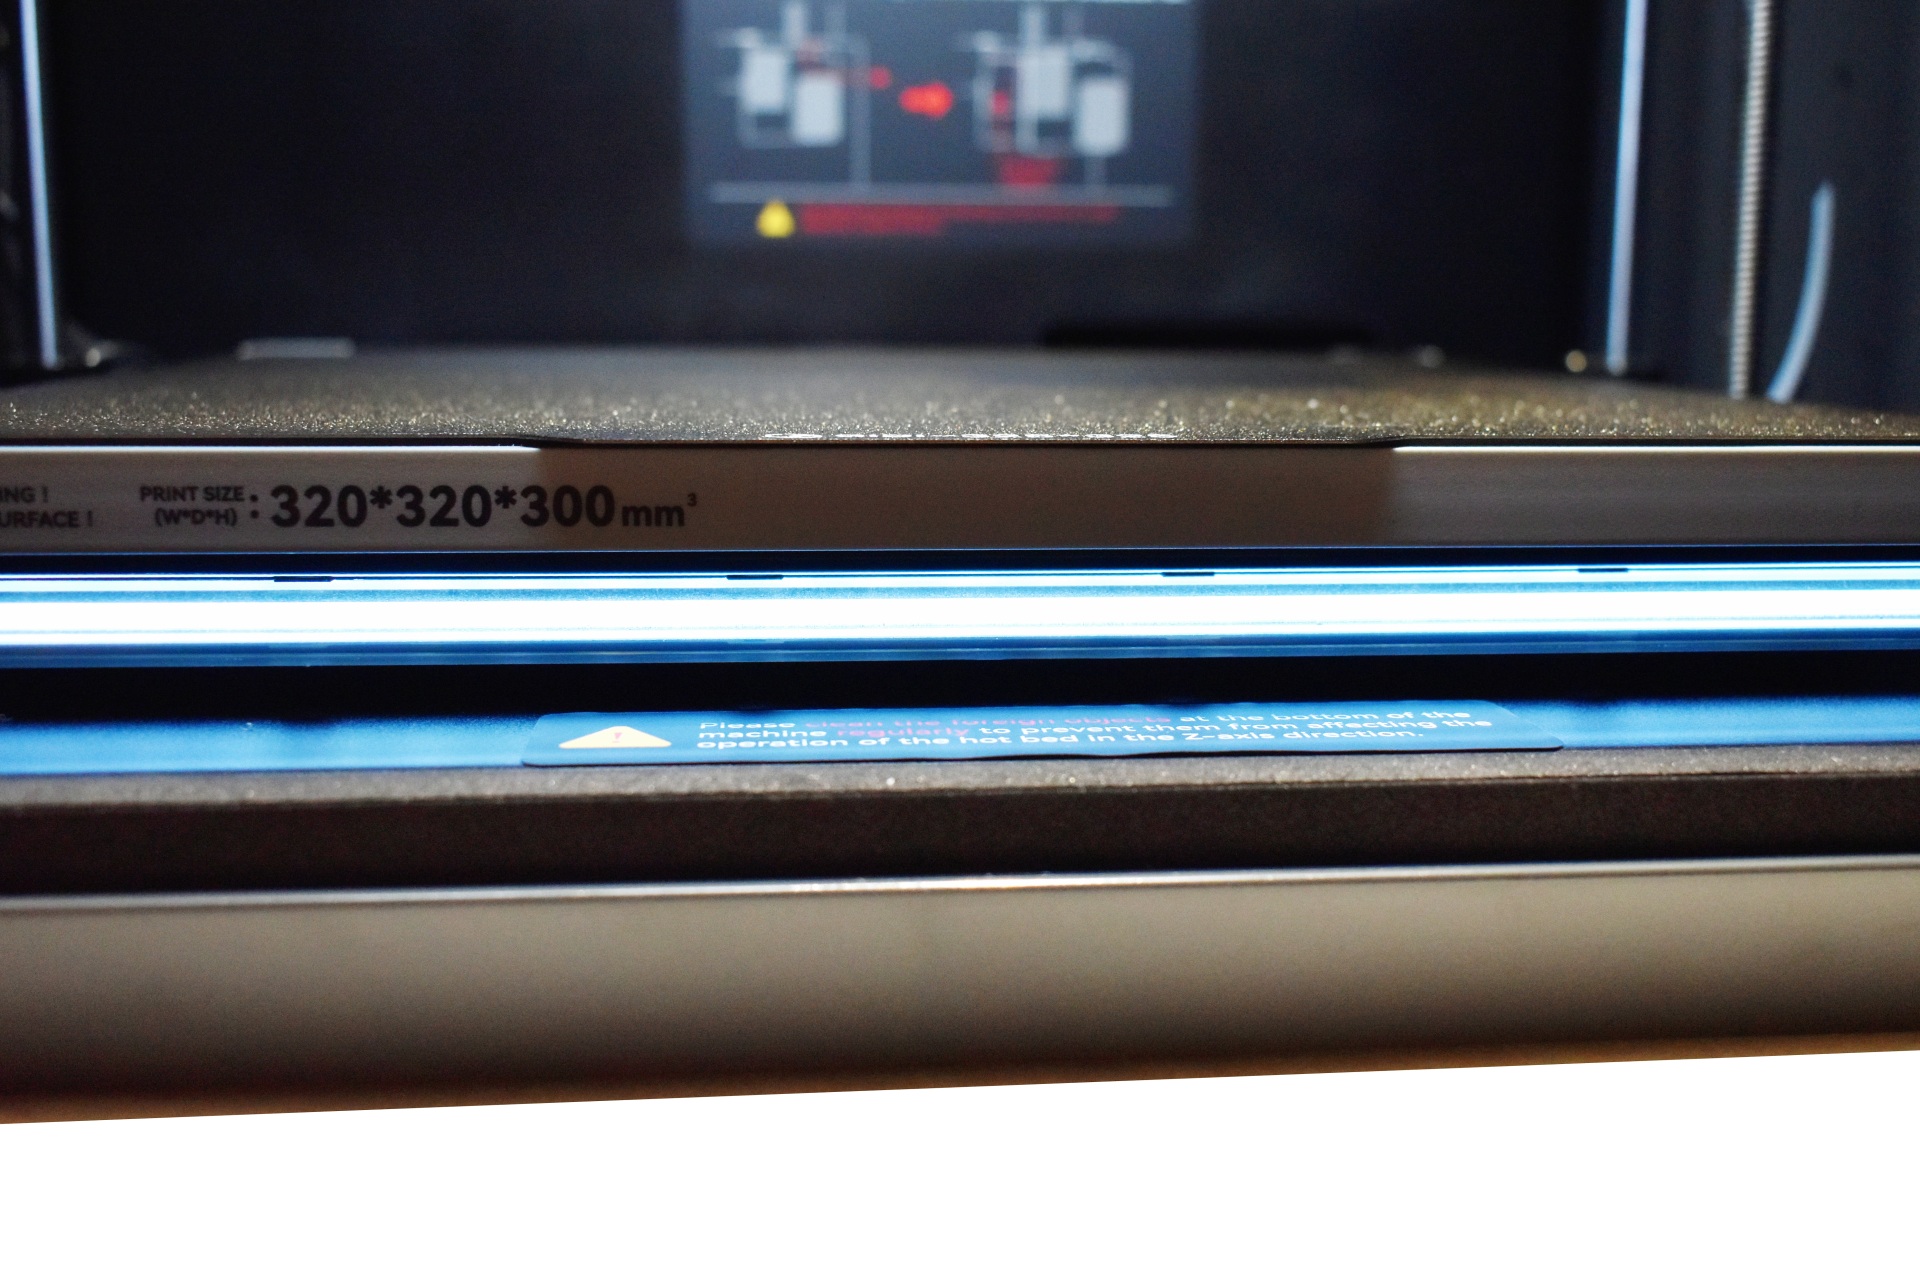
Exactly like with the Max 4 model at the front of the hot bed we find the activity/temperature LED bar.


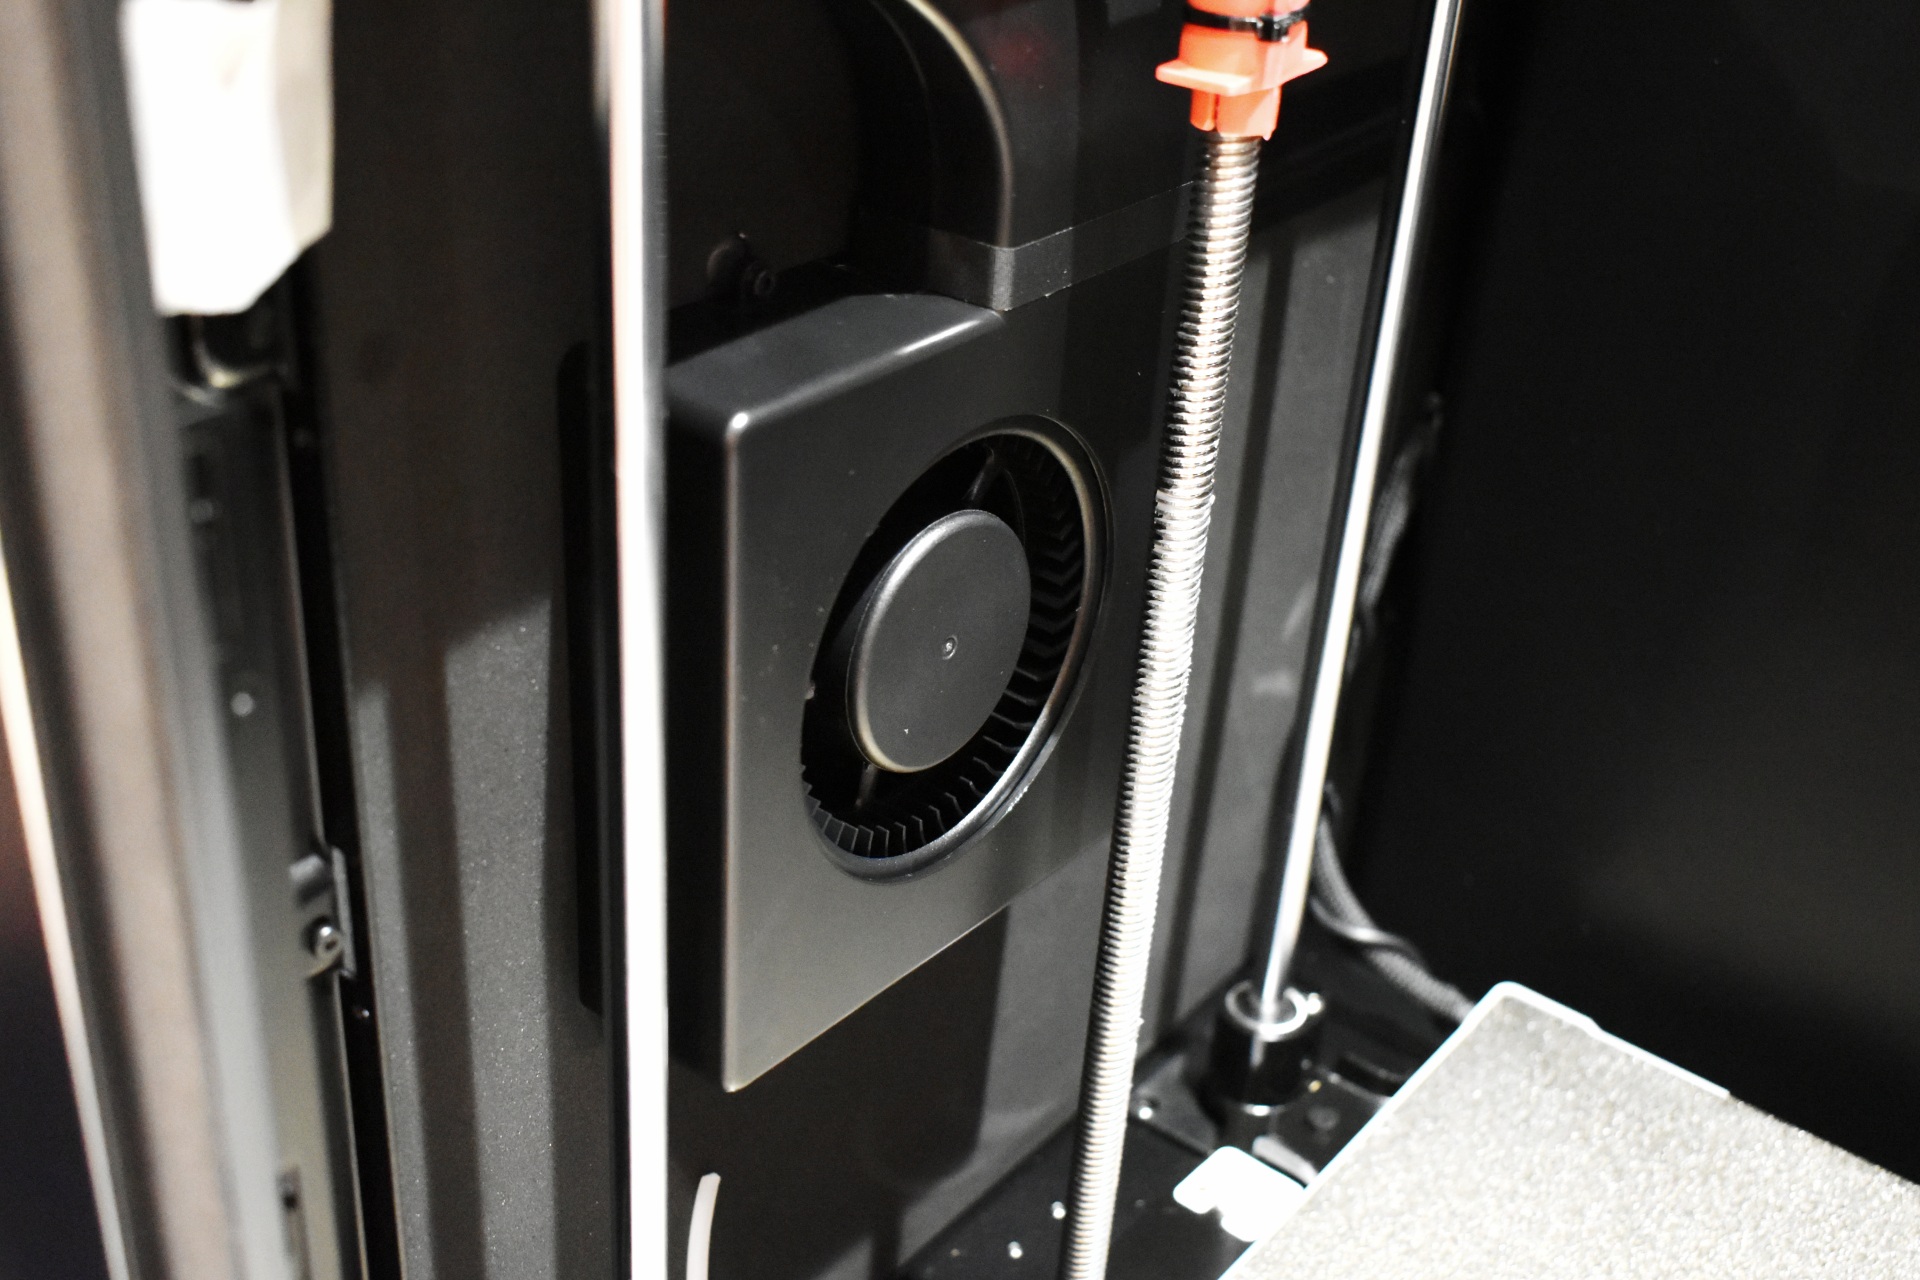
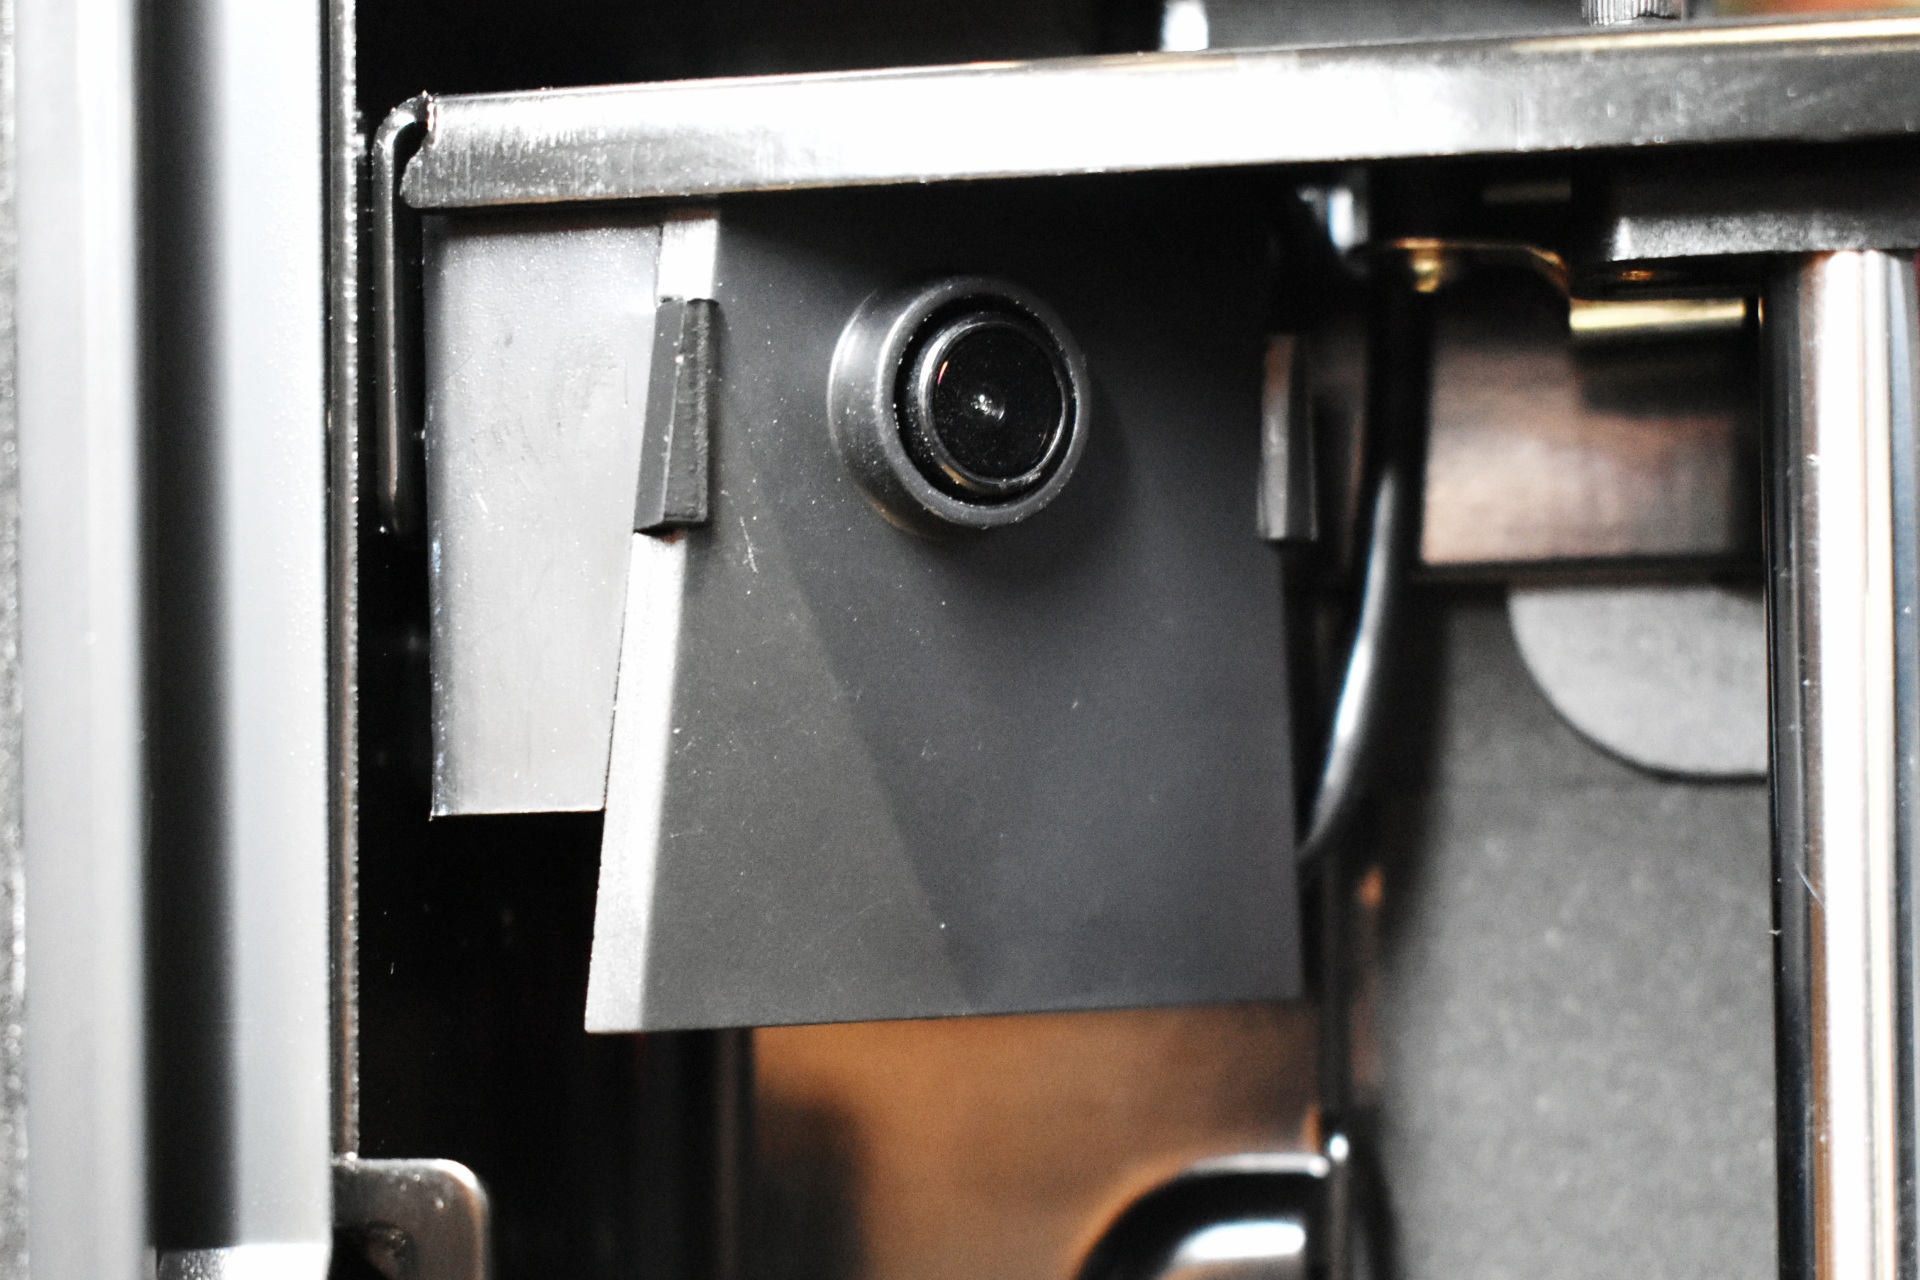
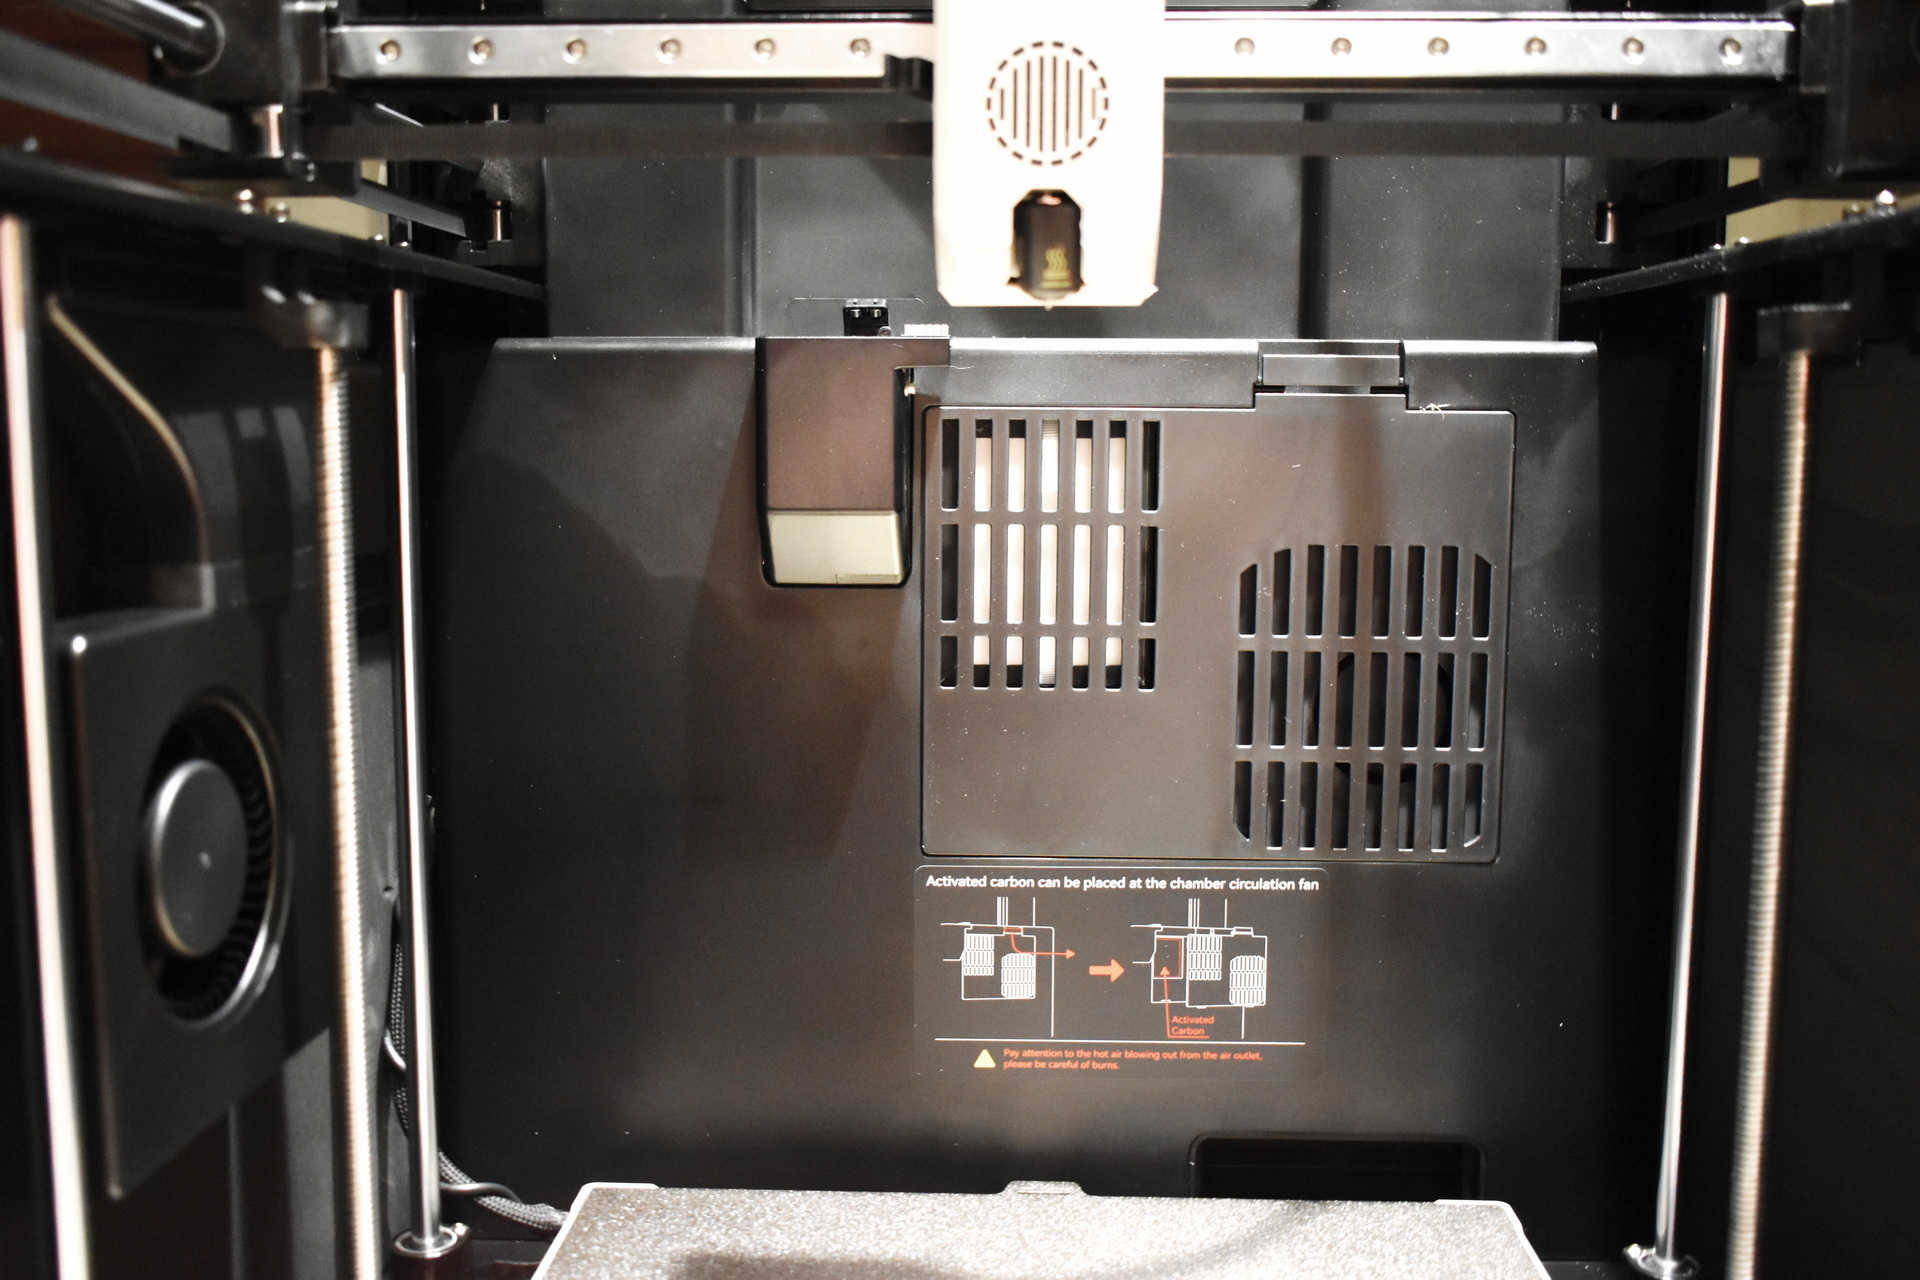
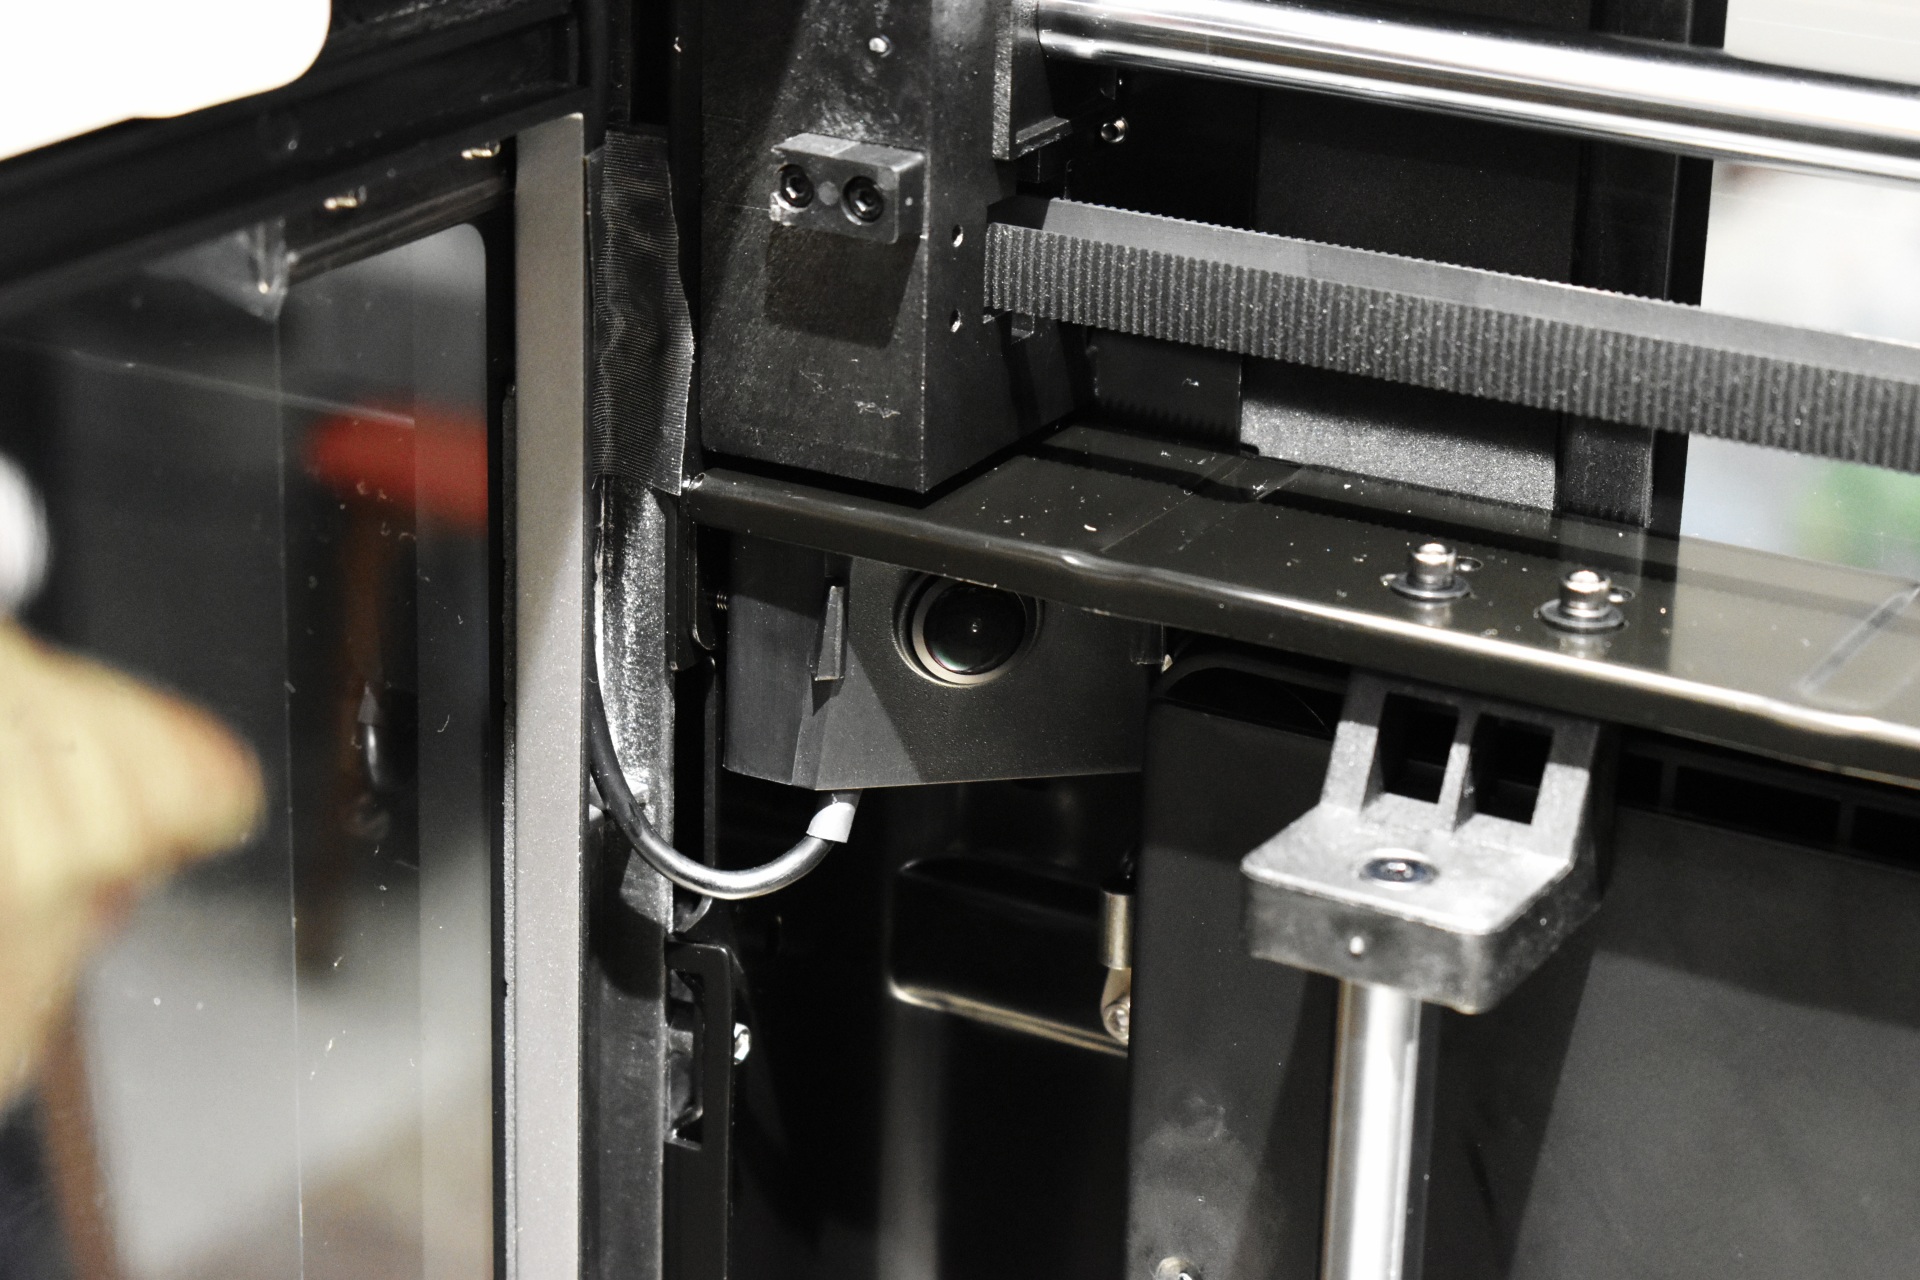
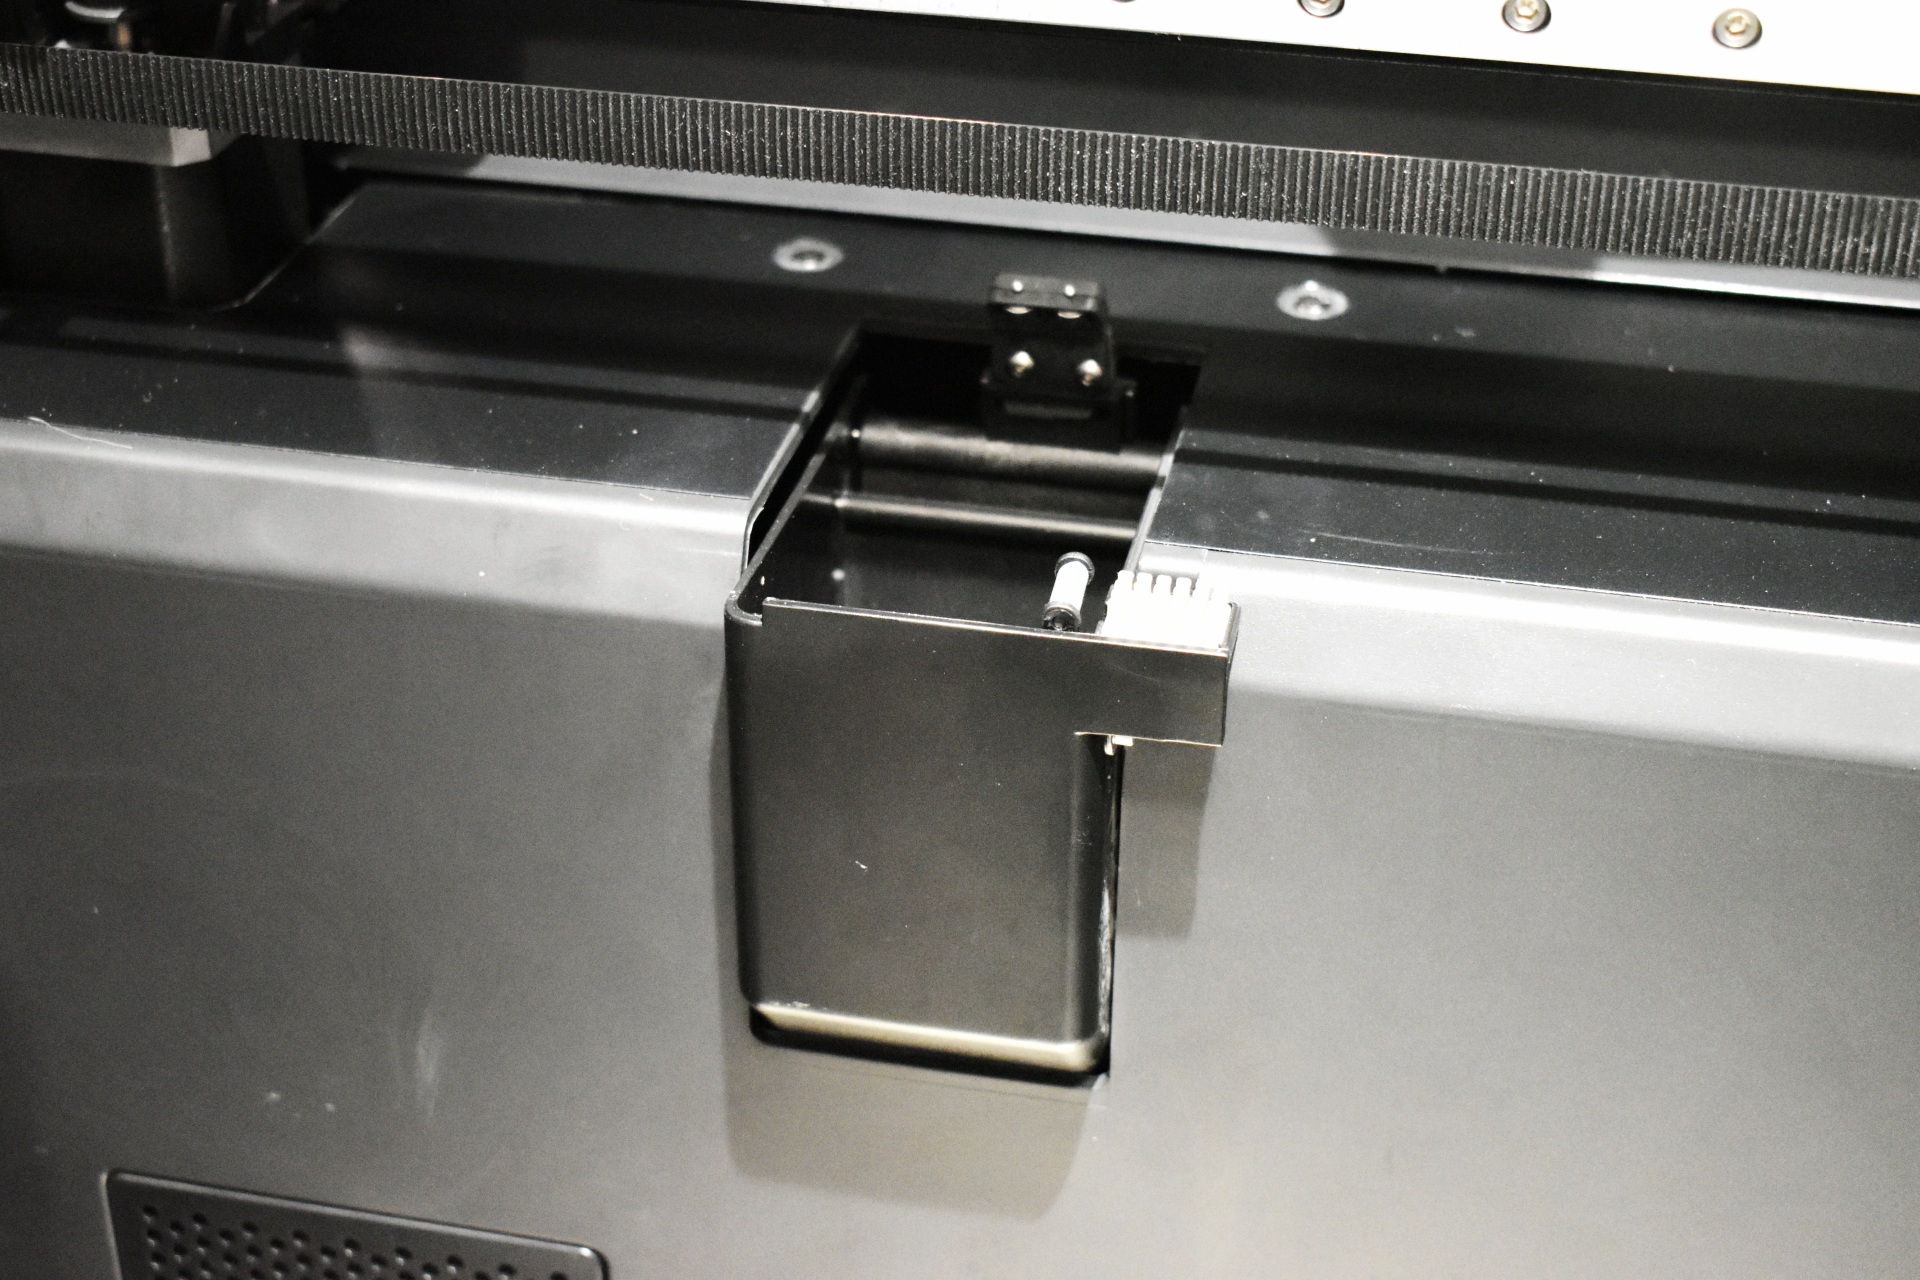
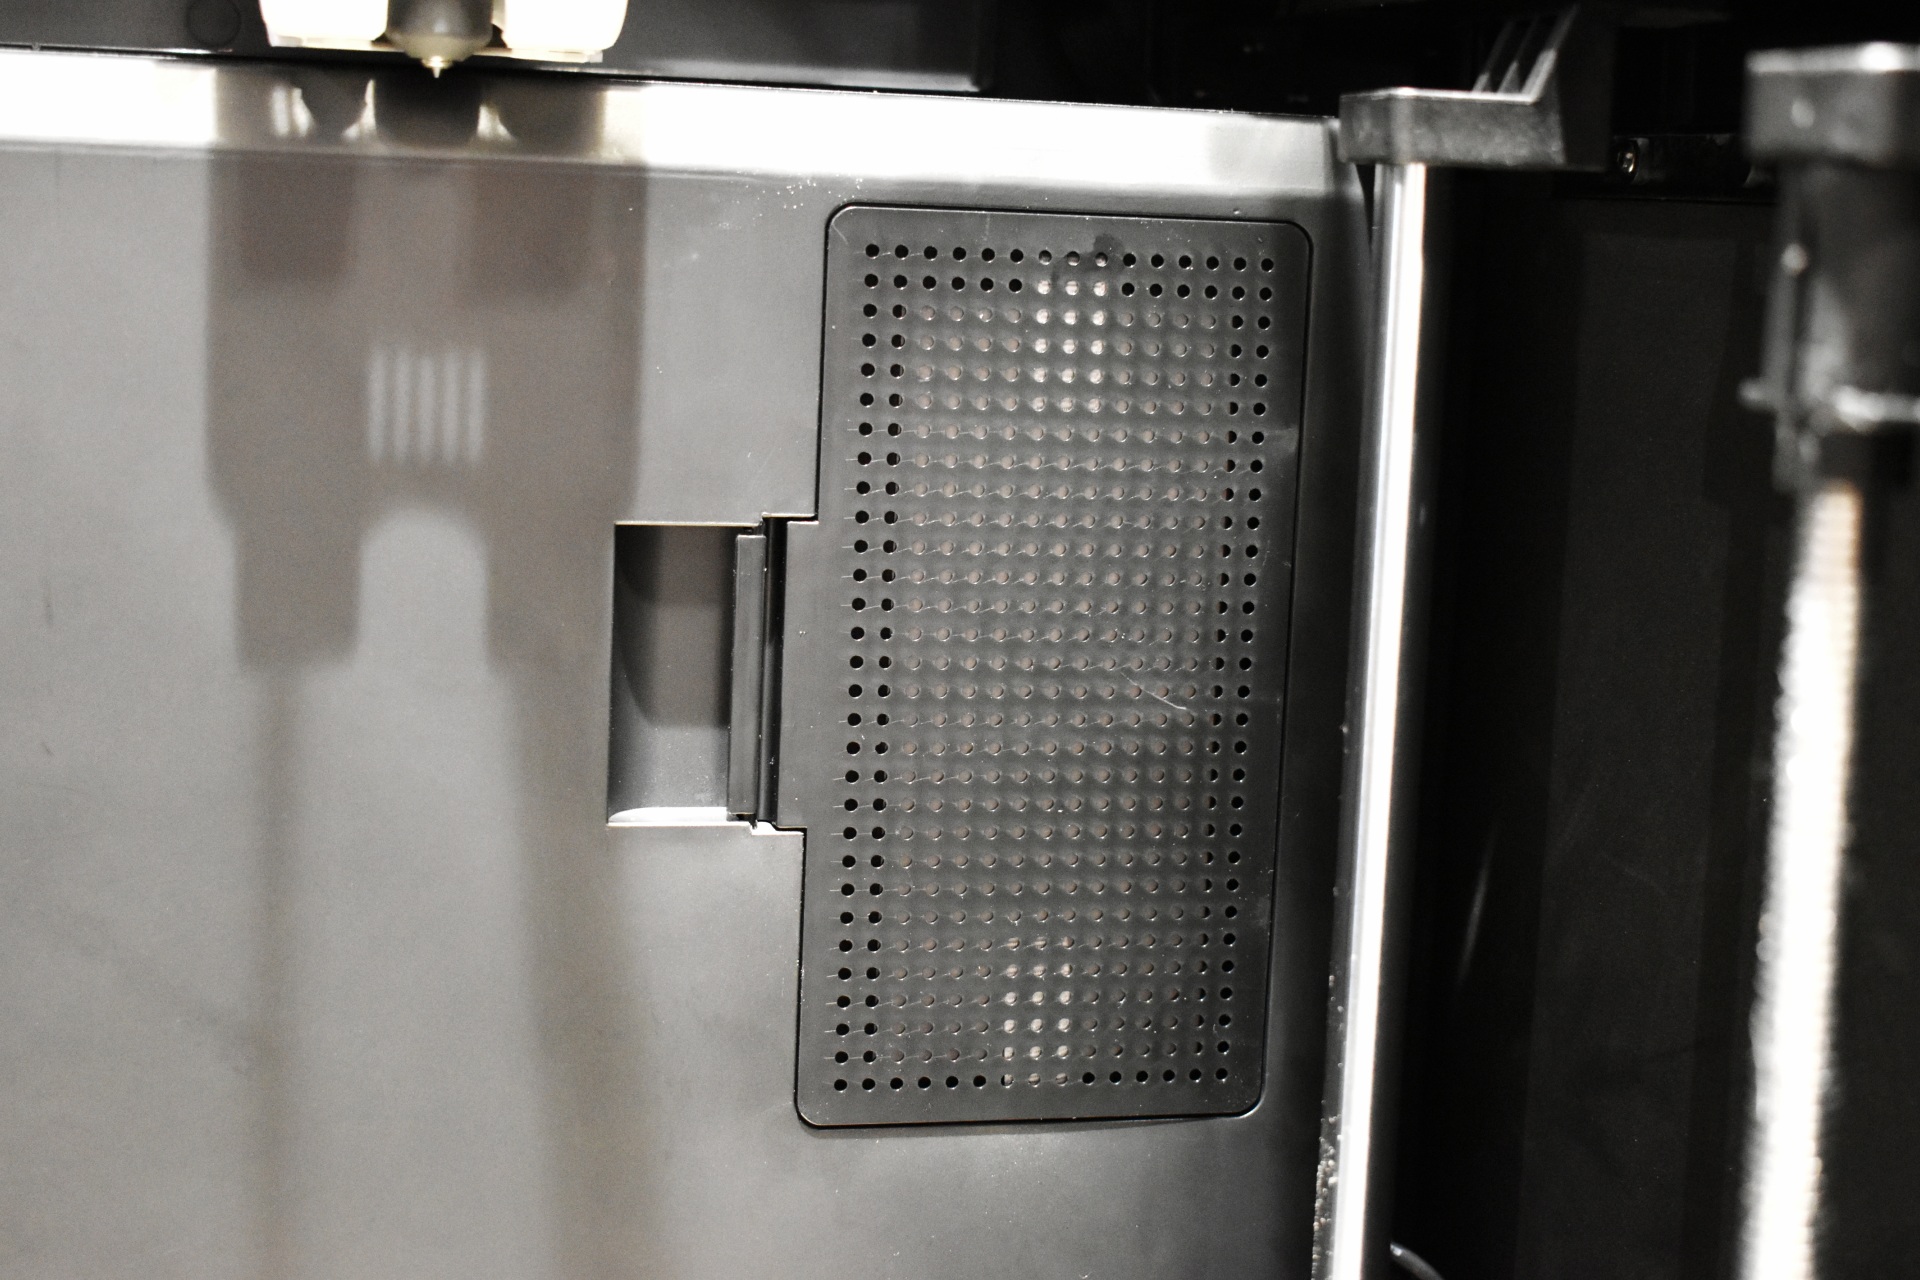
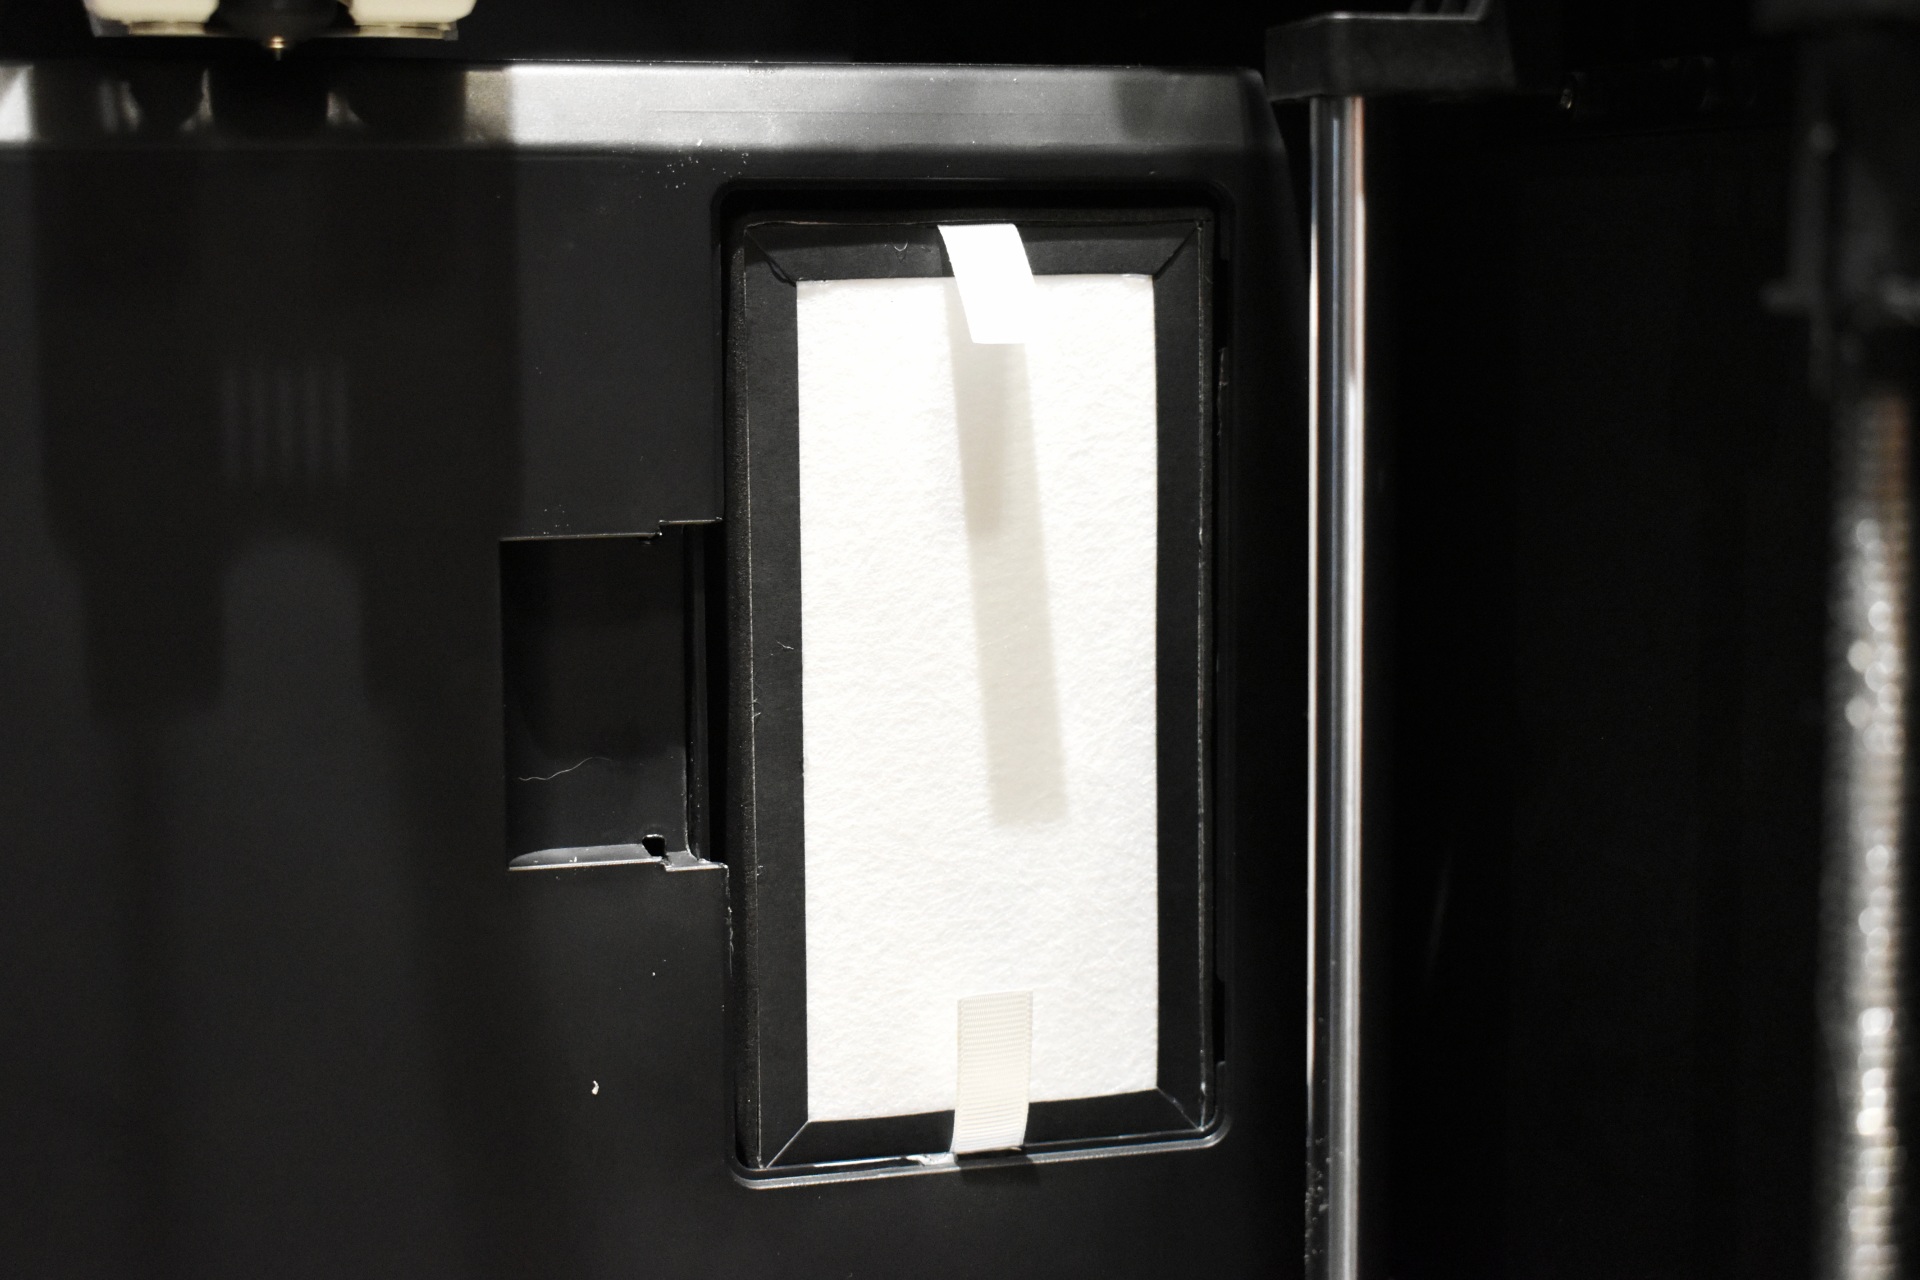
Inside we also find a blower type fan, 1080p AI camera (640x480p default resolution), filament residue cleaner, air-purifier compartment and the heater.


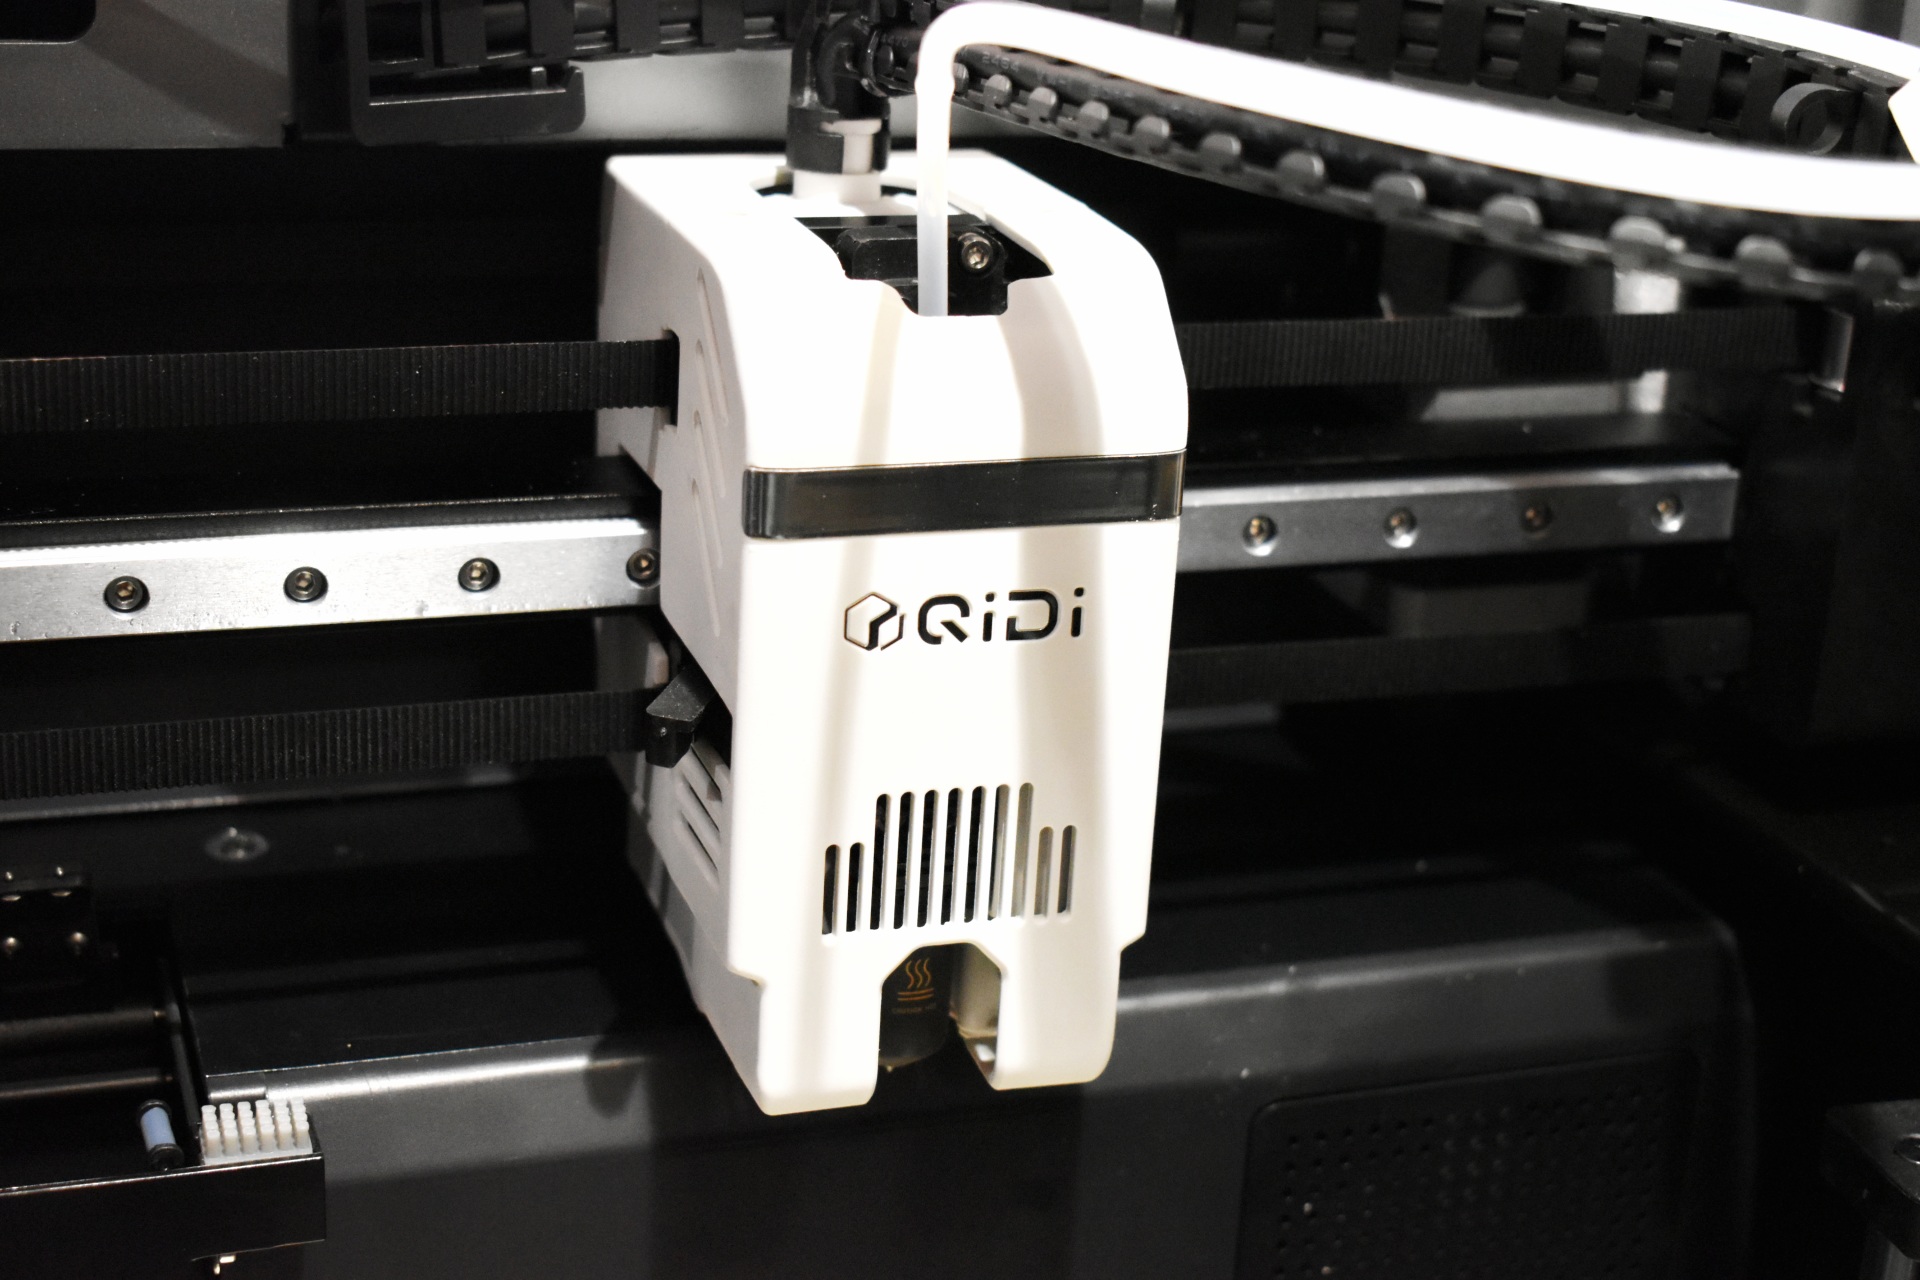
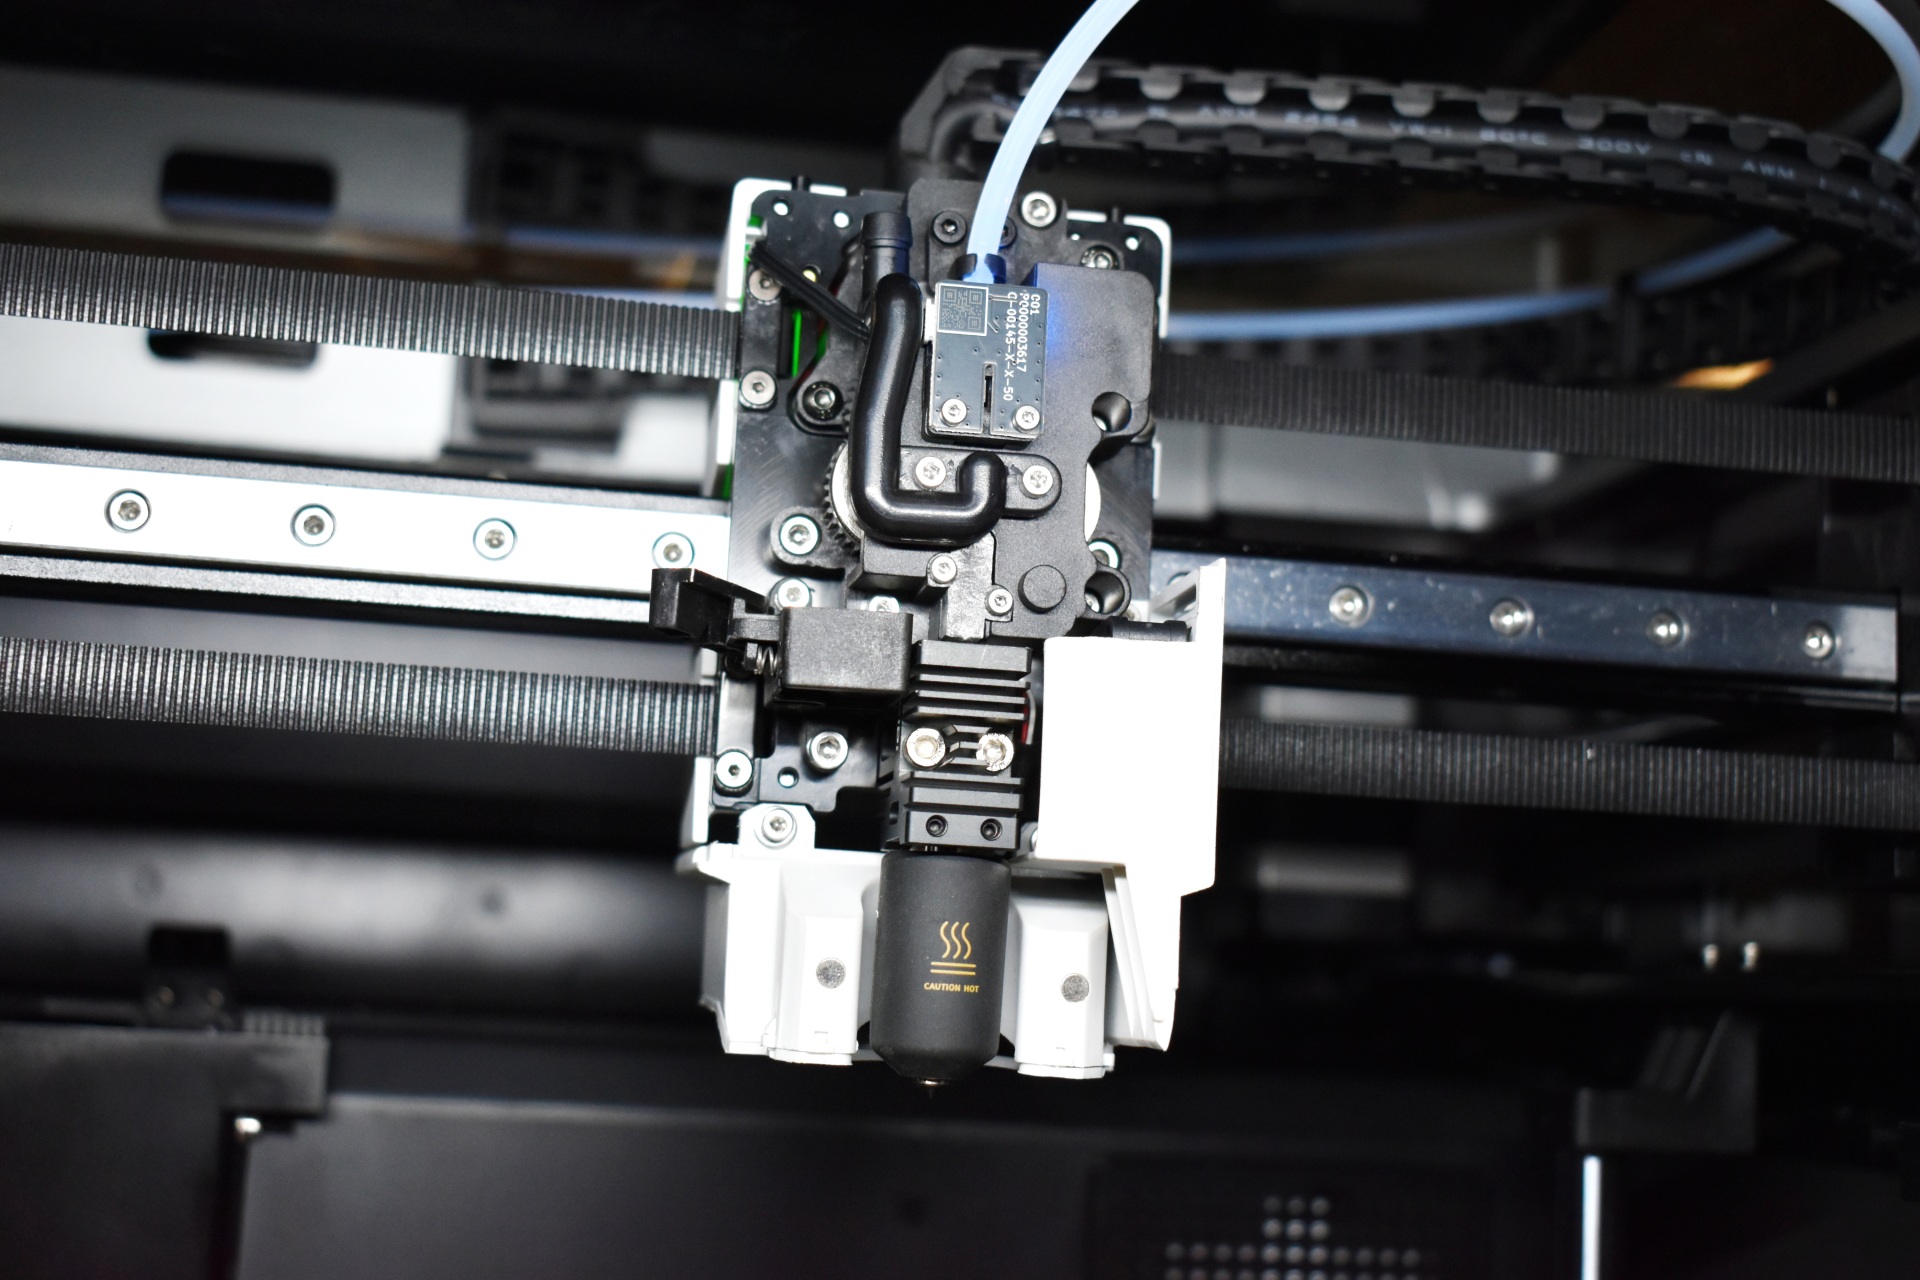
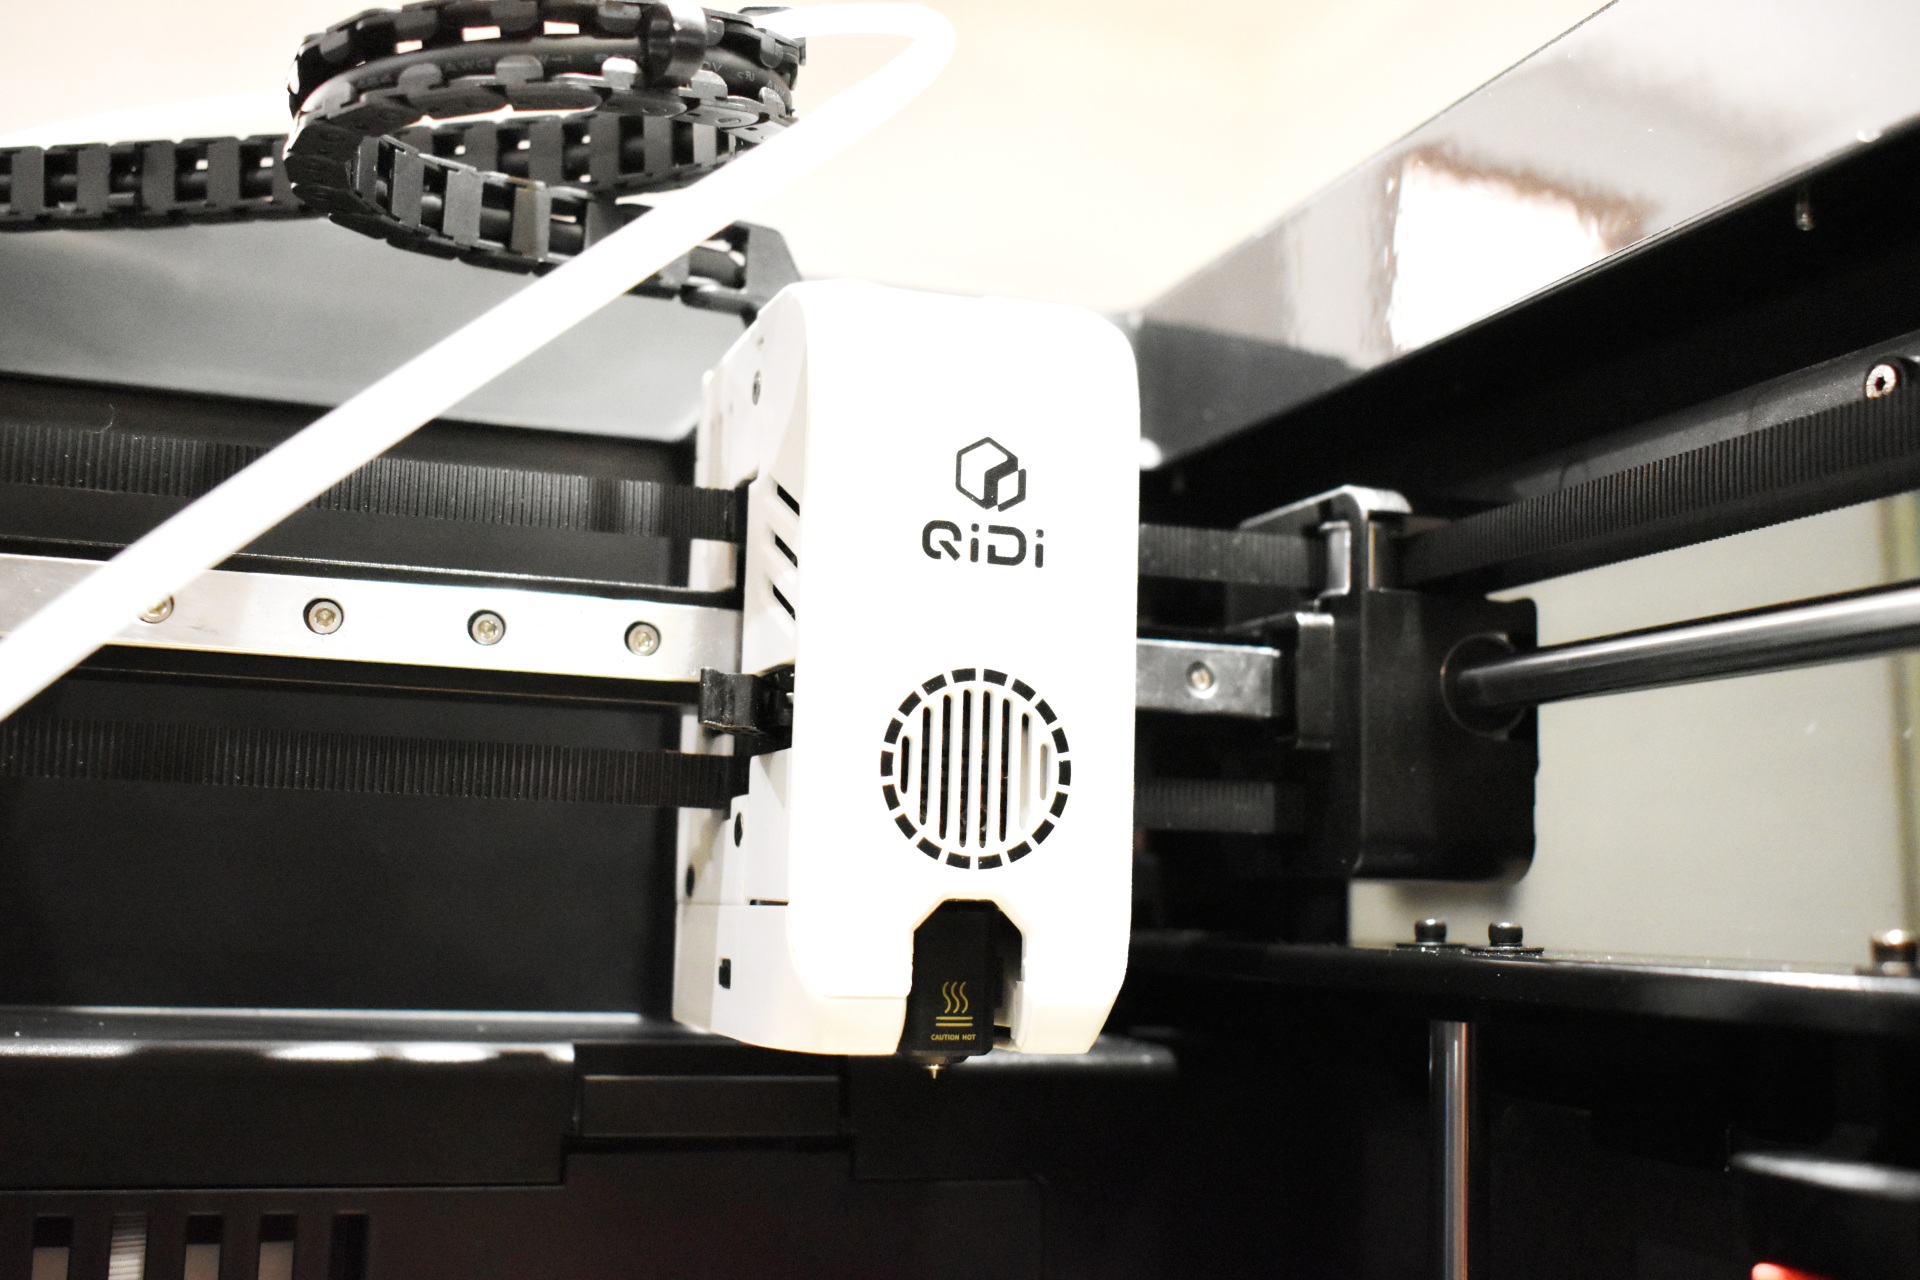
The direct drive extruder is almost identical to that used in the Max 4 model and so it features a built-in run out sensor and a cold air tube intake (to cool the extruder and filament).


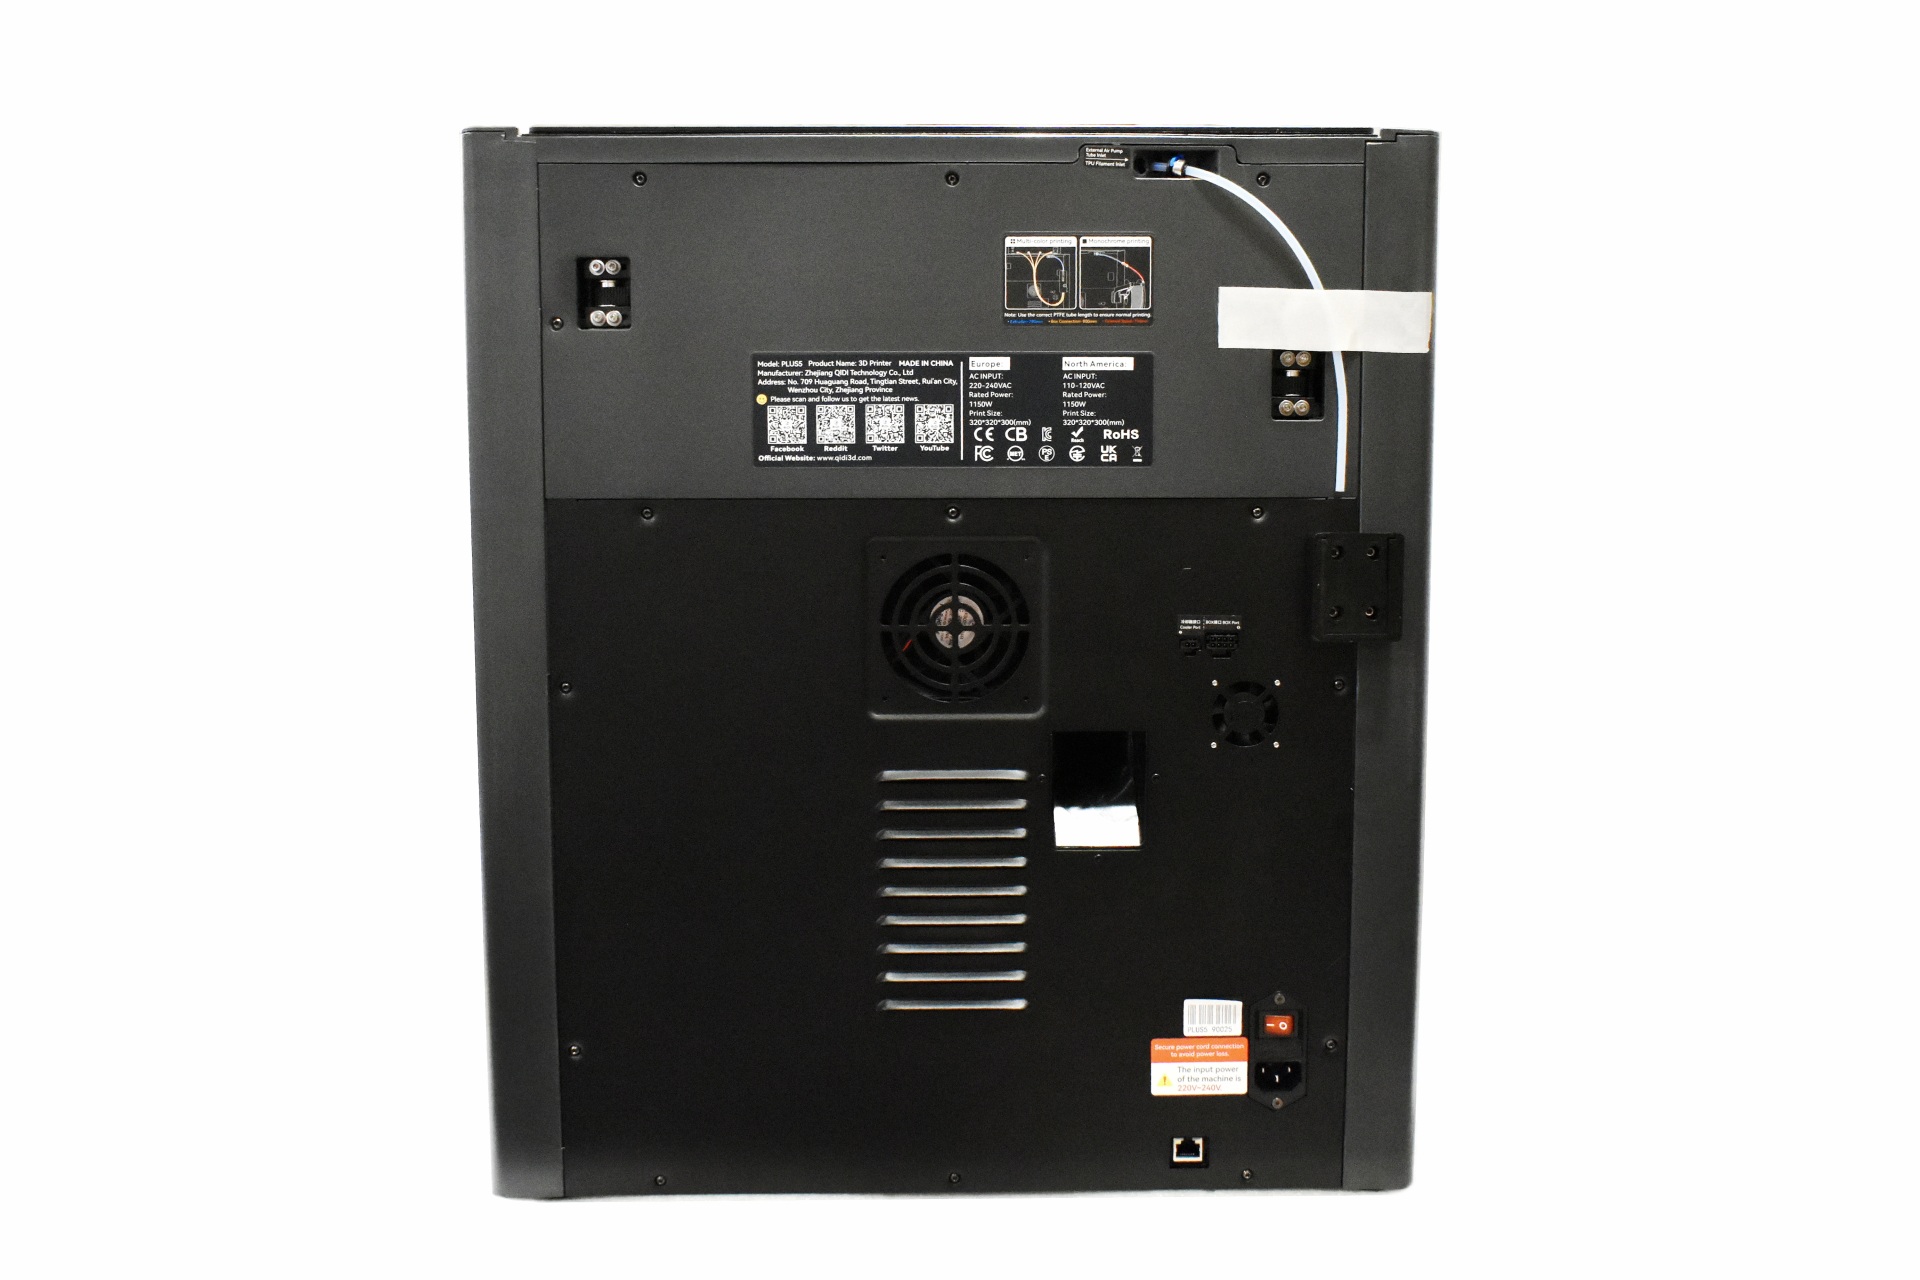
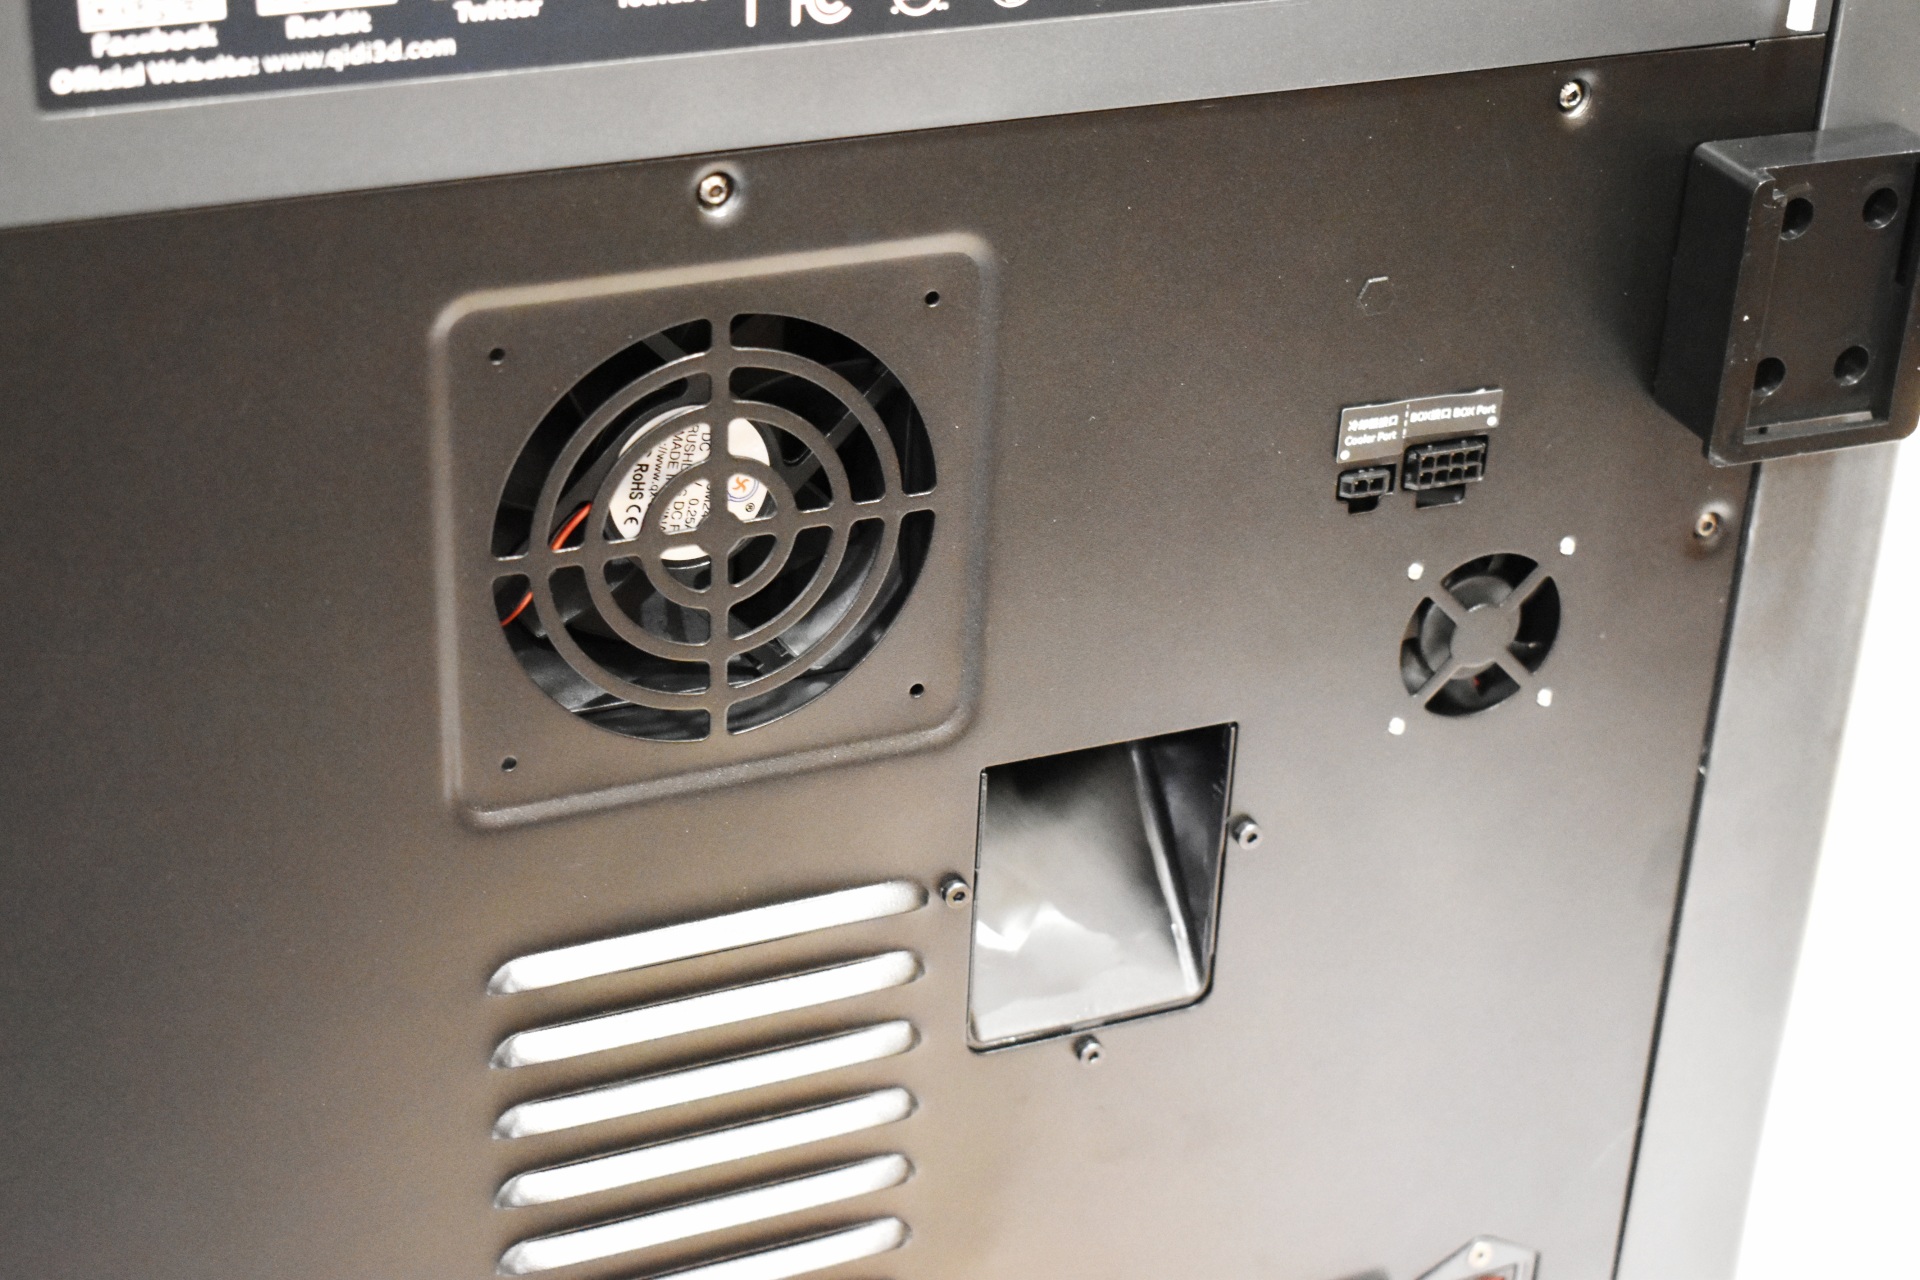
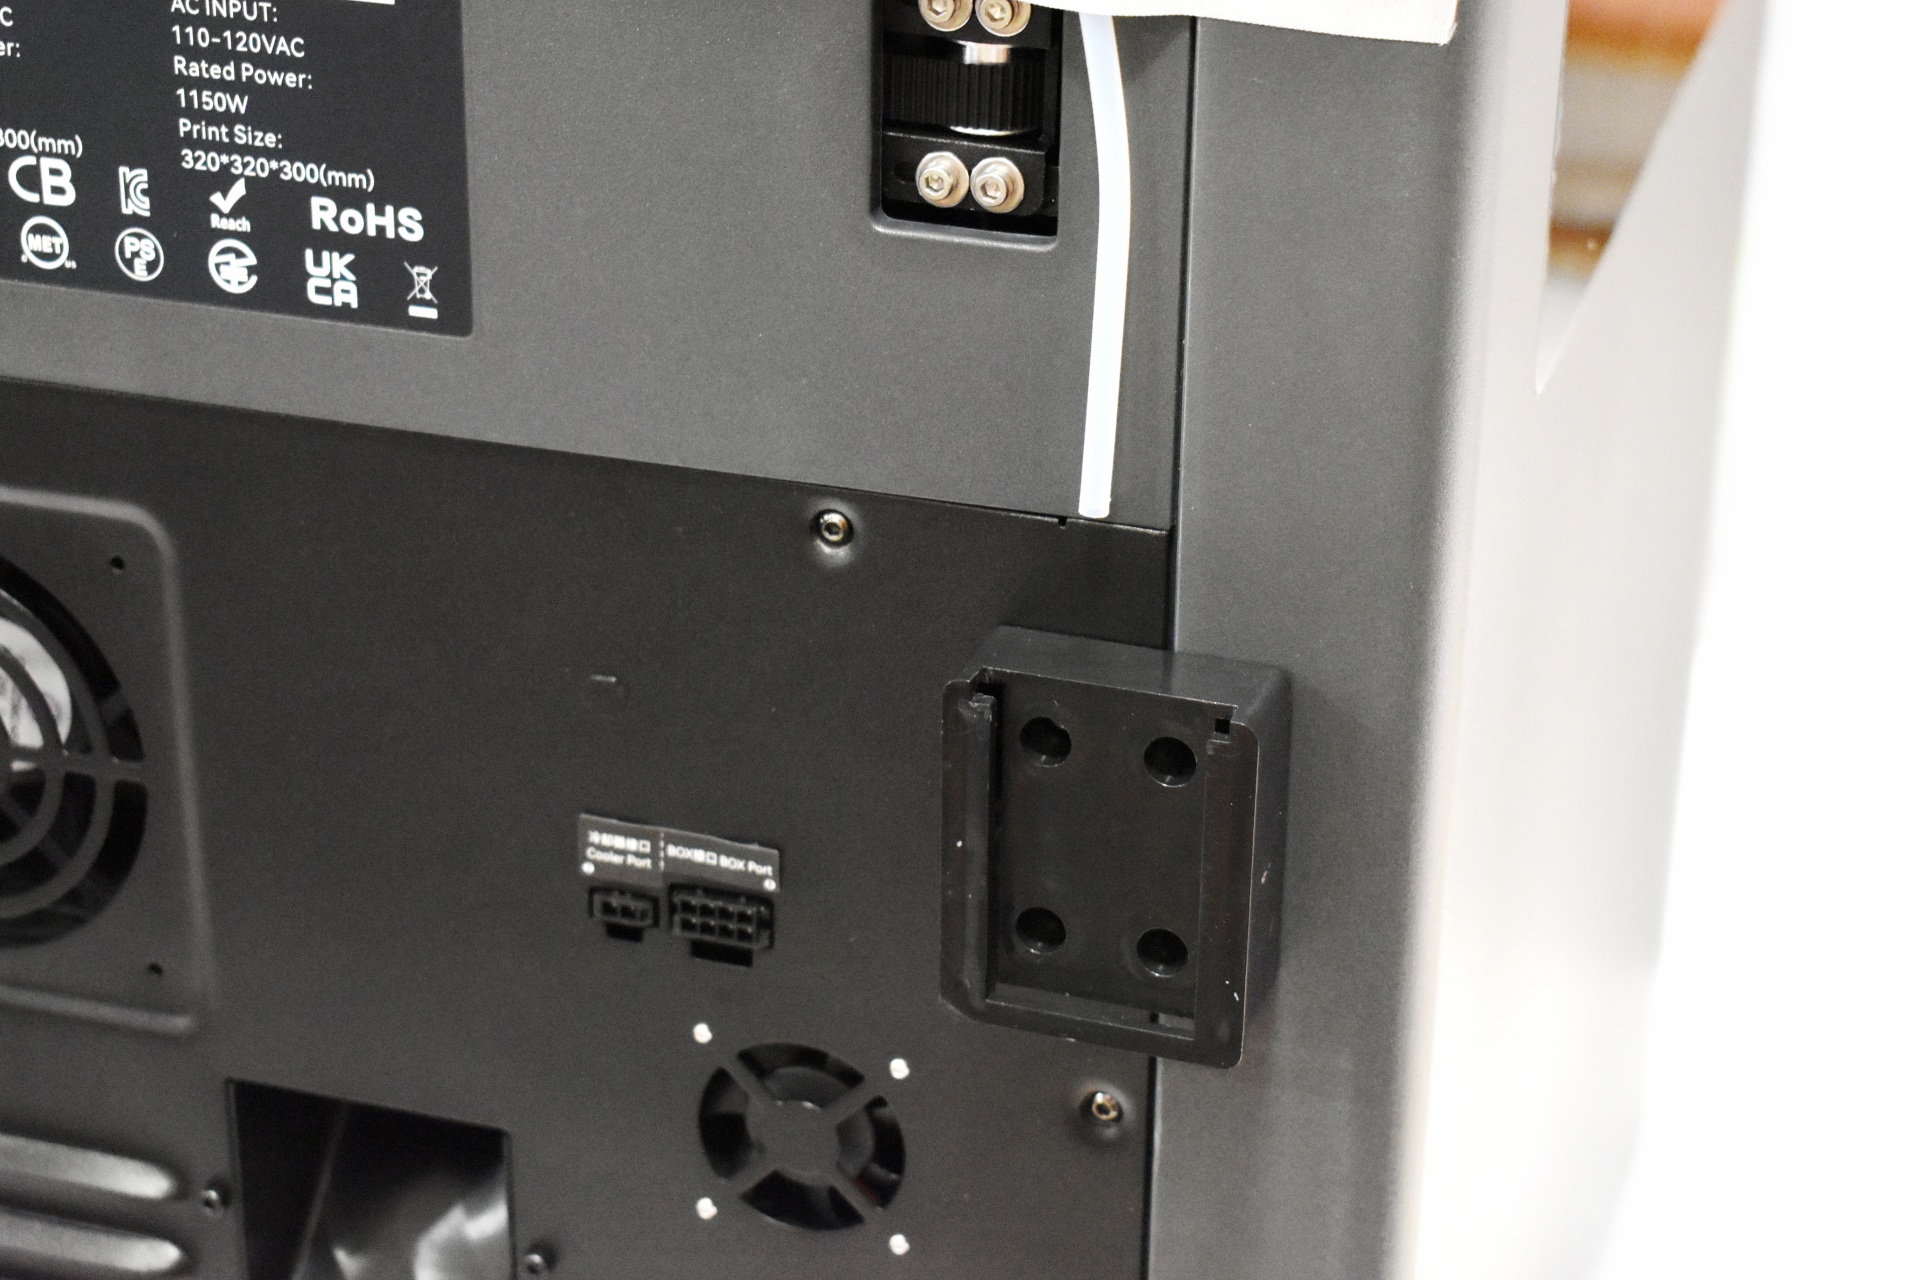
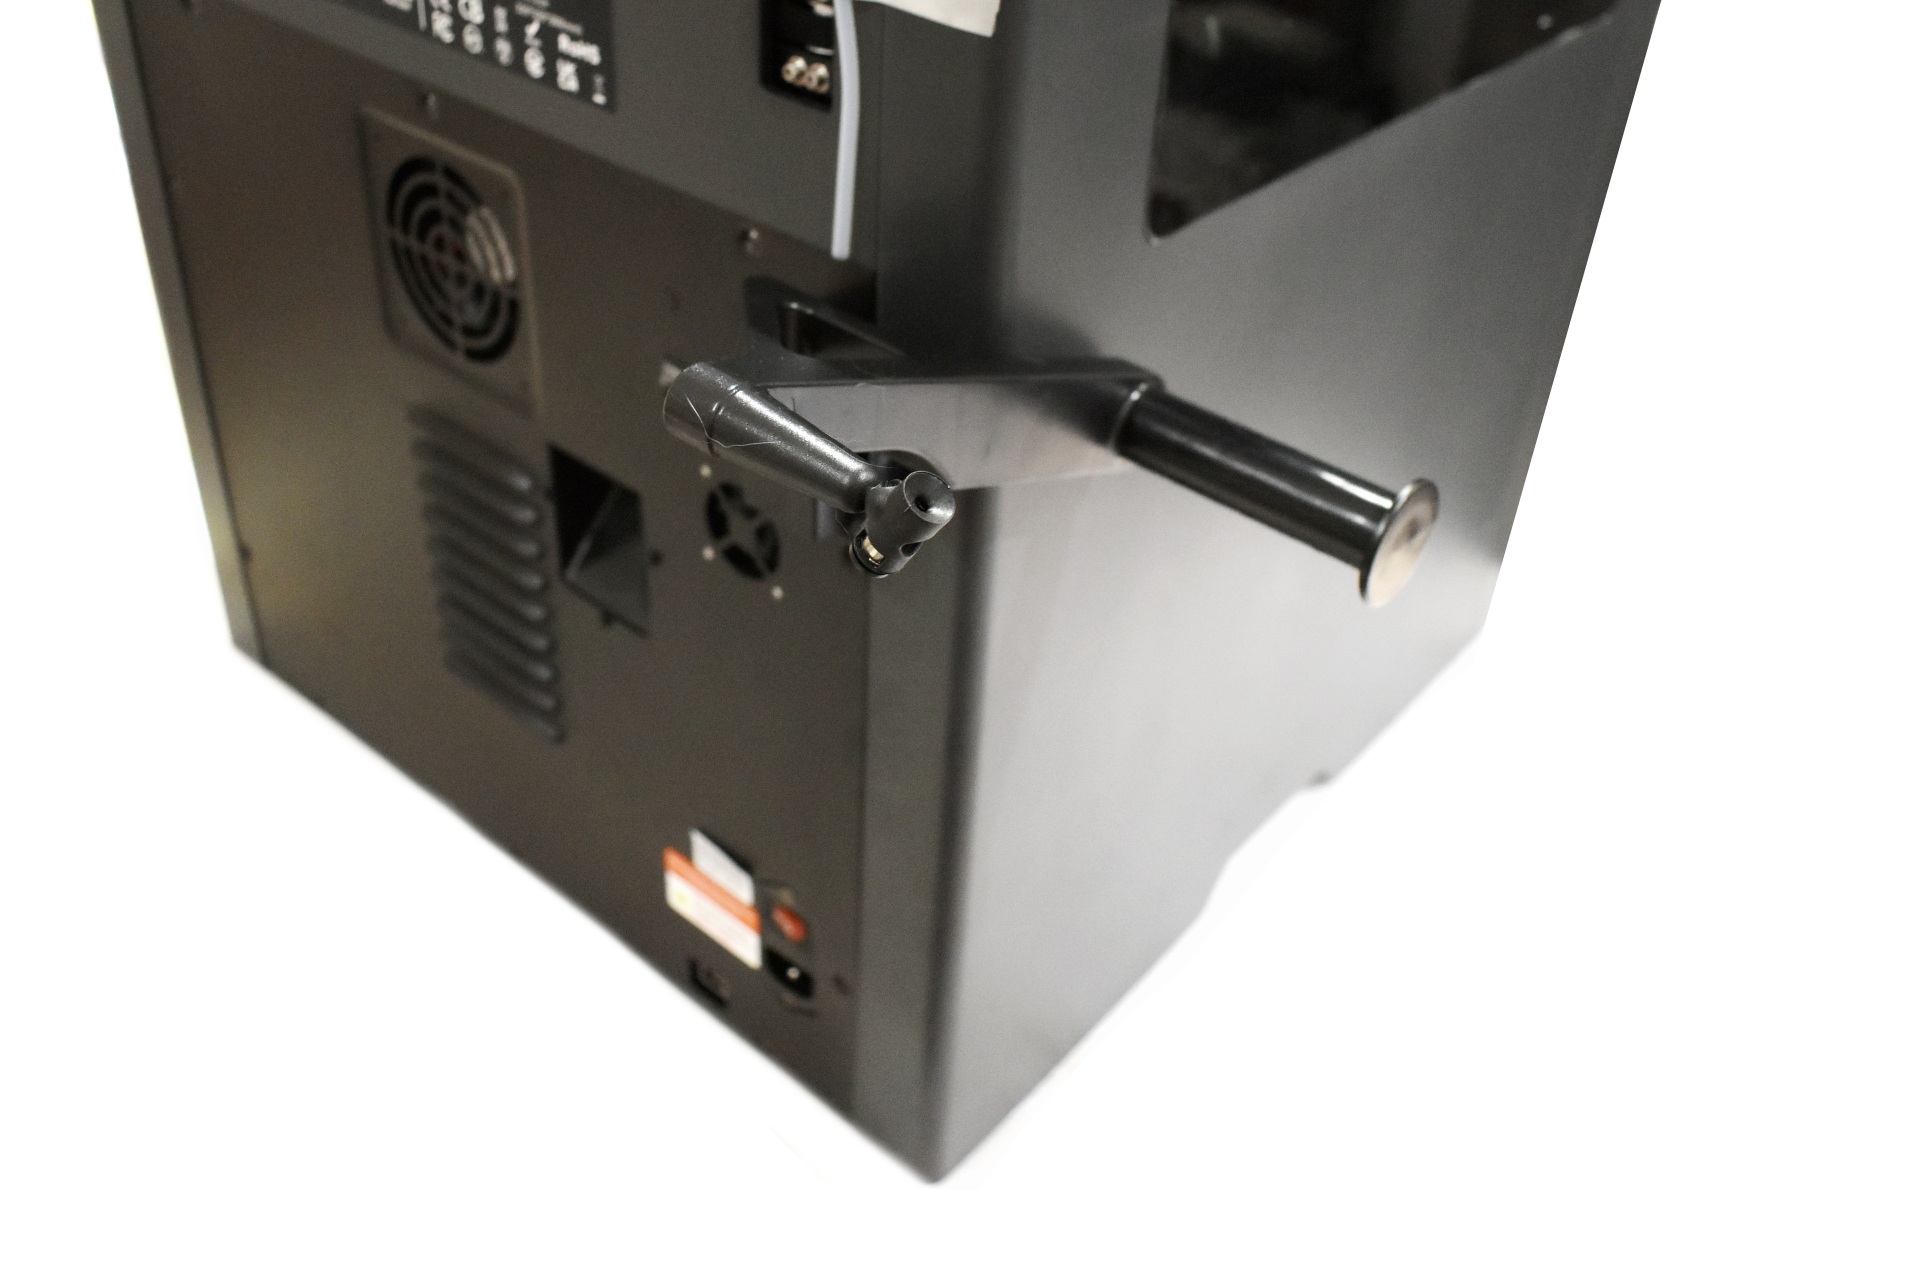
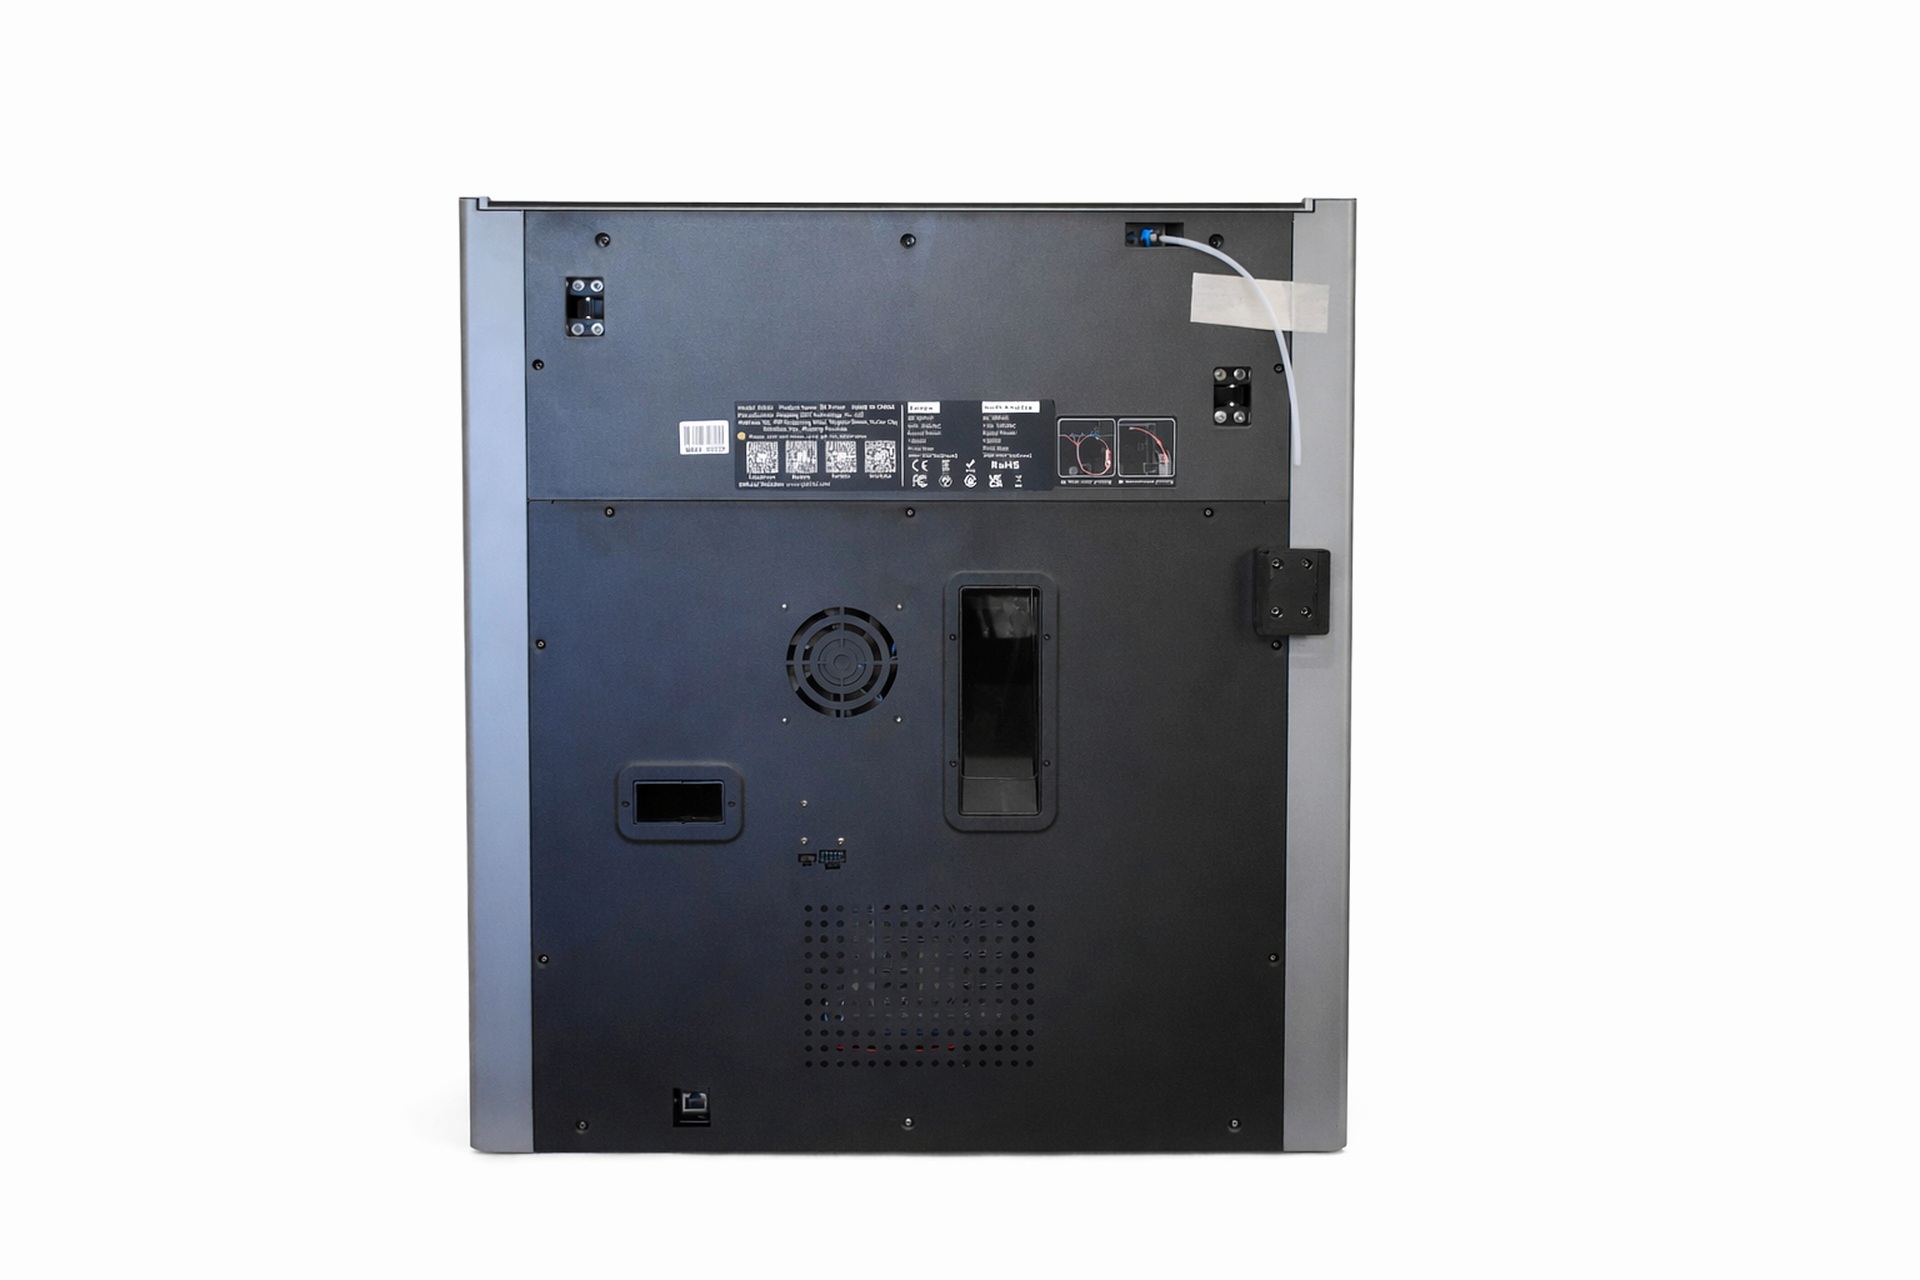
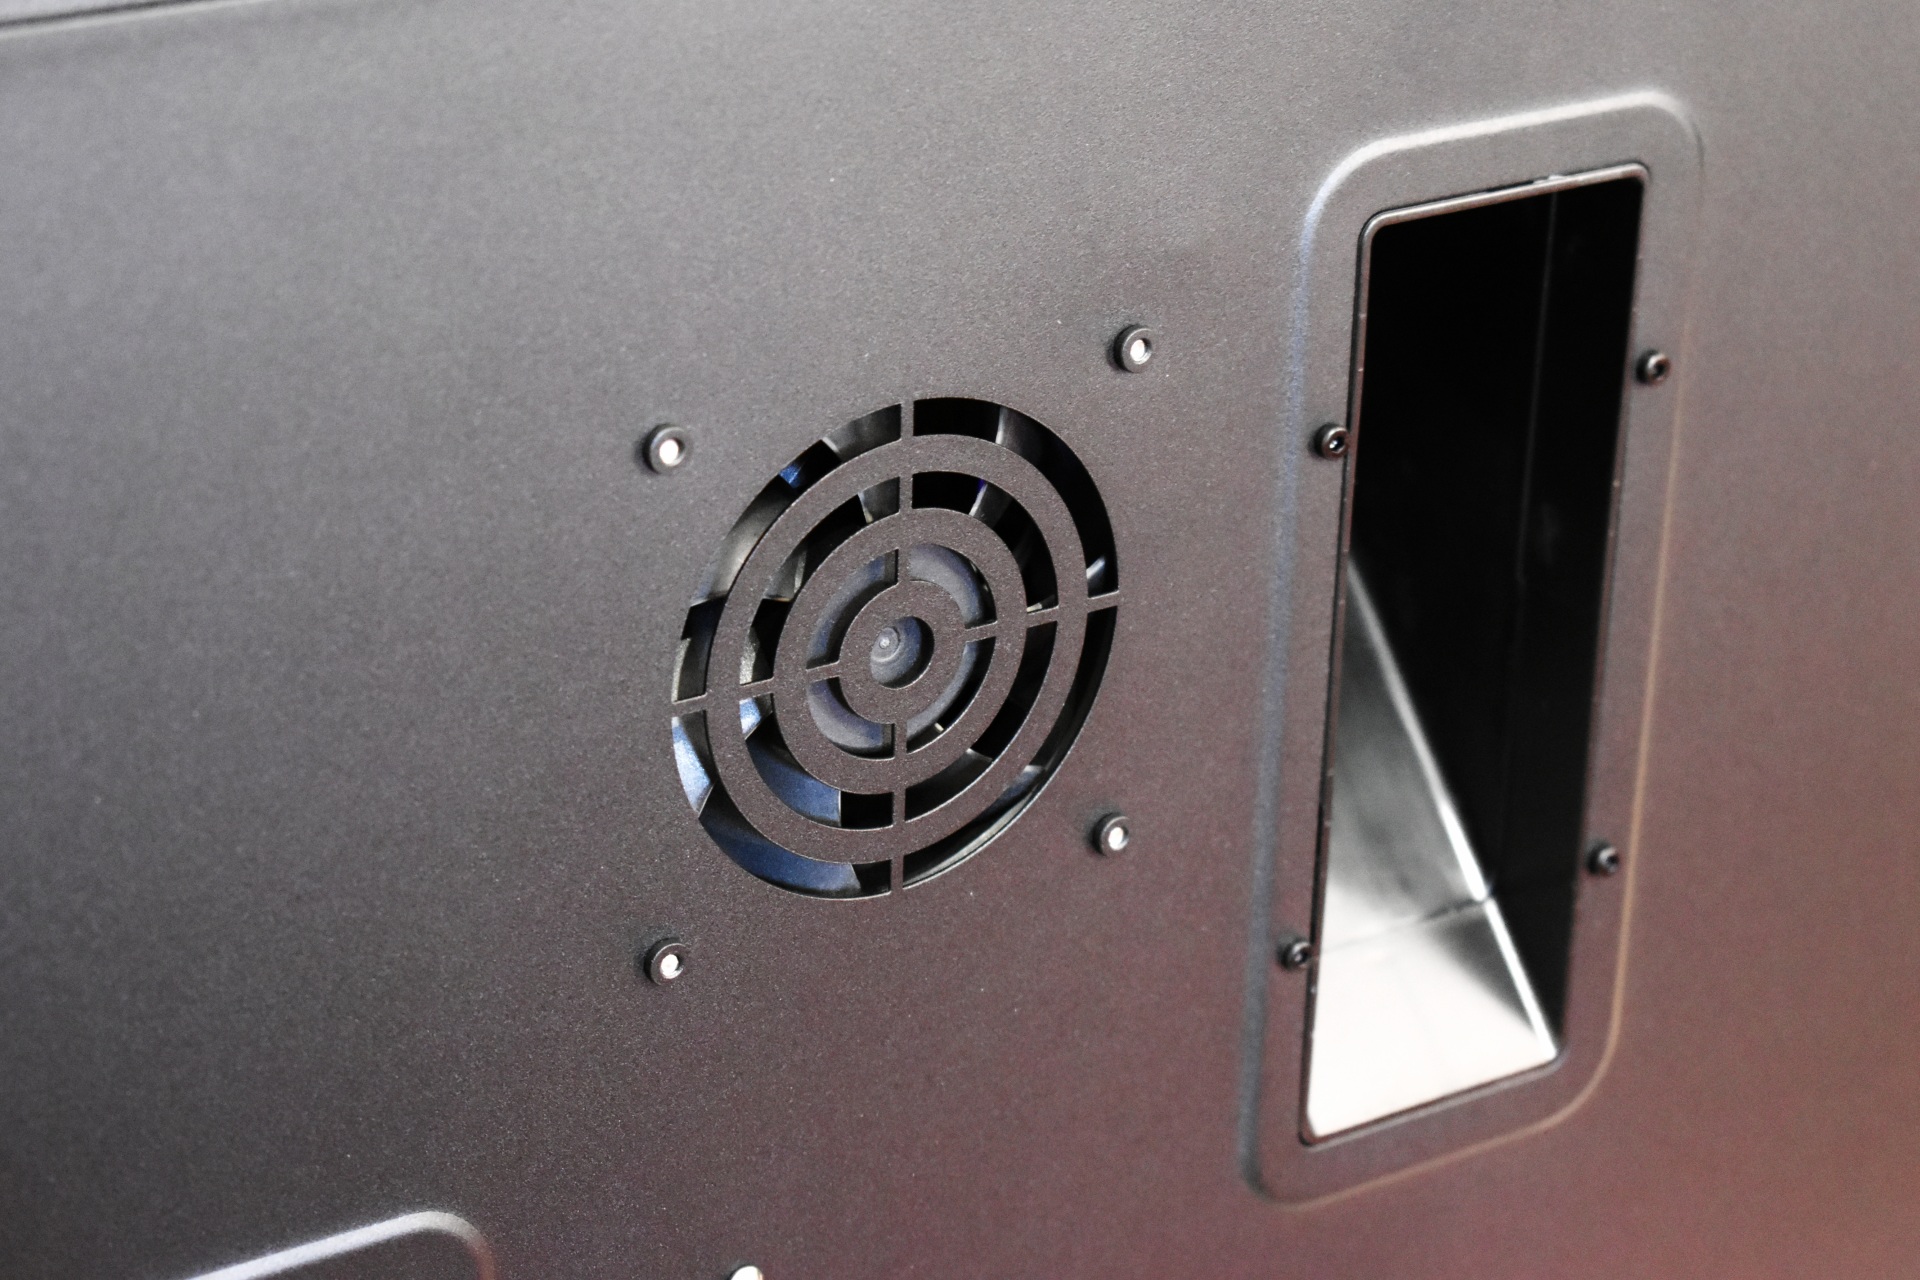
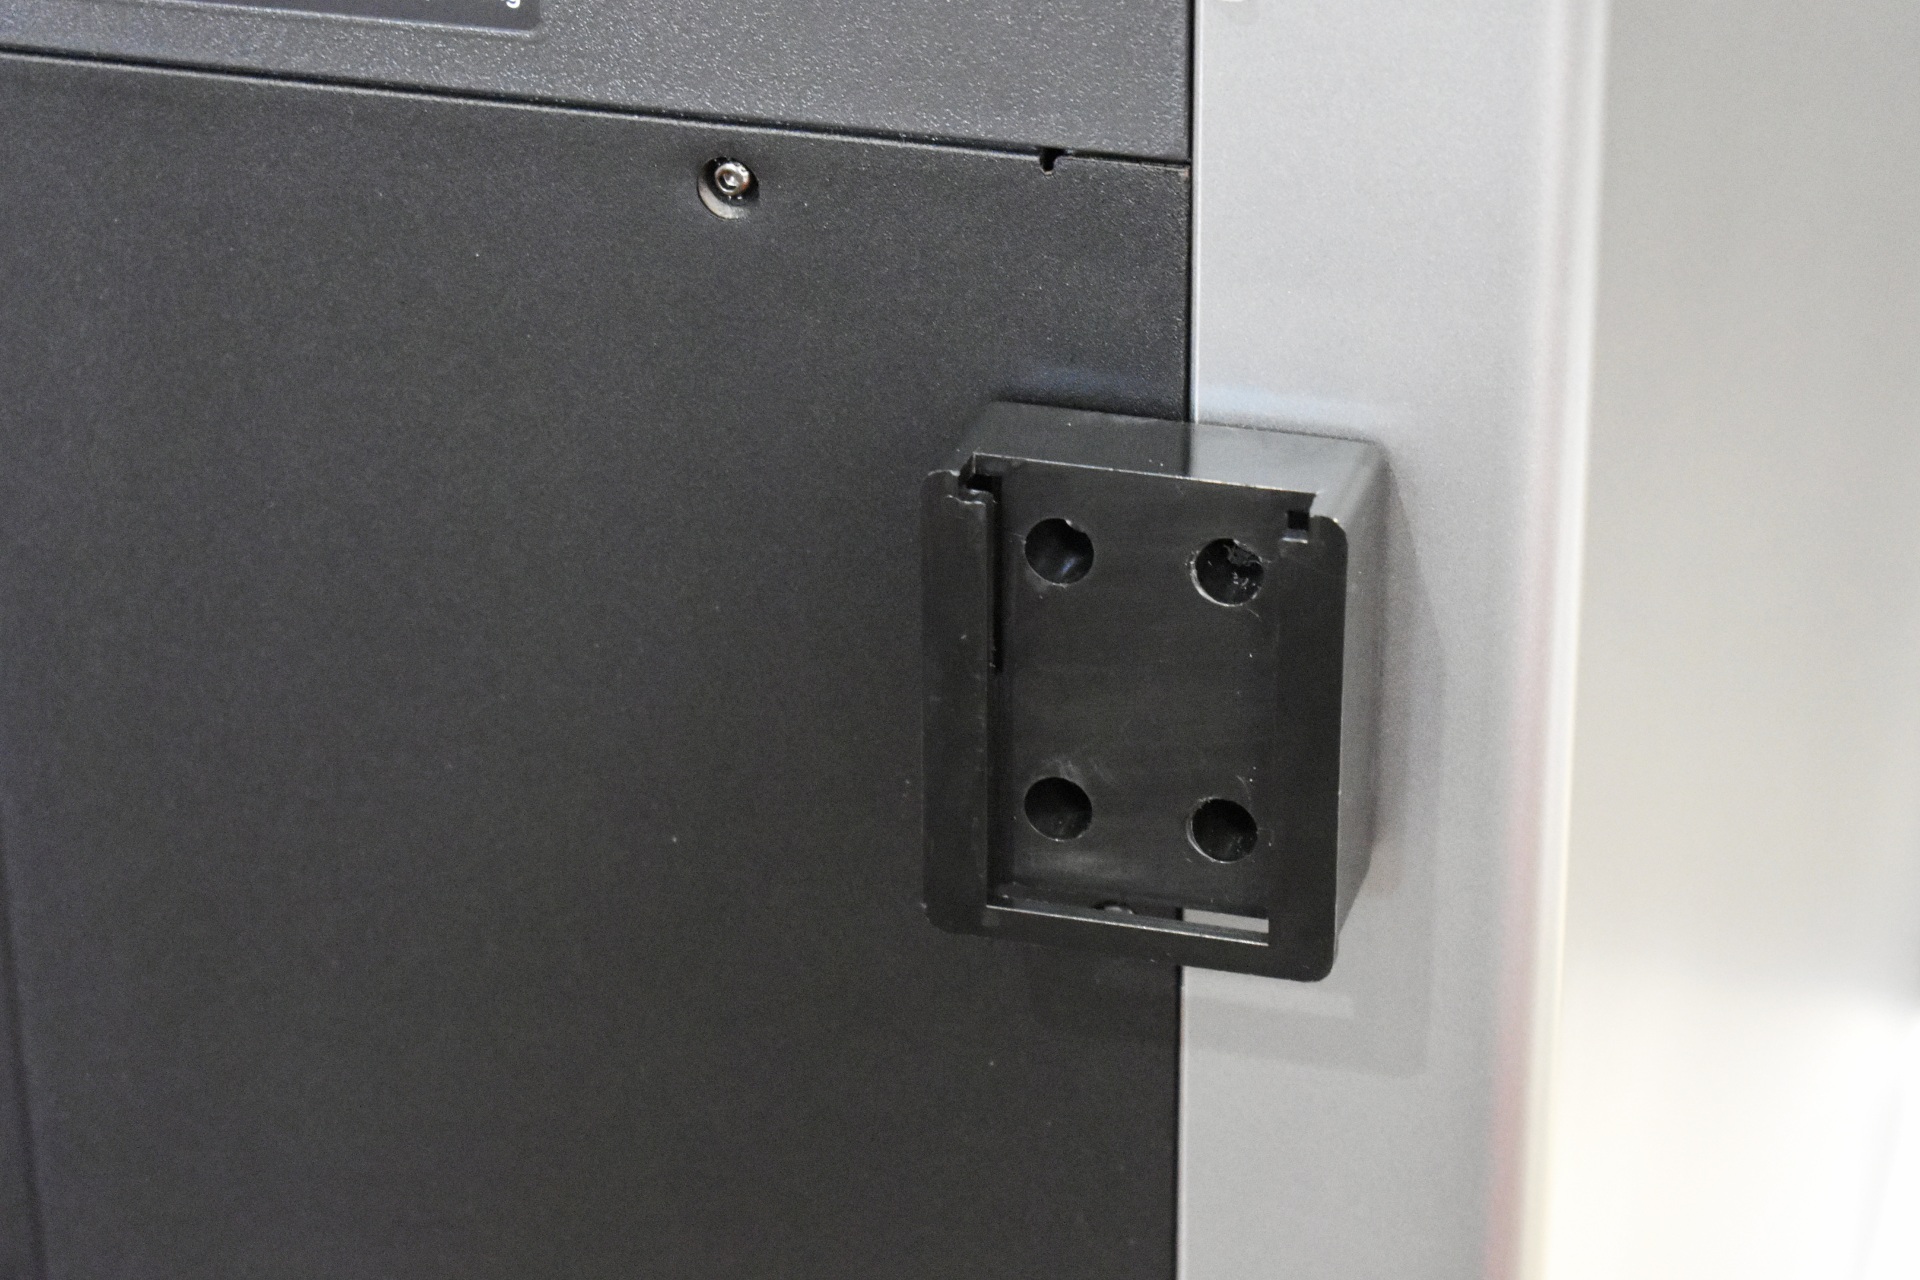
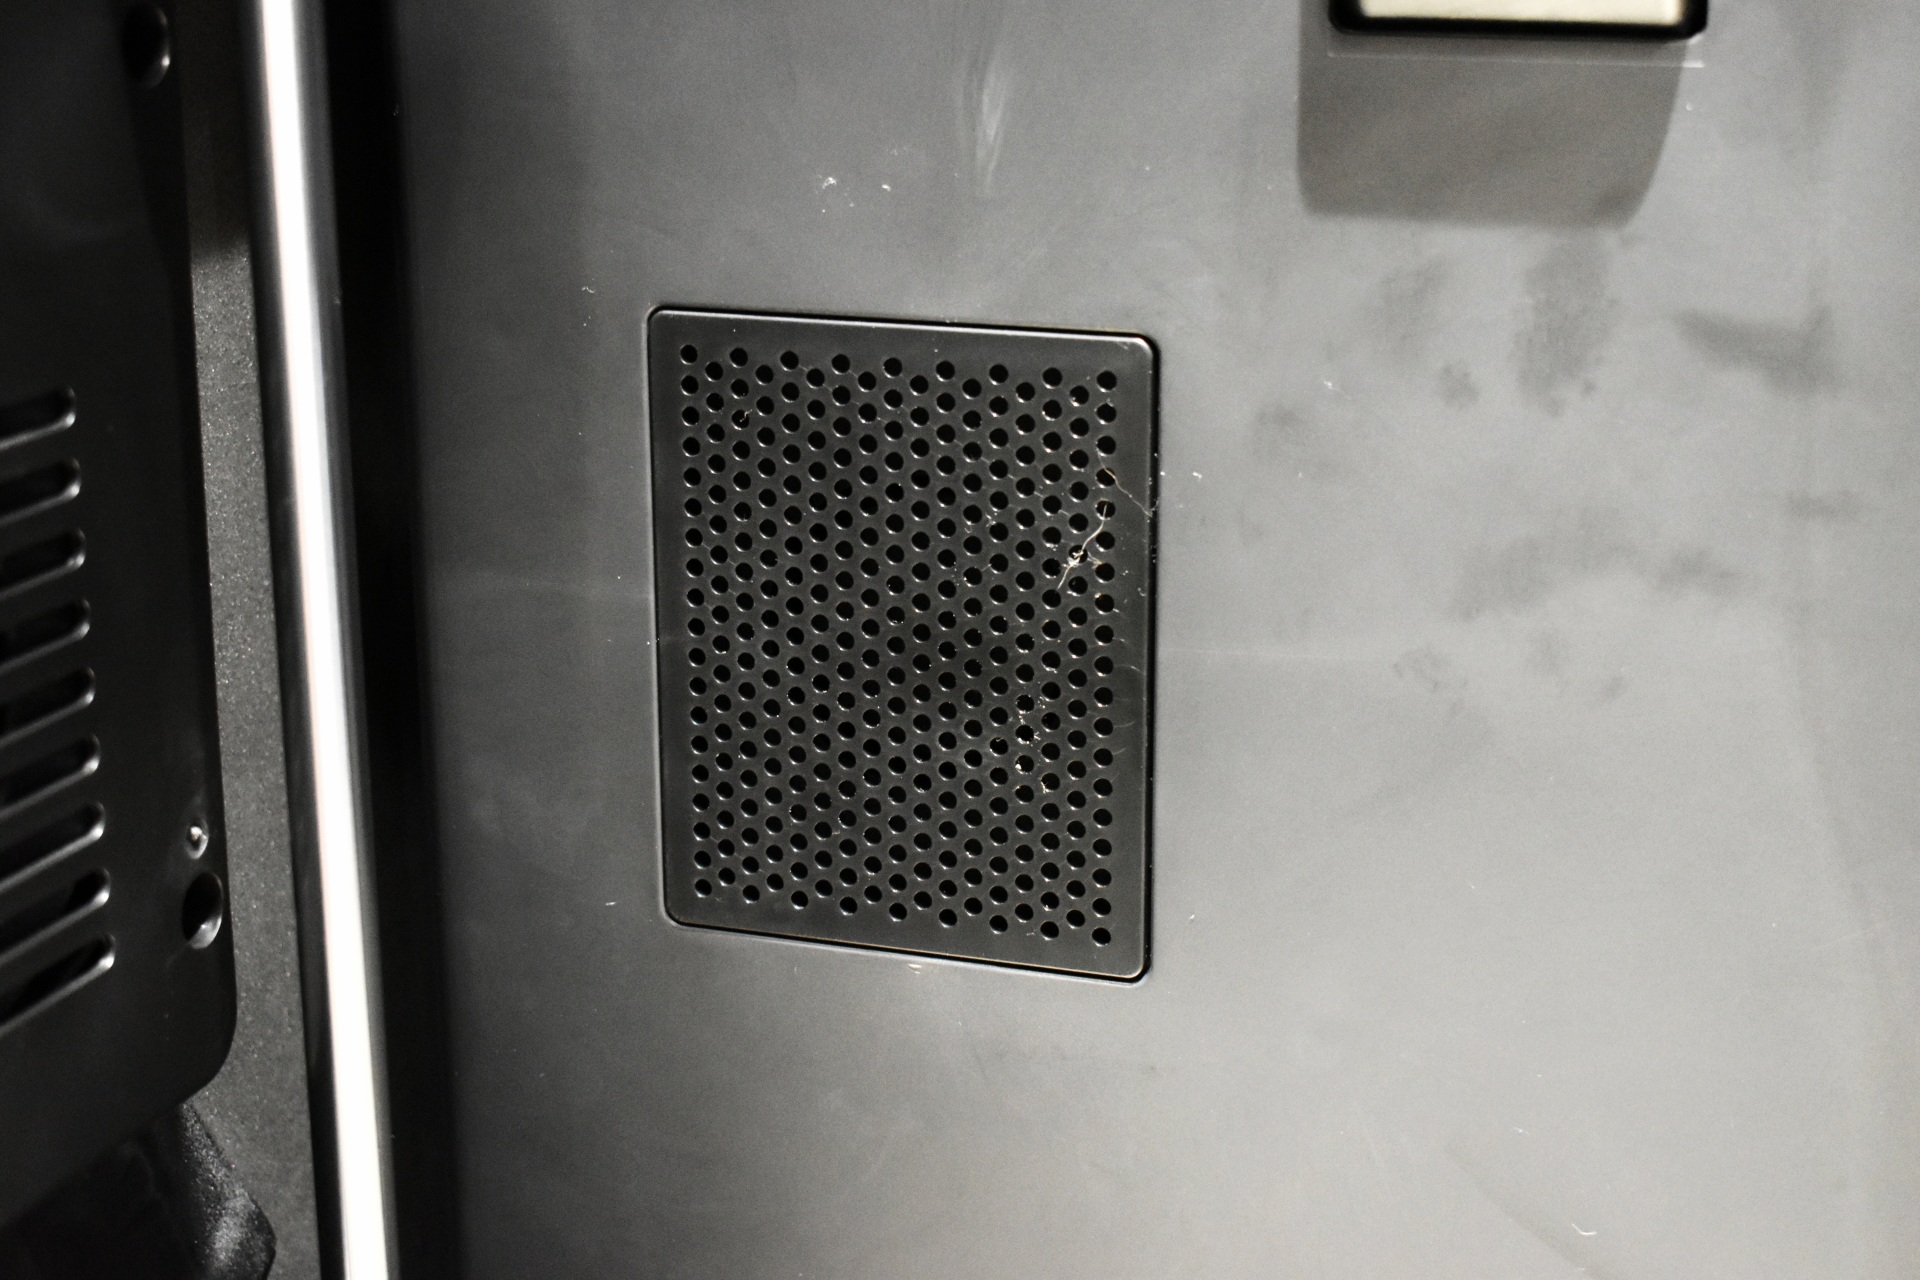
At the rear if the enclosure we find an exhaust fan, small intake fan, filament spool holder mount, RJ45 port, signal cable ports, and the filament exit.


Unlike previous models this time over the spool holder is a single piece one.


For this review I used the new PLA Rapido P (gold and silver) filaments by QIDI.


DISPLAY MENUS


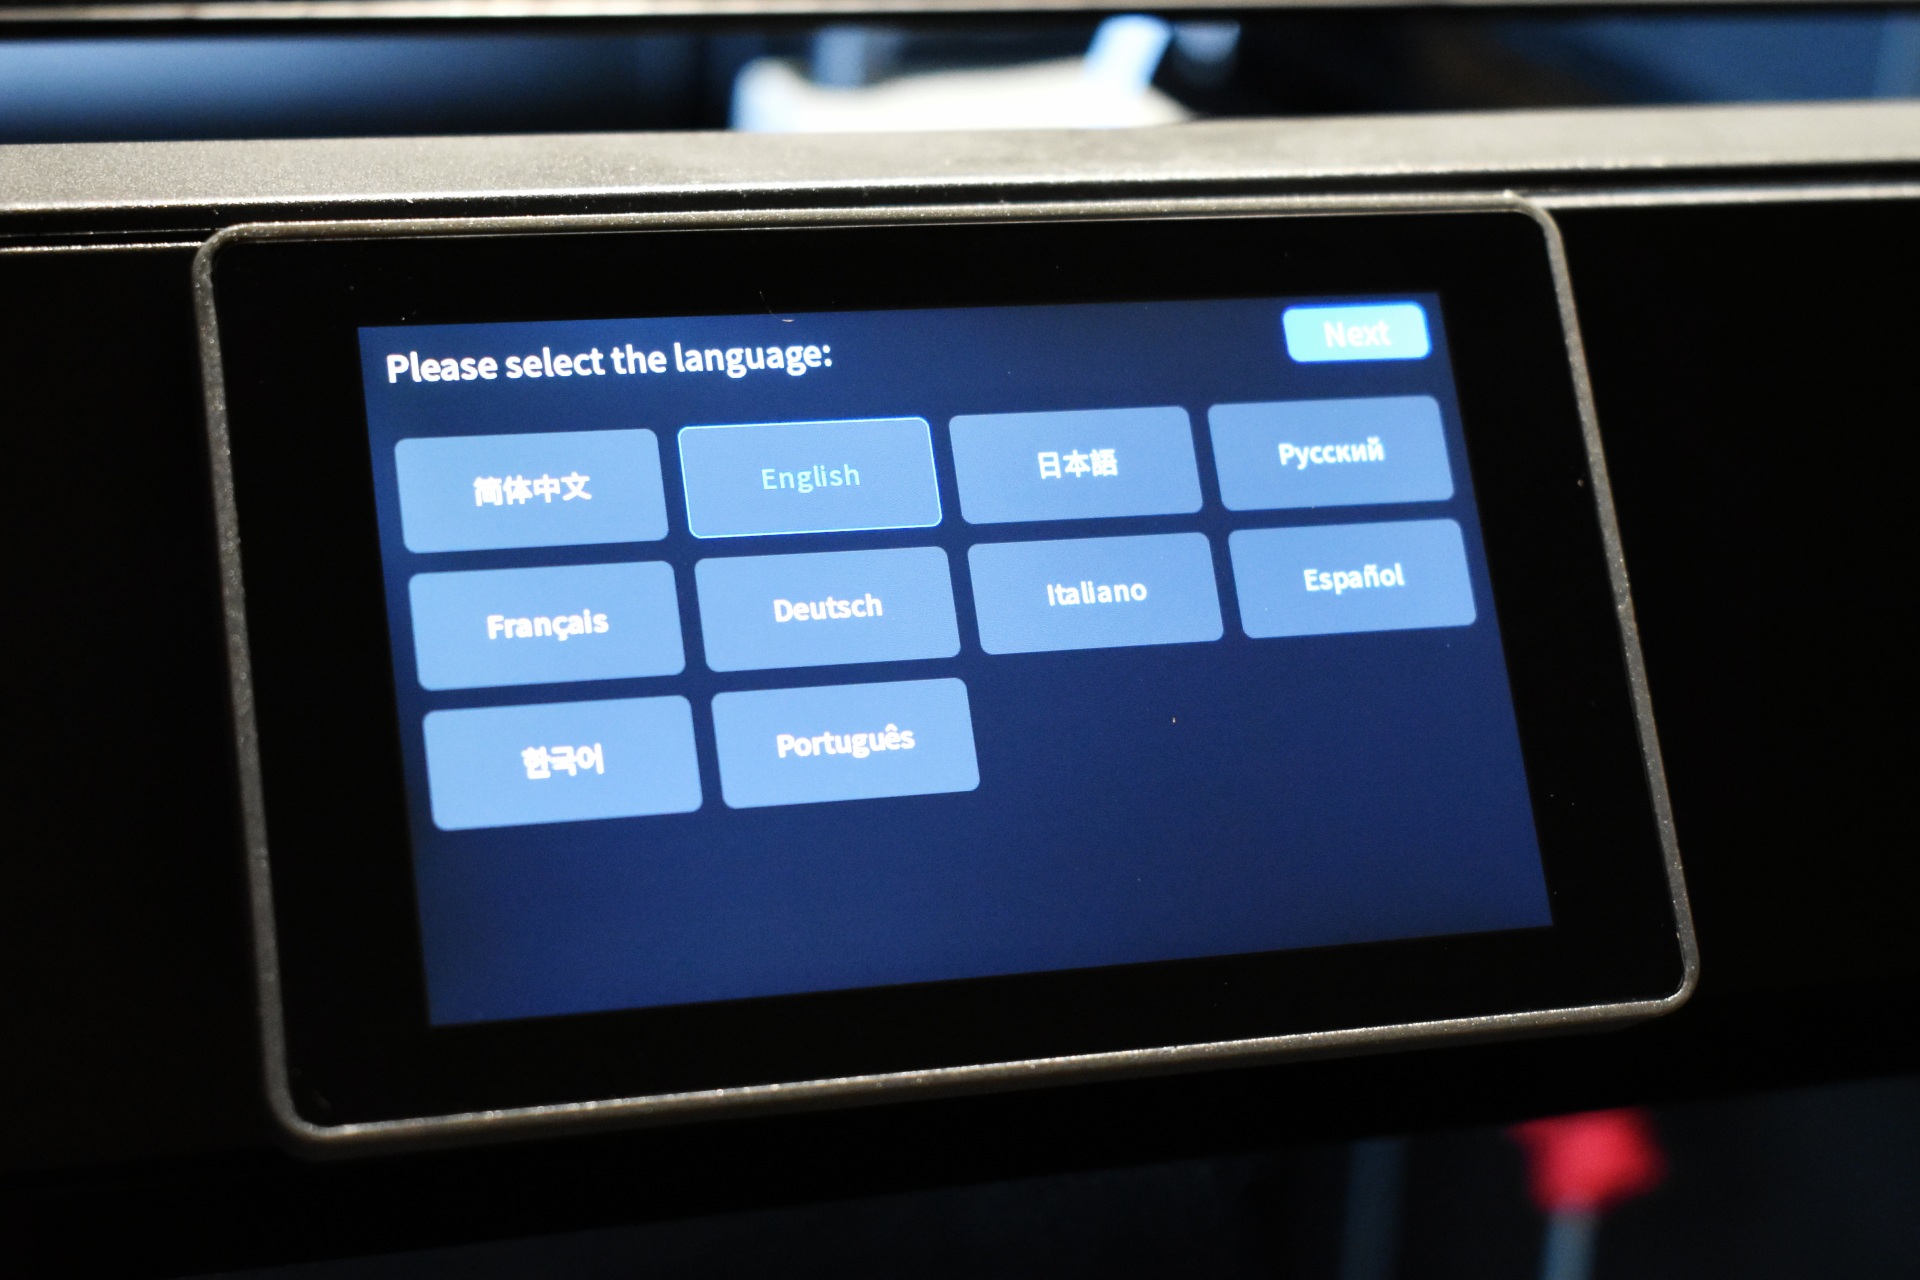
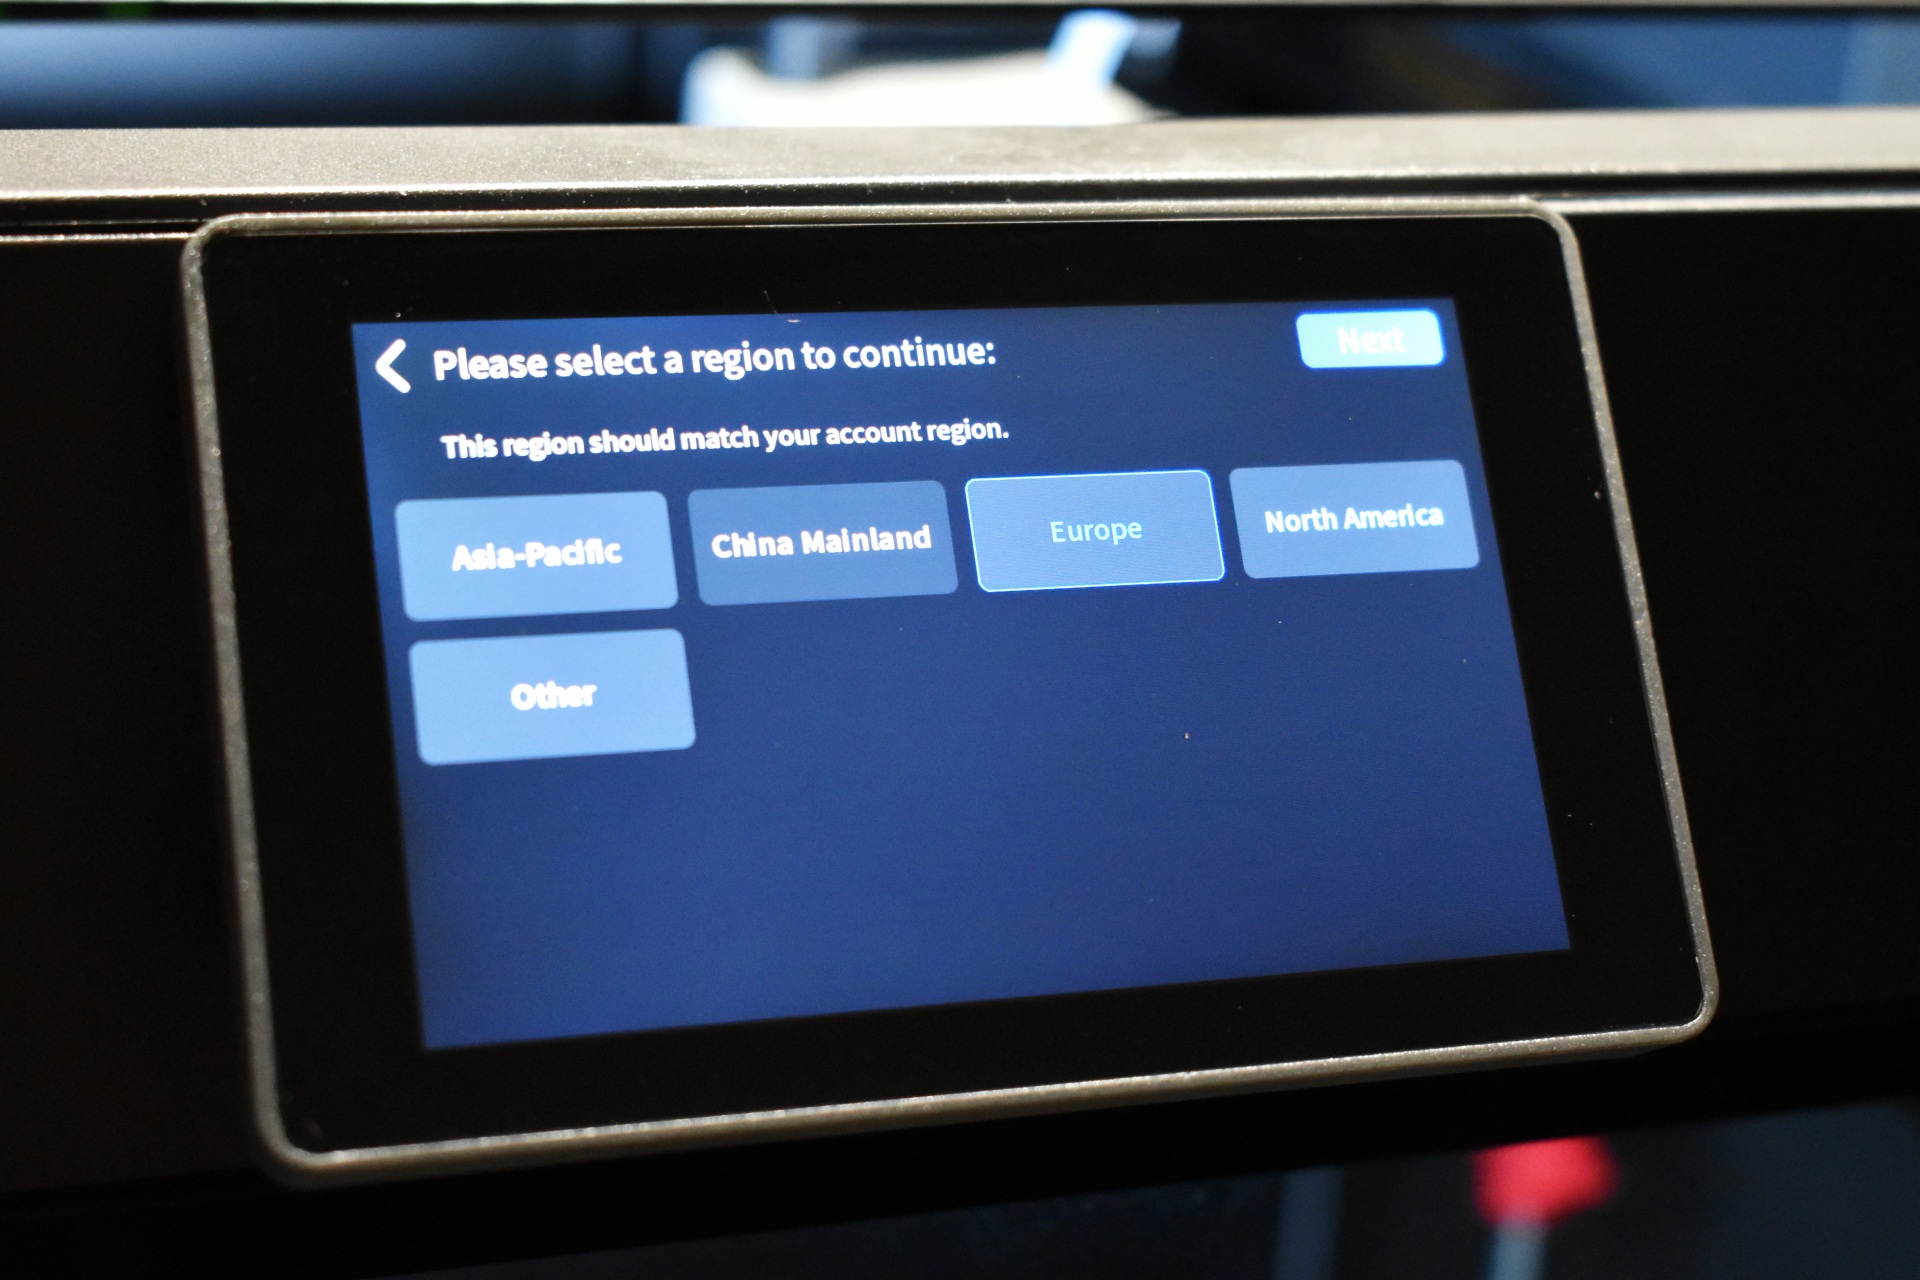
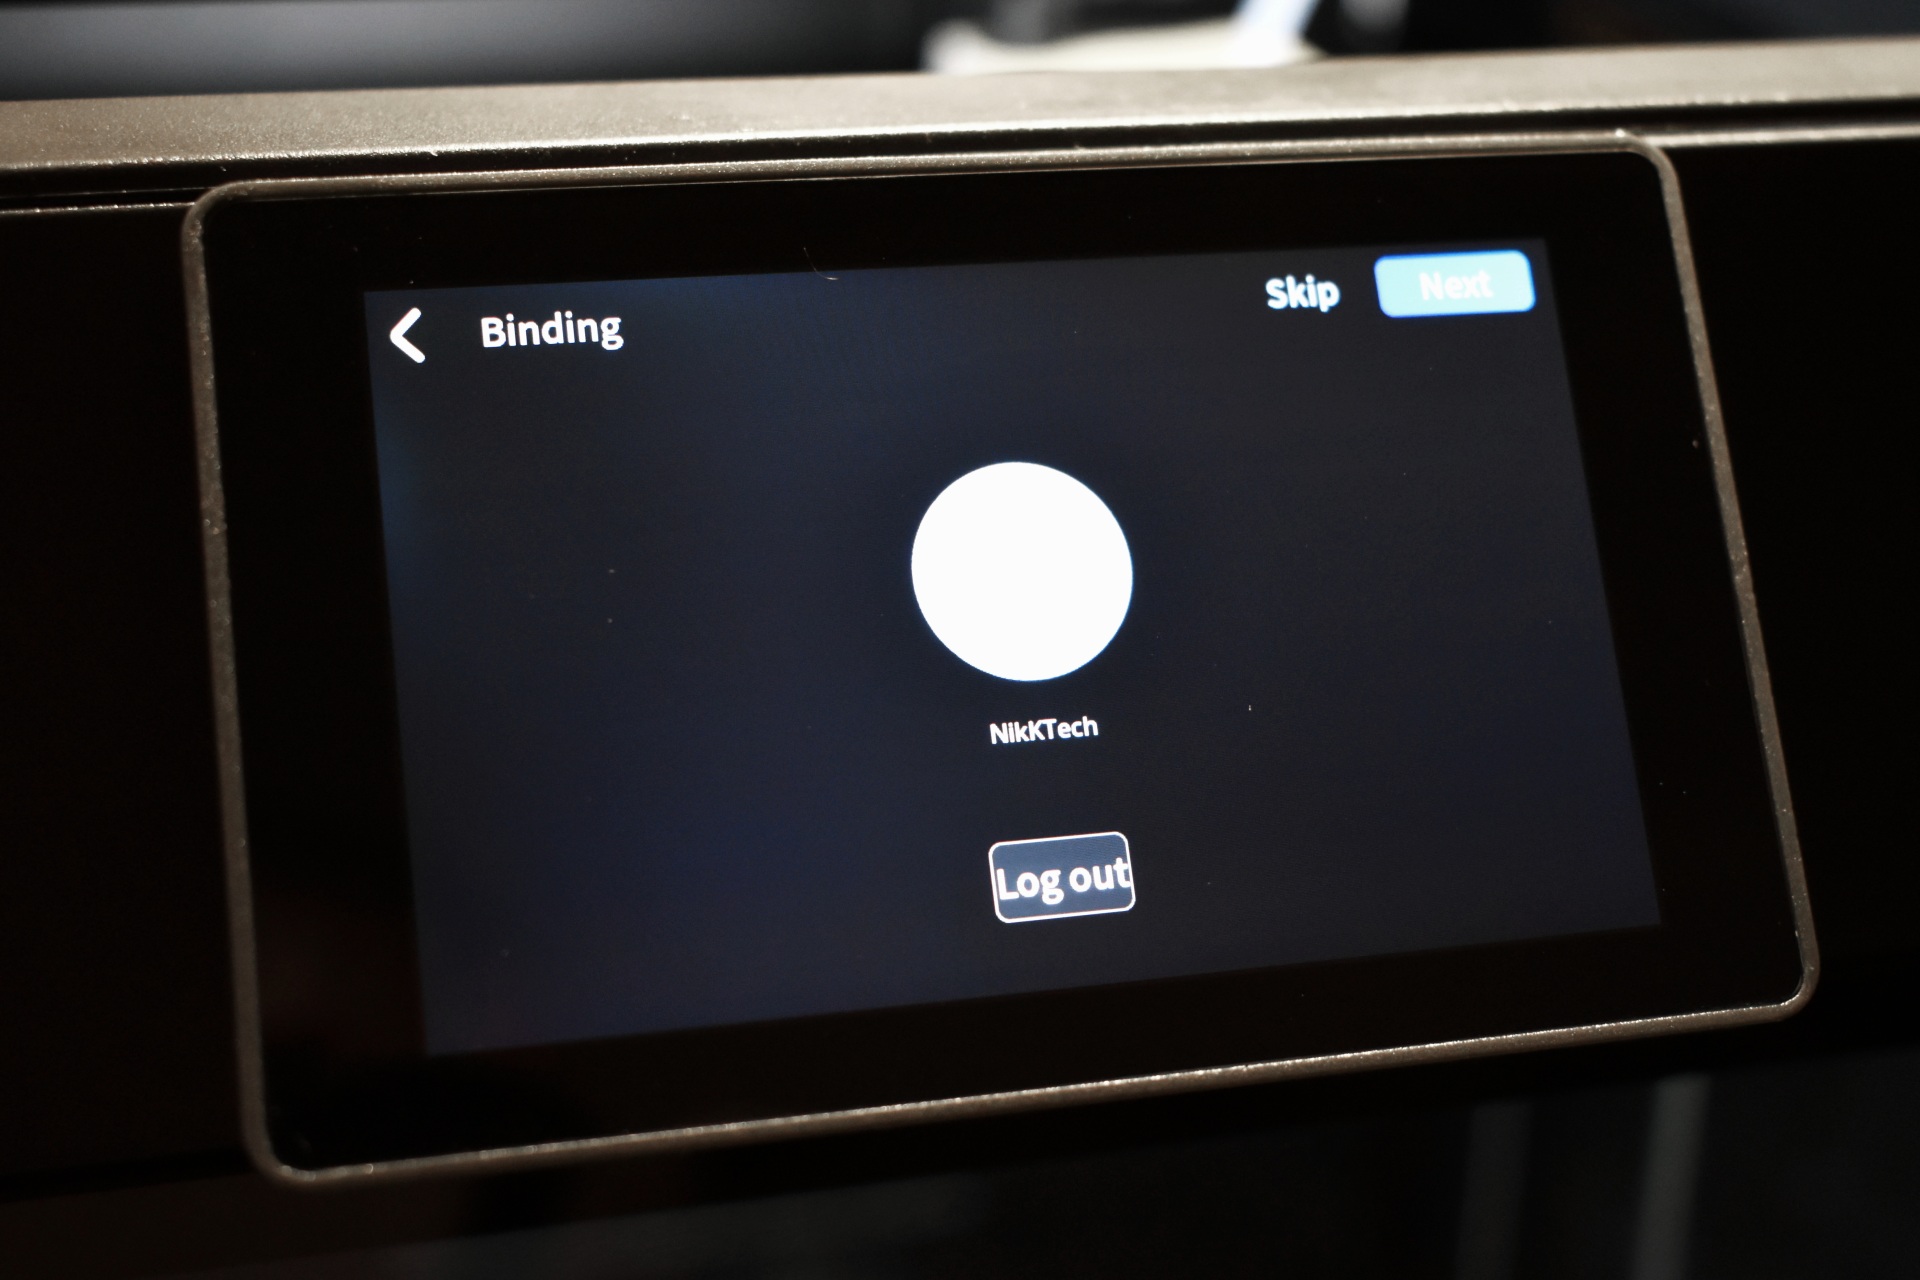
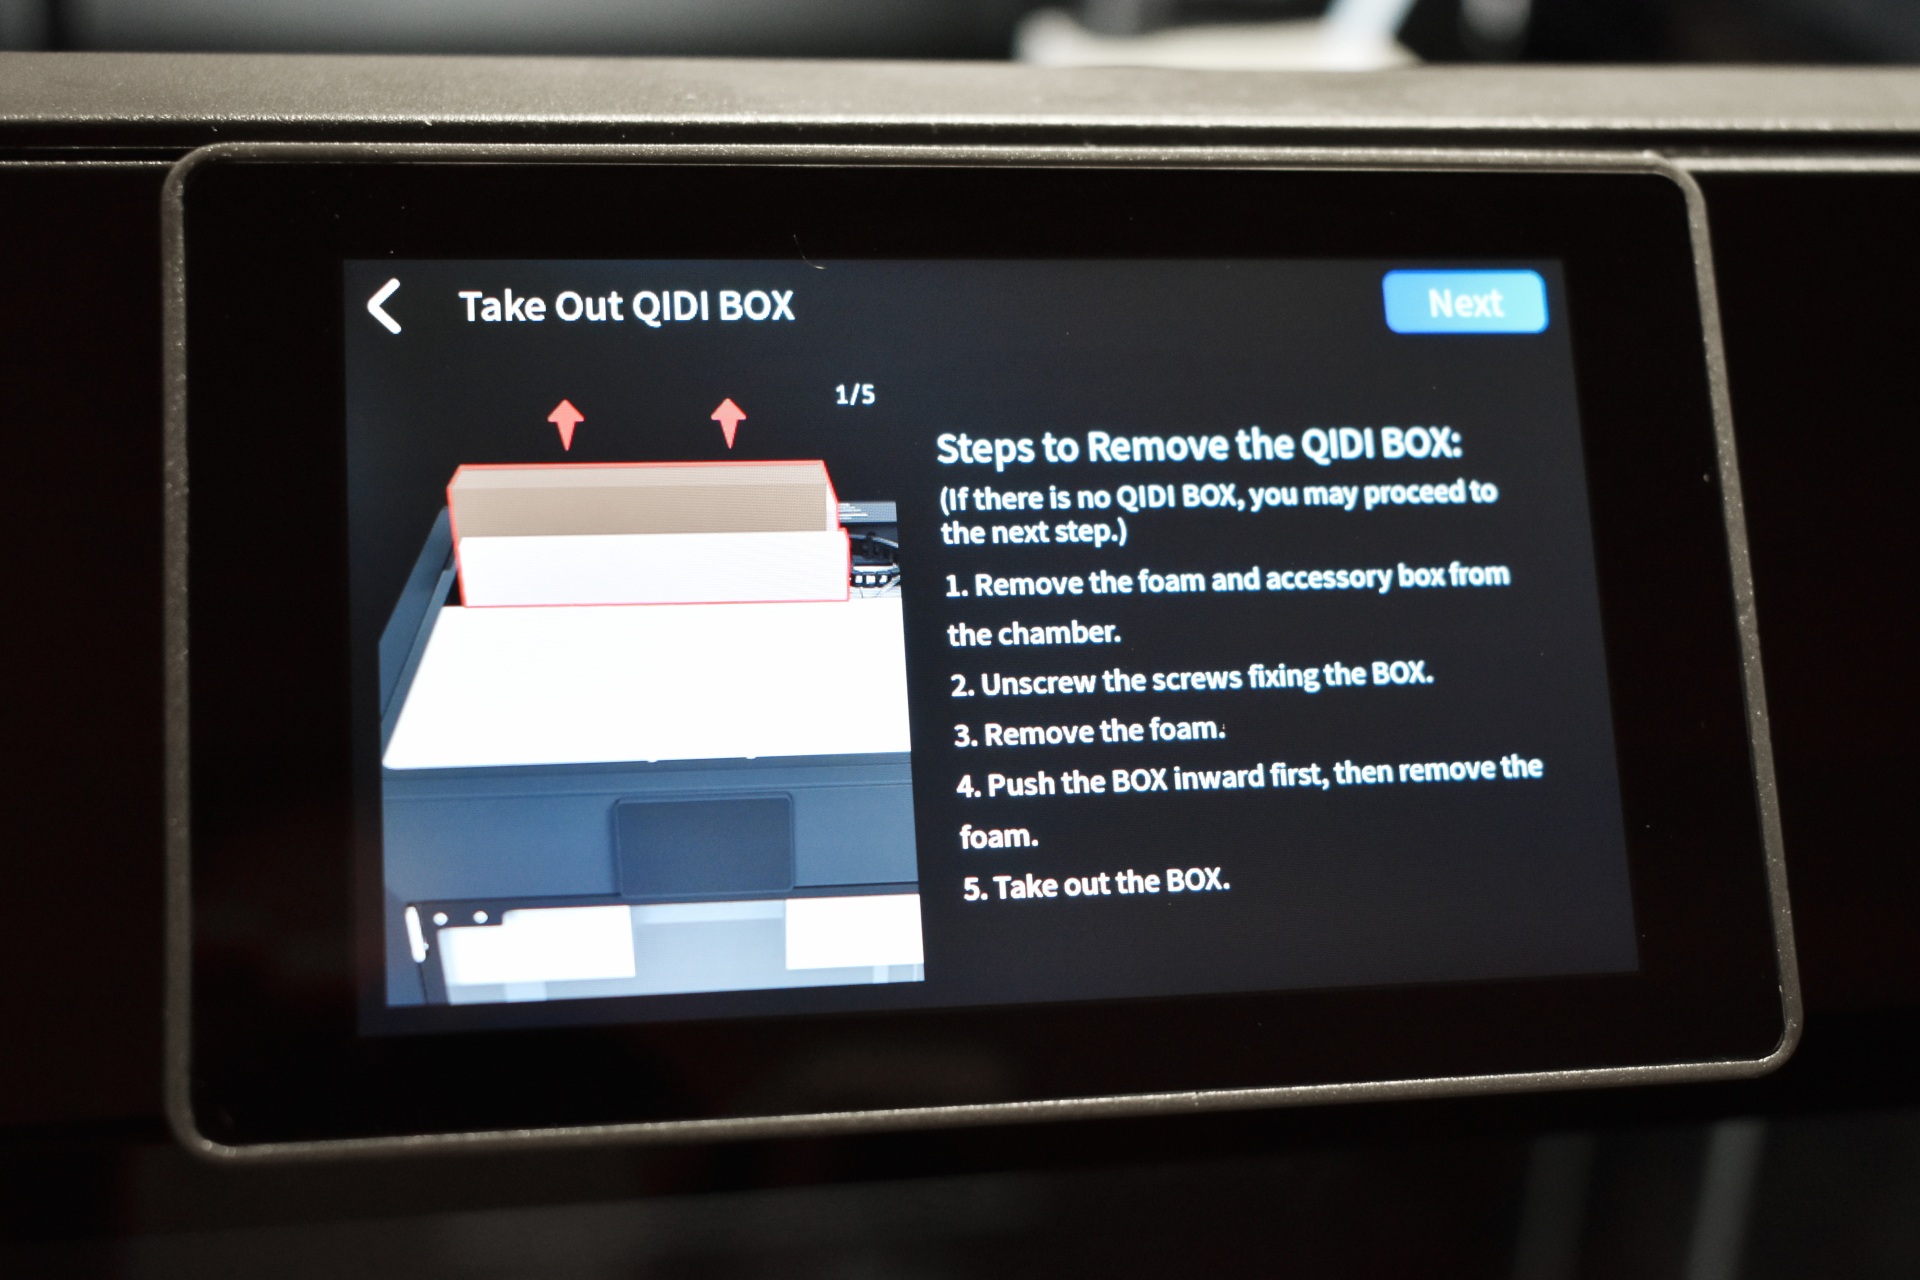
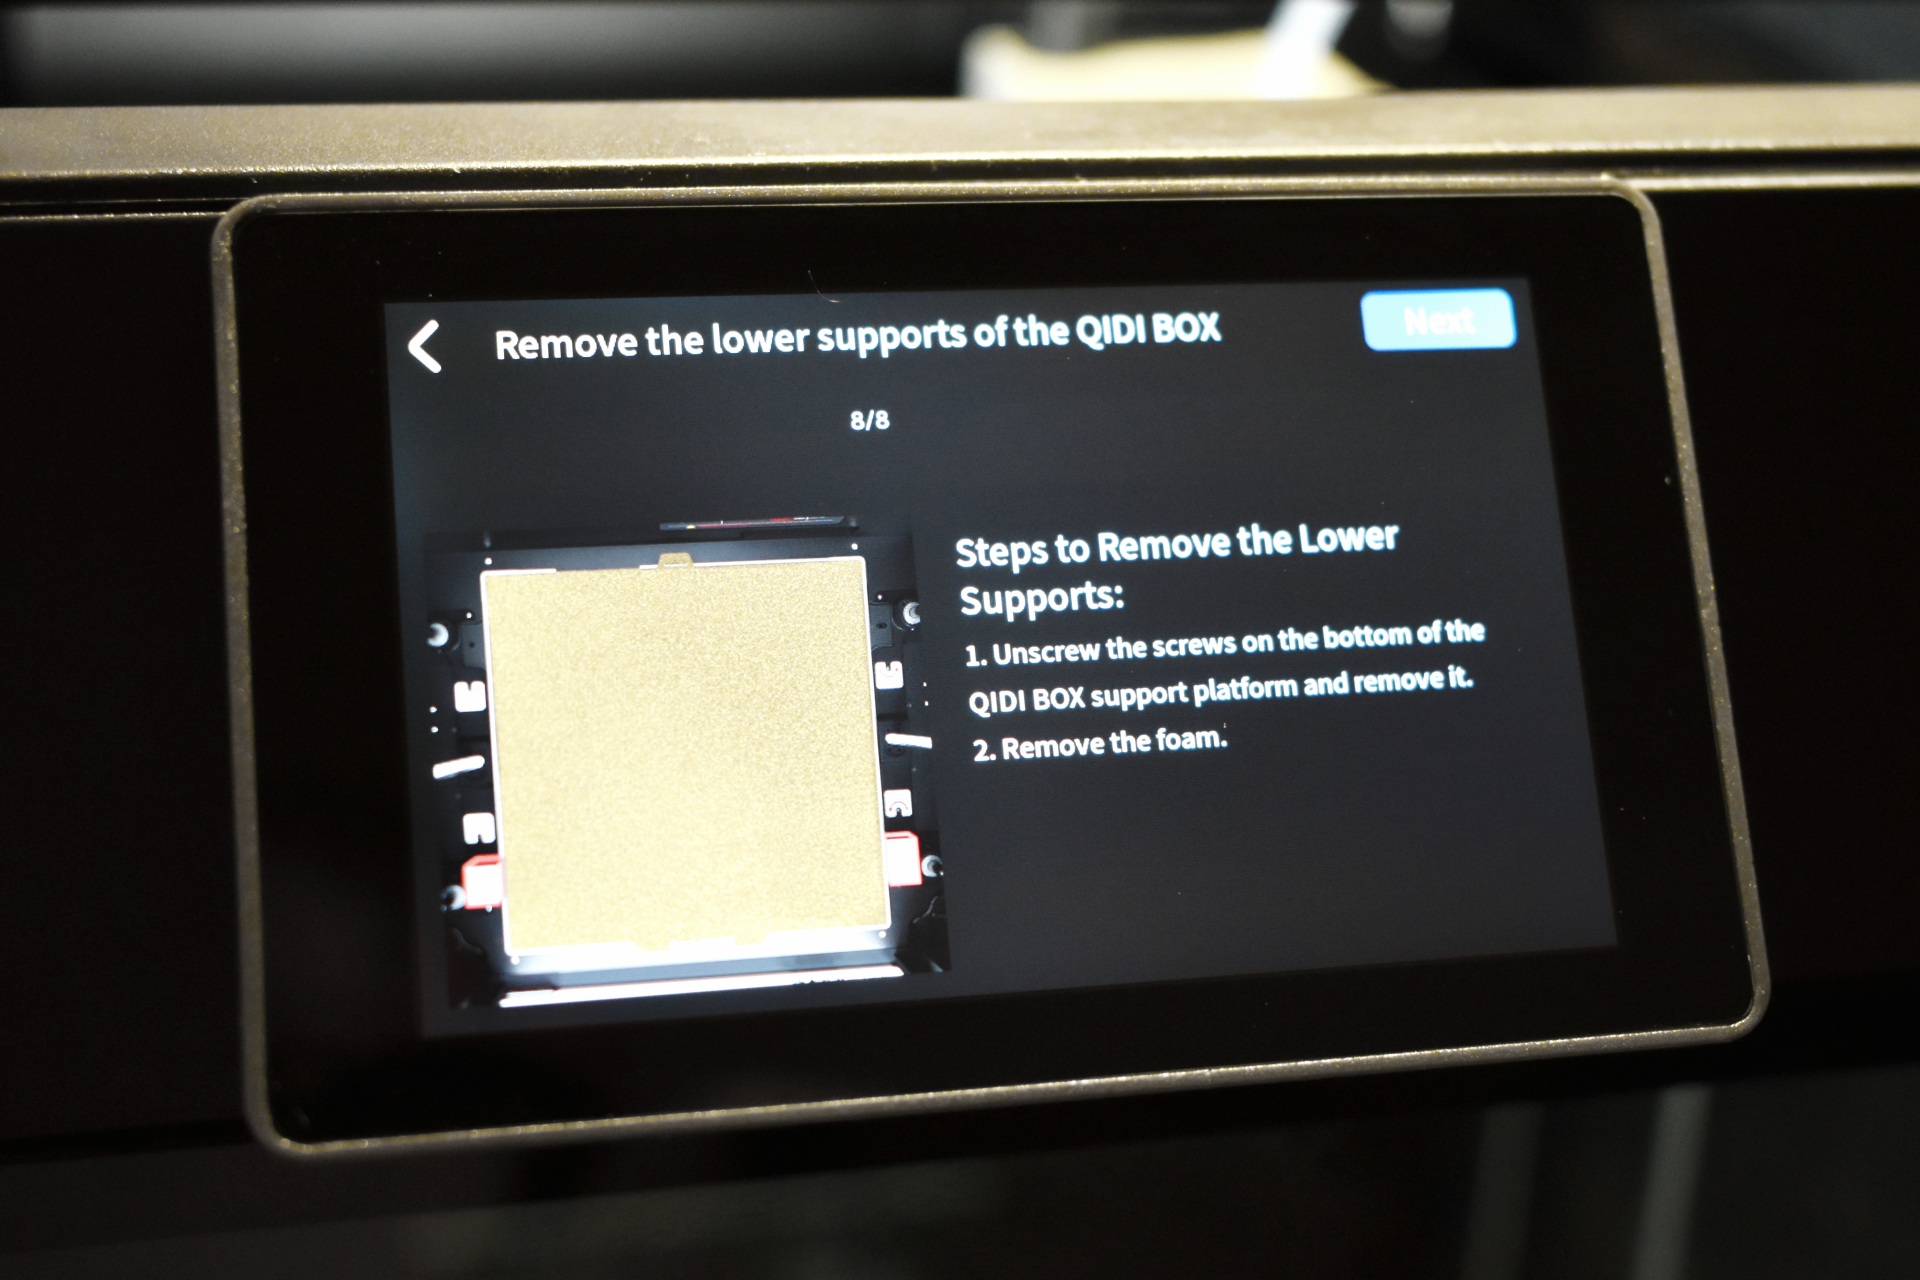
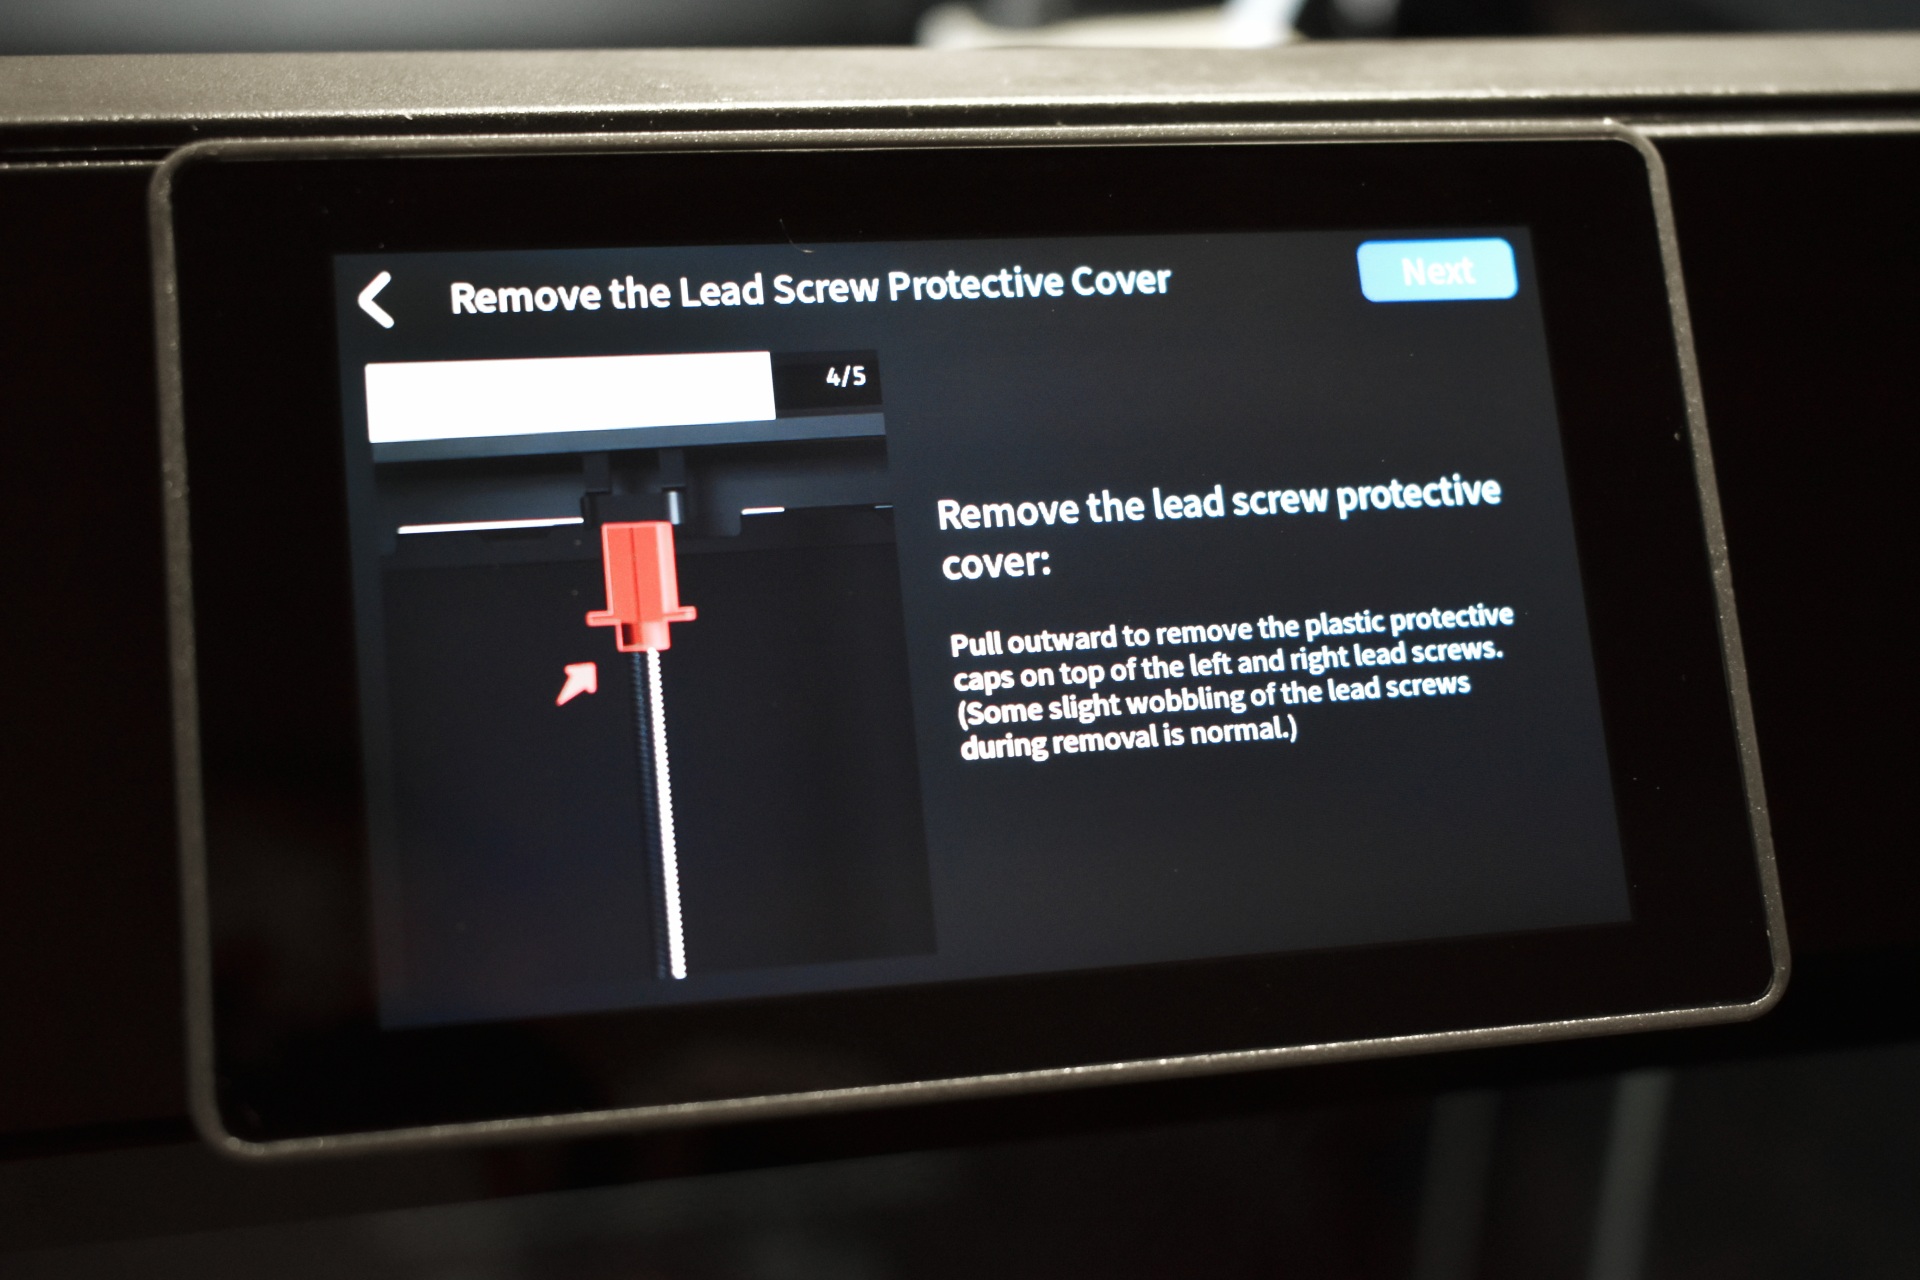
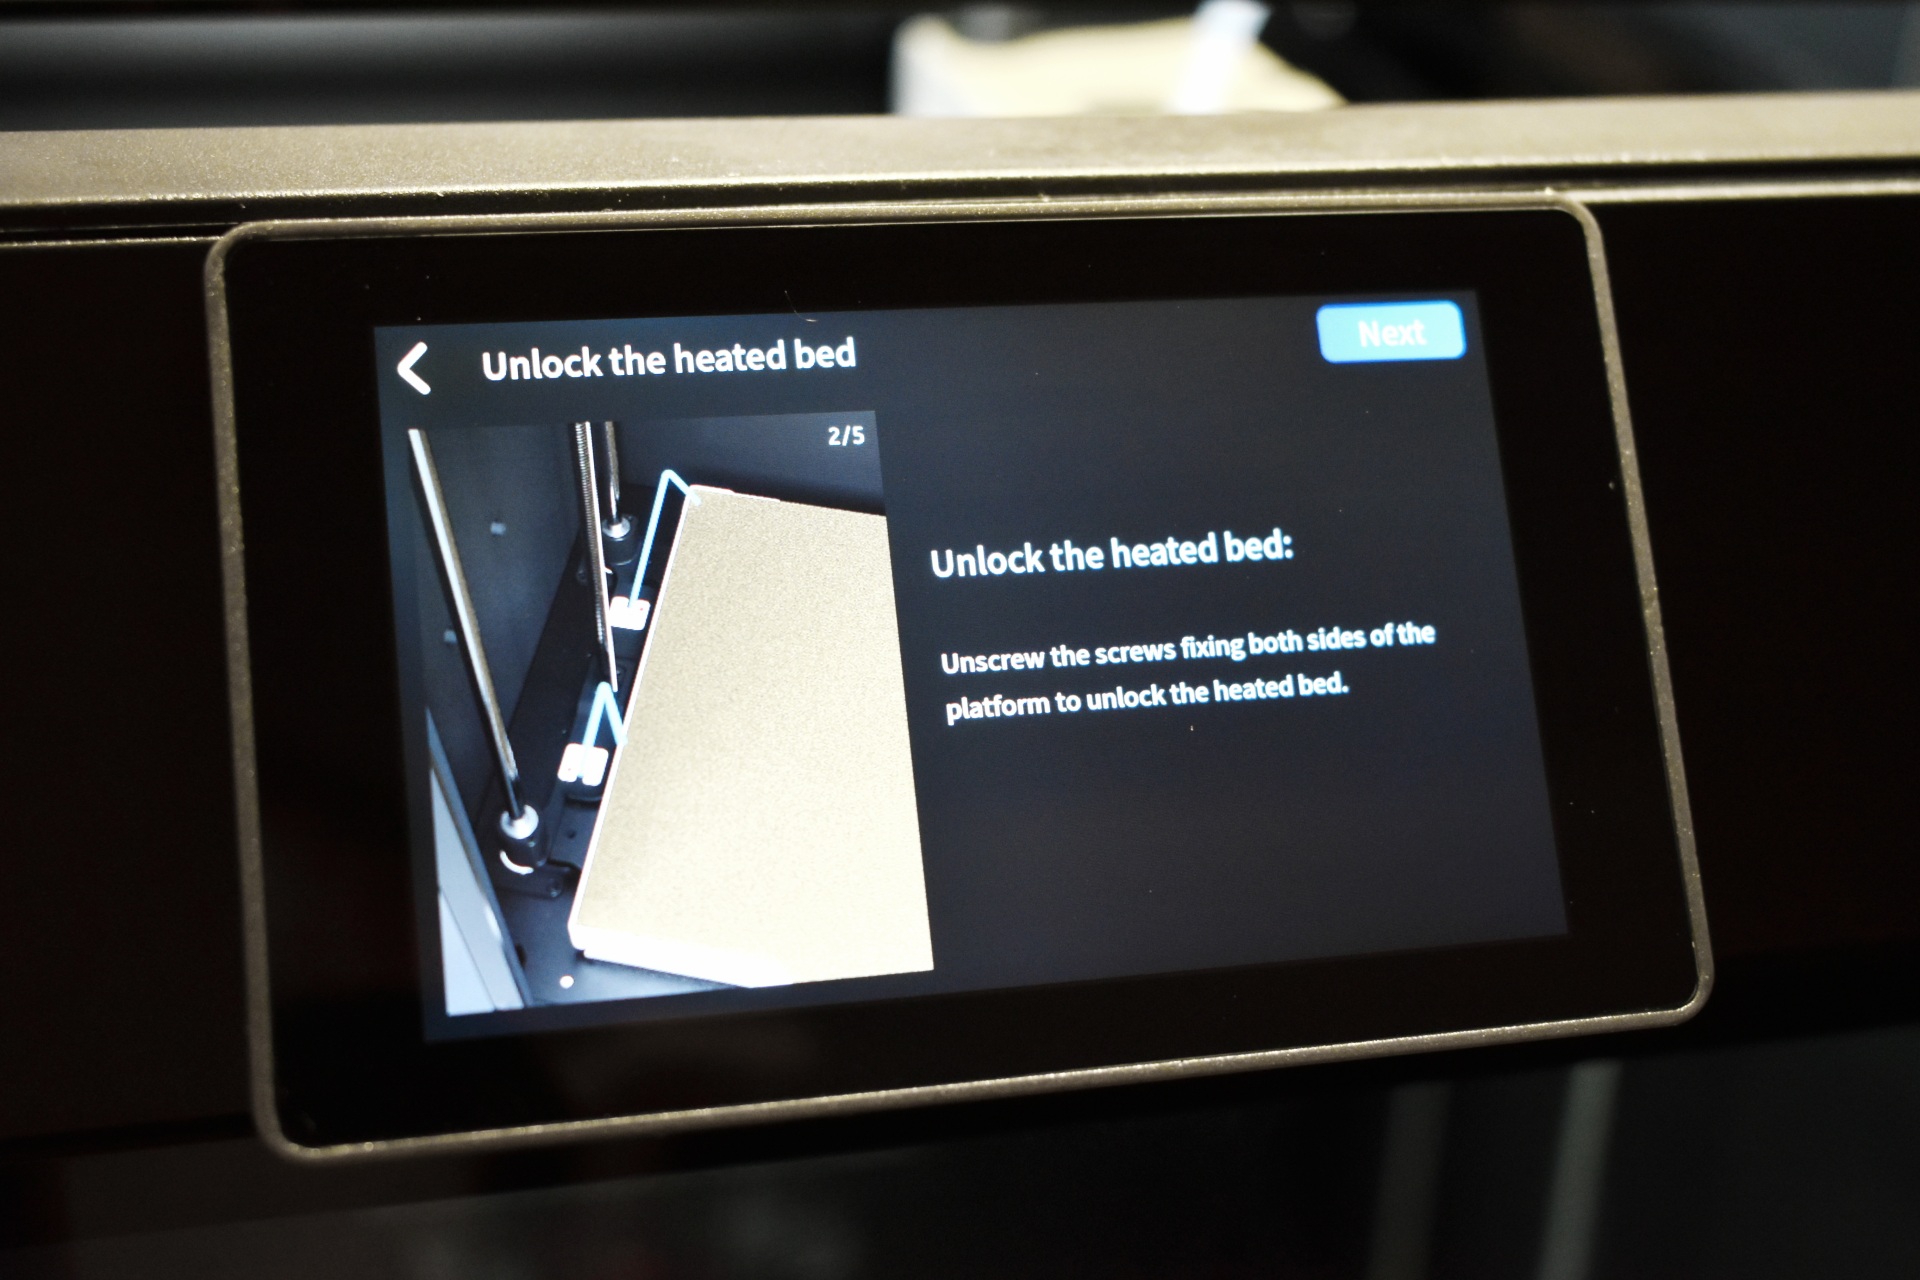
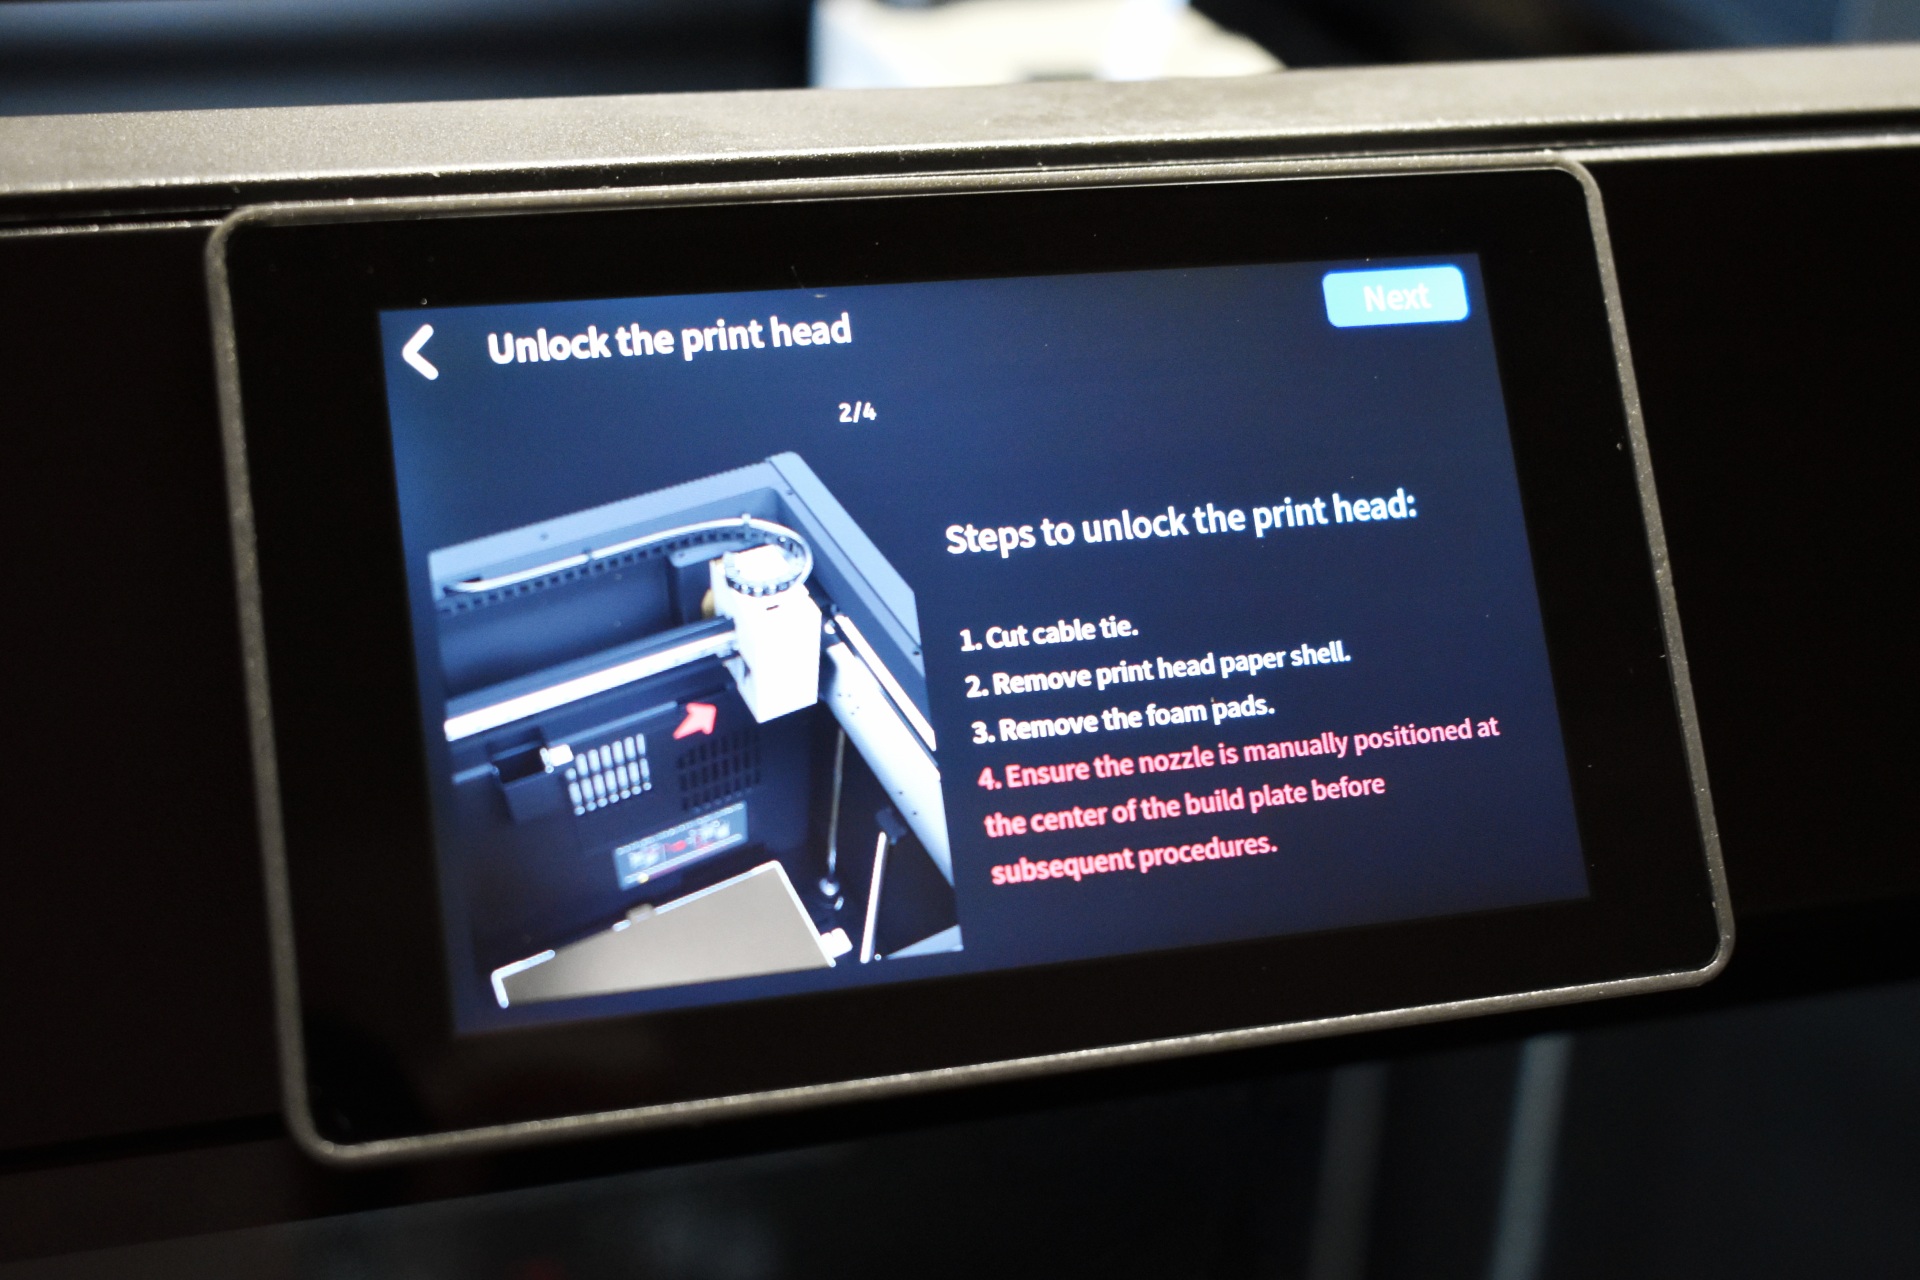
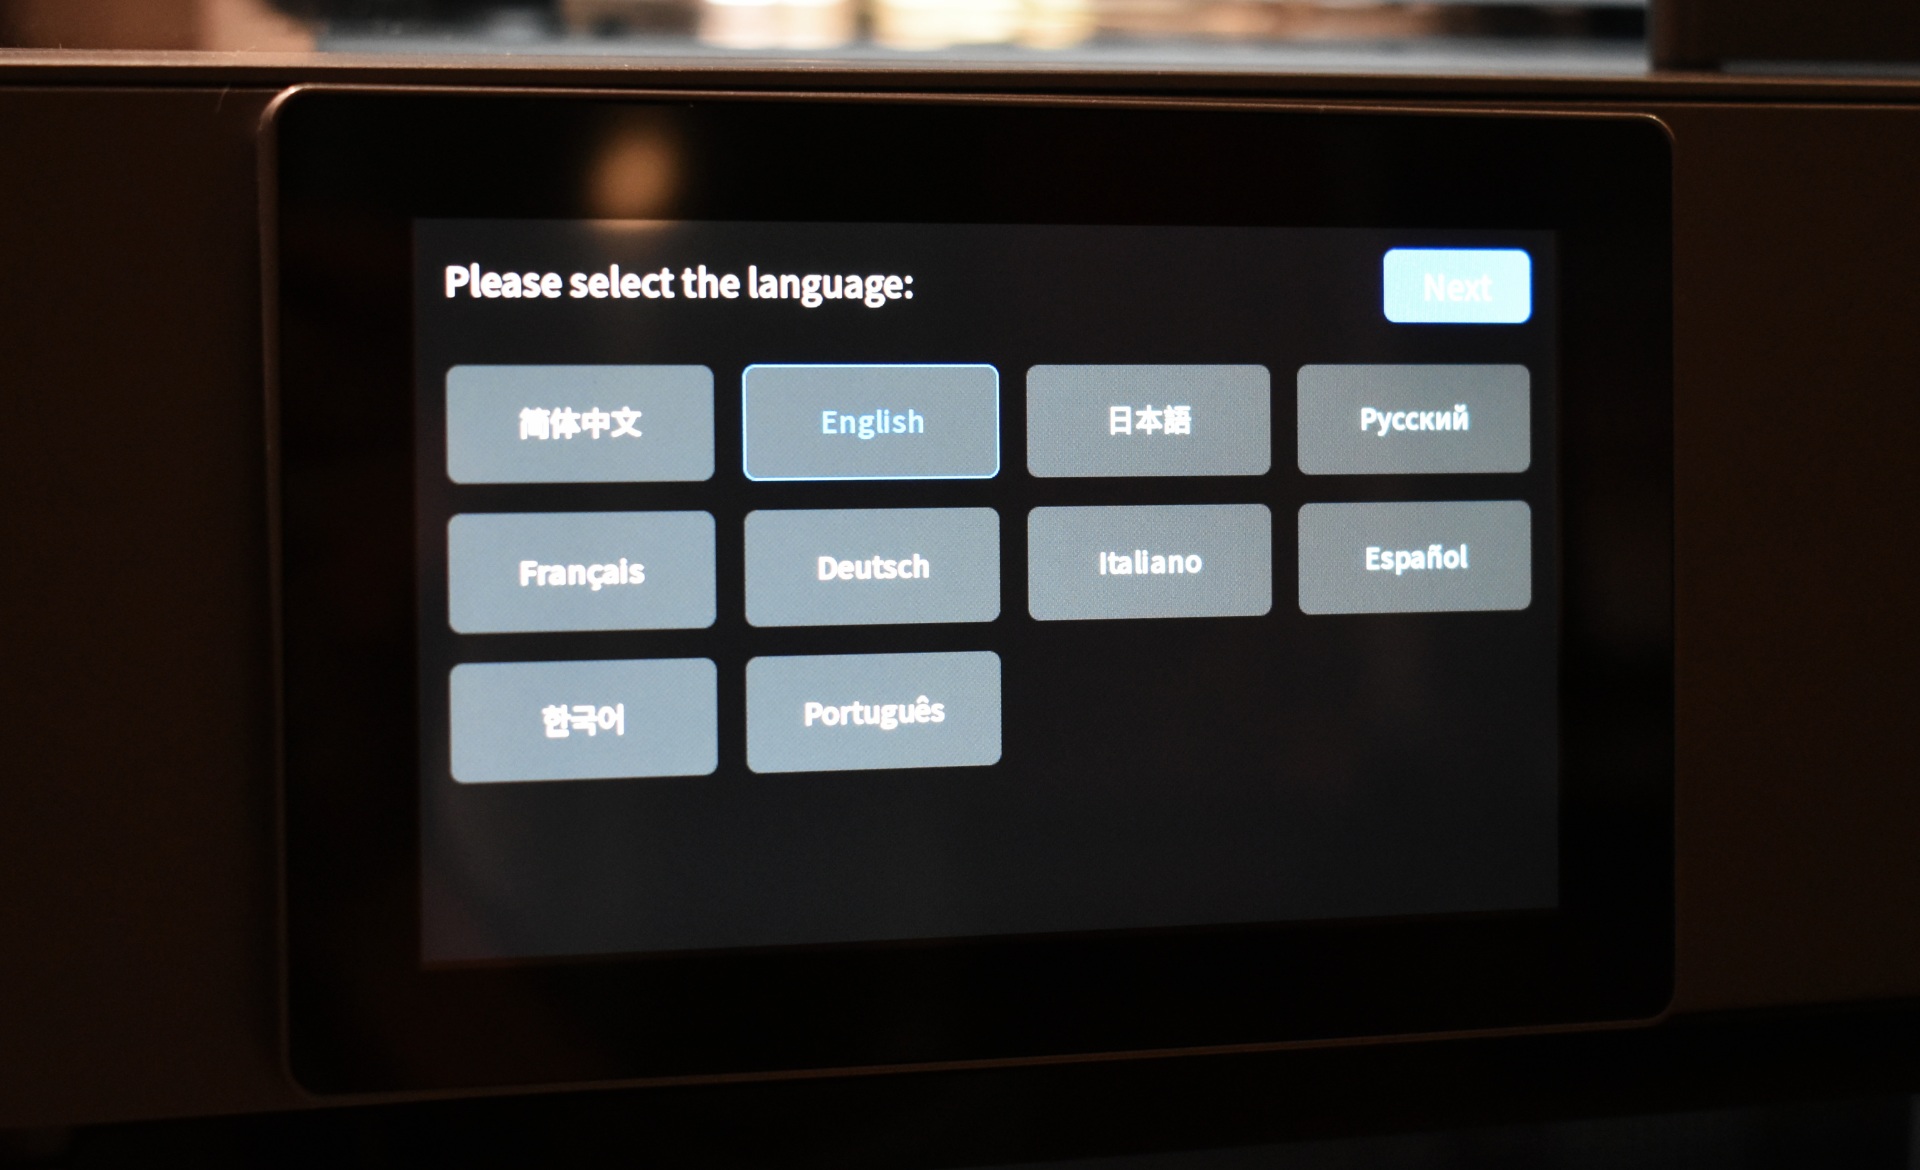
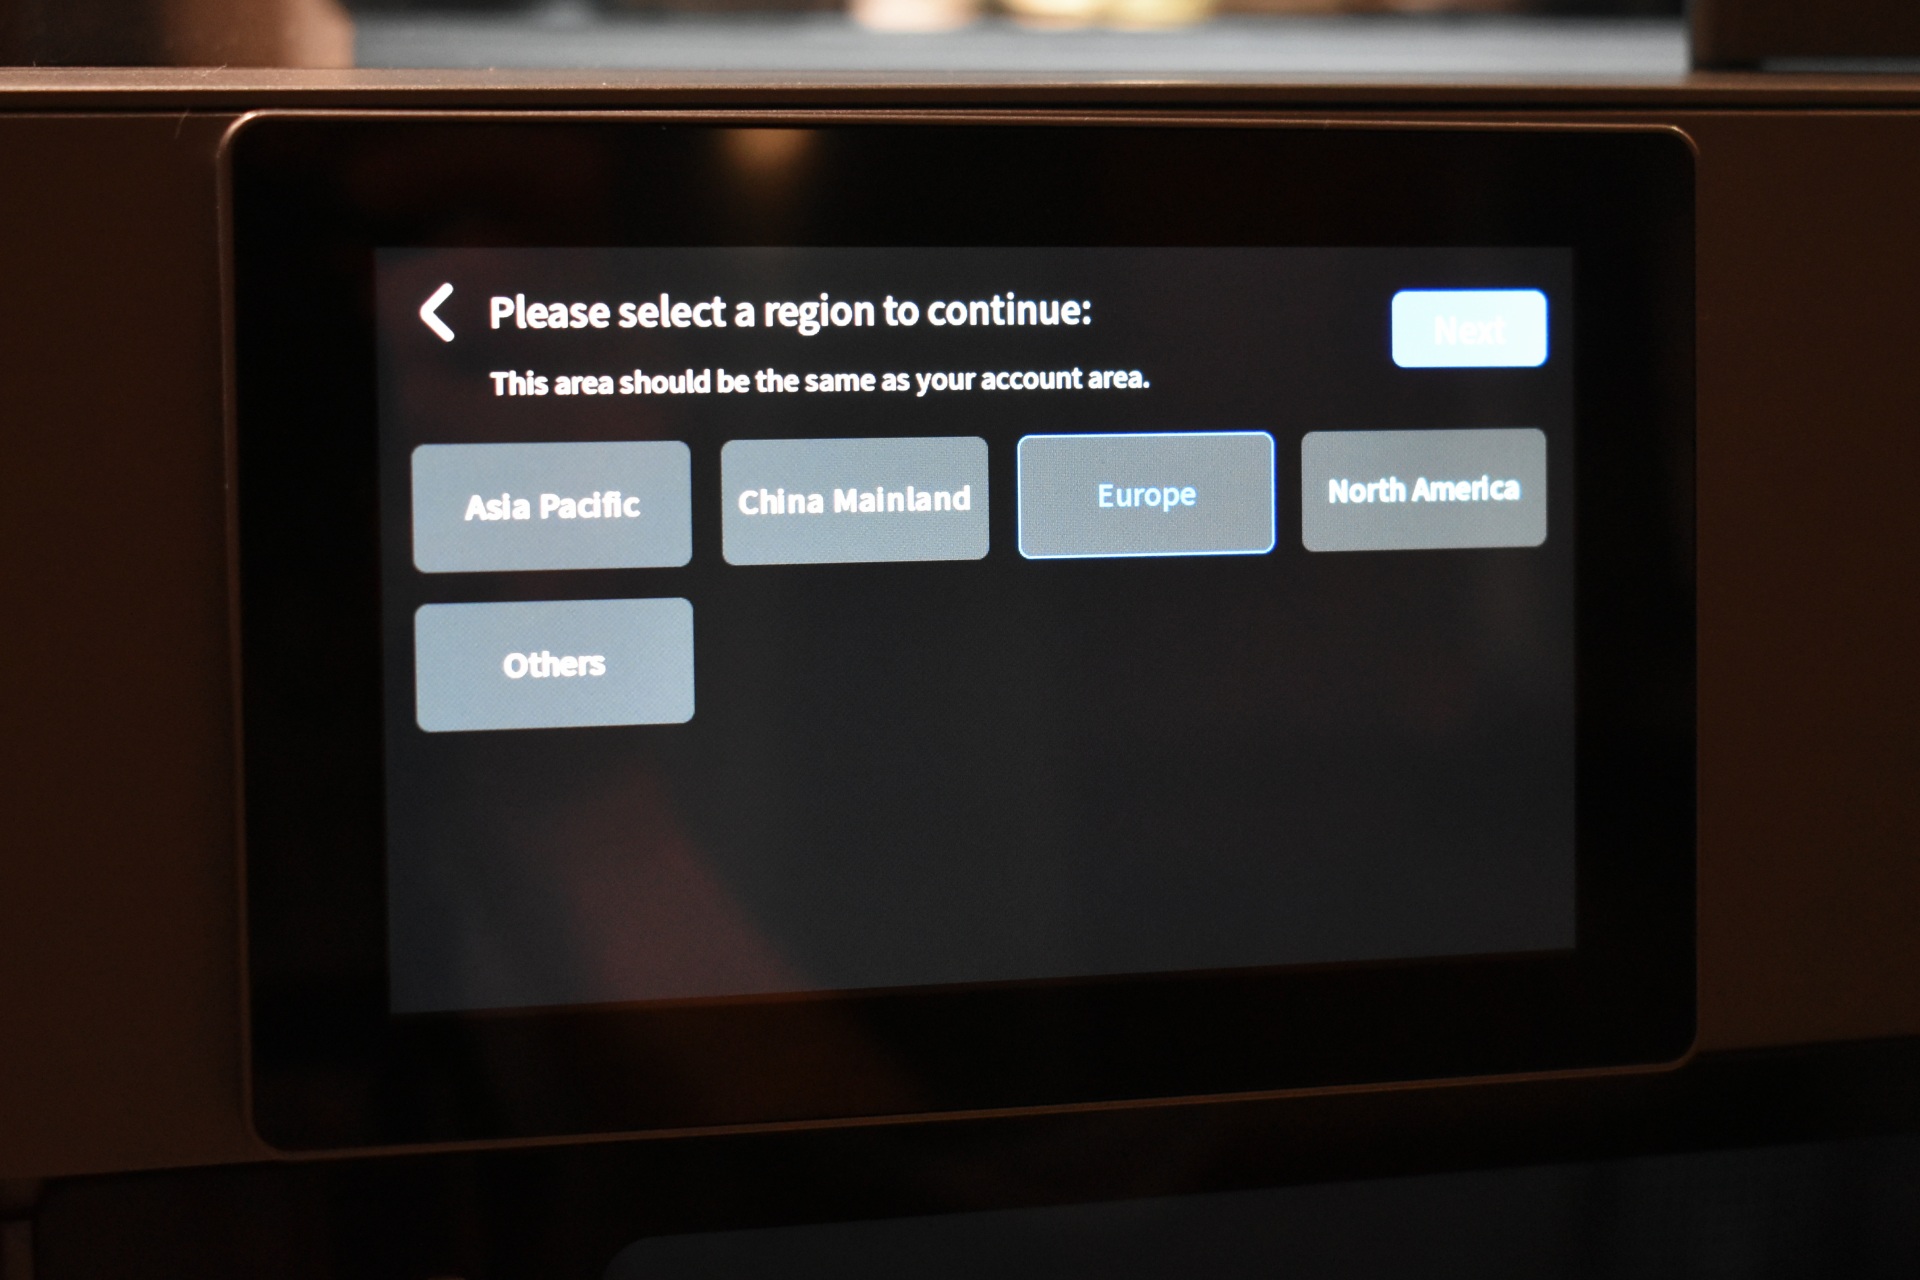
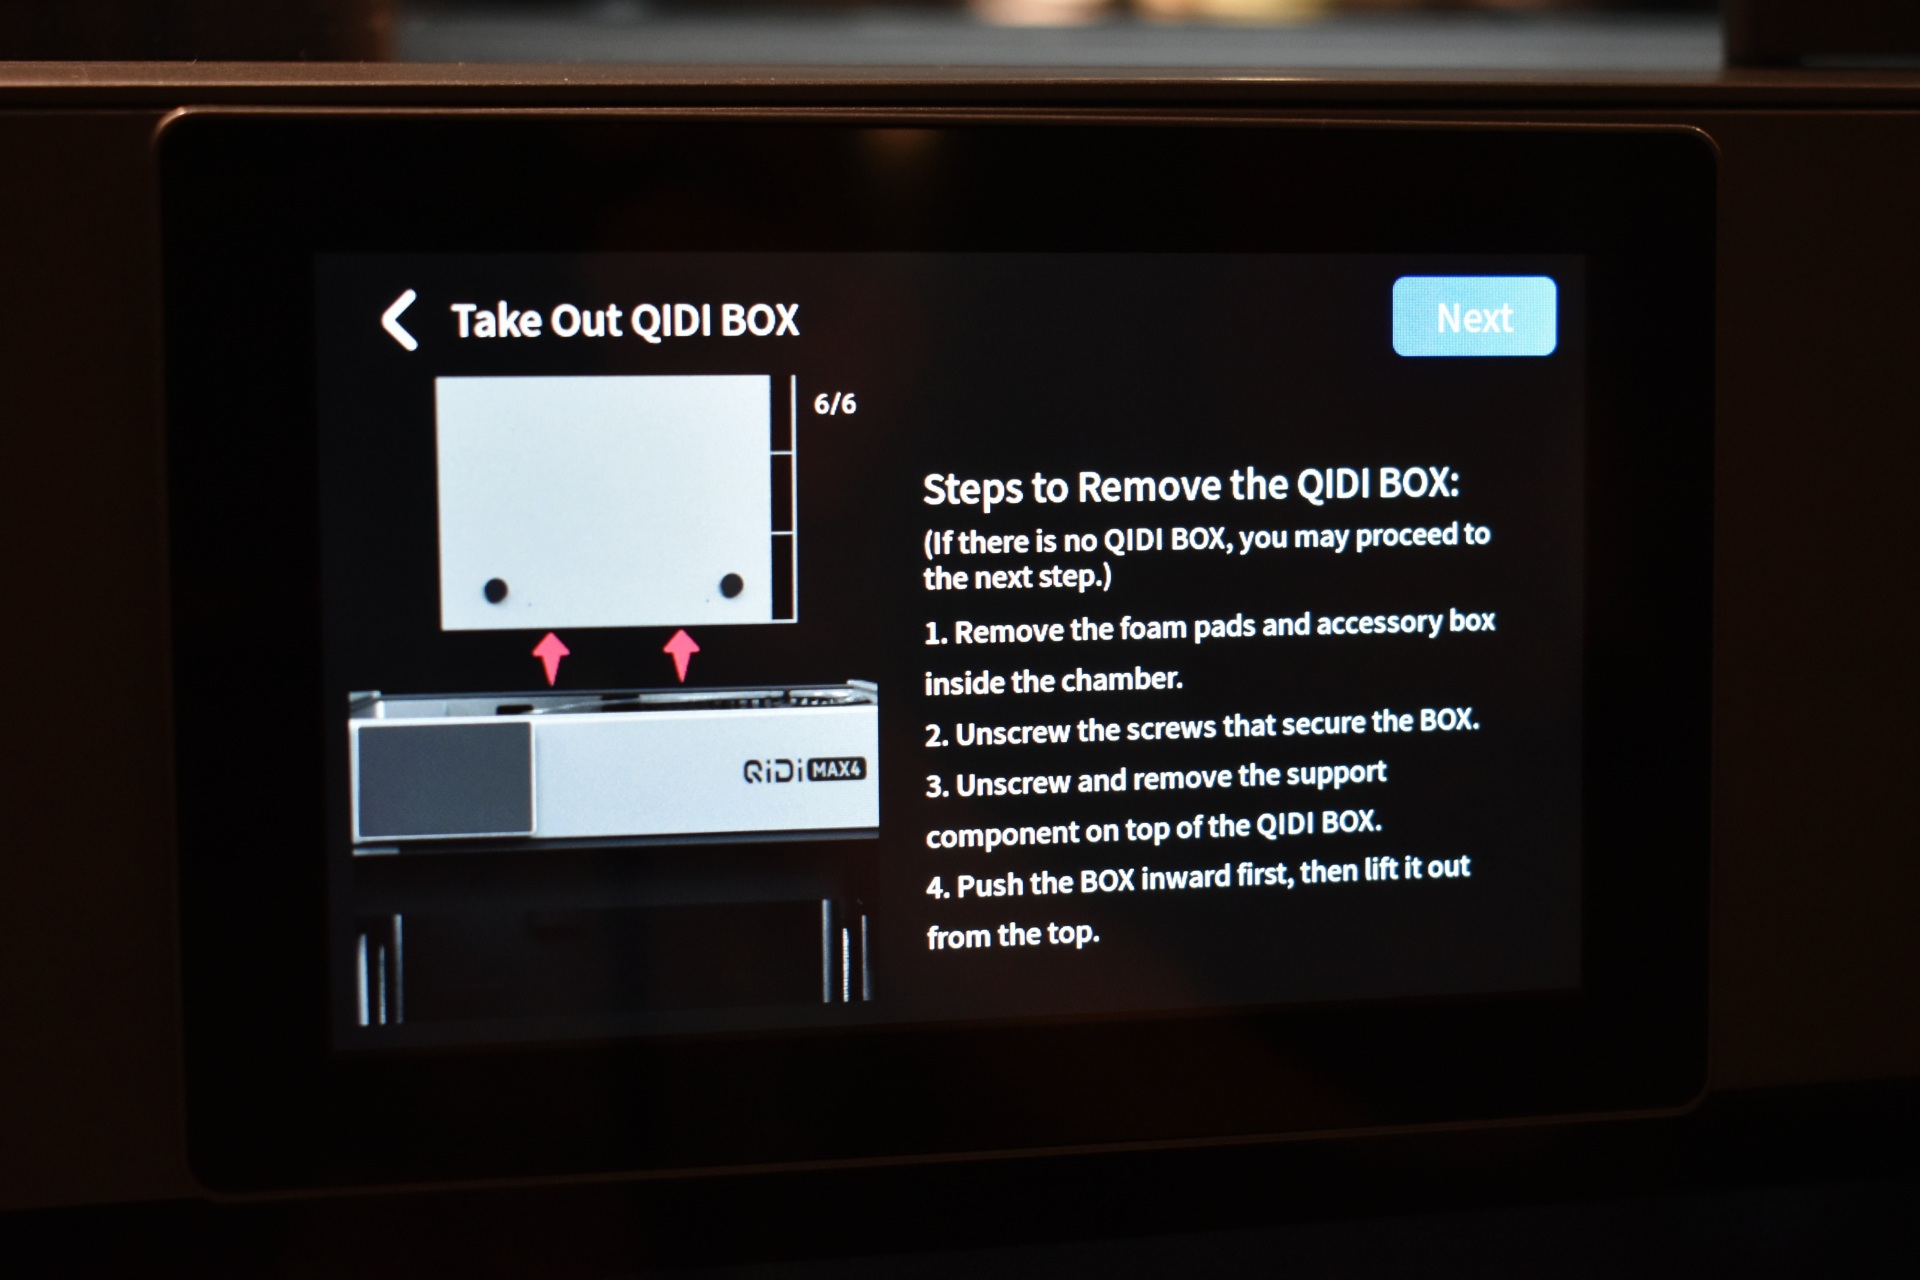
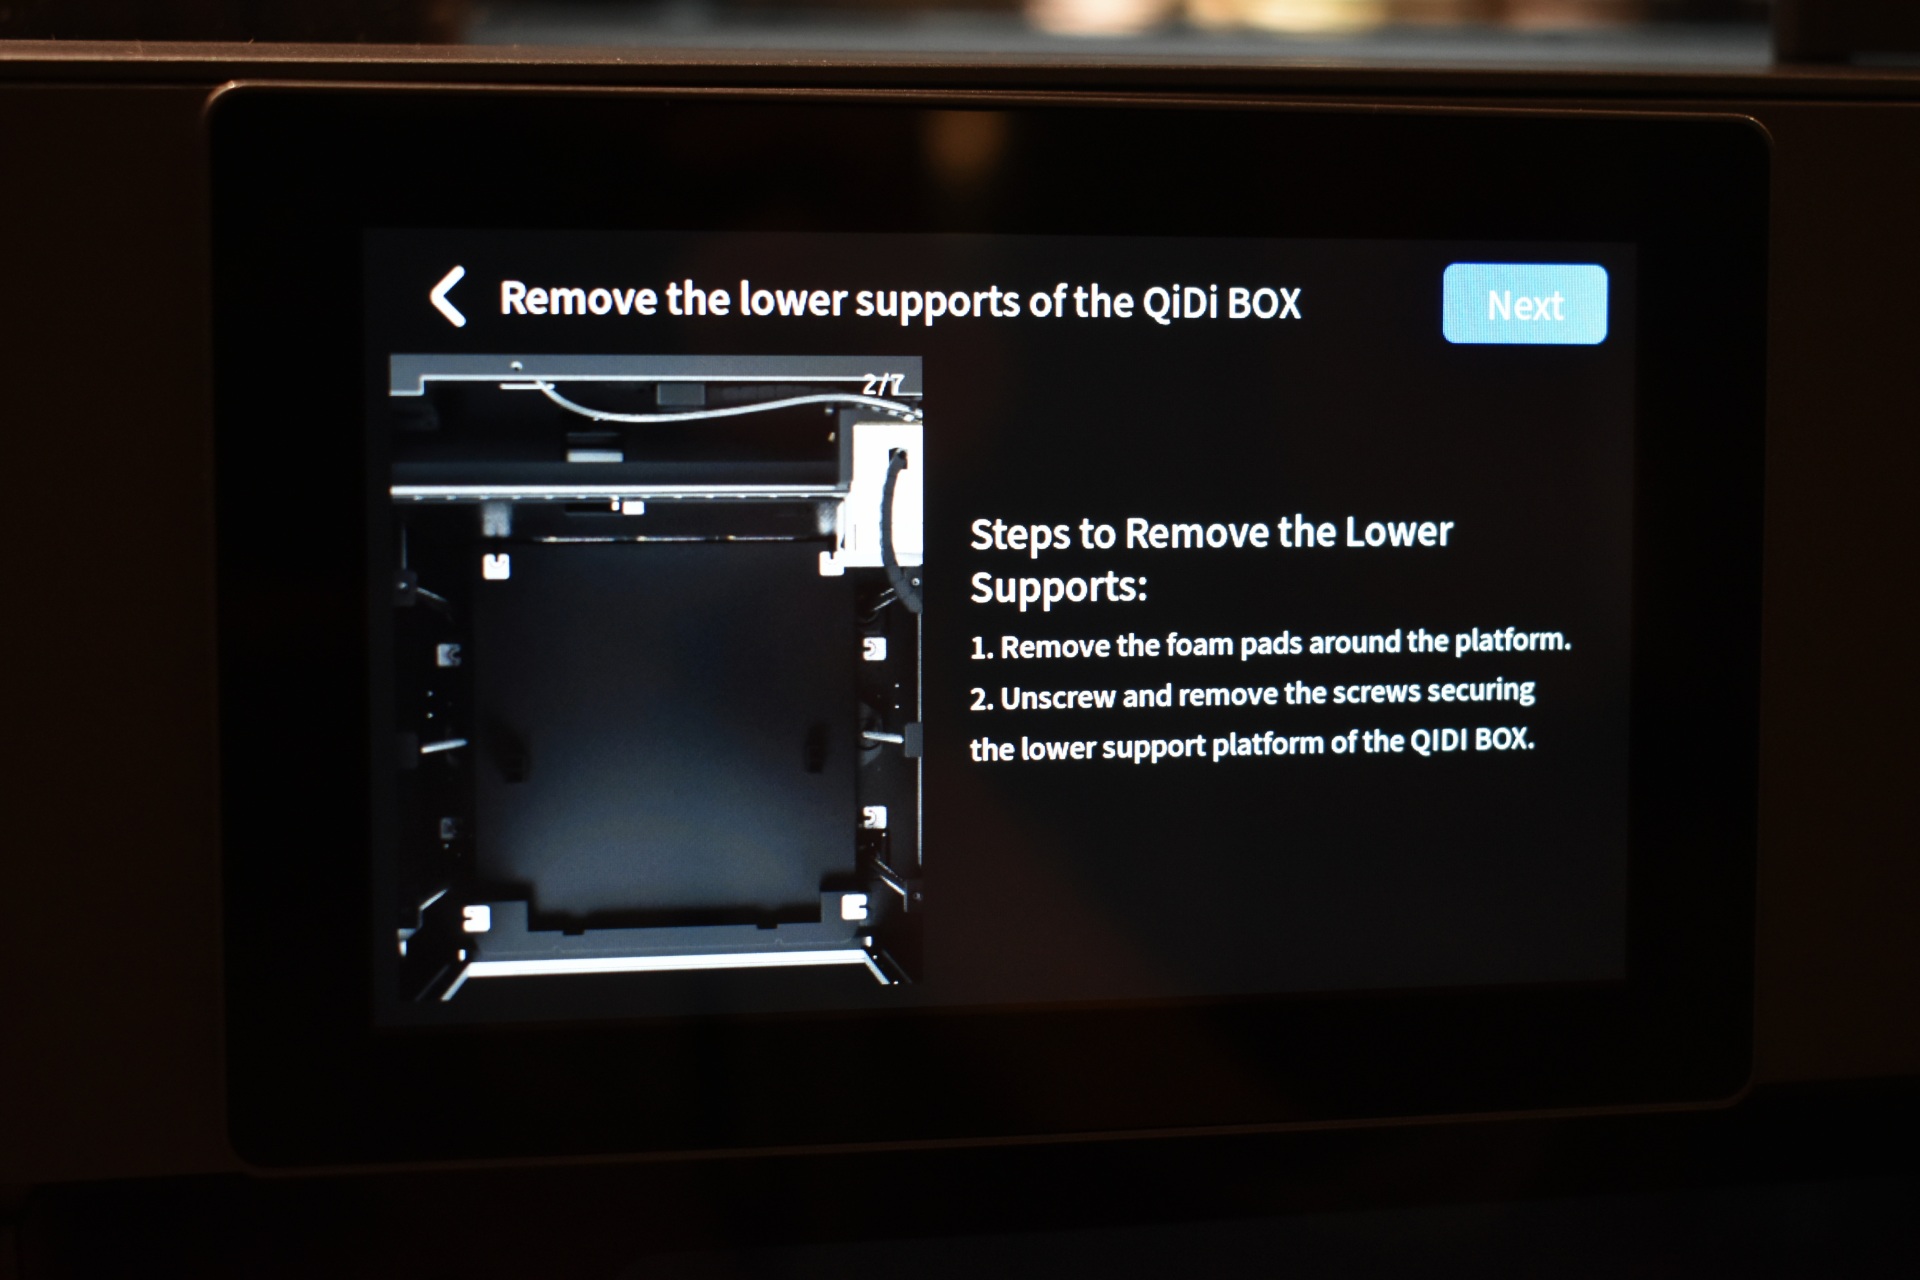
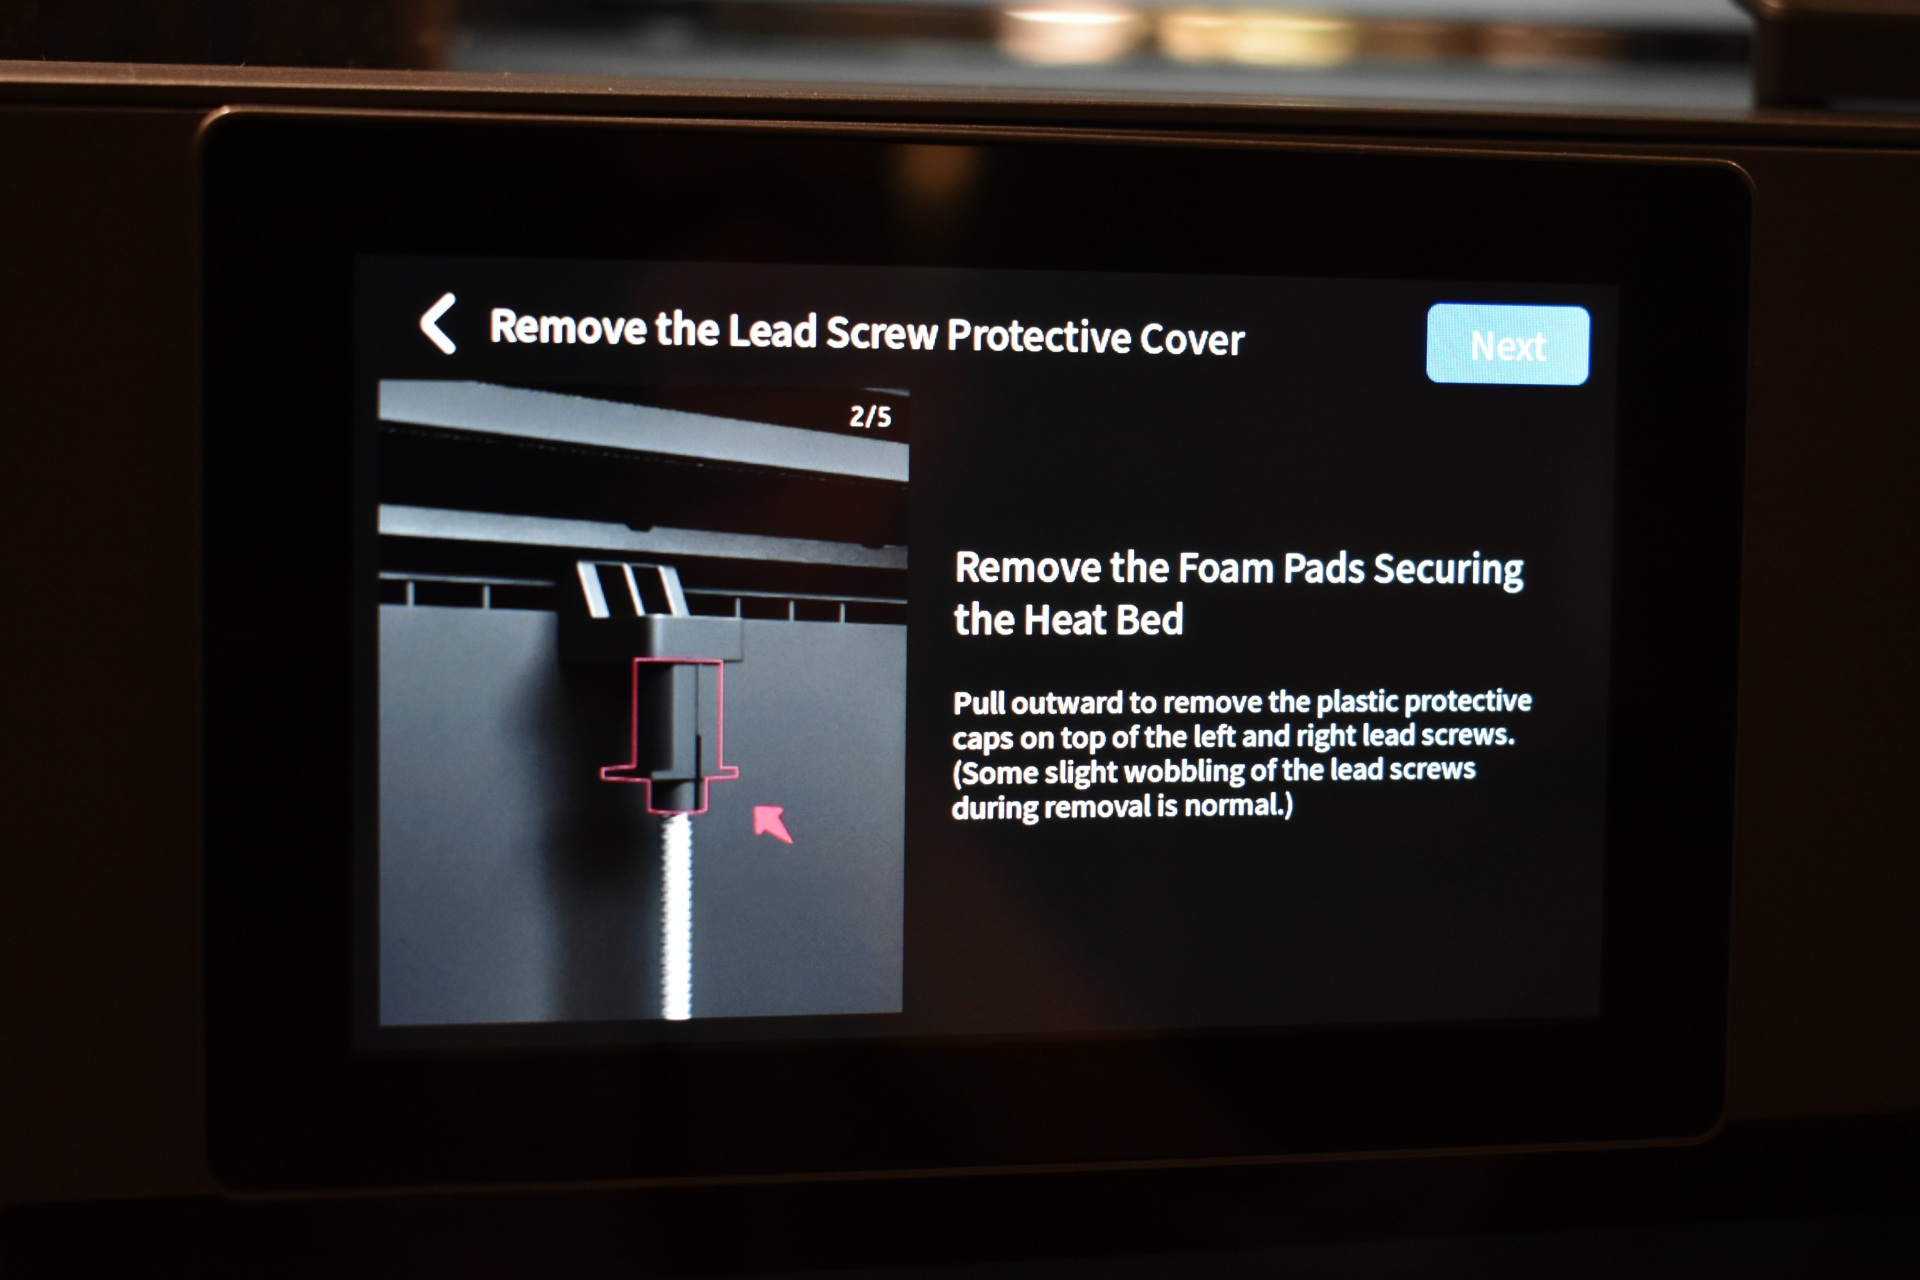
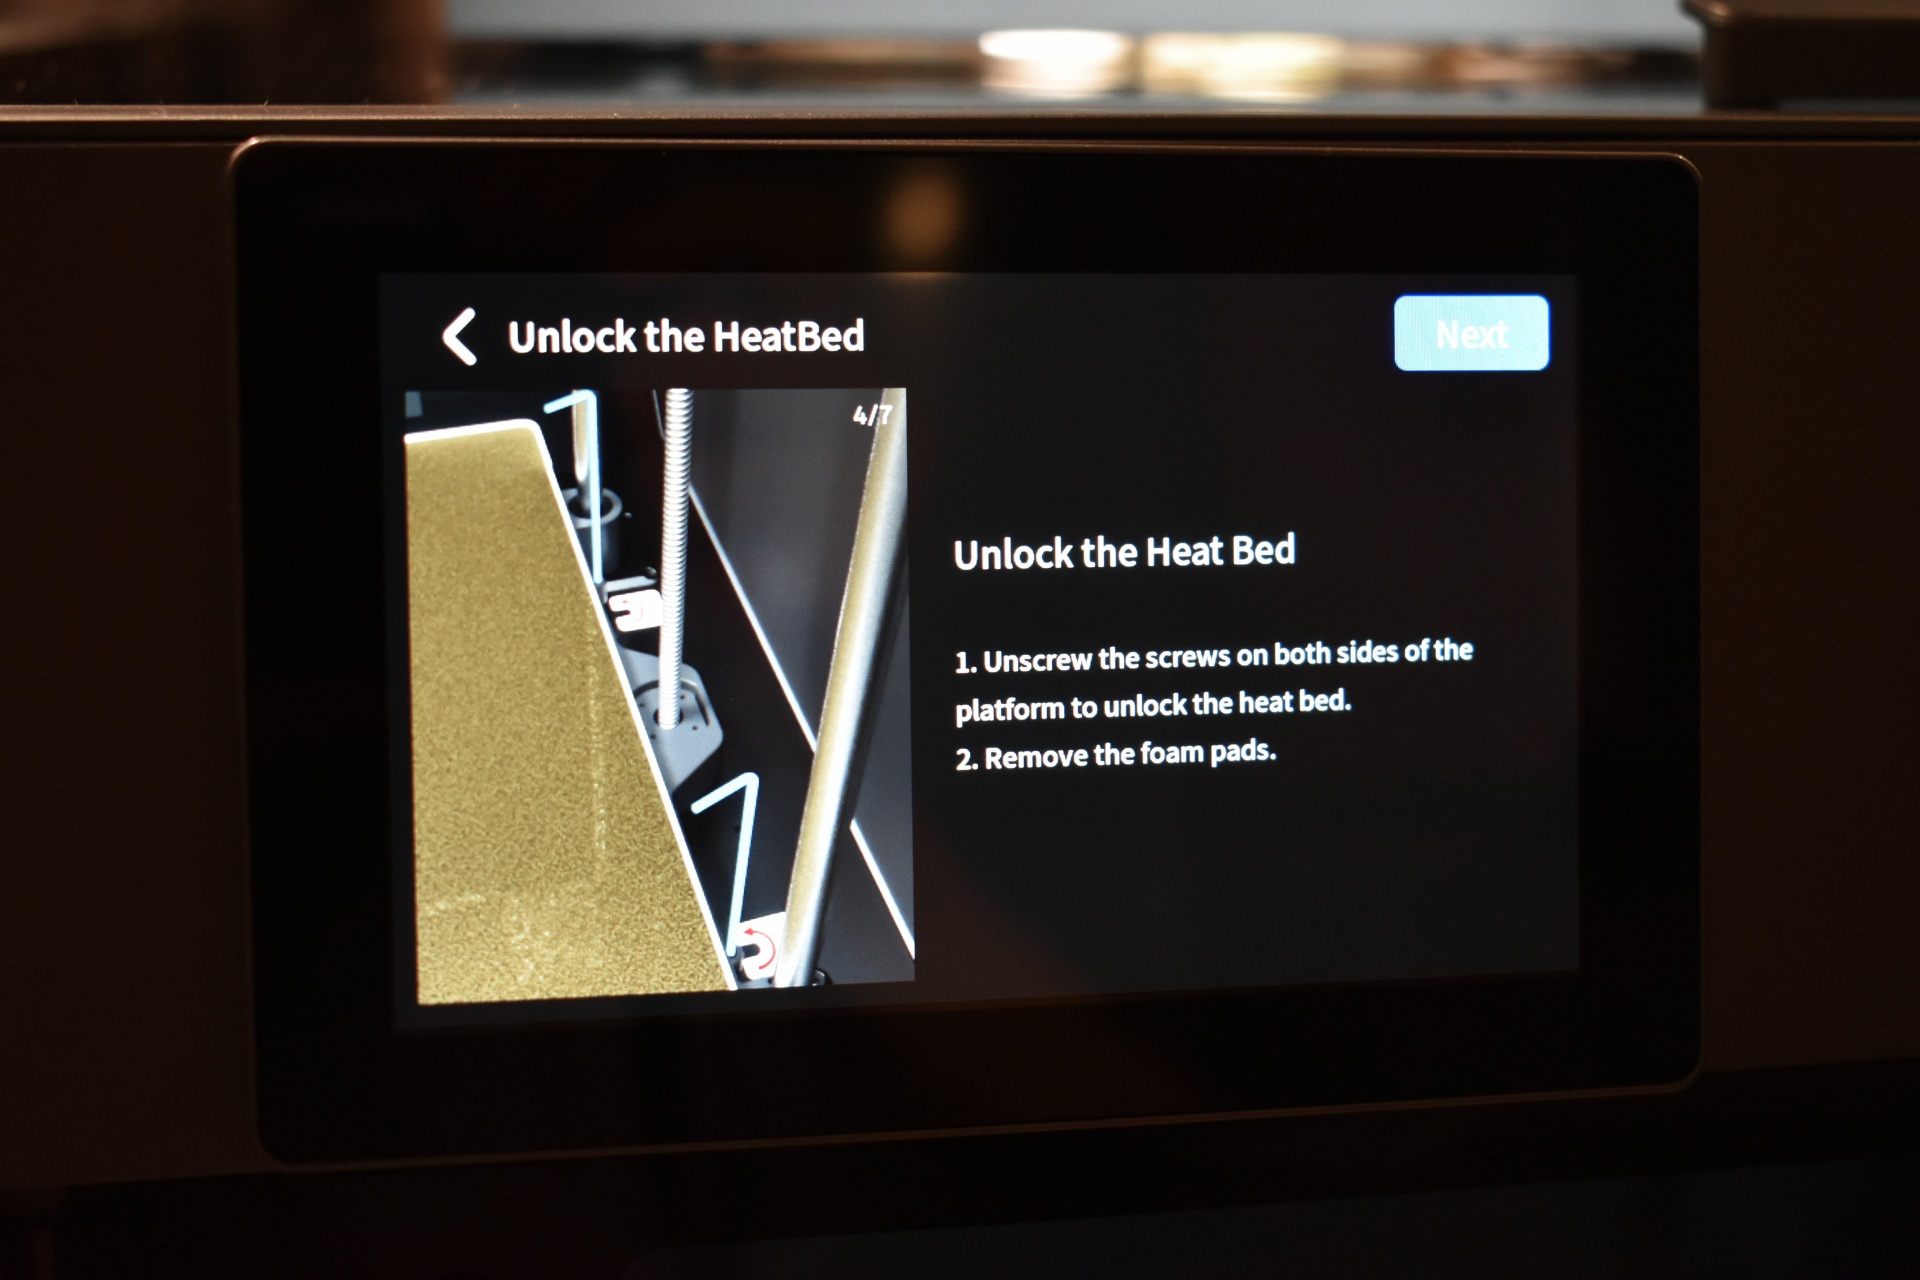
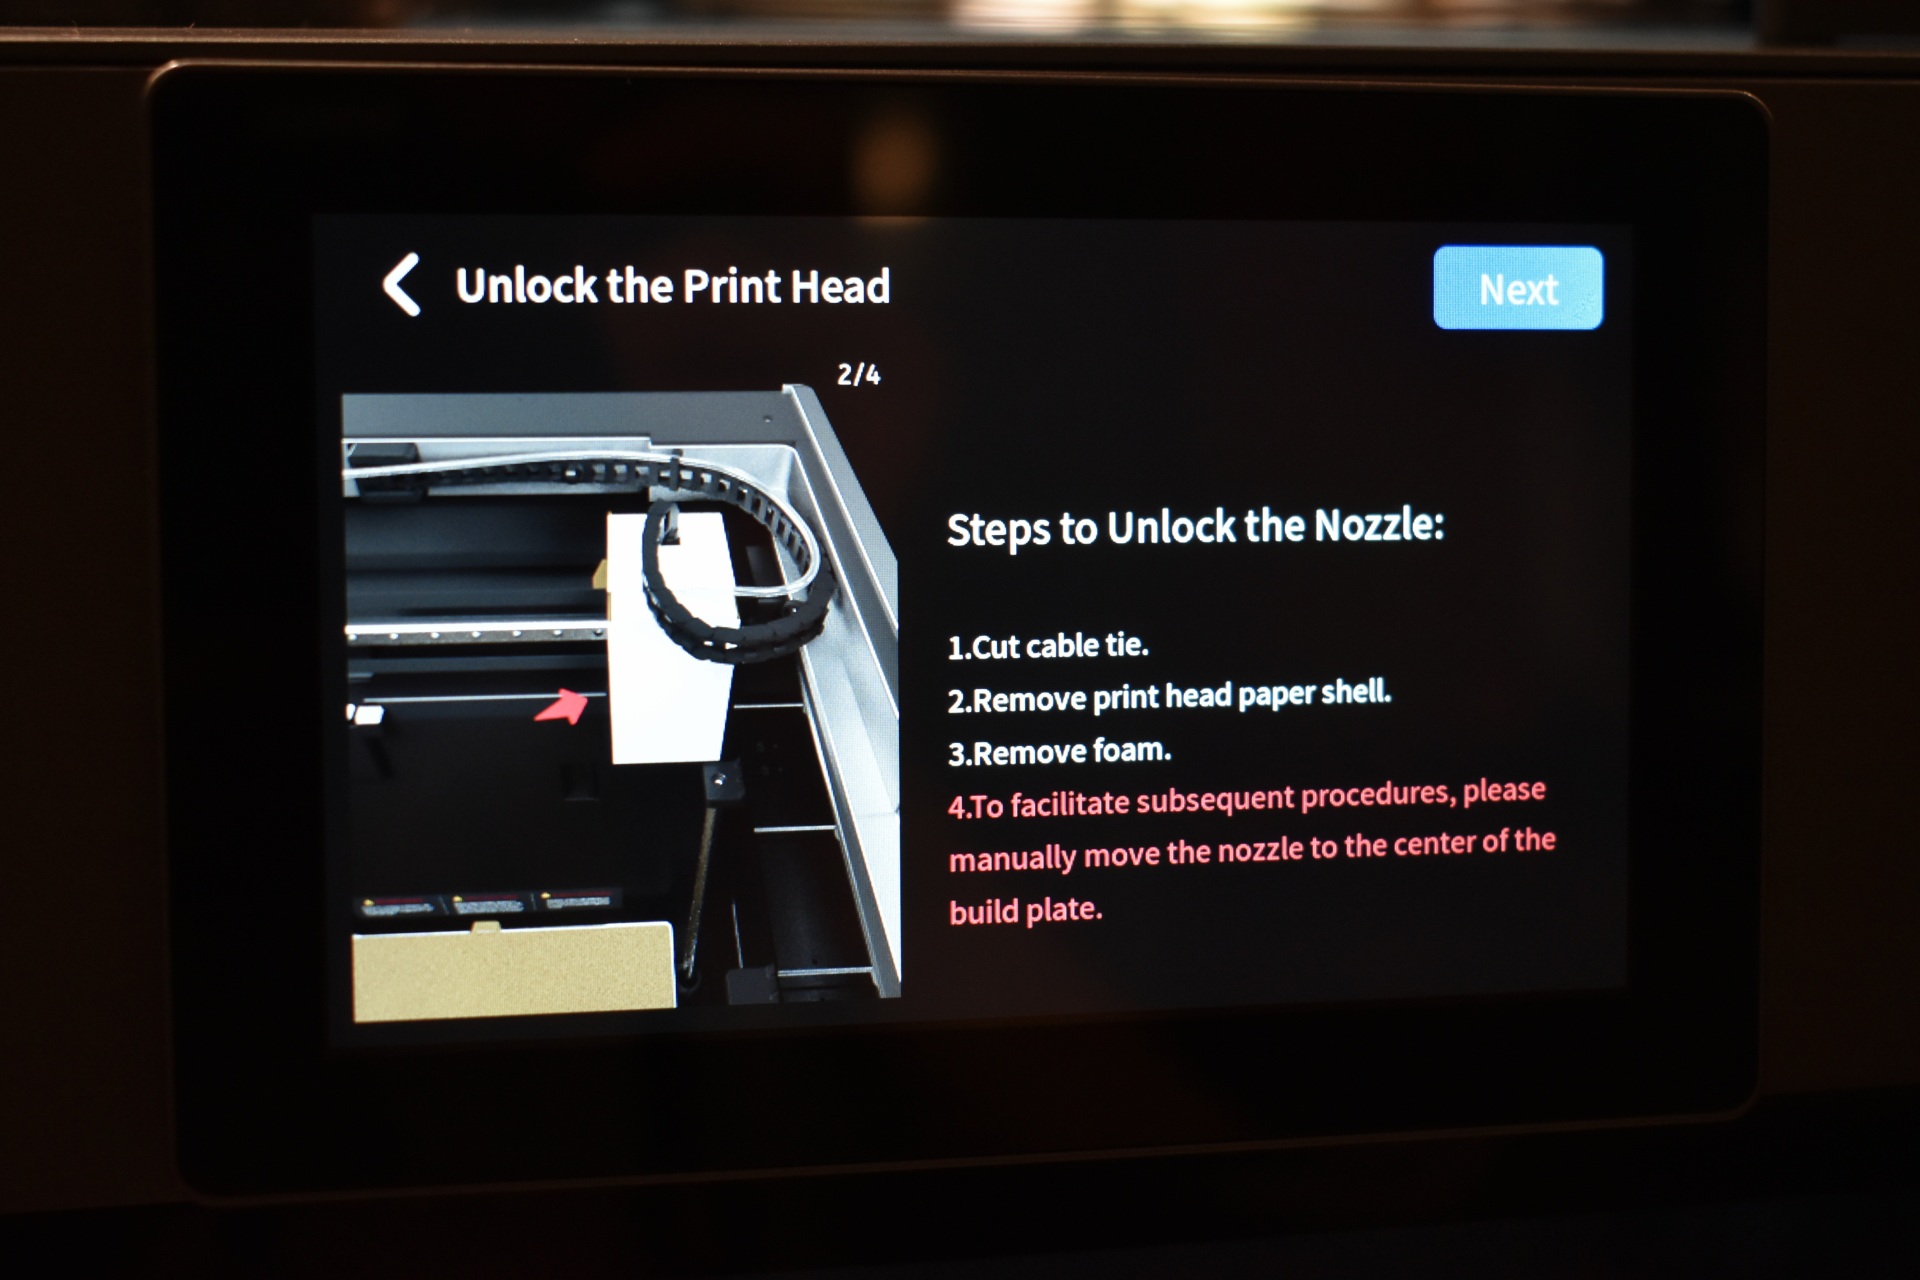
Once you turn on the Plus5 you will need to choose the language, region, bind the printer with the QIDI Maker app (if you want to) and follow instructions on how to remove the QIDI box (if you got the combo model) and unlock the bed and print head.


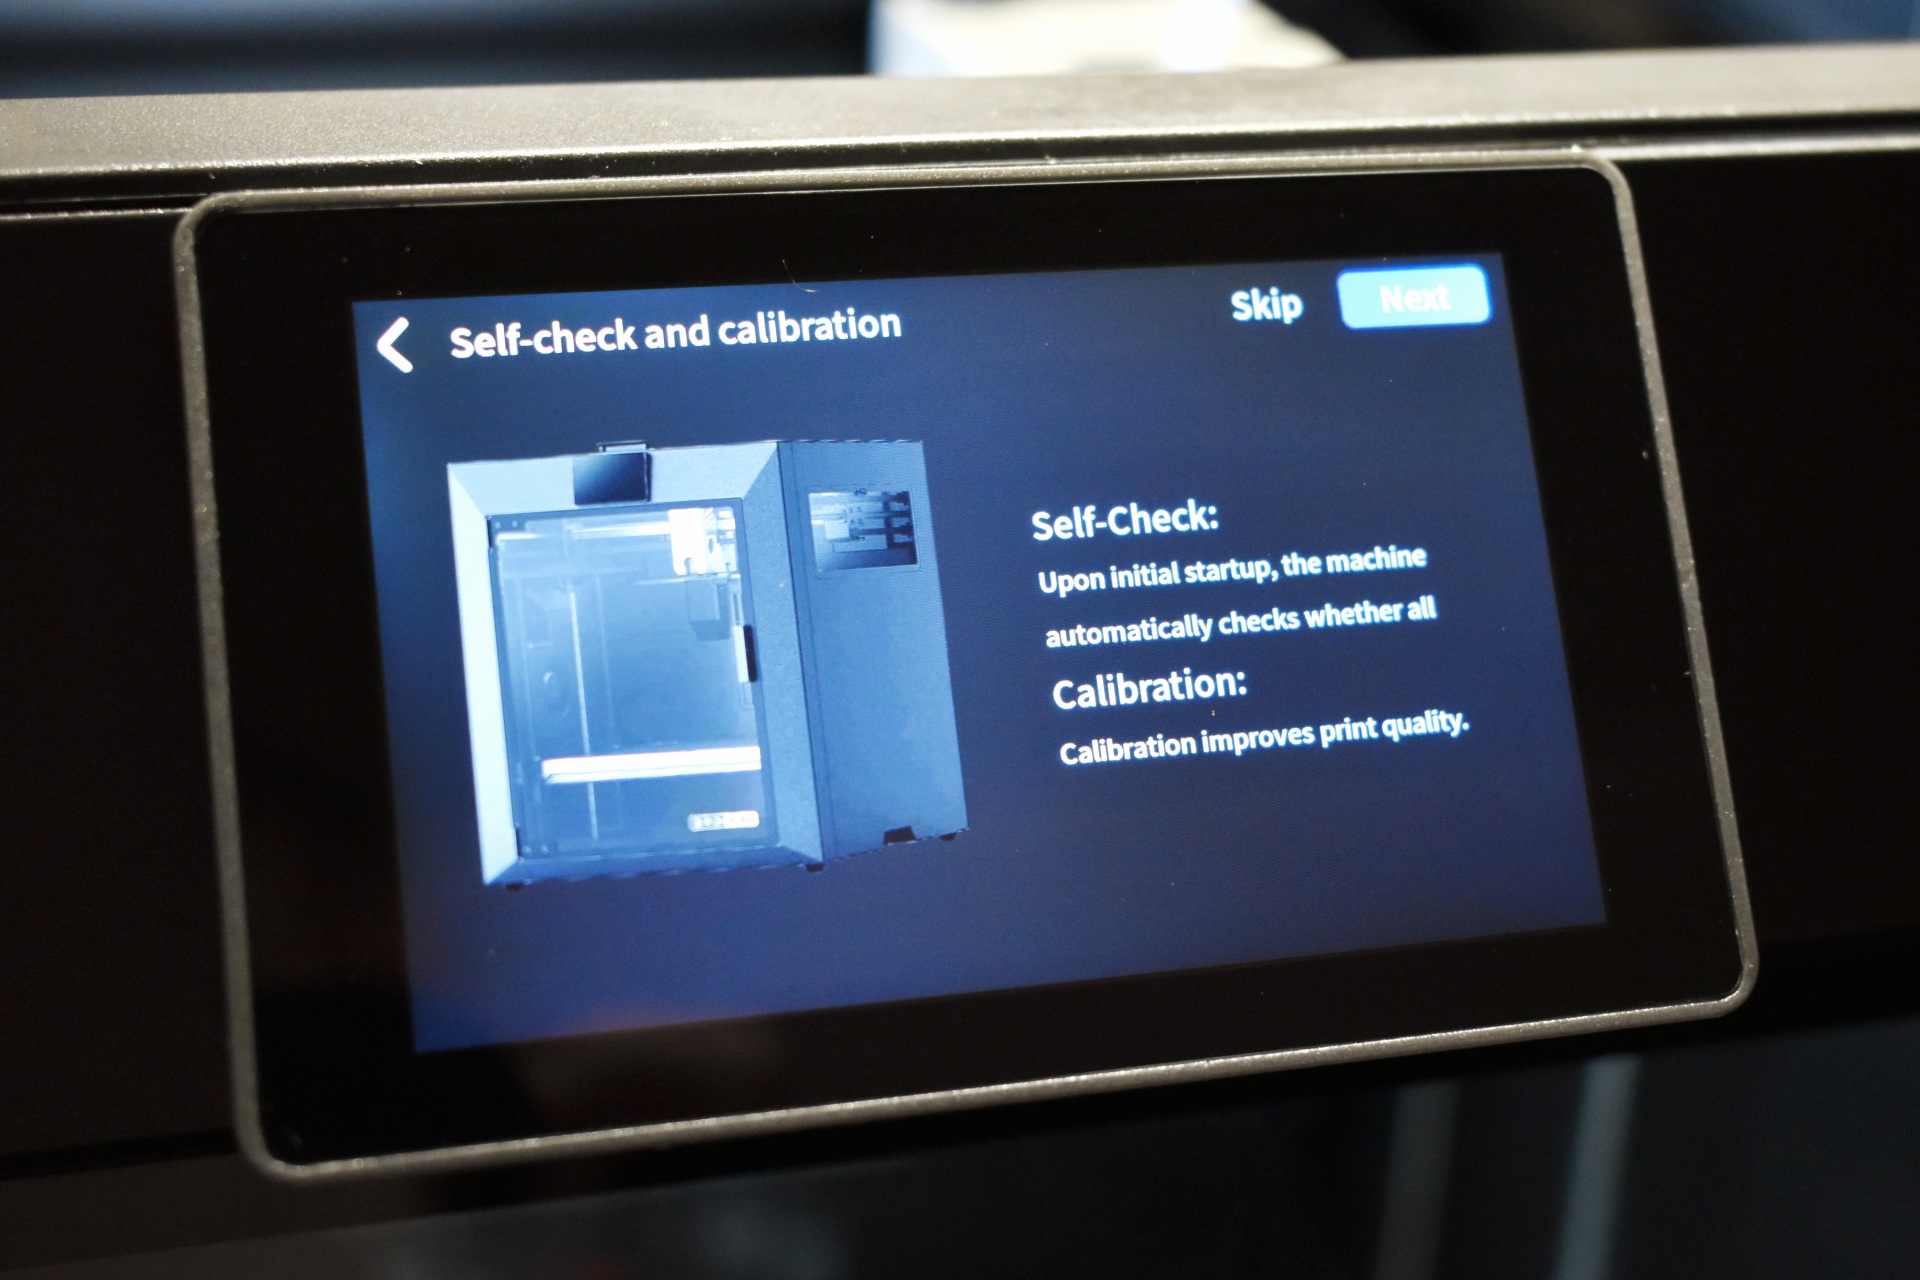
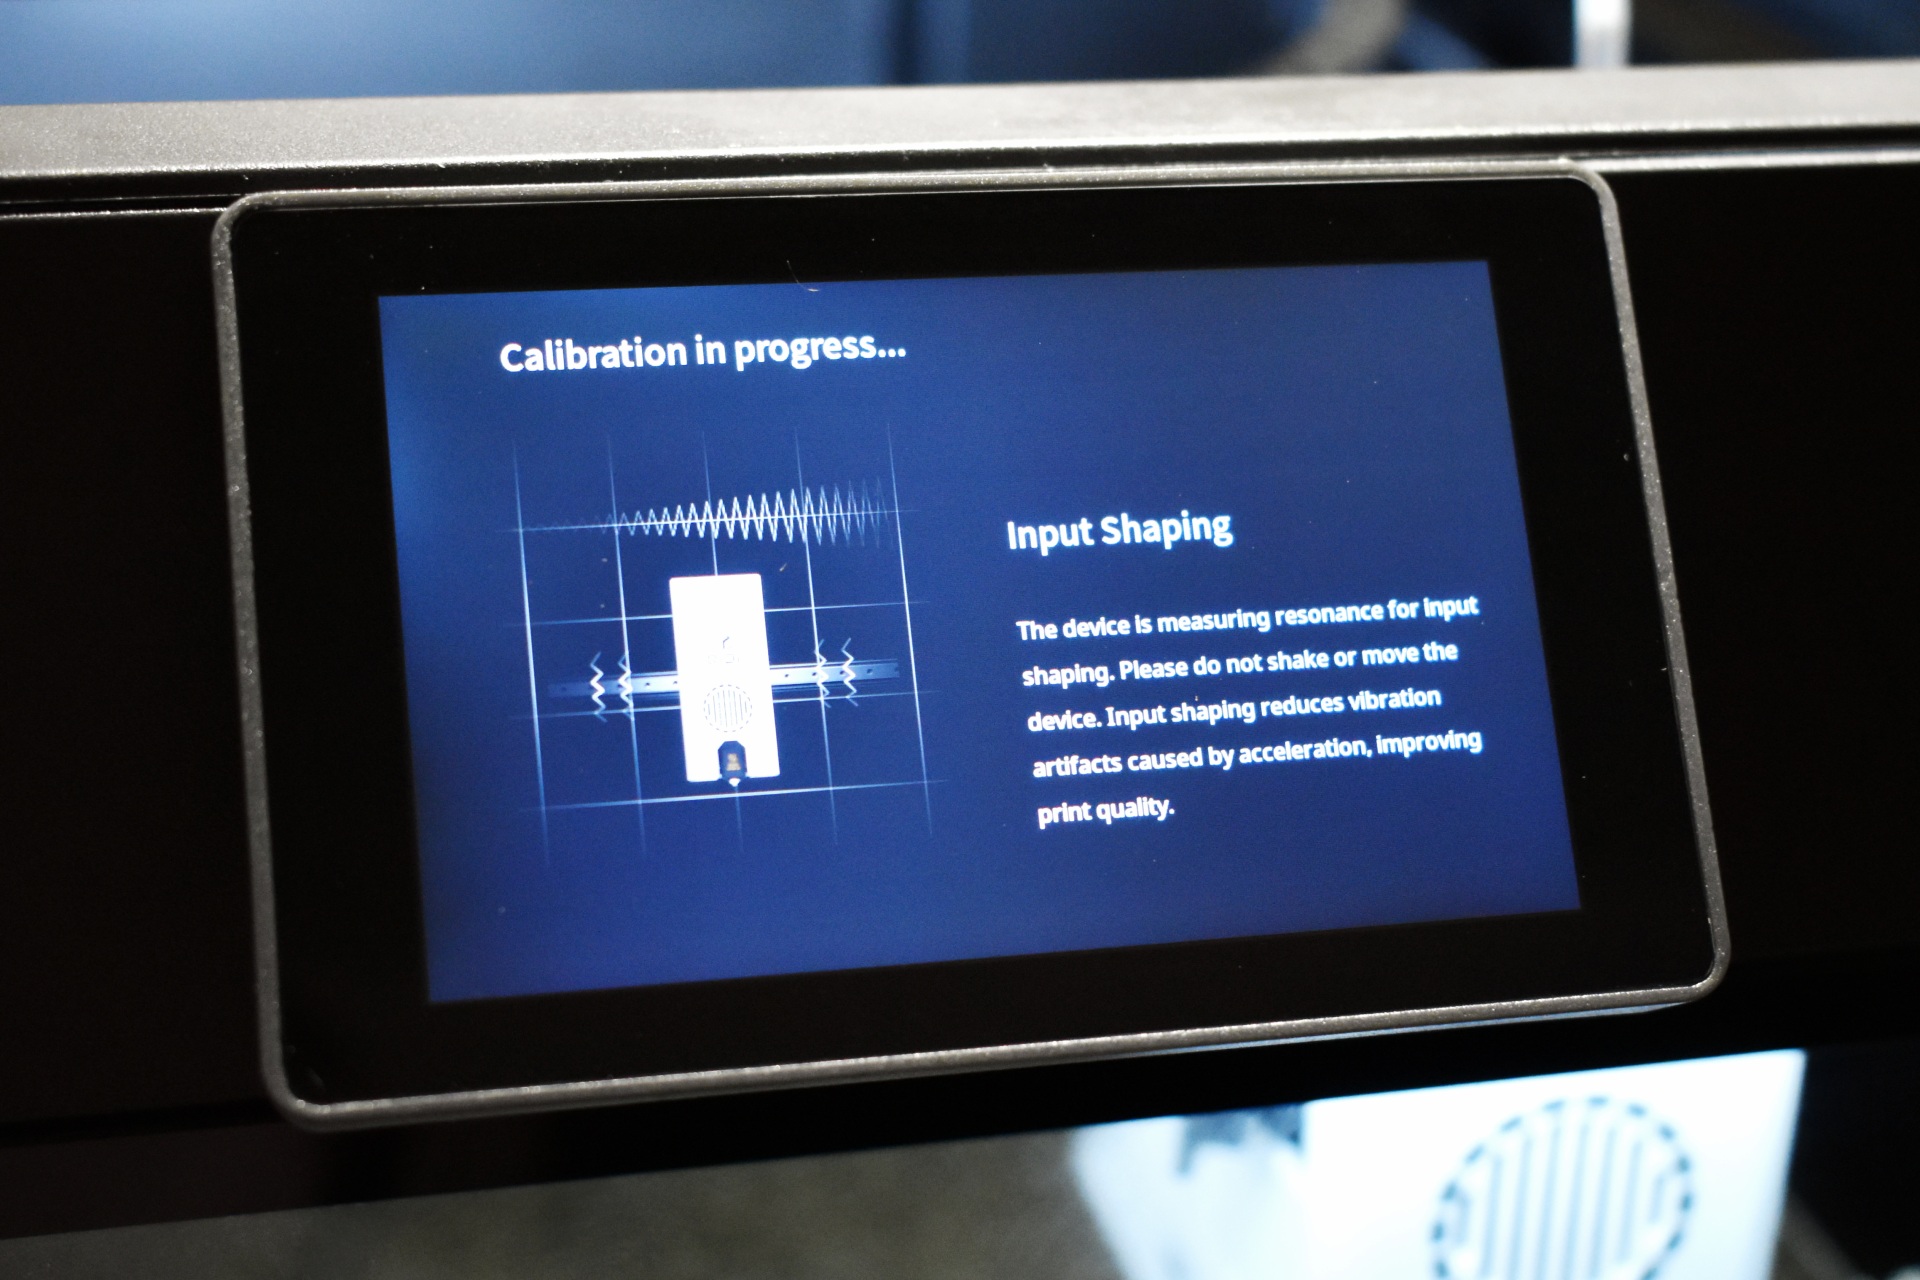
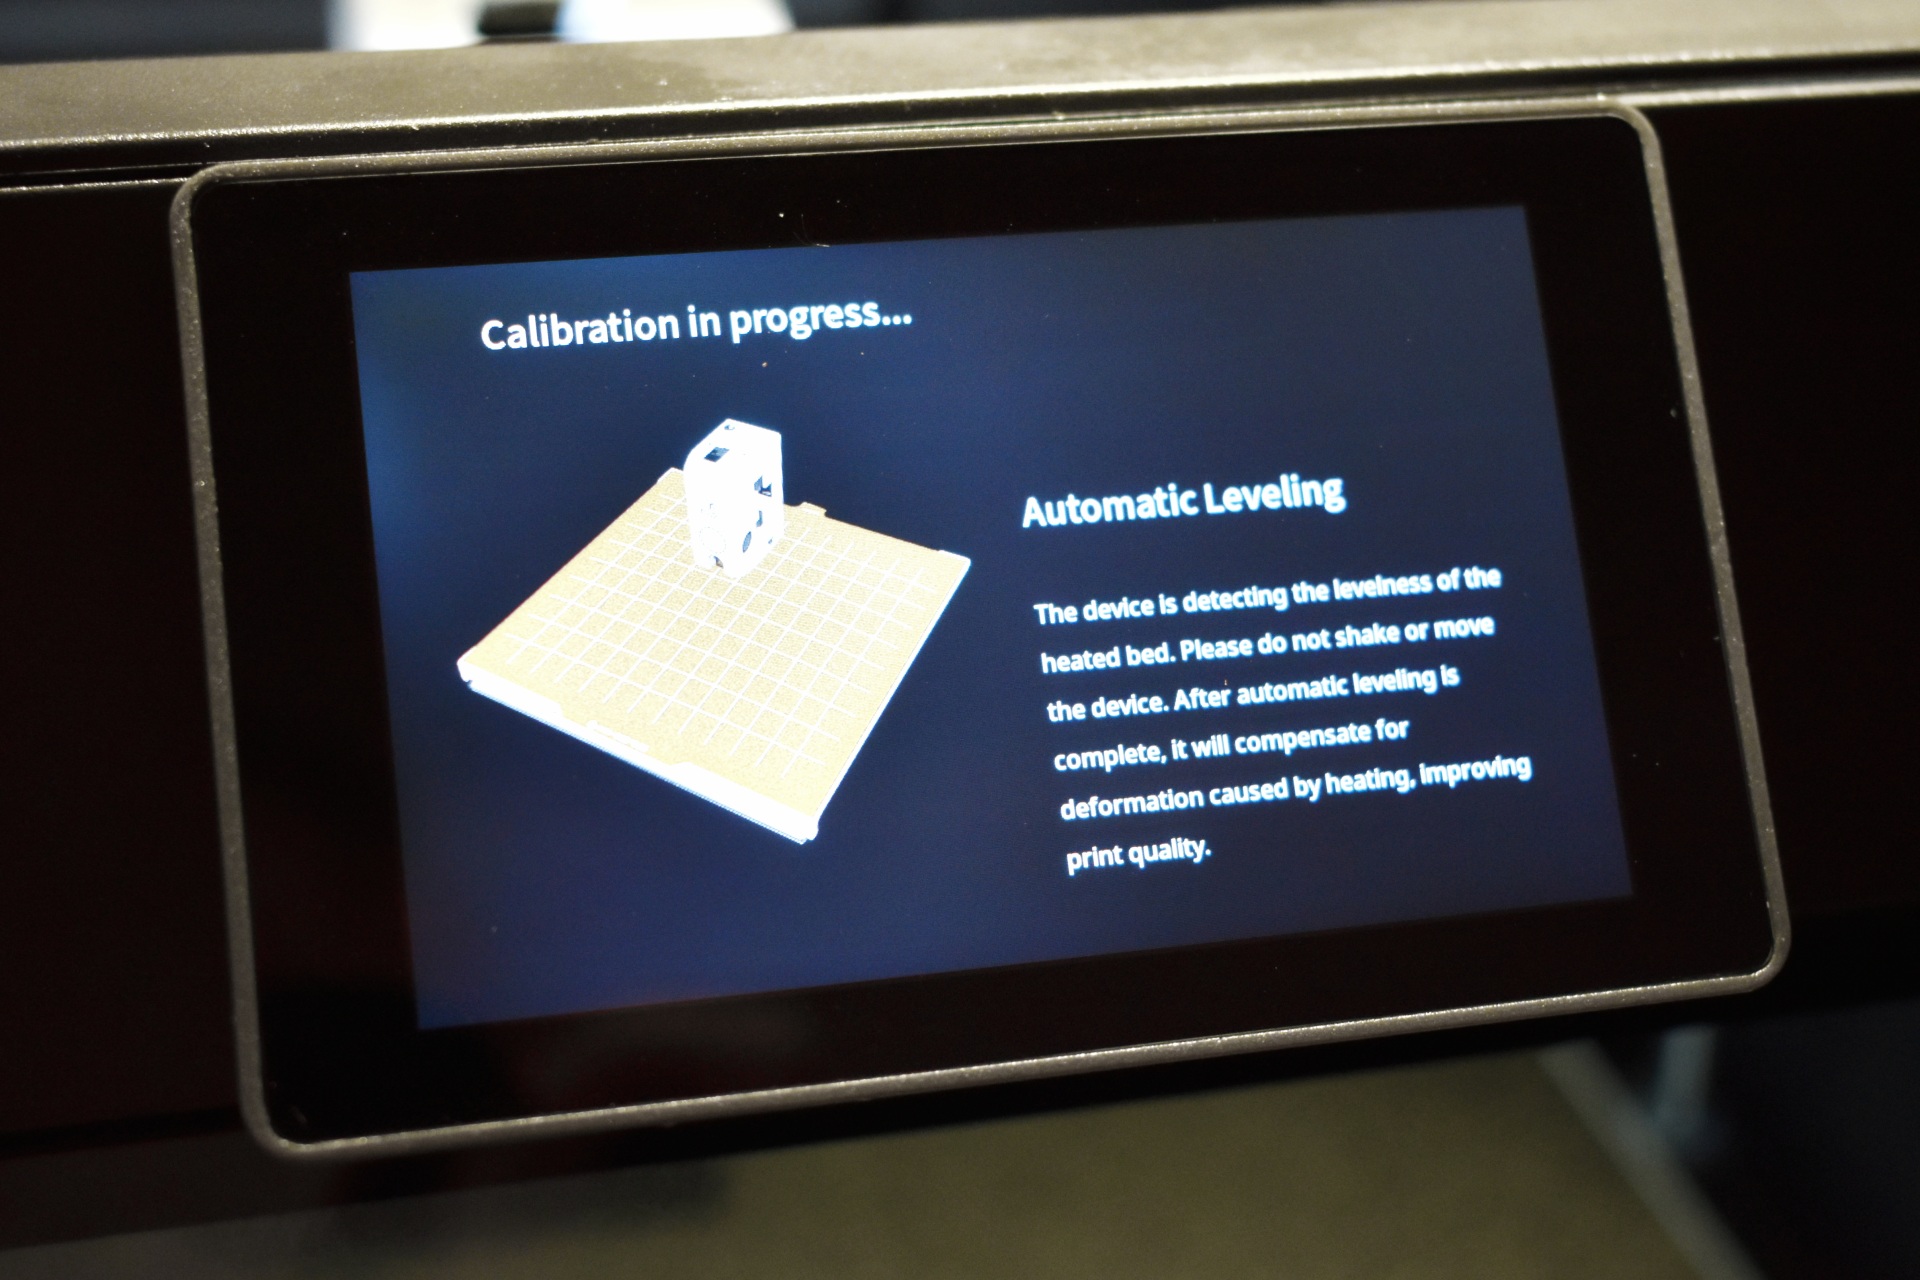
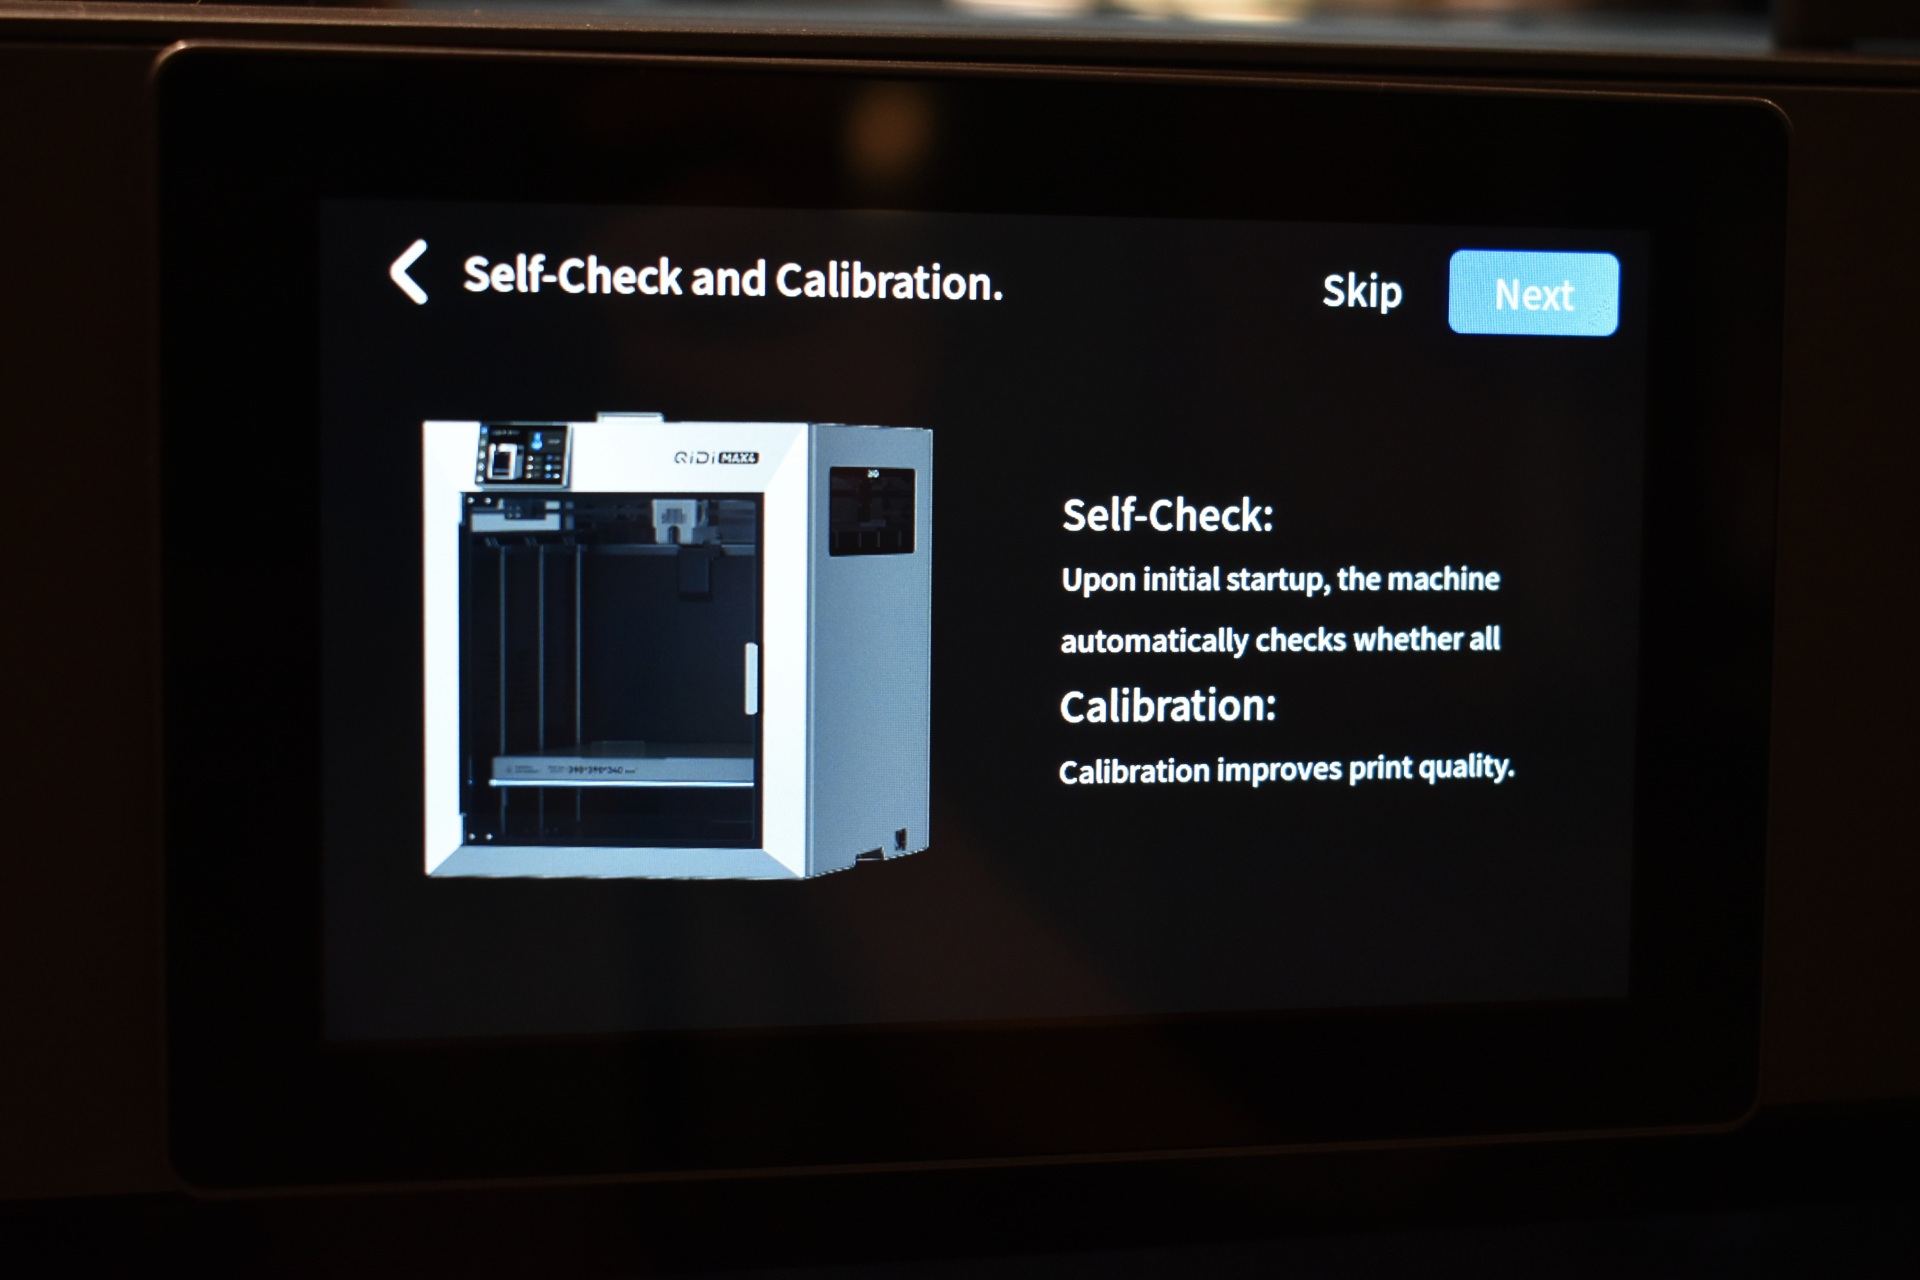
Next stop is to allow the unit to perform a self-check and calibration.


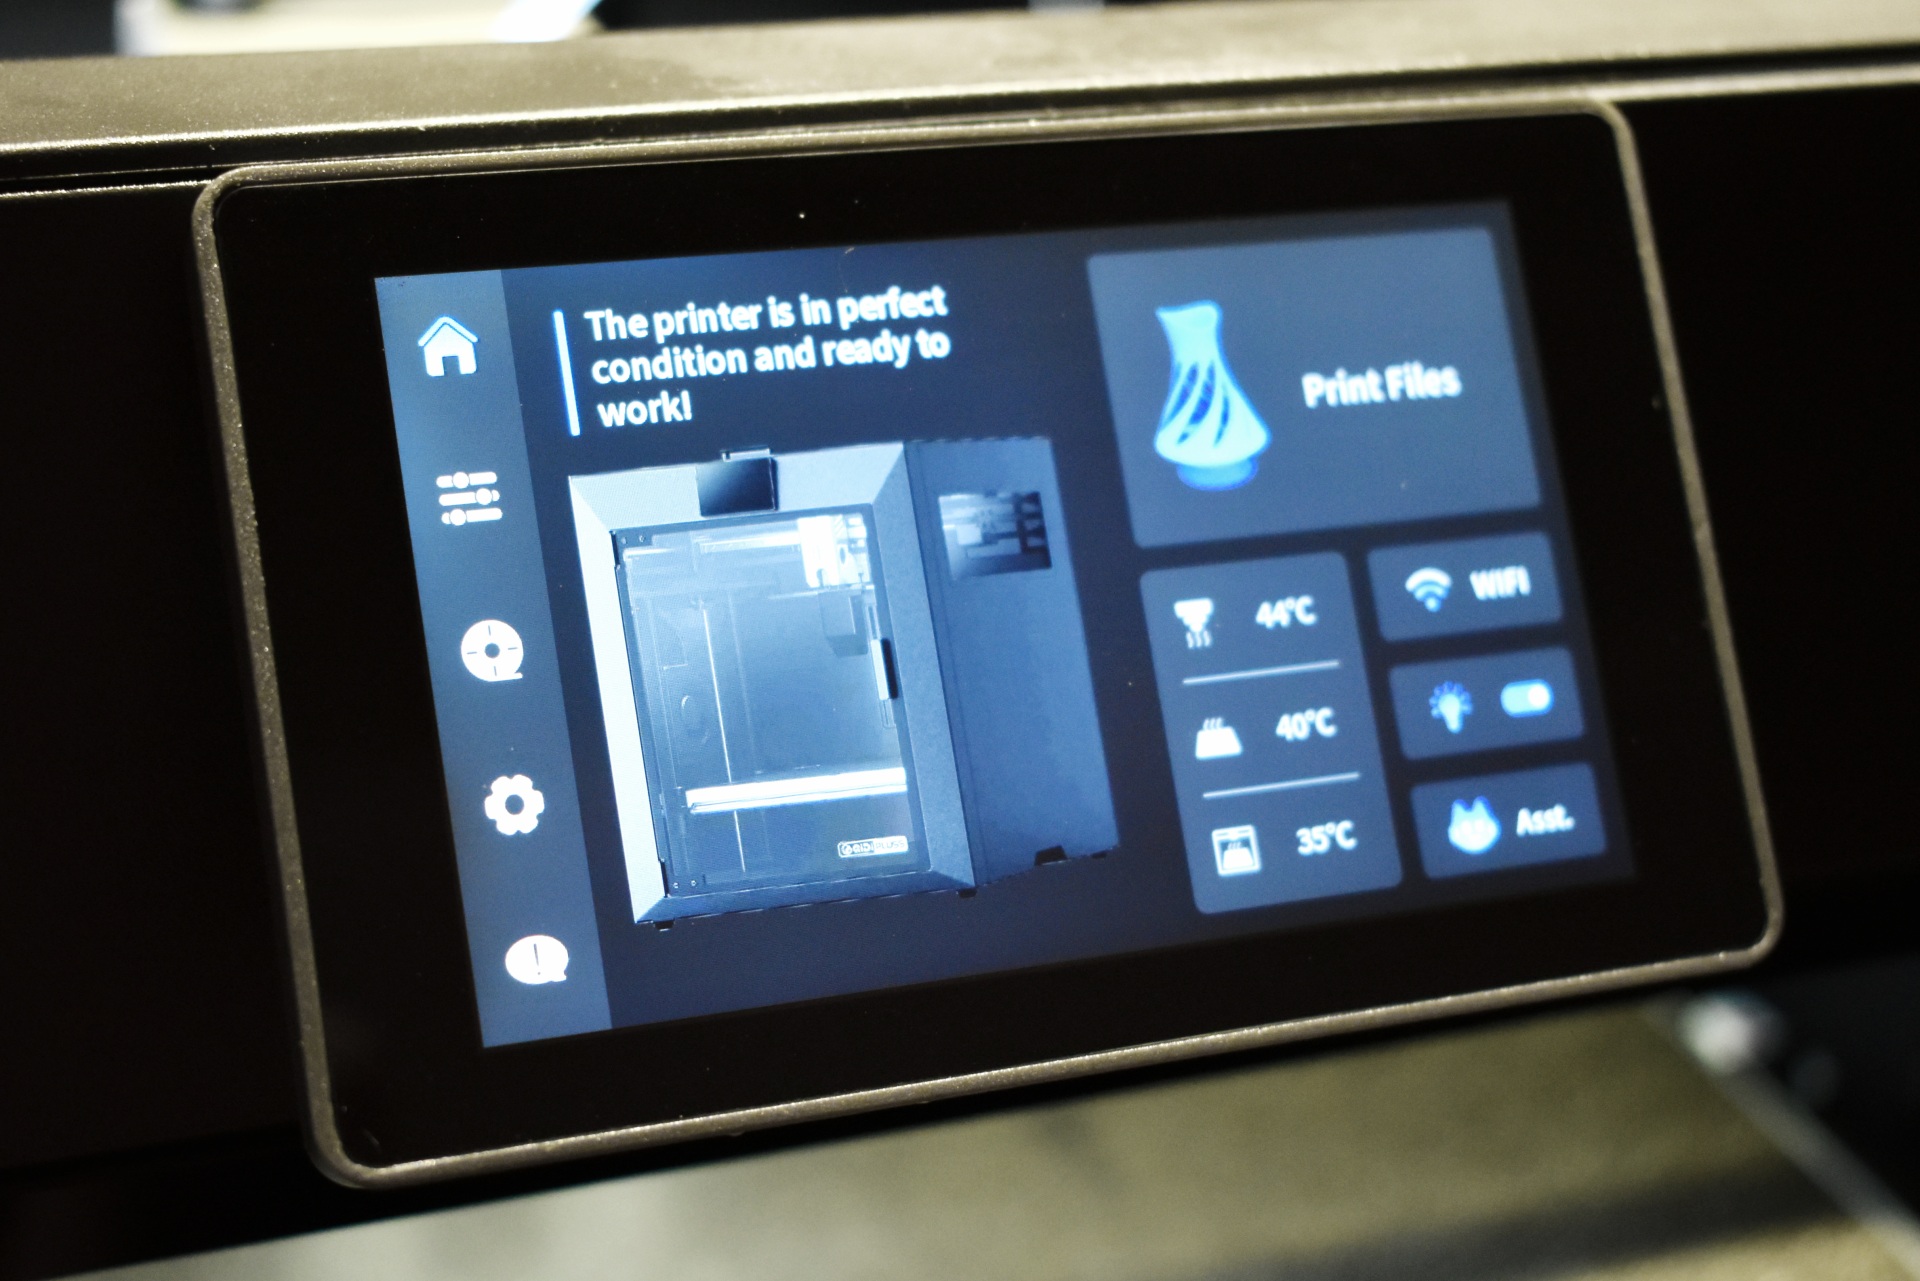
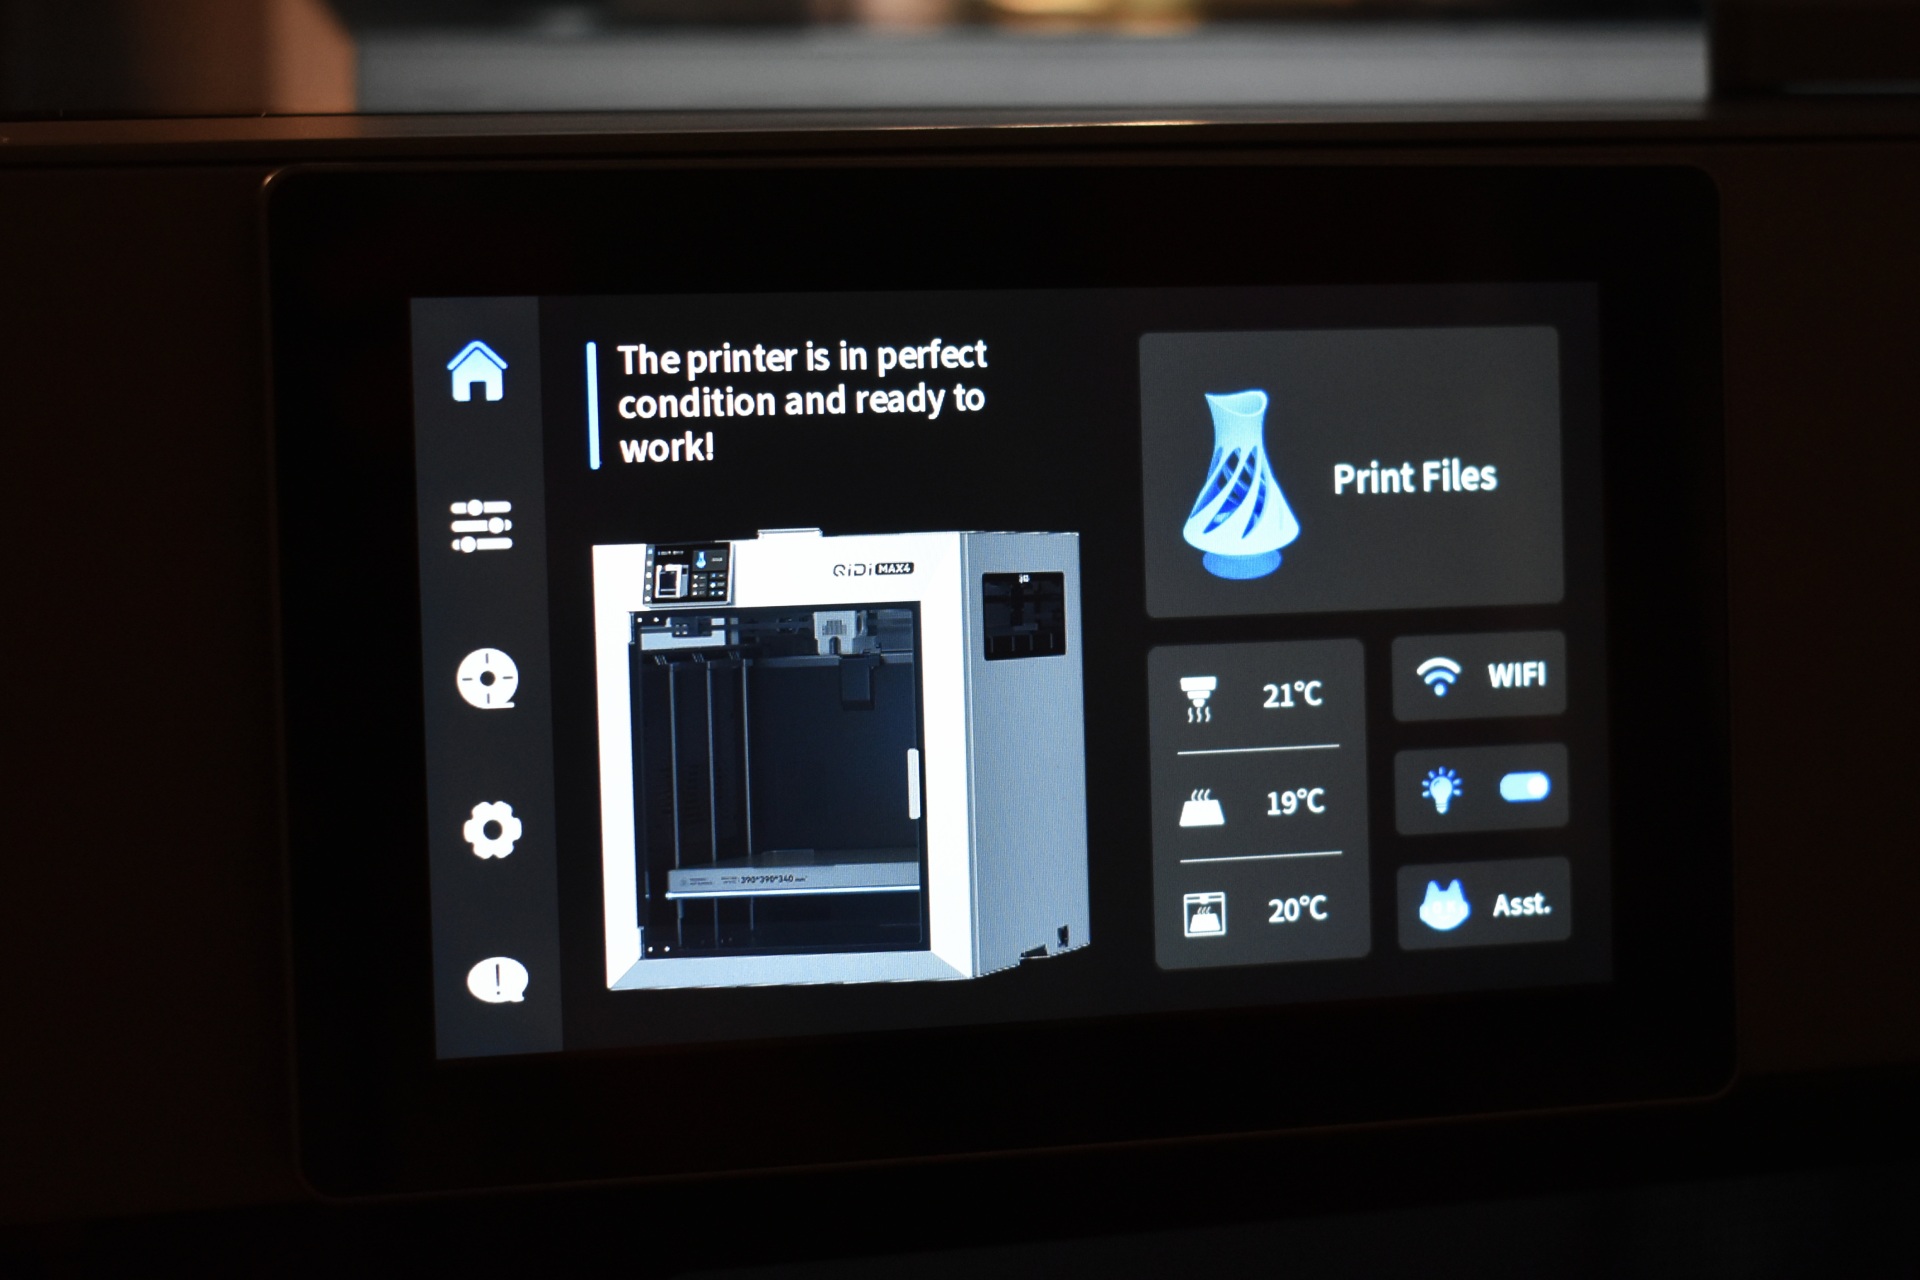
Once the self-check and calibration procedure is complete, you'll see the above screen (may take a few more seconds for the procedure to complete even if this screen pops up).


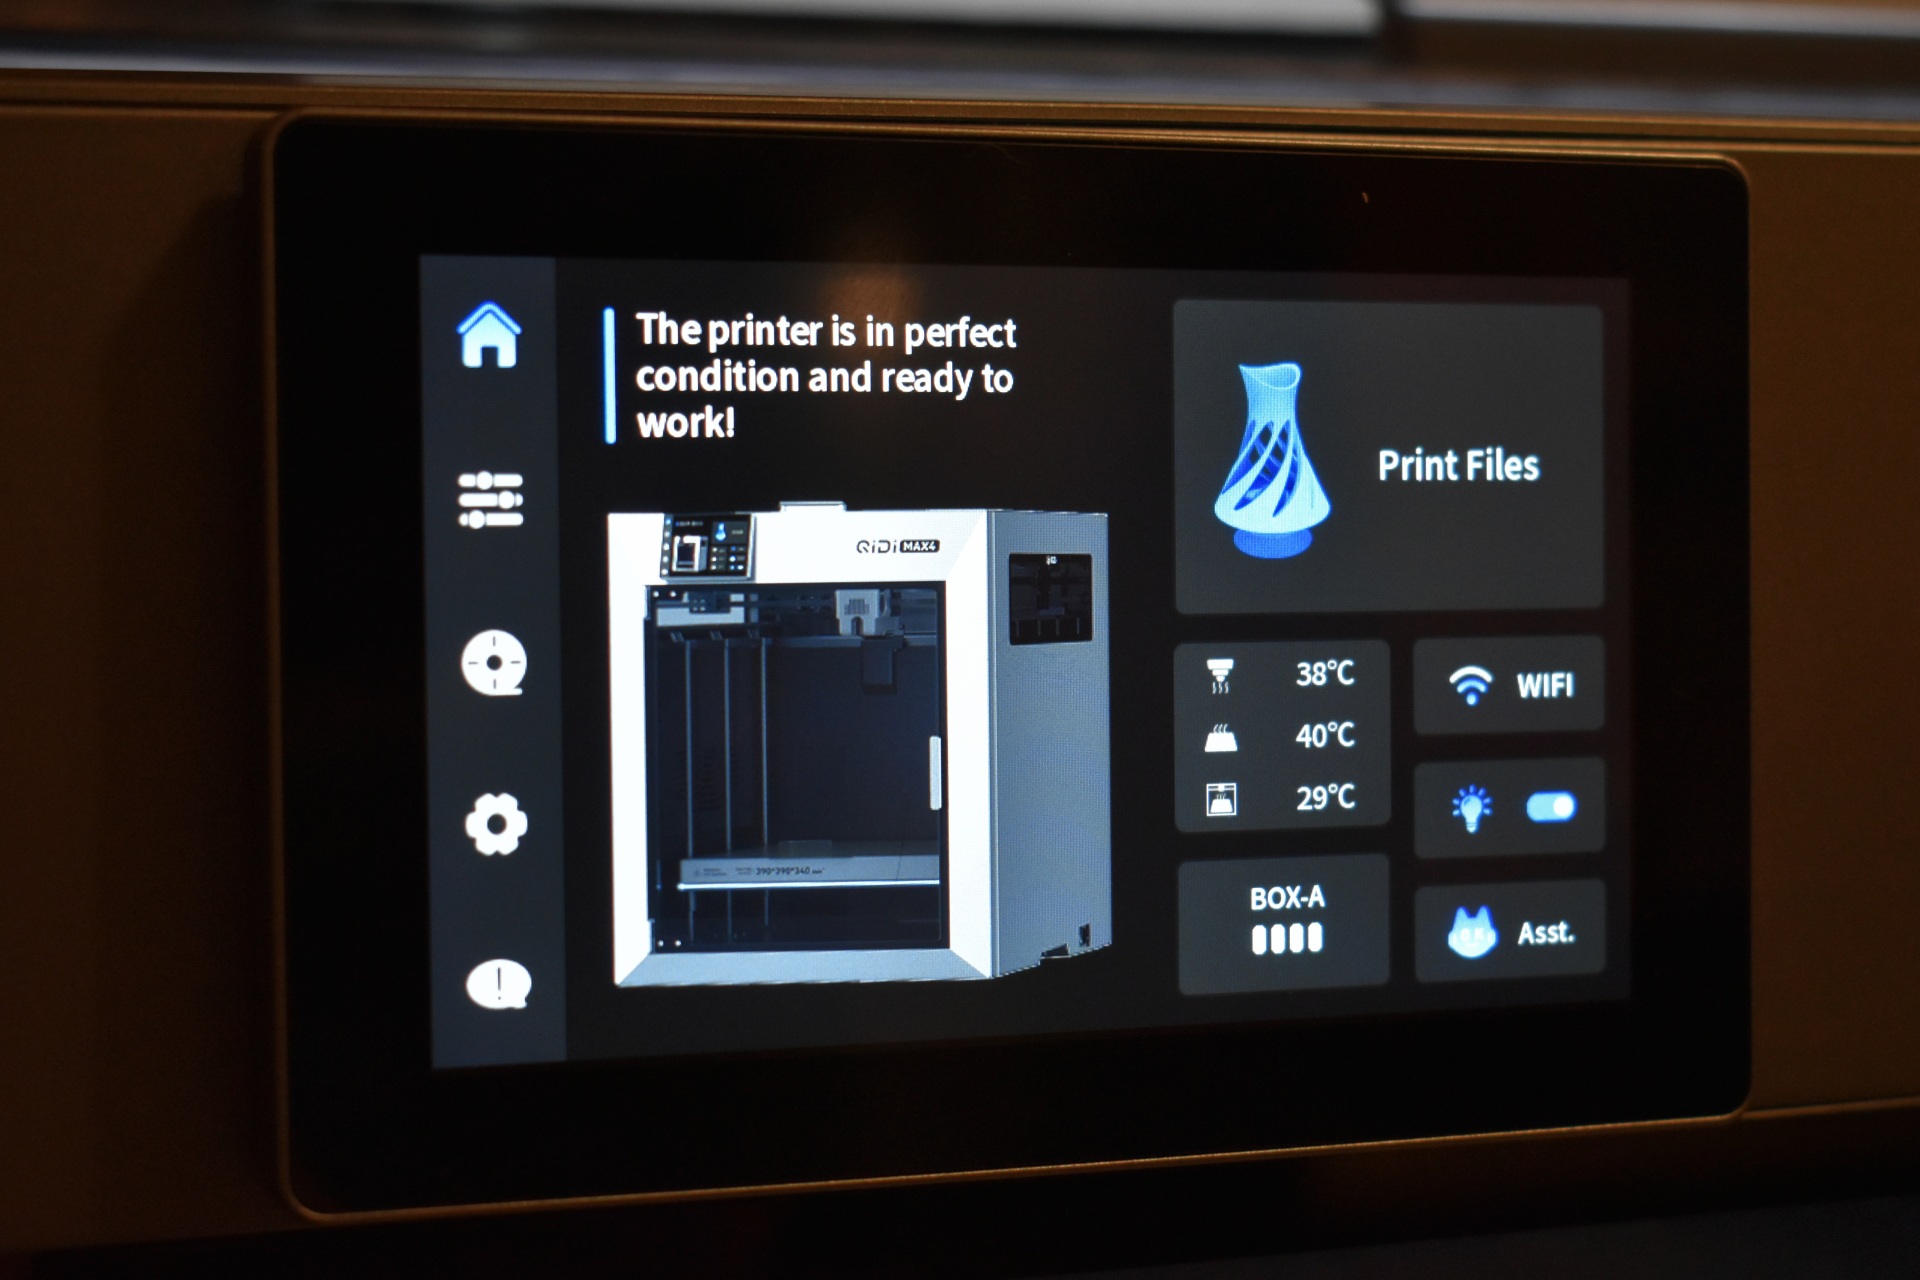
The initial tab as always shows you the current state of the printer including temperatures, WiFi, LED light and also has a shortcut from where you can start printing 3D models.


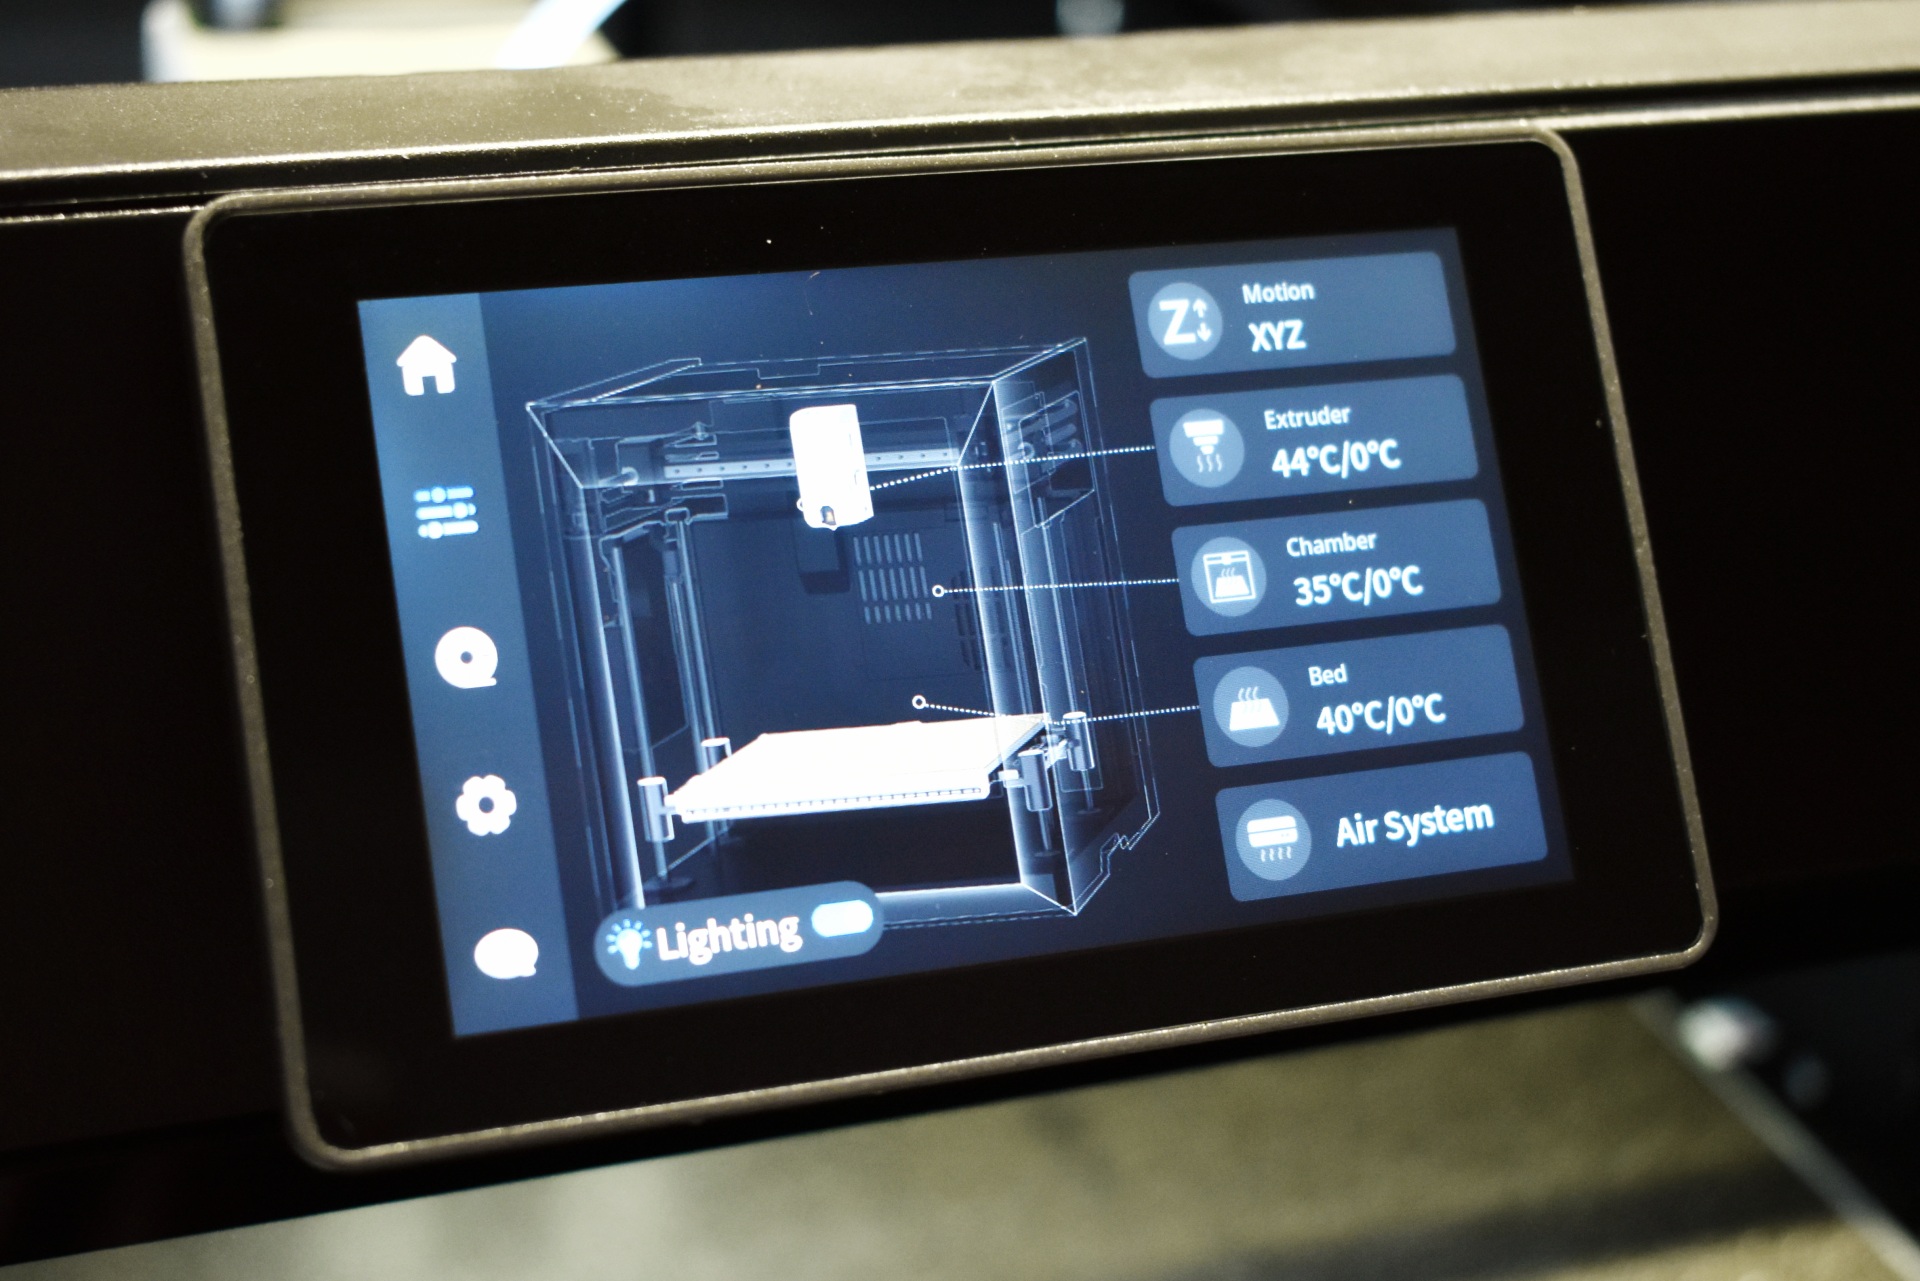
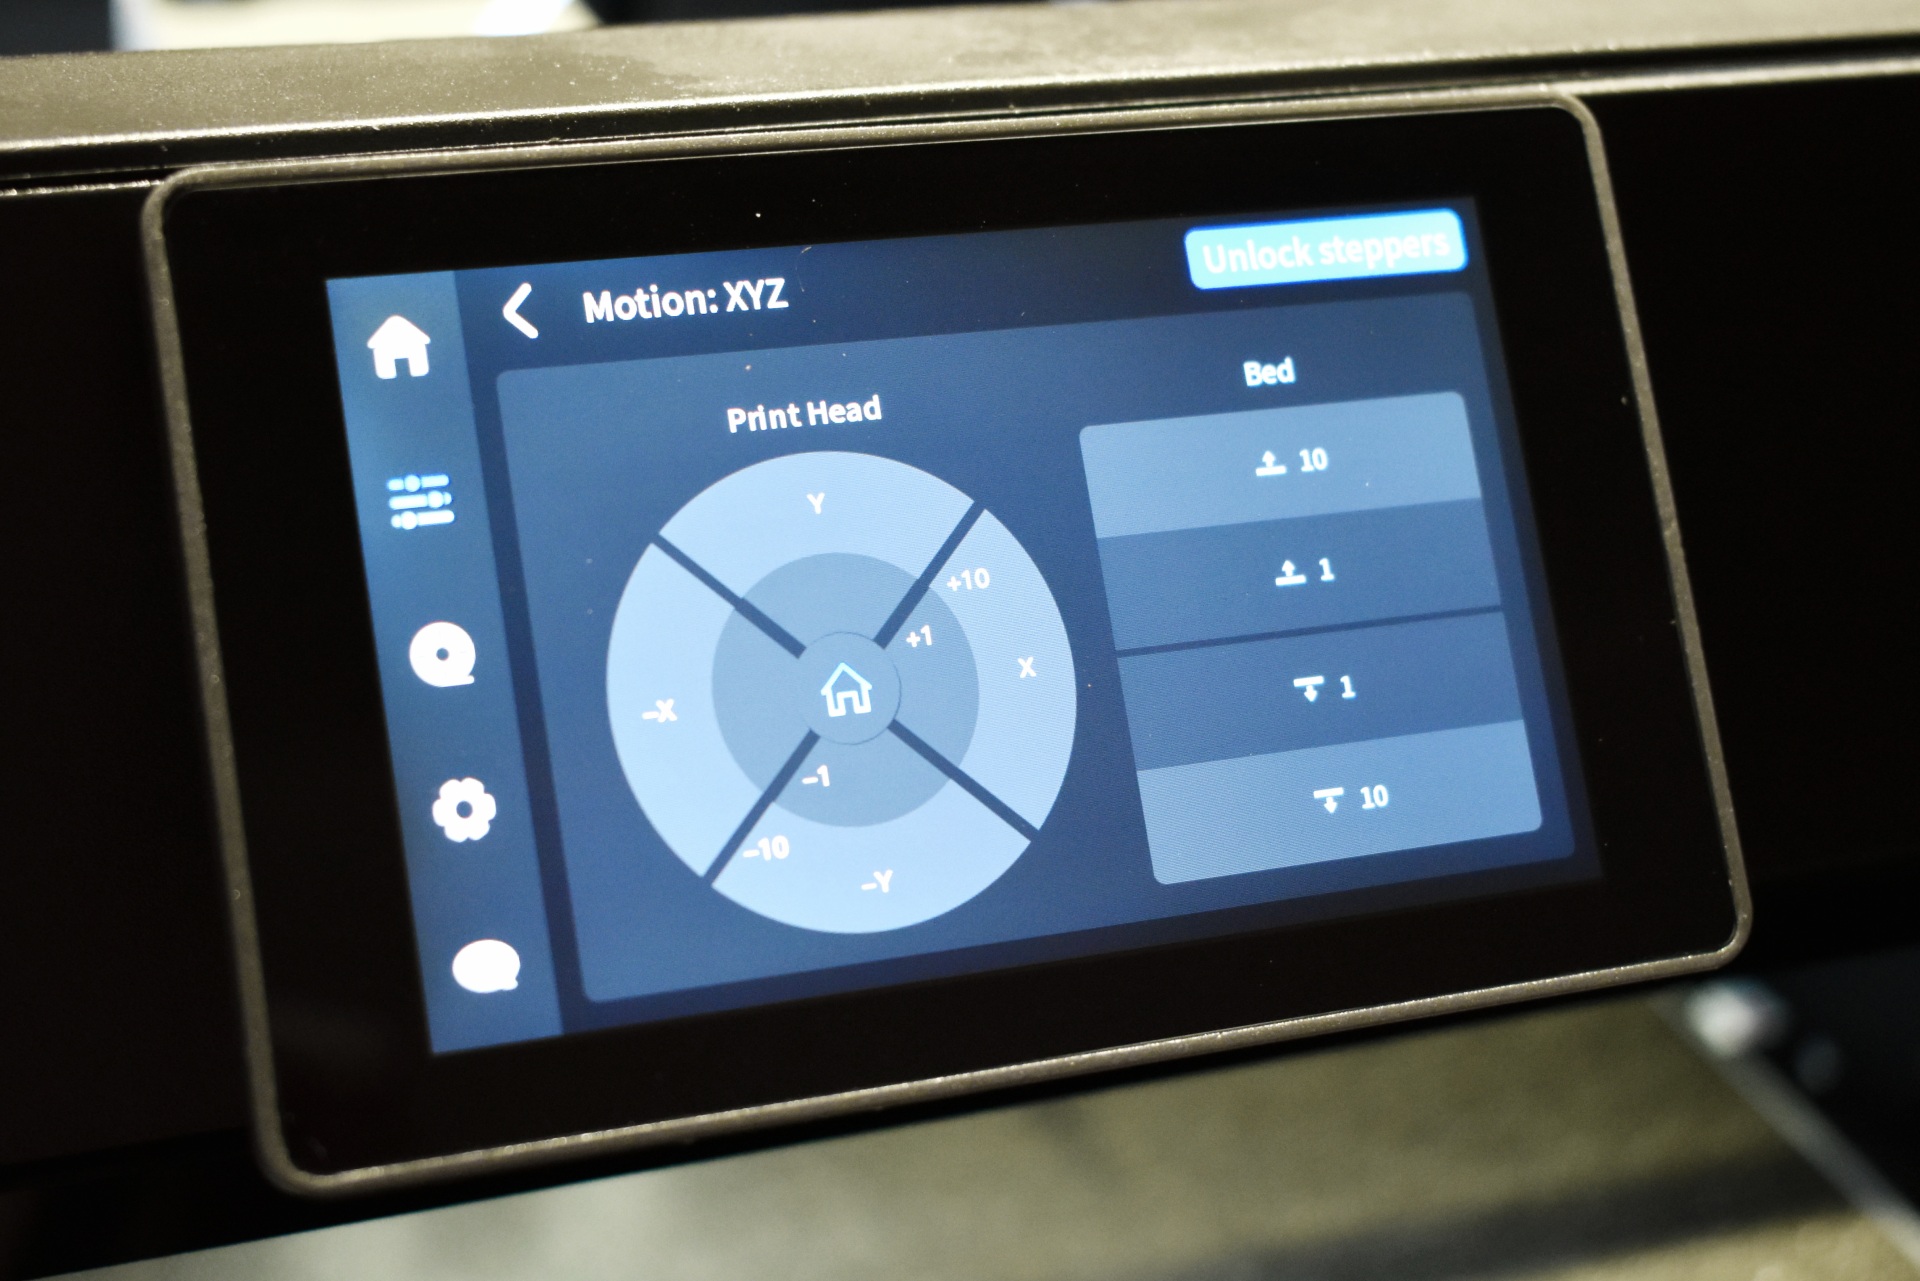
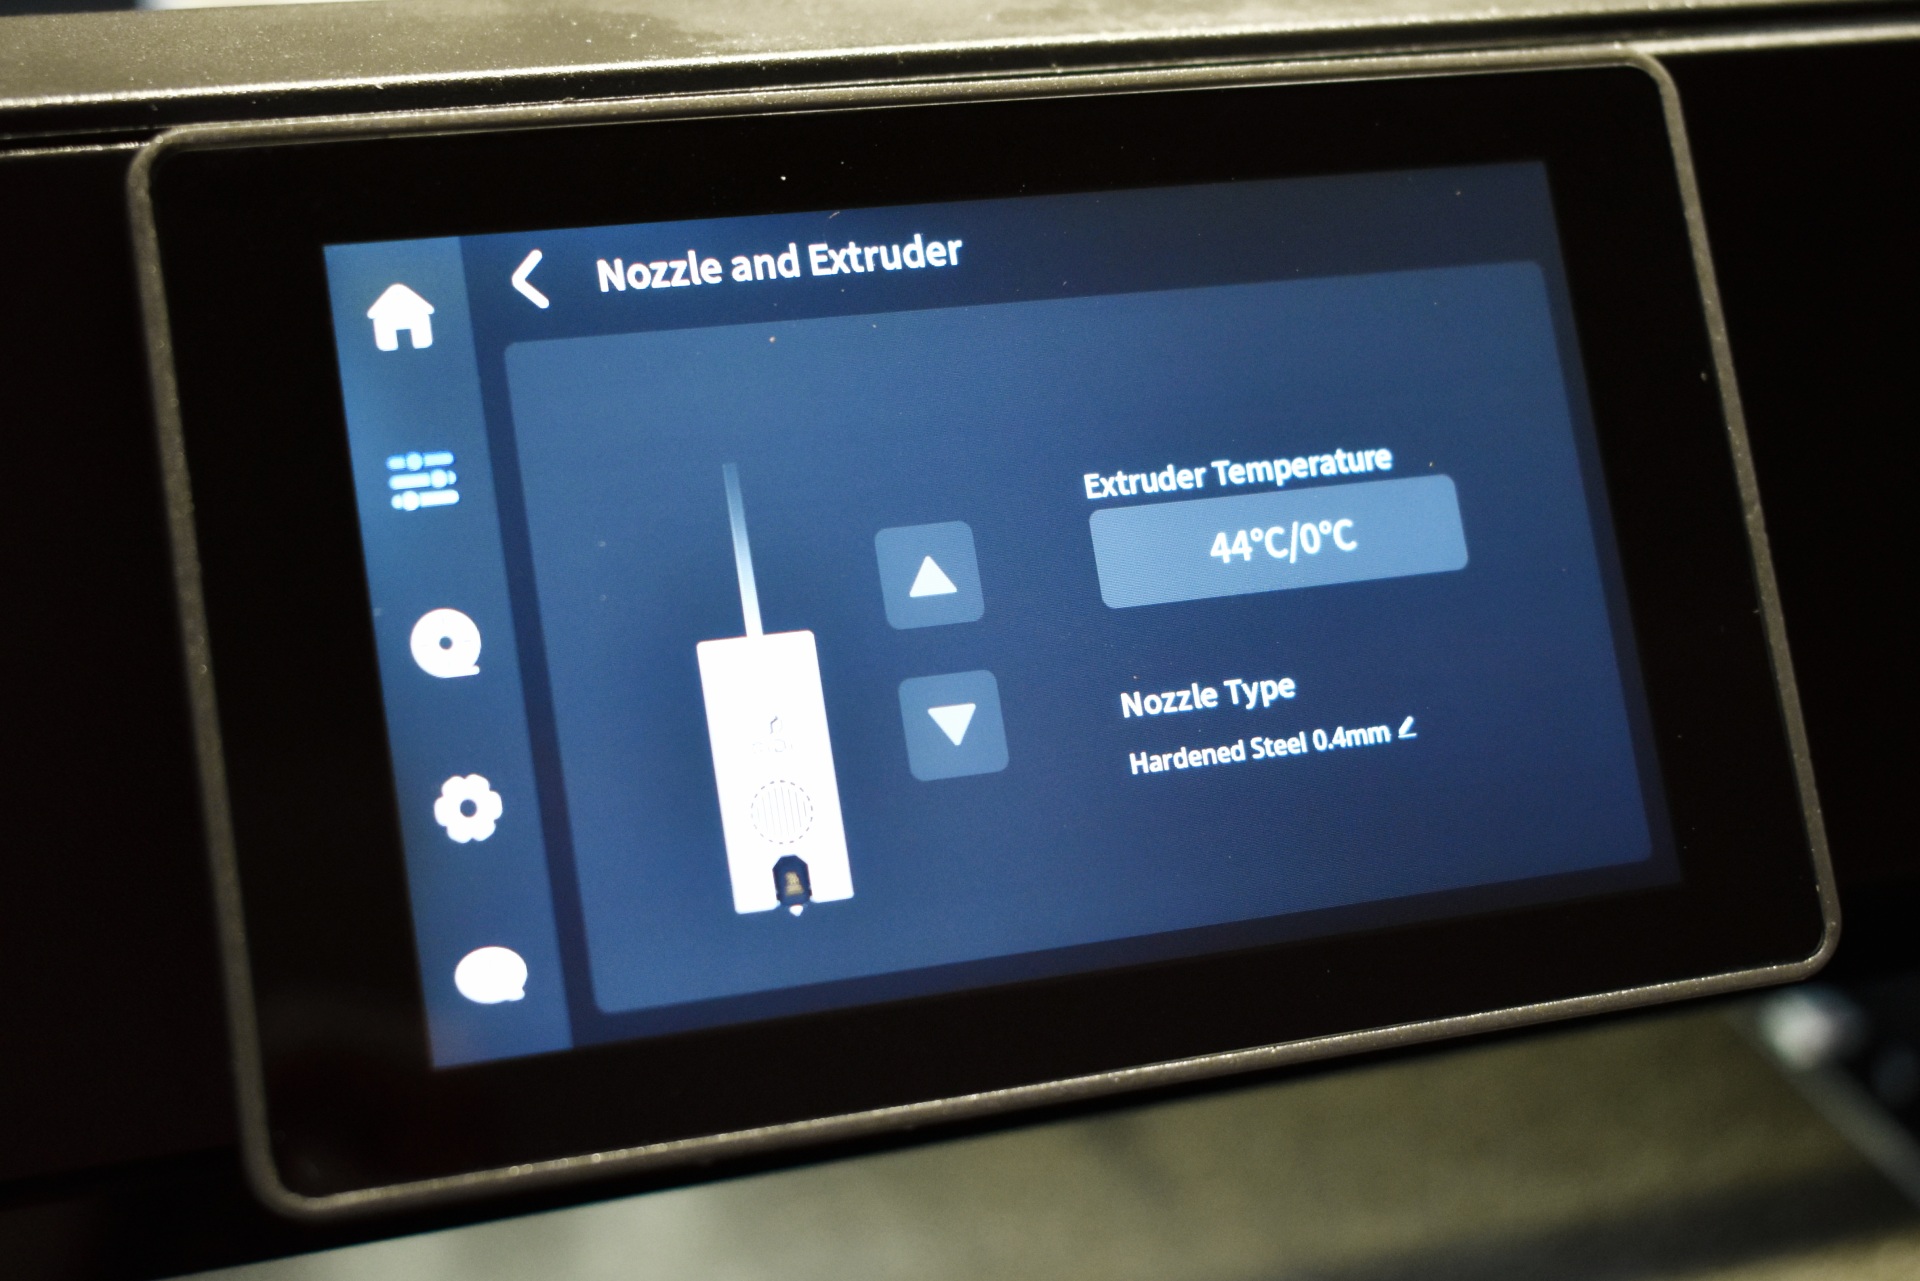
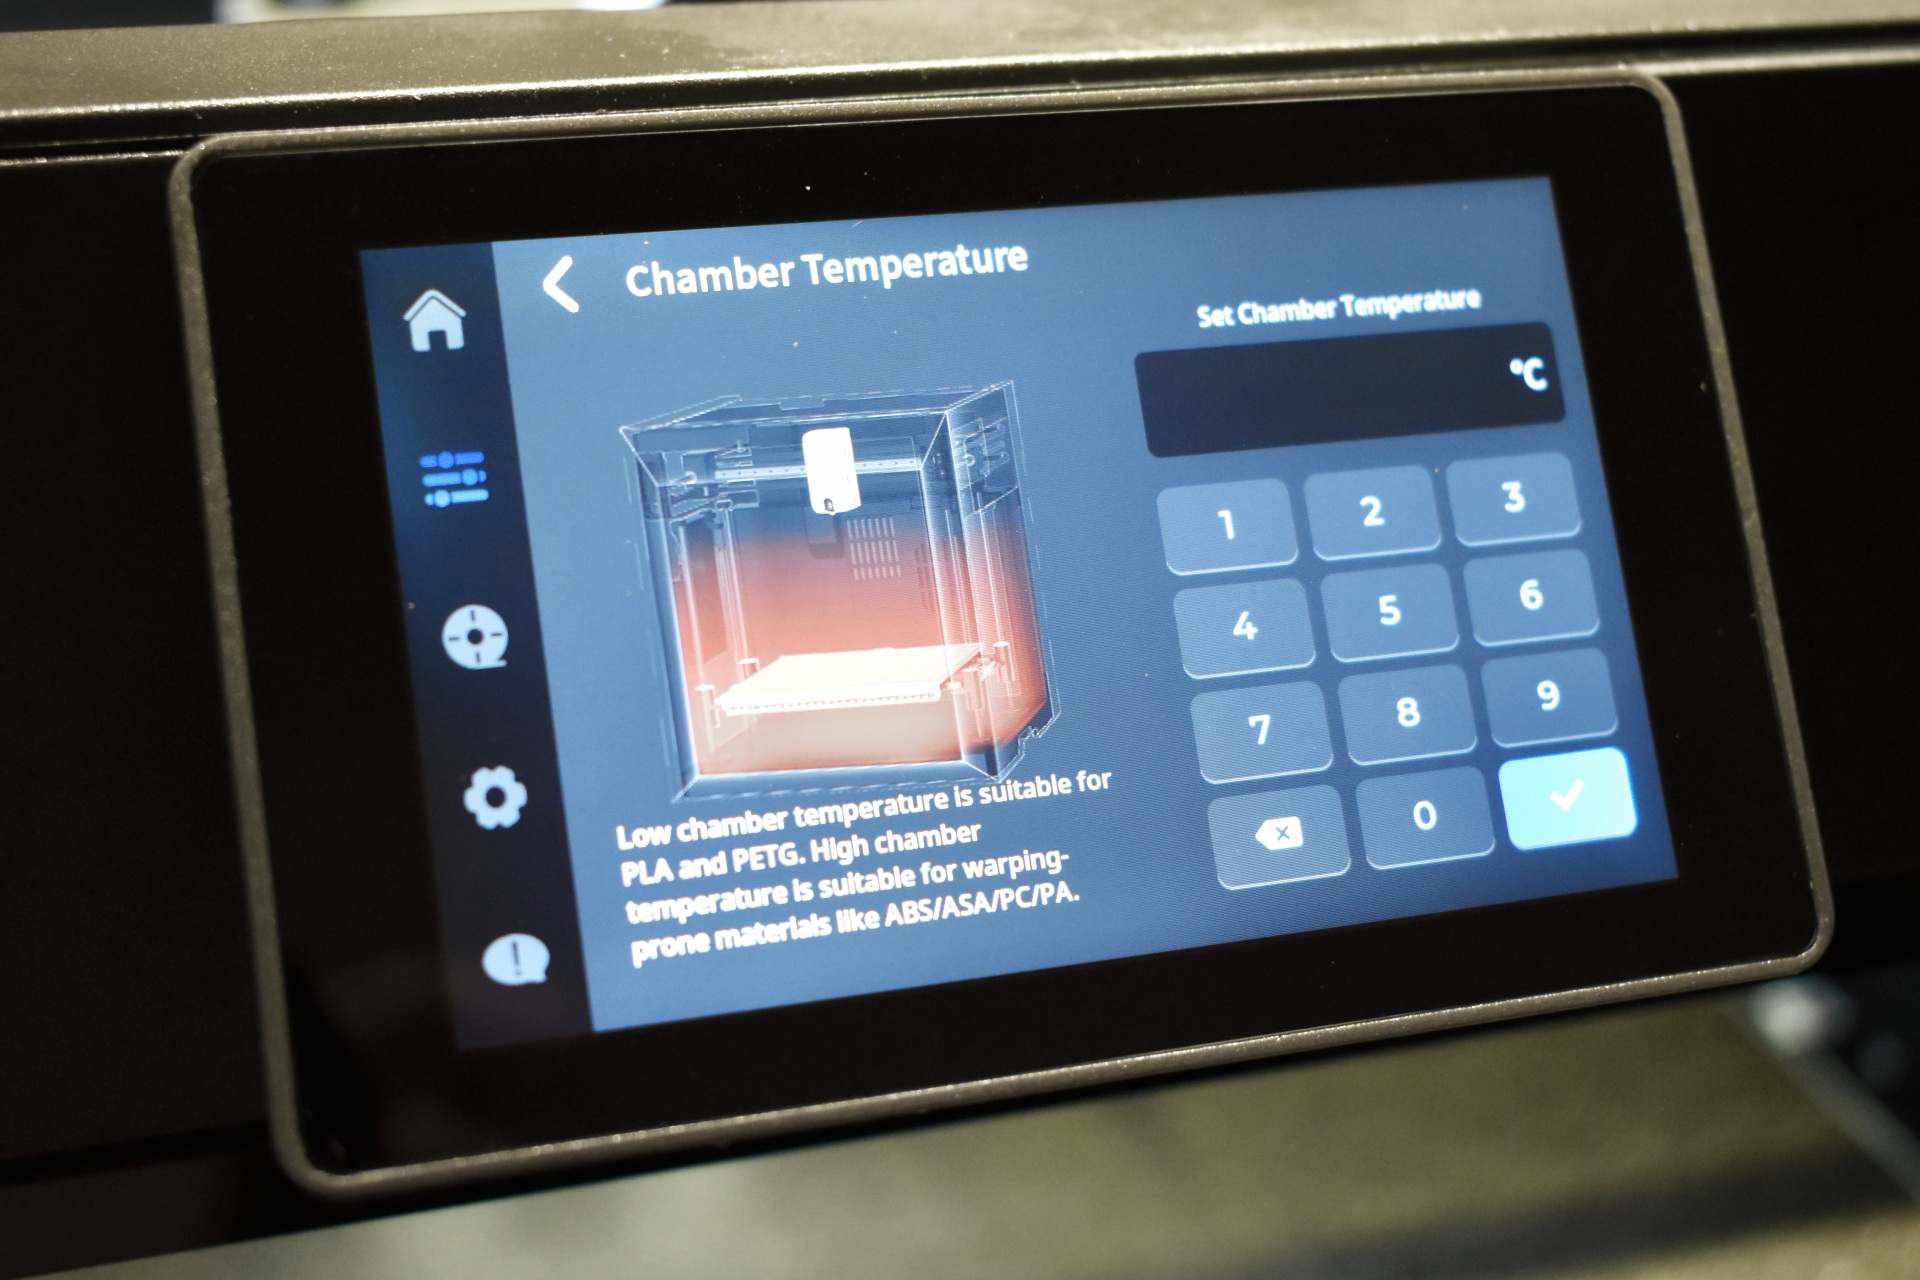
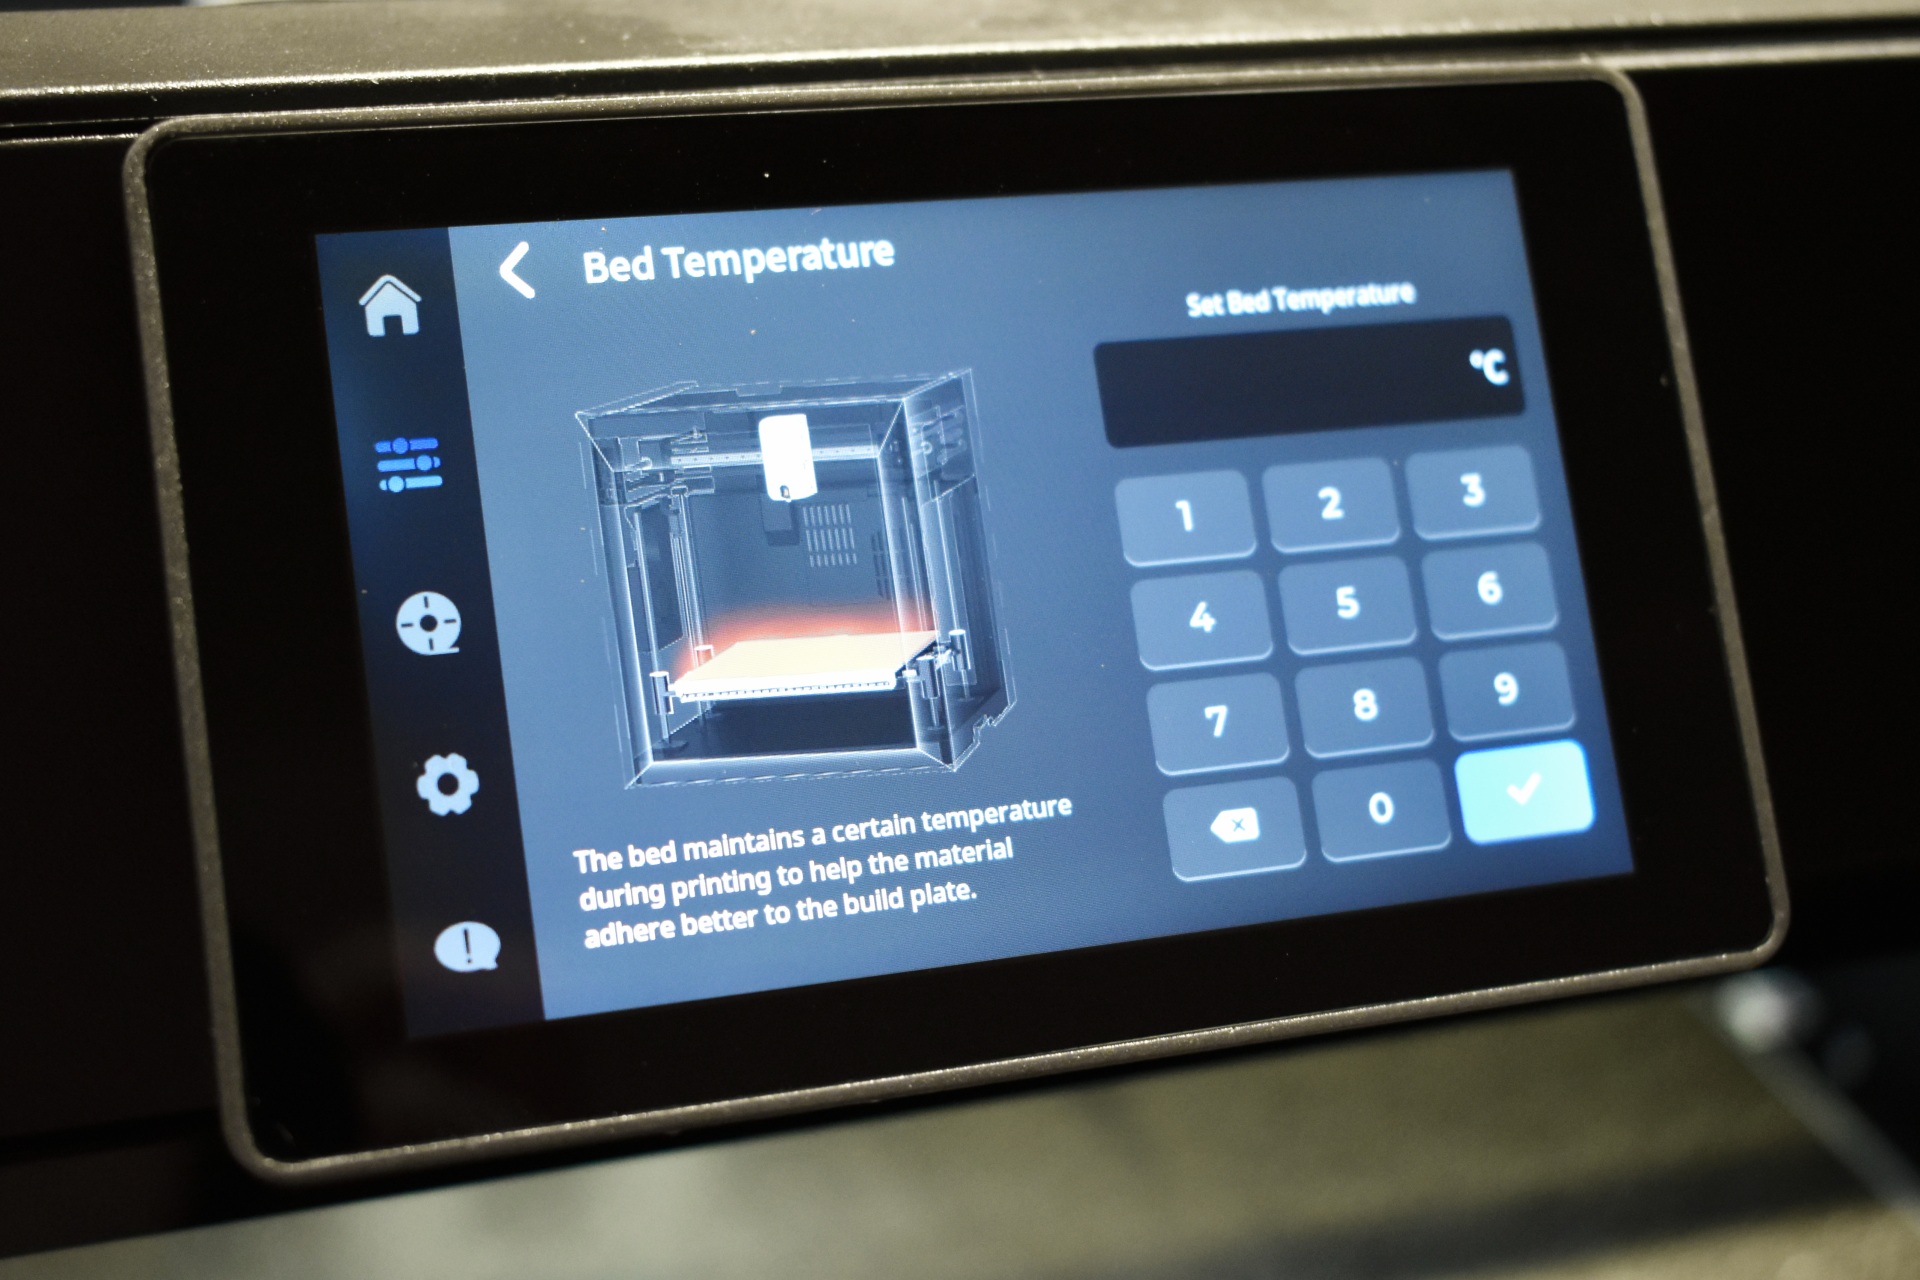
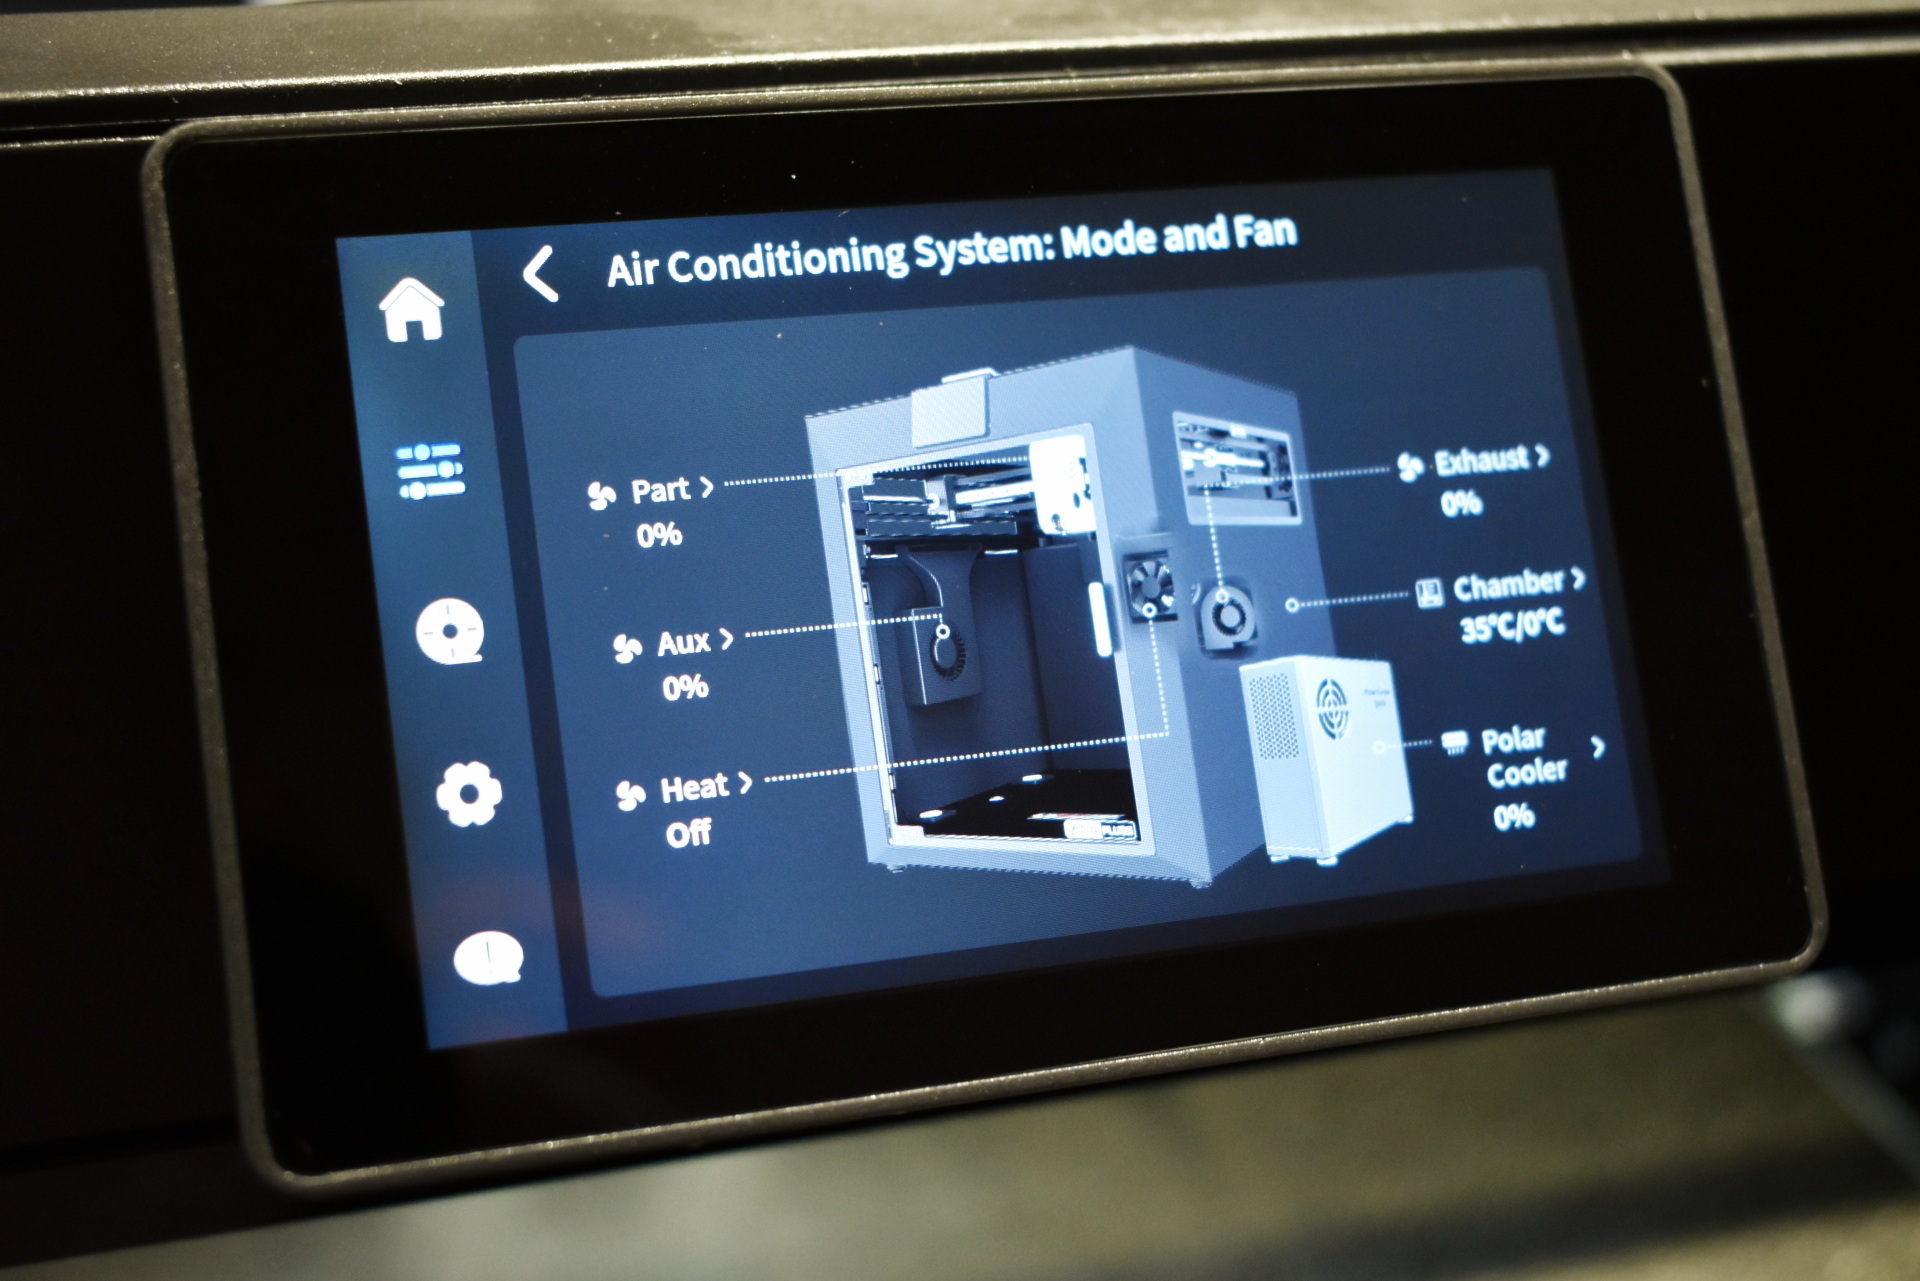
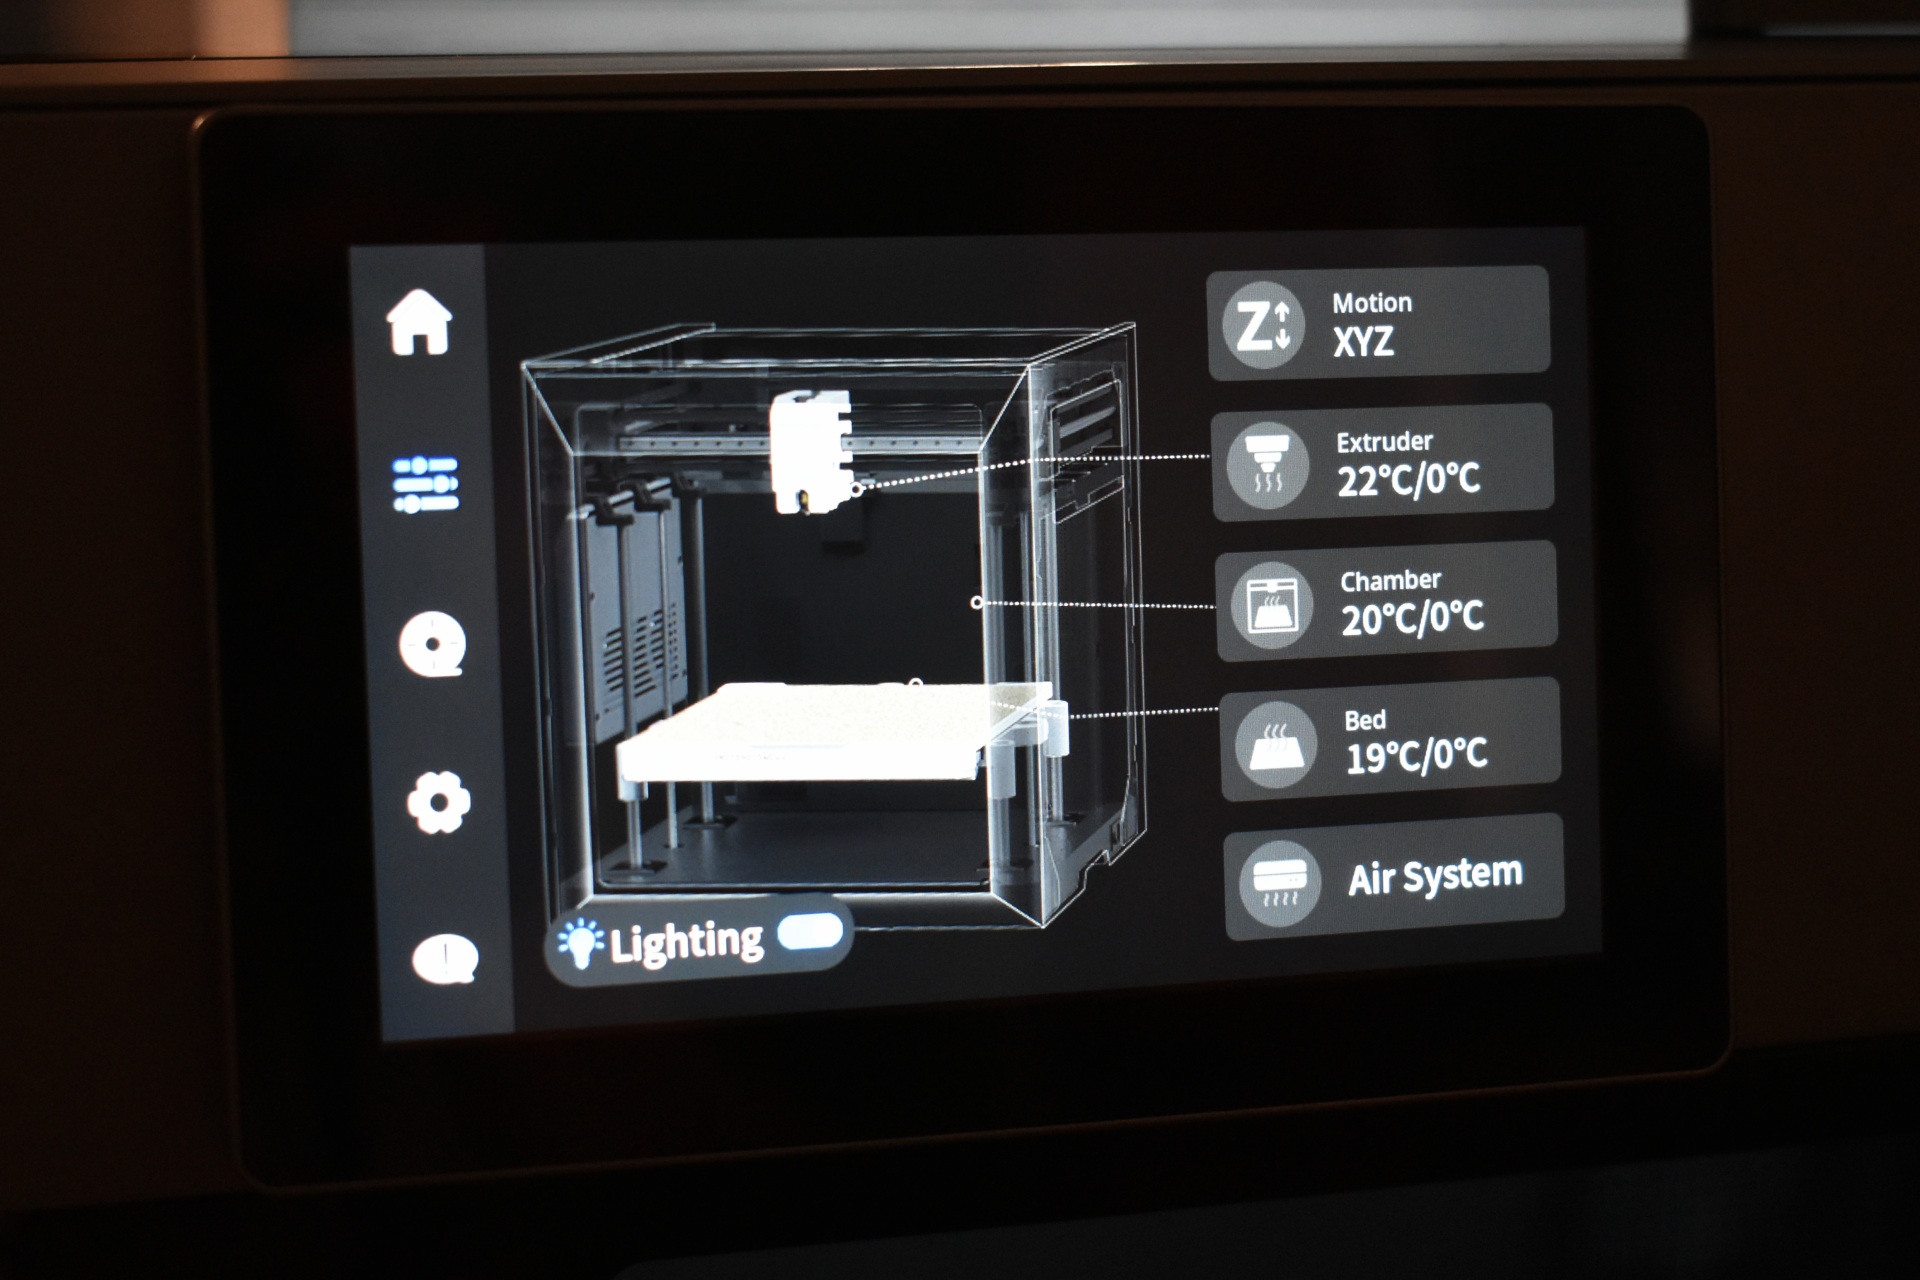
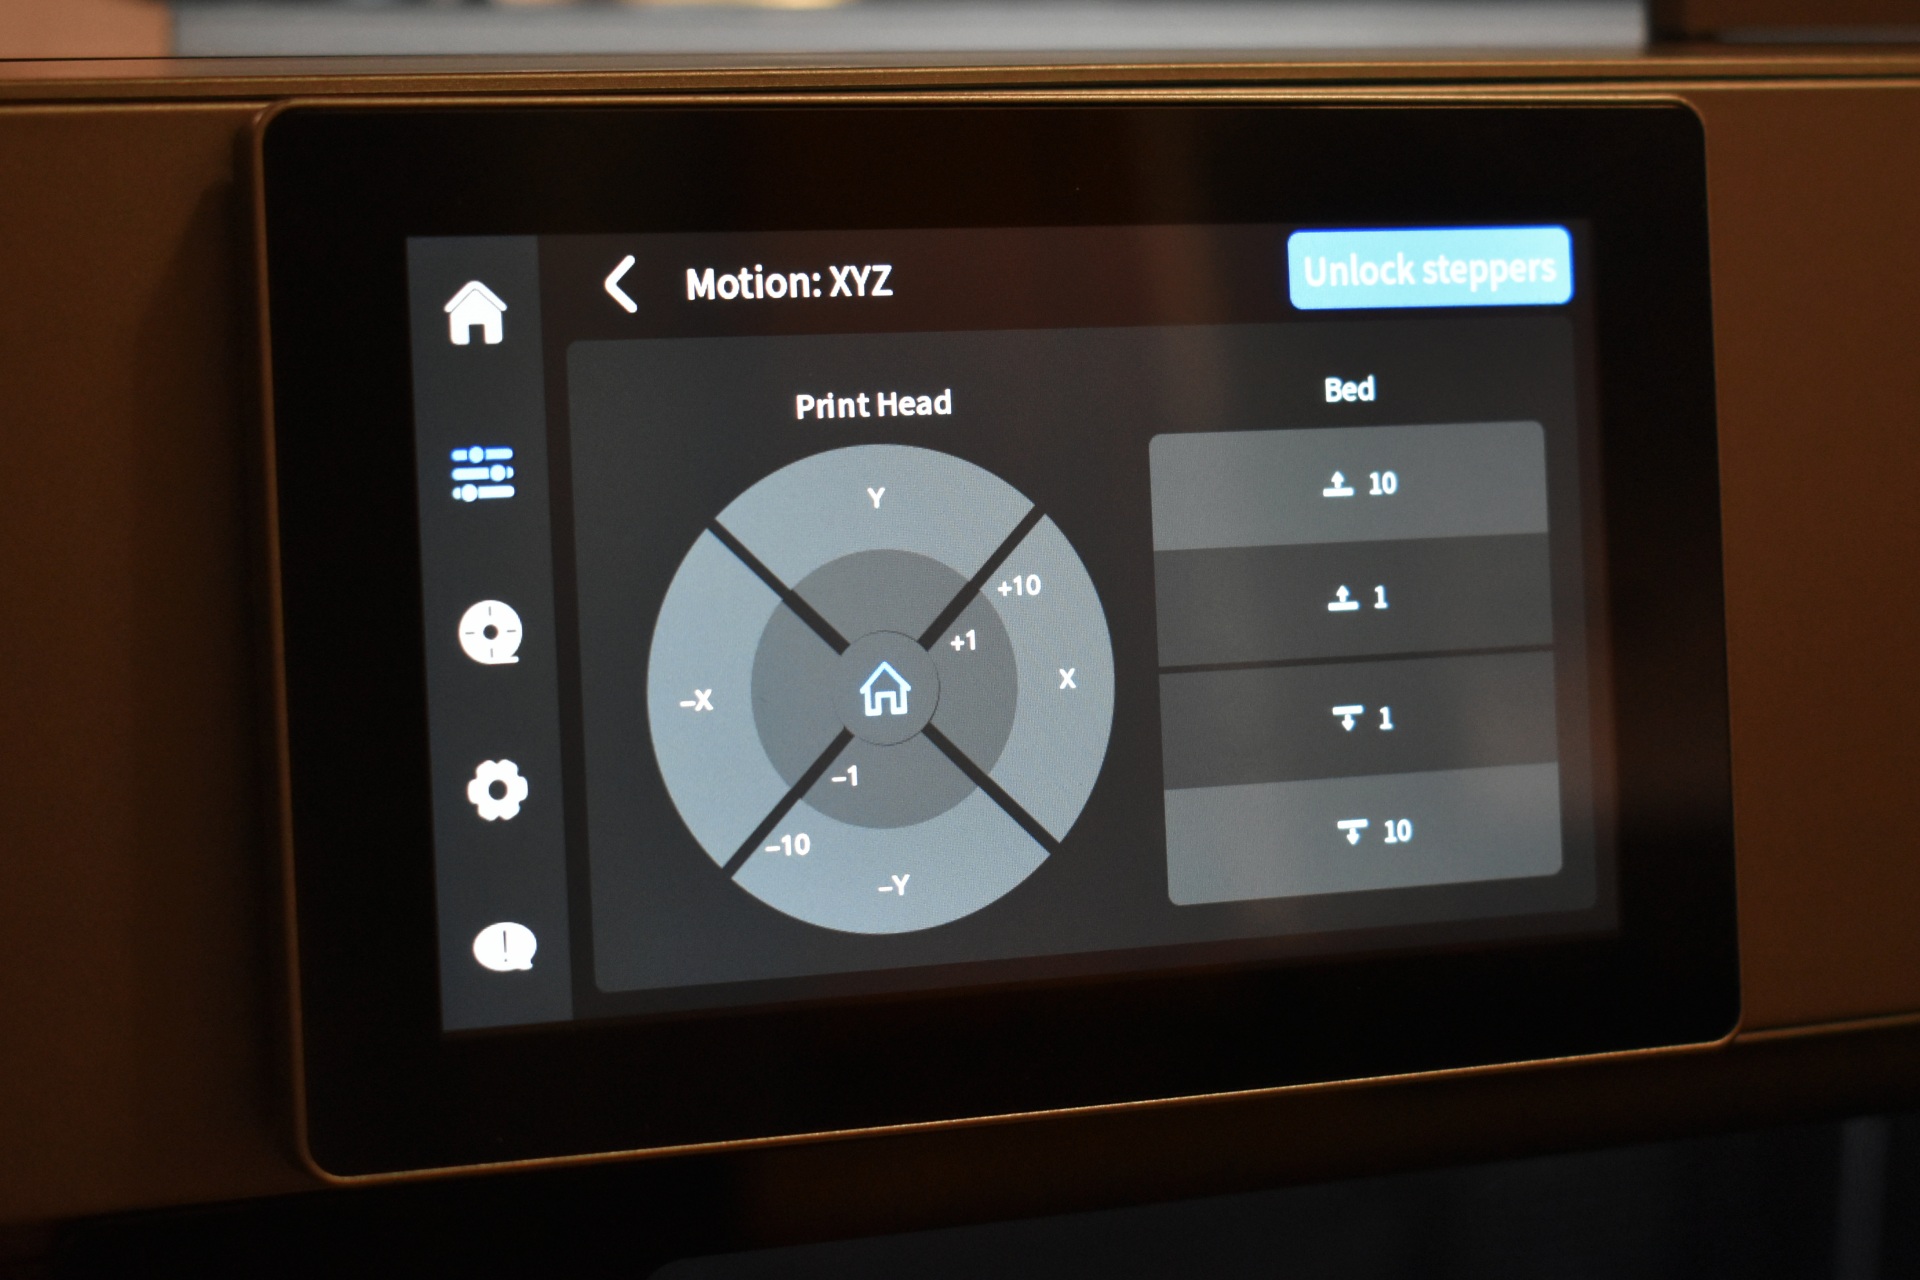
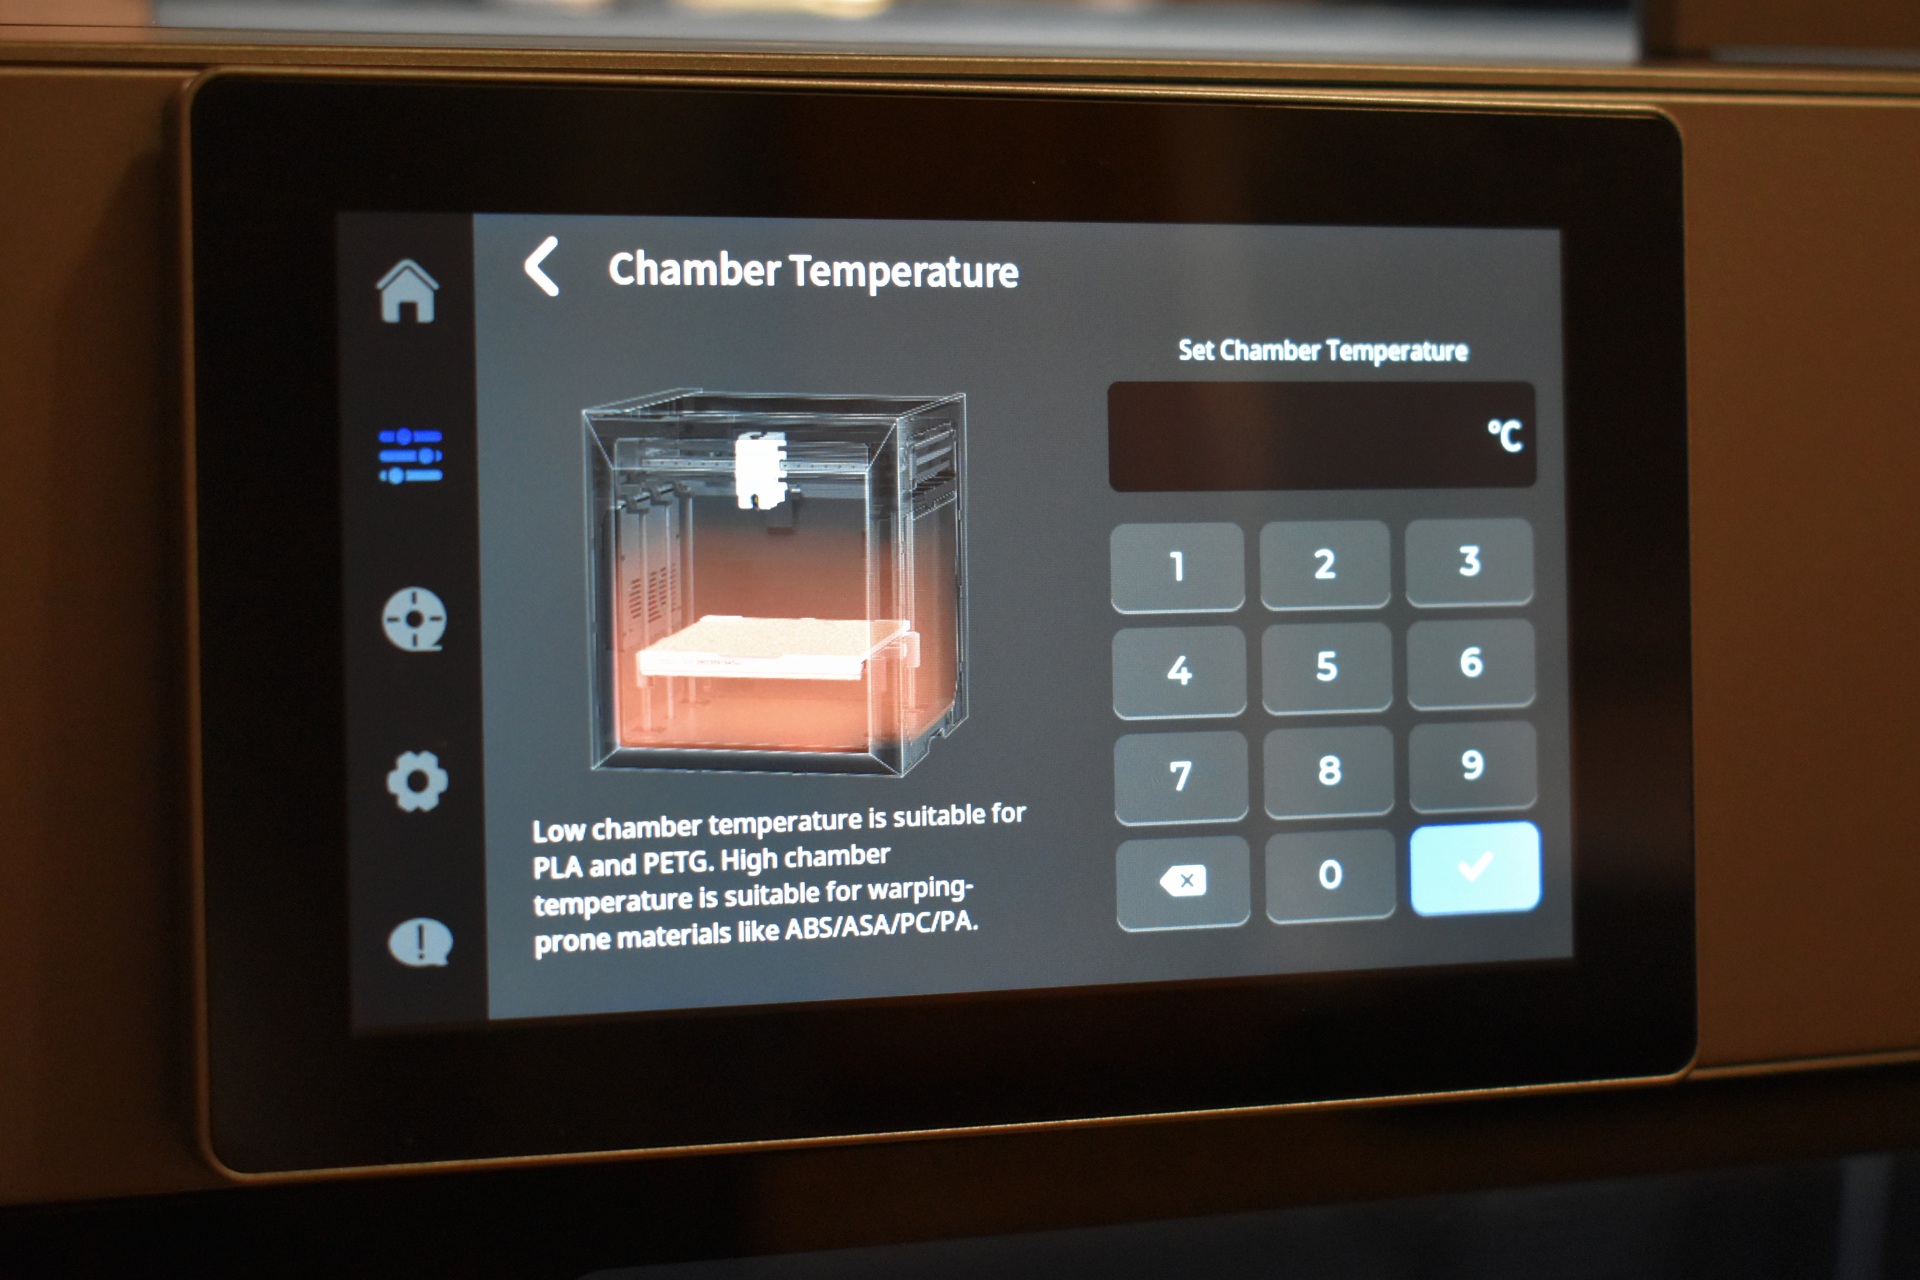
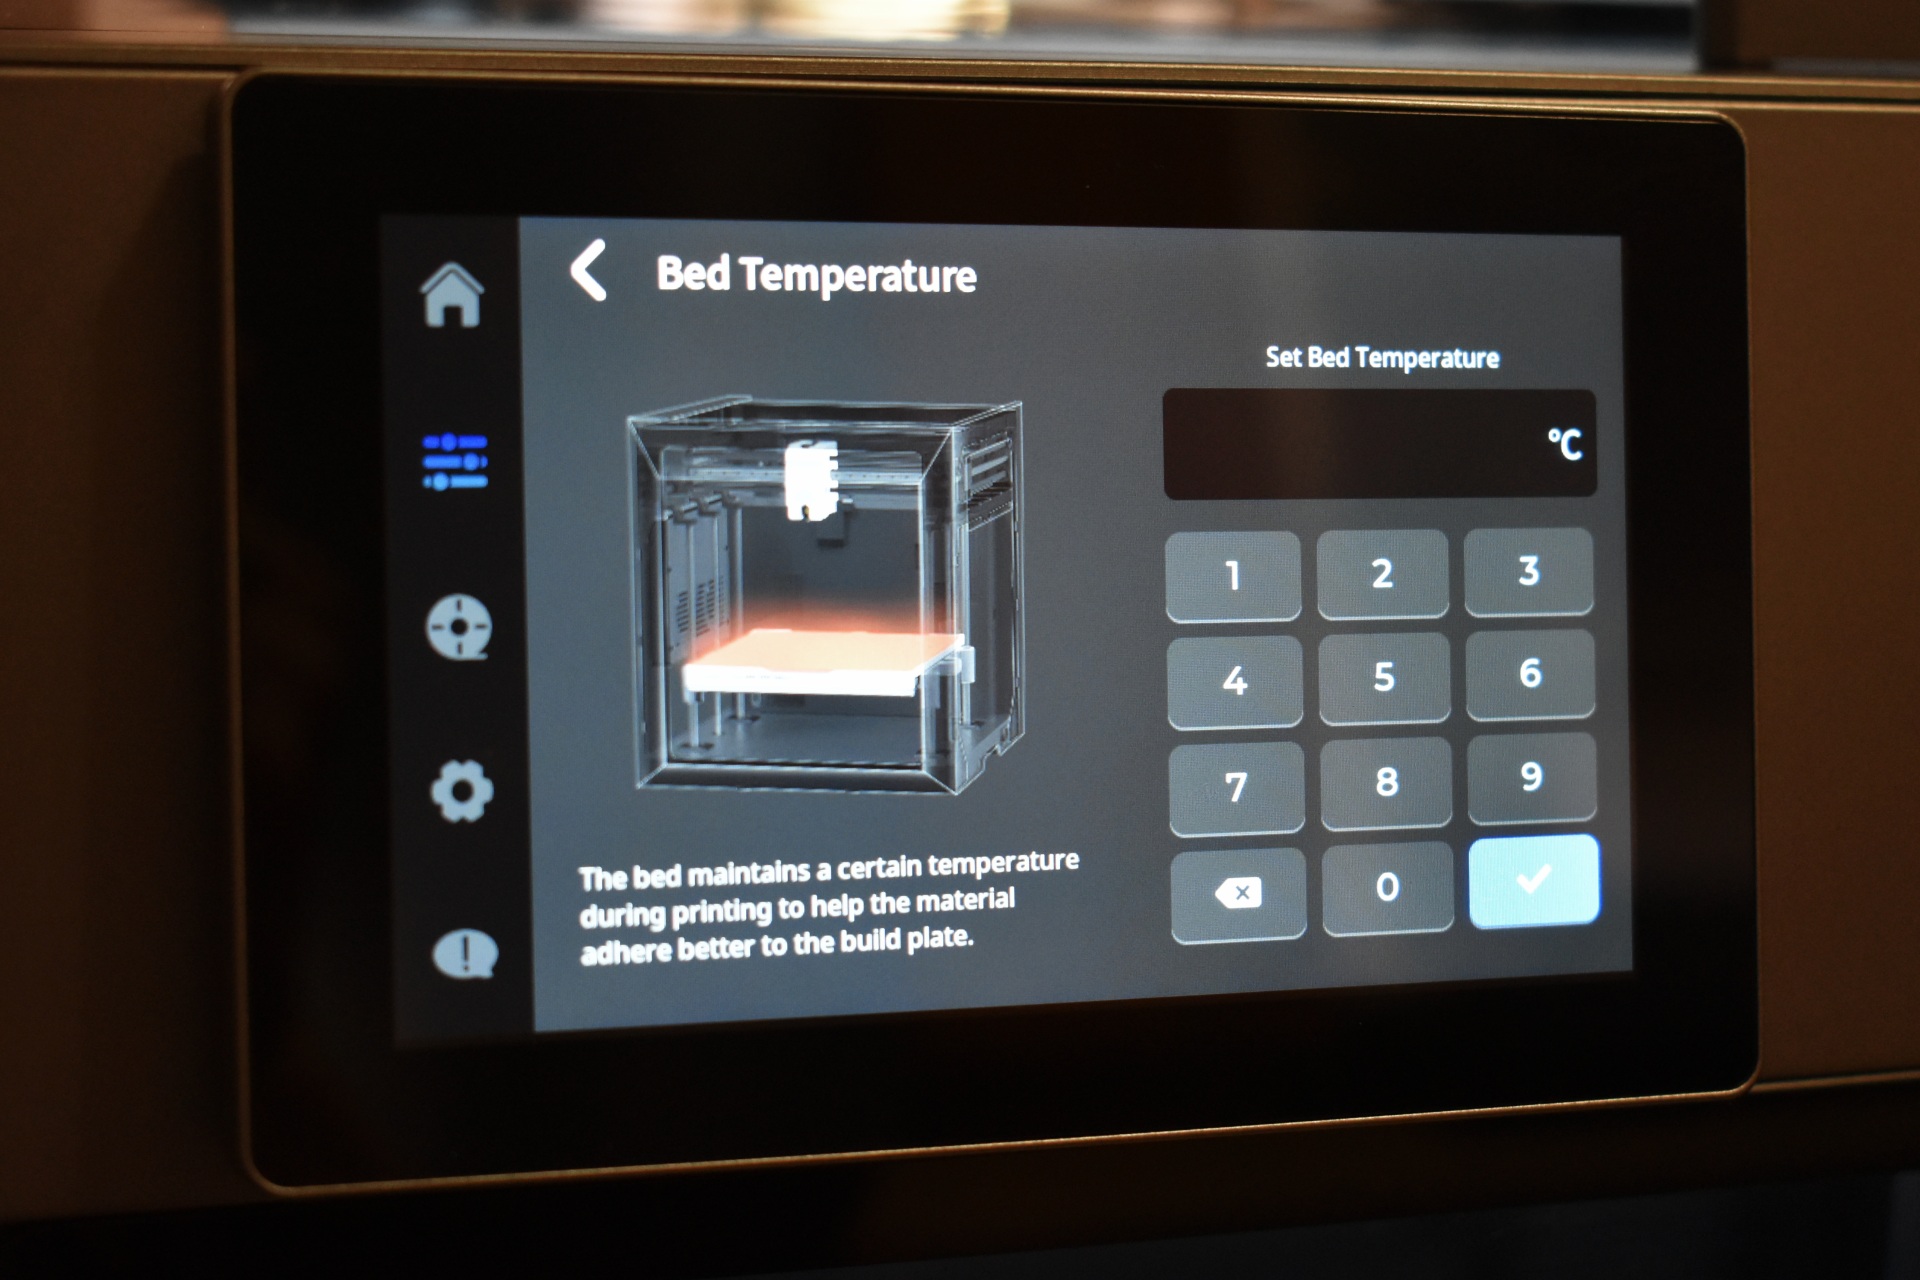
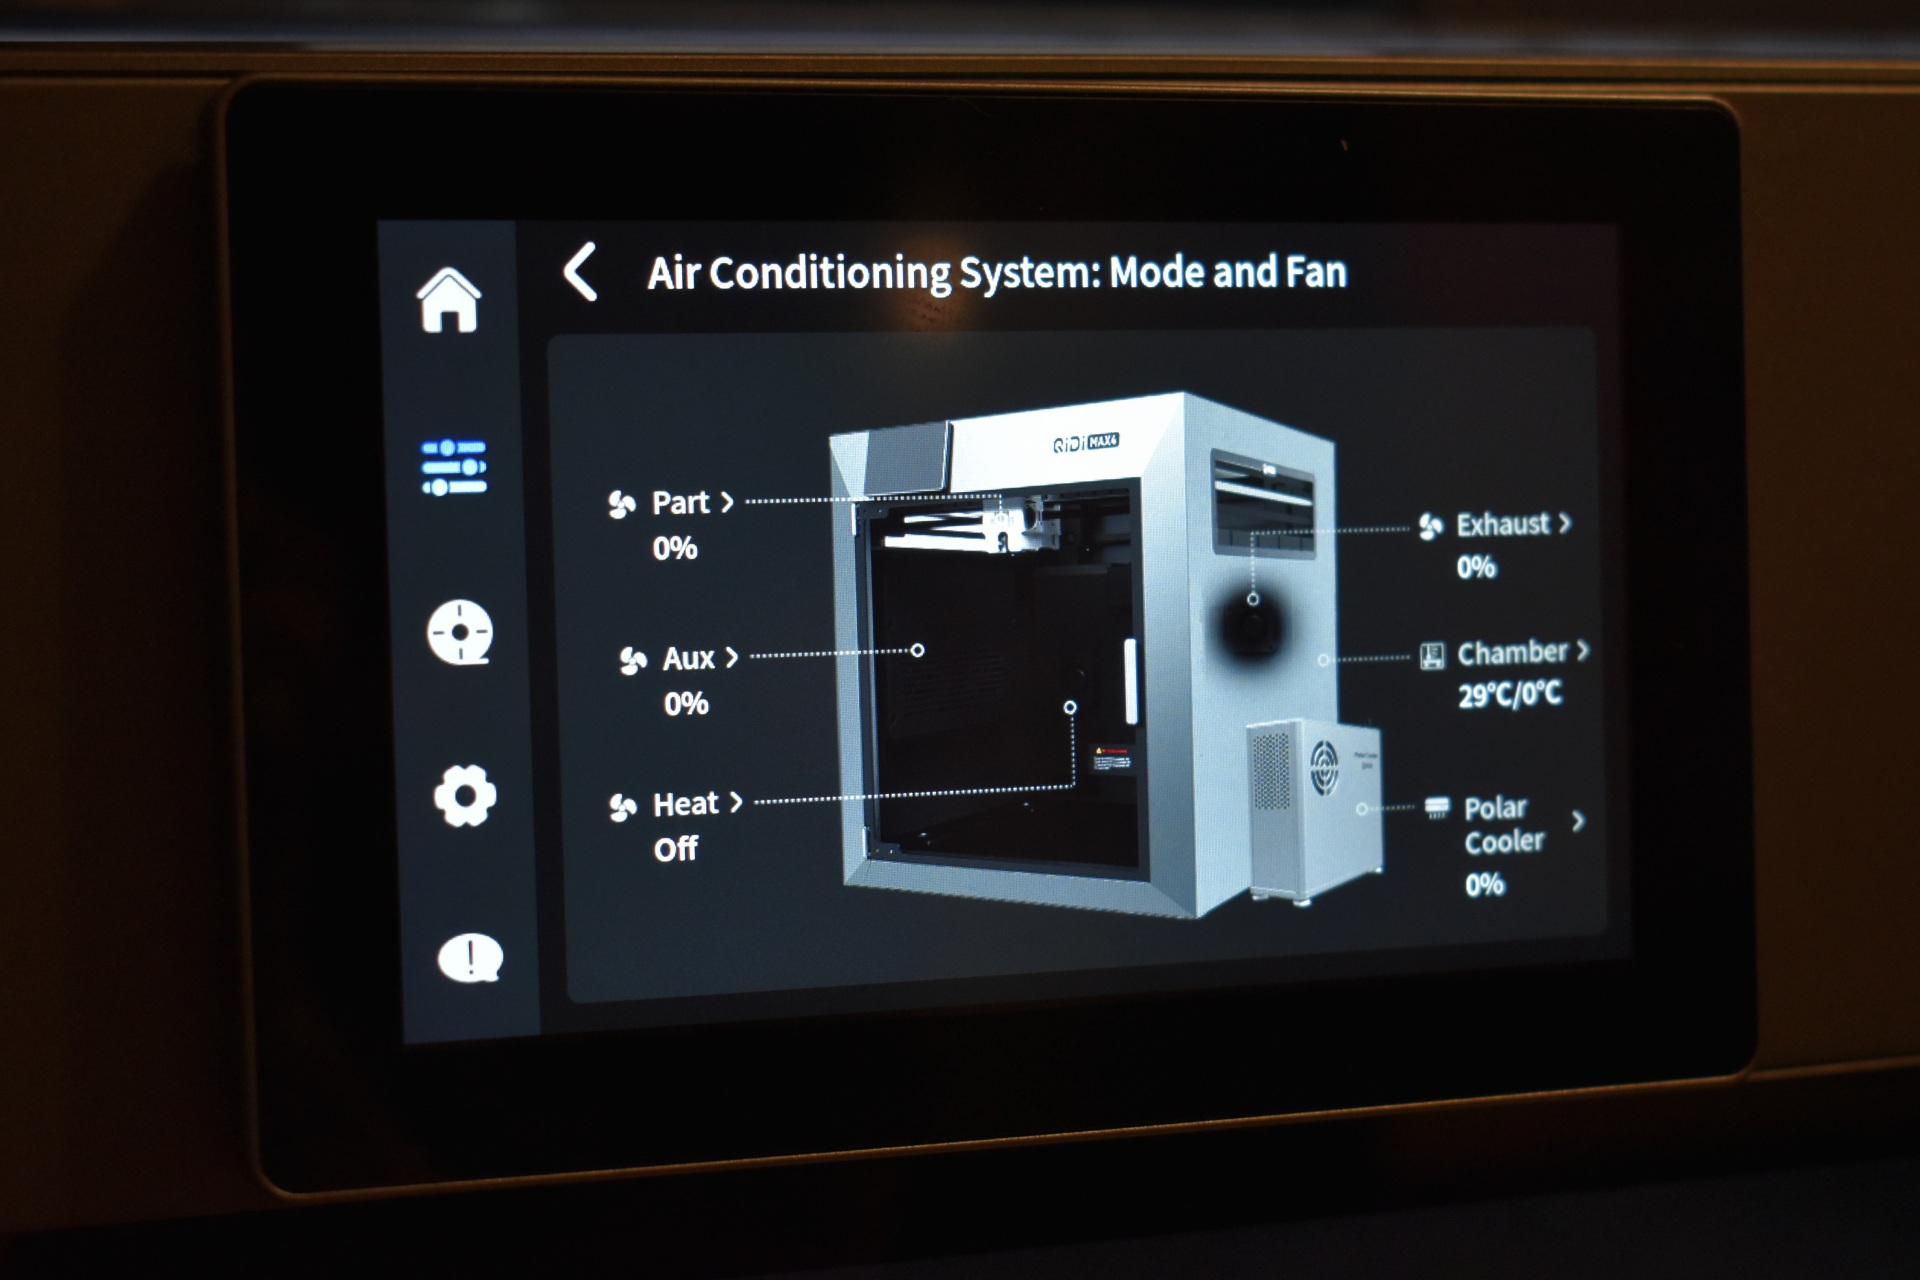
From the 2nd tab you can move the extruder and the printing bed, adjust temperatures for the extruder, chamber and bed, turn the LED light on/off and adjust the cooling system.


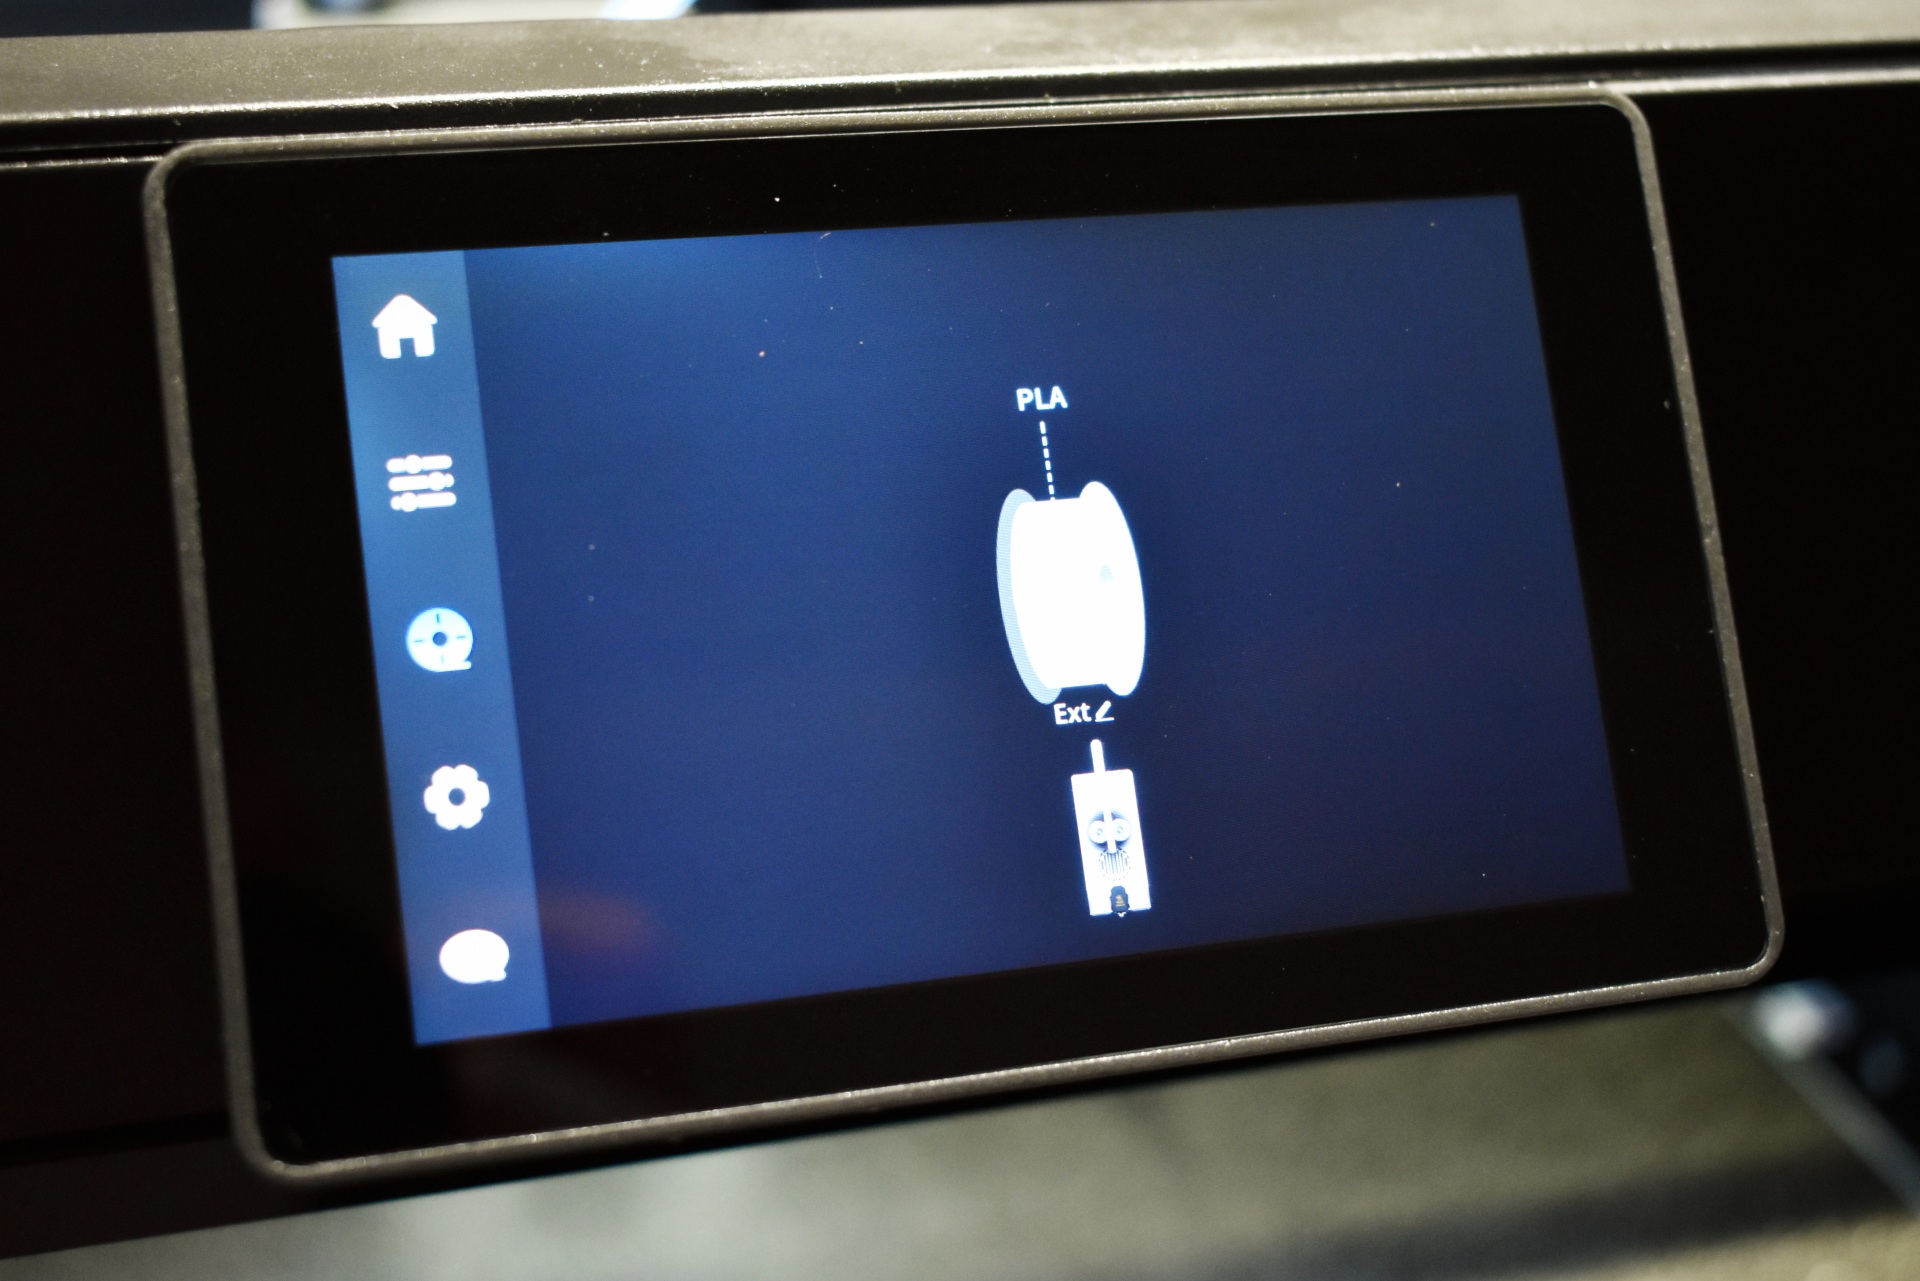
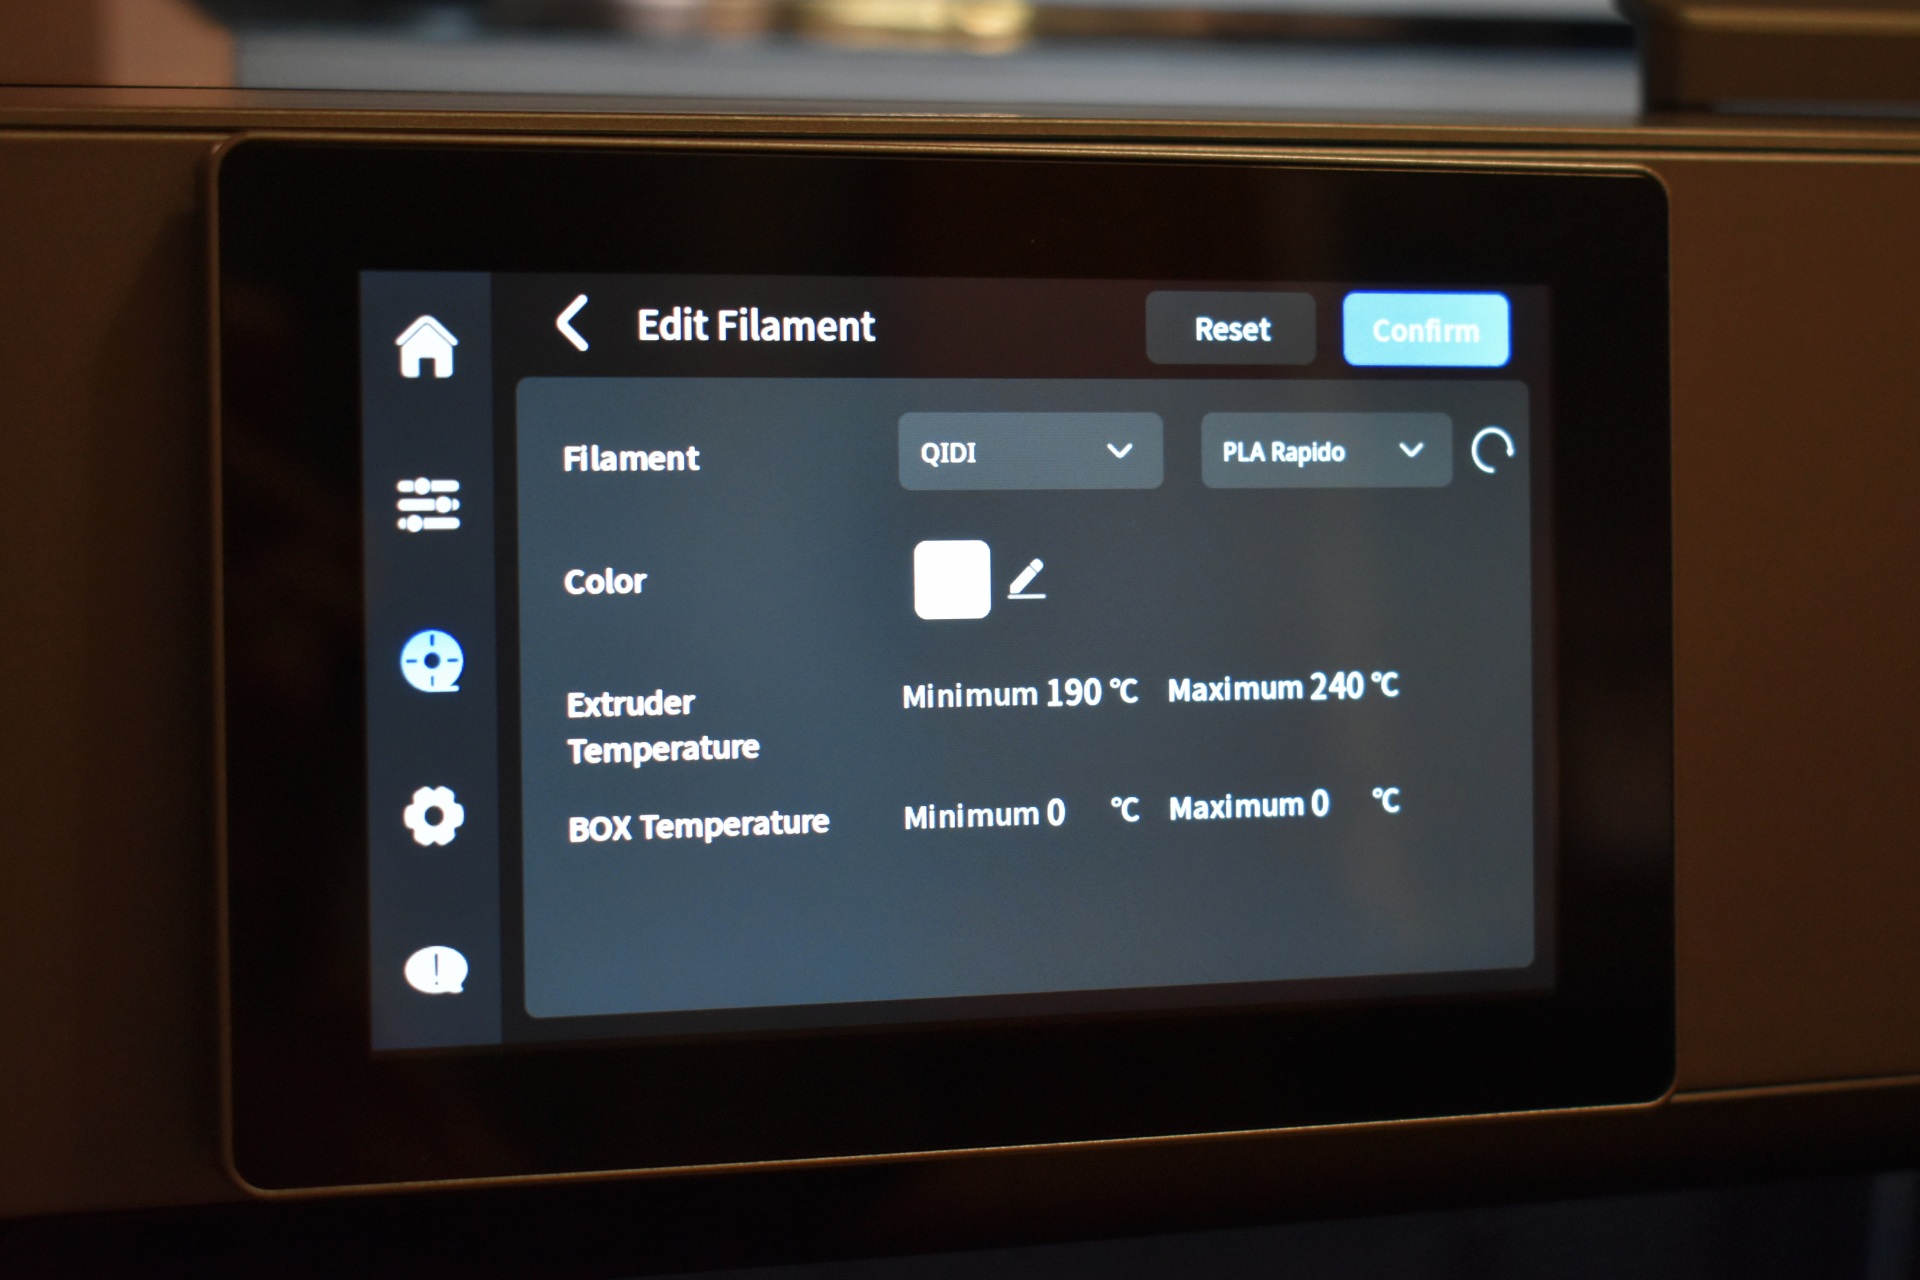
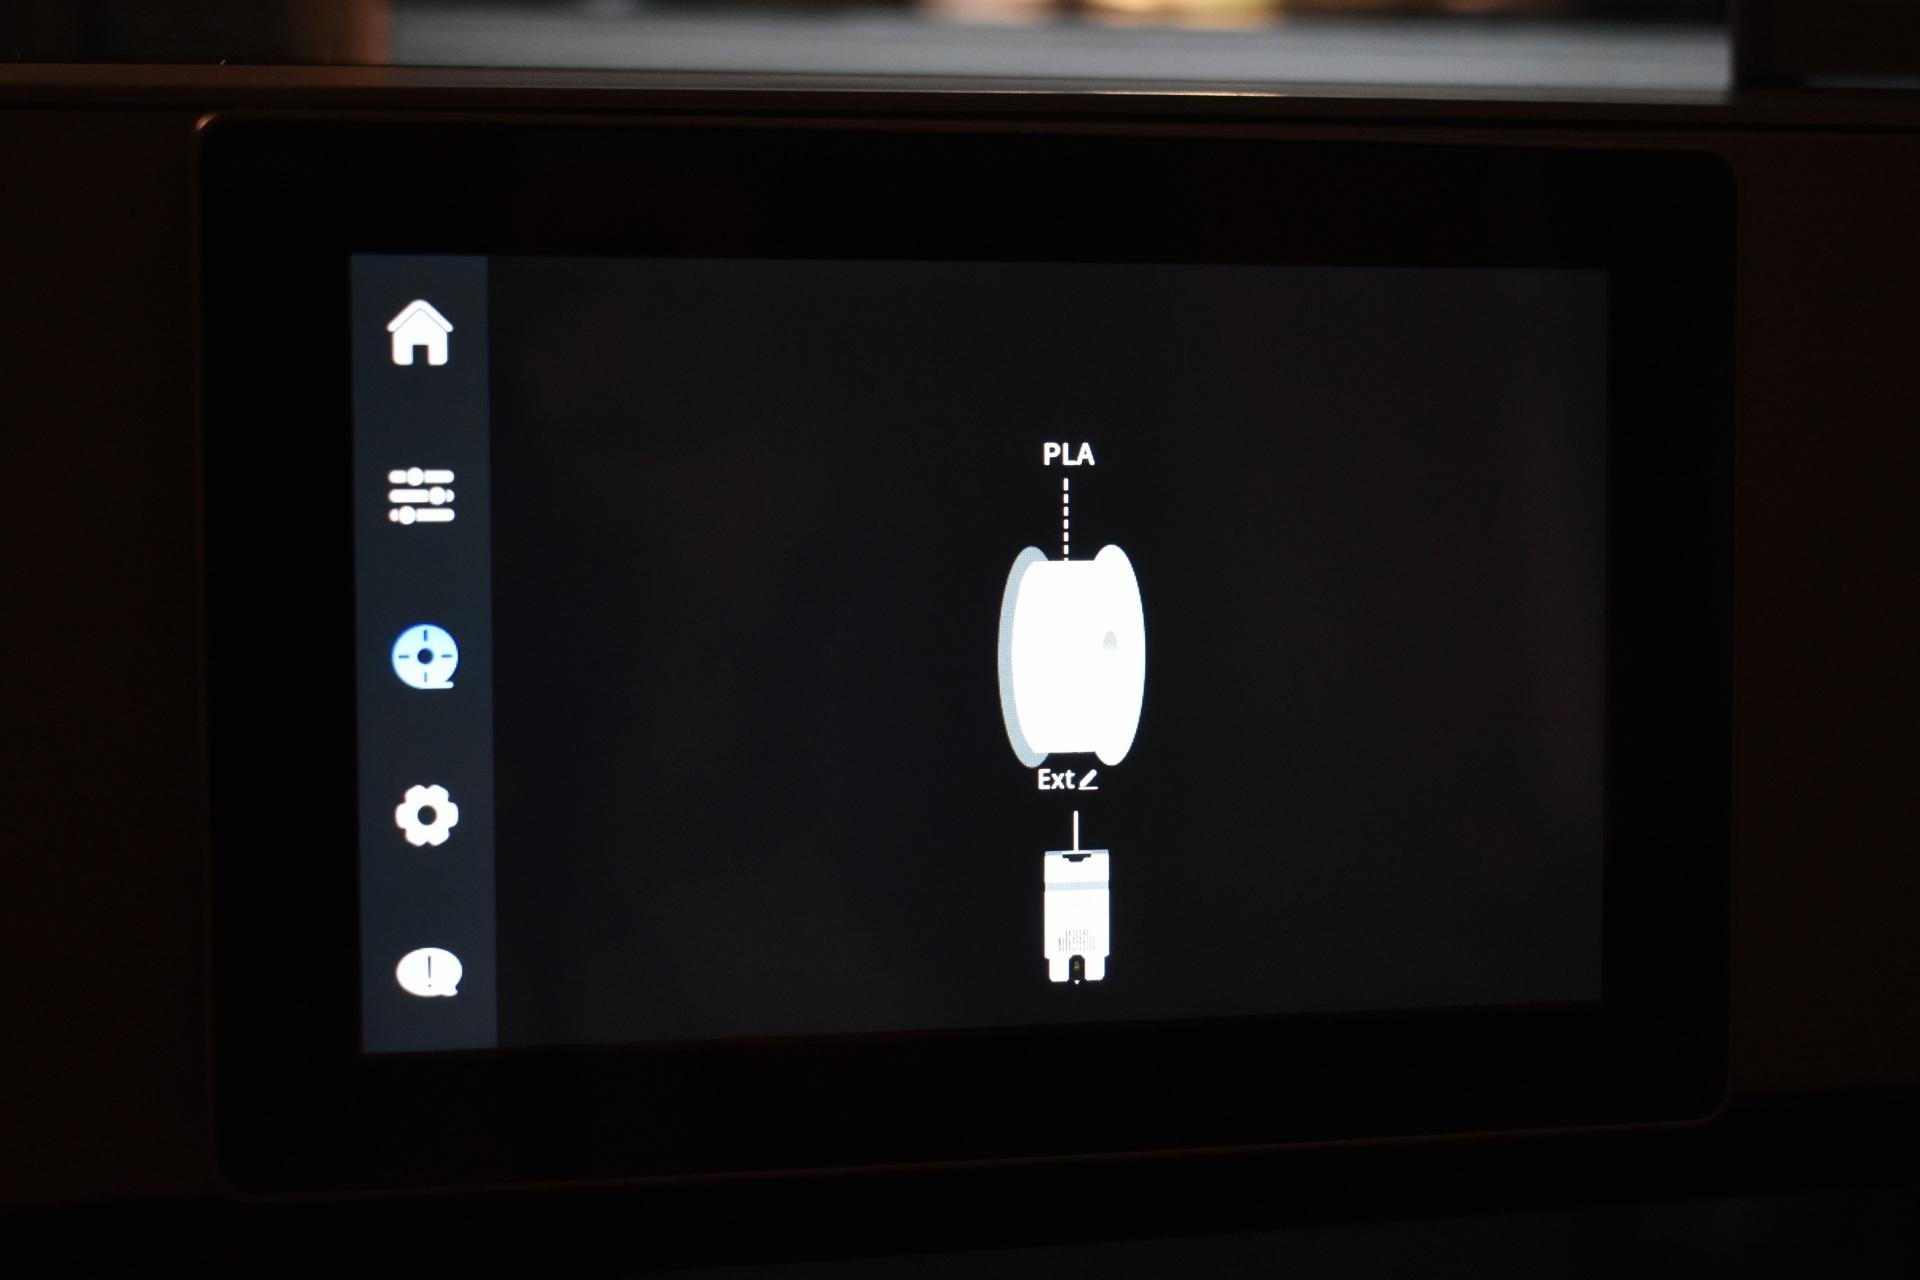
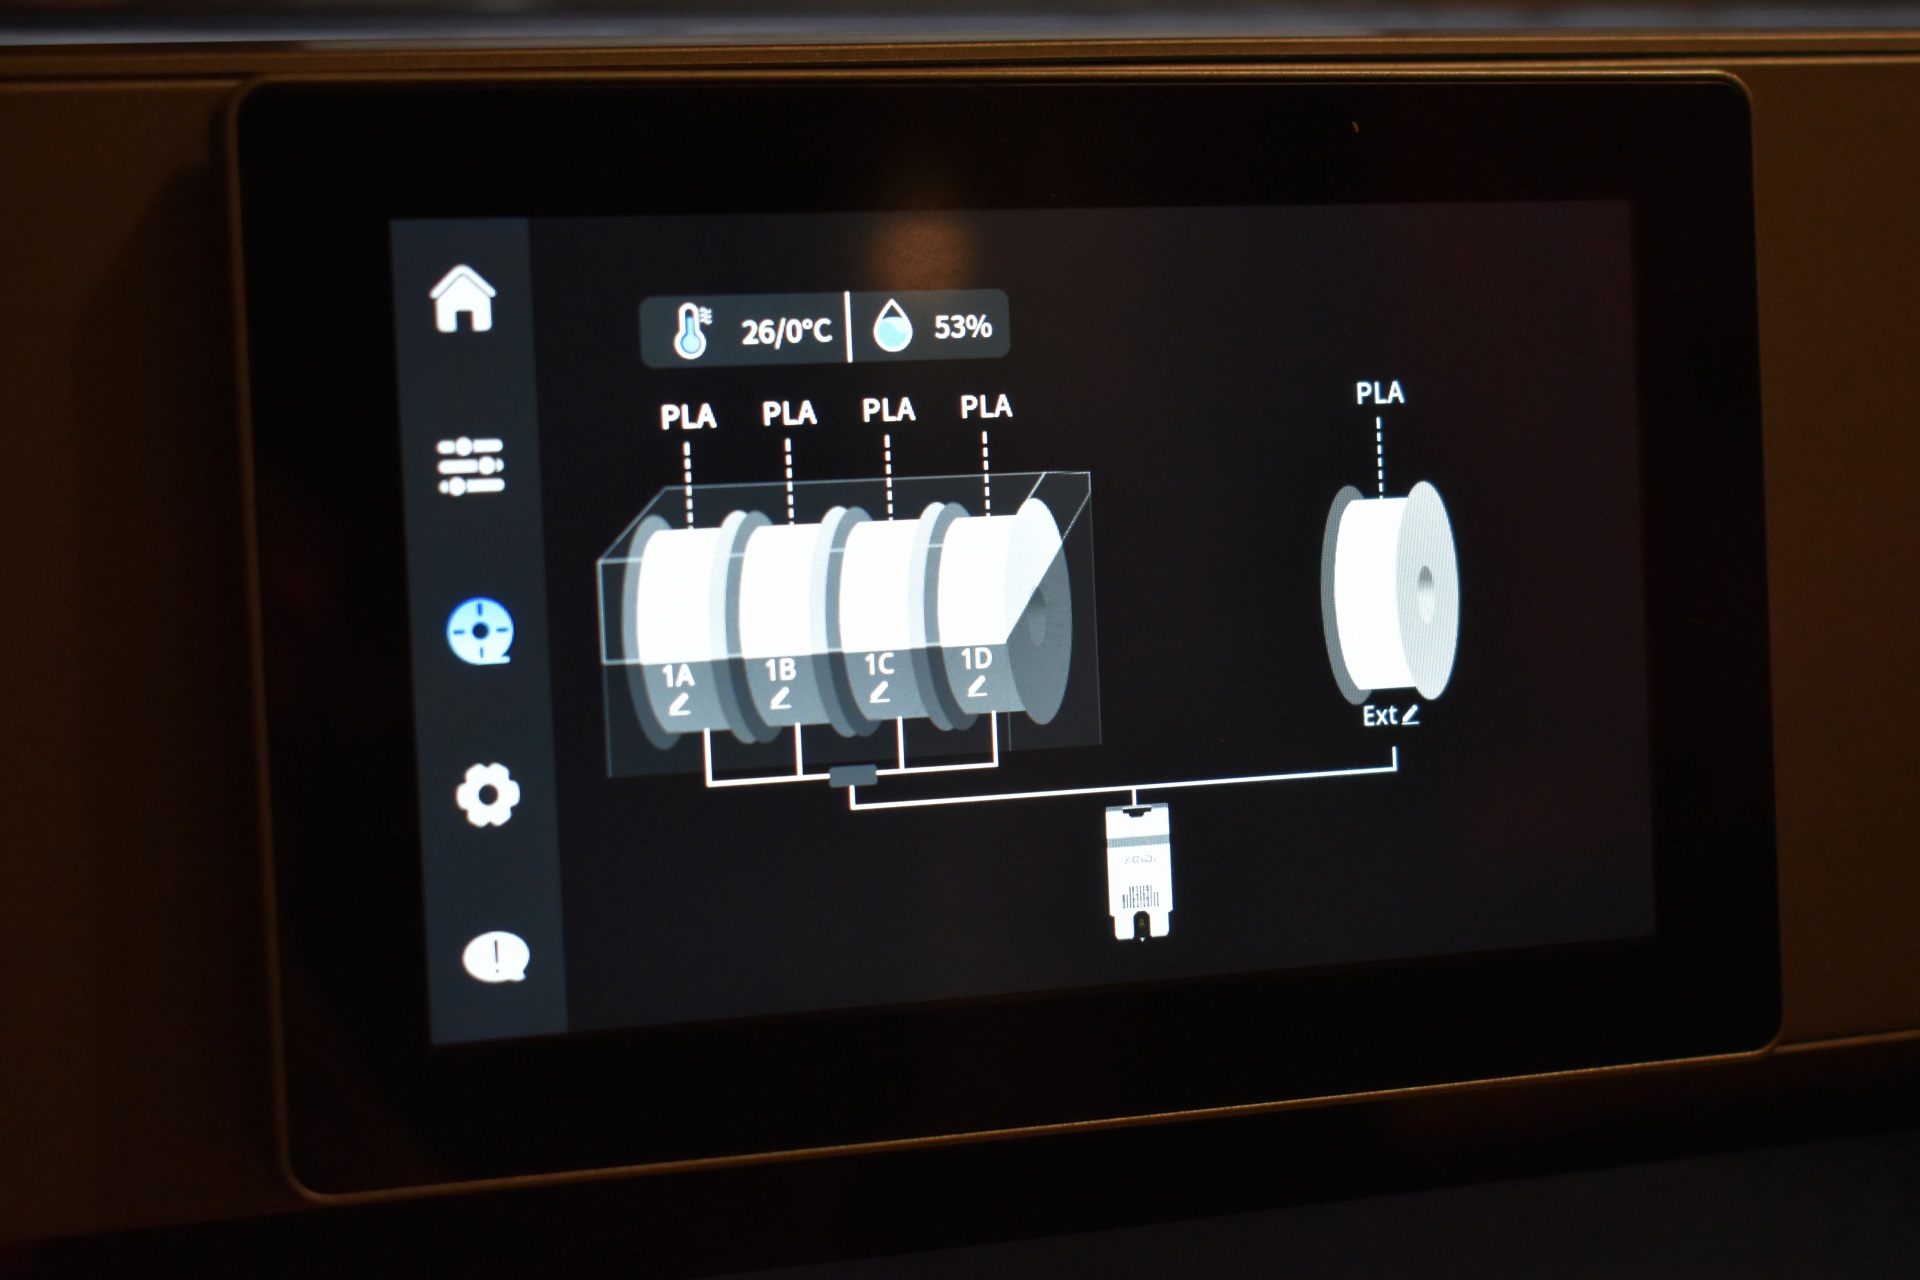
Inside the filament tab you can see the type of filament mounted.


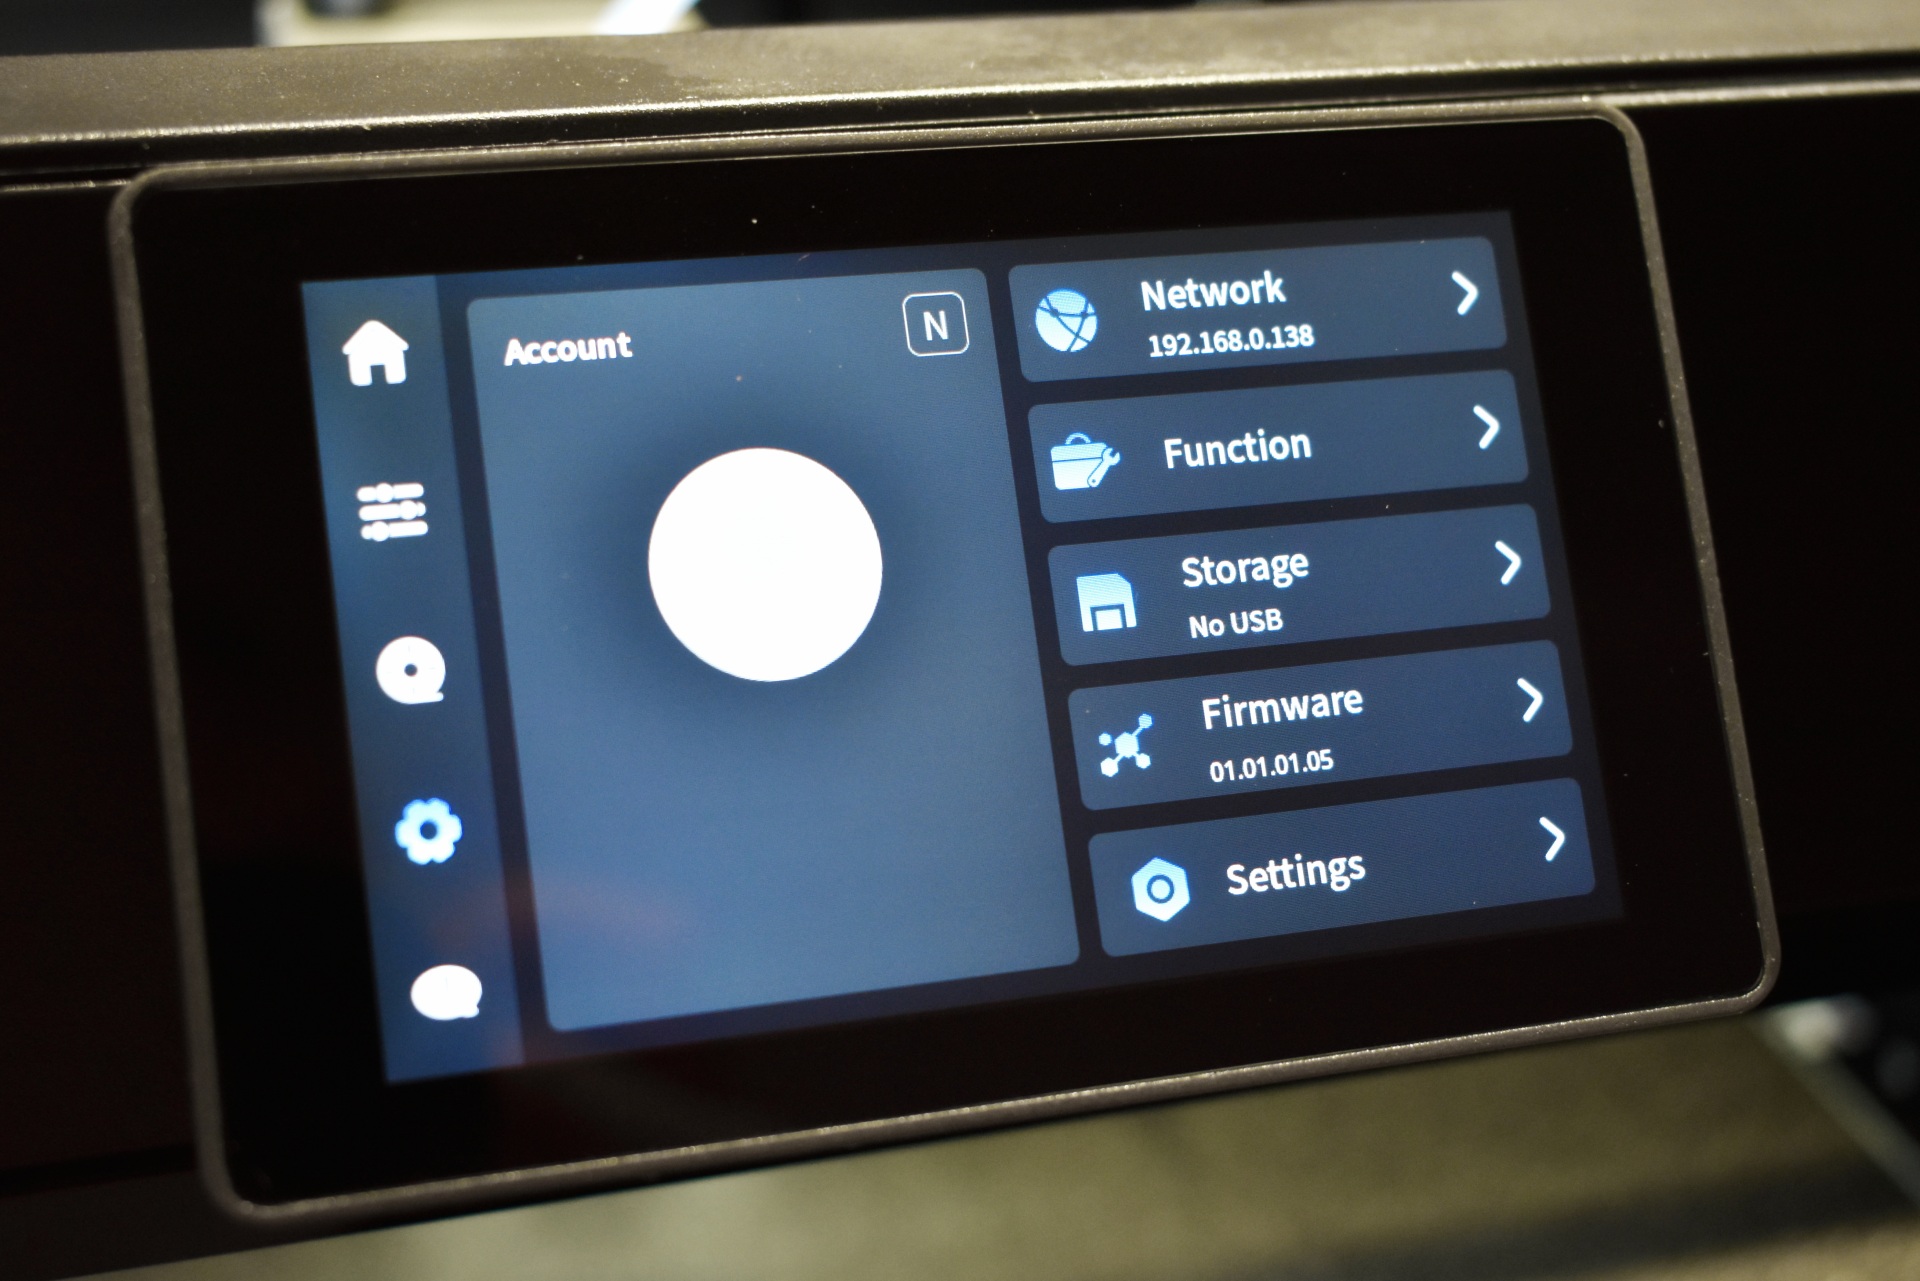
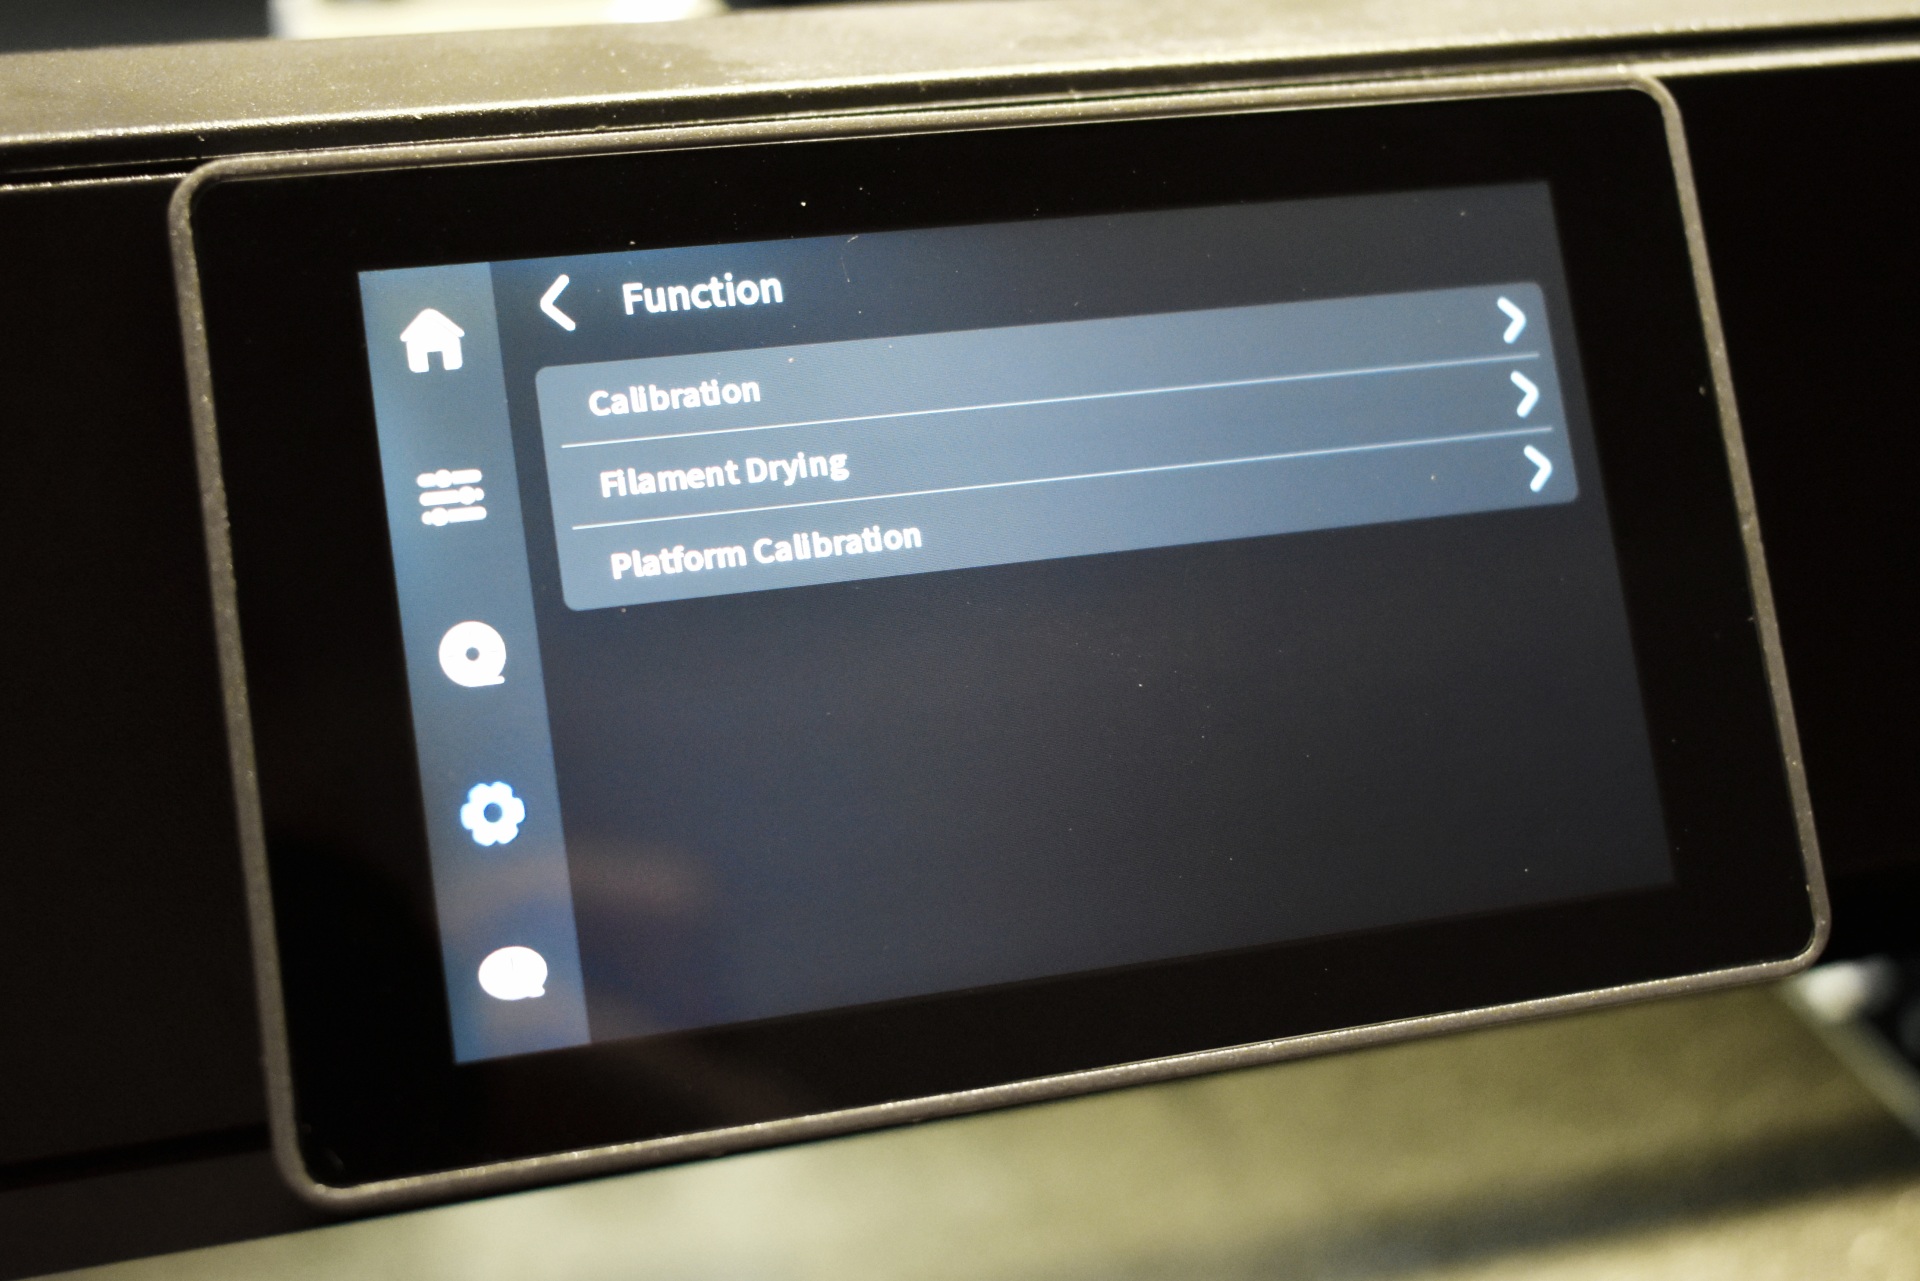
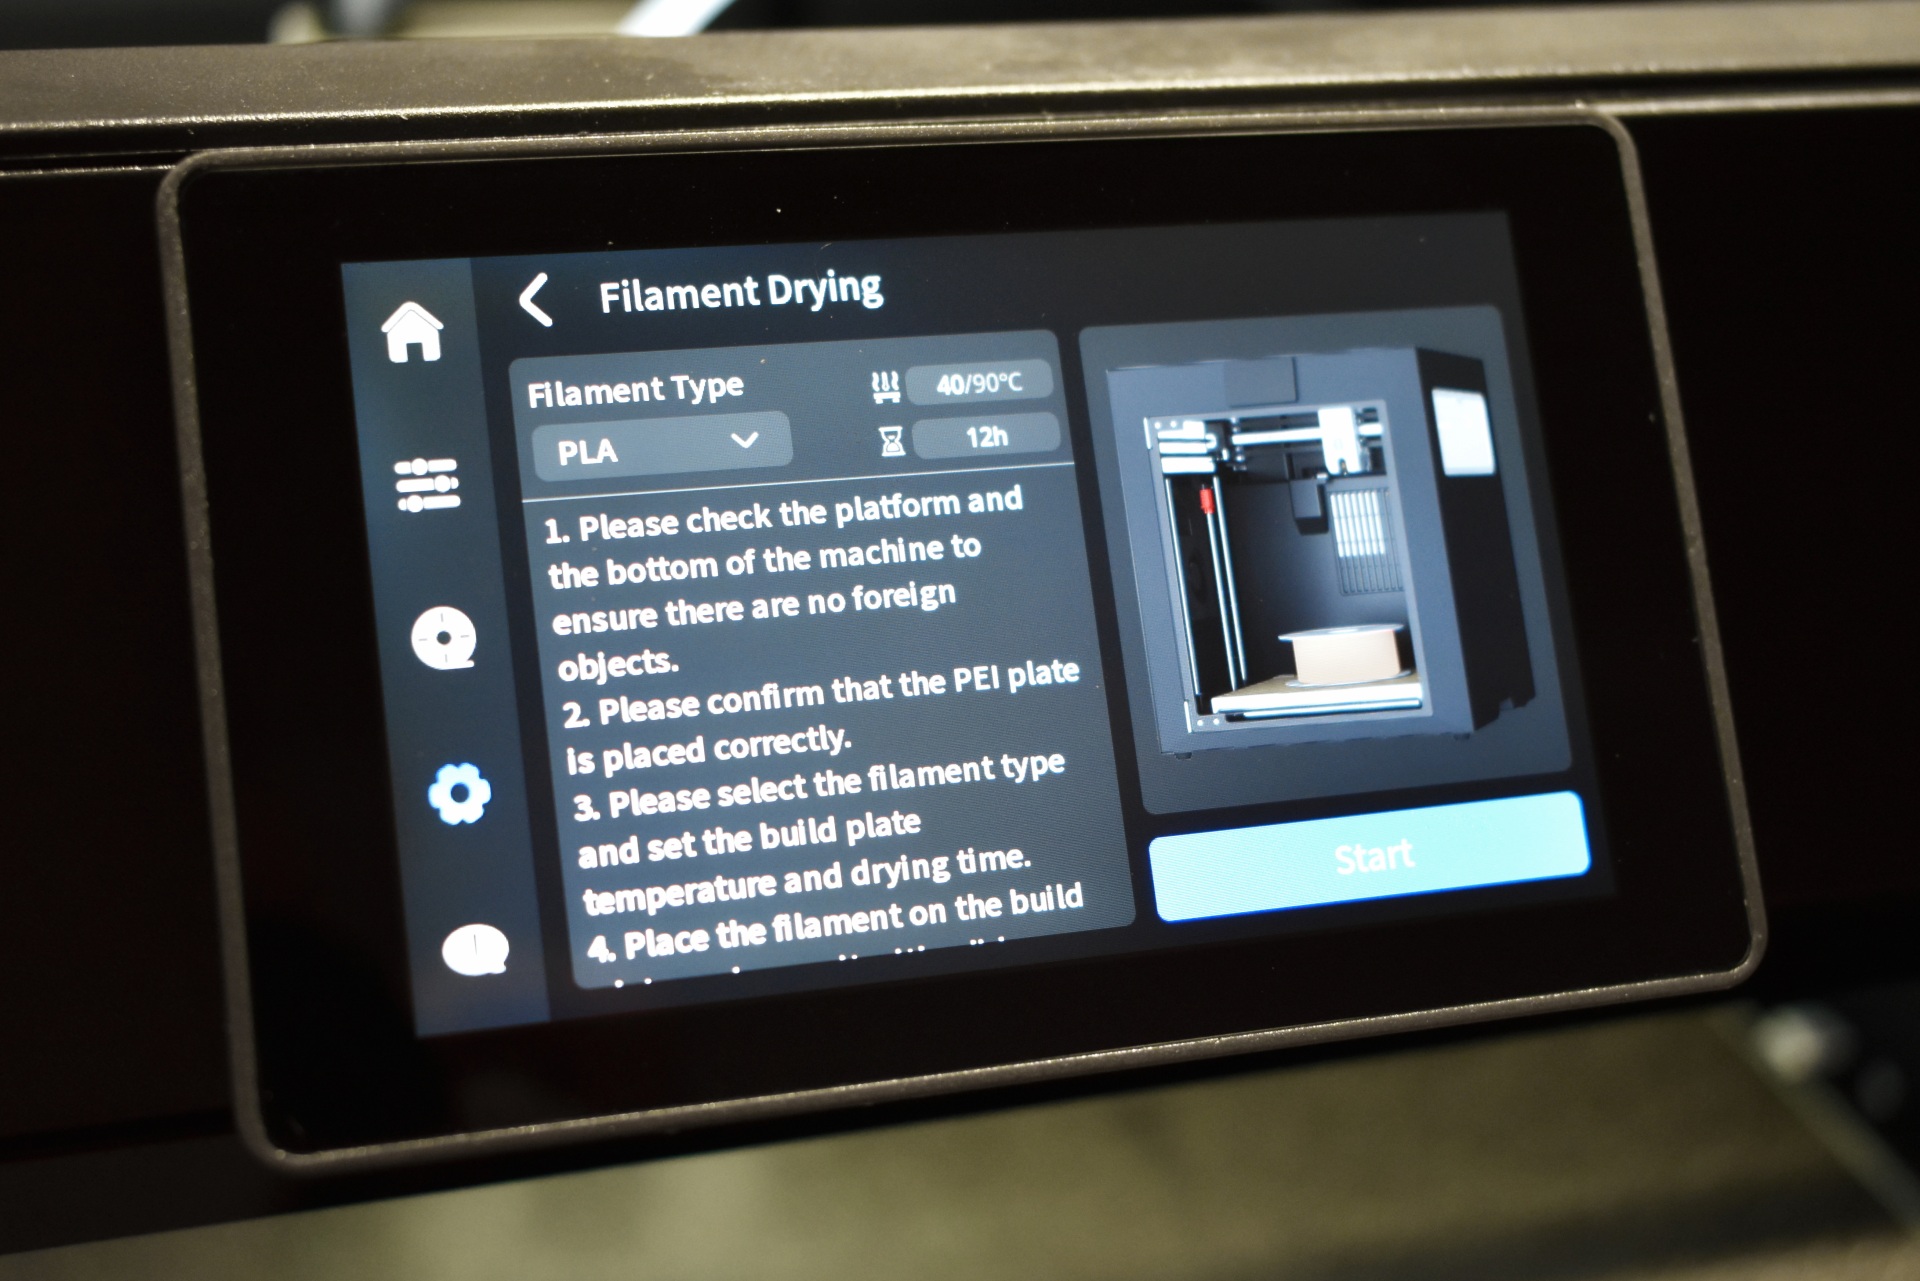
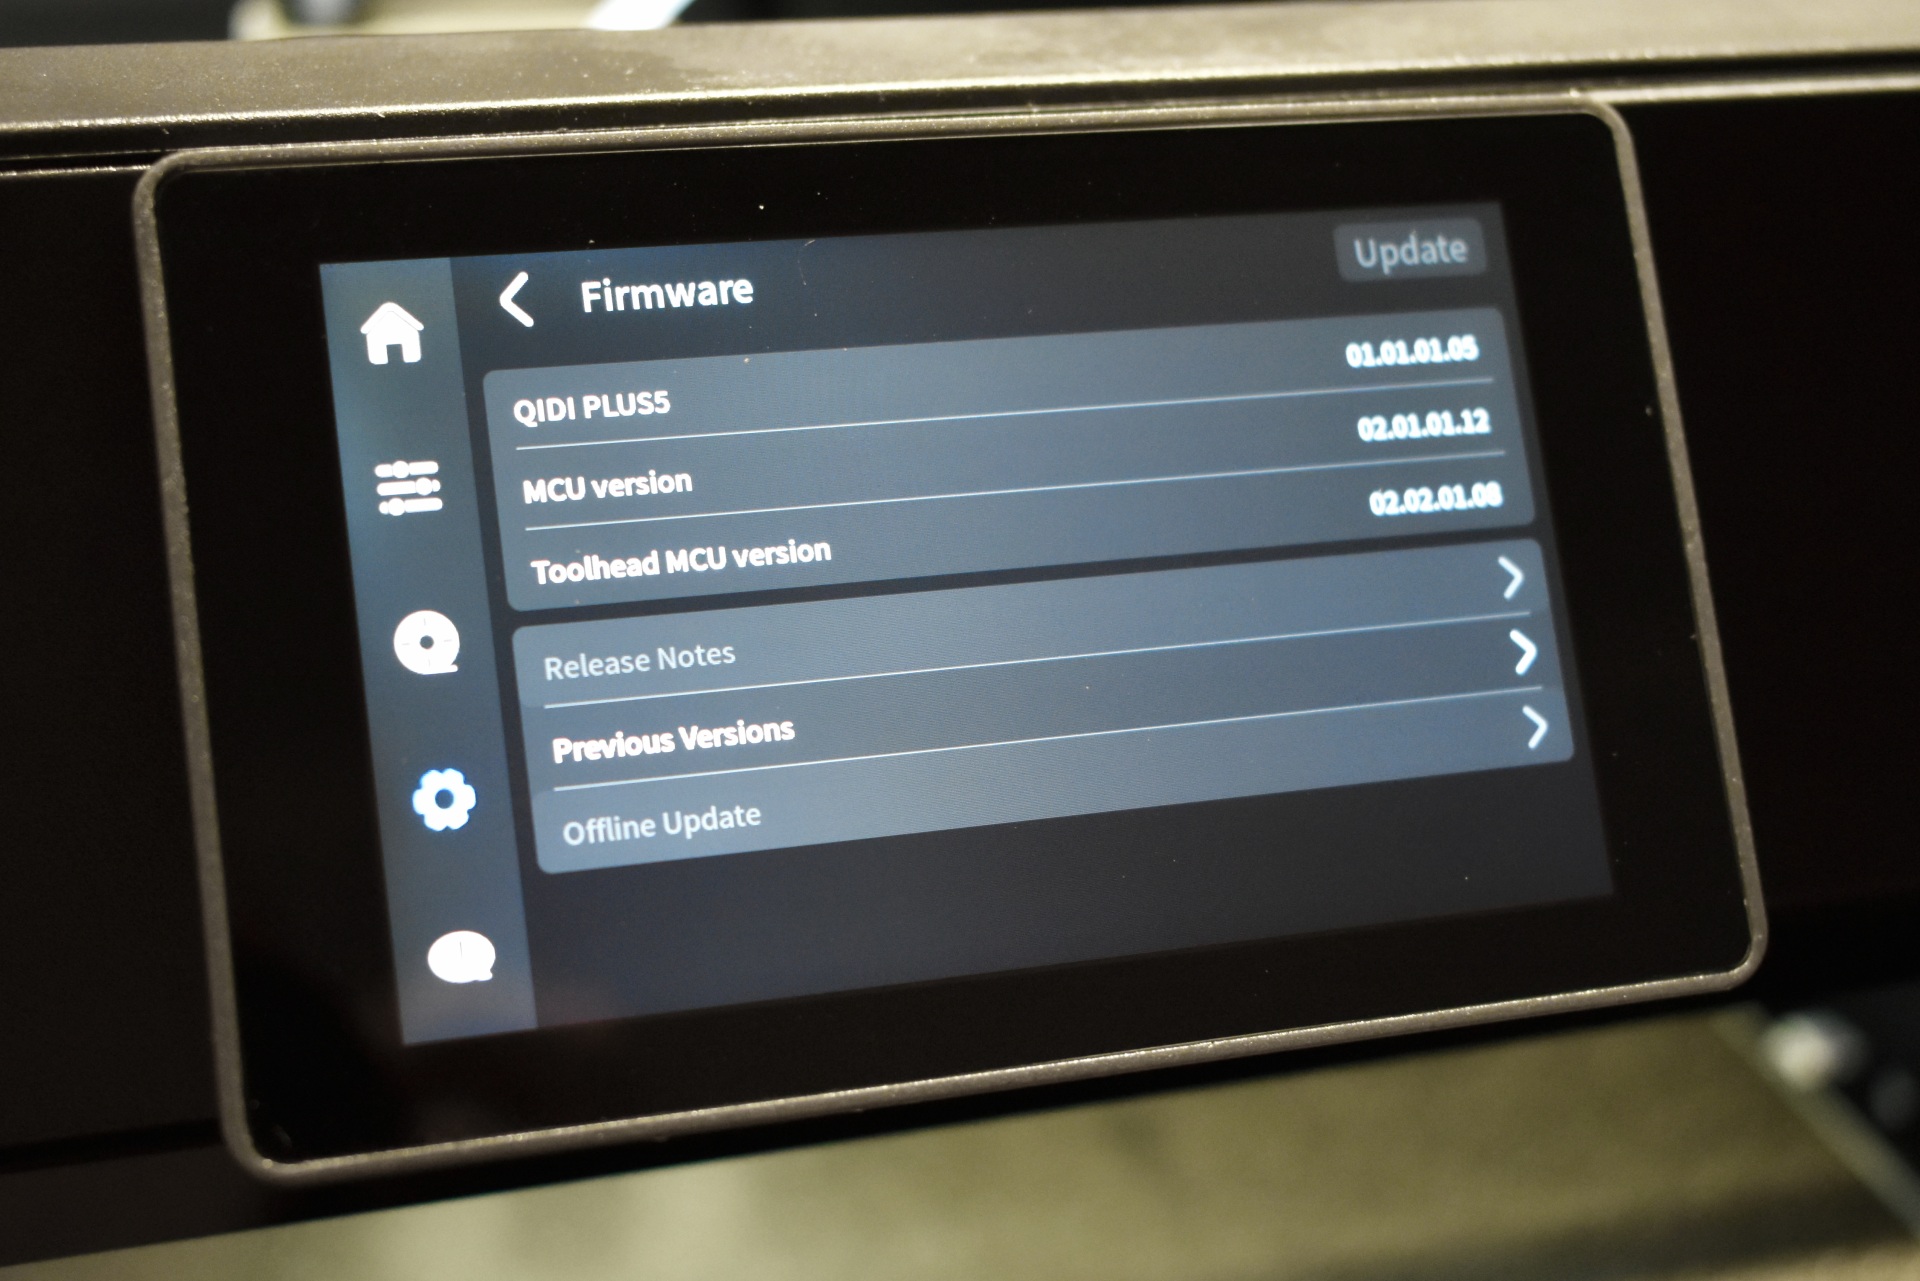
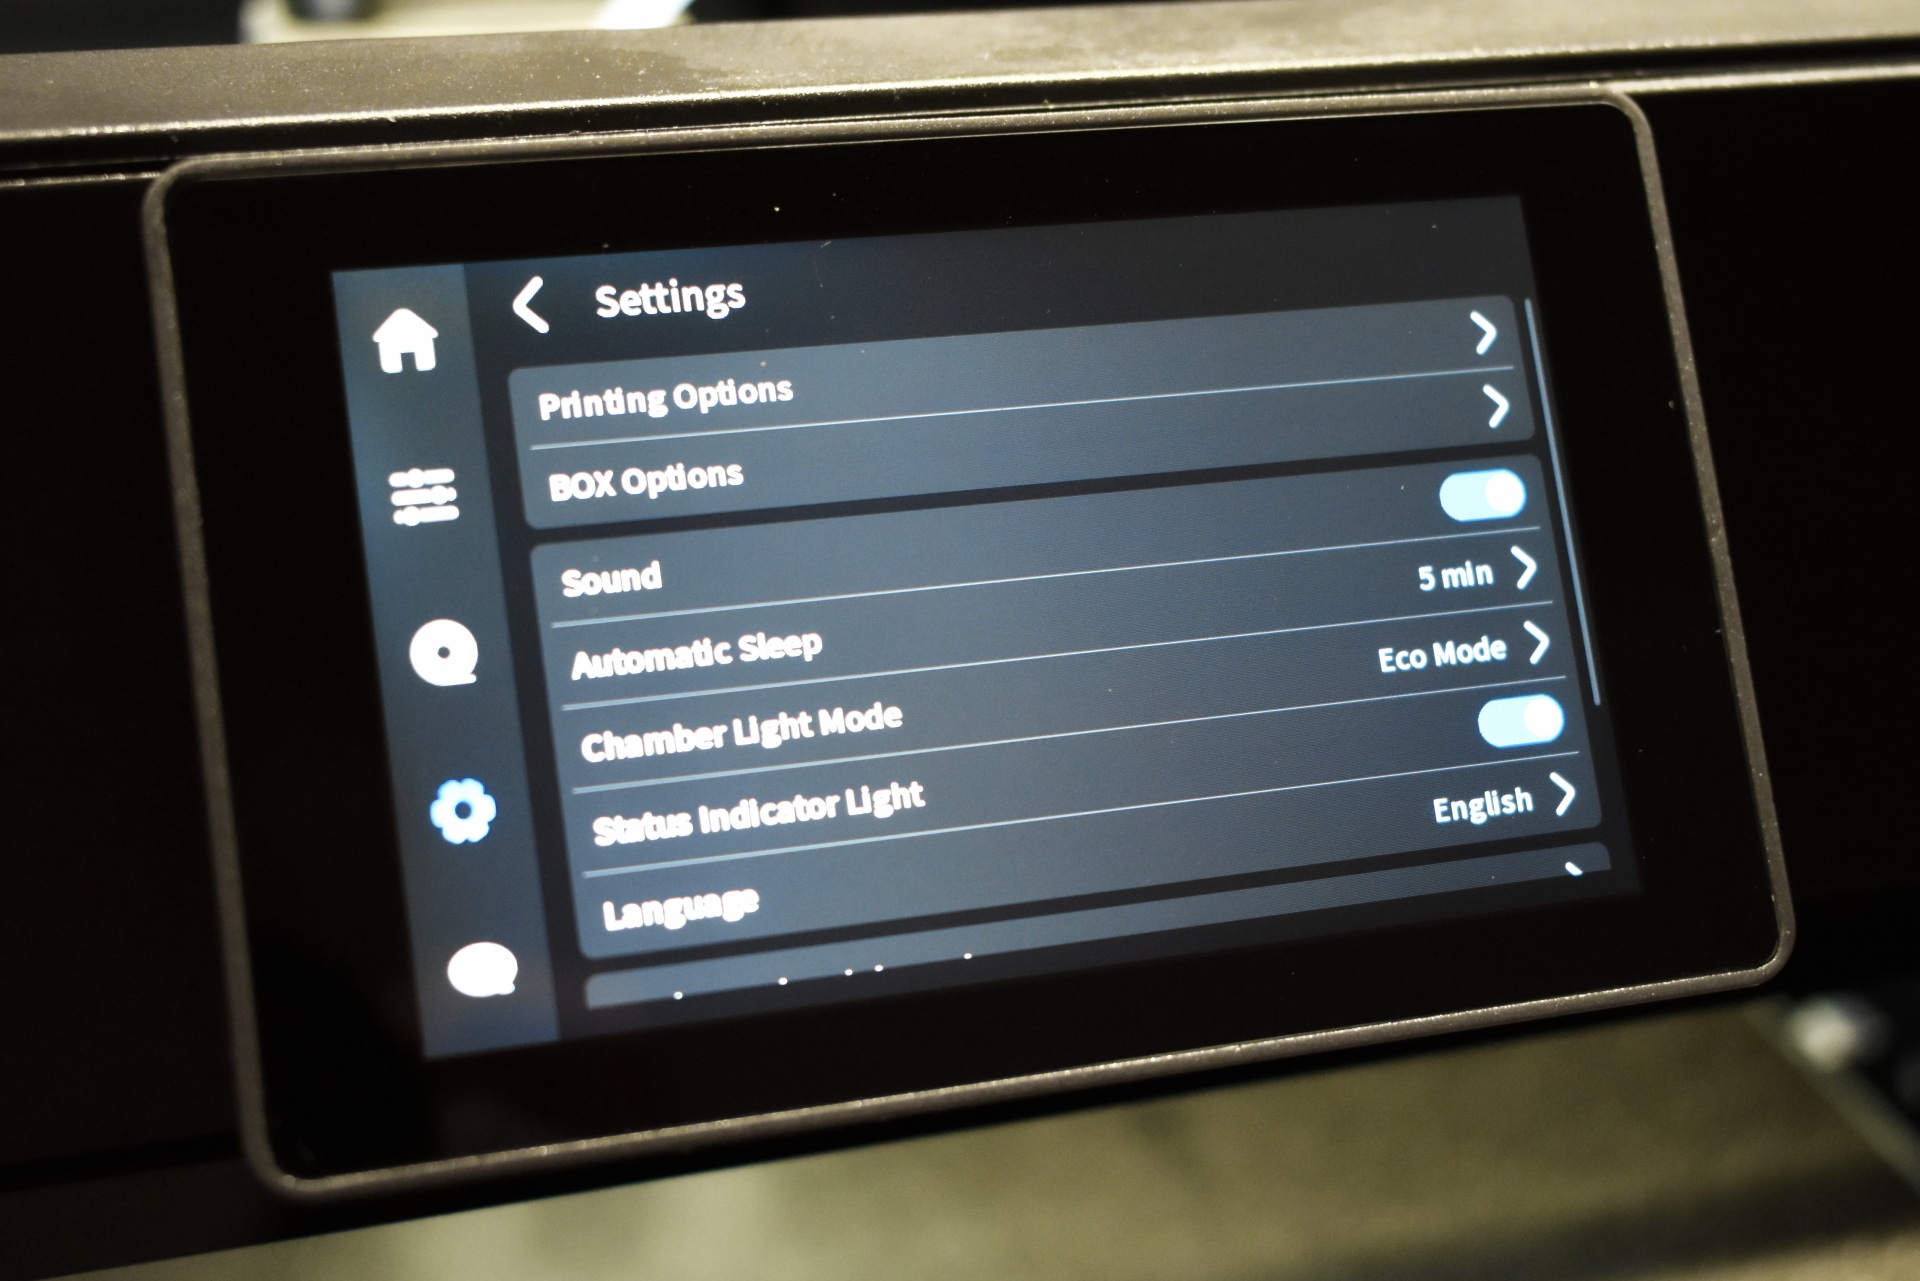
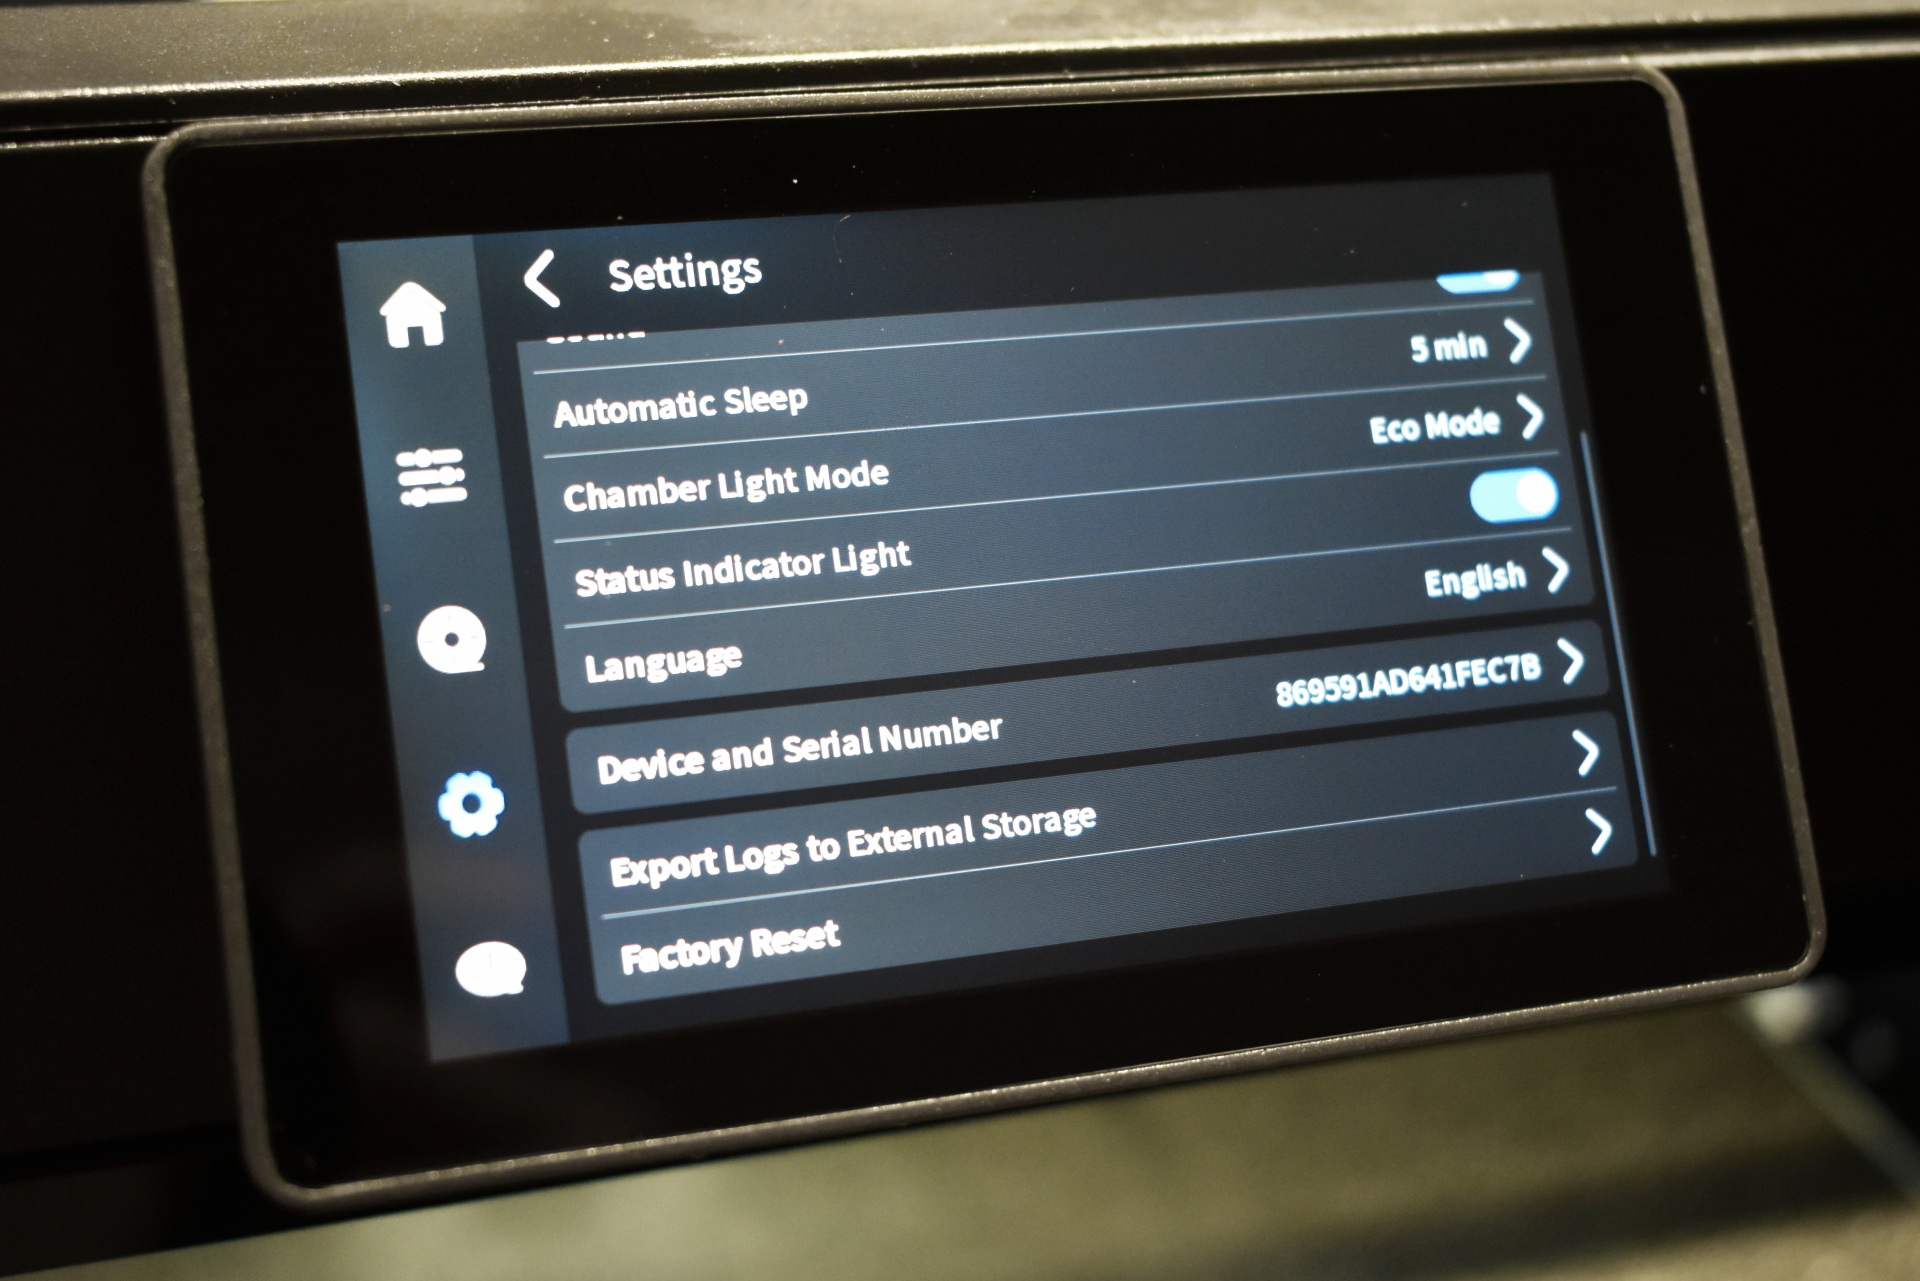
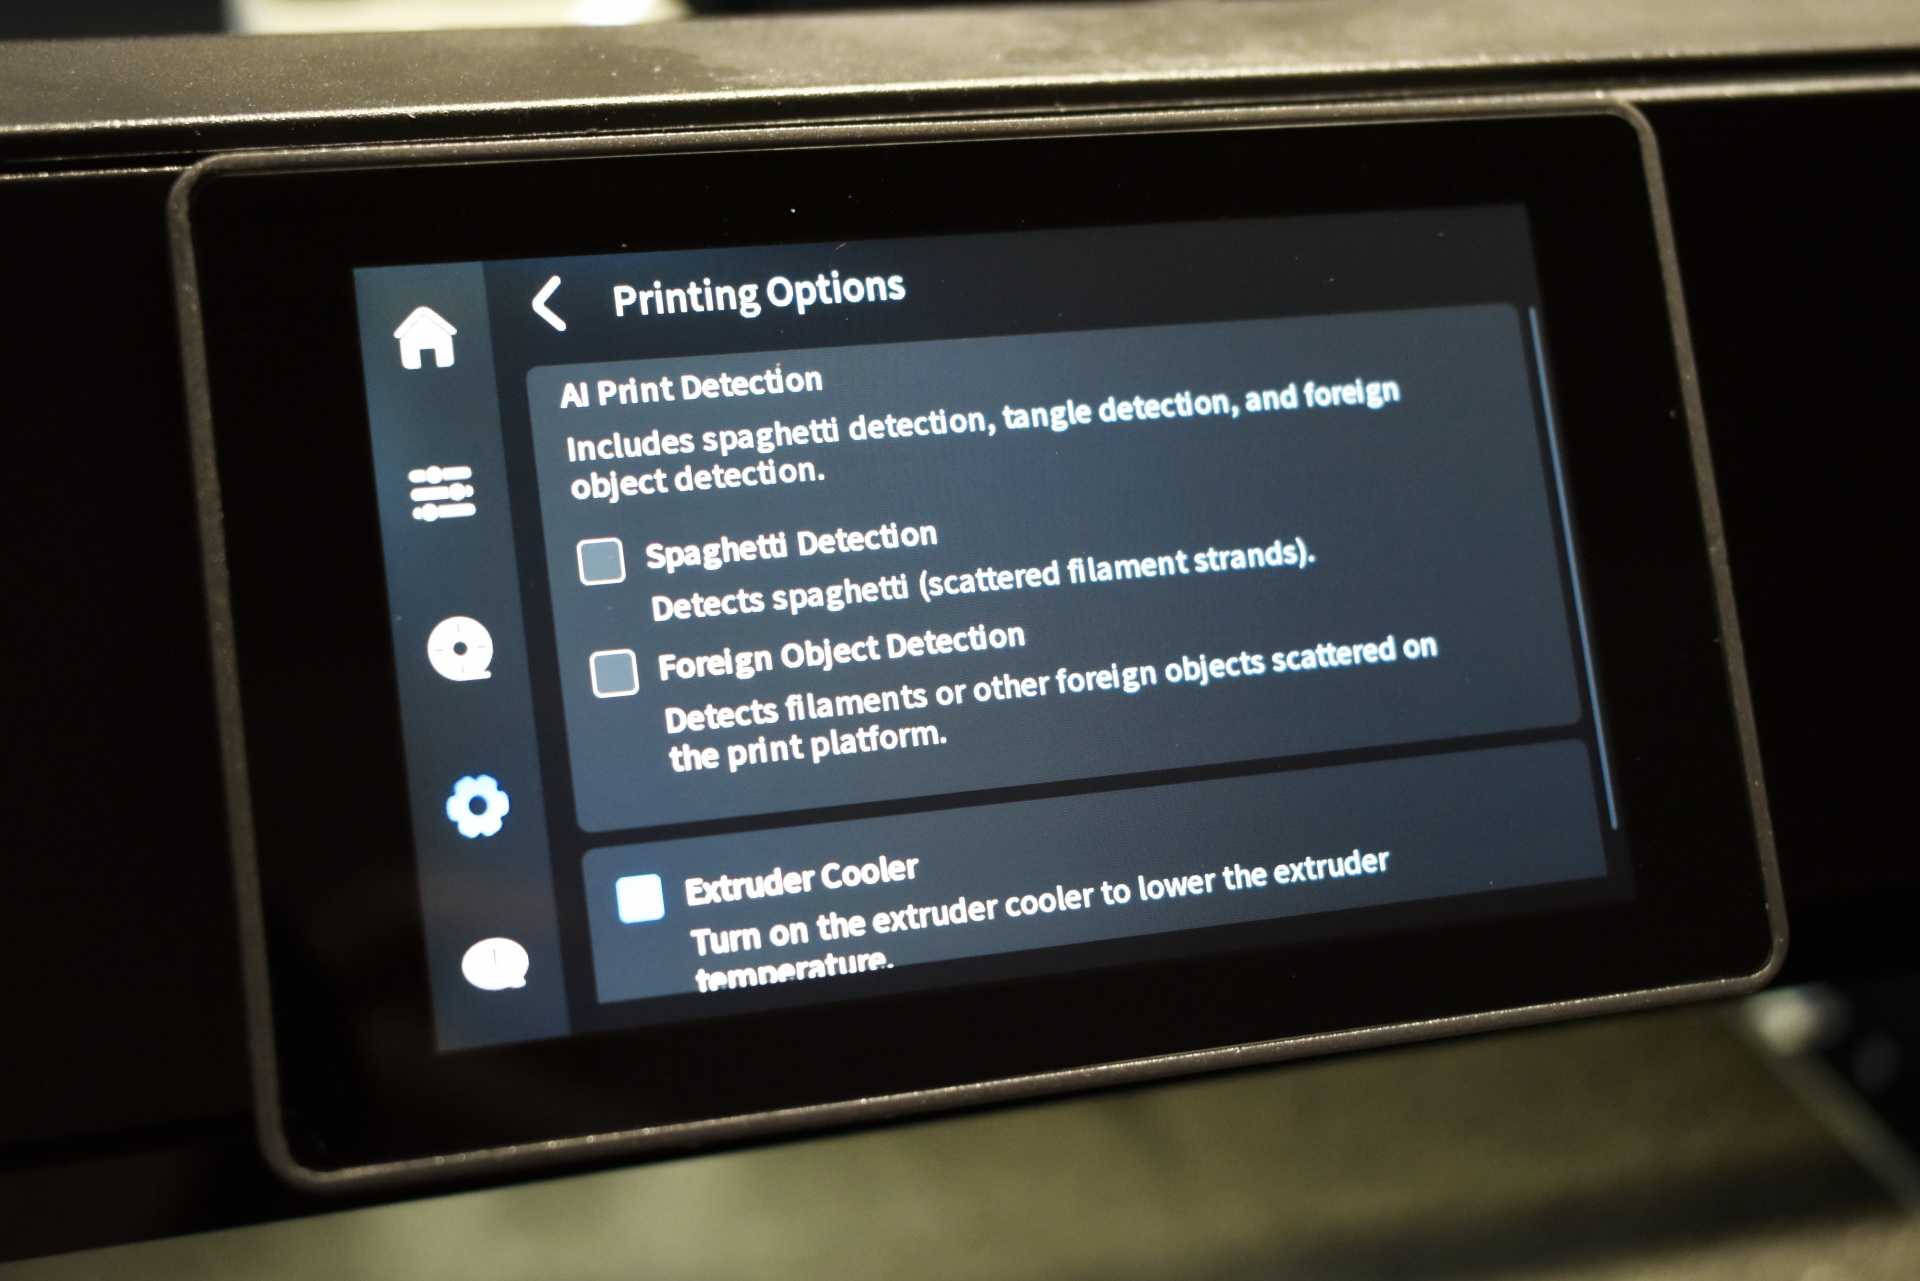
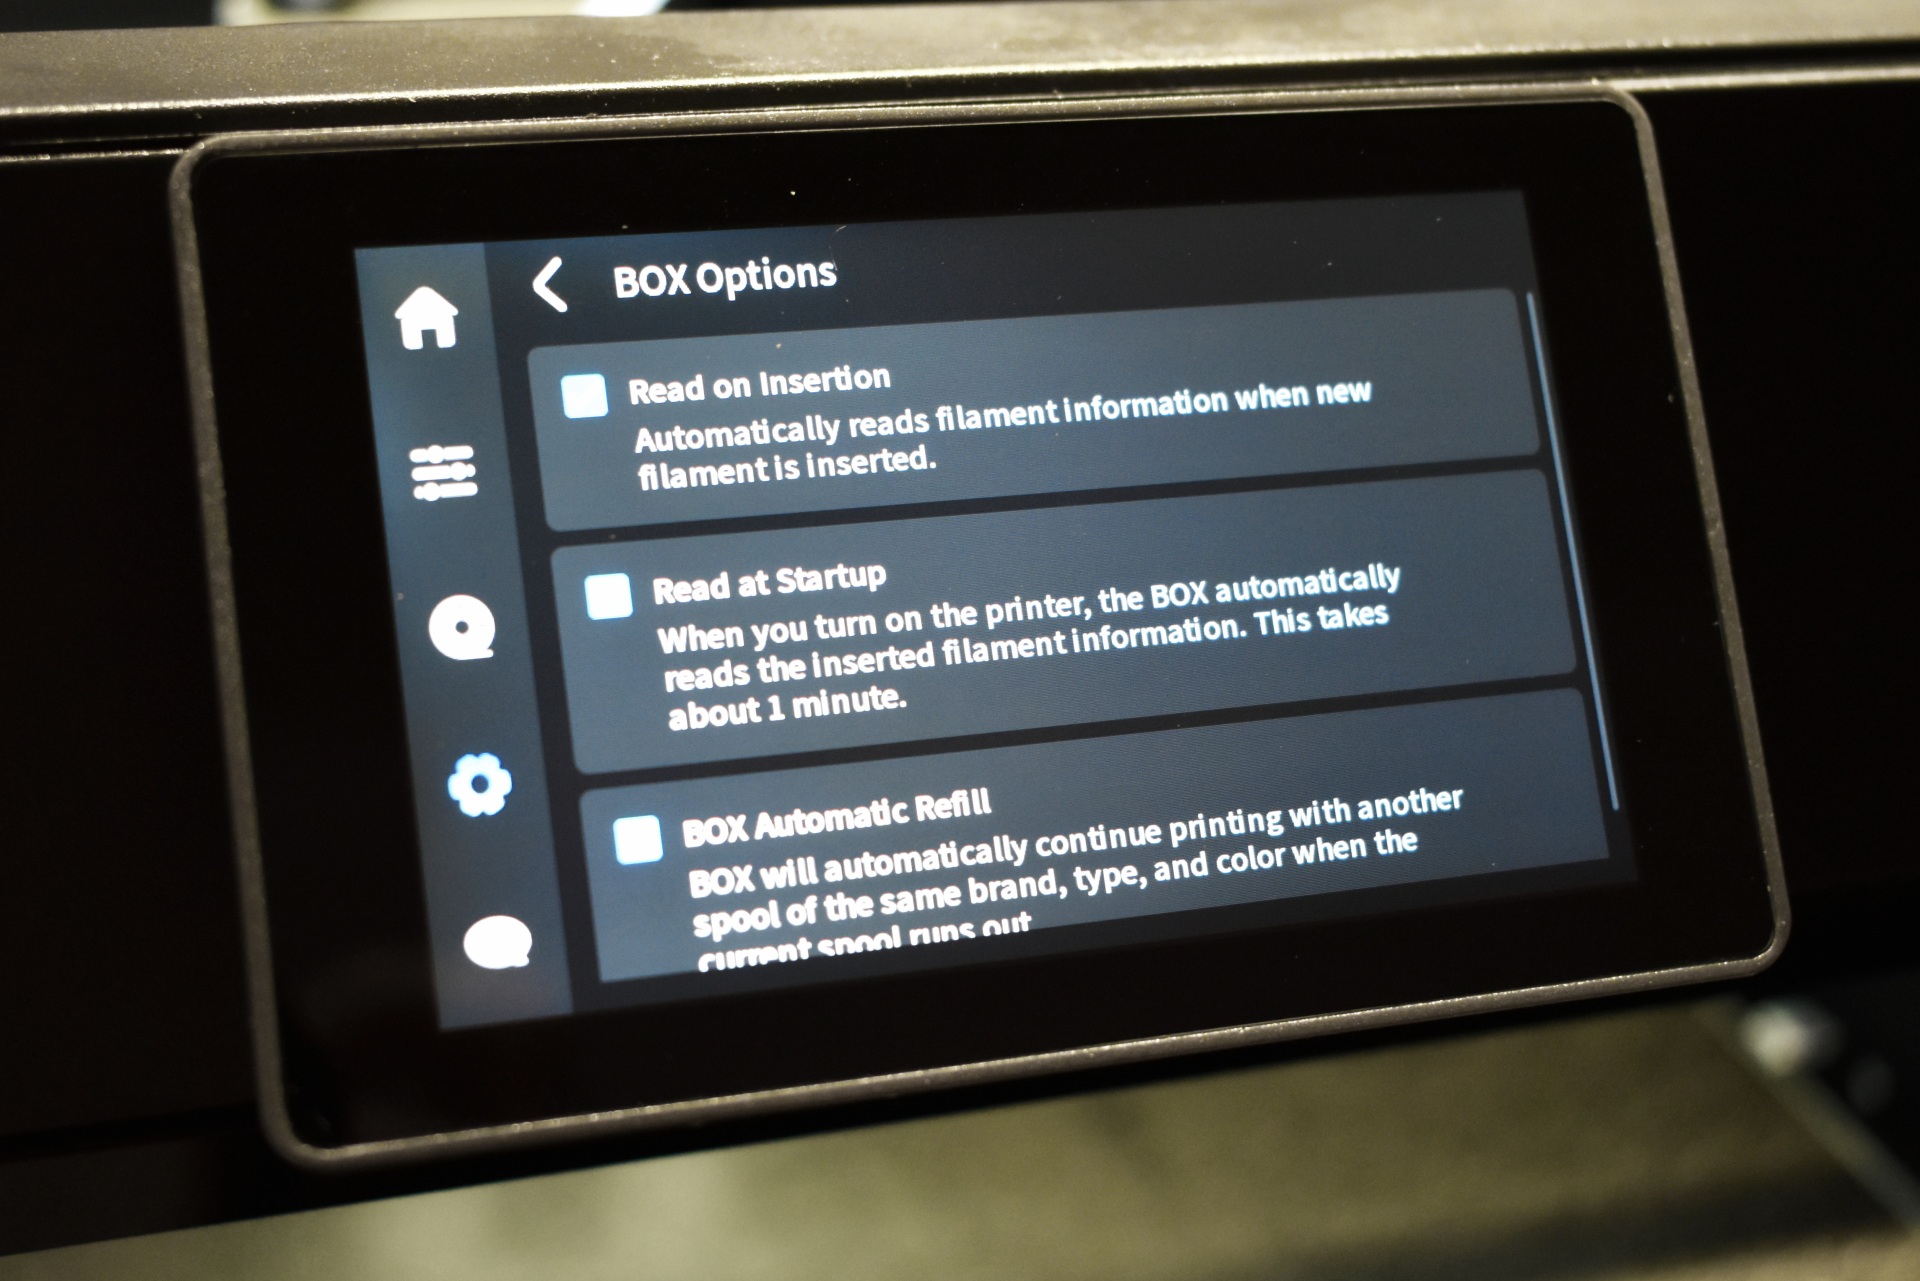
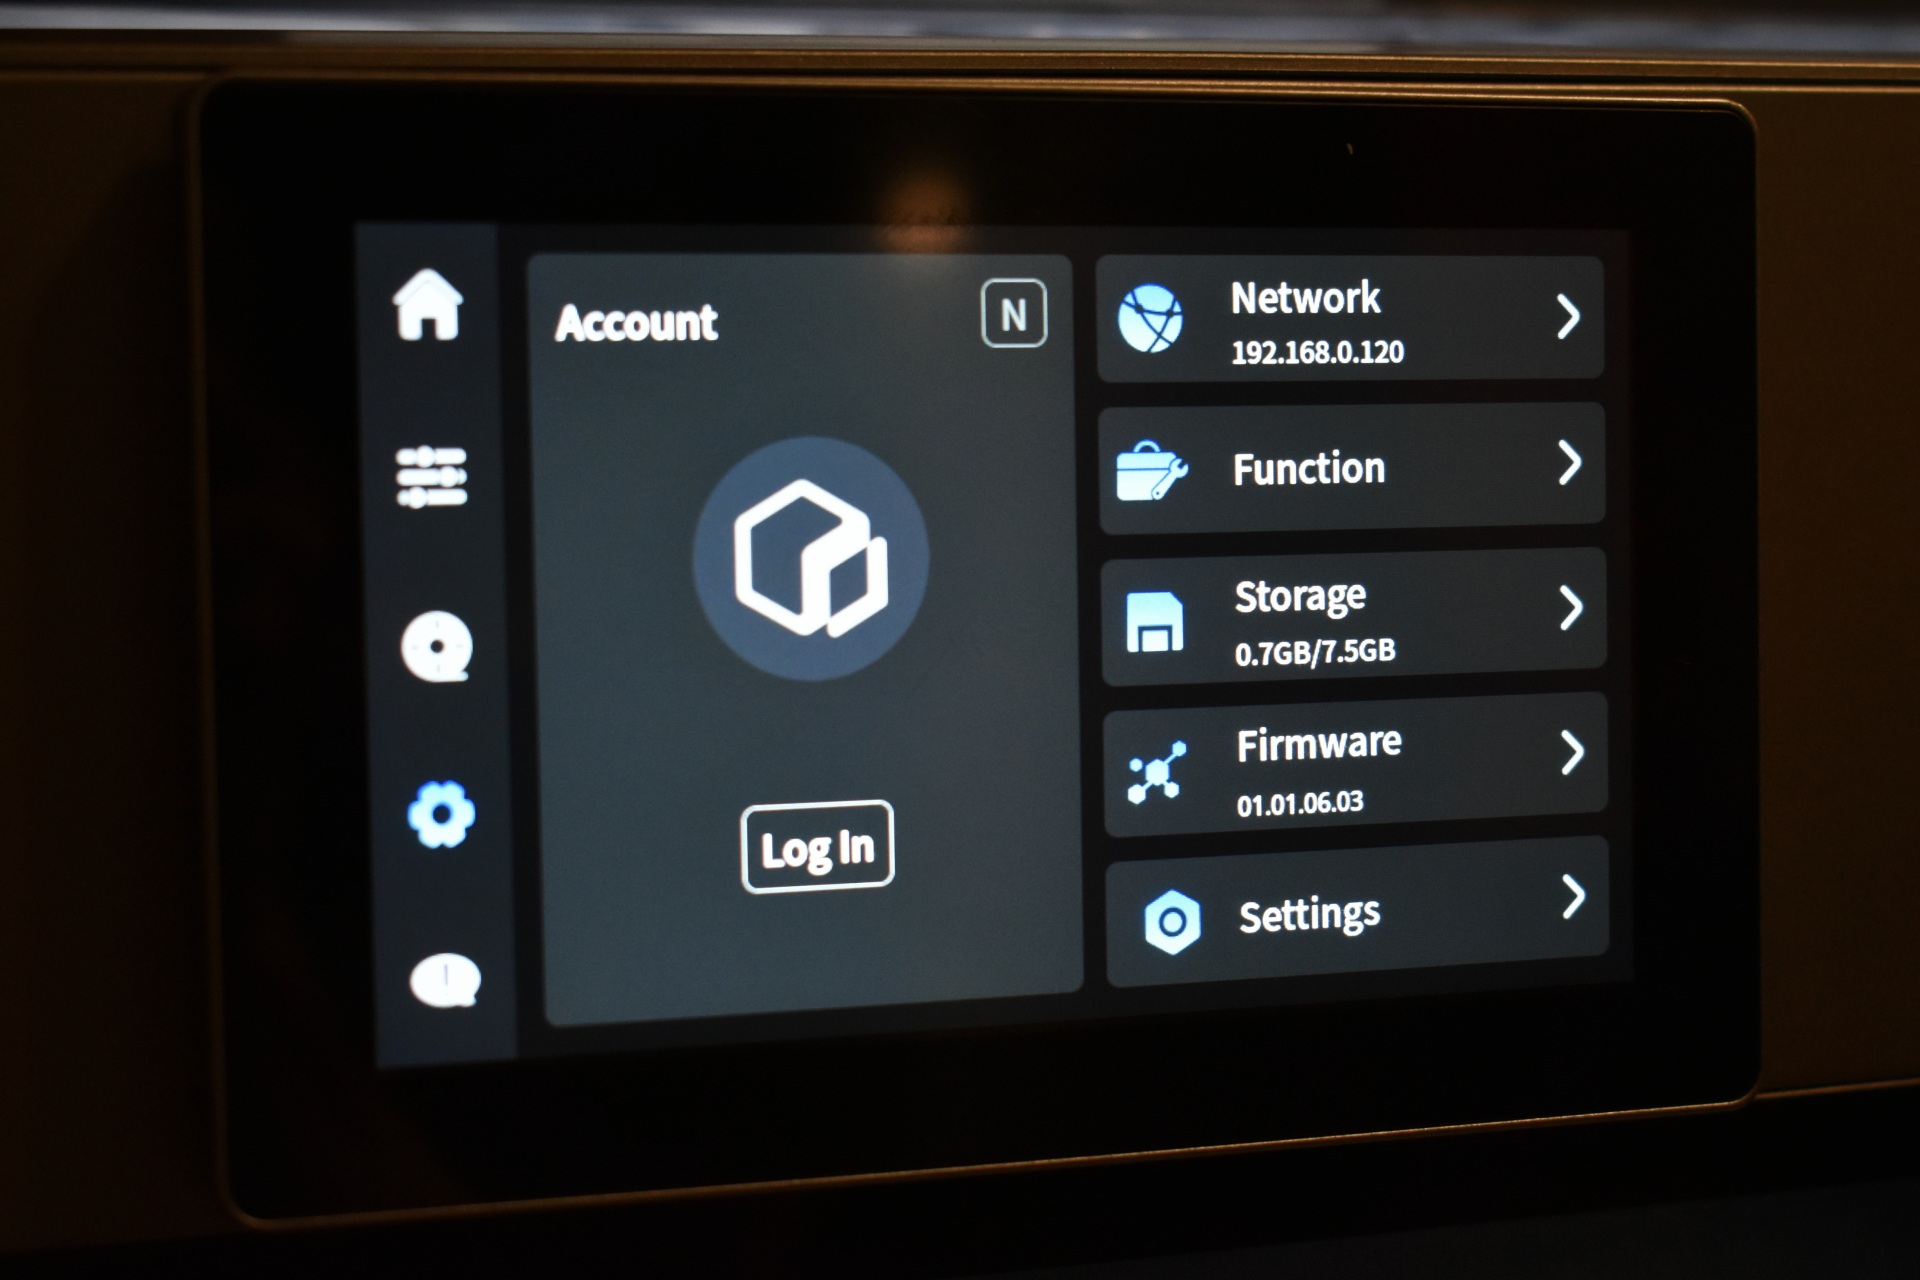
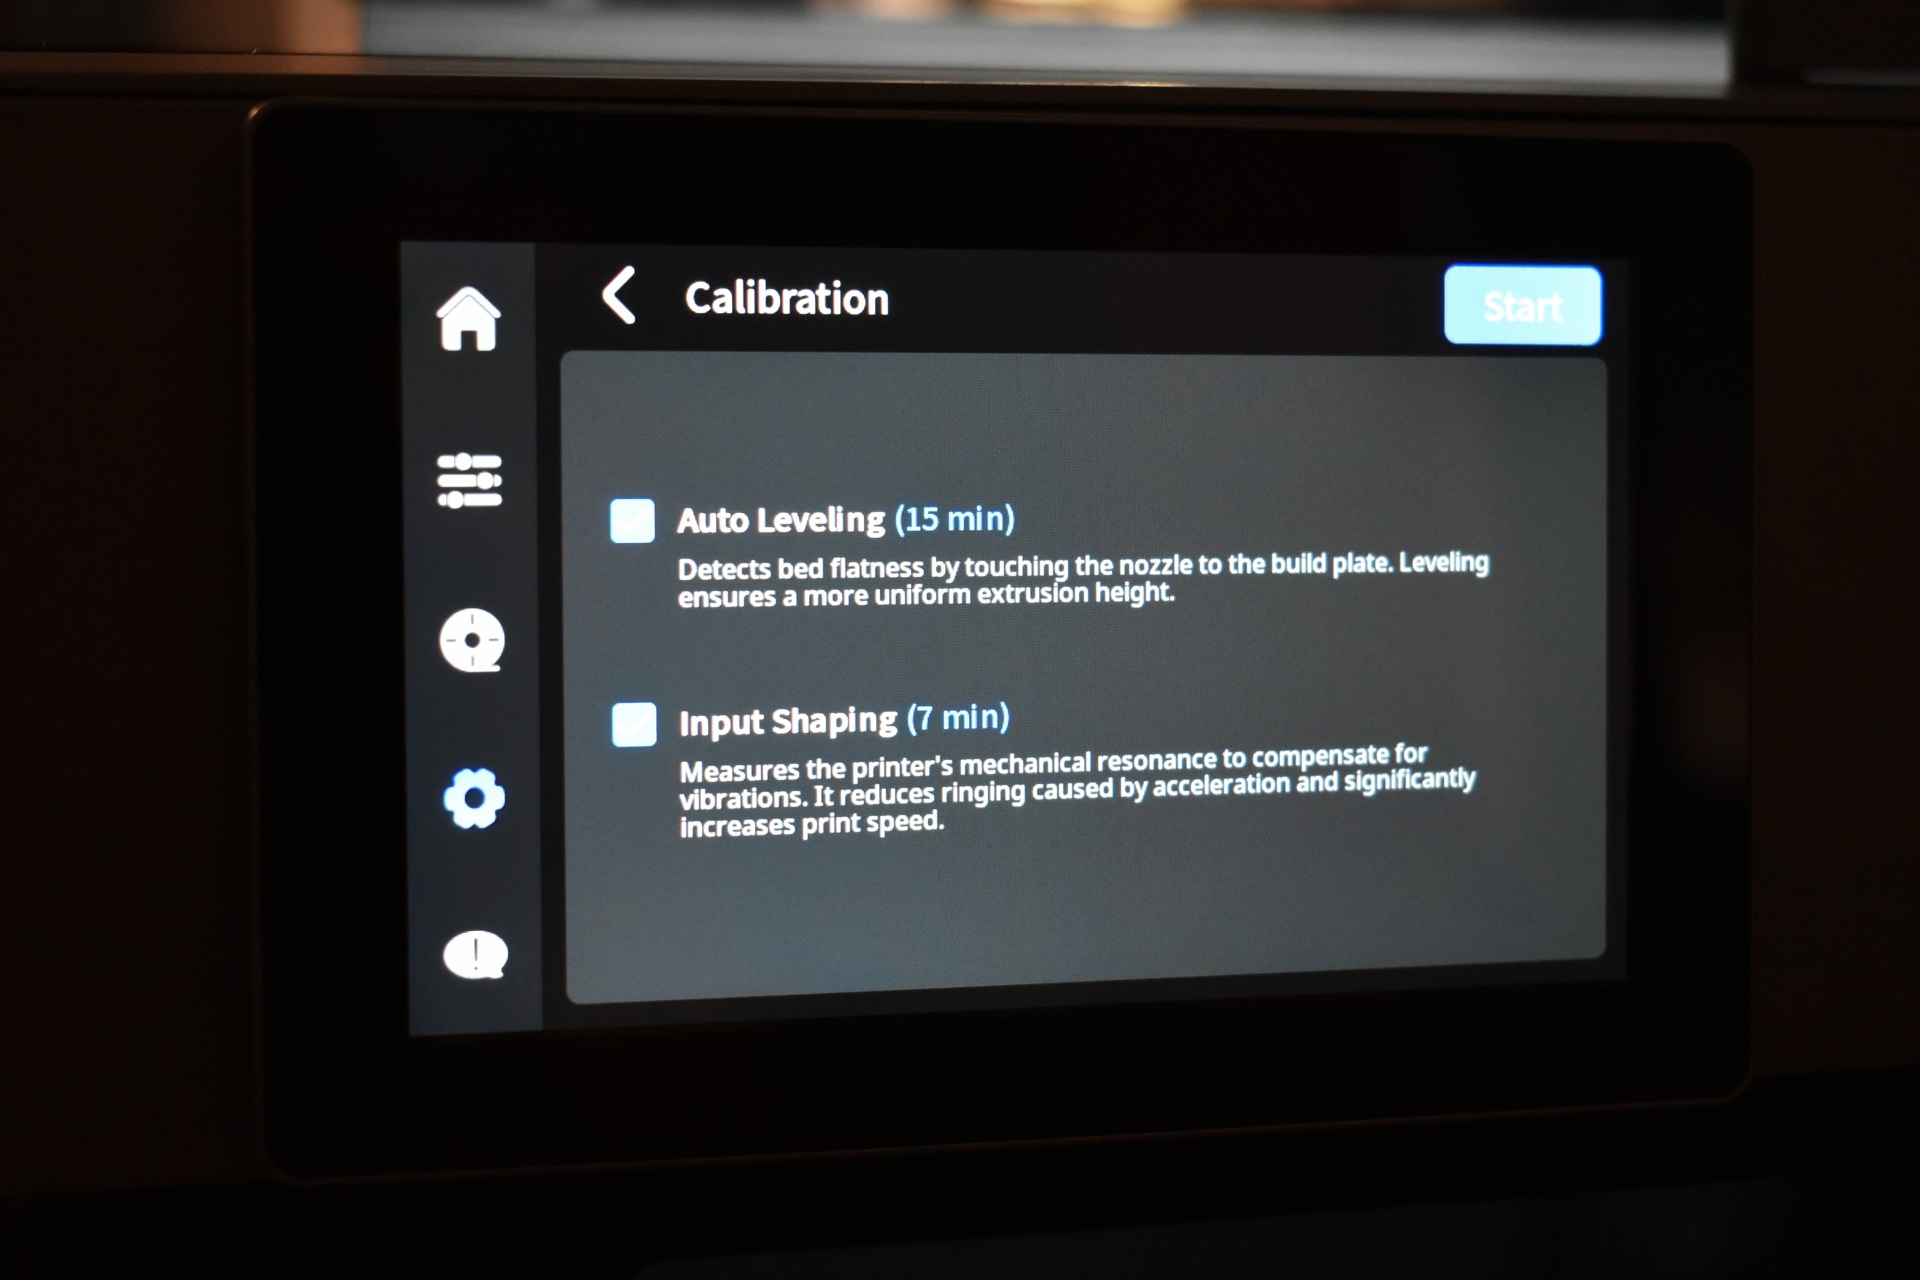
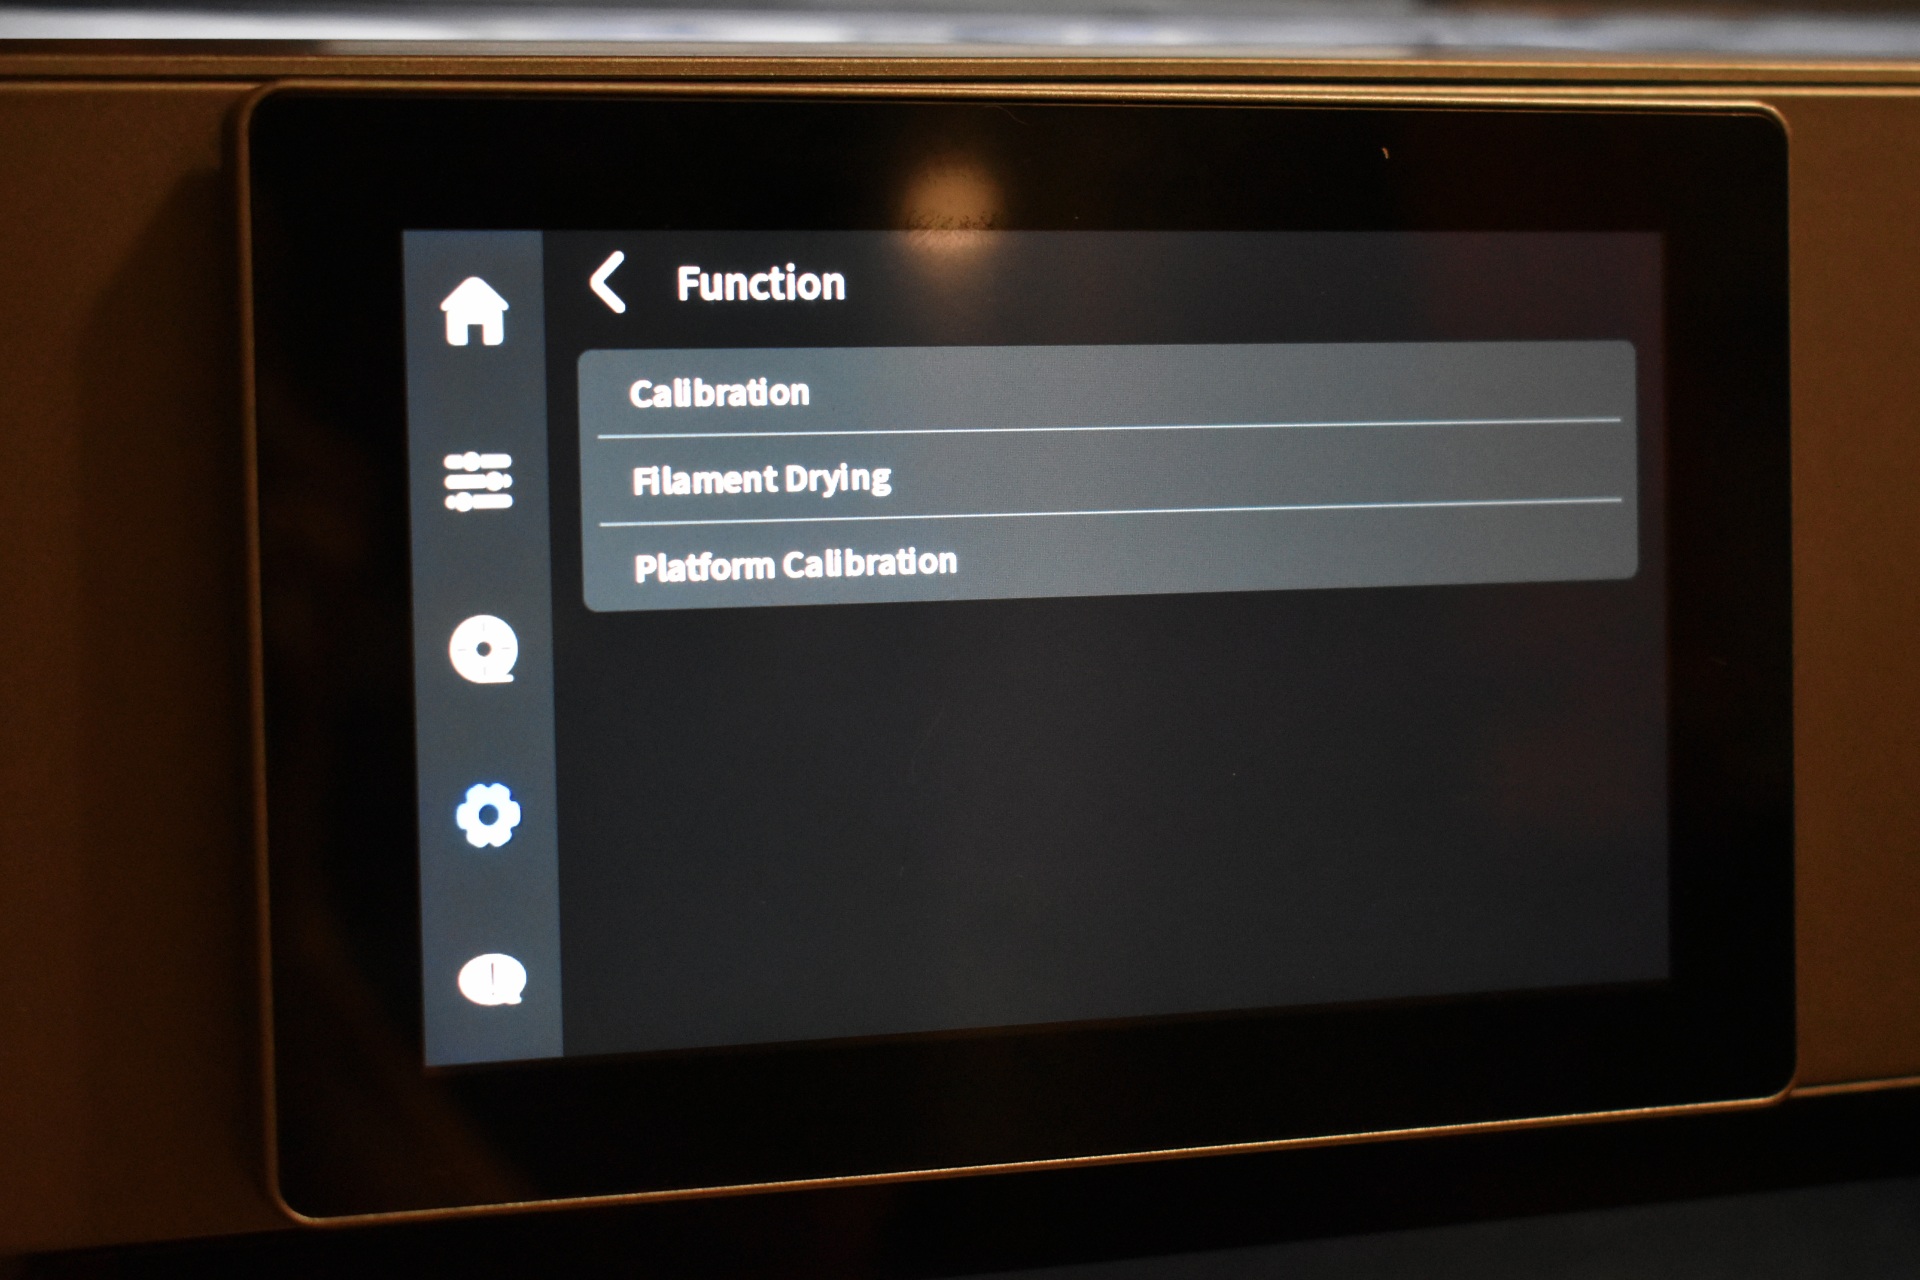
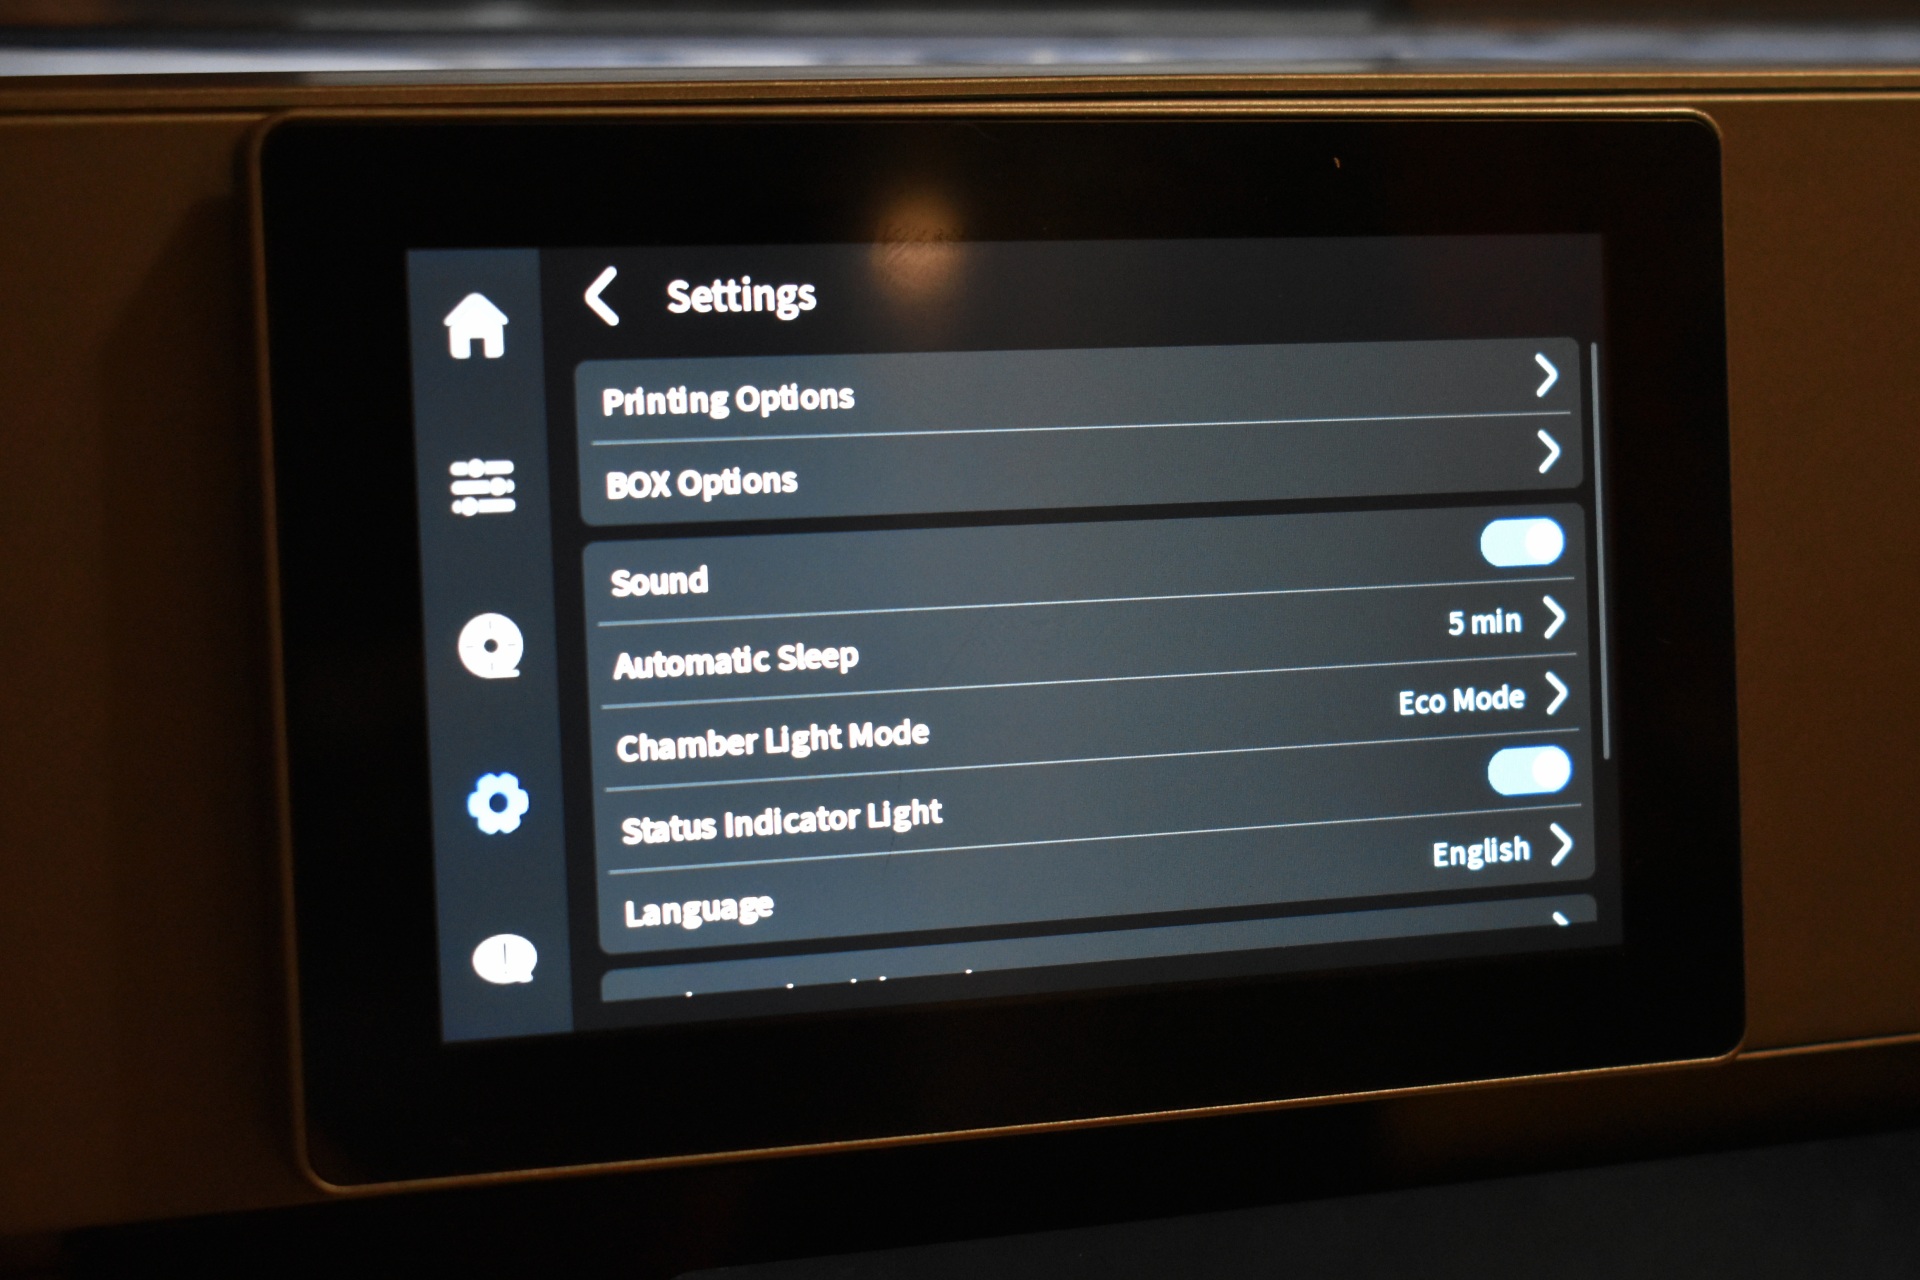
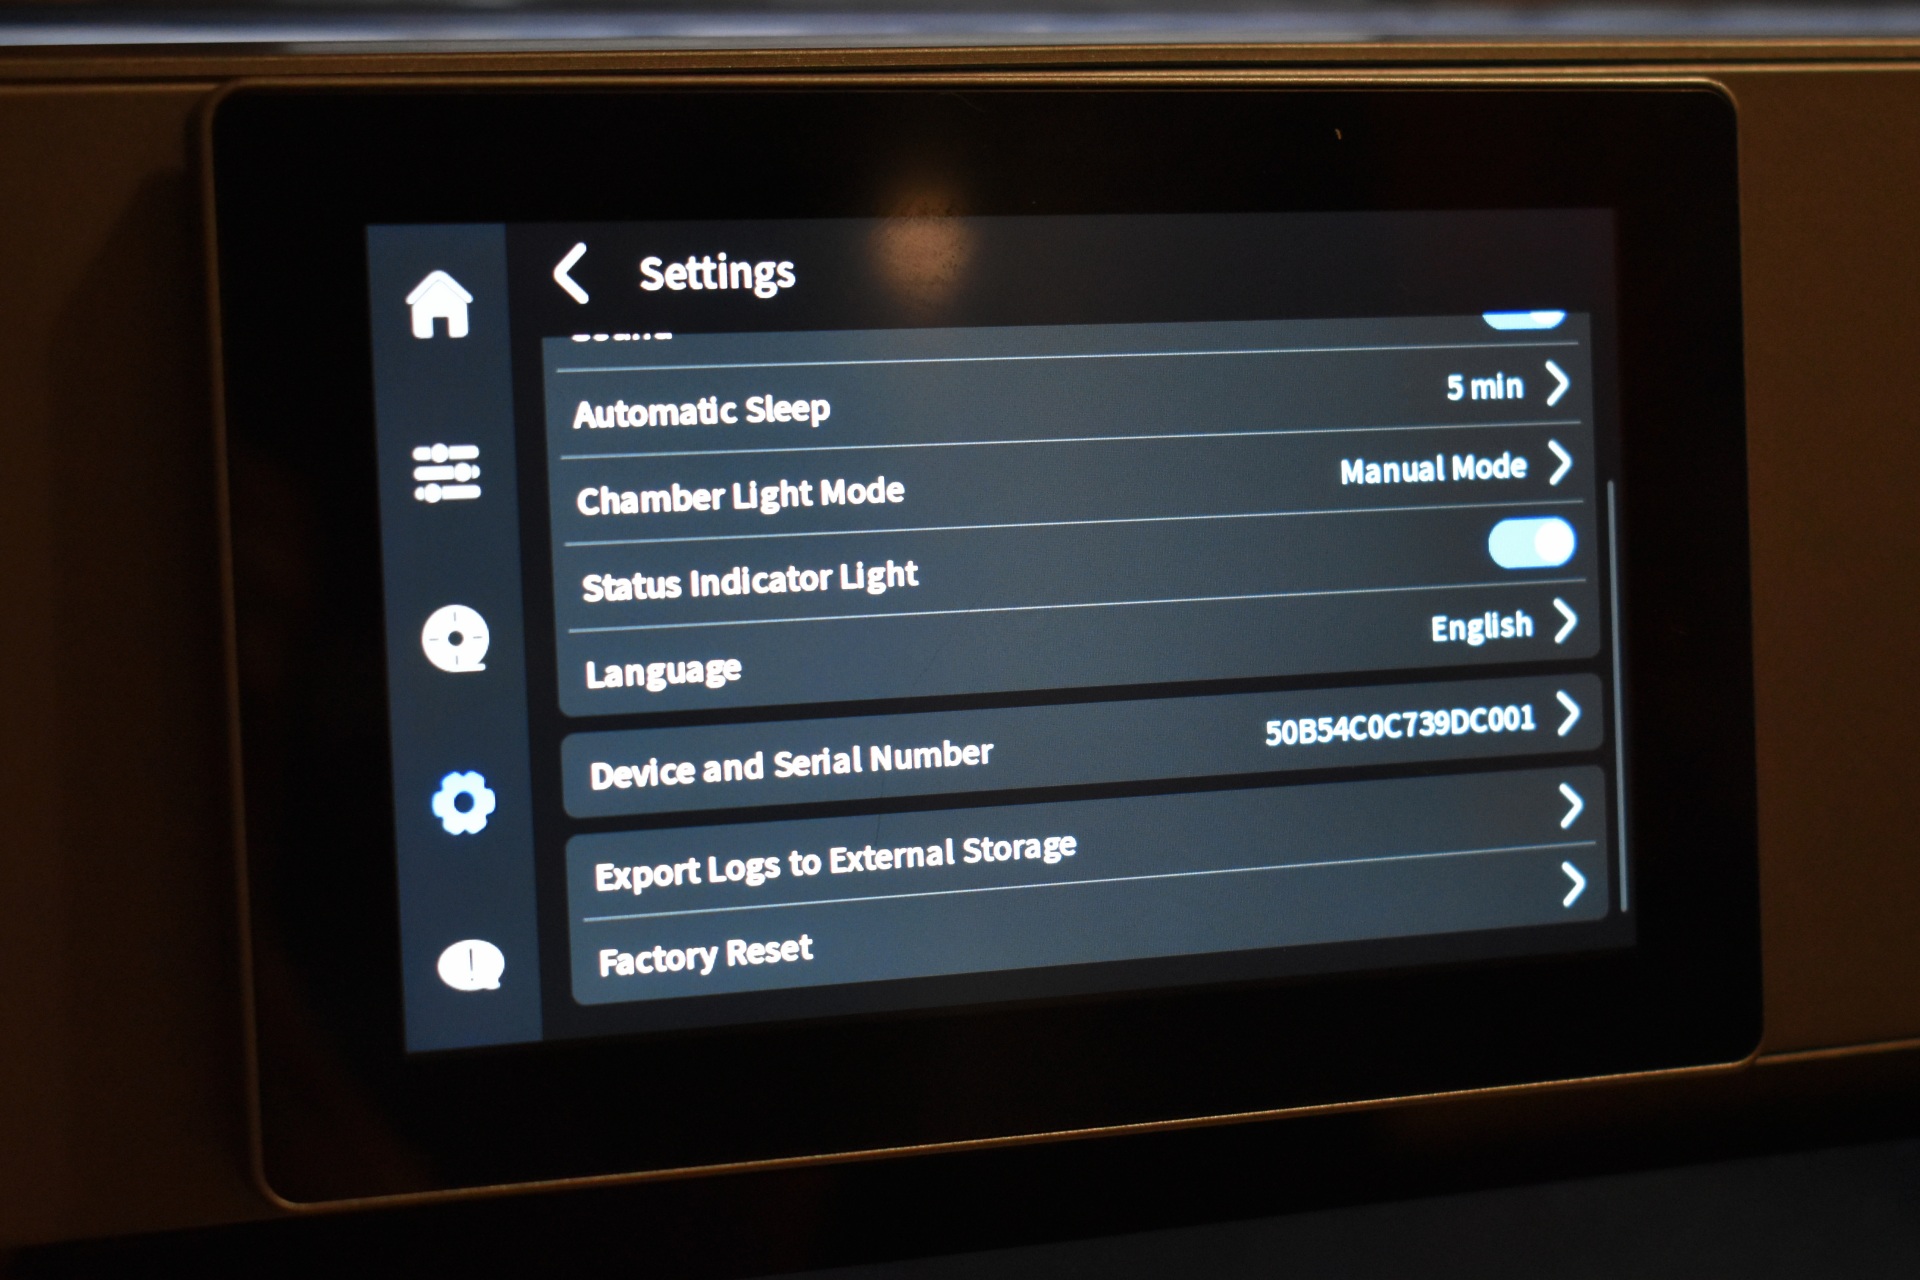
The settings tab includes the Wi-Fi, calibration, filament drying, firmware update, storage and general settings, AI printing options, BOX options and the factory reset.


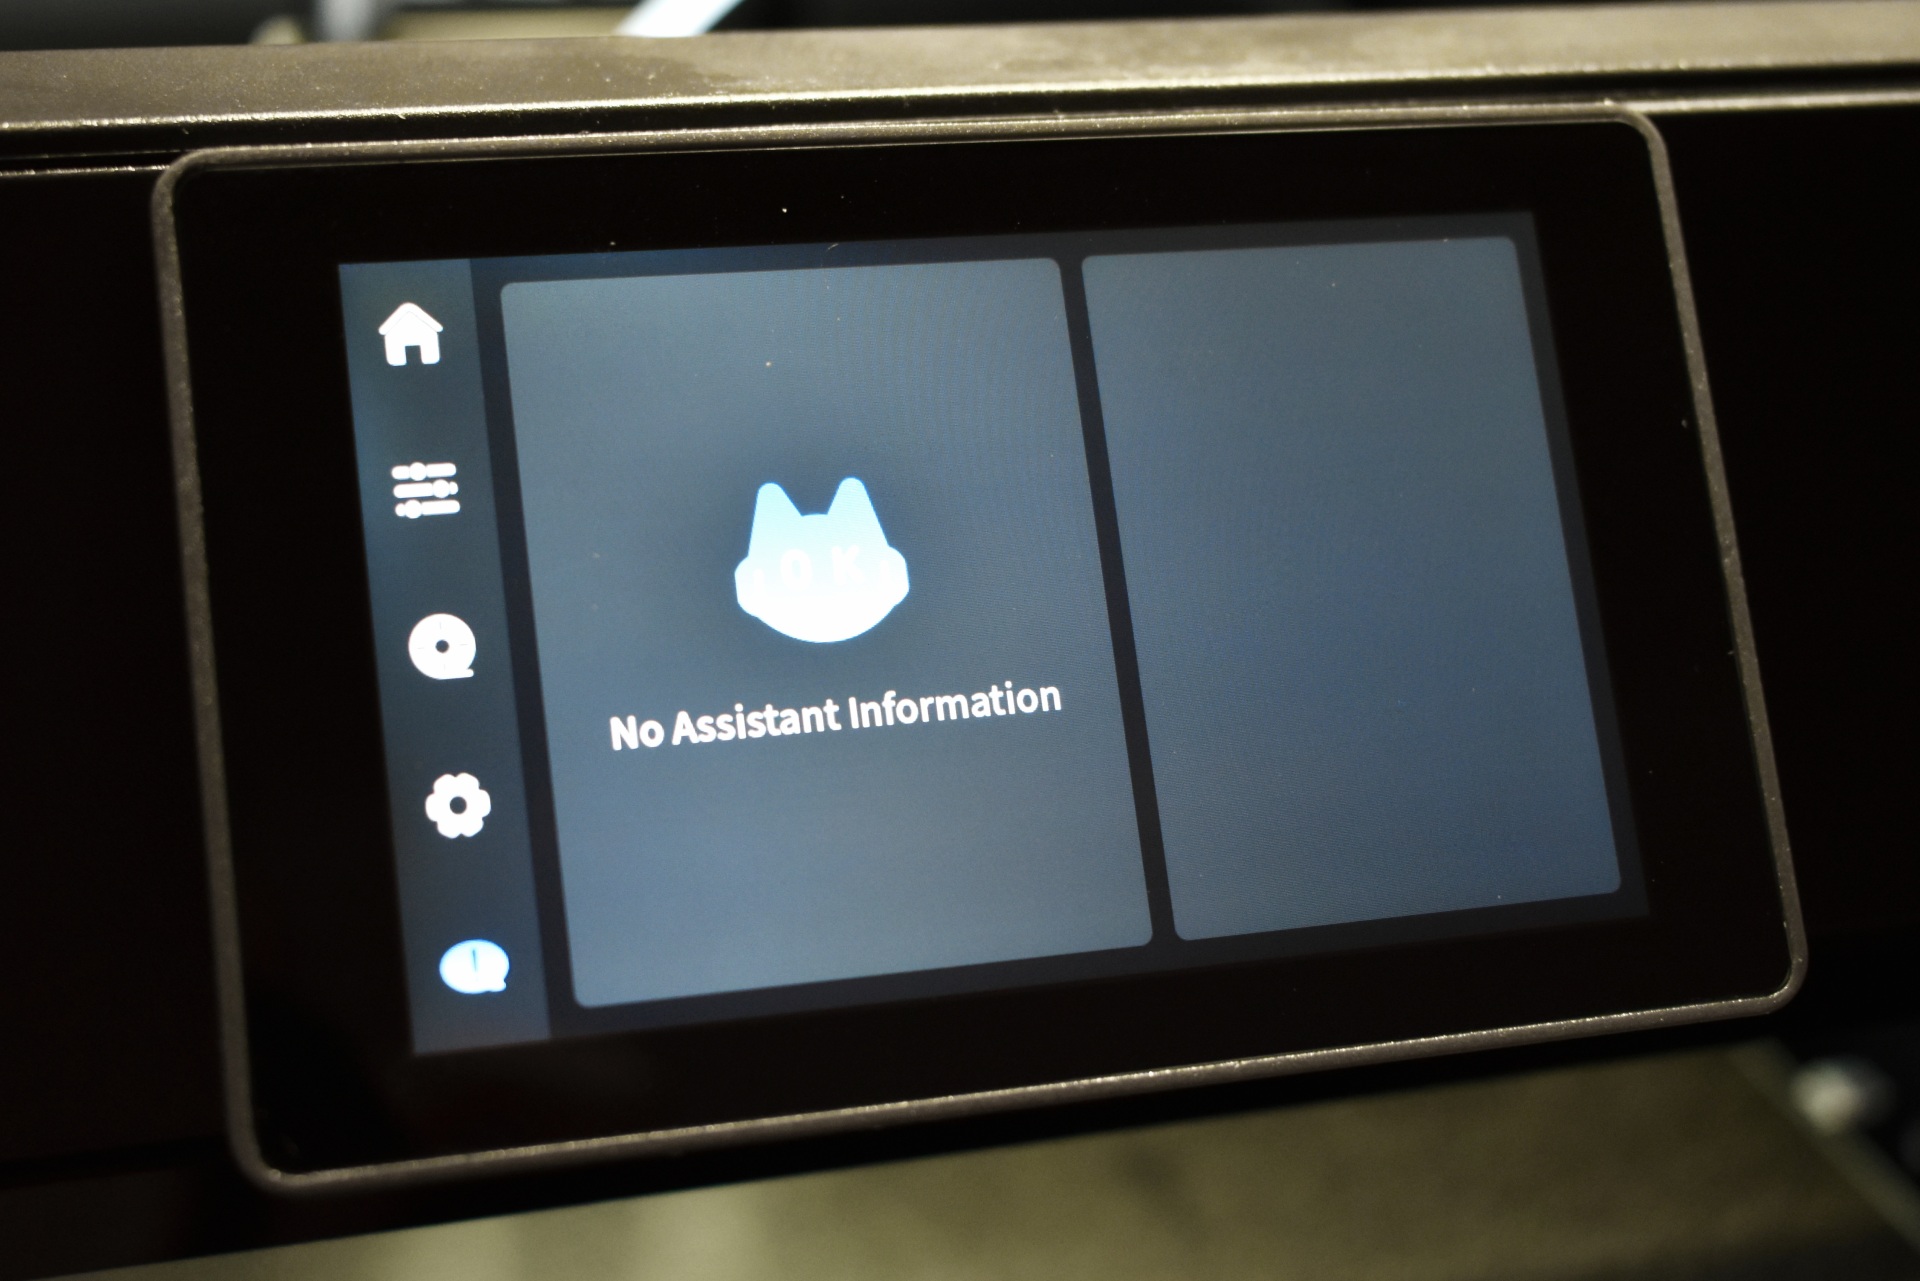
The assistant tab is where you get instructions/information every time something goes wrong.


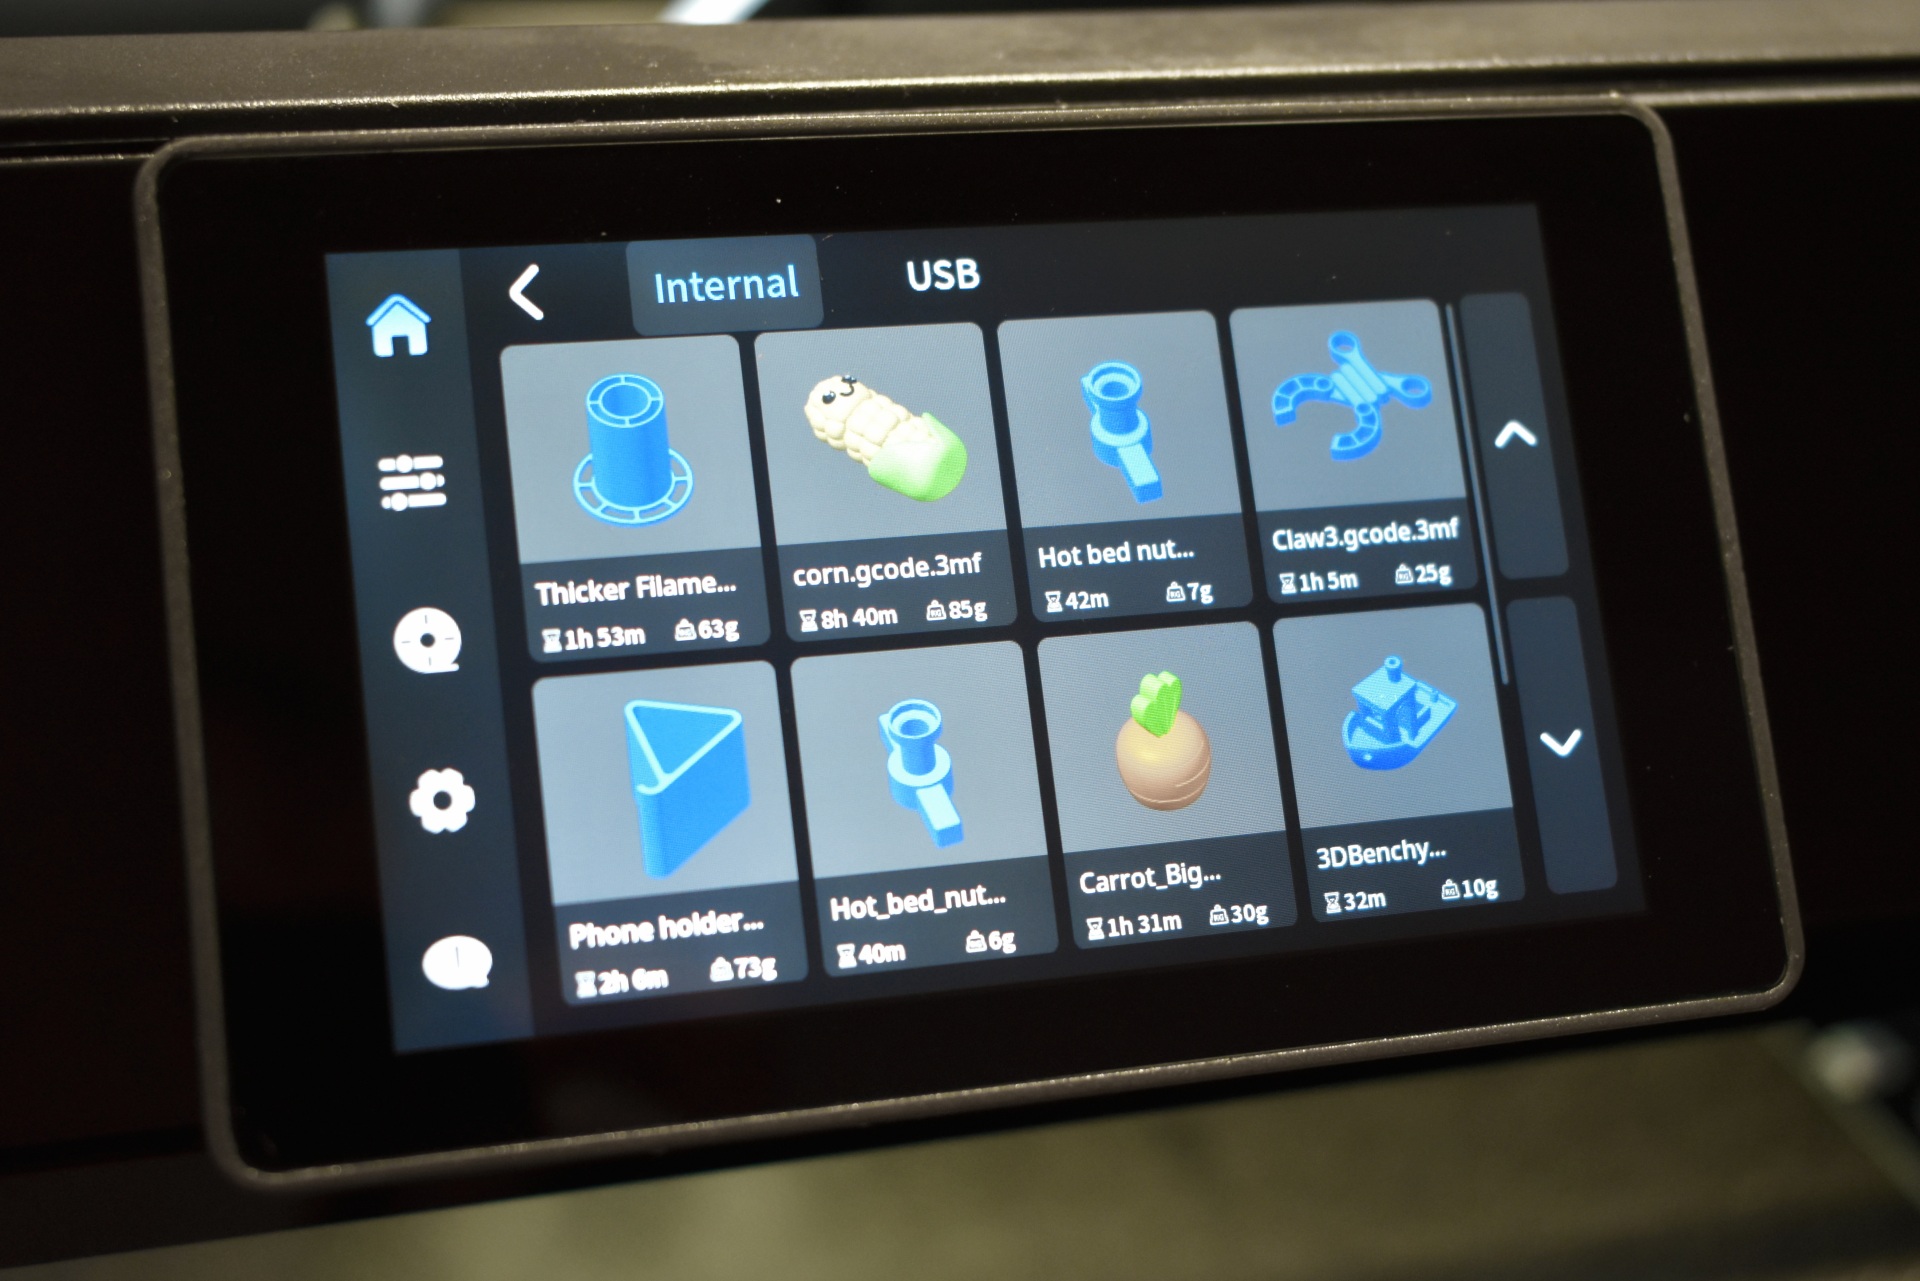
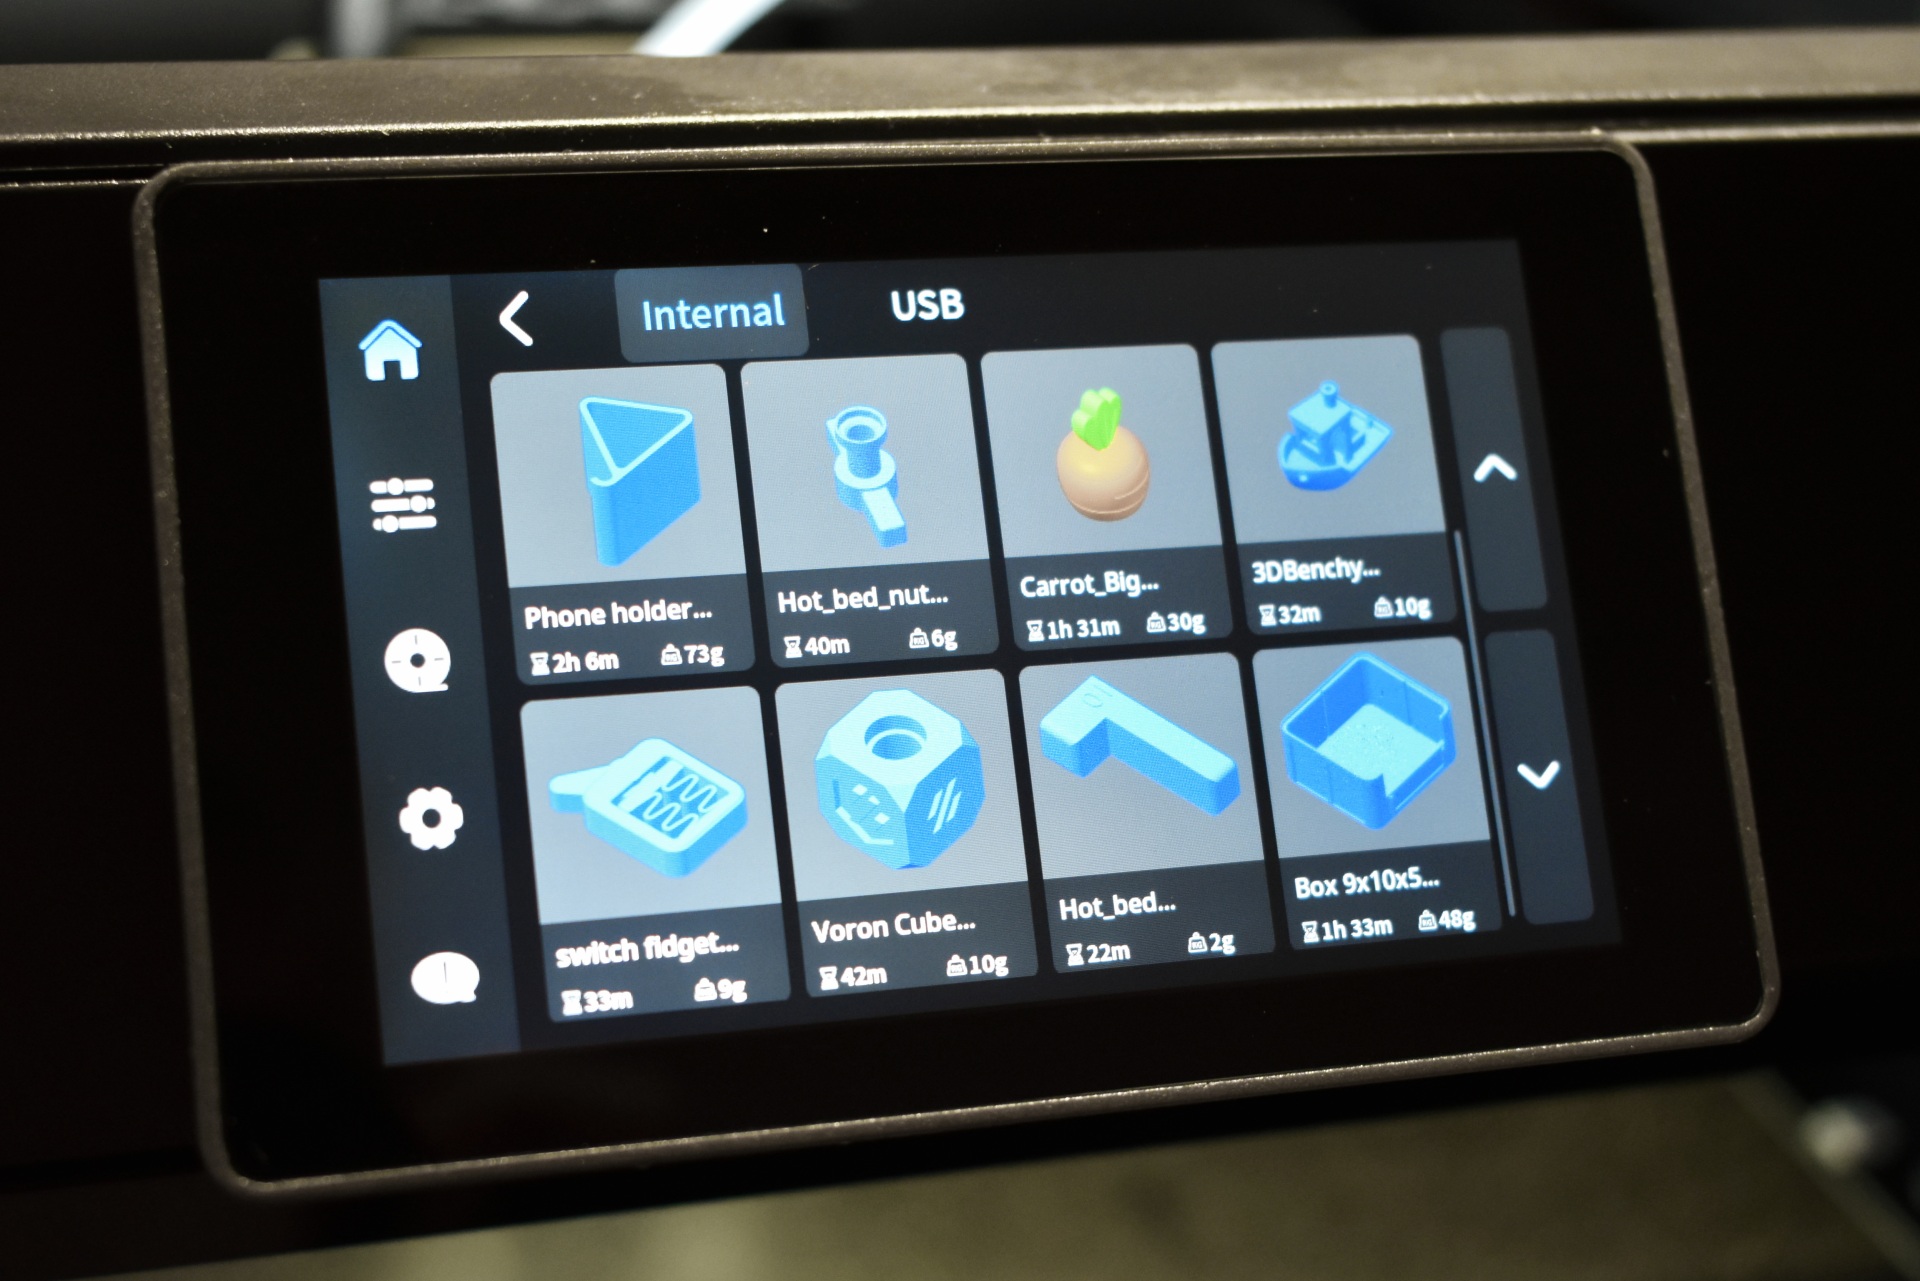
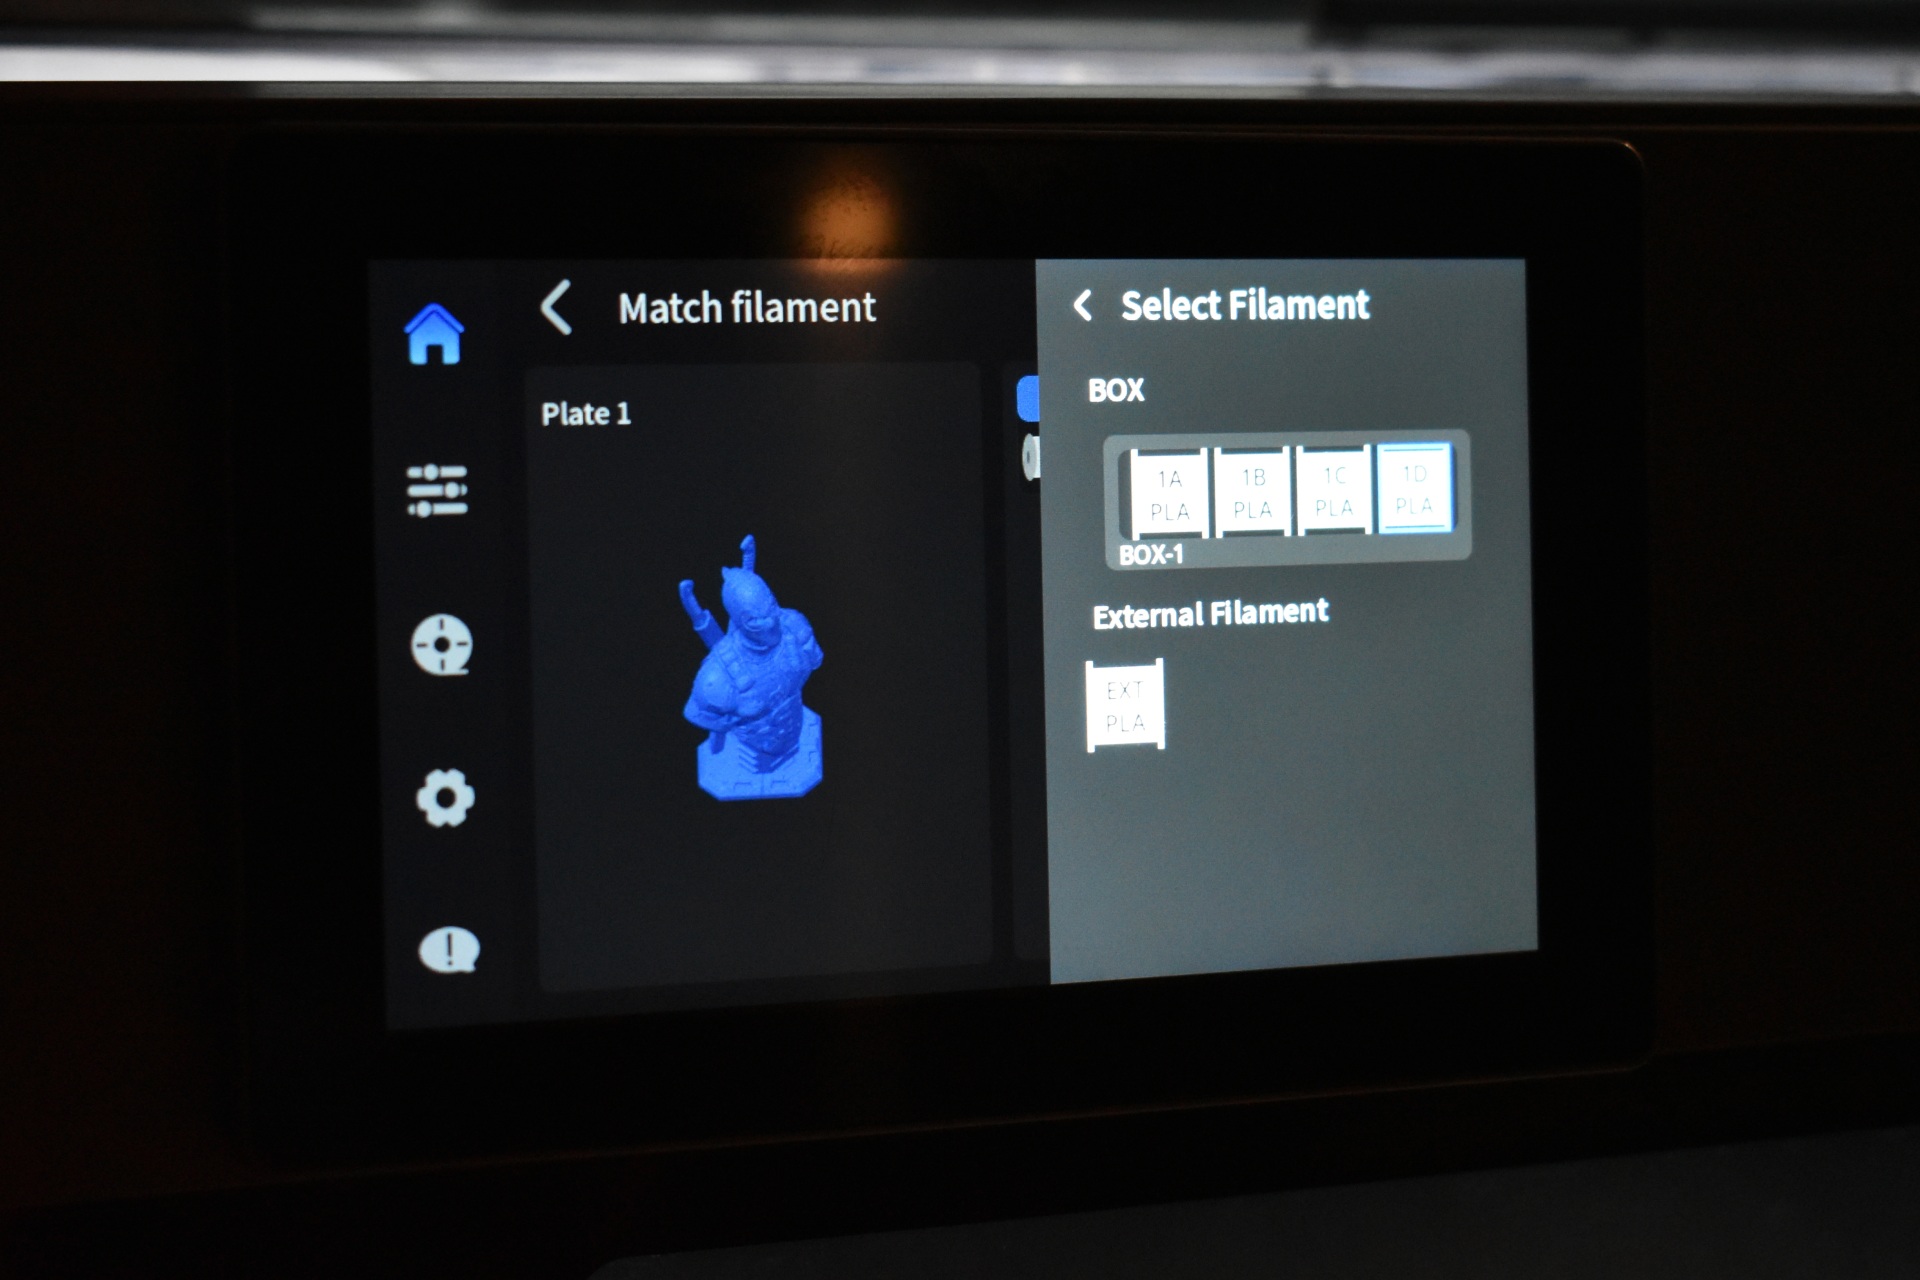
The Plus5 comes with 14 pre-loaded 3D models.


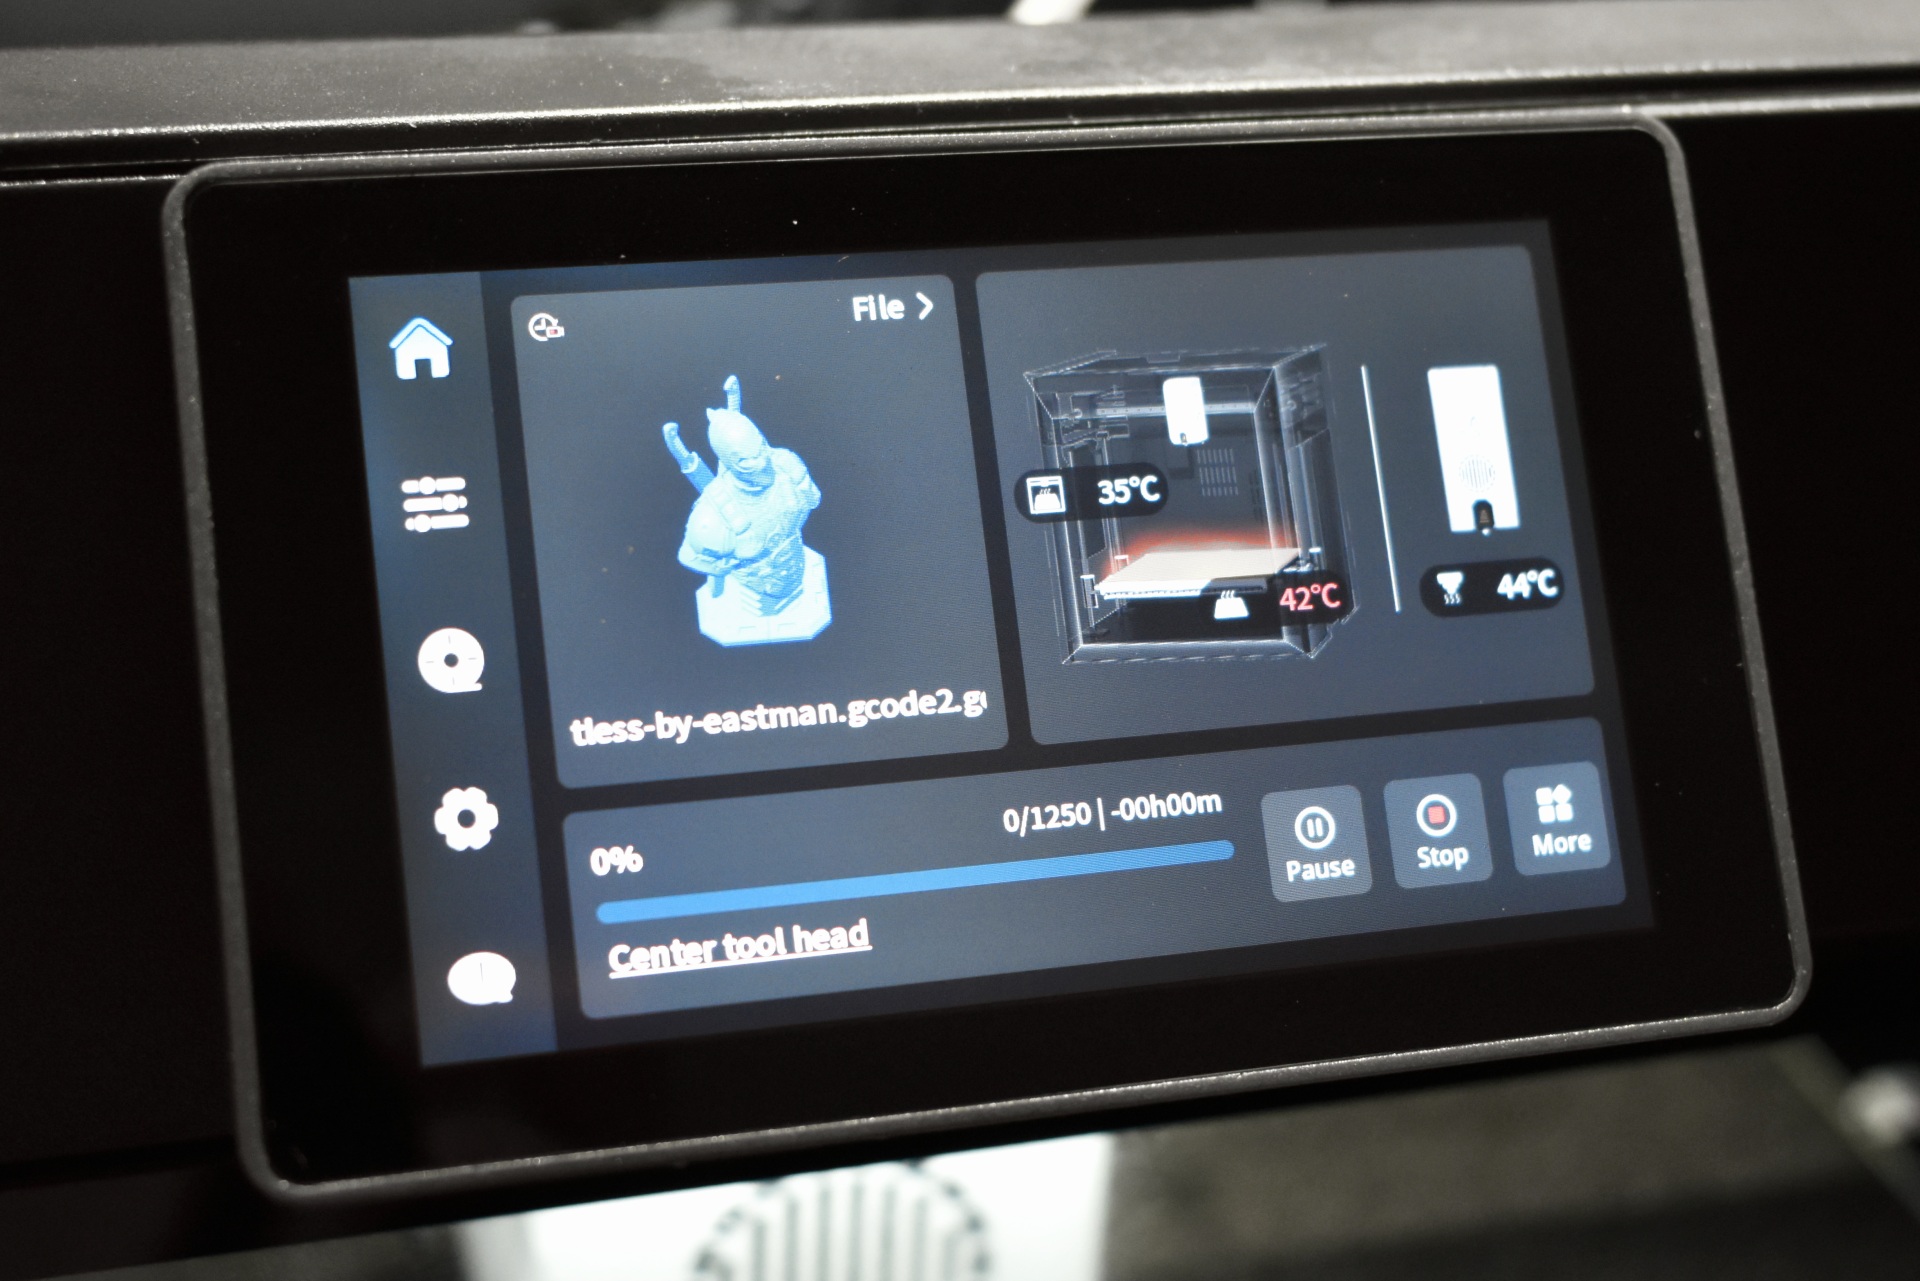
The printing screen showcases the model, current nozzle/bed/chamber temperatures, current state of the printer, remaining time and also allows you to pause and stop printing and access the more area (here you can find the skip, print speed, bed position and assistant commands).


QIDI MAKER APP


For remote viewing and printer access you should install the Maker app and bind your QIDI printer with it.

The first screen after you bind the printer will allow you to access the timelapse camera feed (again default resolution is 640x480p), temperatures and current state (idle, printing).


Second screen indicates the current filament input (spool holder or box).


Third screen allows you to move the print nozzle and the bed itself.


Final screen indicates current fan speeds, LED light and air circulation system.


Moving to the settings area from here you can adjust the AI detection options, box options, and check printer info (the IP is what you should all keep from this screen).


Worth pointing out is that you can start printing of the stored 3D models from within the app itself.


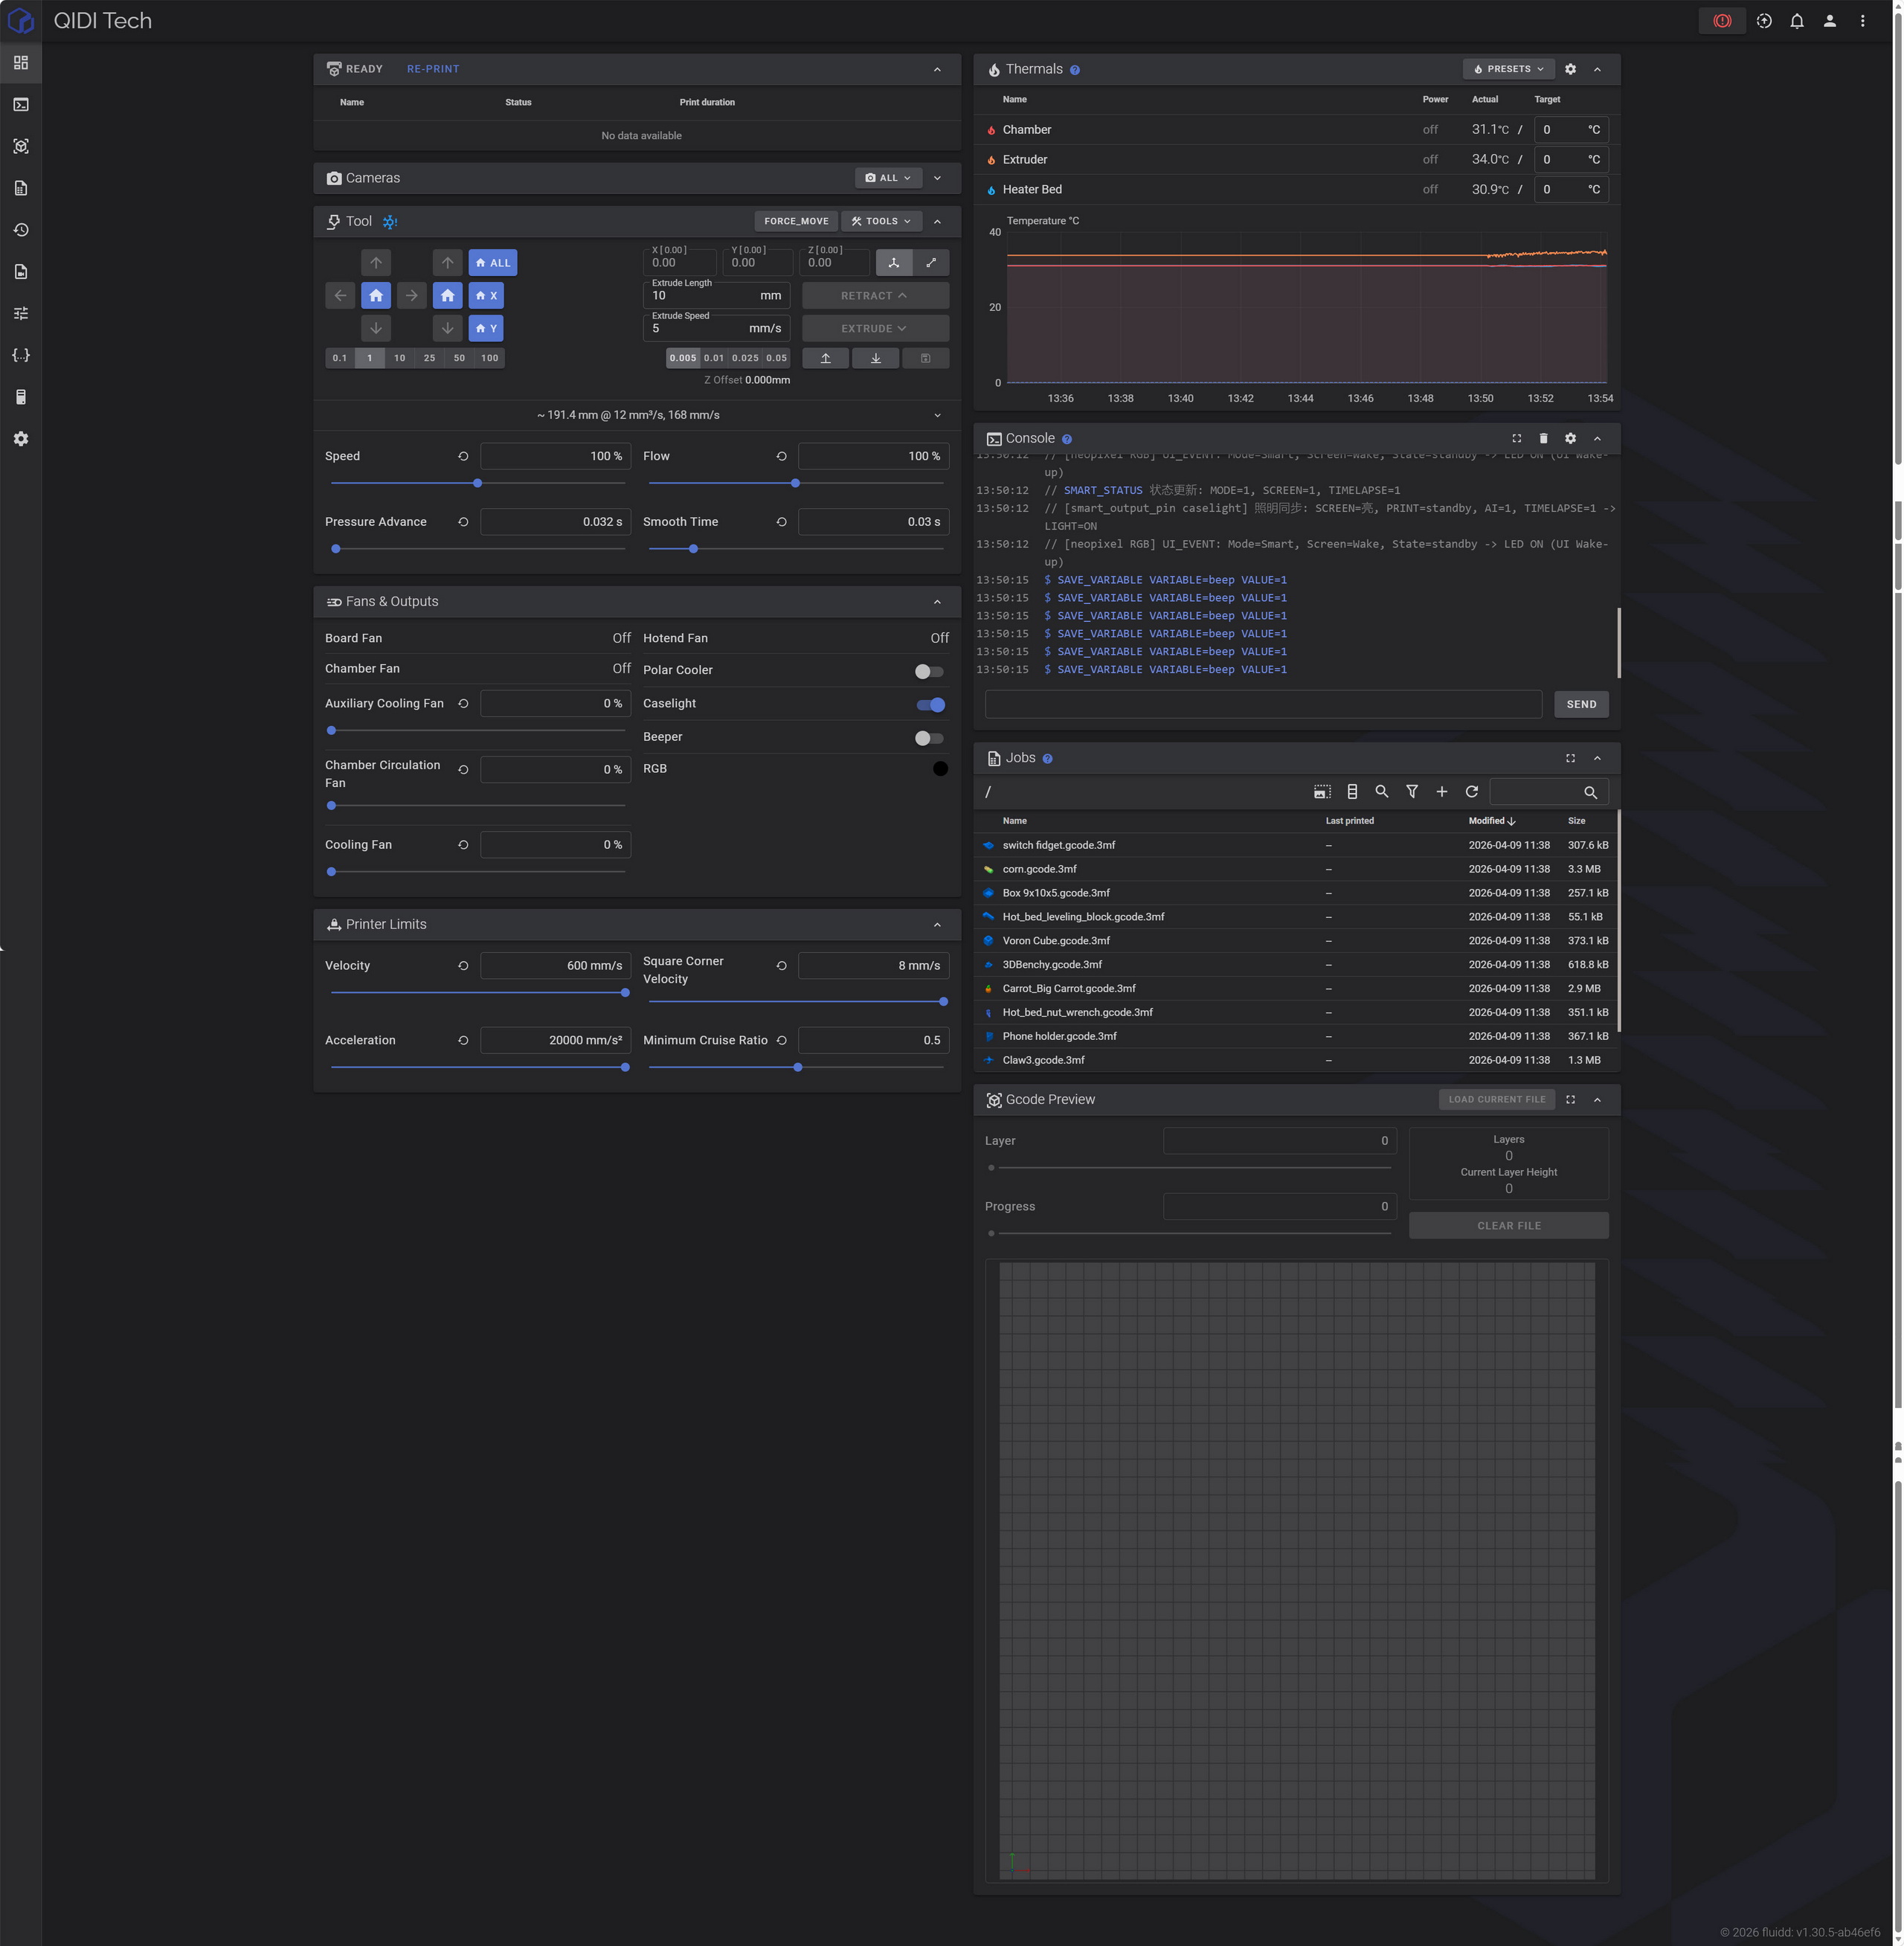
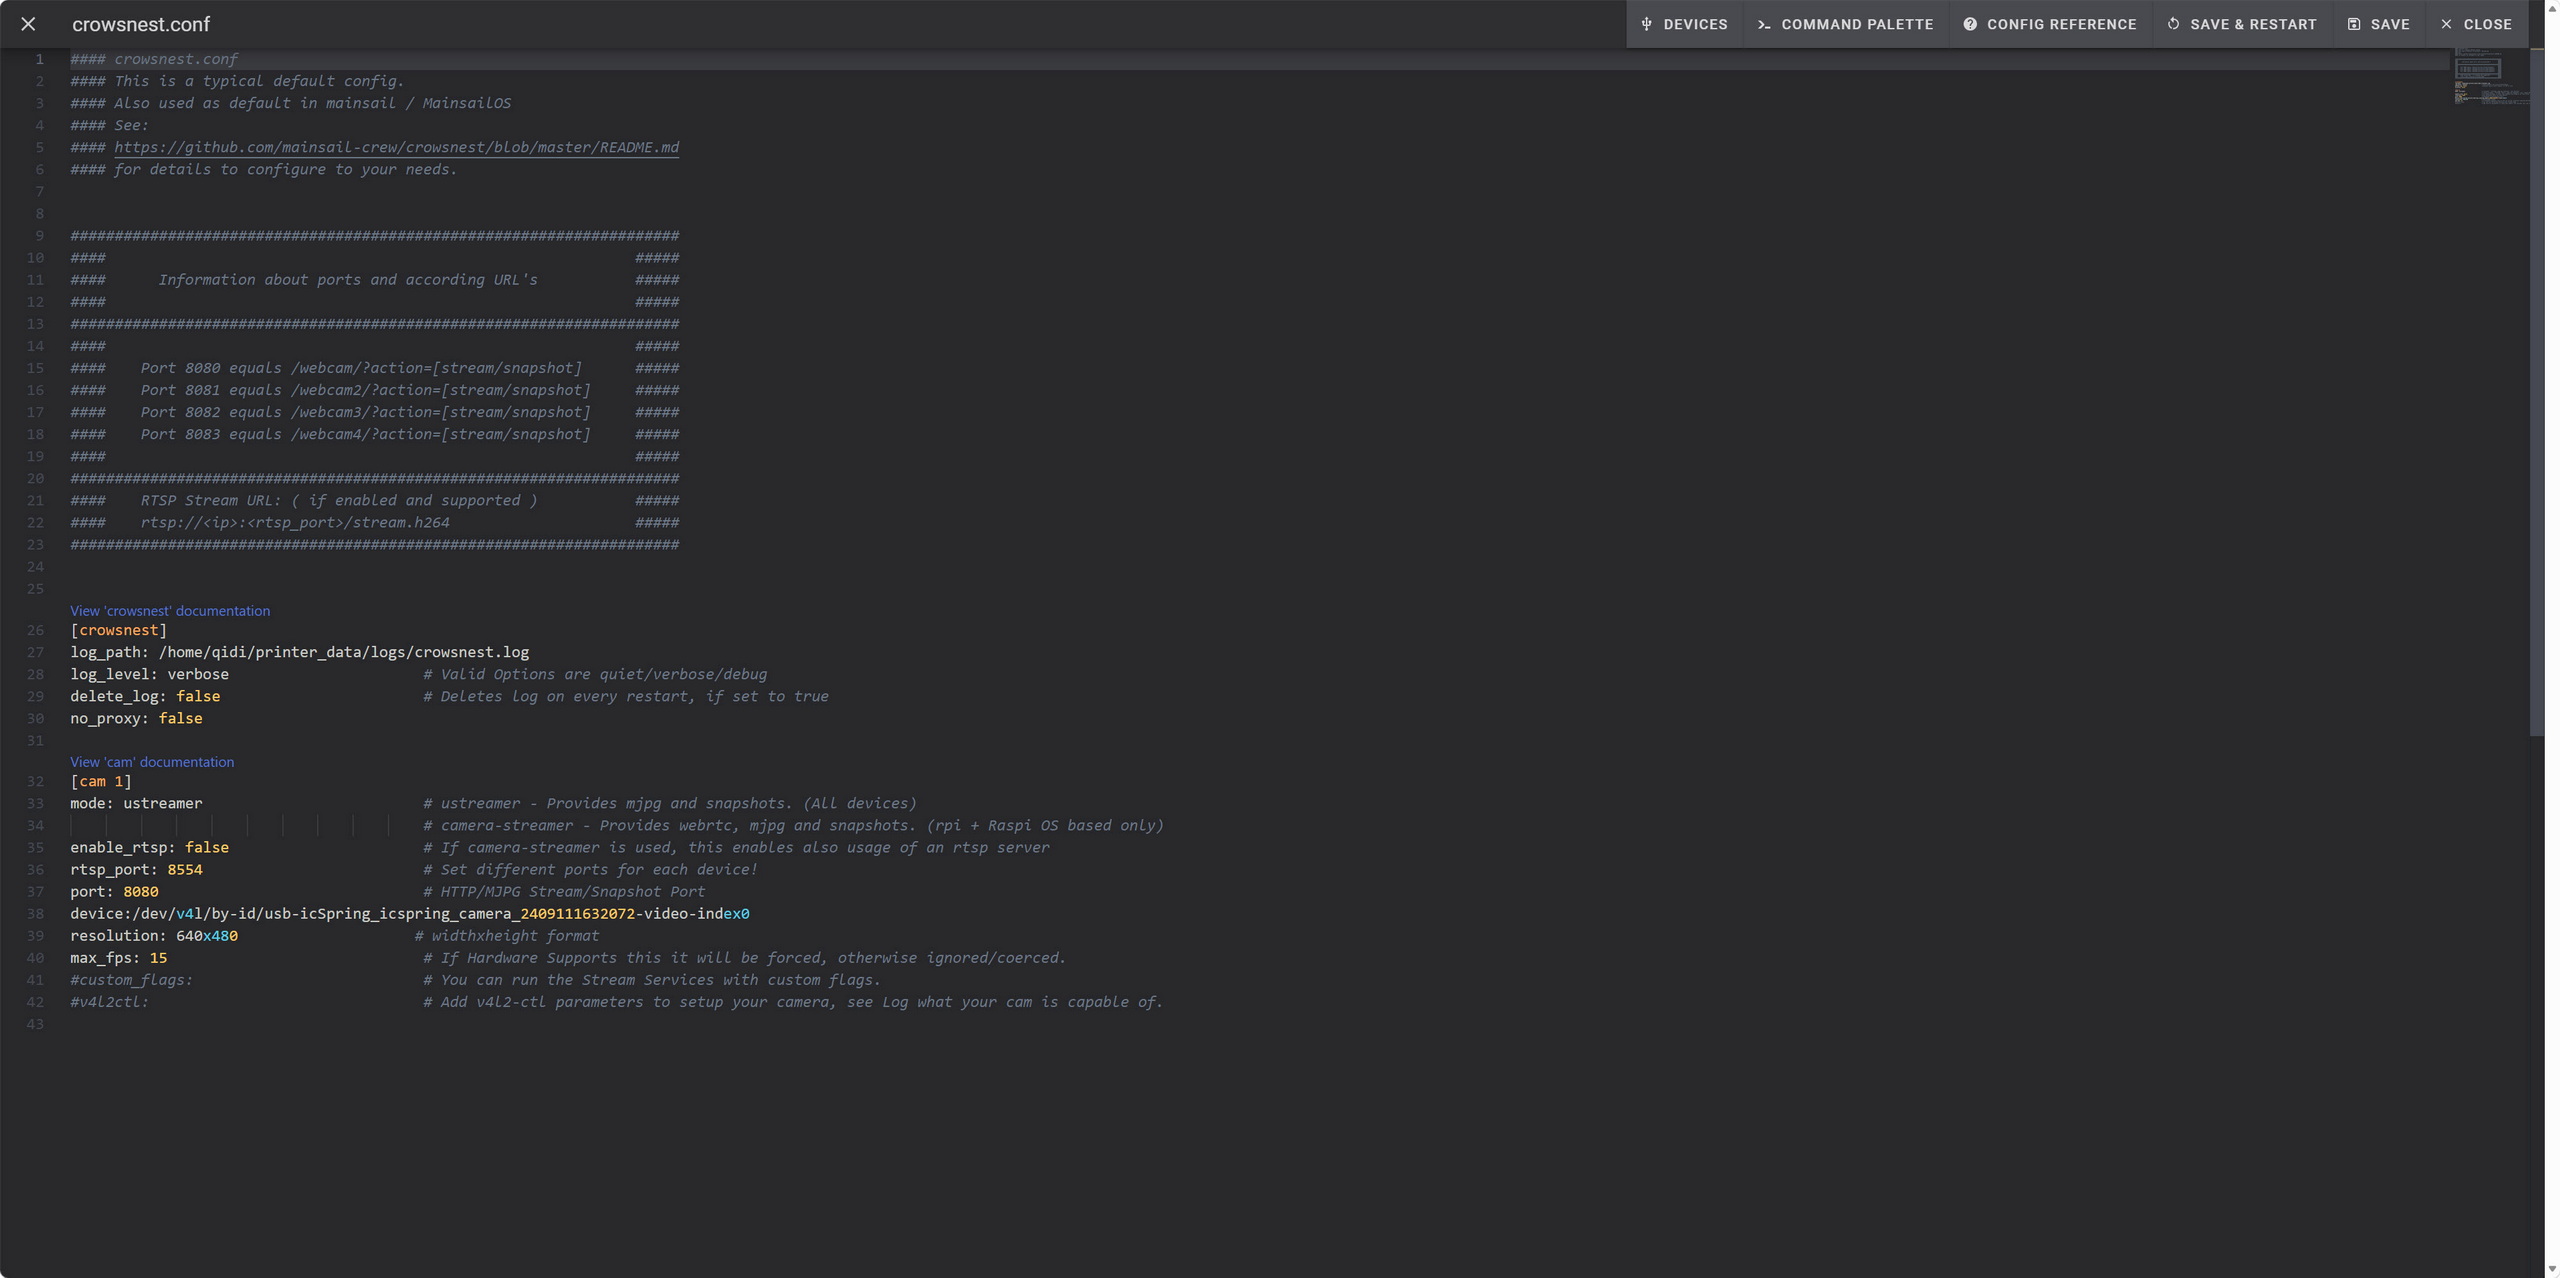
At this point it’s clear that QIDI doesn’t allow the end user to change the timelapse camera resolution easily, neither from the printer touch screen or the app. To do that you need to access the printer from your browser (use the IP from the information screen) as seen above.


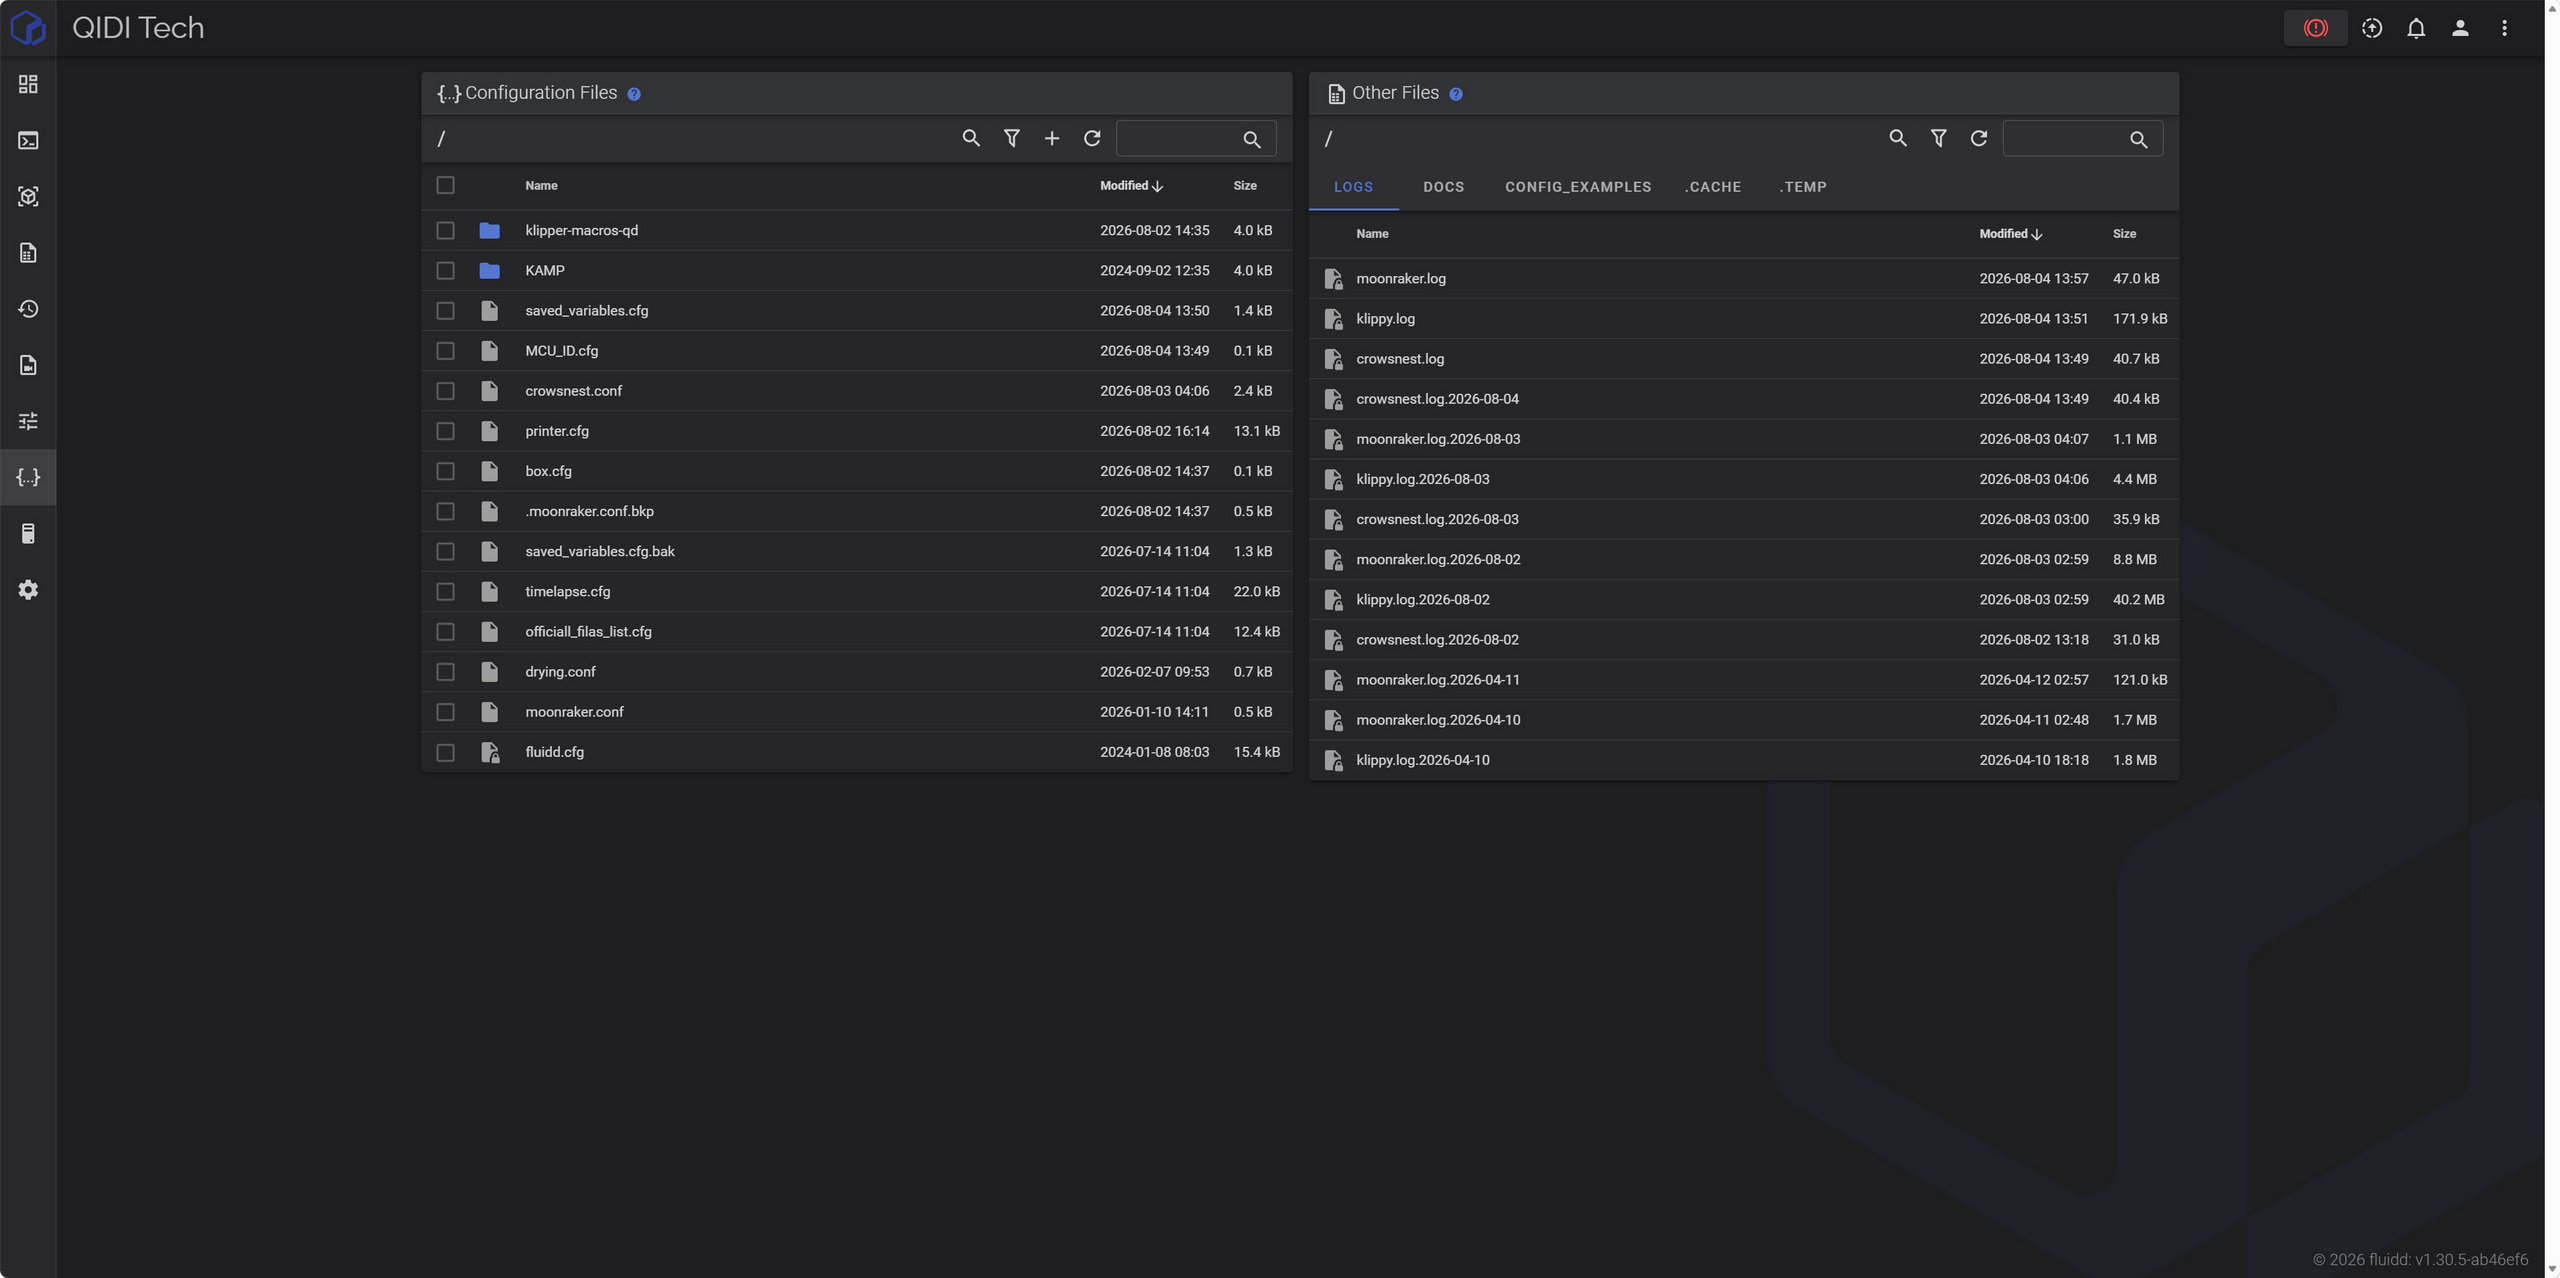
Then you need to move to the configuration files area from the left side menu (from the left side menu you can also access your timelapse recordings).


After that just access the crowsnest.conf file, change the timelapse camera resolution (1920x1080p / 1280x720p – you may want to reduce max fps for FullHD if you encounter lag/freezing), save the file and then restart the Klipper.


TESTING METHODOLOGY


    Once again to test this printer by QIDI I used their latest print software (QIDI Studio v2.7.2.1.0) by manually entering the same settings I’ve used to date with all FDM printers (quality of 0.16mm, 20% infill density and cubic infill pattern).


    Nothing else has changed of course so again I’ll be using 2 different sized models (downloaded from Cults3D / member Eastman) to record completion time at 100% speed. Second thing to test are noise levels and so once again I’ll be using my ExTech HD600 decibel meter placed roughly 30cm away to record the maximum noise coming from the 3D printer while printing. As for the 3rd test with the help of an UPS and two power meters I decided to also record not only the lowest and highest but also the average instant power consumption of the 3D printer in my hands.


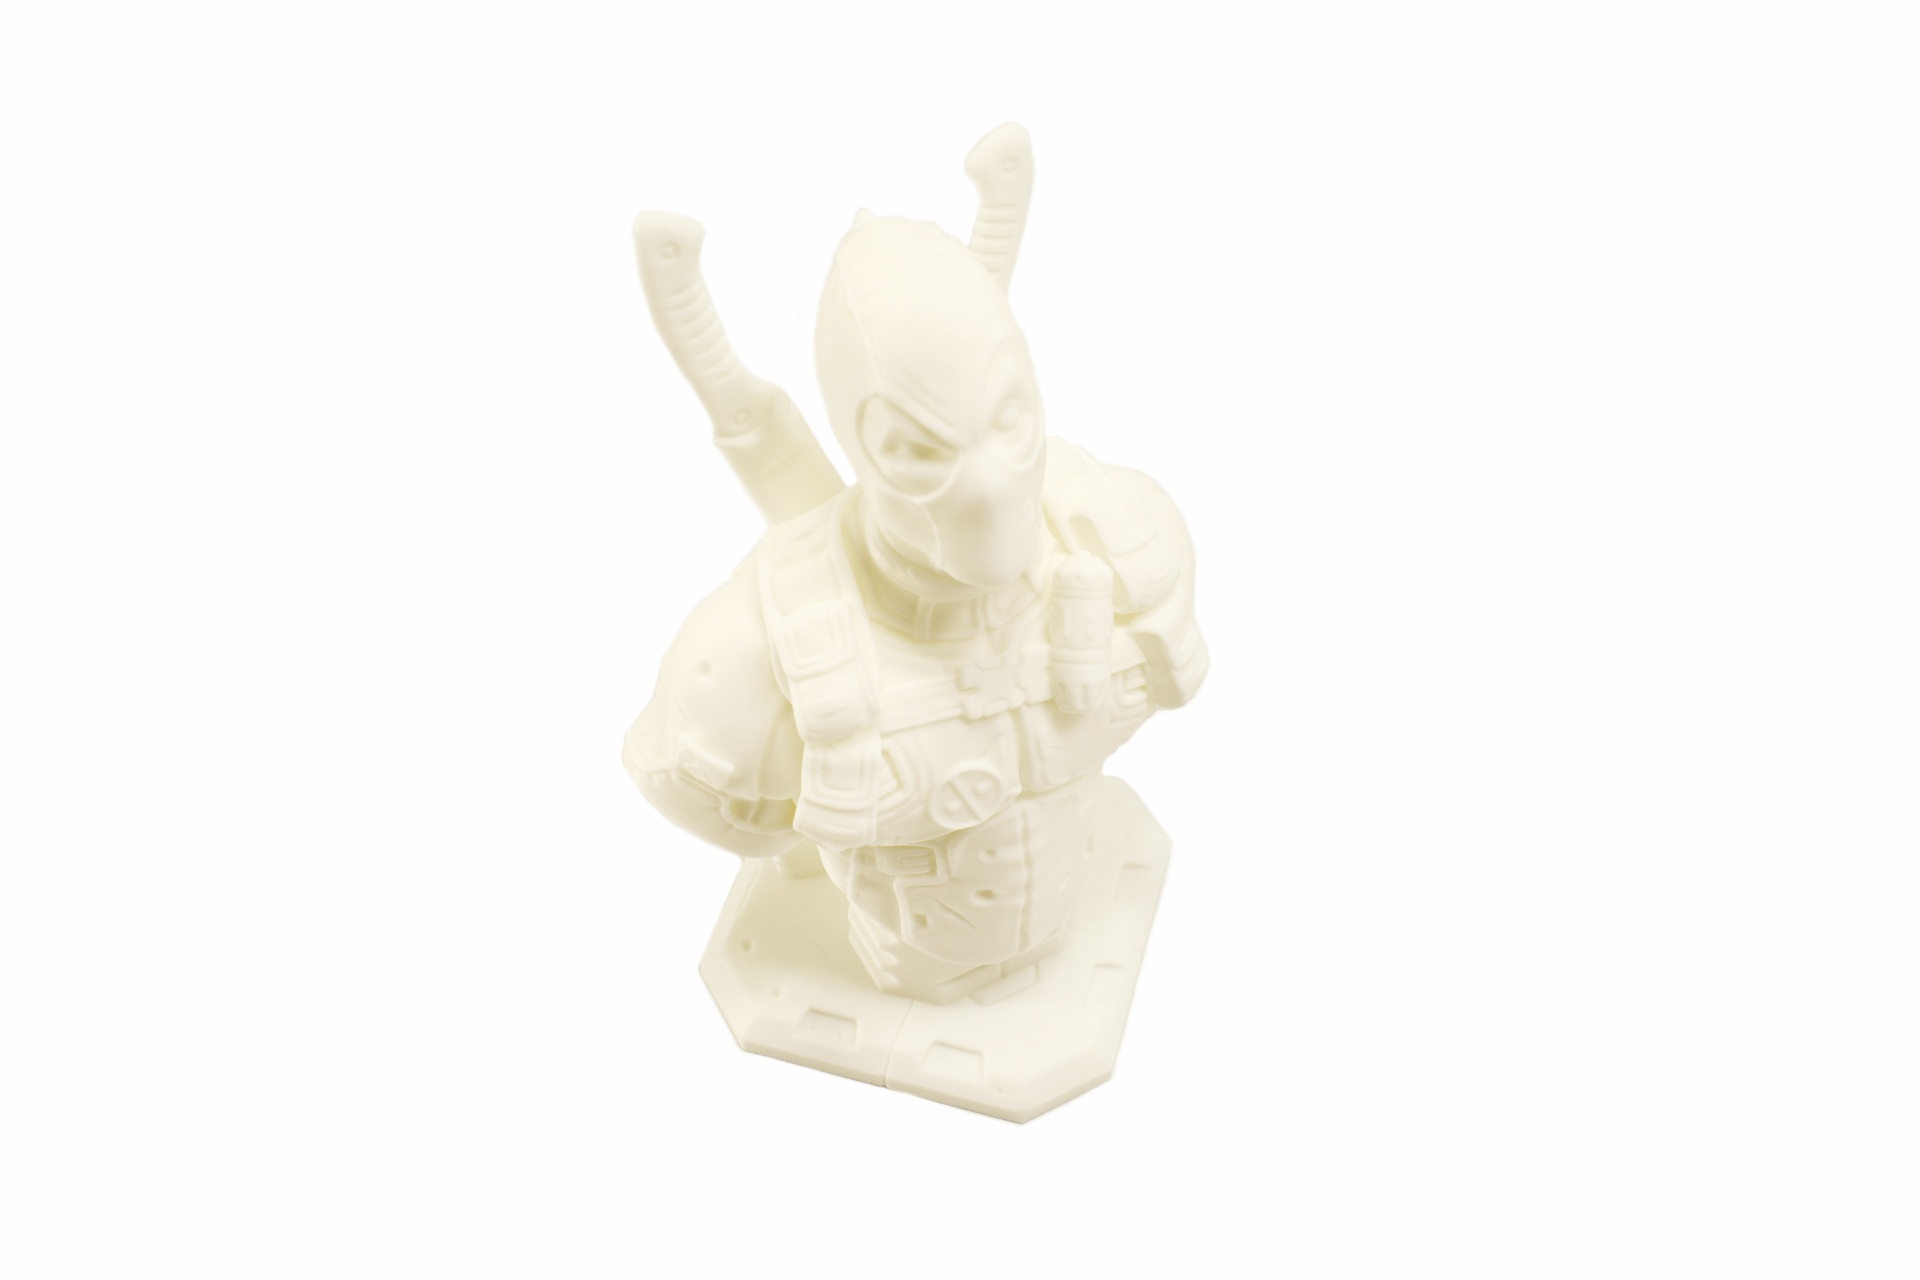
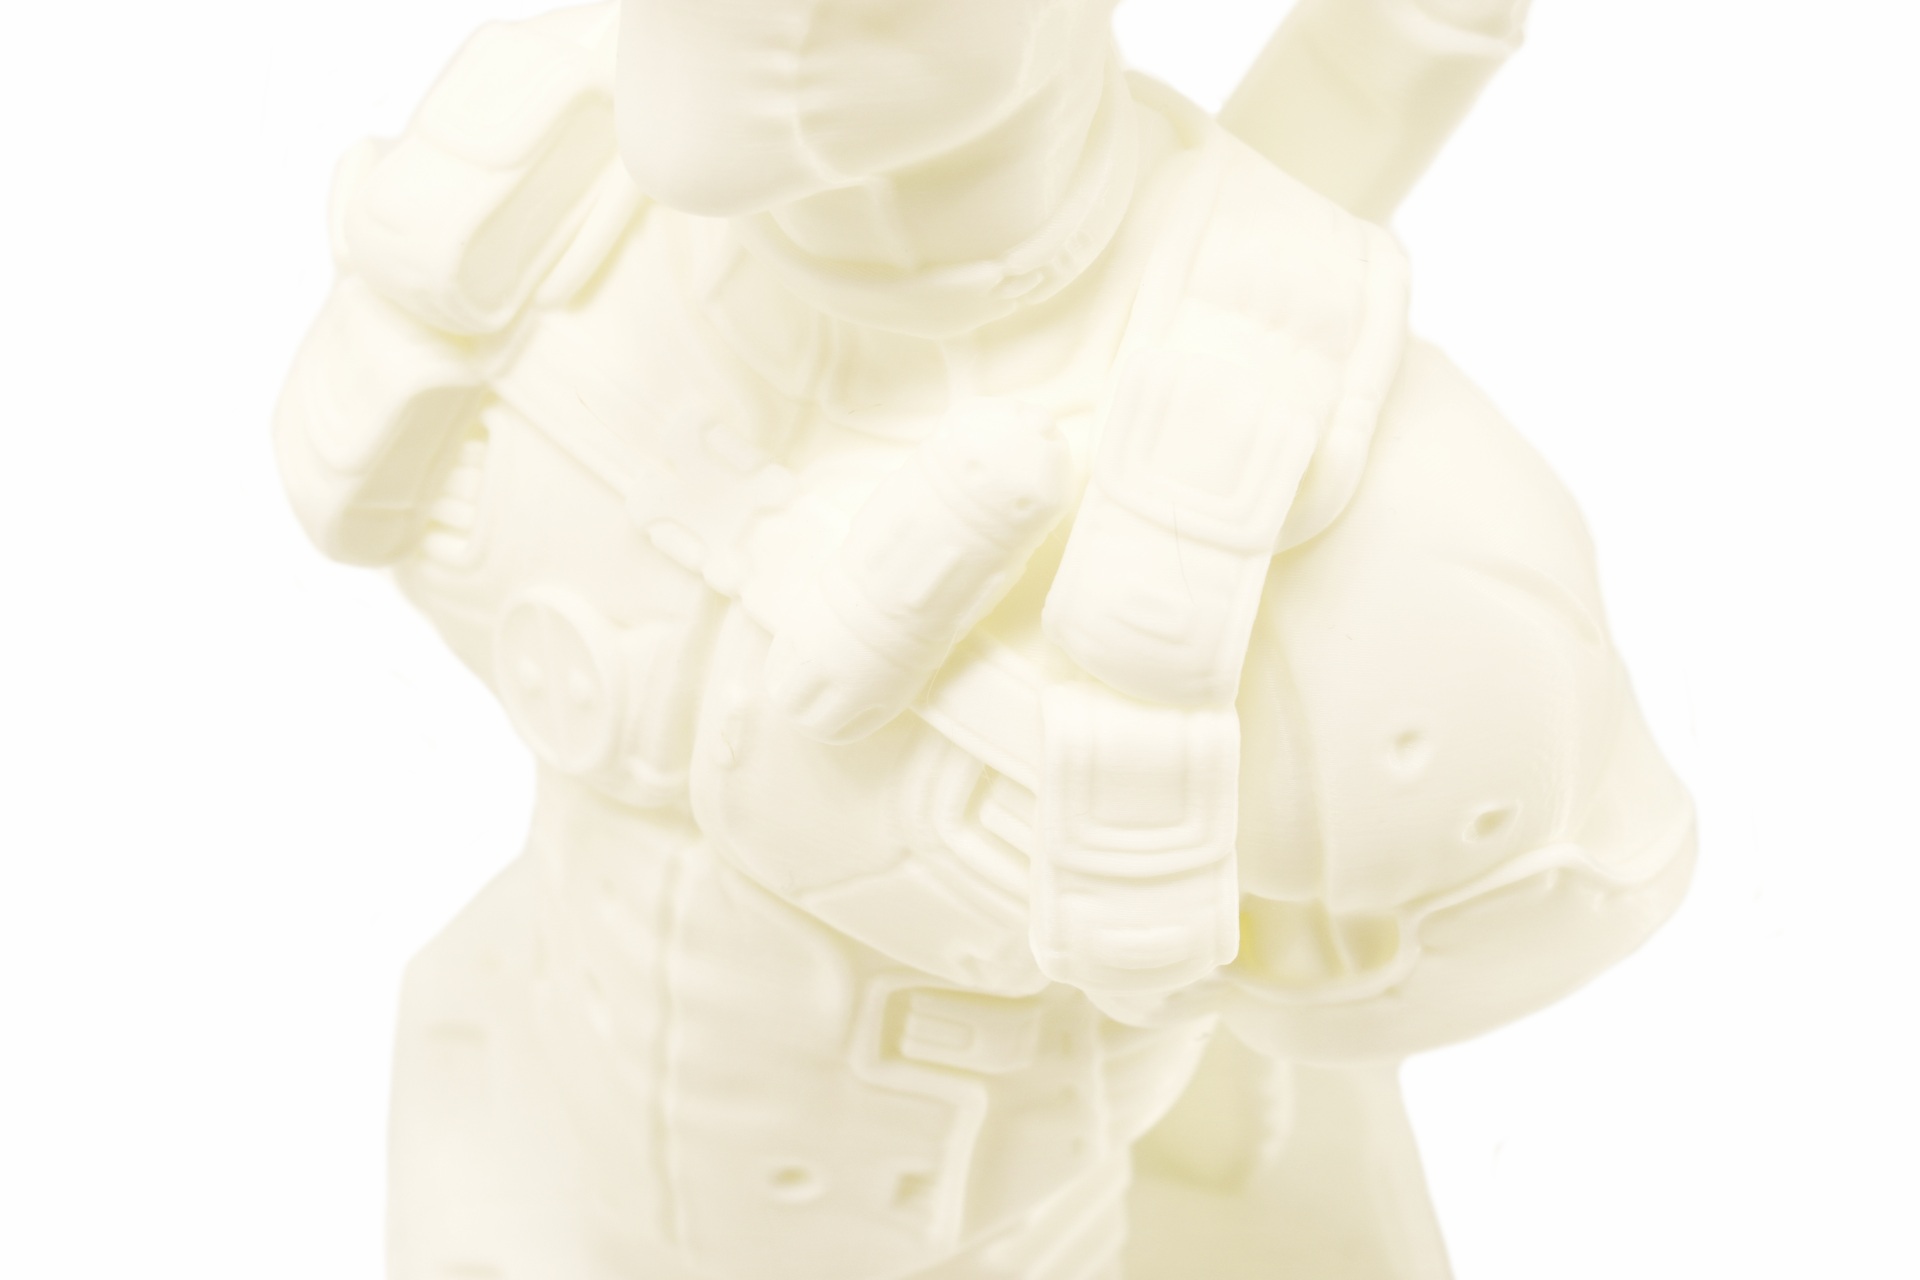
The Plus5 may not be quite as fast as some of the other models I’ve reviewed to date but it produces very good printing results as evident from the above pictures (as always a short timelapse is available both on TikTok and YouTube).


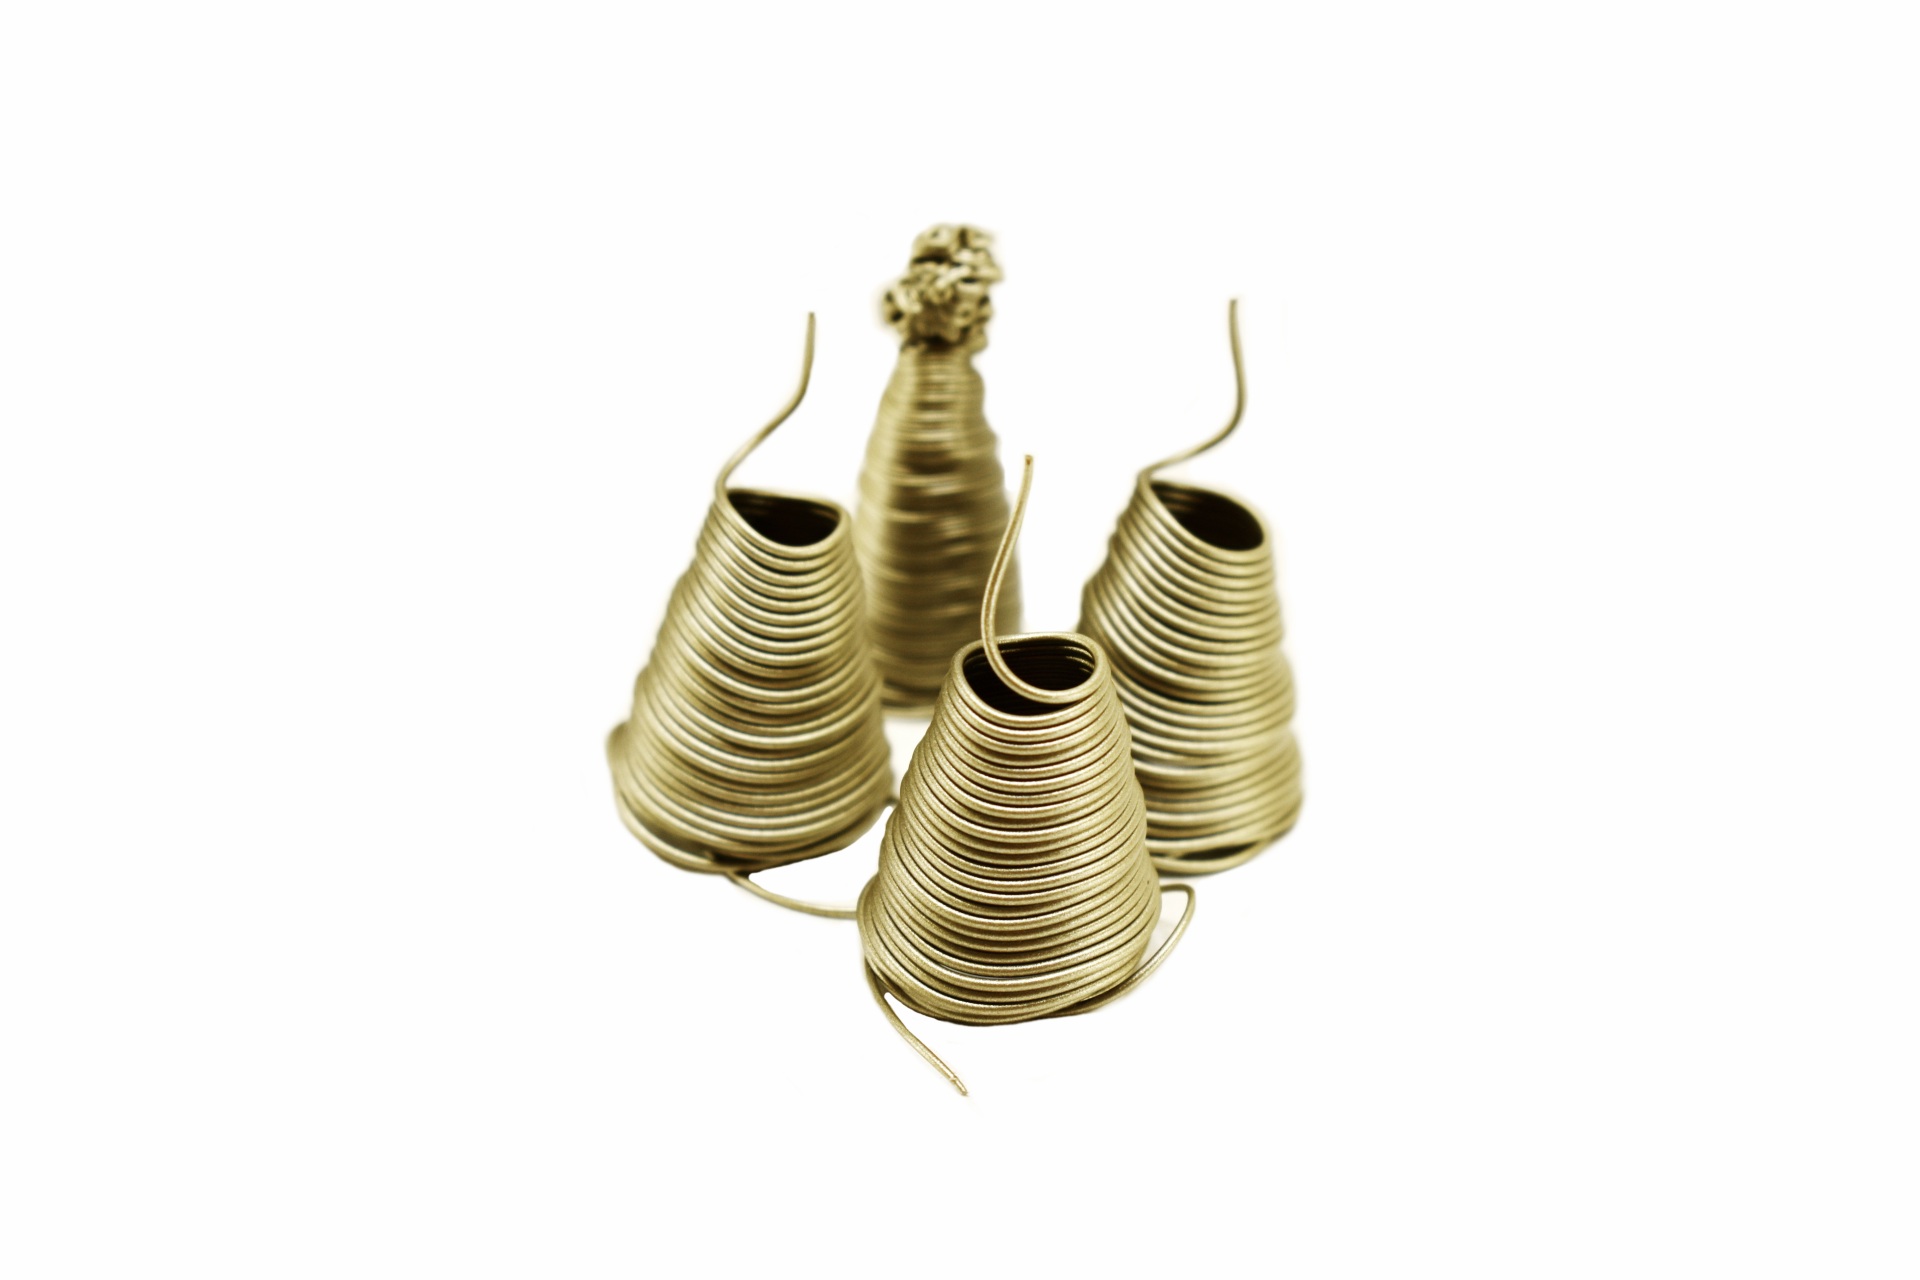
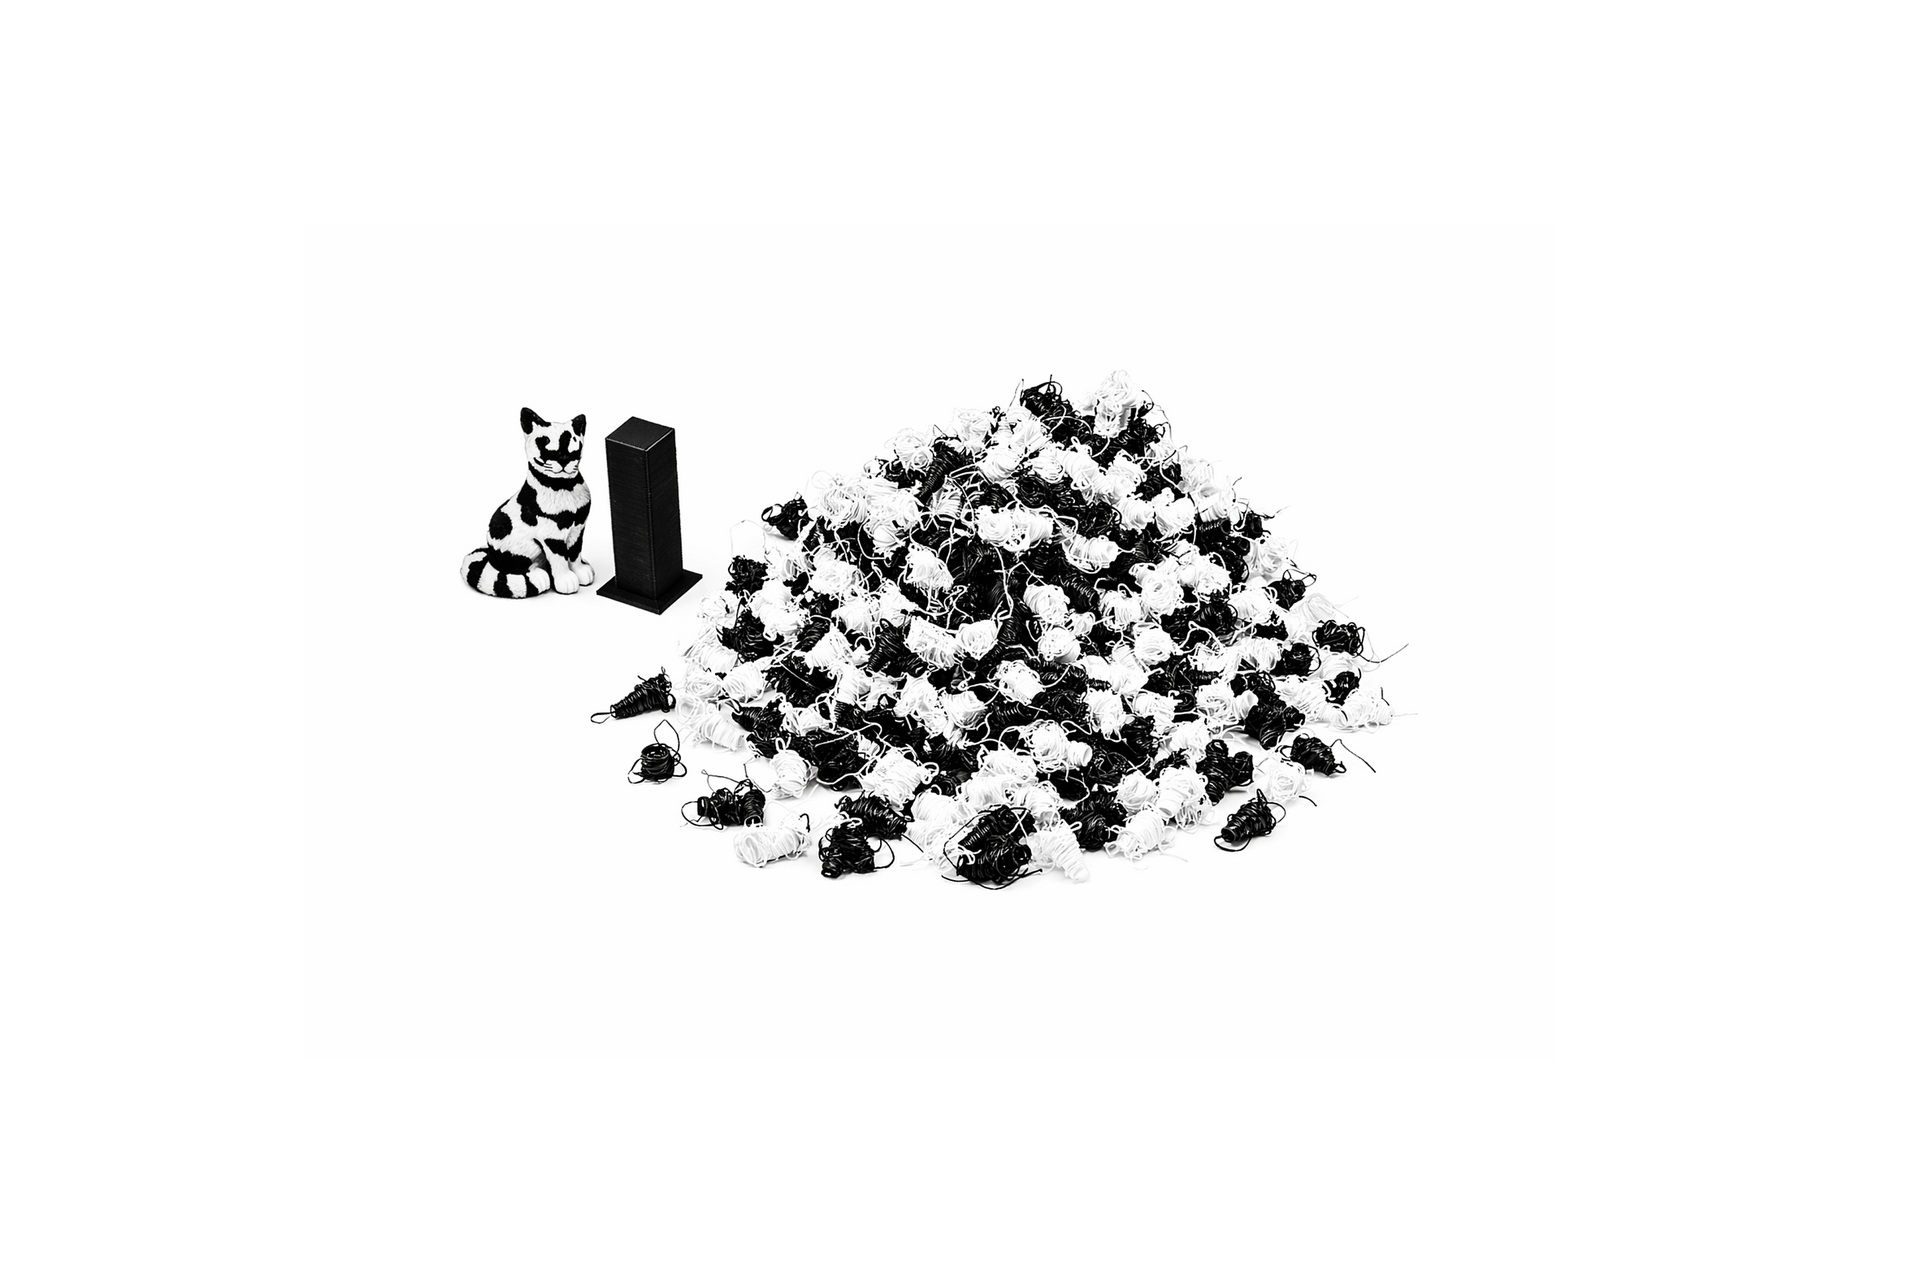
    QIDI has changed the way the printer discards of filament and so now instead of the usual random pieces, filament is discarded in the above shape (better looking one). This however may not be particularly good news because it seems it discards more filament than before.


TEST RESULTS


CONCLUSION


qidi plus5 review b


    Just like with past 3D printers by QIDI the Plus5 is a genuinely capable high‑performance machine, delivering the kind of speed, print quality, and material flexibility that justify its position in their latest lineup. Its CoreXY motion system and 600mm/s toolhead translate into consistently sharp results, while the ceramic‑heated multi‑metal hot end reaching 370°C opens the door to advanced pro-oriented materials without fuss. The textured dual‑sided PEI plate provides reliable adhesion while the rather generous 320x320x300mm print size gives creators room to work. For users opting for the Combo model, multi‑color printing adds another layer of versatility, and as for the enclosed design paired with the AI camera, they make long, complex jobs easier to monitor and more predictable. Still, the Plus5 isn’t without friction points. The lower‑mounted handles make lifting less convenient, overall noise levels can be an issue for some (still lower compared to other models), and the top glass cover feels a bit delicate (thin). Firmware quirks from occasional Klipper issues to QIDI Maker app bugs that may unbind the printer from your account can interrupt an otherwise smooth workflow, though these issues are likely to improve with ongoing updates. Also, the AI camera set by default to a low 640x480p resolution means that users need to enter the web interface to adjust it manually and well, I think this is a feature that should be easily accessible via the QIDI Maker app (or even better, the printer itself). Taken together, the Plus5 delivers strong performance and premium capabilities, with a few rough edges that should smooth out over time.


    After months of rumors and speculations the Plus5 3D printer by QIDI launches today with pricing set at $669/€669 for loyal members and $699/€699 for new members plus 1 kg filament (from the original price of $749/€749), while the Plus5 Combo comes in at $819/€819 for loyal members and $849/€849 for new members plus 1 kg filament (from the $899/€899 original price). This is almost exactly what I expected this model to retail for based on its features and performance so pricing is not an issue. Overall, the Plus5 is among the best models I’ve used/reviewed to date, it’s fast, prints accurately, has almost every single feature I'd ever look for in a 3D printer and is priced properly so the Golden Award is in order.

PROS


- Good Build Quality
- Very Fast (Up To 600ms Speed / 20000ms Acceleration)
- Print Quality (Smooth Output)
- Heated & Flexible PEI Print Bed
- Temperature Controlled Chamber
- High Speed Dual Gear Direct Drive Extruder (Up To 370°C)
- G Sensor (Input Shaping)
- Automatic Leveling
- 1080P AI Camera
- 4” Inch 800x480p HD Color Touch Screen Display
- Air Purifier
- WiFi, RJ45 Ethernet & USB Port


CONS


- Overall Noise Levels (Although Low In Comparison)
- Some Software Glitches (Currently)
- Size & Weight (For Some)


QIDI Plus5 3D Printer Review

INTRODUCTION


qidi plus5 review a


    3D printing has entered a phase where core mechanics matter more than novelty, with modern machines relying on stiffer kinematics, tighter belt paths, and more efficient thermal management to maintain dimensional accuracy across long prints. Improvements in auto‑calibration, nozzle pressure control, and closed‑loop motion have also reduced the variability that once made entry‑level printing unpredictable. As users progress, they often expand into larger build volumes, higher flow rates, or optional multi‑color systems that add complexity without altering the underlying extrusion physics. Within this landscape of increasingly mature hardware and modular capability, QIDI’s new Plus5 is positioned as part of this broader shift toward stable, scalable, and user‑configurable platforms.


    Our story formed in 2014, QIDI Tech began with a small team of engineers with a big vision: we wanted to make 3D printing accessible to everyone. Crazy? A little bit. With our journey have consistently focused on more than just producing machinery; it's about enabling creators of all kinds to bring their ideas to life. Every day, we're doing more than just constructing printers. We are establishing an environment where seasoned designers and adventurous individuals can join forces, work together, realize ideas, and develop. QIDI Tech 3D printers are created to be intuitive and efficient, after all, delivering a hassle free printing process for all users from the beginning should be the top priority. Our extensive manufacturing plant and advanced research and development center embody our commitment to creativity, excellence, and teamwork.


    The Plus5 is built around a CoreXY motion system with a high‑hardness linear guide rail on the X‑axis and automatic belt tensioning, while the Z‑axis uses dual independent lead screw motors supported by 10mm linear shafts and screws for stable vertical movement. Its print volume reaches 320x320x300mm inside a 500x488x558mm chassis weighing 29kg. The print head pushes temperatures up to 370°C, driven by a direct extruder with hardened steel dual gears, a ceramic‑plate heated multi‑metal hot end, and a bimetal nozzle available in 0.4mm standard or 0.2/0.6/0.8mm options, all feeding 1.75mm filament. The bed system combines an aluminum‑silicone heating bed with a dual‑sided textured PEI plate and reaches up to 120°C. Performance is driven by a 600mm/s maximum toolhead speed and acceleration up to 20000mm/s, supported by a full suite of PWM‑controlled fans with RPM feedback for hot end, auxiliary, and part cooling, plus a closed‑loop motherboard fan and a second‑generation chamber heating fan capable of raising the enclosure to 65°C. Air quality is handled by a 3‑in‑1 filtration module combining a G3 pre‑filter, H12 HEPA, and activated carbon. The printer supports a wide range of materials (PLA, ABS, ASA, PETG, TPU, PA, PC, and carbon/glass‑fiber composites) and includes filament cutting, clog detection, tangle detection, run‑out sensing, and print recovery when paired with the QIDI BOX. A full sensor suite adds AI camera detection (640x480p default, 1920x1080p native), resonance compensation, automatic leveling via a loadcell integrated into the hot end, and power‑loss recovery. Power delivery spans 100–240 VAC with a combined rating of 150W for the main system, 550W for chamber heating, and 500W for the hot bed. The electronics include a 4‑inch 800x480p touch screen, 32GB EMMC storage, and USB 2.0 support, while connectivity covers Wi‑Fi 2.4GHz, Ethernet, and USB. Software compatibility extends beyond QIDI Slicer to Cura, PrusaSlicer, and others, with support for STL, OBJ, 3MF, and STEP formats across Windows, macOS, and Linux.


SPECIFICATIONS AND FEATURES


featspecs


PACKAGING AND CONTENTS


QIDI uses a plain box to ship the Plus5 the front of which is taken by several warning logos (since it's a considerably large and heavy box, I was unable to move it to the photo bench area - no elevator and stairs are too narrow - so all pictures were taken in the test part of the office/lab).


Both the size and weight of the box are printed on the left side.


The printer is safely wrapped and placed between several thick pieces of foam.


Aside the Plus5 3D printer inside the box QIDI has placed a filament spool holder, combination spanner, power cable, RJ45 ethernet cable, USB 2.0 flash drive, 20g PLA rapido filament, scraper, two screwdrivers (flat head and Torx), 7 Allen keys, replacement nozzle cutter, replacement fuse, PTFE tube extension with instructions, declaration of conformity paper and the quick start guide in numerous languages.


THE PLUS5


Typically, the Plus5 arrived wrapped in plastic but this time there's a piece of paper at the front with contact details for the specific QIDI support team looking after this model.


The 500x488x558mm chassis is primarily made out of aluminum and metal and weighs 29Kg.


What I like about the latest QIDI models is the addition of clear panels on either side.


Just like previous models the Plus5 has a 4‑inch 800x480p touch screen on the top center (lifts up slightly).


A USB 2.0 port is located on the far left top as seen above.


The 320x320x300mm build plate features a detachable textured PEI plate.


Exactly like with the Max 4 model at the front of the hot bed we find the activity/temperature LED bar.


Inside we also find a blower type fan, 1080p AI camera (640x480p default resolution), filament residue cleaner, air-purifier compartment and the heater.


The direct drive extruder is almost identical to that used in the Max 4 model and so it features a built-in run out sensor and a cold air tube intake (to cool the extruder and filament).


At the rear if the enclosure we find an exhaust fan, small intake fan, filament spool holder mount, RJ45 port, signal cable ports, and the filament exit.


Unlike previous models this time over the spool holder is a single piece one.


For this review I used the new PLA Rapido P (gold and silver) filaments by QIDI.


DISPLAY MENUS


Once you turn on the Plus5 you will need to choose the language, region, bind the printer with the QIDI Maker app (if you want to) and follow instructions on how to remove the QIDI box (if you got the combo model) and unlock the bed and print head.


Next stop is to allow the unit to perform a self-check and calibration.


Once the self-check and calibration procedure is complete, you'll see the above screen (may take a few more seconds for the procedure to complete even if this screen pops up).


The initial tab as always shows you the current state of the printer including temperatures, WiFi, LED light and also has a shortcut from where you can start printing 3D models.


From the 2nd tab you can move the extruder and the printing bed, adjust temperatures for the extruder, chamber and bed, turn the LED light on/off and adjust the cooling system.


Inside the filament tab you can see the type of filament mounted.


The settings tab includes the Wi-Fi, calibration, filament drying, firmware update, storage and general settings, AI printing options, BOX options and the factory reset.


The assistant tab is where you get instructions/information every time something goes wrong.


The Plus5 comes with 14 pre-loaded 3D models.


The printing screen showcases the model, current nozzle/bed/chamber temperatures, current state of the printer, remaining time and also allows you to pause and stop printing and access the more area (here you can find the skip, print speed, bed position and assistant commands).


QIDI MAKER APP


For remote viewing and printer access you should install the Maker app and bind your QIDI printer with it.

The first screen after you bind the printer will allow you to access the timelapse camera feed (again default resolution is 640x480p), temperatures and current state (idle, printing).


Second screen indicates the current filament input (spool holder or box).


Third screen allows you to move the print nozzle and the bed itself.


Final screen indicates current fan speeds, LED light and air circulation system.


Moving to the settings area from here you can adjust the AI detection options, box options, and check printer info (the IP is what you should all keep from this screen).


Worth pointing out is that you can start printing of the stored 3D models from within the app itself.


At this point it’s clear that QIDI doesn’t allow the end user to change the timelapse camera resolution easily, neither from the printer touch screen or the app. To do that you need to access the printer from your browser (use the IP from the information screen) as seen above.


Then you need to move to the configuration files area from the left side menu (from the left side menu you can also access your timelapse recordings).


After that just access the crowsnest.conf file, change the timelapse camera resolution (1920x1080p / 1280x720p – you may want to reduce max fps for FullHD if you encounter lag/freezing), save the file and then restart the Klipper.


TESTING METHODOLOGY


    Once again to test this printer by QIDI I used their latest print software (QIDI Studio v2.7.2.1.0) by manually entering the same settings I’ve used to date with all FDM printers (quality of 0.16mm, 20% infill density and cubic infill pattern).


    Nothing else has changed of course so again I’ll be using 2 different sized models (downloaded from Cults3D / member Eastman) to record completion time at 100% speed. Second thing to test are noise levels and so once again I’ll be using my ExTech HD600 decibel meter placed roughly 30cm away to record the maximum noise coming from the 3D printer while printing. As for the 3rd test with the help of an UPS and two power meters I decided to also record not only the lowest and highest but also the average instant power consumption of the 3D printer in my hands.


The Plus5 may not be quite as fast as some of the other models I’ve reviewed to date but it produces very good printing results as evident from the above pictures (as always a short timelapse is available both on TikTok and YouTube).


    QIDI has changed the way the printer discards of filament and so now instead of the usual random pieces, filament is discarded in the above shape (better looking one). This however may not be particularly good news because it seems it discards more filament than before.


TEST RESULTS


CONCLUSION


qidi plus5 review b


    Just like with past 3D printers by QIDI the Plus5 is a genuinely capable high‑performance machine, delivering the kind of speed, print quality, and material flexibility that justify its position in their latest lineup. Its CoreXY motion system and 600mm/s toolhead translate into consistently sharp results, while the ceramic‑heated multi‑metal hot end reaching 370°C opens the door to advanced pro-oriented materials without fuss. The textured dual‑sided PEI plate provides reliable adhesion while the rather generous 320x320x300mm print size gives creators room to work. For users opting for the Combo model, multi‑color printing adds another layer of versatility, and as for the enclosed design paired with the AI camera, they make long, complex jobs easier to monitor and more predictable. Still, the Plus5 isn’t without friction points. The lower‑mounted handles make lifting less convenient, overall noise levels can be an issue for some (still lower compared to other models), and the top glass cover feels a bit delicate (thin). Firmware quirks from occasional Klipper issues to QIDI Maker app bugs that may unbind the printer from your account can interrupt an otherwise smooth workflow, though these issues are likely to improve with ongoing updates. Also, the AI camera set by default to a low 640x480p resolution means that users need to enter the web interface to adjust it manually and well, I think this is a feature that should be easily accessible via the QIDI Maker app (or even better, the printer itself). Taken together, the Plus5 delivers strong performance and premium capabilities, with a few rough edges that should smooth out over time.


    After months of rumors and speculations the Plus5 3D printer by QIDI launches today with pricing set at $669/€669 for loyal members and $699/€699 for new members plus 1 kg filament (from the original price of $749/€749), while the Plus5 Combo comes in at $819/€819 for loyal members and $849/€849 for new members plus 1 kg filament (from the $899/€899 original price). This is almost exactly what I expected this model to retail for based on its features and performance so pricing is not an issue. Overall, the Plus5 is among the best models I’ve used/reviewed to date, it’s fast, prints accurately, has almost every single feature I'd ever look for in a 3D printer and is priced properly so the Golden Award is in order.

PROS


- Good Build Quality
- Very Fast (Up To 600ms Speed / 20000ms Acceleration)
- Print Quality (Smooth Output)
- Heated & Flexible PEI Print Bed
- Temperature Controlled Chamber
- High Speed Dual Gear Direct Drive Extruder (Up To 370°C)
- G Sensor (Input Shaping)
- Automatic Leveling
- 1080P AI Camera
- 4” Inch 800x480p HD Color Touch Screen Display
- Air Purifier
- WiFi, RJ45 Ethernet & USB Port


CONS


- Overall Noise Levels (Although Low In Comparison)
- Some Software Glitches (Currently)
- Size & Weight (For Some)


QIDI Plus5 3D Printer Review

INTRODUCTION


qidi plus5 review a


    3D printing has entered a phase where core mechanics matter more than novelty, with modern machines relying on stiffer kinematics, tighter belt paths, and more efficient thermal management to maintain dimensional accuracy across long prints. Improvements in auto‑calibration, nozzle pressure control, and closed‑loop motion have also reduced the variability that once made entry‑level printing unpredictable. As users progress, they often expand into larger build volumes, higher flow rates, or optional multi‑color systems that add complexity without altering the underlying extrusion physics. Within this landscape of increasingly mature hardware and modular capability, QIDI’s new Plus5 is positioned as part of this broader shift toward stable, scalable, and user‑configurable platforms.


    Our story formed in 2014, QIDI Tech began with a small team of engineers with a big vision: we wanted to make 3D printing accessible to everyone. Crazy? A little bit. With our journey have consistently focused on more than just producing machinery; it's about enabling creators of all kinds to bring their ideas to life. Every day, we're doing more than just constructing printers. We are establishing an environment where seasoned designers and adventurous individuals can join forces, work together, realize ideas, and develop. QIDI Tech 3D printers are created to be intuitive and efficient, after all, delivering a hassle free printing process for all users from the beginning should be the top priority. Our extensive manufacturing plant and advanced research and development center embody our commitment to creativity, excellence, and teamwork.


    The Plus5 is built around a CoreXY motion system with a high‑hardness linear guide rail on the X‑axis and automatic belt tensioning, while the Z‑axis uses dual independent lead screw motors supported by 10mm linear shafts and screws for stable vertical movement. Its print volume reaches 320x320x300mm inside a 500x488x558mm chassis weighing 29kg. The print head pushes temperatures up to 370°C, driven by a direct extruder with hardened steel dual gears, a ceramic‑plate heated multi‑metal hot end, and a bimetal nozzle available in 0.4mm standard or 0.2/0.6/0.8mm options, all feeding 1.75mm filament. The bed system combines an aluminum‑silicone heating bed with a dual‑sided textured PEI plate and reaches up to 120°C. Performance is driven by a 600mm/s maximum toolhead speed and acceleration up to 20000mm/s, supported by a full suite of PWM‑controlled fans with RPM feedback for hot end, auxiliary, and part cooling, plus a closed‑loop motherboard fan and a second‑generation chamber heating fan capable of raising the enclosure to 65°C. Air quality is handled by a 3‑in‑1 filtration module combining a G3 pre‑filter, H12 HEPA, and activated carbon. The printer supports a wide range of materials (PLA, ABS, ASA, PETG, TPU, PA, PC, and carbon/glass‑fiber composites) and includes filament cutting, clog detection, tangle detection, run‑out sensing, and print recovery when paired with the QIDI BOX. A full sensor suite adds AI camera detection (640x480p default, 1920x1080p native), resonance compensation, automatic leveling via a loadcell integrated into the hot end, and power‑loss recovery. Power delivery spans 100–240 VAC with a combined rating of 150W for the main system, 550W for chamber heating, and 500W for the hot bed. The electronics include a 4‑inch 800x480p touch screen, 32GB EMMC storage, and USB 2.0 support, while connectivity covers Wi‑Fi 2.4GHz, Ethernet, and USB. Software compatibility extends beyond QIDI Slicer to Cura, PrusaSlicer, and others, with support for STL, OBJ, 3MF, and STEP formats across Windows, macOS, and Linux.


SPECIFICATIONS AND FEATURES


featspecs


PACKAGING AND CONTENTS


QIDI uses a plain box to ship the Plus5 the front of which is taken by several warning logos (since it's a considerably large and heavy box, I was unable to move it to the photo bench area - no elevator and stairs are too narrow - so all pictures were taken in the test part of the office/lab).


Both the size and weight of the box are printed on the left side.


The printer is safely wrapped and placed between several thick pieces of foam.


Aside the Plus5 3D printer inside the box QIDI has placed a filament spool holder, combination spanner, power cable, RJ45 ethernet cable, USB 2.0 flash drive, 20g PLA rapido filament, scraper, two screwdrivers (flat head and Torx), 7 Allen keys, replacement nozzle cutter, replacement fuse, PTFE tube extension with instructions, declaration of conformity paper and the quick start guide in numerous languages.


THE PLUS5


Typically, the Plus5 arrived wrapped in plastic but this time there's a piece of paper at the front with contact details for the specific QIDI support team looking after this model.


The 500x488x558mm chassis is primarily made out of aluminum and metal and weighs 29Kg.


What I like about the latest QIDI models is the addition of clear panels on either side.


Just like previous models the Plus5 has a 4‑inch 800x480p touch screen on the top center (lifts up slightly).


A USB 2.0 port is located on the far left top as seen above.


The 320x320x300mm build plate features a detachable textured PEI plate.


Exactly like with the Max 4 model at the front of the hot bed we find the activity/temperature LED bar.


Inside we also find a blower type fan, 1080p AI camera (640x480p default resolution), filament residue cleaner, air-purifier compartment and the heater.


The direct drive extruder is almost identical to that used in the Max 4 model and so it features a built-in run out sensor and a cold air tube intake (to cool the extruder and filament).


At the rear if the enclosure we find an exhaust fan, small intake fan, filament spool holder mount, RJ45 port, signal cable ports, and the filament exit.


Unlike previous models this time over the spool holder is a single piece one.


For this review I used the new PLA Rapido P (gold and silver) filaments by QIDI.


DISPLAY MENUS


Once you turn on the Plus5 you will need to choose the language, region, bind the printer with the QIDI Maker app (if you want to) and follow instructions on how to remove the QIDI box (if you got the combo model) and unlock the bed and print head.


Next stop is to allow the unit to perform a self-check and calibration.


Once the self-check and calibration procedure is complete, you'll see the above screen (may take a few more seconds for the procedure to complete even if this screen pops up).


The initial tab as always shows you the current state of the printer including temperatures, WiFi, LED light and also has a shortcut from where you can start printing 3D models.


From the 2nd tab you can move the extruder and the printing bed, adjust temperatures for the extruder, chamber and bed, turn the LED light on/off and adjust the cooling system.


Inside the filament tab you can see the type of filament mounted.


The settings tab includes the Wi-Fi, calibration, filament drying, firmware update, storage and general settings, AI printing options, BOX options and the factory reset.


The assistant tab is where you get instructions/information every time something goes wrong.


The Plus5 comes with 14 pre-loaded 3D models.


The printing screen showcases the model, current nozzle/bed/chamber temperatures, current state of the printer, remaining time and also allows you to pause and stop printing and access the more area (here you can find the skip, print speed, bed position and assistant commands).


QIDI MAKER APP


For remote viewing and printer access you should install the Maker app and bind your QIDI printer with it.

The first screen after you bind the printer will allow you to access the timelapse camera feed (again default resolution is 640x480p), temperatures and current state (idle, printing).


Second screen indicates the current filament input (spool holder or box).


Third screen allows you to move the print nozzle and the bed itself.


Final screen indicates current fan speeds, LED light and air circulation system.


Moving to the settings area from here you can adjust the AI detection options, box options, and check printer info (the IP is what you should all keep from this screen).


Worth pointing out is that you can start printing of the stored 3D models from within the app itself.


At this point it’s clear that QIDI doesn’t allow the end user to change the timelapse camera resolution easily, neither from the printer touch screen or the app. To do that you need to access the printer from your browser (use the IP from the information screen) as seen above.


Then you need to move to the configuration files area from the left side menu (from the left side menu you can also access your timelapse recordings).


After that just access the crowsnest.conf file, change the timelapse camera resolution (1920x1080p / 1280x720p – you may want to reduce max fps for FullHD if you encounter lag/freezing), save the file and then restart the Klipper.


TESTING METHODOLOGY


    Once again to test this printer by QIDI I used their latest print software (QIDI Studio v2.7.2.1.0) by manually entering the same settings I’ve used to date with all FDM printers (quality of 0.16mm, 20% infill density and cubic infill pattern).


    Nothing else has changed of course so again I’ll be using 2 different sized models (downloaded from Cults3D / member Eastman) to record completion time at 100% speed. Second thing to test are noise levels and so once again I’ll be using my ExTech HD600 decibel meter placed roughly 30cm away to record the maximum noise coming from the 3D printer while printing. As for the 3rd test with the help of an UPS and two power meters I decided to also record not only the lowest and highest but also the average instant power consumption of the 3D printer in my hands.


The Plus5 may not be quite as fast as some of the other models I’ve reviewed to date but it produces very good printing results as evident from the above pictures (as always a short timelapse is available both on TikTok and YouTube).


    QIDI has changed the way the printer discards of filament and so now instead of the usual random pieces, filament is discarded in the above shape (better looking one). This however may not be particularly good news because it seems it discards more filament than before.


TEST RESULTS


CONCLUSION


qidi plus5 review b


    Just like with past 3D printers by QIDI the Plus5 is a genuinely capable high‑performance machine, delivering the kind of speed, print quality, and material flexibility that justify its position in their latest lineup. Its CoreXY motion system and 600mm/s toolhead translate into consistently sharp results, while the ceramic‑heated multi‑metal hot end reaching 370°C opens the door to advanced pro-oriented materials without fuss. The textured dual‑sided PEI plate provides reliable adhesion while the rather generous 320x320x300mm print size gives creators room to work. For users opting for the Combo model, multi‑color printing adds another layer of versatility, and as for the enclosed design paired with the AI camera, they make long, complex jobs easier to monitor and more predictable. Still, the Plus5 isn’t without friction points. The lower‑mounted handles make lifting less convenient, overall noise levels can be an issue for some (still lower compared to other models), and the top glass cover feels a bit delicate (thin). Firmware quirks from occasional Klipper issues to QIDI Maker app bugs that may unbind the printer from your account can interrupt an otherwise smooth workflow, though these issues are likely to improve with ongoing updates. Also, the AI camera set by default to a low 640x480p resolution means that users need to enter the web interface to adjust it manually and well, I think this is a feature that should be easily accessible via the QIDI Maker app (or even better, the printer itself). Taken together, the Plus5 delivers strong performance and premium capabilities, with a few rough edges that should smooth out over time.


    After months of rumors and speculations the Plus5 3D printer by QIDI launches today with pricing set at $669/€669 for loyal members and $699/€699 for new members plus 1 kg filament (from the original price of $749/€749), while the Plus5 Combo comes in at $819/€819 for loyal members and $849/€849 for new members plus 1 kg filament (from the $899/€899 original price). This is almost exactly what I expected this model to retail for based on its features and performance so pricing is not an issue. Overall, the Plus5 is among the best models I’ve used/reviewed to date, it’s fast, prints accurately, has almost every single feature I'd ever look for in a 3D printer and is priced properly so the Golden Award is in order.

PROS


- Good Build Quality
- Very Fast (Up To 600ms Speed / 20000ms Acceleration)
- Print Quality (Smooth Output)
- Heated & Flexible PEI Print Bed
- Temperature Controlled Chamber
- High Speed Dual Gear Direct Drive Extruder (Up To 370°C)
- G Sensor (Input Shaping)
- Automatic Leveling
- 1080P AI Camera
- 4” Inch 800x480p HD Color Touch Screen Display
- Air Purifier
- WiFi, RJ45 Ethernet & USB Port


CONS


- Overall Noise Levels (Although Low In Comparison)
- Some Software Glitches (Currently)
- Size & Weight (For Some)


QIDI Max 4 Combo 3D Printer Review

INTRODUCTION


qidi max 4 combo review a


    Over the past decade, 3D printing has evolved from a niche prototyping tool into a cornerstone of modern manufacturing. What began as slow, single‑material experimentation has matured into a field defined by precision, speed, and versatility. Today’s 3D printers can handle multiple filaments, complex geometries, and even color transitions with remarkable accuracy, a testament to how far additive technology has come. Standing at the forefront of this evolution is the brand new QIDI Max 4 Combo, a system built to merge industrial capability with desktop accessibility.


    Our story formed in 2014, QIDI Tech began with a small team of engineers with a big vision: we wanted to make 3D printing accessible to everyone. Crazy? A little bit. With our journey have consistently focused on more than just producing machinery; it's about enabling creators of all kinds to bring their ideas to life. Every day, we're doing more than just constructing printers. We are establishing an environment where seasoned designers and adventurous individuals can join forces, work together, realize ideas, and develop. QIDI Tech 3D printers are created to be intuitive and efficient, after all, delivering a hassle free printing process for all users from the beginning should be the top priority. Our extensive manufacturing plant and advanced research and development center embody our commitment to creativity, excellence, and teamwork.


    The Max 4 Combo by QIDI is built around a rigid CoreXY architecture designed for high‑speed stability, pairing FOC closed‑loop stepper motors with high‑hardness linear guides and 12mm steel shafts to maintain precision even at accelerations up to 30000mm/s² and print speeds reaching 800mm/s. Its 370°C high‑temperature hotend and 65°C actively heated chamber open the door to engineering materials like PA, PC, ASA, and carbon‑fiber composites, while the hands‑free load‑cell leveling system ensures consistent first‑layer accuracy across the large 390x390x340mm build volume. Cooling is handled through a multi‑stage system with PWM‑controlled fans and RPM feedback, and the Polar Cooler extruder cooler adds a dedicated high‑flow channel for long, heat‑intensive prints. With AI camera monitoring, input shaping, power‑loss recovery, and compatibility with the QIDI BOX for automated multi‑color printing, the Max 4 Combo positions itself as a high‑temp, high‑speed platform ready for demanding workflows.


SPECIFICATIONS AND FEATURES


PACKAGING AND CONTENTS


qidi max 4 combo review 1t

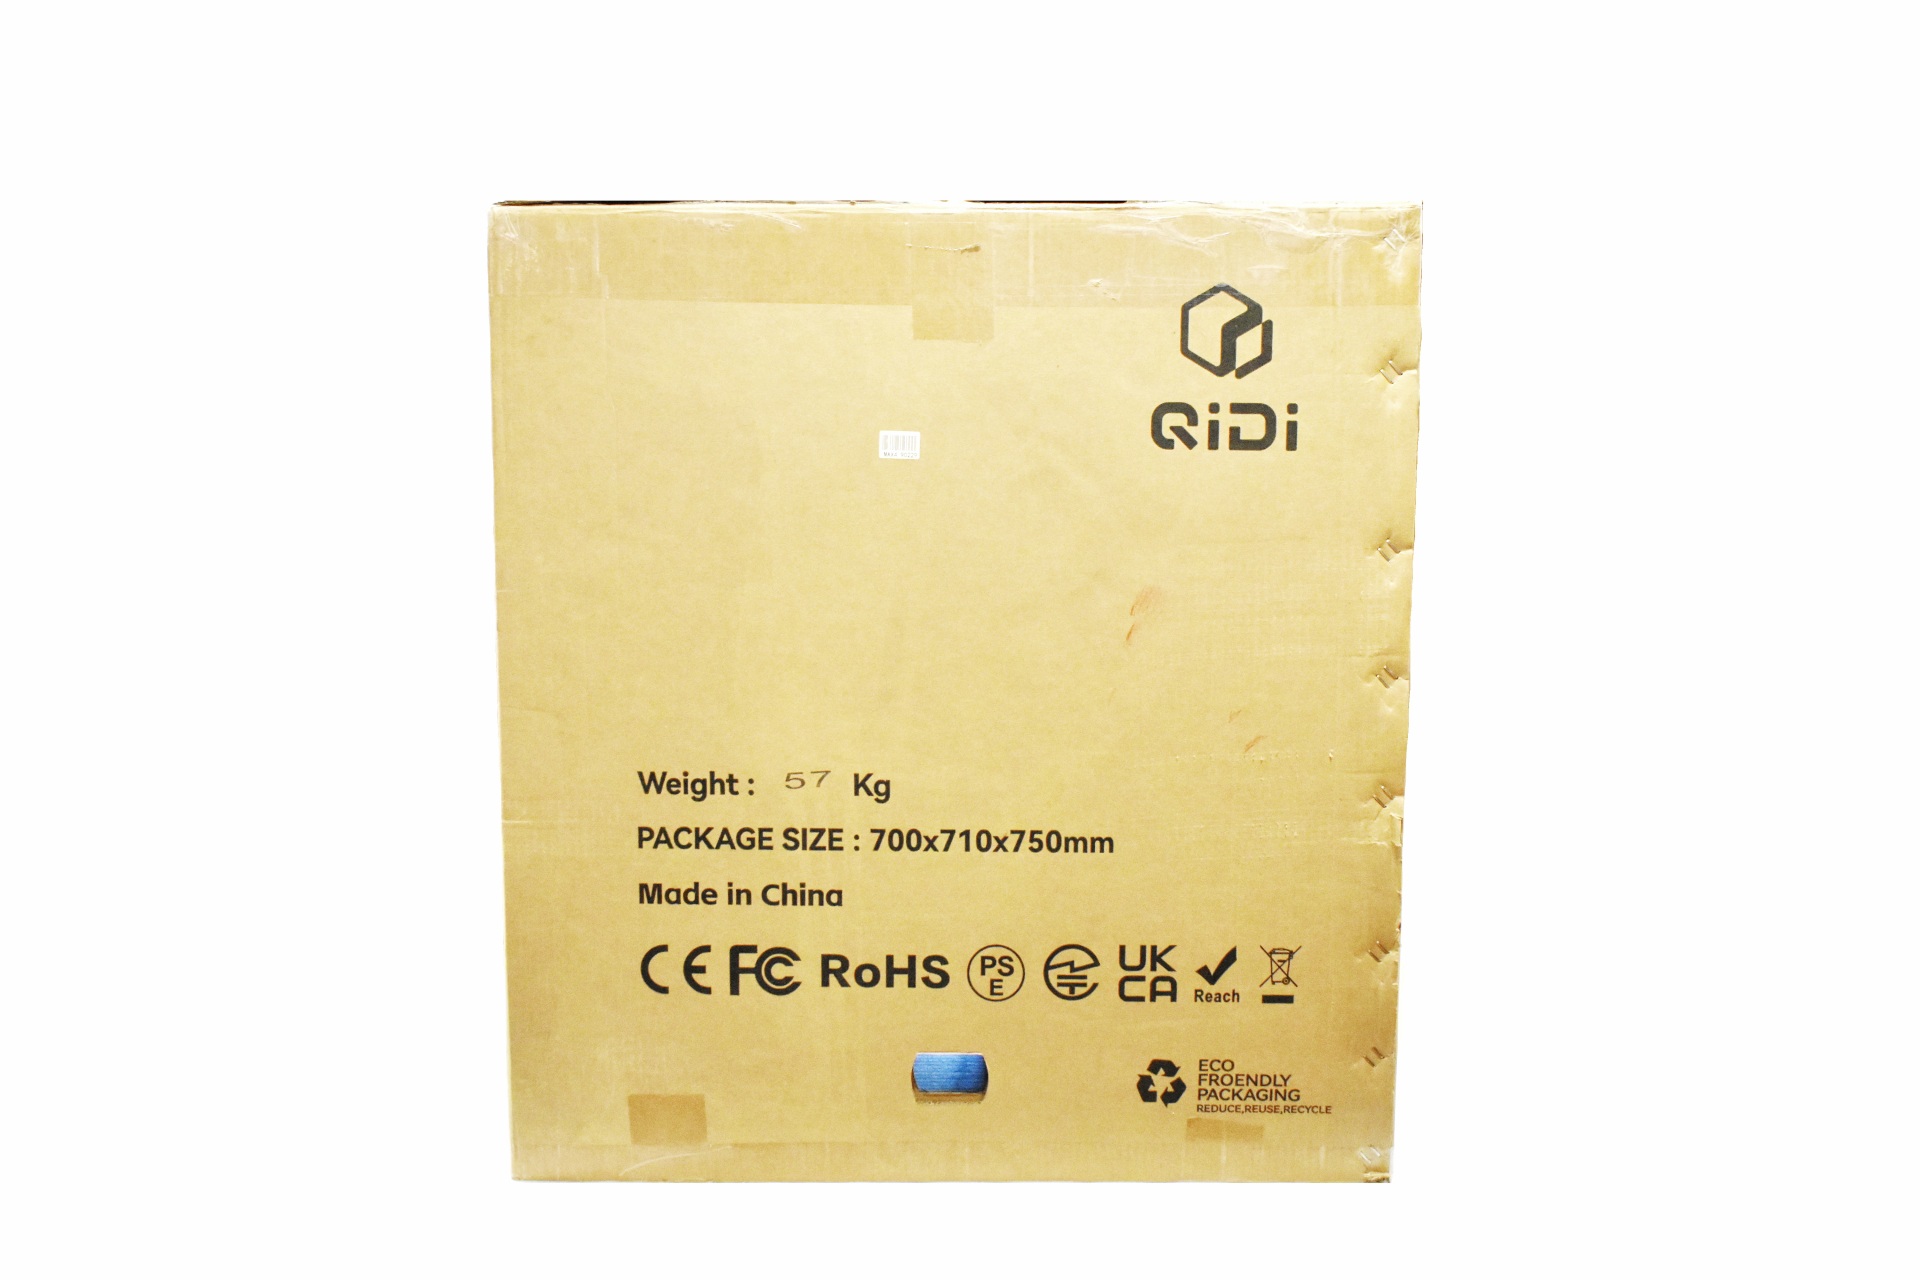
The Max 4 Combo arrived inside a very large box that just has the QIDI logo and the package measurements and size 57Kg.


Aside the handles we also see several warnings on both sides.


QIDI has used numerous pieces of foam, air bubble and compressed paper to secure the printer.


Almost the entire bundle is placed inside the printer.


Aside the Max 4 3D printer and the combo multi-color device inside the box you'll also find a 2-piece filament spool holder, 7mm spanner, power cable, RJ45 ethernet cable, USB 2.0 flash drive, scraper, two screwdrivers (flat head and Torq), replacement nozzle cutter, 5 Alen keys, 20g PLA rapido package, replacement fuse, pneumatic head, and the quick start guide in numerous languages.


THE QIDI MAX 4 COMBO


The 49.5kg heavy MAX 4 is a large 3D printer measuring 612mm in height, 558mm in depth and 578mm in width.


The 5-inch 800x480p touch screen located on the top left of the printer also features a tilt mechanism allowing the end user to slightly change its angle.


Unlike with previous models the door handle now comes pre-attached.


A USB-A port is located on top of the printer.


Turning the Max 4 3D printer around we see an intake fan, filament spool holder mount, RJ45 port, signal cable ports, and the filament exit.


Taking a look inside we see the Dual-Sided textured PEI plate (390x390x340mm print size), LED activity bar, AI 1080p camera, filament residue cleaner, air-purifier compartment and the heater.


The direct drive extruder features a built-in run out sensor and a cold air tube intake (to cool the extruder and filament) and as you can all see is very easy to take apart.


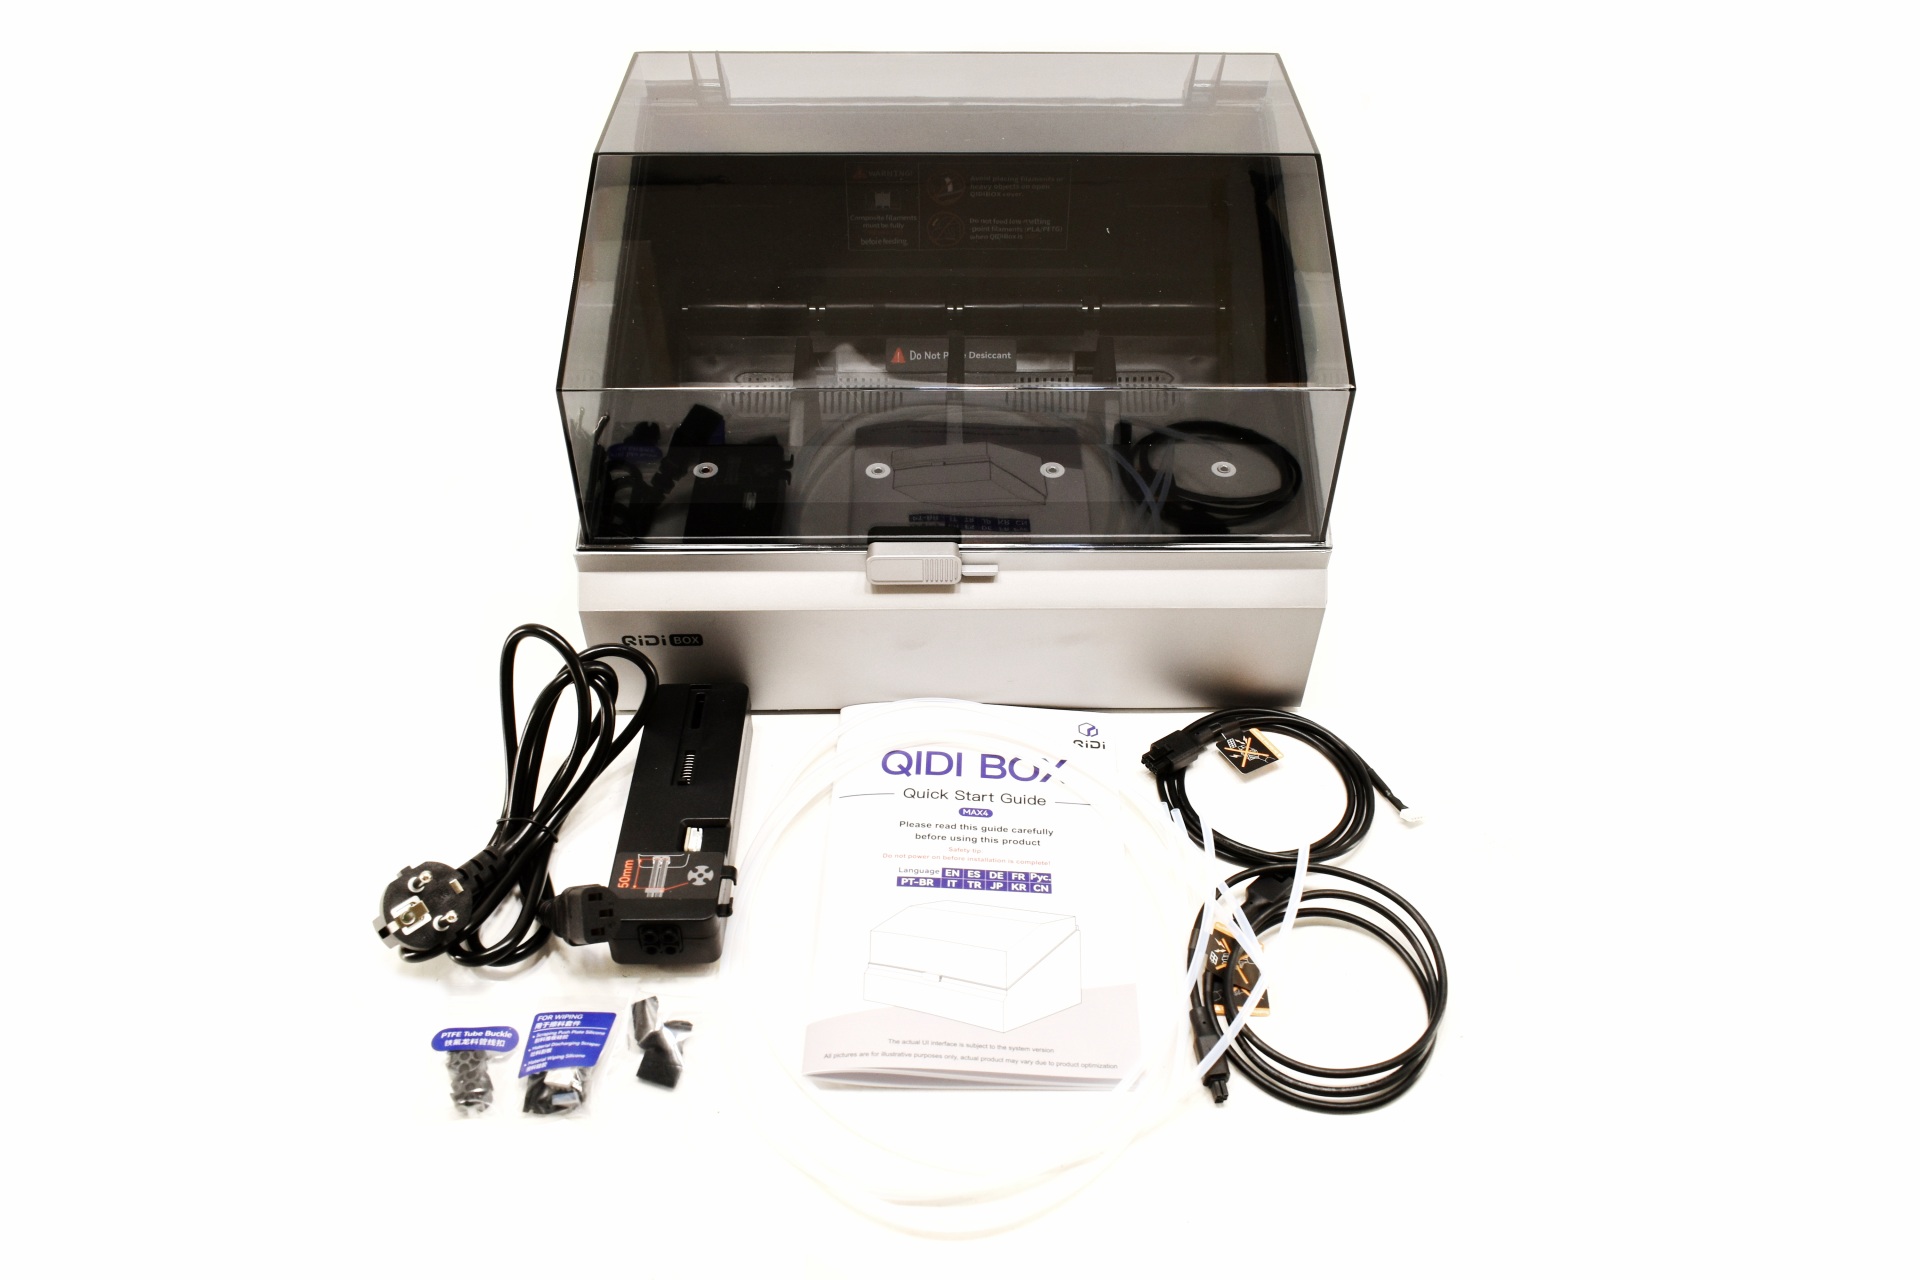
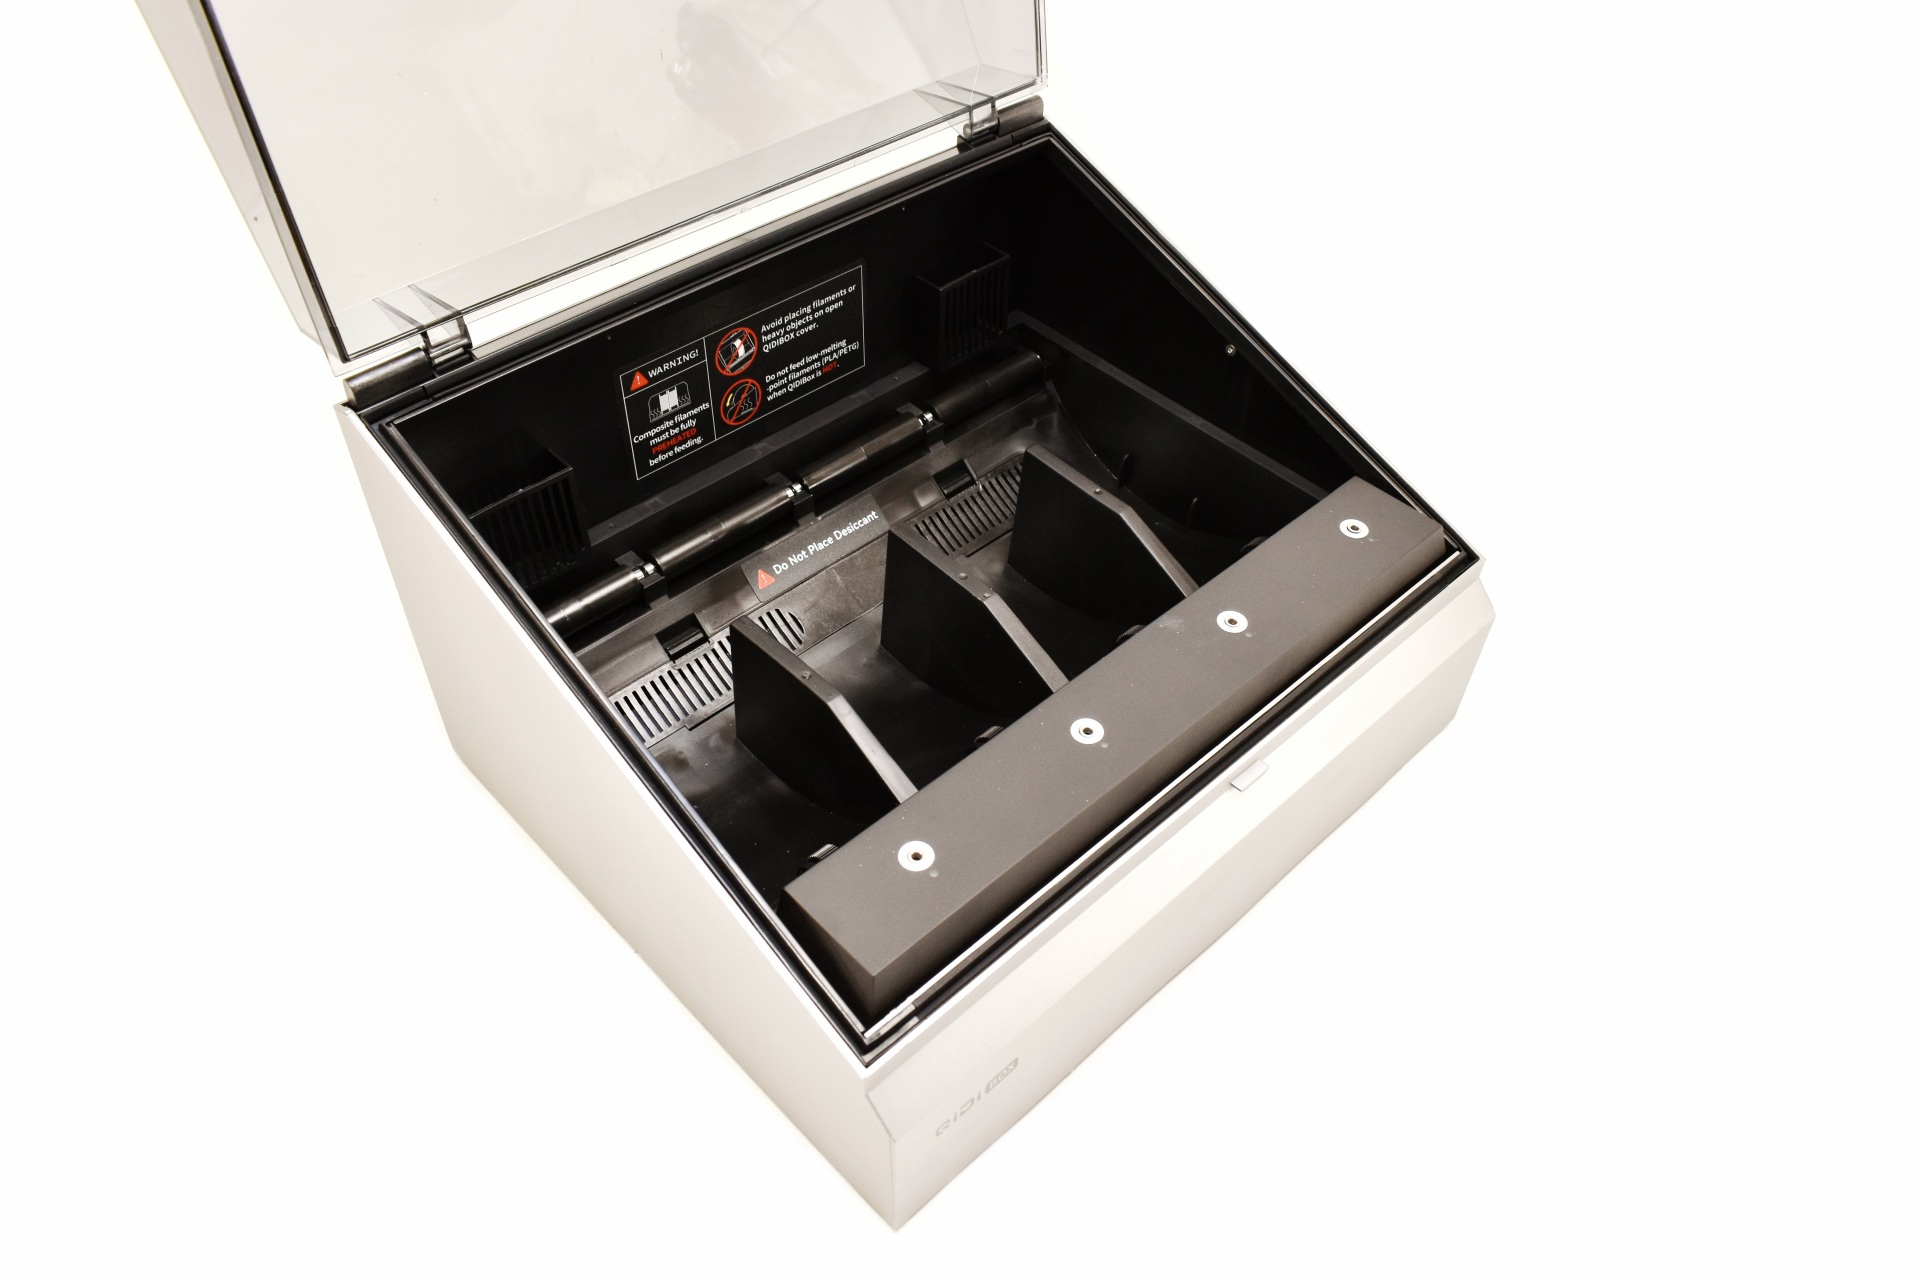
QIDI bundles their box with its power cable, multi-color spool hub, five PTFE tubes, two signal cables, two PTFE tube buckles and the quick start guide.


The QIDI box measures 357mm in width, 300mm in depth and 234mm in height.


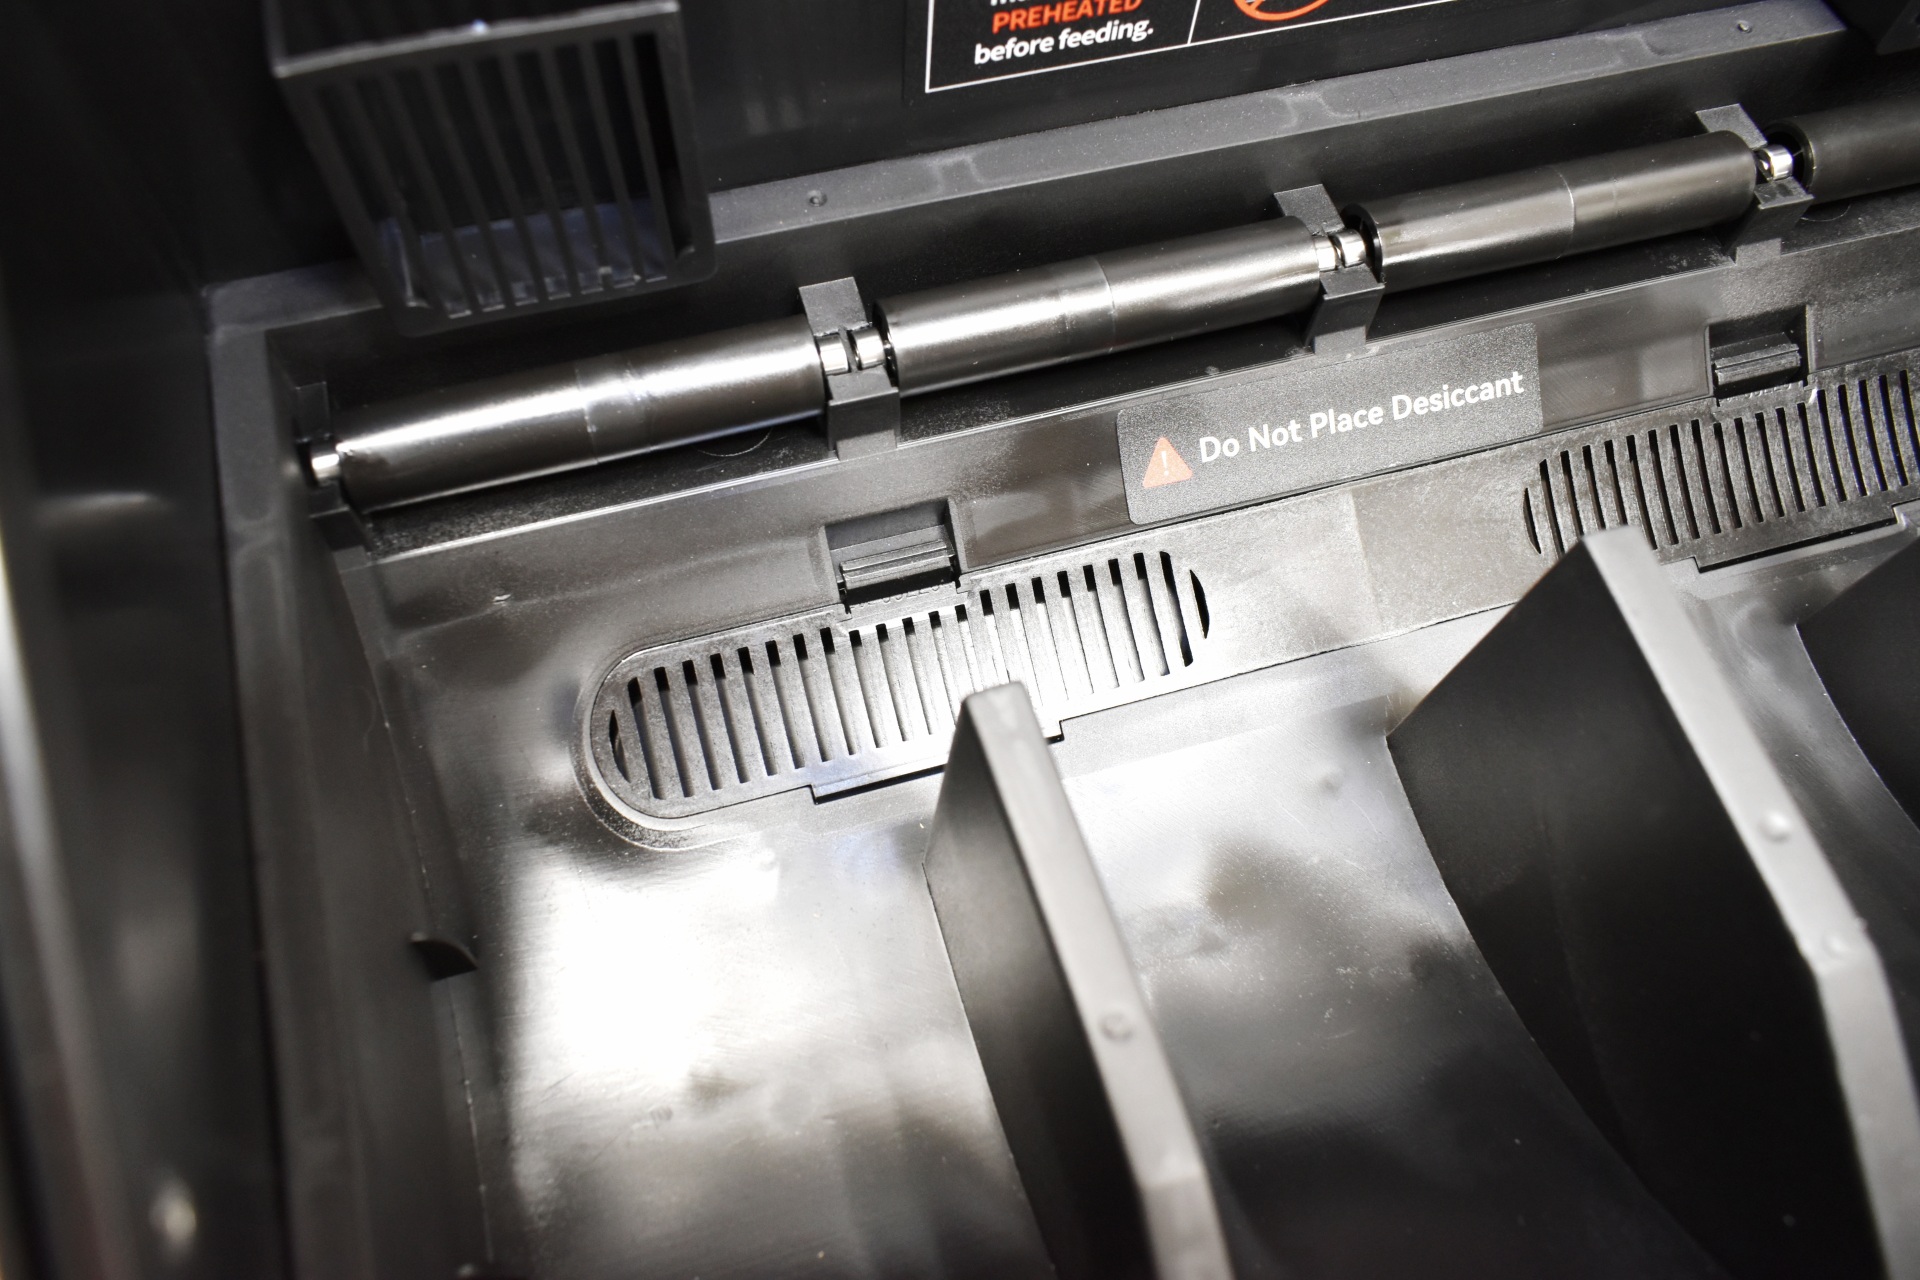
Inside the QIDI box has 4 compartments and a 65°C drying heater.


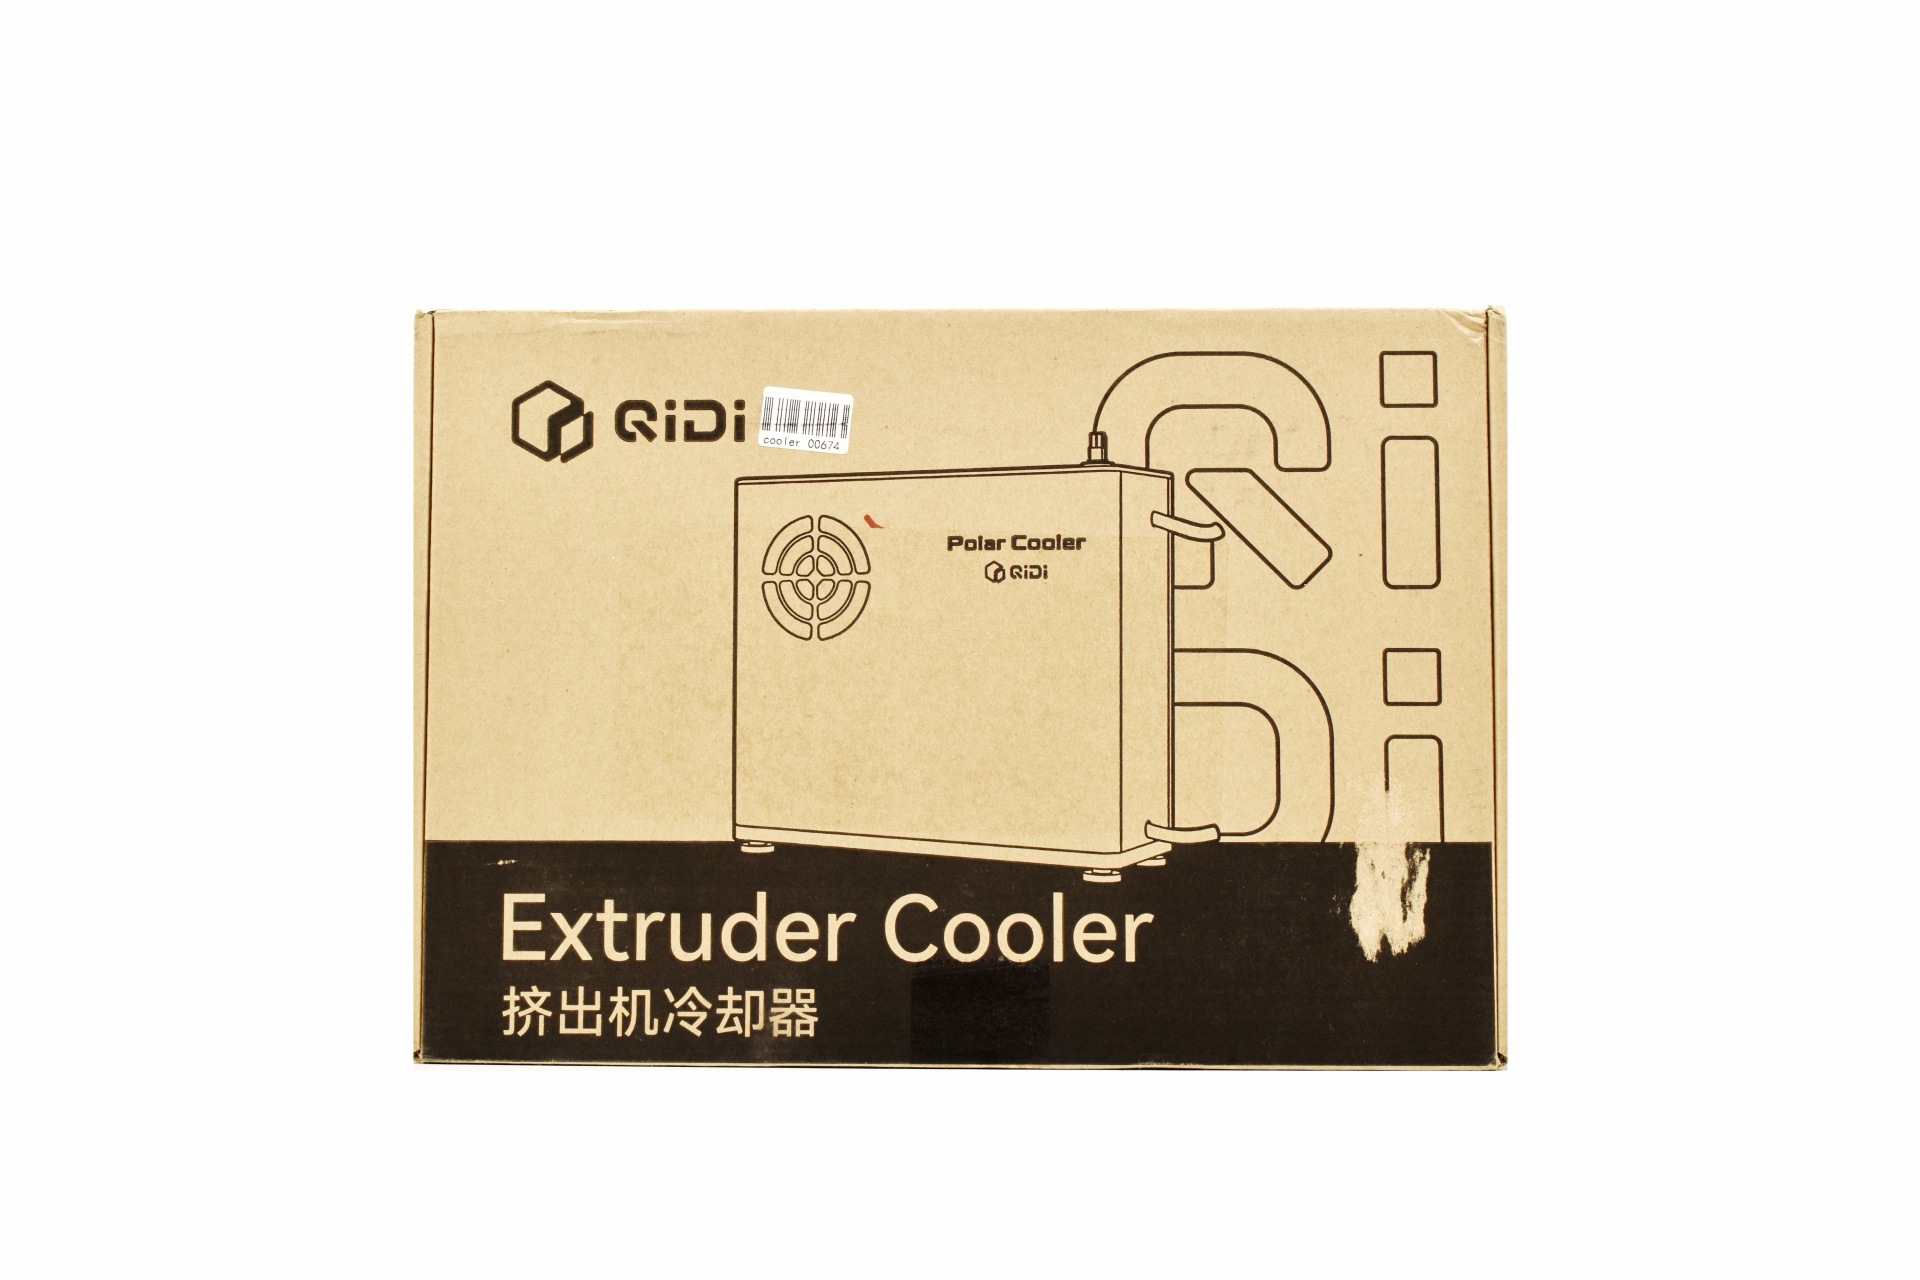
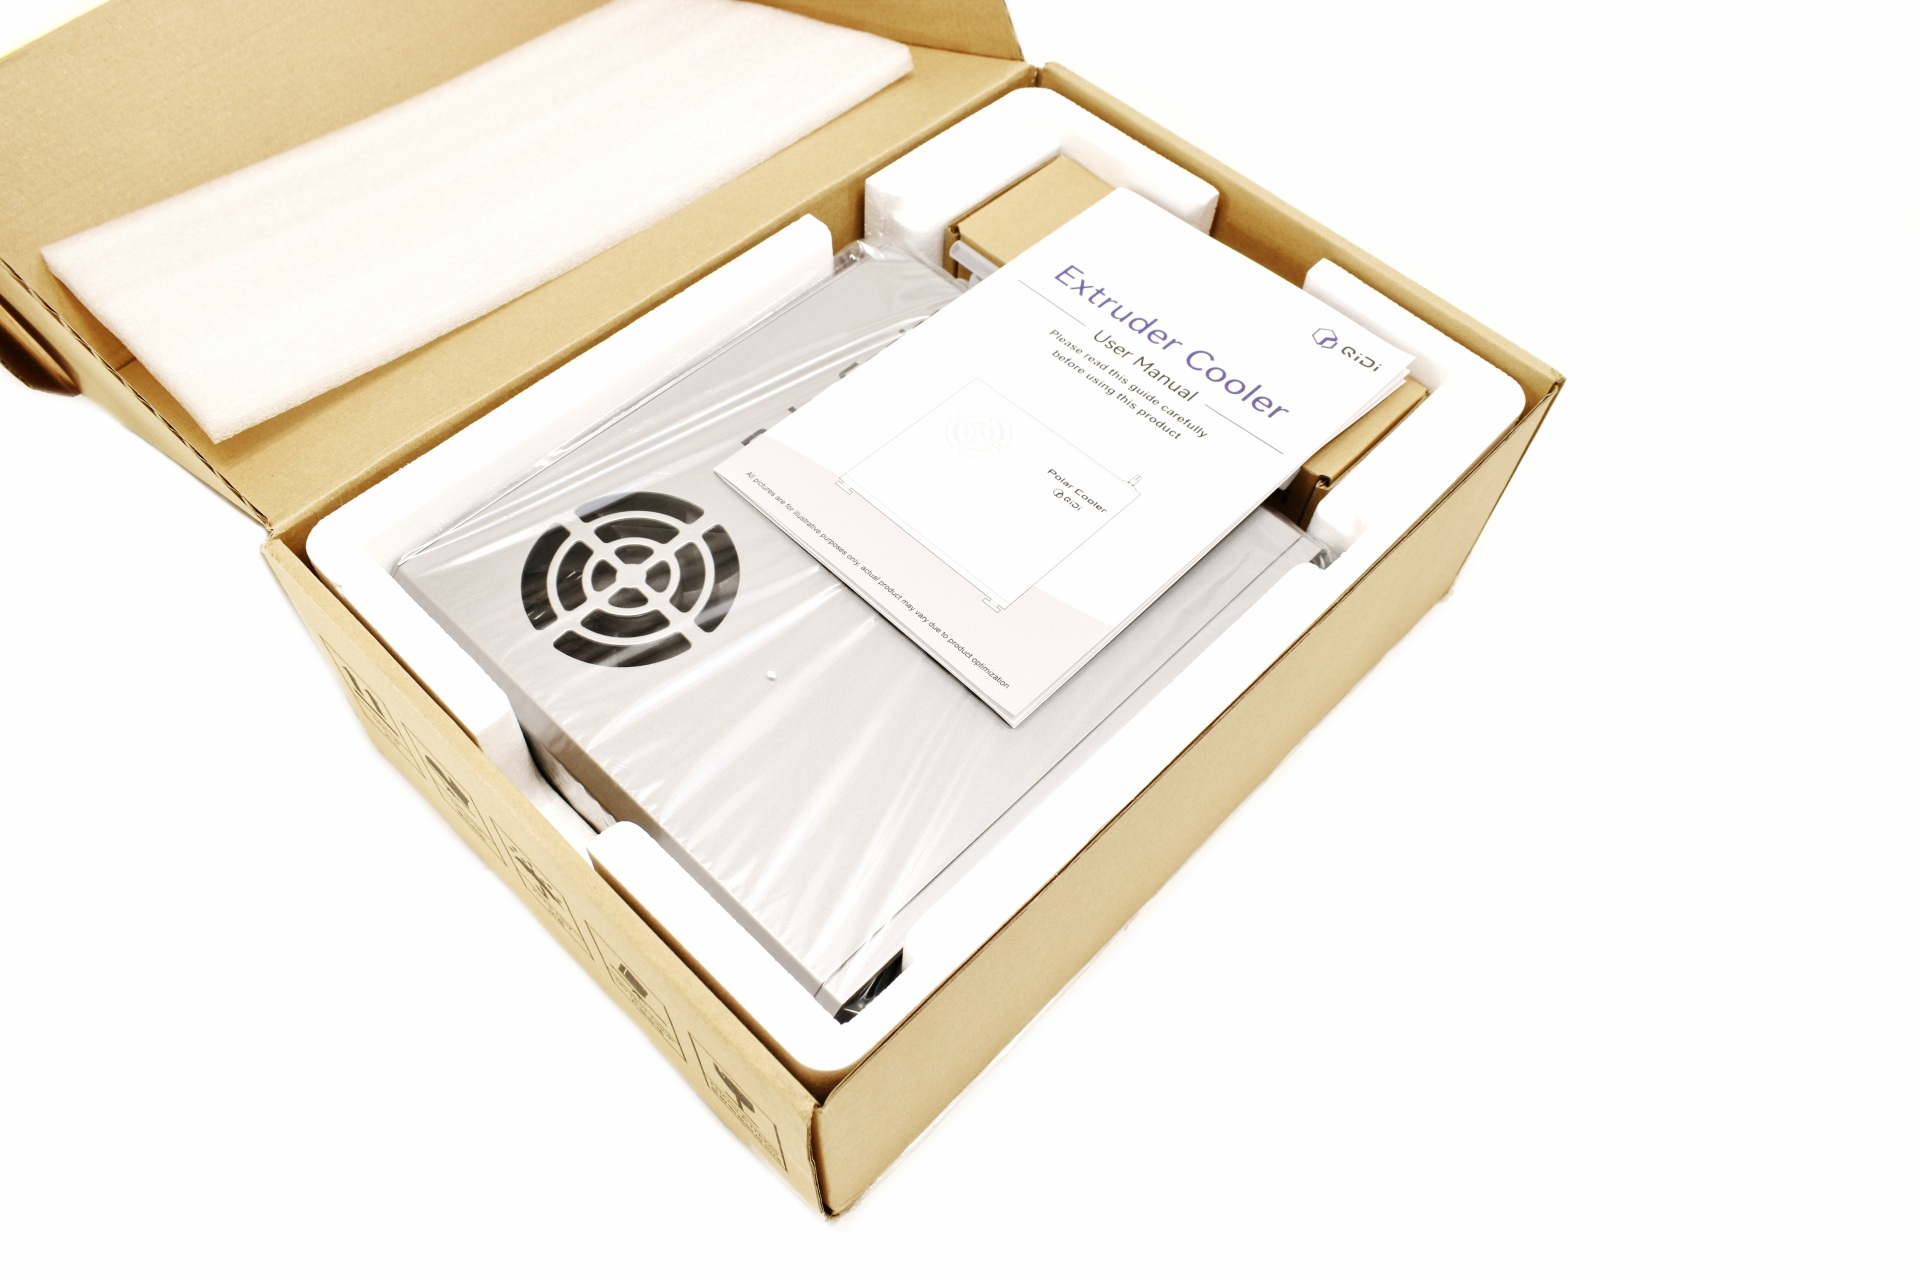
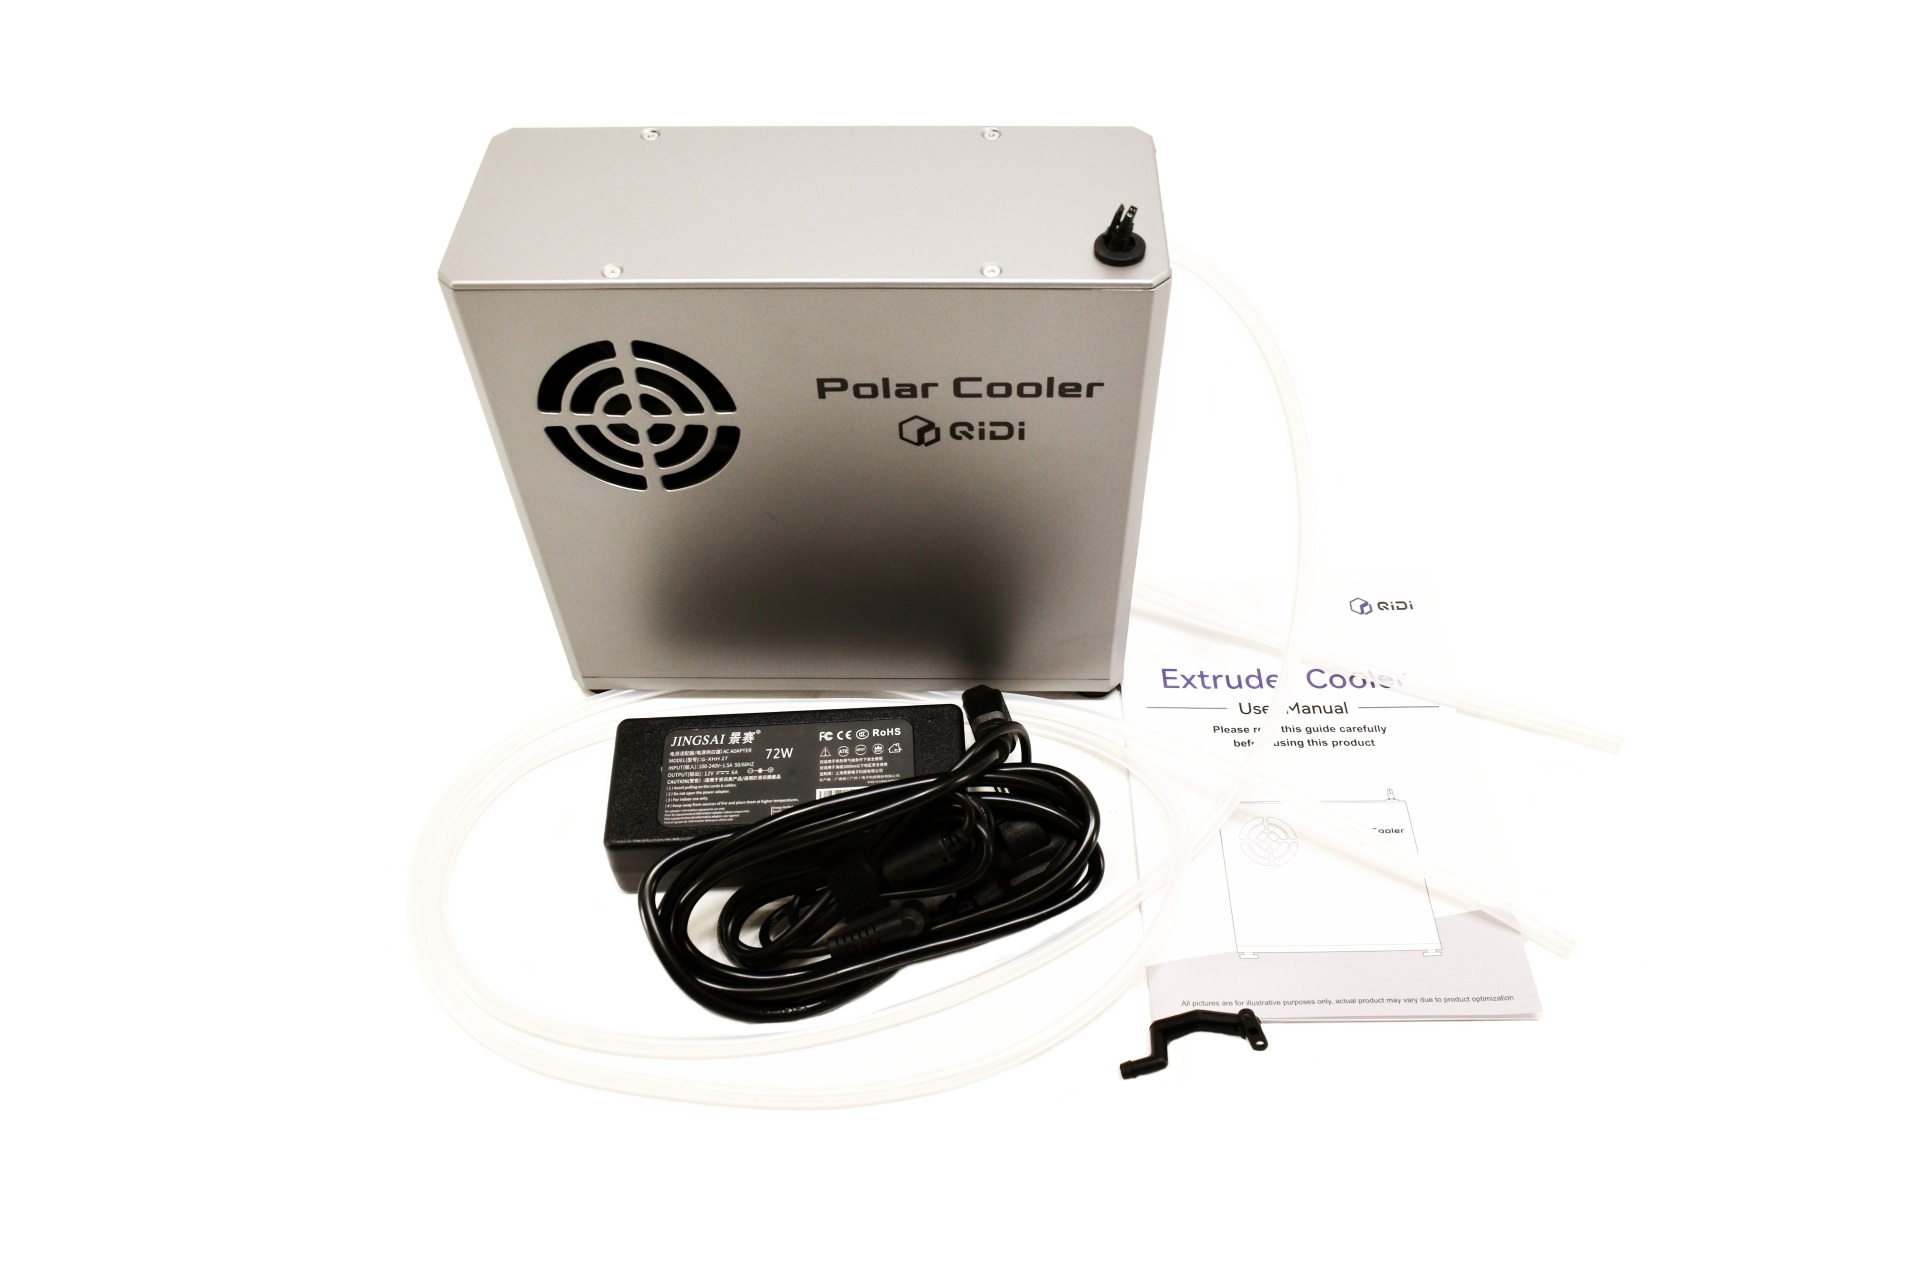
The Polar Cooler arrived in its own box secured by several pieces of foam.


Contained inside the box is the Polar Cooler, power adapter with power cord, air intake pipe, and the user manual.


In terms of size the Polar Cooler weighs 2.5kg and measures 234mm in length, 92mm in width and 214mm in height.


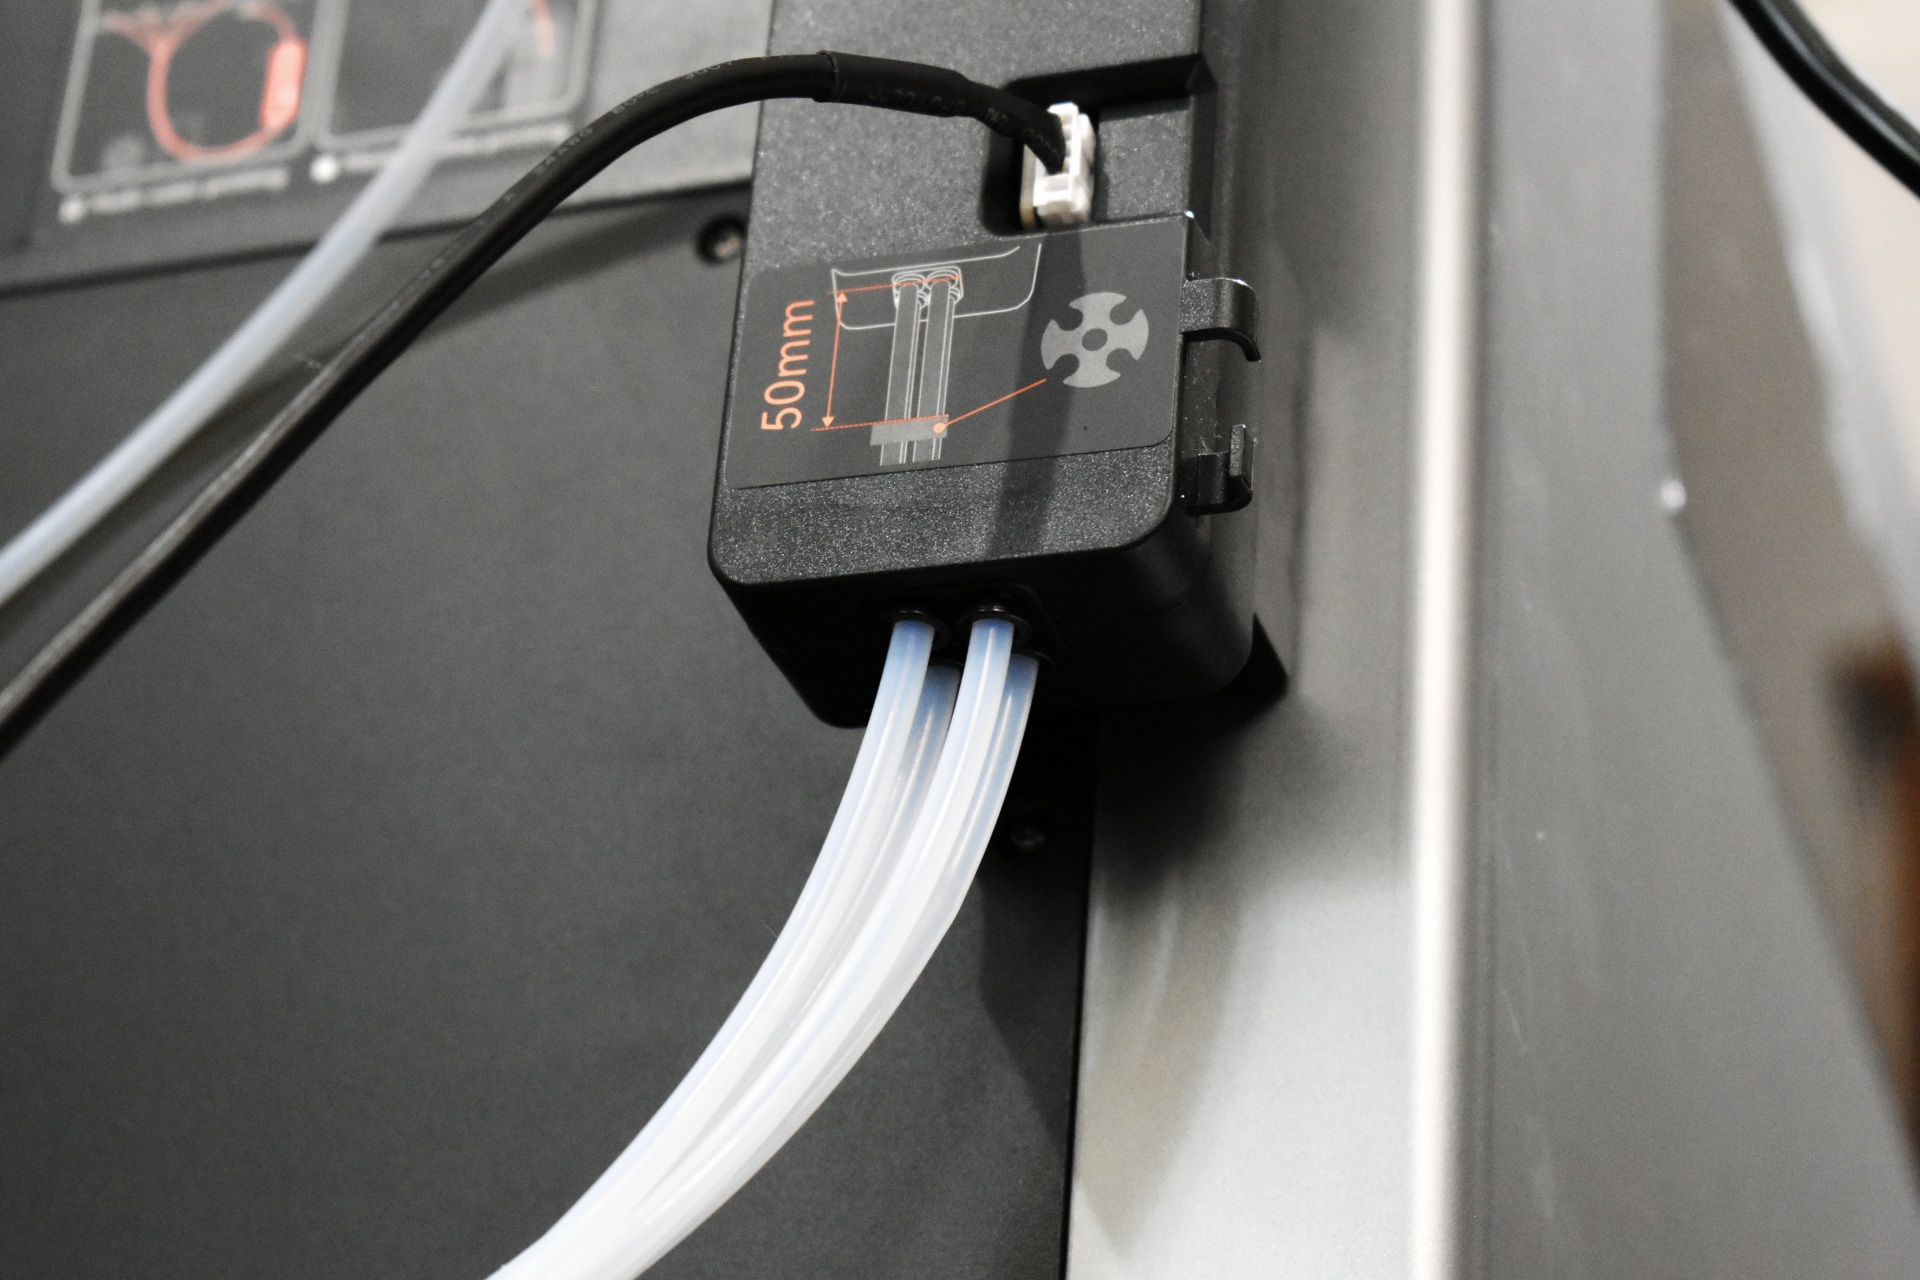
The Polar Cooler has a cooling fan on the left side, two tubes going out from the front and a signal cable that expands/retracts on top.


ASSEMBLY


Even though the Max 4 Combo is a 3D printer bundle people will get for the multi-color box showing how the spool holder looks when mounted is a must.


To use the QIDI box you will need to attach the multi-color spool hub in the holder mount as seen above.


Then you will have to connect the spool hub to the QIDI box via 4 PTFE tubes as seen above.


This is how the Max 4 Combo looks with the PTFE and power cables attached (signal cables still not attached).


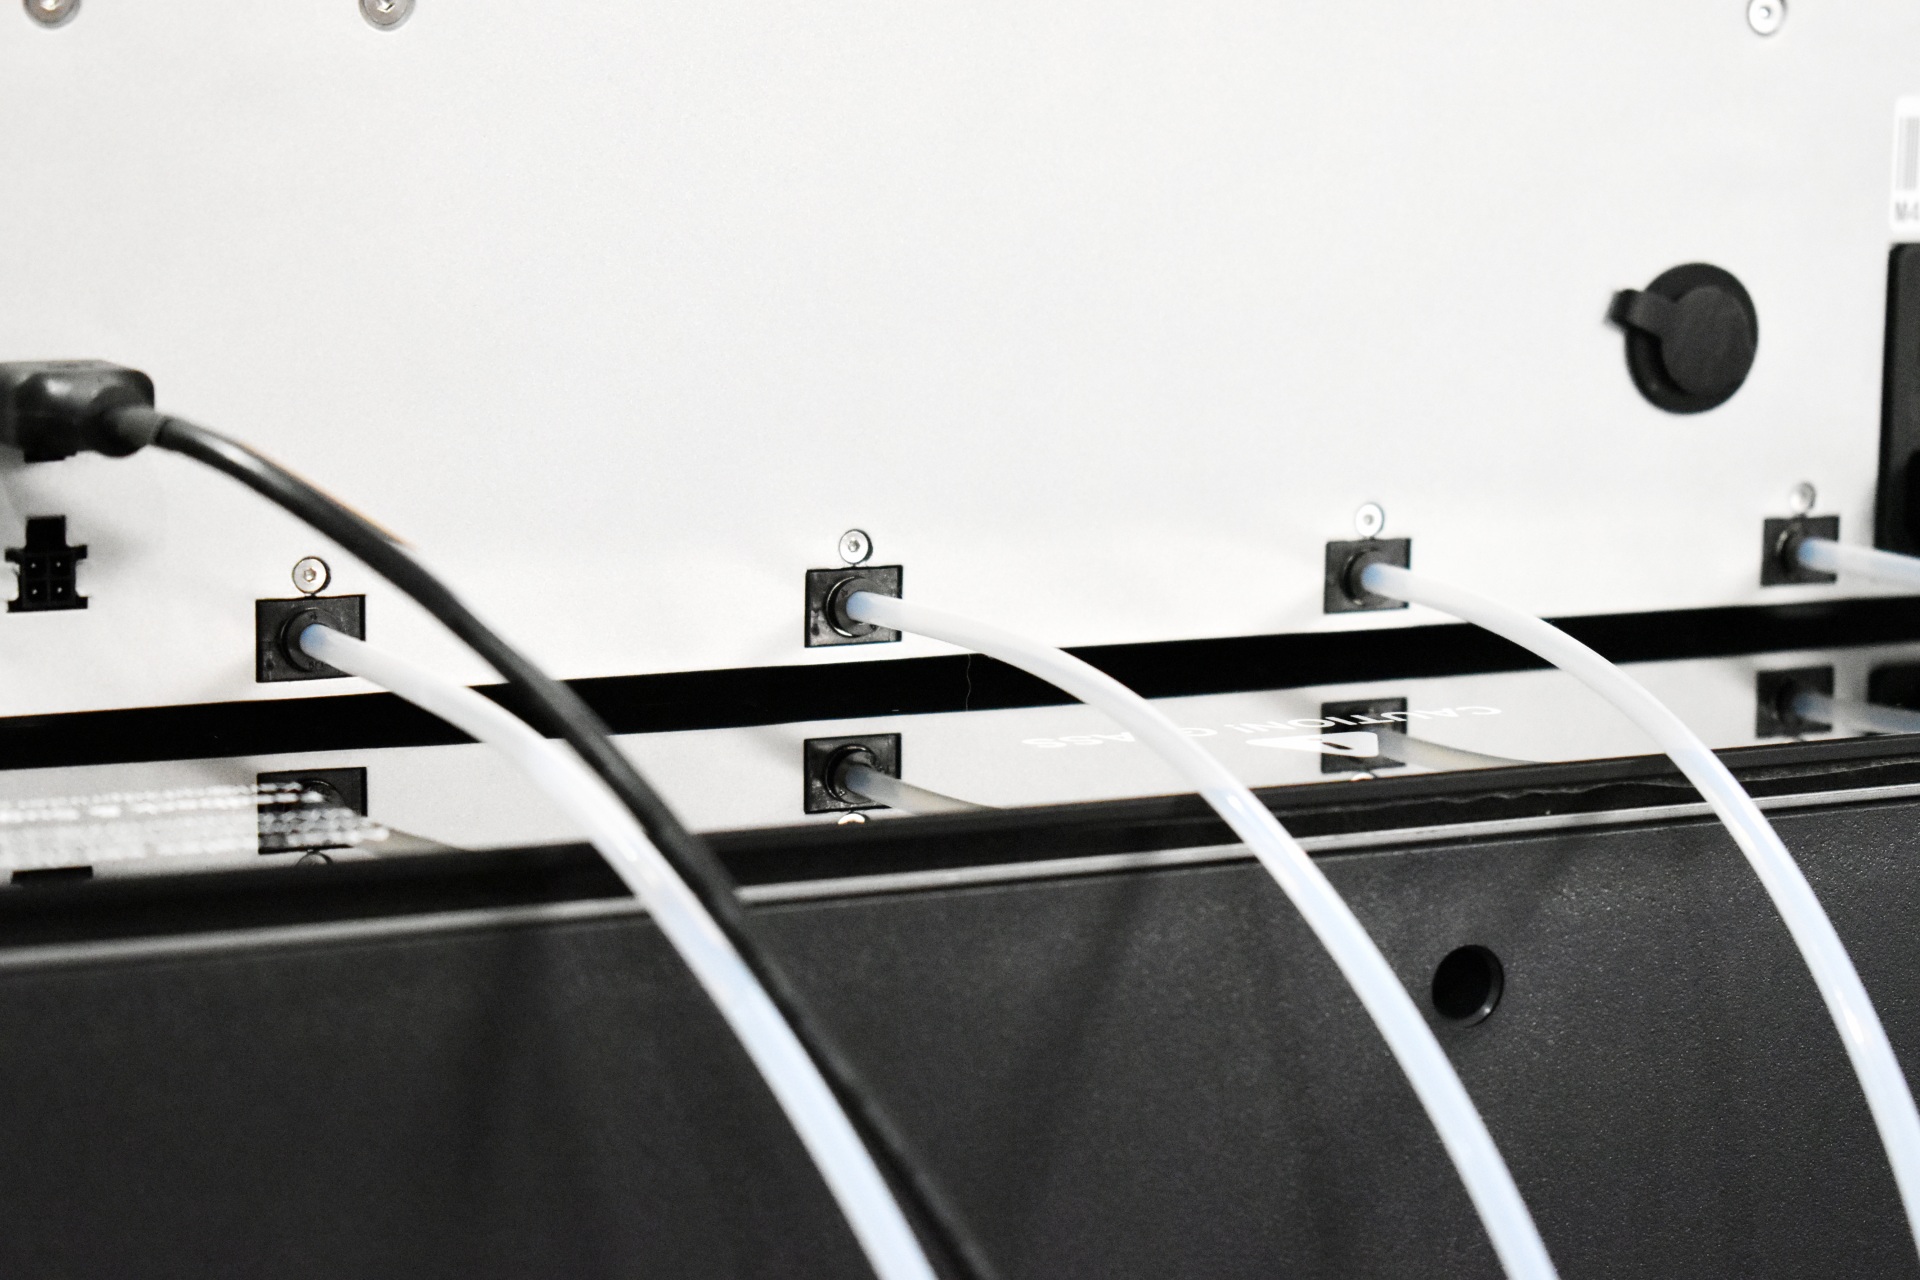
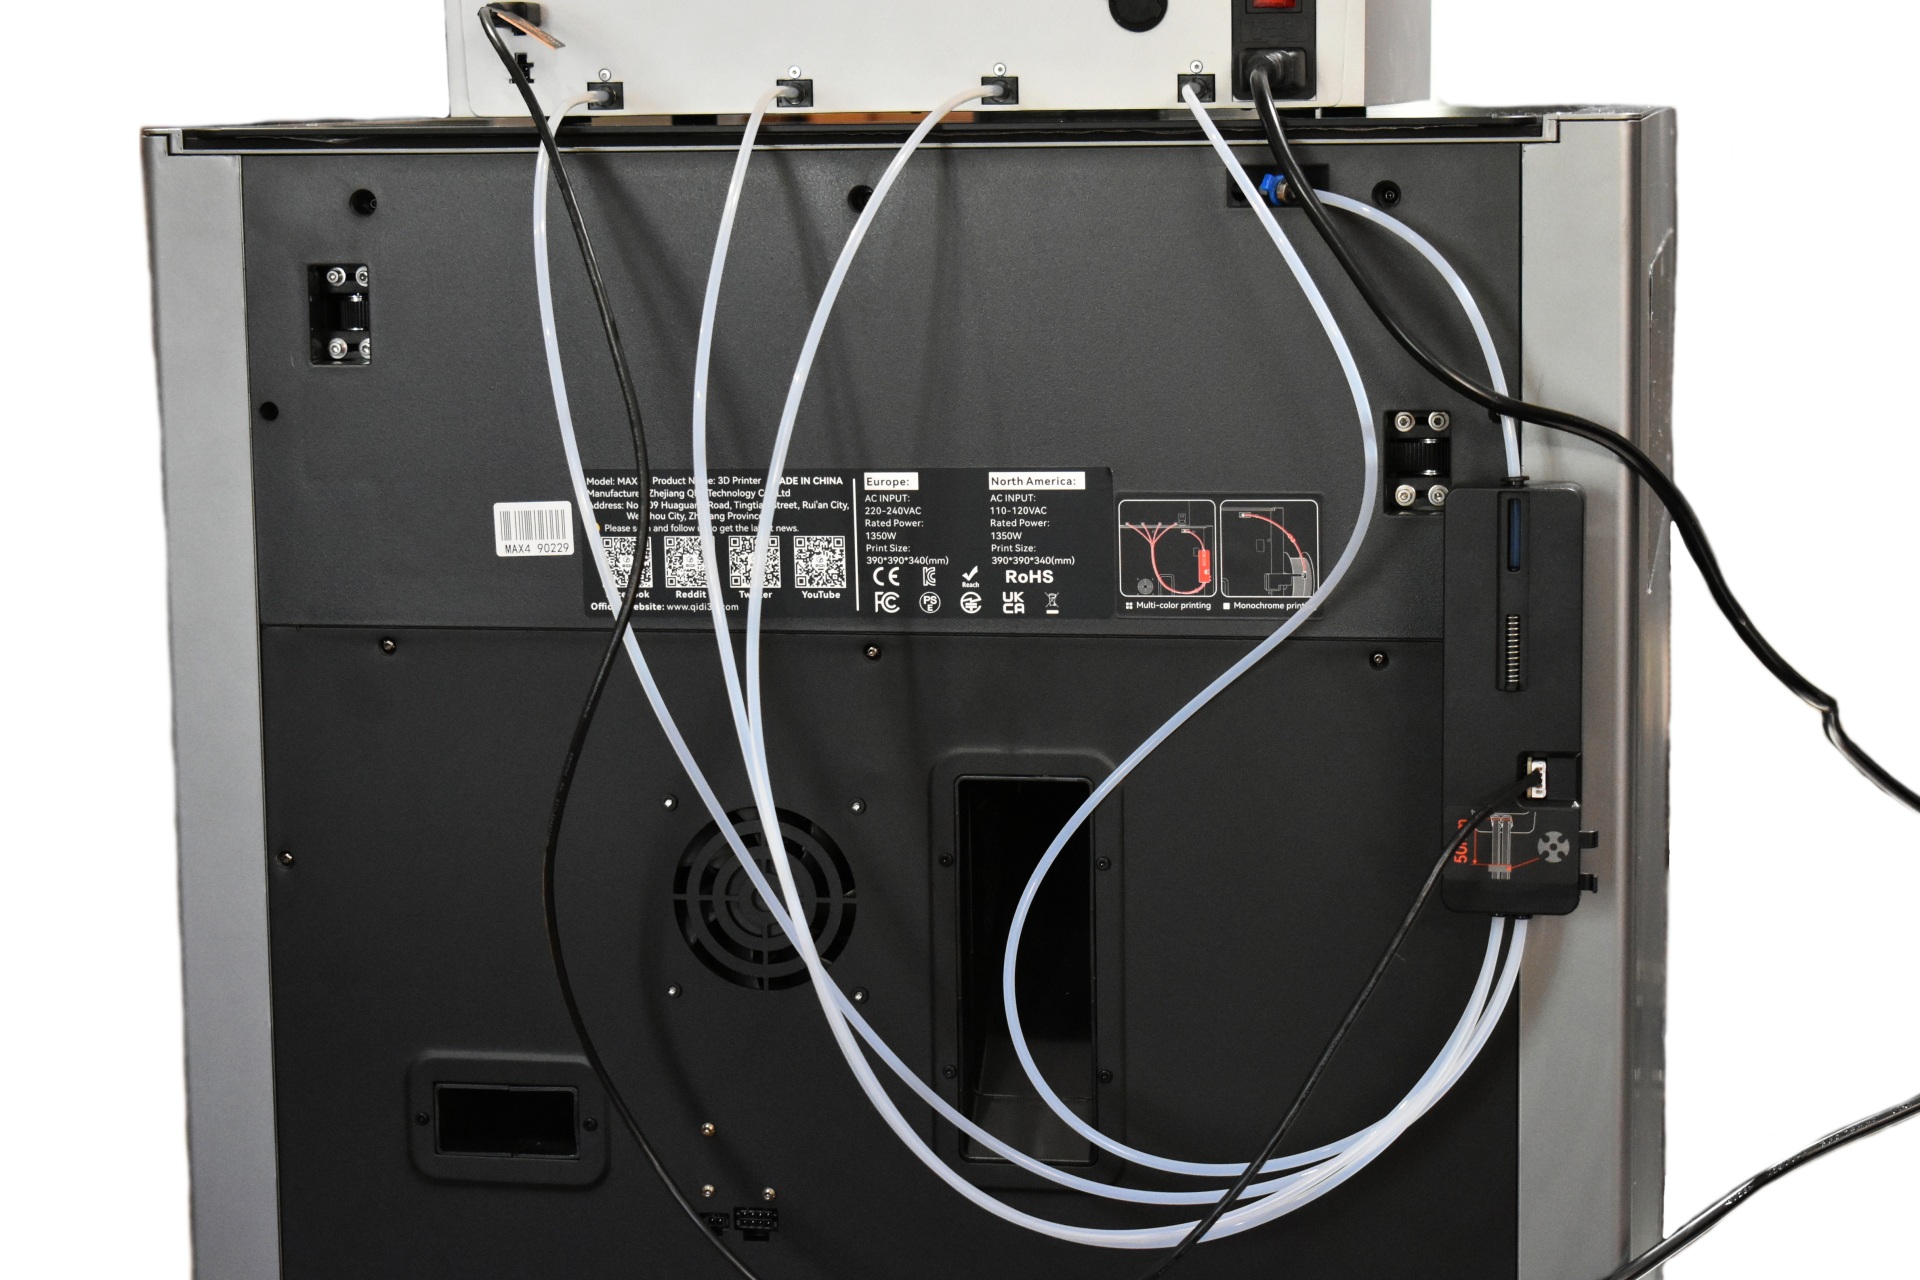
With the QIDI box and Polar Cooler attached to the Max 4 everything is ready to go.


DISPLAY MENUS


qidi max 4 combo menus 1t

Once you turn on the QIDI Max 4 Combo you will need to choose the language, region and follow instructions on how to remove the QIDI box and unlock the bed and print head.


Next stop is to allow the unit to perform a self-check and calibration.


Once the self-check and calibration procedure is complete, you'll get the above screen.


Turning on the QIDI box adds that graphic in the initial screen which typically shows the status of the printer.


From the 2nd tab you can move the extruder and the printing bed, adjust temperatures for the extruder, chamber and bed and adjust the cooling system.


Inside the filament tab you can select the brand and type of filament and temperatures and choose between the spooler and the QIDI box.


The settings tab includes the Wi-Fi, calibration, storage and general settings.


Finally, once you start printing you can choose what filament you want used.


TESTING METHODOLOGY


    Once again to test this printer by QIDI I used their latest print software (QIDI Studio v2.5.2.5.0) by manually entering the same settings I’ve used to date with all FDM printers (quality of 0.16mm, 20% infill density and cubic infill pattern).


    Nothing else has changed of course so again I’ll be using 2 different sized models (downloaded from Cults3D / member Eastman) to record completion time at 100% speed. Second thing to test are noise levels and so once again I’ll be using my ExTech HD600 decibel meter placed roughly 30cm away to record the maximum noise coming from the 3D printer while printing. As for the 3rd test with the help of an UPS and two power meters I decided to also record not only the lowest and highest but also the average instant power consumption of the 3D printer in my hands.


qidi max 4 combo review 39t

   I was a bit surprised to see that the Max 4 Combo produced the smoothest 3D prints I’ve encountered, at least to date and with the same settings across all printers (even prior to using the Polar Cooler).


Just like with the K2 Pro and other multi-color printers as you can see from the above picture, filament waste is still a thing also with the Max 4 Combo. I did get slightly less waste when printing the same two models as with other printers but hardly worth mentioning (still like 9 times more than the filament required to print them).


TEST RESULTS


time


CONCLUSION


qidi max 4 combo review b


    The QIDI MAX 4 COMBO lands as a genuinely capable high‑speed, high‑volume machine that delivers on its core promises. Its strengths are easy to appreciate, fast and smooth motion, consistently clean print surface quality, a large 390x390x340mm build area, and the practical benefits of the Polar Cooler, which keeps extrusion stable during long or high‑temperature jobs. Add the multi‑color capability via the QIDI box (although filament waste when printing multi-color models is still a thing) and the actively heated enclosure, and the Max 4 Combo becomes a flexible platform that handles everything from PLA to engineering‑grade materials with confidence. Still, it isn’t without friction points. Software bugs in relation to the slicer and firmware may occasionally interrupt an otherwise polished workflow (also the reason as to why I couldn’t use a timelapse for this review), the bottom handles aren’t the most ergonomic for moving a machine of this size and weight, and the need for separate power connections for both the box unit and the Polar Cooler adds a bit of cable clutter. Taken together, the Max 4 Combo stands out as a fast, spacious, and well‑engineered printer whose minor quirks are outweighed by its performance and versatility.


    Right now, the Max 4 Combo by QIDI retails for USD1199 inside the USA (us.qidi3d.com – plus a 5% discount when you subscribe to their newsletter) and for 1199Euros inside the EU (eu.qidi3d.com – 5% discount also available) and so it’s priced more or less the same as its direct competition (keep in mind that the Polar Cooler is sold extra for USD179.10/179.10Euros). Cost aside whether it’s speed, print quality, print size, enclosure features and multi-color prints the QIDI Max 4 Combo delivers as advertised and for that it gets the Golden Award.

PROS


- Good Build Quality
- Very Fast (Up To 800ms Speed / 30000ms Acceleration)
- Box Addon (4 Filaments Per Box / Up To 16 Filaments)
- Print Quality (Smoothest Output To Date)
- Large Heated & Flexible Dual Sided PEI Print Plate (390x390x340mm)
- Temperature Controlled Chamber (65°C)
- Polar Cooler Addon (Extra)
- High Speed Dual Gear Direct Drive Extruder
- Automatic Leveling
- 1080P AI Camera
- 5” Inch HD Color Touch Screen Display
- Air Purifier
- RFID Sensor
- 2.4GHz/5GHz WiFi, RJ45 Ethernet & USB Port


CONS


- Nozzle Cleaning Noise (For Some)
- Number Of Tubes & Wires (For Some)
- Software Glitches (Currently)
- Size & Weight (For Some)


QIDI Max 4 Combo 3D Printer Review

INTRODUCTION


qidi max 4 combo review a


    Over the past decade, 3D printing has evolved from a niche prototyping tool into a cornerstone of modern manufacturing. What began as slow, single‑material experimentation has matured into a field defined by precision, speed, and versatility. Today’s 3D printers can handle multiple filaments, complex geometries, and even color transitions with remarkable accuracy, a testament to how far additive technology has come. Standing at the forefront of this evolution is the brand new QIDI Max 4 Combo, a system built to merge industrial capability with desktop accessibility.


    Our story formed in 2014, QIDI Tech began with a small team of engineers with a big vision: we wanted to make 3D printing accessible to everyone. Crazy? A little bit. With our journey have consistently focused on more than just producing machinery; it's about enabling creators of all kinds to bring their ideas to life. Every day, we're doing more than just constructing printers. We are establishing an environment where seasoned designers and adventurous individuals can join forces, work together, realize ideas, and develop. QIDI Tech 3D printers are created to be intuitive and efficient, after all, delivering a hassle free printing process for all users from the beginning should be the top priority. Our extensive manufacturing plant and advanced research and development center embody our commitment to creativity, excellence, and teamwork.


    The Max 4 Combo by QIDI is built around a rigid CoreXY architecture designed for high‑speed stability, pairing FOC closed‑loop stepper motors with high‑hardness linear guides and 12mm steel shafts to maintain precision even at accelerations up to 30000mm/s² and print speeds reaching 800mm/s. Its 370°C high‑temperature hotend and 65°C actively heated chamber open the door to engineering materials like PA, PC, ASA, and carbon‑fiber composites, while the hands‑free load‑cell leveling system ensures consistent first‑layer accuracy across the large 390x390x340mm build volume. Cooling is handled through a multi‑stage system with PWM‑controlled fans and RPM feedback, and the Polar Cooler extruder cooler adds a dedicated high‑flow channel for long, heat‑intensive prints. With AI camera monitoring, input shaping, power‑loss recovery, and compatibility with the QIDI BOX for automated multi‑color printing, the Max 4 Combo positions itself as a high‑temp, high‑speed platform ready for demanding workflows.


SPECIFICATIONS AND FEATURES


PACKAGING AND CONTENTS


qidi max 4 combo review 1t

The Max 4 Combo arrived inside a very large box that just has the QIDI logo and the package measurements and size 57Kg.


Aside the handles we also see several warnings on both sides.


QIDI has used numerous pieces of foam, air bubble and compressed paper to secure the printer.


Almost the entire bundle is placed inside the printer.


Aside the Max 4 3D printer and the combo multi-color device inside the box you'll also find a 2-piece filament spool holder, 7mm spanner, power cable, RJ45 ethernet cable, USB 2.0 flash drive, scraper, two screwdrivers (flat head and Torq), replacement nozzle cutter, 5 Alen keys, 20g PLA rapido package, replacement fuse, pneumatic head, and the quick start guide in numerous languages.


THE QIDI MAX 4 COMBO


The 49.5kg heavy MAX 4 is a large 3D printer measuring 612mm in height, 558mm in depth and 578mm in width.


The 5-inch 800x480p touch screen located on the top left of the printer also features a tilt mechanism allowing the end user to slightly change its angle.


Unlike with previous models the door handle now comes pre-attached.


A USB-A port is located on top of the printer.


Turning the Max 4 3D printer around we see an intake fan, filament spool holder mount, RJ45 port, signal cable ports, and the filament exit.


Taking a look inside we see the Dual-Sided textured PEI plate (390x390x340mm print size), LED activity bar, AI 1080p camera, filament residue cleaner, air-purifier compartment and the heater.
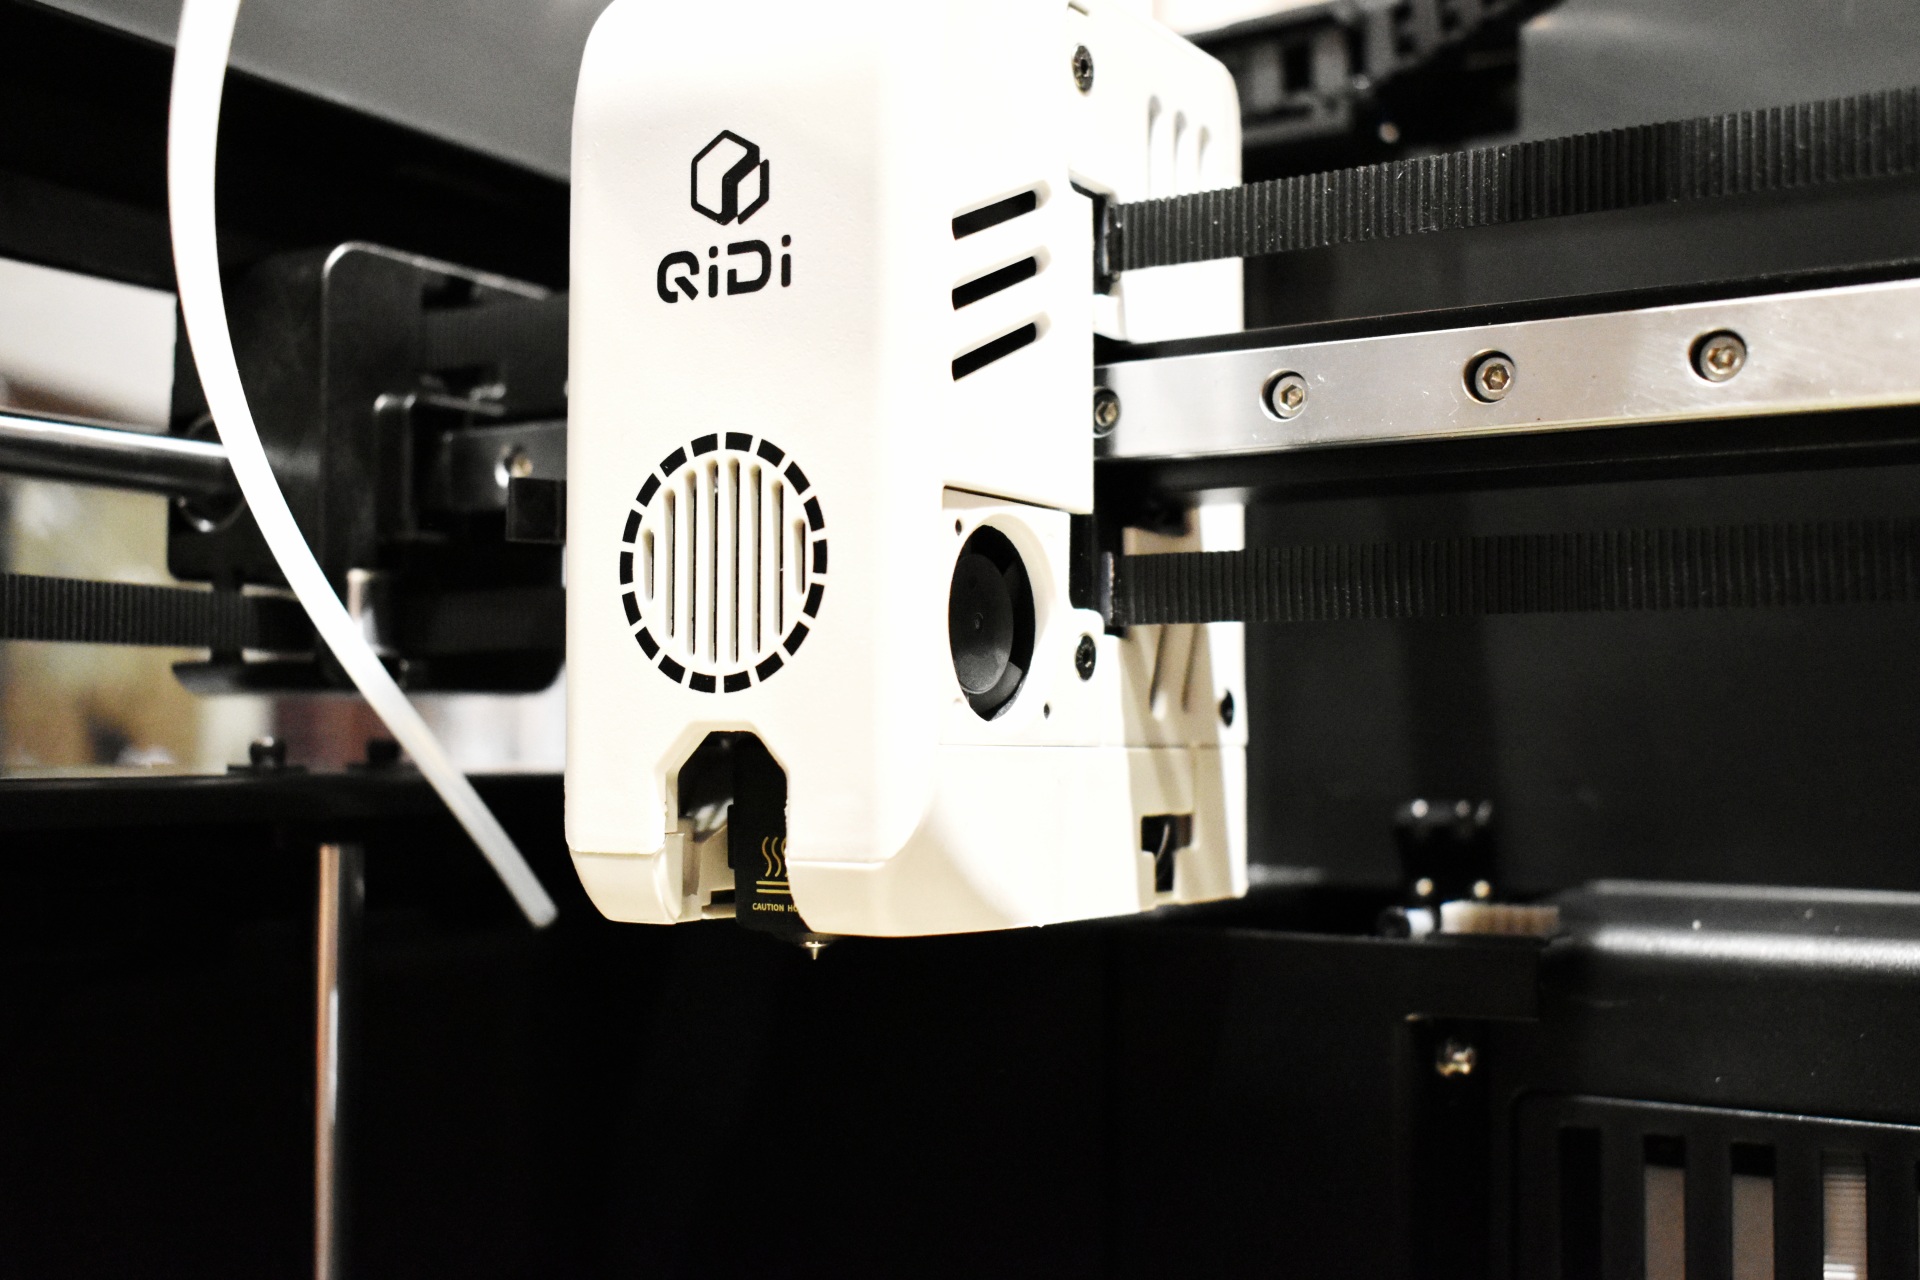


The direct drive extruder features a built-in run out sensor and a cold air tube intake (to cool the extruder and filament) and as you can all see is very easy to take apart.


QIDI bundles their box with its power cable, multi-color spool hub, five PTFE tubes, two signal cables, two PTFE tube buckles and the quick start guide.


The QIDI box measures 357mm in width, 300mm in depth and 234mm in height.


Inside the QIDI box has 4 compartments and a 65°C drying heater.


The Polar Cooler arrived in its own box secured by several pieces of foam.


Contained inside the box is the Polar Cooler, power adapter with power cord, air intake pipe, and the user manual.


In terms of size the Polar Cooler weighs 2.5kg and measures 234mm in length, 92mm in width and 214mm in height.


The Polar Cooler has a cooling fan on the left side, two tubes going out from the front and a signal cable that expands/retracts on top.


ASSEMBLY


Even though the Max 4 Combo is a 3D printer bundle people will get for the multi-color box showing how the spool holder looks when mounted is a must.


To use the QIDI box you will need to attach the multi-color spool hub in the holder mount as seen above.


Then you will have to connect the spool hub to the QIDI box via 4 PTFE tubes as seen above.


This is how the Max 4 Combo looks with the PTFE and power cables attached (signal cables still not attached).


With the QIDI box and Polar Cooler attached to the Max 4 everything is ready to go.


DISPLAY MENUS


qidi max 4 combo menus 1t

Once you turn on the QIDI Max 4 Combo you will need to choose the language, region and follow instructions on how to remove the QIDI box and unlock the bed and print head.


Next stop is to allow the unit to perform a self-check and calibration.


Once the self-check and calibration procedure is complete, you'll get the above screen.


Turning on the QIDI box adds that graphic in the initial screen which typically shows the status of the printer.


From the 2nd tab you can move the extruder and the printing bed, adjust temperatures for the extruder, chamber and bed and adjust the cooling system.


Inside the filament tab you can select the brand and type of filament and temperatures and choose between the spooler and the QIDI box.


The settings tab includes the Wi-Fi, calibration, storage and general settings.


Finally, once you start printing you can choose what filament you want used.


TESTING METHODOLOGY


    Once again to test this printer by QIDI I used their latest print software (QIDI Studio v2.5.2.5.0) by manually entering the same settings I’ve used to date with all FDM printers (quality of 0.16mm, 20% infill density and cubic infill pattern).


    Nothing else has changed of course so again I’ll be using 2 different sized models (downloaded from Cults3D / member Eastman) to record completion time at 100% speed. Second thing to test are noise levels and so once again I’ll be using my ExTech HD600 decibel meter placed roughly 30cm away to record the maximum noise coming from the 3D printer while printing. As for the 3rd test with the help of an UPS and two power meters I decided to also record not only the lowest and highest but also the average instant power consumption of the 3D printer in my hands.


qidi max 4 combo review 39t

   I was a bit surprised to see that the Max 4 Combo produced the smoothest 3D prints I’ve encountered, at least to date and with the same settings across all printers (even prior to using the Polar Cooler).


Just like with the K2 Pro and other multi-color printers as you can see from the above picture, filament waste is still a thing also with the Max 4 Combo. I did get slightly less waste when printing the same two models as with other printers but hardly worth mentioning (still like 9 times more than the filament required to print them).


TEST RESULTS


time


CONCLUSION


qidi max 4 combo review b


    The QIDI MAX 4 COMBO lands as a genuinely capable high‑speed, high‑volume machine that delivers on its core promises. Its strengths are easy to appreciate, fast and smooth motion, consistently clean print surface quality, a large 390x390x340mm build area, and the practical benefits of the Polar Cooler, which keeps extrusion stable during long or high‑temperature jobs. Add the multi‑color capability via the QIDI box (although filament waste when printing multi-color models is still a thing) and the actively heated enclosure, and the Max 4 Combo becomes a flexible platform that handles everything from PLA to engineering‑grade materials with confidence. Still, it isn’t without friction points. Software bugs in relation to the slicer and firmware may occasionally interrupt an otherwise polished workflow (also the reason as to why I couldn’t use a timelapse for this review), the bottom handles aren’t the most ergonomic for moving a machine of this size and weight, and the need for separate power connections for both the box unit and the Polar Cooler adds a bit of cable clutter. Taken together, the Max 4 Combo stands out as a fast, spacious, and well‑engineered printer whose minor quirks are outweighed by its performance and versatility.


    Right now, the Max 4 Combo by QIDI retails for USD1199 inside the USA (us.qidi3d.com – plus a 5% discount when you subscribe to their newsletter) and for 1199Euros inside the EU (eu.qidi3d.com – 5% discount also available) and so it’s priced more or less the same as its direct competition (keep in mind that the Polar Cooler is sold extra for USD179.10/179.10Euros). Cost aside whether it’s speed, print quality, print size, enclosure features and multi-color prints the QIDI Max 4 Combo delivers as advertised and for that it gets the Golden Award.

PROS


- Good Build Quality
- Very Fast (Up To 800ms Speed / 30000ms Acceleration)
- Box Addon (4 Filaments Per Box / Up To 16 Filaments)
- Print Quality (Smoothest Output To Date)
- Large Heated & Flexible Dual Sided PEI Print Plate (390x390x340mm)
- Temperature Controlled Chamber (65°C)
- Polar Cooler Addon (Extra)
- High Speed Dual Gear Direct Drive Extruder
- Automatic Leveling
- 1080P AI Camera
- 5” Inch HD Color Touch Screen Display
- Air Purifier
- RFID Sensor
- 2.4GHz/5GHz WiFi, RJ45 Ethernet & USB Port


CONS


- Nozzle Cleaning Noise (For Some)
- Number Of Tubes & Wires (For Some)
- Software Glitches (Currently)
- Size & Weight (For Some)


QIDI Max 4 Combo 3D Printer Review

INTRODUCTION


qidi max 4 combo review a


    Over the past decade, 3D printing has evolved from a niche prototyping tool into a cornerstone of modern manufacturing. What began as slow, single‑material experimentation has matured into a field defined by precision, speed, and versatility. Today’s 3D printers can handle multiple filaments, complex geometries, and even color transitions with remarkable accuracy, a testament to how far additive technology has come. Standing at the forefront of this evolution is the brand new QIDI Max 4 Combo, a system built to merge industrial capability with desktop accessibility.


    Our story formed in 2014, QIDI Tech began with a small team of engineers with a big vision: we wanted to make 3D printing accessible to everyone. Crazy? A little bit. With our journey have consistently focused on more than just producing machinery; it's about enabling creators of all kinds to bring their ideas to life. Every day, we're doing more than just constructing printers. We are establishing an environment where seasoned designers and adventurous individuals can join forces, work together, realize ideas, and develop. QIDI Tech 3D printers are created to be intuitive and efficient, after all, delivering a hassle free printing process for all users from the beginning should be the top priority. Our extensive manufacturing plant and advanced research and development center embody our commitment to creativity, excellence, and teamwork.


    The Max 4 Combo by QIDI is built around a rigid CoreXY architecture designed for high‑speed stability, pairing FOC closed‑loop stepper motors with high‑hardness linear guides and 12mm steel shafts to maintain precision even at accelerations up to 30000mm/s² and print speeds reaching 800mm/s. Its 370°C high‑temperature hotend and 65°C actively heated chamber open the door to engineering materials like PA, PC, ASA, and carbon‑fiber composites, while the hands‑free load‑cell leveling system ensures consistent first‑layer accuracy across the large 390x390x340mm build volume. Cooling is handled through a multi‑stage system with PWM‑controlled fans and RPM feedback, and the Polar Cooler extruder cooler adds a dedicated high‑flow channel for long, heat‑intensive prints. With AI camera monitoring, input shaping, power‑loss recovery, and compatibility with the QIDI BOX for automated multi‑color printing, the Max 4 Combo positions itself as a high‑temp, high‑speed platform ready for demanding workflows.


SPECIFICATIONS AND FEATURES


PACKAGING AND CONTENTS


qidi max 4 combo review 1t

The Max 4 Combo arrived inside a very large box that just has the QIDI logo and the package measurements and size 57Kg.


Aside the handles we also see several warnings on both sides.


QIDI has used numerous pieces of foam, air bubble and compressed paper to secure the printer.


Almost the entire bundle is placed inside the printer.


Aside the Max 4 3D printer and the combo multi-color device inside the box you'll also find a 2-piece filament spool holder, 7mm spanner, power cable, RJ45 ethernet cable, USB 2.0 flash drive, scraper, two screwdrivers (flat head and Torq), replacement nozzle cutter, 5 Alen keys, 20g PLA rapido package, replacement fuse, pneumatic head, and the quick start guide in numerous languages.


THE QIDI MAX 4 COMBO


The 49.5kg heavy MAX 4 is a large 3D printer measuring 612mm in height, 558mm in depth and 578mm in width.


The 5-inch 800x480p touch screen located on the top left of the printer also features a tilt mechanism allowing the end user to slightly change its angle.


Unlike with previous models the door handle now comes pre-attached.


A USB-A port is located on top of the printer.


Turning the Max 4 3D printer around we see an intake fan, filament spool holder mount, RJ45 port, signal cable ports, and the filament exit.


Taking a look inside we see the Dual-Sided textured PEI plate (390x390x340mm print size), LED activity bar, AI 1080p camera, filament residue cleaner, air-purifier compartment and the heater.
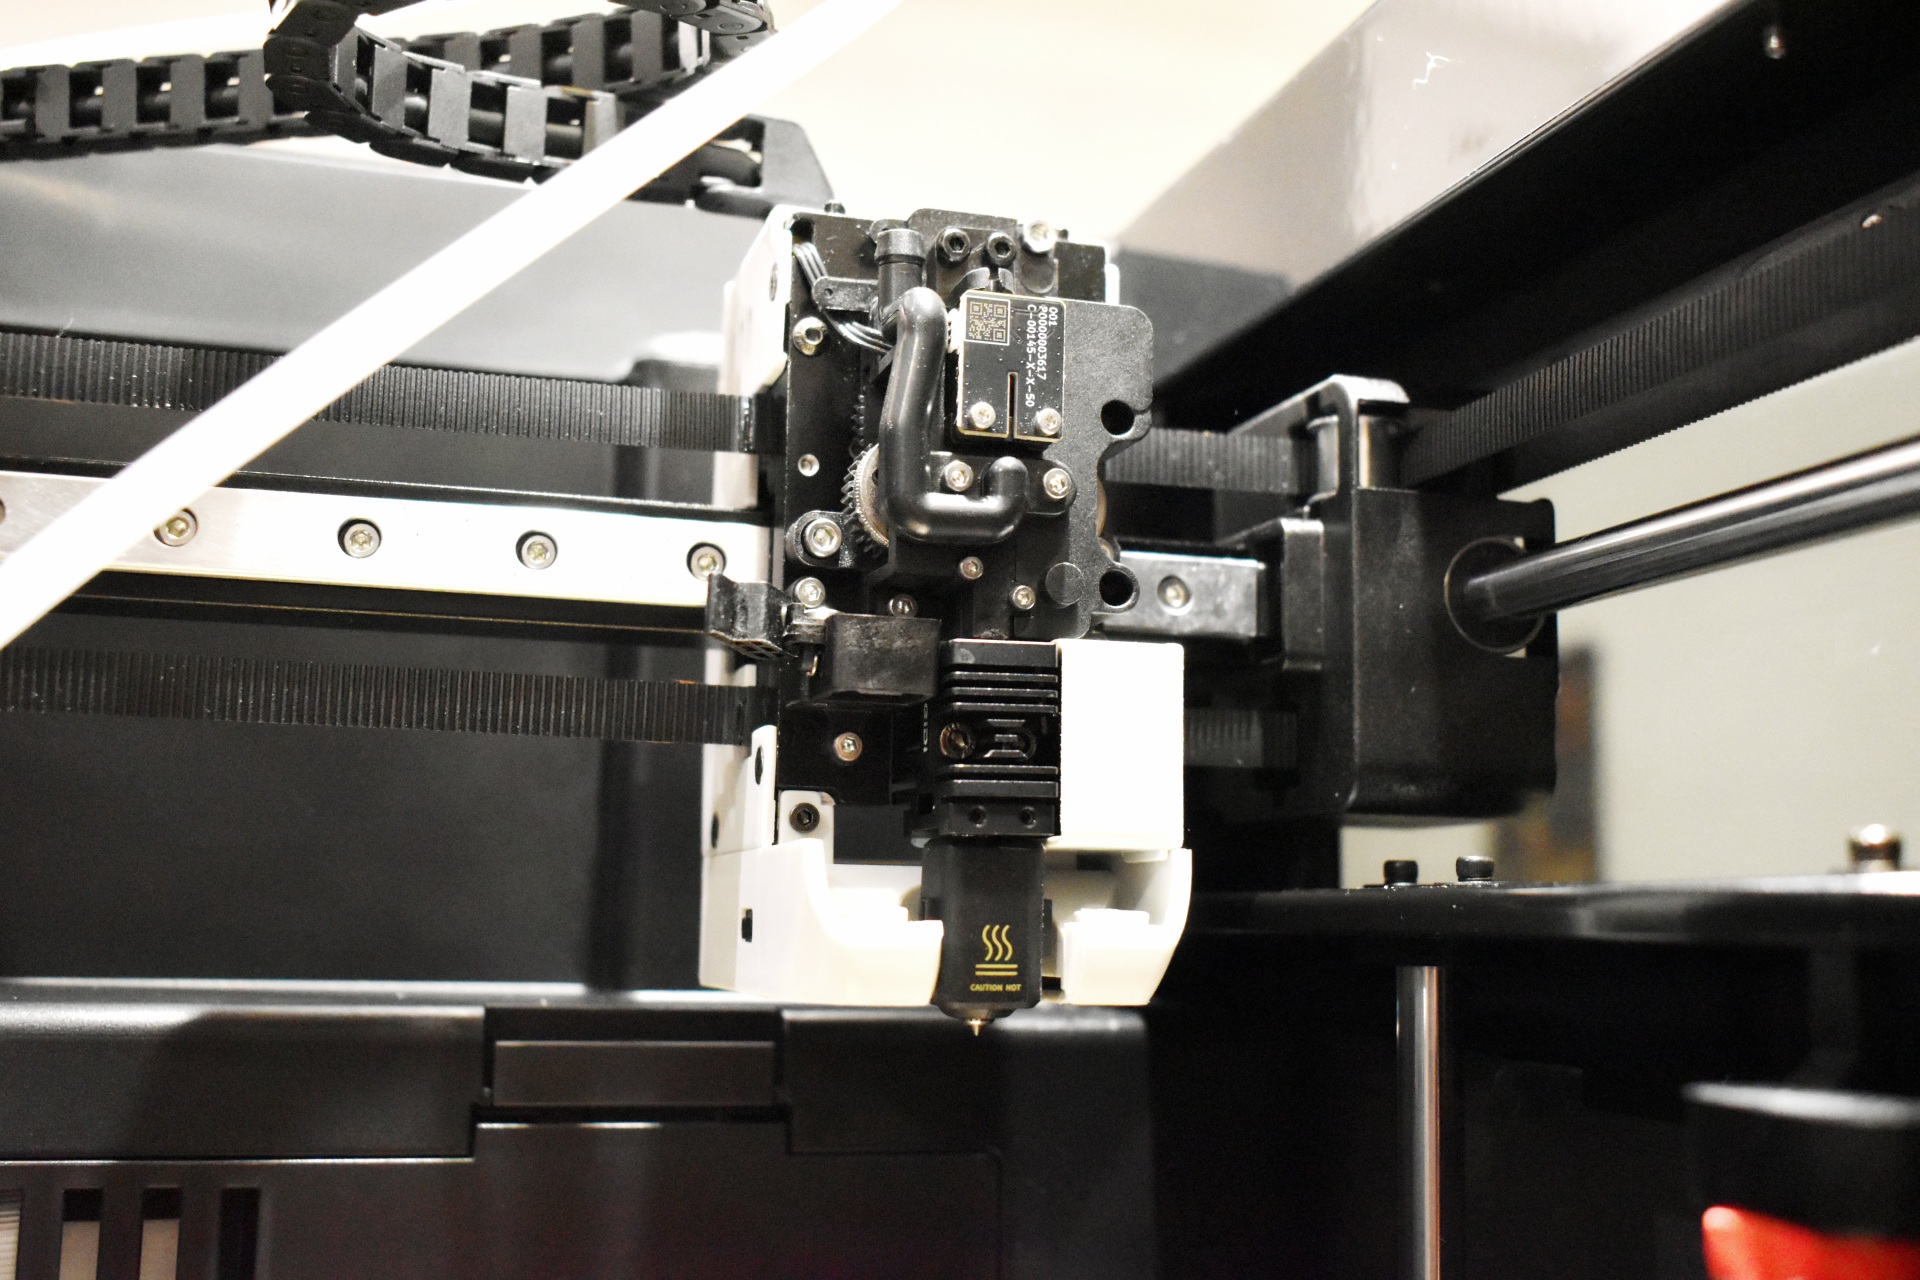


The direct drive extruder features a built-in run out sensor and a cold air tube intake (to cool the extruder and filament) and as you can all see is very easy to take apart.


QIDI bundles their box with its power cable, multi-color spool hub, five PTFE tubes, two signal cables, two PTFE tube buckles and the quick start guide.


The QIDI box measures 357mm in width, 300mm in depth and 234mm in height.


Inside the QIDI box has 4 compartments and a 65°C drying heater.


The Polar Cooler arrived in its own box secured by several pieces of foam.


Contained inside the box is the Polar Cooler, power adapter with power cord, air intake pipe, and the user manual.


In terms of size the Polar Cooler weighs 2.5kg and measures 234mm in length, 92mm in width and 214mm in height.


The Polar Cooler has a cooling fan on the left side, two tubes going out from the front and a signal cable that expands/retracts on top.


ASSEMBLY


Even though the Max 4 Combo is a 3D printer bundle people will get for the multi-color box showing how the spool holder looks when mounted is a must.


To use the QIDI box you will need to attach the multi-color spool hub in the holder mount as seen above.


Then you will have to connect the spool hub to the QIDI box via 4 PTFE tubes as seen above.


This is how the Max 4 Combo looks with the PTFE and power cables attached (signal cables still not attached).


With the QIDI box and Polar Cooler attached to the Max 4 everything is ready to go.


DISPLAY MENUS


qidi max 4 combo menus 1t

Once you turn on the QIDI Max 4 Combo you will need to choose the language, region and follow instructions on how to remove the QIDI box and unlock the bed and print head.


Next stop is to allow the unit to perform a self-check and calibration.
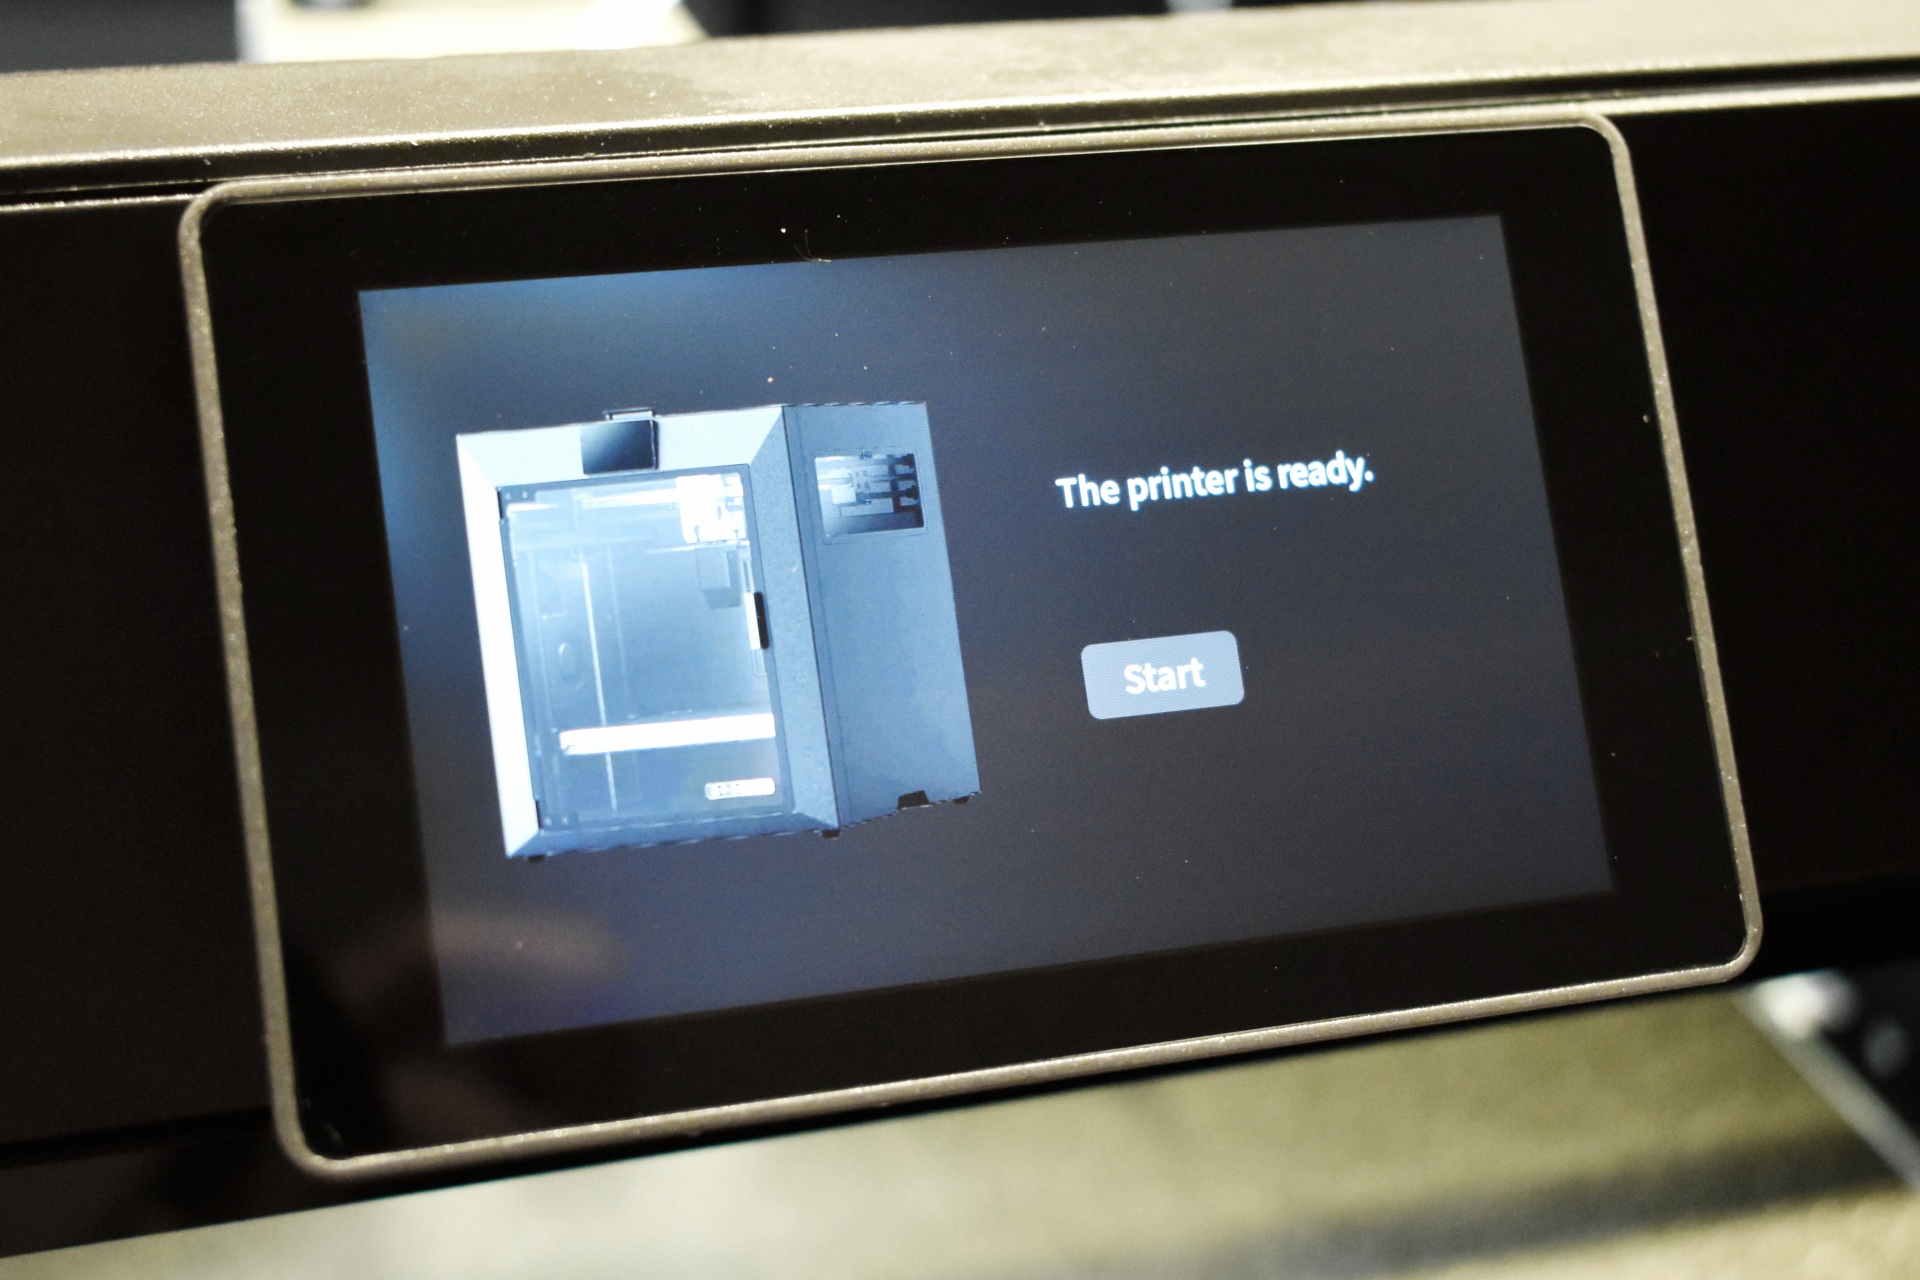


Once the self-check and calibration procedure is complete, you'll get the above screen.


Turning on the QIDI box adds that graphic in the initial screen which typically shows the status of the printer.


From the 2nd tab you can move the extruder and the printing bed, adjust temperatures for the extruder, chamber and bed and adjust the cooling system.


Inside the filament tab you can select the brand and type of filament and temperatures and choose between the spooler and the QIDI box.


The settings tab includes the Wi-Fi, calibration, storage and general settings.


Finally, once you start printing you can choose what filament you want used.


TESTING METHODOLOGY


    Once again to test this printer by QIDI I used their latest print software (QIDI Studio v2.5.2.5.0) by manually entering the same settings I’ve used to date with all FDM printers (quality of 0.16mm, 20% infill density and cubic infill pattern).


    Nothing else has changed of course so again I’ll be using 2 different sized models (downloaded from Cults3D / member Eastman) to record completion time at 100% speed. Second thing to test are noise levels and so once again I’ll be using my ExTech HD600 decibel meter placed roughly 30cm away to record the maximum noise coming from the 3D printer while printing. As for the 3rd test with the help of an UPS and two power meters I decided to also record not only the lowest and highest but also the average instant power consumption of the 3D printer in my hands.
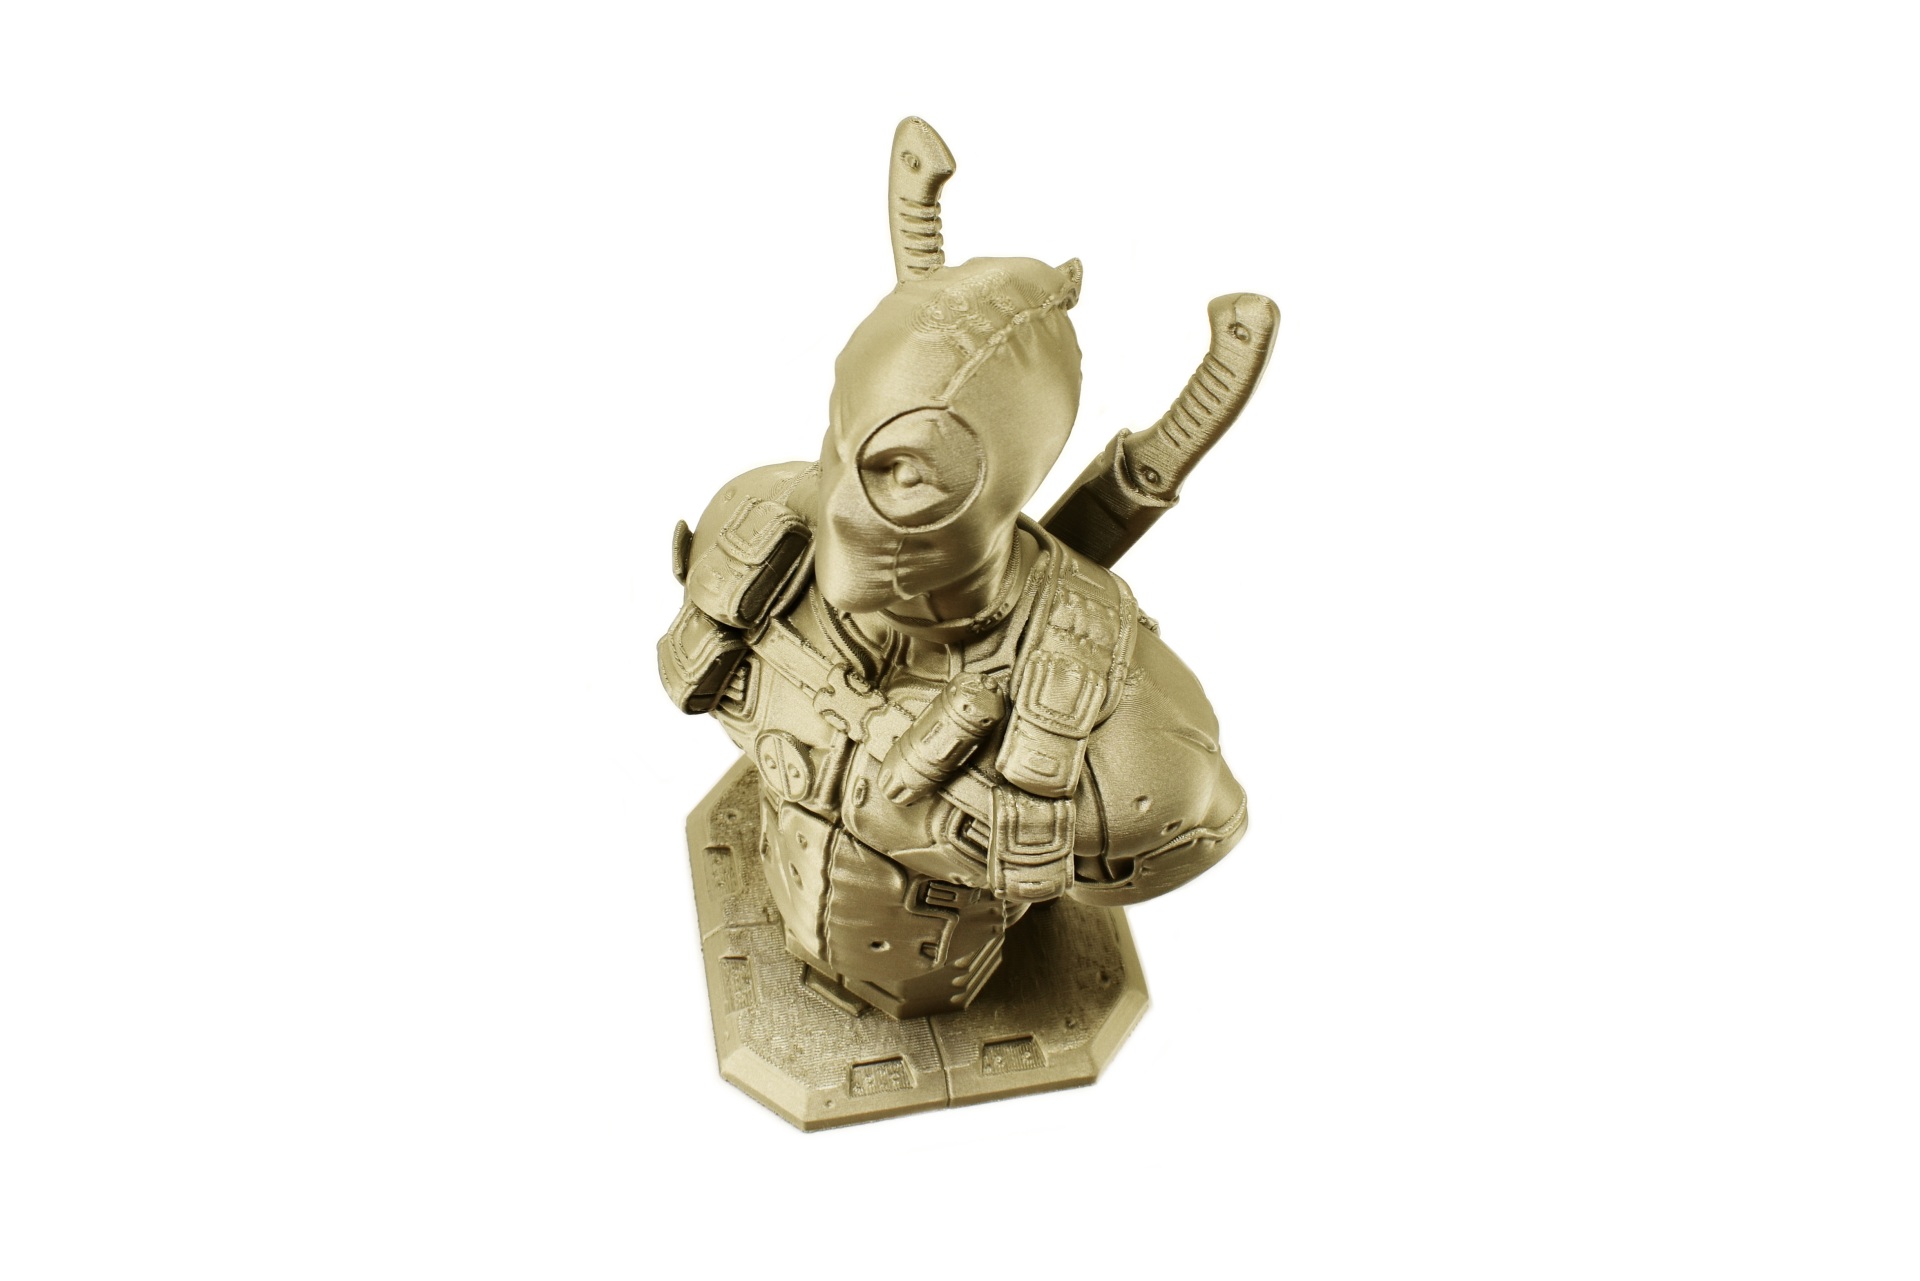


qidi max 4 combo review 39t

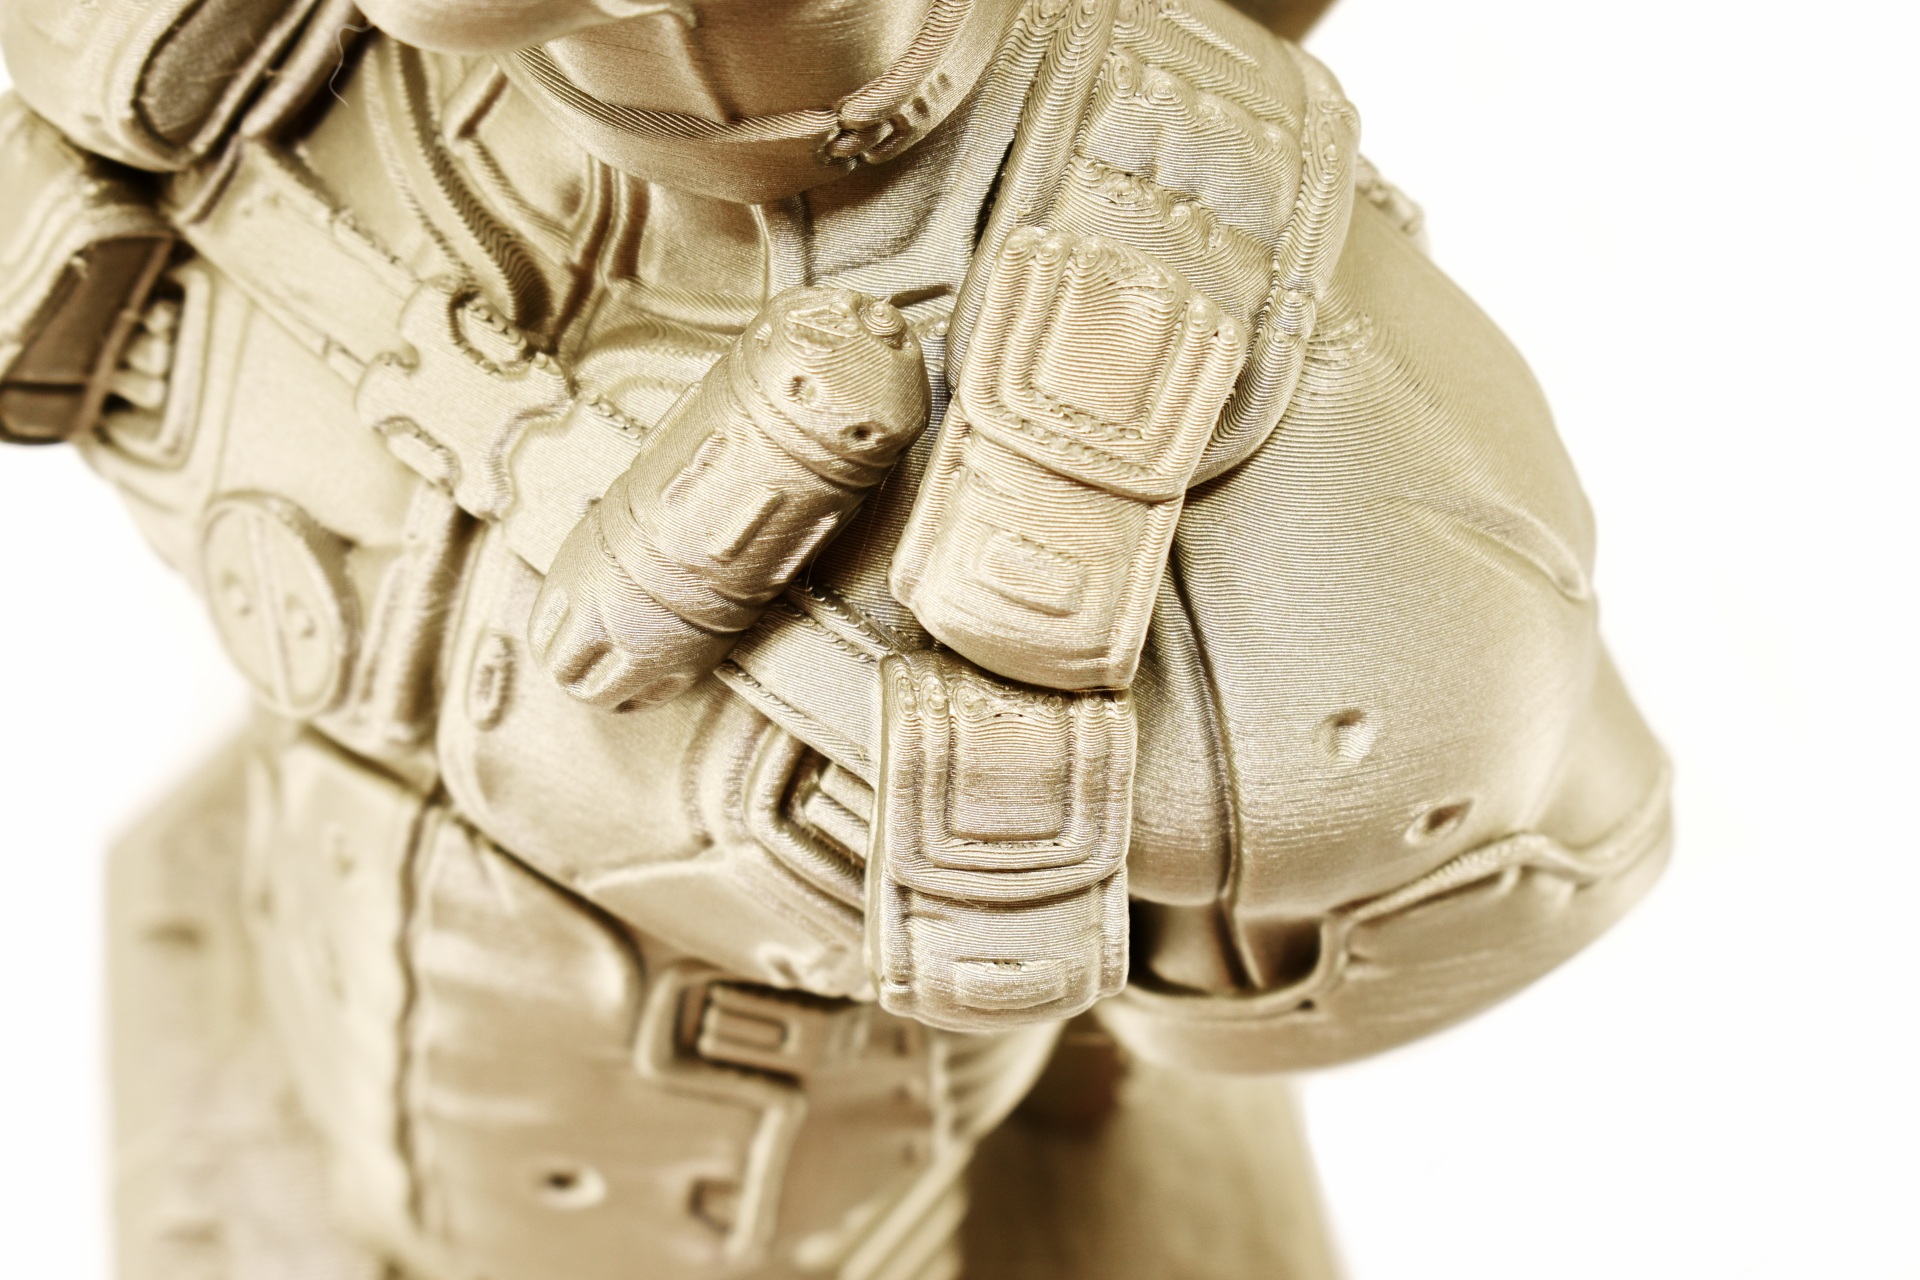
   I was a bit surprised to see that the Max 4 Combo produced the smoothest 3D prints I’ve encountered, at least to date and with the same settings across all printers (even prior to using the Polar Cooler).


Just like with the K2 Pro and other multi-color printers as you can see from the above picture, filament waste is still a thing also with the Max 4 Combo. I did get slightly less waste when printing the same two models as with other printers but hardly worth mentioning (still like 9 times more than the filament required to print them).


TEST RESULTS


time


CONCLUSION


qidi max 4 combo review b


    The QIDI MAX 4 COMBO lands as a genuinely capable high‑speed, high‑volume machine that delivers on its core promises. Its strengths are easy to appreciate, fast and smooth motion, consistently clean print surface quality, a large 390x390x340mm build area, and the practical benefits of the Polar Cooler, which keeps extrusion stable during long or high‑temperature jobs. Add the multi‑color capability via the QIDI box (although filament waste when printing multi-color models is still a thing) and the actively heated enclosure, and the Max 4 Combo becomes a flexible platform that handles everything from PLA to engineering‑grade materials with confidence. Still, it isn’t without friction points. Software bugs in relation to the slicer and firmware may occasionally interrupt an otherwise polished workflow (also the reason as to why I couldn’t use a timelapse for this review), the bottom handles aren’t the most ergonomic for moving a machine of this size and weight, and the need for separate power connections for both the box unit and the Polar Cooler adds a bit of cable clutter. Taken together, the Max 4 Combo stands out as a fast, spacious, and well‑engineered printer whose minor quirks are outweighed by its performance and versatility.


    Right now, the Max 4 Combo by QIDI retails for USD1199 inside the USA (us.qidi3d.com – plus a 5% discount when you subscribe to their newsletter) and for 1199Euros inside the EU (eu.qidi3d.com – 5% discount also available) and so it’s priced more or less the same as its direct competition (keep in mind that the Polar Cooler is sold extra for USD179.10/179.10Euros). Cost aside whether it’s speed, print quality, print size, enclosure features and multi-color prints the QIDI Max 4 Combo delivers as advertised and for that it gets the Golden Award.

PROS


- Good Build Quality
- Very Fast (Up To 800ms Speed / 30000ms Acceleration)
- Box Addon (4 Filaments Per Box / Up To 16 Filaments)
- Print Quality (Smoothest Output To Date)
- Large Heated & Flexible Dual Sided PEI Print Plate (390x390x340mm)
- Temperature Controlled Chamber (65°C)
- Polar Cooler Addon (Extra)
- High Speed Dual Gear Direct Drive Extruder
- Automatic Leveling
- 1080P AI Camera
- 5” Inch HD Color Touch Screen Display
- Air Purifier
- RFID Sensor
- 2.4GHz/5GHz WiFi, RJ45 Ethernet & USB Port


CONS


- Nozzle Cleaning Noise (For Some)
- Number Of Tubes & Wires (For Some)
- Software Glitches (Currently)
- Size & Weight (For Some)


EIBOS POLYPHEMUS 3D Printing Filament Dryer Review

INTRODUCTION


eibos polyphemus review a


    3D printing has come a long way from its early, experimental days, but one thing hasn’t changed, filaments are still sensitive materials. Many of them, especially hygroscopic ones like PLA+, ABS, PETG, TPU, and Nylon, absorb moisture from the air. Even a small amount of humidity can cause popping, stringing, inconsistent extrusion, or that frustrating fuzzy surface finish that ruins an otherwise perfect print. That’s why filament drying has become a core part of a reliable 3D‑printing workflow, right alongside bed leveling and slicer tuning. And in that landscape of drying solutions, one model in particular has been getting attention for its design and practicality, the POLYPHEMUS filament dryer by EIBOS.


    EIBOS was established on April 20, 2020, in the cement forest of Shenzhen. We believe the world will eventually revolve around technology advancement. We believe that 3D printing will promote this process. We believe in the laws of world movement. We believe in physics and mathematics. We believe many things in the world. We believe that there are still many unknown things in this world. Excellent Ideas Based On Structure, EIBOS, may the technology to be with you.


    The POLYPHEMUS is EIBOS’s new‑generation filament dryer, built around the company’s core principles of active drying and controlled air circulation. Instead of blasting heat directly onto the spool like other models, it uses multiple hot‑air outlets (maximum operating temperature of 70°C) to distribute warmth evenly, supported by a 360° rotating platform that eliminates top‑to‑bottom temperature inconsistencies. It offers automatic humidity control, three heating‑power modes for different material sensitivities, and built‑in presets for nine filament types, from PLA, ABS and PETG to PA, PC, and TPU, plus three customizable slots for user‑defined profiles. Internal chamber‑mounted sensors provide accurate, real‑time temperature and humidity readings, with support for both °C and °F. By default, the POLYPHEMUS is designed as a dual‑spool dryer that supports two 1kg filaments (210x80mm each) but for users who rely on oversized or industrial‑grade filaments, EIBOS offers a dedicated 3kg expansion kit allowing the dryer to accommodate a full 3kg spool (210x170mm) without compromising rotation or airflow.


SPECIFICATIONS AND FEATURES


PACKAGING AND CONTENTS


EIBOS uses a black box to ship the POLYPHEMUS in the front of which features a rather subtle drawing which isn't very easy to notice.


The model version (power plug and power supply) is noted on the left side as seen above.


Typically, the entire bundle is placed between pieces of foam.


Inside the box you'll find the main dryer with its power cord, extra motor (1500 hours lifespan), extra spool roller, 6 lid frames (2xA / 4xB), 5 acrylic panels, plastic handle, 10 screws, Allen wrench, Teflon tube, 3 silicone stoppers and the product manual.


THE POLYPHEMUS


The main device measures 275mm in length, 205mm in width and 66mm in height.


EIBOS has also placed two desiccant compartments into the POLYPHEMUS.


At the front we find an LCD screen along with 6 buttons from where you can control filament type, temperature, desired humidity and time.


Turning the device around we find the power port and two feed ports from where you can directly route the filaments to your 3D printer.


The POLYPHEMUS sits on 4 rubber feet and has a small compartment at its base from where you can replace the motor.


ASSEMBLY


Setting up the POLYPHEMUS is easy, first attach the 4 lid-B frames to one of the lid-A frames.


Then mount the 4 acrylic panels between the lid-B frames and place the 2nd lid-A frame on top (don't secure it yet).


Then mount the top acrylic panel, secure it onto the lid-A frame and also mount the handle.


With the top attached the device now measures 275mm in length, 205mm in width and 317mm in height (274mm without the handle).


For my tests EIBOS provided me with two of their Silk Ribbons PLA filaments as seen above.


As you can all see the LCD screen displays time, humidity, temperature, device temperature and type of PLA.


Again, worth pointing out is that for people using 3Kg filaments EIBOS has an extra kit available (they did send it over but I don't have any 3Kg filaments in the lab).


Using a thermal imager, I tested the POLYPHEMUS with and without the 360-degree feature and yes, I did notice slightly better results with it enabled.


CONCLUSION


    Looking at the EIBOS POLYPHEMUS from a performance‑driven perspective, it stands out as a dryer built to maintain stable conditions over long sessions rather than simply heating a spool and hoping for the best. Its controlled thermal system ramps up quickly, and the preset material modes give you predictable behavior across a wide range of filaments without constant manual tweaking. The rotating platform helps distribute warmth around the spool’s circumference, reducing the usual hot‑spot/cold‑spot imbalance that can show up in static dryers. For users who frequently work with moisture‑sensitive materials, especially engineering‑grade filaments the consistency it provides is genuinely useful. Where the POLYPHEMUS becomes more versatile is in its ability to scale. With the optional expansion kit, it can house 3kg filaments, which opens the door for long‑form printing, multi‑day jobs, or large‑format machines that rely on oversized filament rolls. The dual rear feed ports also make it easy to integrate the dryer directly into your printing workflow, letting you run filament straight from the chamber without constantly relocating spools. Combined with its internal sensors and steady temperature regulation, the device behaves more like a controlled environment than a simple heater box. Its drawbacks are practical rather than conceptual. The power draw above 100W during active heating is something to keep in mind if you run extended drying cycles or operate multiple units. The rotating system does improve uniformity, but the real‑world gain is incremental, not a dramatic leap over simpler designs (although once again, my thermal imaging devices may not be as accurate as the ones used by the people over at EIBOS). And because the chamber is sized to accommodate larger spools and a rotating base, the unit occupies a noticeable amount of workspace, which may matter in compact setups. Even with these considerations, the POLYPHEMUS presents itself as a solid, dependable drying solution.


    As I type these lines the POLYPHEMUS filament dryer by EIBOS retails for USD139.19 inside the USA (Amazon.com) and for 125.03Euros inside the EU (Amazon.de) and so it’s priced well for what it does. At the end of the day the POLYPHEMUS does exactly what it was designed to do, it effectively dries and keeps your filaments dry regardless of type and that’s why it gets the Golden Award.

PROS


- Fast 360 Degree Drying
- LCD Screen
- Adjustable Time, Humidity & Temperature
- Filament Support (9 Types Plus 3 Custom)
- Extra Motor & Roller
- 3Kg Filament Support Kit Available (Extra)


CONS


- Overall Size
- Power Consumption (For Some)
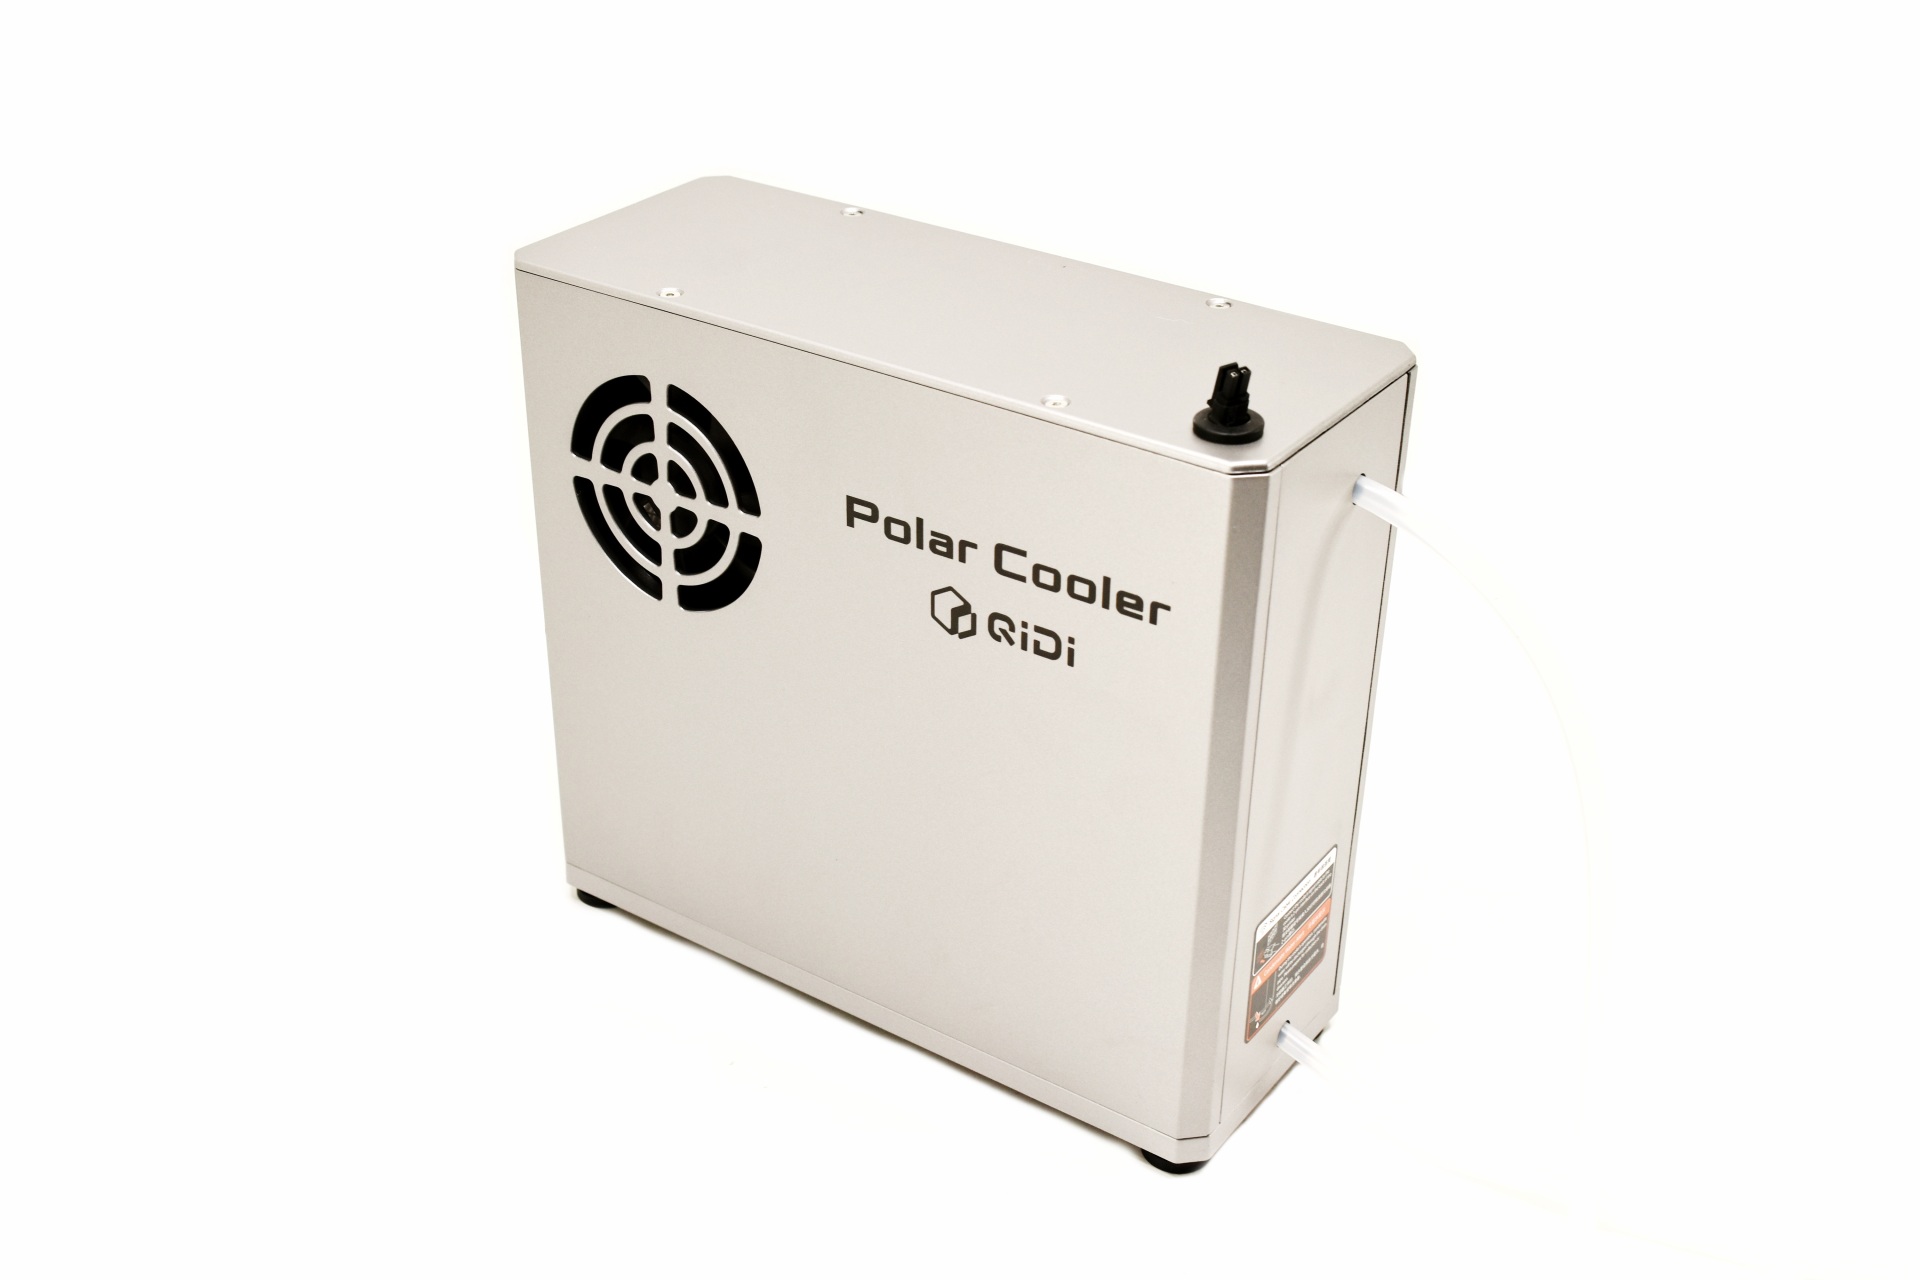


EIBOS POLYPHEMUS 3D Printing Filament Dryer Review

INTRODUCTION


eibos polyphemus review a


    3D printing has come a long way from its early, experimental days, but one thing hasn’t changed, filaments are still sensitive materials. Many of them, especially hygroscopic ones like PLA+, ABS, PETG, TPU, and Nylon, absorb moisture from the air. Even a small amount of humidity can cause popping, stringing, inconsistent extrusion, or that frustrating fuzzy surface finish that ruins an otherwise perfect print. That’s why filament drying has become a core part of a reliable 3D‑printing workflow, right alongside bed leveling and slicer tuning. And in that landscape of drying solutions, one model in particular has been getting attention for its design and practicality, the POLYPHEMUS filament dryer by EIBOS.


    EIBOS was established on April 20, 2020, in the cement forest of Shenzhen. We believe the world will eventually revolve around technology advancement. We believe that 3D printing will promote this process. We believe in the laws of world movement. We believe in physics and mathematics. We believe many things in the world. We believe that there are still many unknown things in this world. Excellent Ideas Based On Structure, EIBOS, may the technology to be with you.


    The POLYPHEMUS is EIBOS’s new‑generation filament dryer, built around the company’s core principles of active drying and controlled air circulation. Instead of blasting heat directly onto the spool like other models, it uses multiple hot‑air outlets (maximum operating temperature of 70°C) to distribute warmth evenly, supported by a 360° rotating platform that eliminates top‑to‑bottom temperature inconsistencies. It offers automatic humidity control, three heating‑power modes for different material sensitivities, and built‑in presets for nine filament types, from PLA, ABS and PETG to PA, PC, and TPU, plus three customizable slots for user‑defined profiles. Internal chamber‑mounted sensors provide accurate, real‑time temperature and humidity readings, with support for both °C and °F. By default, the POLYPHEMUS is designed as a dual‑spool dryer that supports two 1kg filaments (210x80mm each) but for users who rely on oversized or industrial‑grade filaments, EIBOS offers a dedicated 3kg expansion kit allowing the dryer to accommodate a full 3kg spool (210x170mm) without compromising rotation or airflow.


SPECIFICATIONS AND FEATURES


PACKAGING AND CONTENTS


EIBOS uses a black box to ship the POLYPHEMUS in the front of which features a rather subtle drawing which isn't very easy to notice.


The model version (power plug and power supply) is noted on the left side as seen above.


Typically, the entire bundle is placed between pieces of foam.


Inside the box you'll find the main dryer with its power cord, extra motor (1500 hours lifespan), extra spool roller, 6 lid frames (2xA / 4xB), 5 acrylic panels, plastic handle, 10 screws, Allen wrench, Teflon tube, 3 silicone stoppers and the product manual.


THE POLYPHEMUS


The main device measures 275mm in length, 205mm in width and 66mm in height.


EIBOS has also placed two desiccant compartments into the POLYPHEMUS.


At the front we find an LCD screen along with 6 buttons from where you can control filament type, temperature, desired humidity and time.


Turning the device around we find the power port and two feed ports from where you can directly route the filaments to your 3D printer.


The POLYPHEMUS sits on 4 rubber feet and has a small compartment at its base from where you can replace the motor.


ASSEMBLY


Setting up the POLYPHEMUS is easy, first attach the 4 lid-B frames to one of the lid-A frames.


Then mount the 4 acrylic panels between the lid-B frames and place the 2nd lid-A frame on top (don't secure it yet).


Then mount the top acrylic panel, secure it onto the lid-A frame and also mount the handle.


With the top attached the device now measures 275mm in length, 205mm in width and 317mm in height (274mm without the handle).


For my tests EIBOS provided me with two of their Silk Ribbons PLA filaments as seen above.


As you can all see the LCD screen displays time, humidity, temperature, device temperature and type of PLA.


Again, worth pointing out is that for people using 3Kg filaments EIBOS has an extra kit available (they did send it over but I don't have any 3Kg filaments in the lab).


Using a thermal imager, I tested the POLYPHEMUS with and without the 360-degree feature and yes, I did notice slightly better results with it enabled.


CONCLUSION


    Looking at the EIBOS POLYPHEMUS from a performance‑driven perspective, it stands out as a dryer built to maintain stable conditions over long sessions rather than simply heating a spool and hoping for the best. Its controlled thermal system ramps up quickly, and the preset material modes give you predictable behavior across a wide range of filaments without constant manual tweaking. The rotating platform helps distribute warmth around the spool’s circumference, reducing the usual hot‑spot/cold‑spot imbalance that can show up in static dryers. For users who frequently work with moisture‑sensitive materials, especially engineering‑grade filaments the consistency it provides is genuinely useful. Where the POLYPHEMUS becomes more versatile is in its ability to scale. With the optional expansion kit, it can house 3kg filaments, which opens the door for long‑form printing, multi‑day jobs, or large‑format machines that rely on oversized filament rolls. The dual rear feed ports also make it easy to integrate the dryer directly into your printing workflow, letting you run filament straight from the chamber without constantly relocating spools. Combined with its internal sensors and steady temperature regulation, the device behaves more like a controlled environment than a simple heater box. Its drawbacks are practical rather than conceptual. The power draw above 100W during active heating is something to keep in mind if you run extended drying cycles or operate multiple units. The rotating system does improve uniformity, but the real‑world gain is incremental, not a dramatic leap over simpler designs (although once again, my thermal imaging devices may not be as accurate as the ones used by the people over at EIBOS). And because the chamber is sized to accommodate larger spools and a rotating base, the unit occupies a noticeable amount of workspace, which may matter in compact setups. Even with these considerations, the POLYPHEMUS presents itself as a solid, dependable drying solution.


    As I type these lines the POLYPHEMUS filament dryer by EIBOS retails for USD139.19 inside the USA (Amazon.com) and for 125.03Euros inside the EU (Amazon.de) and so it’s priced well for what it does. At the end of the day the POLYPHEMUS does exactly what it was designed to do, it effectively dries and keeps your filaments dry regardless of type and that’s why it gets the Golden Award.

PROS


- Fast 360 Degree Drying
- LCD Screen
- Adjustable Time, Humidity & Temperature
- Filament Support (9 Types Plus 3 Custom)
- Extra Motor & Roller
- 3Kg Filament Support Kit Available (Extra)


CONS


- Overall Size
- Power Consumption (For Some)
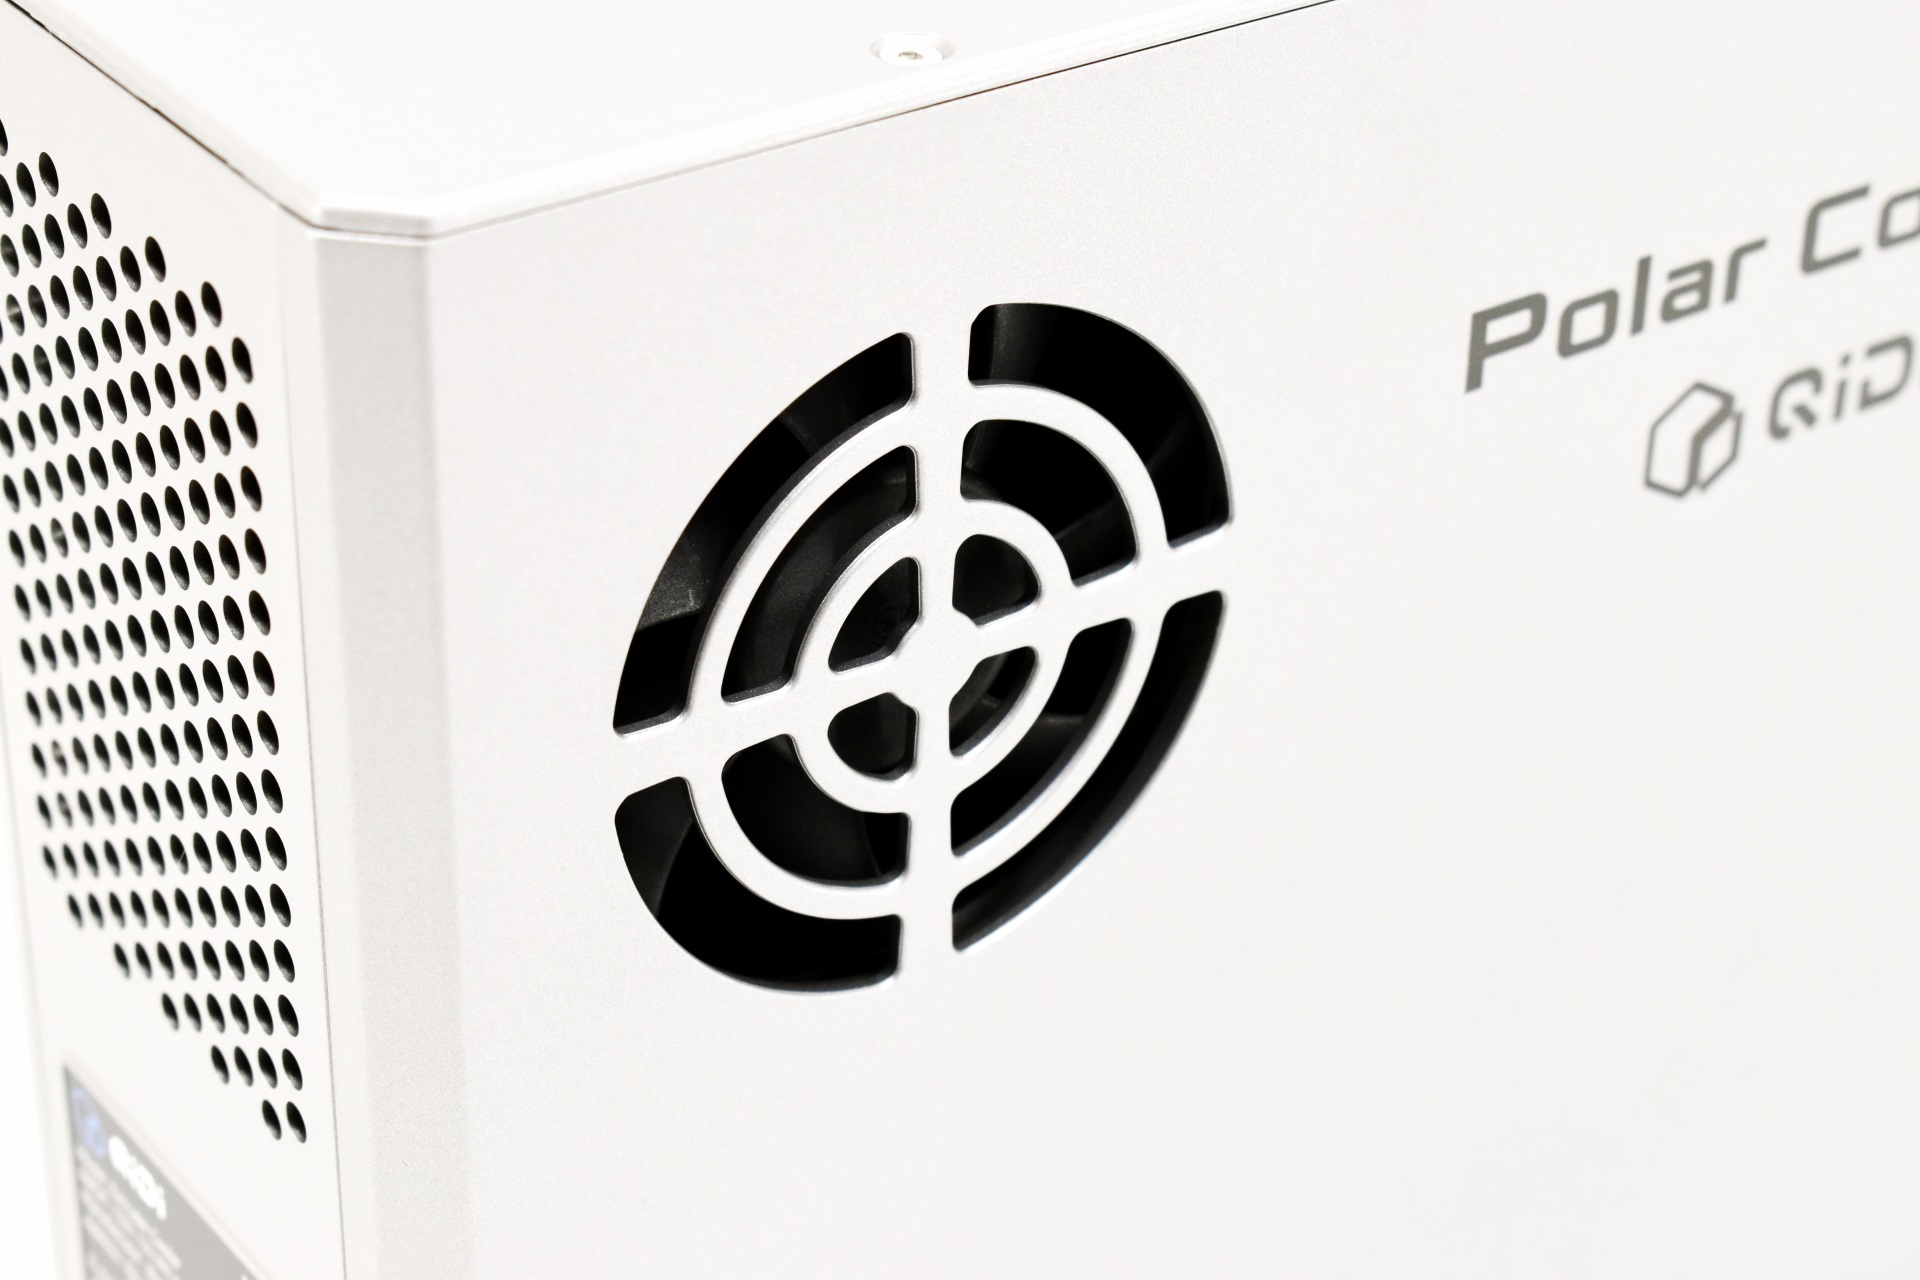


EIBOS POLYPHEMUS 3D Printing Filament Dryer Review

INTRODUCTION


eibos polyphemus review a


    3D printing has come a long way from its early, experimental days, but one thing hasn’t changed, filaments are still sensitive materials. Many of them, especially hygroscopic ones like PLA+, ABS, PETG, TPU, and Nylon, absorb moisture from the air. Even a small amount of humidity can cause popping, stringing, inconsistent extrusion, or that frustrating fuzzy surface finish that ruins an otherwise perfect print. That’s why filament drying has become a core part of a reliable 3D‑printing workflow, right alongside bed leveling and slicer tuning. And in that landscape of drying solutions, one model in particular has been getting attention for its design and practicality, the POLYPHEMUS filament dryer by EIBOS.


    EIBOS was established on April 20, 2020, in the cement forest of Shenzhen. We believe the world will eventually revolve around technology advancement. We believe that 3D printing will promote this process. We believe in the laws of world movement. We believe in physics and mathematics. We believe many things in the world. We believe that there are still many unknown things in this world. Excellent Ideas Based On Structure, EIBOS, may the technology to be with you.


    The POLYPHEMUS is EIBOS’s new‑generation filament dryer, built around the company’s core principles of active drying and controlled air circulation. Instead of blasting heat directly onto the spool like other models, it uses multiple hot‑air outlets (maximum operating temperature of 70°C) to distribute warmth evenly, supported by a 360° rotating platform that eliminates top‑to‑bottom temperature inconsistencies. It offers automatic humidity control, three heating‑power modes for different material sensitivities, and built‑in presets for nine filament types, from PLA, ABS and PETG to PA, PC, and TPU, plus three customizable slots for user‑defined profiles. Internal chamber‑mounted sensors provide accurate, real‑time temperature and humidity readings, with support for both °C and °F. By default, the POLYPHEMUS is designed as a dual‑spool dryer that supports two 1kg filaments (210x80mm each) but for users who rely on oversized or industrial‑grade filaments, EIBOS offers a dedicated 3kg expansion kit allowing the dryer to accommodate a full 3kg spool (210x170mm) without compromising rotation or airflow.


SPECIFICATIONS AND FEATURES


PACKAGING AND CONTENTS


EIBOS uses a black box to ship the POLYPHEMUS in the front of which features a rather subtle drawing which isn't very easy to notice.


The model version (power plug and power supply) is noted on the left side as seen above.


Typically, the entire bundle is placed between pieces of foam.


Inside the box you'll find the main dryer with its power cord, extra motor (1500 hours lifespan), extra spool roller, 6 lid frames (2xA / 4xB), 5 acrylic panels, plastic handle, 10 screws, Allen wrench, Teflon tube, 3 silicone stoppers and the product manual.


THE POLYPHEMUS


The main device measures 275mm in length, 205mm in width and 66mm in height.


EIBOS has also placed two desiccant compartments into the POLYPHEMUS.


At the front we find an LCD screen along with 6 buttons from where you can control filament type, temperature, desired humidity and time.


Turning the device around we find the power port and two feed ports from where you can directly route the filaments to your 3D printer.


The POLYPHEMUS sits on 4 rubber feet and has a small compartment at its base from where you can replace the motor.


ASSEMBLY


Setting up the POLYPHEMUS is easy, first attach the 4 lid-B frames to one of the lid-A frames.


Then mount the 4 acrylic panels between the lid-B frames and place the 2nd lid-A frame on top (don't secure it yet).


Then mount the top acrylic panel, secure it onto the lid-A frame and also mount the handle.


With the top attached the device now measures 275mm in length, 205mm in width and 317mm in height (274mm without the handle).


For my tests EIBOS provided me with two of their Silk Ribbons PLA filaments as seen above.


As you can all see the LCD screen displays time, humidity, temperature, device temperature and type of PLA.


Again, worth pointing out is that for people using 3Kg filaments EIBOS has an extra kit available (they did send it over but I don't have any 3Kg filaments in the lab).


Using a thermal imager, I tested the POLYPHEMUS with and without the 360-degree feature and yes, I did notice slightly better results with it enabled.


CONCLUSION


    Looking at the EIBOS POLYPHEMUS from a performance‑driven perspective, it stands out as a dryer built to maintain stable conditions over long sessions rather than simply heating a spool and hoping for the best. Its controlled thermal system ramps up quickly, and the preset material modes give you predictable behavior across a wide range of filaments without constant manual tweaking. The rotating platform helps distribute warmth around the spool’s circumference, reducing the usual hot‑spot/cold‑spot imbalance that can show up in static dryers. For users who frequently work with moisture‑sensitive materials, especially engineering‑grade filaments the consistency it provides is genuinely useful. Where the POLYPHEMUS becomes more versatile is in its ability to scale. With the optional expansion kit, it can house 3kg filaments, which opens the door for long‑form printing, multi‑day jobs, or large‑format machines that rely on oversized filament rolls. The dual rear feed ports also make it easy to integrate the dryer directly into your printing workflow, letting you run filament straight from the chamber without constantly relocating spools. Combined with its internal sensors and steady temperature regulation, the device behaves more like a controlled environment than a simple heater box. Its drawbacks are practical rather than conceptual. The power draw above 100W during active heating is something to keep in mind if you run extended drying cycles or operate multiple units. The rotating system does improve uniformity, but the real‑world gain is incremental, not a dramatic leap over simpler designs (although once again, my thermal imaging devices may not be as accurate as the ones used by the people over at EIBOS). And because the chamber is sized to accommodate larger spools and a rotating base, the unit occupies a noticeable amount of workspace, which may matter in compact setups. Even with these considerations, the POLYPHEMUS presents itself as a solid, dependable drying solution.


    As I type these lines the POLYPHEMUS filament dryer by EIBOS retails for USD139.19 inside the USA (Amazon.com) and for 125.03Euros inside the EU (Amazon.de) and so it’s priced well for what it does. At the end of the day the POLYPHEMUS does exactly what it was designed to do, it effectively dries and keeps your filaments dry regardless of type and that’s why it gets the Golden Award.

PROS


- Fast 360 Degree Drying
- LCD Screen
- Adjustable Time, Humidity & Temperature
- Filament Support (9 Types Plus 3 Custom)
- Extra Motor & Roller
- 3Kg Filament Support Kit Available (Extra)


CONS


- Overall Size
- Power Consumption (For Some)
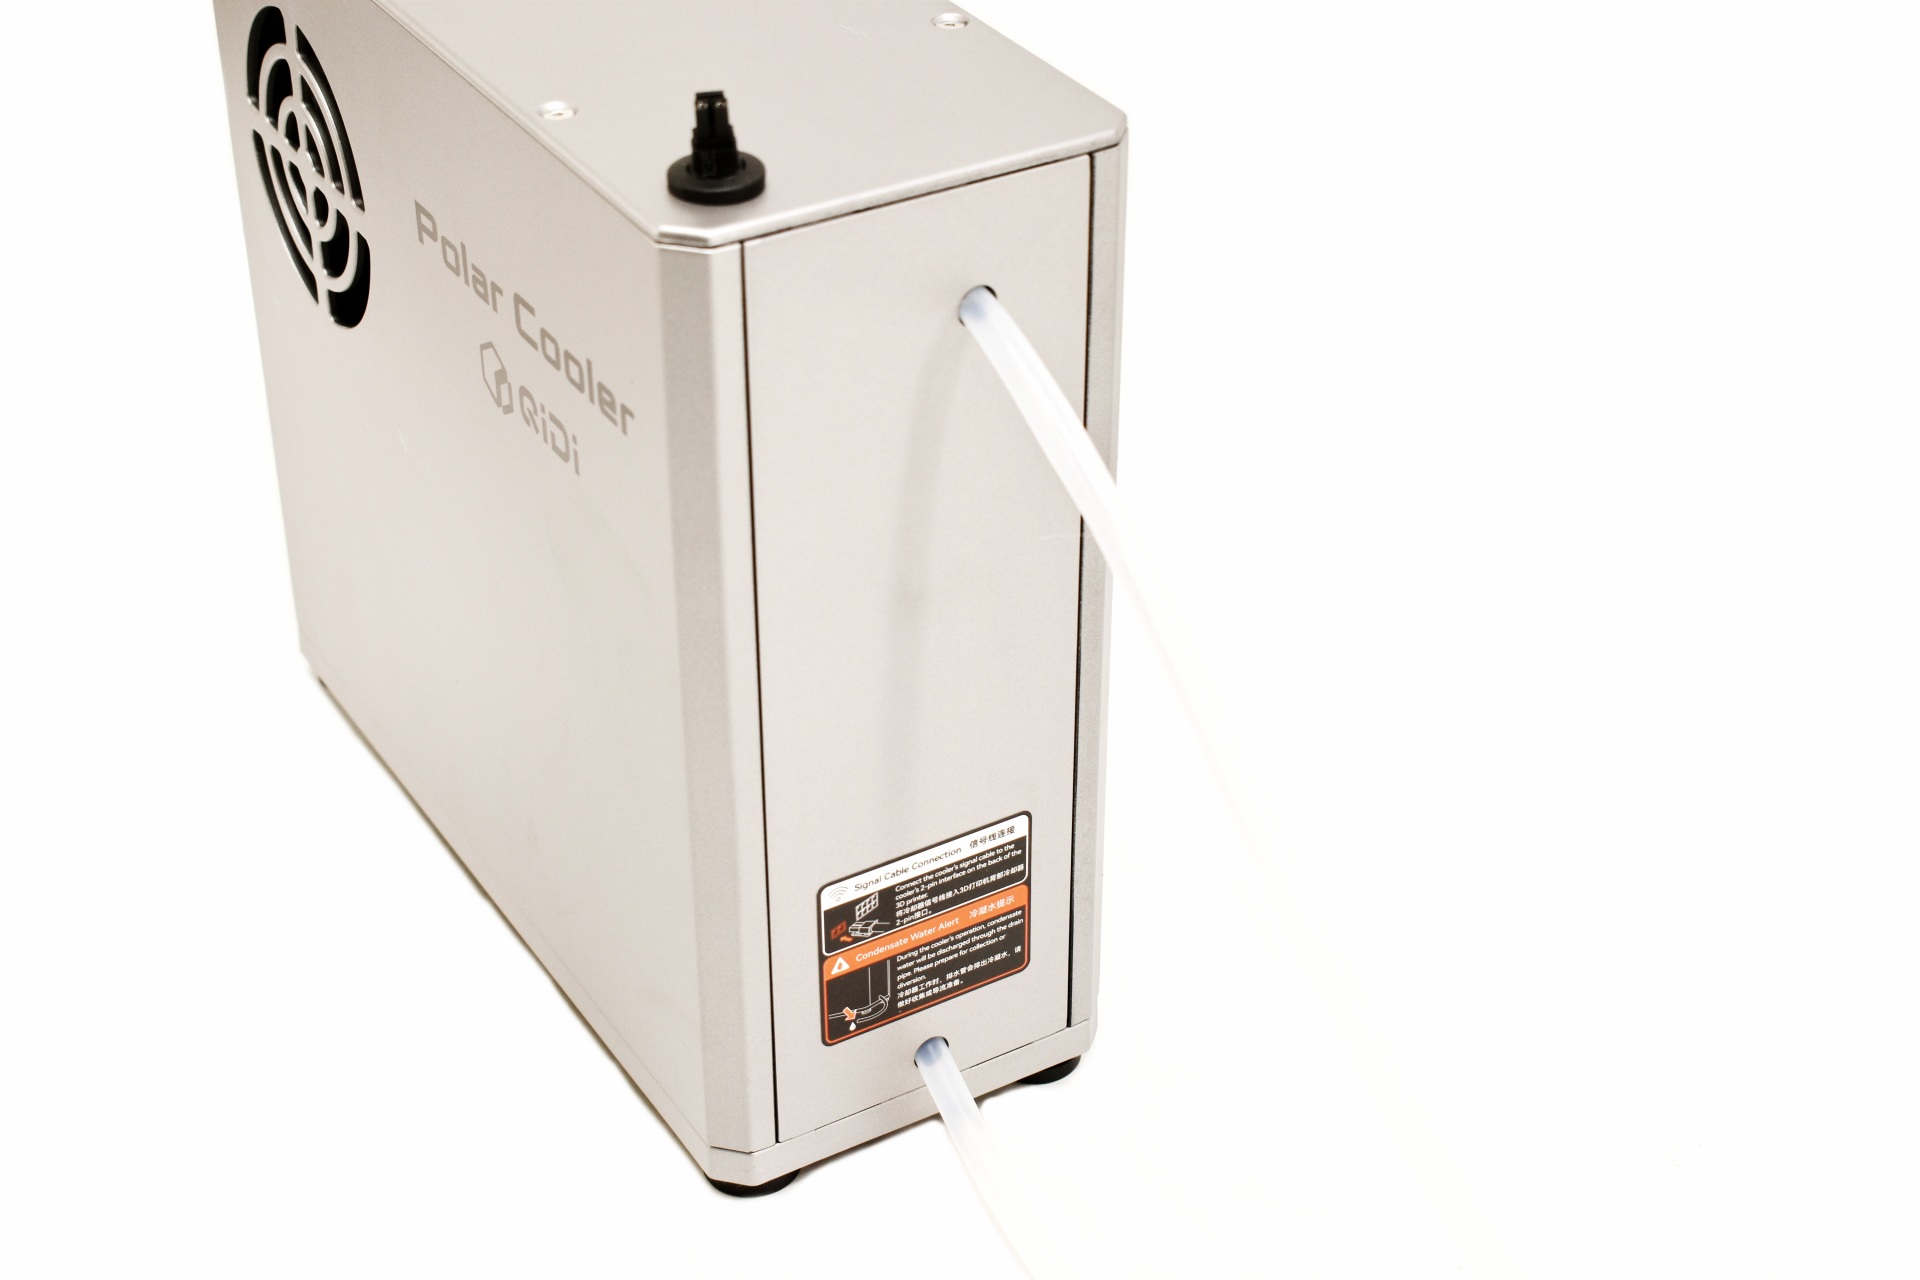


Creality K2 Pro Combo 3D Printer Review

INTRODUCTION


creality k2 pro combo review a


    3D printing has evolved into a remarkably versatile craft, no longer limited to enthusiasts tinkering in garages but embraced by designers, engineers, and everyday problem‑solvers who want to turn digital ideas into physical objects with precision and speed. Modern machines emphasize consistency, smarter motion systems, and materials that once belonged only in industrial workshops, making the technology feel more approachable than ever. As the field keeps expanding, each new model tries to balance performance with ease of use, and that’s where Creality’s K2 Pro Combo steps in.


    Shenzhen Creality 3D Technology Co., Ltd., known as Creality, is a world-leading brand of consumer 3D printers. Since our establishment in 2014, we have embraced our role as an "3D Printing Evangelist" committed to the innovation, application, and popularization of 3D printing technology worldwide. Our forward-looking business strategy, termed "One Core with Two Wings," has propelled our rapid growth. Specifically, 3D printer products are at the “Core” of our business, which is assisted by the first “Wing” of ecosystem products like 3D scanners, laser engravers, filaments, and accessories. A second “Wing” of our business is Creality Cloud, an all-in-one 3D printing platform that gathers 3D models and enables a cloud printing experience.


    Modern high‑speed printers live or die by the balance between raw motion performance and environmental control, and Creality’s K2 Pro Combo leans into that philosophy with a surprisingly robust spec sheet. Its CoreXY system is tuned for up to 600mm/s print speeds and 30.000mm/s² acceleration, supported by a rigid frame and a fully enclosed, actively heated chamber that can reach 65°C to stabilize demanding filaments. The hotend pushes temperatures up to 300°C, while the bed heats to 120°C, opening the door to materials like ABS, ASA, PETG, TPU, and various composites. Creality’s CFS unit adds multi‑material capability with up to 16‑color support (4 CFS units), and the dual AI cameras handle print monitoring, spaghetti detection, and time‑lapse capture. The build surface uses a flexible PEI plate for reliable adhesion and easy part removal, and control is handled through a responsive 4.3‑inch touchscreen that keeps navigation straightforward. With automated leveling, a 300x300x300mm build area, and a tightly managed thermal environment, the K2 Pro Combo positions itself as a machine built for users who want speed without sacrificing consistency or material flexibility.


SPECIFICATIONS AND FEATURES


PACKAGING AND CONTENTS


Creality uses a newly designed box for the K2 Pro Combo the front and rear of which have their logo and a product drawing.


Contact information for Creality and several certification and warning logos are placed on the sides.


Packing is pretty flawless so there were no problems with our sample.


As expected, the entire bundle (minus the top tempered glass cover which is taped on the side of the printer) is placed inside the K2 Combo.


Aside the K2 Pro and the CFS inside the box we also find the top tempered glass cover, white hyper PLA filament, LCD touchscreen, 4 PTFE tubes, two 485 cables, buffer, buffer mounting screws, filament mount, glue stick, metal grease, cleaning tools, Allen keys, USB flash drive, tube/filament cutting tool, power cord, stickers, quick installation guides (K2 Pro printer & CFS), after sales service card, and two creality certification papers.


Creality has placed two plastic mounts inside the printer which hold the CFS in place.


THE K2 PRO COMBO


The K2 Pro is a medium to large size FDM printer that weighs 23.7Kg and measures 850mm in height, 445mm in width and 505mm in length/depth.


Creality has placed the LCD touchscreen mount on the front top right.


A USB-A port and the RFID scanner are located on the right side as seen above.


At the rear we find three perforated areas (exhausts), filament waste outlet, on/off switch, power port, RJ45 LAN port and a 485 port.


After you have removed the CFS from the interior of the K2 Pro you will also need to remove the two plastic pieces holding it in place and 6 more (you will need one of the bundled Allen keys for some of them).


I was glad to see that Creality has used a flexible PEI plate (much like the one used in the Hi-Combo).


Inside the K2 Pro we also find a heater, blower fan (cooling), air-purifier compartment, residue cleaner and a HD (720p) camera.


The direct drive extruder Creality has used features a built-in run out sensor and is very easy to take apart.


 According to Creality there’s also an AI camera right behind the extruder which ensures your prints complete properly.


This is the 2nd time I’ve received Creality’s CFS so once again it’s primarily made of plastic and measures 314mm in width, 276mm in height and 314mm in length/width.


Inside we find 4 filament spots and two large silica gel packs placed in separate compartments.


Turning the CFS around we find two PTFE ports and two 485 ports.


ASSEMBLY


3D printers like the K2 Pro require no assembly but you still need to attach a few things.

In this model first thing to attach is the LCD touchscreen which can also tilt a few degrees.


Next in line is the buffer which attaches at the rear and just over the filament waste outlet.


Finally for people who haven’t gotten the Combo version it’s the filament spool holder.


For my tests I used a total of 4 Hyper PLA filaments by Creality (black, white, red and blue).


Both temperature and moisture are in good levels where I do all my 3D printer tests.


In most marketing pictures Creality has the CFS placed on top of the K2 Pro but since for PLA prints the top tempered glass panel should be removed, I chose to place it next to the printer instead (this is the best one can do with the bundled 485 cables).


DISPLAY MENUS


Once again, the moment you power the K2 Pro Combo for the first time you will need to choose the language, connect it to the Internet via Wi-Fi, set the time zone and wait for it to complete a self-check.


Typically, the printer will also check for firmware updates and in my case v1.1.3.6 was available.


From the main tab you can check and adjust current temperatures (printing platform, enclosure and extruder), turn the LED light on/off, access local files (built-in memory and USB) and see what filaments are installed (only after you complete that step).


Second tab gives you control over the axis, temperatures and print plate, allows you to load/unload filaments (easy to do with RFID, just press the loading circle on top of each filament position), adjust print settings like AI detection and perform calibration (auto leveling, cutter calibration and input shaping).


Third tab list 3D model thumbs found in the built-in memory (if you print something from the USB it first gets copied to the local memory) and the USB (also records what prints you’ve completed).


From inside the settings tab, you can adjust the brightness levels of the LCD touchscreen, set sleep time for the screen, change the language, enable/disable timelapse, enable/disable sounds, enable/disable automatic firmware updates during the night, access expert mode settings, check for updates and reset the printer to its factory settings.


The android tab contains the 2D barcode (wiki), prompts, logs and maintenance options.


CREALITY CLOUD


For extra control over your K2 Pro/Combo you should download the Creality Cloud app.

From inside the app you can watch what is being printed live, check the timelapse (once complete), control the printer (stop/pause), check temperatures, adjust speed, enable/disable the LED, adjust fan speeds, control the axis and the bed and check the status of the installed filaments.


The settings tab contains your electronic insurance card and allows you to access information of the printer, share the printer with others, check local files and time lapses and check for firmware updates.


TESTING METHODOLOGY


    Once again to test this printer by Creality I used their latest print software (Creality Print 6.2) by manually entering the same settings I’ve used to date with all FDM printers (quality of 0.16mm, 20% infill density and cubic infill pattern).


    Nothing else has changed of course so again I’ll be using 2 different sized models (downloaded from Cults3D / member Eastman) to record completion time at 100% speed. Second thing to test are noise levels and so once again I’ll be using my ExTech HD600 decibel meter placed roughly 30cm away to record the maximum noise coming from the 3D printer while printing. As for the 3rd test with the help of an UPS and two power meters I decided to also record not only the lowest and highest but also the average instant power consumption of the 3D printer in my hands.


creality k2 pro combo review 55t

    I’ve never had any complaints from Creality models when it comes to print quality and the K2 Pro Combo is not an exception (timelapse is available on both TikTok and YouTube).


    Once again my sole concern is filament waste when printing complex multi-color models. Just take into account that not only did these two tiny pieces take longer to print compared to the large Deadpool bust but I also had to "sacrifice" 10 times the amount of filament as you can see from the above picture (and this isn't just with the K2 Pro Combo, it's a general issue with all multi-color printers).


TEST RESULTS


completion


CONCLUSION


creality k2 pro combo review b


    The K2 Pro Combo ultimately is a 3D printer built to deliver fast, confident results, and its strengths show up immediately in day‑to‑day use. Its high‑speed motion system, dependable print quality, multi‑color capability through the CFS unit, responsive touchscreen, and grippy PEI plate all contribute to a workflow that rarely gets in your way. With the top glass installed, overall noise levels stay surprisingly controlled, and average power consumption during normal printing remains more than reasonable for a fully enclosed CoreXY system. Still, the multi‑color workflow comes with trade‑offs since even tiny models can take noticeably longer to complete, and the filament purging process generates a fair amount of waste. Peak power draw also climbs when the system is heating aggressively (this however matters very little, average consumption is what people should be looking at), and the nozzle‑cleaning routine is significantly louder than the rest of the printing cycle (without the top cover I could hear it from 3 rooms away – since this isn’t continuous it’s not recorded in the charts just like with other similar models). Even so, the K2 Pro Combo stands out as a capable, well‑rounded platform whose advantages will outweigh its compromises for users who want speed, stability, and the option to explore color‑rich projects.


    Currently the K2 Pro Combo 3D printer by Creality retails for USD1049 inside the USA (Amazon.com) and for 1139Euros inside the EU (Creality Store) and so it’s priced more or less properly for what it has to offer. At the end of the day the K2 Pro Combo is not for people who are taking their first steps with 3D printing, it’s clearly aimed towards experienced users and even professionals and since currently it’s the best all around 3D printer to arrive in the lab (to date) it deserves the Platinum Award.

platinum

PROS


- Very Good Build Quality (Aerospace Grade Aluminum Alloy / Tempered Glass Panels)
- Very Fast (Up To 600ms Speed / 20000ms Acceleration)
- CFS Addon (4 Filaments Per CFS / Up To 16 Filaments)
- Print Quality
- Heated & Flexible PEI Print Bed
- Temperature Controlled Chamber
- High Speed Dual Gear Direct Drive Extruder
- G Sensor (Input Shaping)
- Automatic Leveling
- 4” Inch HD Color Touch Screen Display
- Air Purifier
- RFID Sensor
- WiFi, RJ45 Ethernet & USB Port


CONS


- 720p Camera (Subpar Timelapse Quality)
- Nozzle Cleaning Noise (For Some)
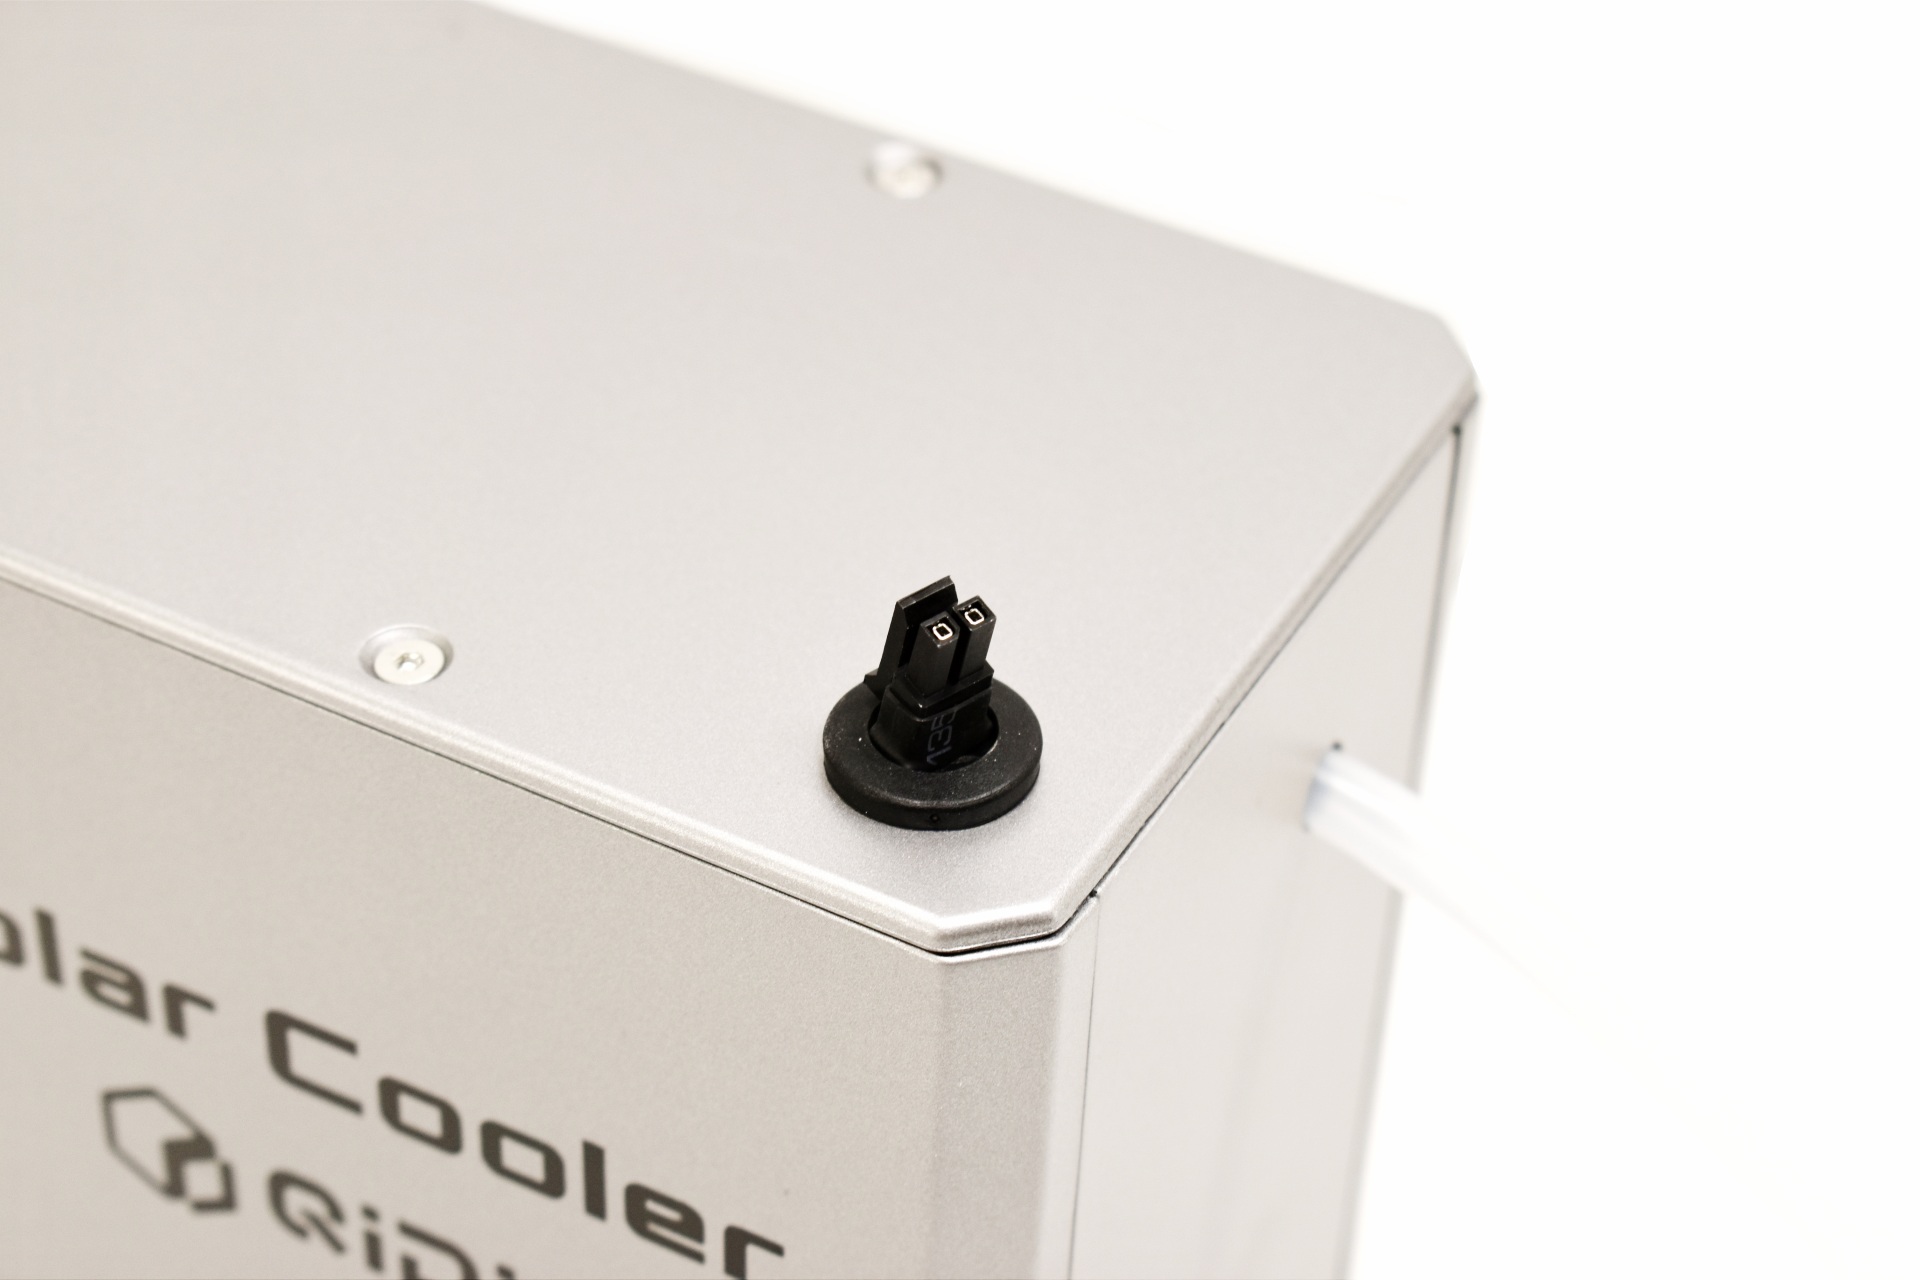
- Short 3D Printer To CFS Cable


Creality K2 Pro Combo 3D Printer Review

19 February 2026 at 18:58

INTRODUCTION


creality k2 pro combo review a


    3D printing has evolved into a remarkably versatile craft, no longer limited to enthusiasts tinkering in garages but embraced by designers, engineers, and everyday problem‑solvers who want to turn digital ideas into physical objects with precision and speed. Modern machines emphasize consistency, smarter motion systems, and materials that once belonged only in industrial workshops, making the technology feel more approachable than ever. As the field keeps expanding, each new model tries to balance performance with ease of use, and that’s where Creality’s K2 Pro Combo steps in.


    Shenzhen Creality 3D Technology Co., Ltd., known as Creality, is a world-leading brand of consumer 3D printers. Since our establishment in 2014, we have embraced our role as an "3D Printing Evangelist" committed to the innovation, application, and popularization of 3D printing technology worldwide. Our forward-looking business strategy, termed "One Core with Two Wings," has propelled our rapid growth. Specifically, 3D printer products are at the “Core” of our business, which is assisted by the first “Wing” of ecosystem products like 3D scanners, laser engravers, filaments, and accessories. A second “Wing” of our business is Creality Cloud, an all-in-one 3D printing platform that gathers 3D models and enables a cloud printing experience.


    Modern high‑speed printers live or die by the balance between raw motion performance and environmental control, and Creality’s K2 Pro Combo leans into that philosophy with a surprisingly robust spec sheet. Its CoreXY system is tuned for up to 600mm/s print speeds and 30.000mm/s² acceleration, supported by a rigid frame and a fully enclosed, actively heated chamber that can reach 65°C to stabilize demanding filaments. The hotend pushes temperatures up to 300°C, while the bed heats to 120°C, opening the door to materials like ABS, ASA, PETG, TPU, and various composites. Creality’s CFS unit adds multi‑material capability with up to 16‑color support (4 CFS units), and the dual AI cameras handle print monitoring, spaghetti detection, and time‑lapse capture. The build surface uses a flexible PEI plate for reliable adhesion and easy part removal, and control is handled through a responsive 4.3‑inch touchscreen that keeps navigation straightforward. With automated leveling, a 300x300x300mm build area, and a tightly managed thermal environment, the K2 Pro Combo positions itself as a machine built for users who want speed without sacrificing consistency or material flexibility.


SPECIFICATIONS AND FEATURES


PACKAGING AND CONTENTS


Creality uses a newly designed box for the K2 Pro Combo the front and rear of which have their logo and a product drawing.


Contact information for Creality and several certification and warning logos are placed on the sides.


Packing is pretty flawless so there were no problems with our sample.


As expected, the entire bundle (minus the top tempered glass cover which is taped on the side of the printer) is placed inside the K2 Combo.


Aside the K2 Pro and the CFS inside the box we also find the top tempered glass cover, white hyper PLA filament, LCD touchscreen, 4 PTFE tubes, two 485 cables, buffer, buffer mounting screws, filament mount, glue stick, metal grease, cleaning tools, Allen keys, USB flash drive, tube/filament cutting tool, power cord, stickers, quick installation guides (K2 Pro printer & CFS), after sales service card, and two creality certification papers.


Creality has placed two plastic mounts inside the printer which hold the CFS in place.


THE K2 PRO COMBO


The K2 Pro is a medium to large size FDM printer that weighs 23.7Kg and measures 850mm in height, 445mm in width and 505mm in length/depth.


Creality has placed the LCD touchscreen mount on the front top right.


A USB-A port and the RFID scanner are located on the right side as seen above.


At the rear we find three perforated areas (exhausts), filament waste outlet, on/off switch, power port, RJ45 LAN port and a 485 port.


After you have removed the CFS from the interior of the K2 Pro you will also need to remove the two plastic pieces holding it in place and 6 more (you will need one of the bundled Allen keys for some of them).


I was glad to see that Creality has used a flexible PEI plate (much like the one used in the Hi-Combo).


Inside the K2 Pro we also find a heater, blower fan (cooling), air-purifier compartment, residue cleaner and a HD (720p) camera.


The direct drive extruder Creality has used features a built-in run out sensor and is very easy to take apart.


 According to Creality there’s also an AI camera right behind the extruder which ensures your prints complete properly.


This is the 2nd time I’ve received Creality’s CFS so once again it’s primarily made of plastic and measures 314mm in width, 276mm in height and 314mm in length/width.


Inside we find 4 filament spots and two large silica gel packs placed in separate compartments.


Turning the CFS around we find two PTFE ports and two 485 ports.


ASSEMBLY


3D printers like the K2 Pro require no assembly but you still need to attach a few things.

In this model first thing to attach is the LCD touchscreen which can also tilt a few degrees.


Next in line is the buffer which attaches at the rear and just over the filament waste outlet.


Finally for people who haven’t gotten the Combo version it’s the filament spool holder.


For my tests I used a total of 4 Hyper PLA filaments by Creality (black, white, red and blue).


Both temperature and moisture are in good levels where I do all my 3D printer tests.


In most marketing pictures Creality has the CFS placed on top of the K2 Pro but since for PLA prints the top tempered glass panel should be removed, I chose to place it next to the printer instead (this is the best one can do with the bundled 485 cables).


DISPLAY MENUS


Once again, the moment you power the K2 Pro Combo for the first time you will need to choose the language, connect it to the Internet via Wi-Fi, set the time zone and wait for it to complete a self-check.


Typically, the printer will also check for firmware updates and in my case v1.1.3.6 was available.


From the main tab you can check and adjust current temperatures (printing platform, enclosure and extruder), turn the LED light on/off, access local files (built-in memory and USB) and see what filaments are installed (only after you complete that step).


Second tab gives you control over the axis, temperatures and print plate, allows you to load/unload filaments (easy to do with RFID, just press the loading circle on top of each filament position), adjust print settings like AI detection and perform calibration (auto leveling, cutter calibration and input shaping).


Third tab list 3D model thumbs found in the built-in memory (if you print something from the USB it first gets copied to the local memory) and the USB (also records what prints you’ve completed).


From inside the settings tab, you can adjust the brightness levels of the LCD touchscreen, set sleep time for the screen, change the language, enable/disable timelapse, enable/disable sounds, enable/disable automatic firmware updates during the night, access expert mode settings, check for updates and reset the printer to its factory settings.


The android tab contains the 2D barcode (wiki), prompts, logs and maintenance options.


CREALITY CLOUD


For extra control over your K2 Pro/Combo you should download the Creality Cloud app.

From inside the app you can watch what is being printed live, check the timelapse (once complete), control the printer (stop/pause), check temperatures, adjust speed, enable/disable the LED, adjust fan speeds, control the axis and the bed and check the status of the installed filaments.


The settings tab contains your electronic insurance card and allows you to access information of the printer, share the printer with others, check local files and time lapses and check for firmware updates.


TESTING METHODOLOGY


    Once again to test this printer by Creality I used their latest print software (Creality Print 6.2) by manually entering the same settings I’ve used to date with all FDM printers (quality of 0.16mm, 20% infill density and cubic infill pattern).


    Nothing else has changed of course so again I’ll be using 2 different sized models (downloaded from Cults3D / member Eastman) to record completion time at 100% speed. Second thing to test are noise levels and so once again I’ll be using my ExTech HD600 decibel meter placed roughly 30cm away to record the maximum noise coming from the 3D printer while printing. As for the 3rd test with the help of an UPS and two power meters I decided to also record not only the lowest and highest but also the average instant power consumption of the 3D printer in my hands.


creality k2 pro combo review 55t

    I’ve never had any complaints from Creality models when it comes to print quality and the K2 Pro Combo is not an exception (timelapse is available on both TikTok and YouTube).


    Once again my sole concern is filament waste when printing complex multi-color models. Just take into account that not only did these two tiny pieces take longer to print compared to the large Deadpool bust but I also had to "sacrifice" 10 times the amount of filament as you can see from the above picture (and this isn't just with the K2 Pro Combo, it's a general issue with all multi-color printers).


TEST RESULTS


completion


CONCLUSION


creality k2 pro combo review b


    The K2 Pro Combo ultimately is a 3D printer built to deliver fast, confident results, and its strengths show up immediately in day‑to‑day use. Its high‑speed motion system, dependable print quality, multi‑color capability through the CFS unit, responsive touchscreen, and grippy PEI plate all contribute to a workflow that rarely gets in your way. With the top glass installed, overall noise levels stay surprisingly controlled, and average power consumption during normal printing remains more than reasonable for a fully enclosed CoreXY system. Still, the multi‑color workflow comes with trade‑offs since even tiny models can take noticeably longer to complete, and the filament purging process generates a fair amount of waste. Peak power draw also climbs when the system is heating aggressively (this however matters very little, average consumption is what people should be looking at), and the nozzle‑cleaning routine is significantly louder than the rest of the printing cycle (without the top cover I could hear it from 3 rooms away – since this isn’t continuous it’s not recorded in the charts just like with other similar models). Even so, the K2 Pro Combo stands out as a capable, well‑rounded platform whose advantages will outweigh its compromises for users who want speed, stability, and the option to explore color‑rich projects.


    Currently the K2 Pro Combo 3D printer by Creality retails for USD1049 inside the USA (Amazon.com) and for 1139Euros inside the EU (Creality Store) and so it’s priced more or less properly for what it has to offer. At the end of the day the K2 Pro Combo is not for people who are taking their first steps with 3D printing, it’s clearly aimed towards experienced users and even professionals and since currently it’s the best all around 3D printer to arrive in the lab (to date) it deserves the Platinum Award.

platinum

PROS


- Very Good Build Quality (Aerospace Grade Aluminum Alloy / Tempered Glass Panels)
- Very Fast (Up To 600ms Speed / 20000ms Acceleration)
- CFS Addon (4 Filaments Per CFS / Up To 16 Filaments)
- Print Quality
- Heated & Flexible PEI Print Bed
- Temperature Controlled Chamber
- High Speed Dual Gear Direct Drive Extruder
- G Sensor (Input Shaping)
- Automatic Leveling
- 4” Inch HD Color Touch Screen Display
- Air Purifier
- RFID Sensor
- WiFi, RJ45 Ethernet & USB Port


CONS


- 720p Camera (Subpar Timelapse Quality)
- Nozzle Cleaning Noise (For Some)
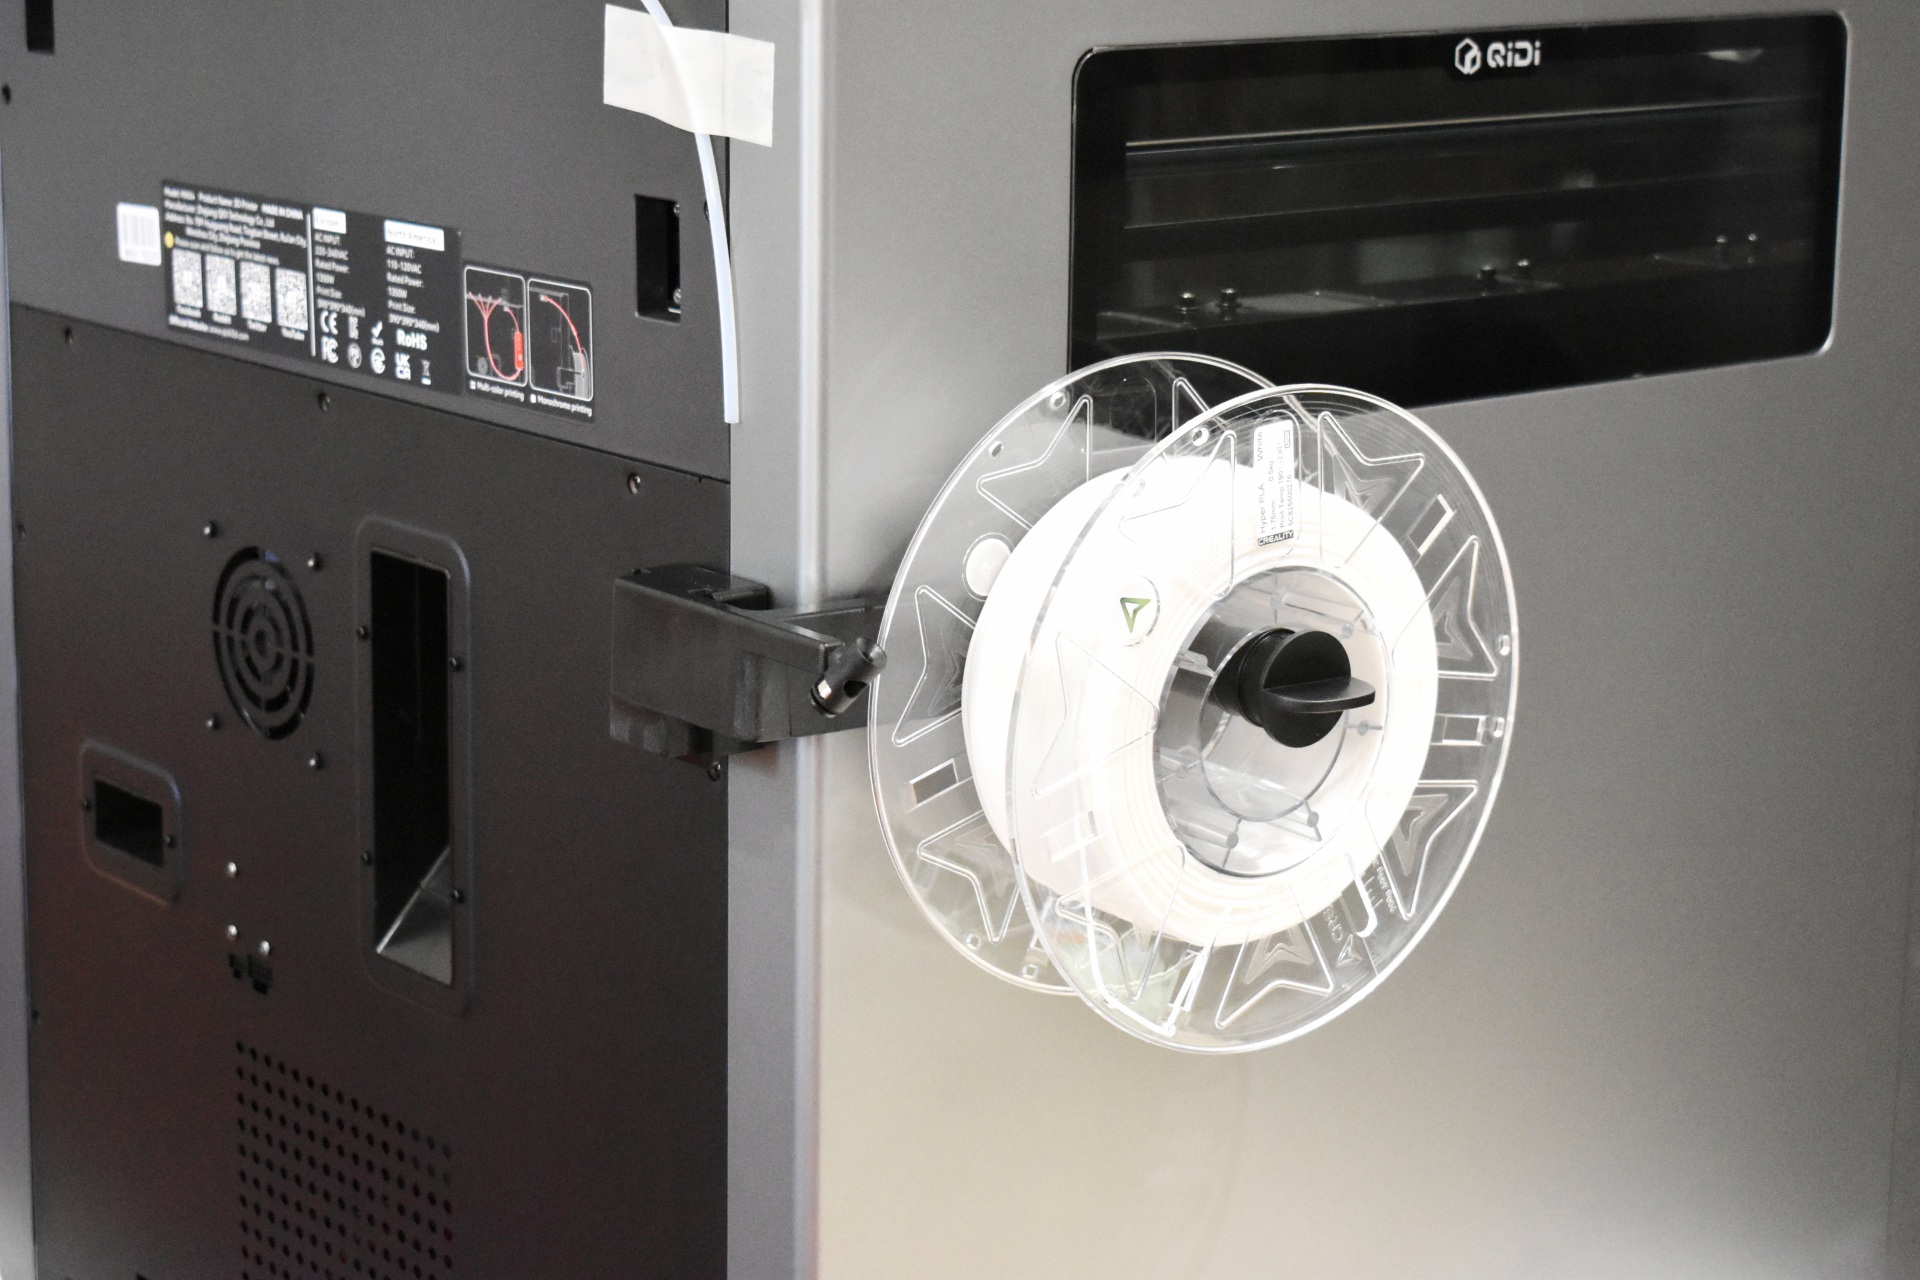
- Short 3D Printer To CFS Cable


Creality K2 Pro Combo 3D Printer Review

INTRODUCTION


creality k2 pro combo review a


    3D printing has evolved into a remarkably versatile craft, no longer limited to enthusiasts tinkering in garages but embraced by designers, engineers, and everyday problem‑solvers who want to turn digital ideas into physical objects with precision and speed. Modern machines emphasize consistency, smarter motion systems, and materials that once belonged only in industrial workshops, making the technology feel more approachable than ever. As the field keeps expanding, each new model tries to balance performance with ease of use, and that’s where Creality’s K2 Pro Combo steps in.


    Shenzhen Creality 3D Technology Co., Ltd., known as Creality, is a world-leading brand of consumer 3D printers. Since our establishment in 2014, we have embraced our role as an "3D Printing Evangelist" committed to the innovation, application, and popularization of 3D printing technology worldwide. Our forward-looking business strategy, termed "One Core with Two Wings," has propelled our rapid growth. Specifically, 3D printer products are at the “Core” of our business, which is assisted by the first “Wing” of ecosystem products like 3D scanners, laser engravers, filaments, and accessories. A second “Wing” of our business is Creality Cloud, an all-in-one 3D printing platform that gathers 3D models and enables a cloud printing experience.


    Modern high‑speed printers live or die by the balance between raw motion performance and environmental control, and Creality’s K2 Pro Combo leans into that philosophy with a surprisingly robust spec sheet. Its CoreXY system is tuned for up to 600mm/s print speeds and 30.000mm/s² acceleration, supported by a rigid frame and a fully enclosed, actively heated chamber that can reach 65°C to stabilize demanding filaments. The hotend pushes temperatures up to 300°C, while the bed heats to 120°C, opening the door to materials like ABS, ASA, PETG, TPU, and various composites. Creality’s CFS unit adds multi‑material capability with up to 16‑color support (4 CFS units), and the dual AI cameras handle print monitoring, spaghetti detection, and time‑lapse capture. The build surface uses a flexible PEI plate for reliable adhesion and easy part removal, and control is handled through a responsive 4.3‑inch touchscreen that keeps navigation straightforward. With automated leveling, a 300x300x300mm build area, and a tightly managed thermal environment, the K2 Pro Combo positions itself as a machine built for users who want speed without sacrificing consistency or material flexibility.


SPECIFICATIONS AND FEATURES


PACKAGING AND CONTENTS


Creality uses a newly designed box for the K2 Pro Combo the front and rear of which have their logo and a product drawing.


Contact information for Creality and several certification and warning logos are placed on the sides.


Packing is pretty flawless so there were no problems with our sample.


As expected, the entire bundle (minus the top tempered glass cover which is taped on the side of the printer) is placed inside the K2 Combo.


Aside the K2 Pro and the CFS inside the box we also find the top tempered glass cover, white hyper PLA filament, LCD touchscreen, 4 PTFE tubes, two 485 cables, buffer, buffer mounting screws, filament mount, glue stick, metal grease, cleaning tools, Allen keys, USB flash drive, tube/filament cutting tool, power cord, stickers, quick installation guides (K2 Pro printer & CFS), after sales service card, and two creality certification papers.


Creality has placed two plastic mounts inside the printer which hold the CFS in place.


THE K2 PRO COMBO


The K2 Pro is a medium to large size FDM printer that weighs 23.7Kg and measures 850mm in height, 445mm in width and 505mm in length/depth.


Creality has placed the LCD touchscreen mount on the front top right.


A USB-A port and the RFID scanner are located on the right side as seen above.


At the rear we find three perforated areas (exhausts), filament waste outlet, on/off switch, power port, RJ45 LAN port and a 485 port.


After you have removed the CFS from the interior of the K2 Pro you will also need to remove the two plastic pieces holding it in place and 6 more (you will need one of the bundled Allen keys for some of them).


I was glad to see that Creality has used a flexible PEI plate (much like the one used in the Hi-Combo).


Inside the K2 Pro we also find a heater, blower fan (cooling), air-purifier compartment, residue cleaner and a HD (720p) camera.


The direct drive extruder Creality has used features a built-in run out sensor and is very easy to take apart.


 According to Creality there’s also an AI camera right behind the extruder which ensures your prints complete properly.


This is the 2nd time I’ve received Creality’s CFS so once again it’s primarily made of plastic and measures 314mm in width, 276mm in height and 314mm in length/width.


Inside we find 4 filament spots and two large silica gel packs placed in separate compartments.


Turning the CFS around we find two PTFE ports and two 485 ports.


ASSEMBLY


3D printers like the K2 Pro require no assembly but you still need to attach a few things.

In this model first thing to attach is the LCD touchscreen which can also tilt a few degrees.


Next in line is the buffer which attaches at the rear and just over the filament waste outlet.


Finally for people who haven’t gotten the Combo version it’s the filament spool holder.


For my tests I used a total of 4 Hyper PLA filaments by Creality (black, white, red and blue).


Both temperature and moisture are in good levels where I do all my 3D printer tests.


In most marketing pictures Creality has the CFS placed on top of the K2 Pro but since for PLA prints the top tempered glass panel should be removed, I chose to place it next to the printer instead (this is the best one can do with the bundled 485 cables).


DISPLAY MENUS


Once again, the moment you power the K2 Pro Combo for the first time you will need to choose the language, connect it to the Internet via Wi-Fi, set the time zone and wait for it to complete a self-check.


Typically, the printer will also check for firmware updates and in my case v1.1.3.6 was available.


From the main tab you can check and adjust current temperatures (printing platform, enclosure and extruder), turn the LED light on/off, access local files (built-in memory and USB) and see what filaments are installed (only after you complete that step).


Second tab gives you control over the axis, temperatures and print plate, allows you to load/unload filaments (easy to do with RFID, just press the loading circle on top of each filament position), adjust print settings like AI detection and perform calibration (auto leveling, cutter calibration and input shaping).


Third tab list 3D model thumbs found in the built-in memory (if you print something from the USB it first gets copied to the local memory) and the USB (also records what prints you’ve completed).


From inside the settings tab, you can adjust the brightness levels of the LCD touchscreen, set sleep time for the screen, change the language, enable/disable timelapse, enable/disable sounds, enable/disable automatic firmware updates during the night, access expert mode settings, check for updates and reset the printer to its factory settings.


The android tab contains the 2D barcode (wiki), prompts, logs and maintenance options.


CREALITY CLOUD


For extra control over your K2 Pro/Combo you should download the Creality Cloud app.

From inside the app you can watch what is being printed live, check the timelapse (once complete), control the printer (stop/pause), check temperatures, adjust speed, enable/disable the LED, adjust fan speeds, control the axis and the bed and check the status of the installed filaments.


The settings tab contains your electronic insurance card and allows you to access information of the printer, share the printer with others, check local files and time lapses and check for firmware updates.


TESTING METHODOLOGY


    Once again to test this printer by Creality I used their latest print software (Creality Print 6.2) by manually entering the same settings I’ve used to date with all FDM printers (quality of 0.16mm, 20% infill density and cubic infill pattern).


    Nothing else has changed of course so again I’ll be using 2 different sized models (downloaded from Cults3D / member Eastman) to record completion time at 100% speed. Second thing to test are noise levels and so once again I’ll be using my ExTech HD600 decibel meter placed roughly 30cm away to record the maximum noise coming from the 3D printer while printing. As for the 3rd test with the help of an UPS and two power meters I decided to also record not only the lowest and highest but also the average instant power consumption of the 3D printer in my hands.


creality k2 pro combo review 55t

    I’ve never had any complaints from Creality models when it comes to print quality and the K2 Pro Combo is not an exception (timelapse is available on both TikTok and YouTube).


    Once again my sole concern is filament waste when printing complex multi-color models. Just take into account that not only did these two tiny pieces take longer to print compared to the large Deadpool bust but I also had to "sacrifice" 10 times the amount of filament as you can see from the above picture (and this isn't just with the K2 Pro Combo, it's a general issue with all multi-color printers).


TEST RESULTS


completion


CONCLUSION


creality k2 pro combo review b


    The K2 Pro Combo ultimately is a 3D printer built to deliver fast, confident results, and its strengths show up immediately in day‑to‑day use. Its high‑speed motion system, dependable print quality, multi‑color capability through the CFS unit, responsive touchscreen, and grippy PEI plate all contribute to a workflow that rarely gets in your way. With the top glass installed, overall noise levels stay surprisingly controlled, and average power consumption during normal printing remains more than reasonable for a fully enclosed CoreXY system. Still, the multi‑color workflow comes with trade‑offs since even tiny models can take noticeably longer to complete, and the filament purging process generates a fair amount of waste. Peak power draw also climbs when the system is heating aggressively (this however matters very little, average consumption is what people should be looking at), and the nozzle‑cleaning routine is significantly louder than the rest of the printing cycle (without the top cover I could hear it from 3 rooms away – since this isn’t continuous it’s not recorded in the charts just like with other similar models). Even so, the K2 Pro Combo stands out as a capable, well‑rounded platform whose advantages will outweigh its compromises for users who want speed, stability, and the option to explore color‑rich projects.


    Currently the K2 Pro Combo 3D printer by Creality retails for USD1049 inside the USA (Amazon.com) and for 1139Euros inside the EU (Creality Store) and so it’s priced more or less properly for what it has to offer. At the end of the day the K2 Pro Combo is not for people who are taking their first steps with 3D printing, it’s clearly aimed towards experienced users and even professionals and since currently it’s the best all around 3D printer to arrive in the lab (to date) it deserves the Platinum Award.

platinum

PROS


- Very Good Build Quality (Aerospace Grade Aluminum Alloy / Tempered Glass Panels)
- Very Fast (Up To 600ms Speed / 20000ms Acceleration)
- CFS Addon (4 Filaments Per CFS / Up To 16 Filaments)
- Print Quality
- Heated & Flexible PEI Print Bed
- Temperature Controlled Chamber
- High Speed Dual Gear Direct Drive Extruder
- G Sensor (Input Shaping)
- Automatic Leveling
- 4” Inch HD Color Touch Screen Display
- Air Purifier
- RFID Sensor
- WiFi, RJ45 Ethernet & USB Port


CONS


- 720p Camera (Subpar Timelapse Quality)
- Nozzle Cleaning Noise (For Some)
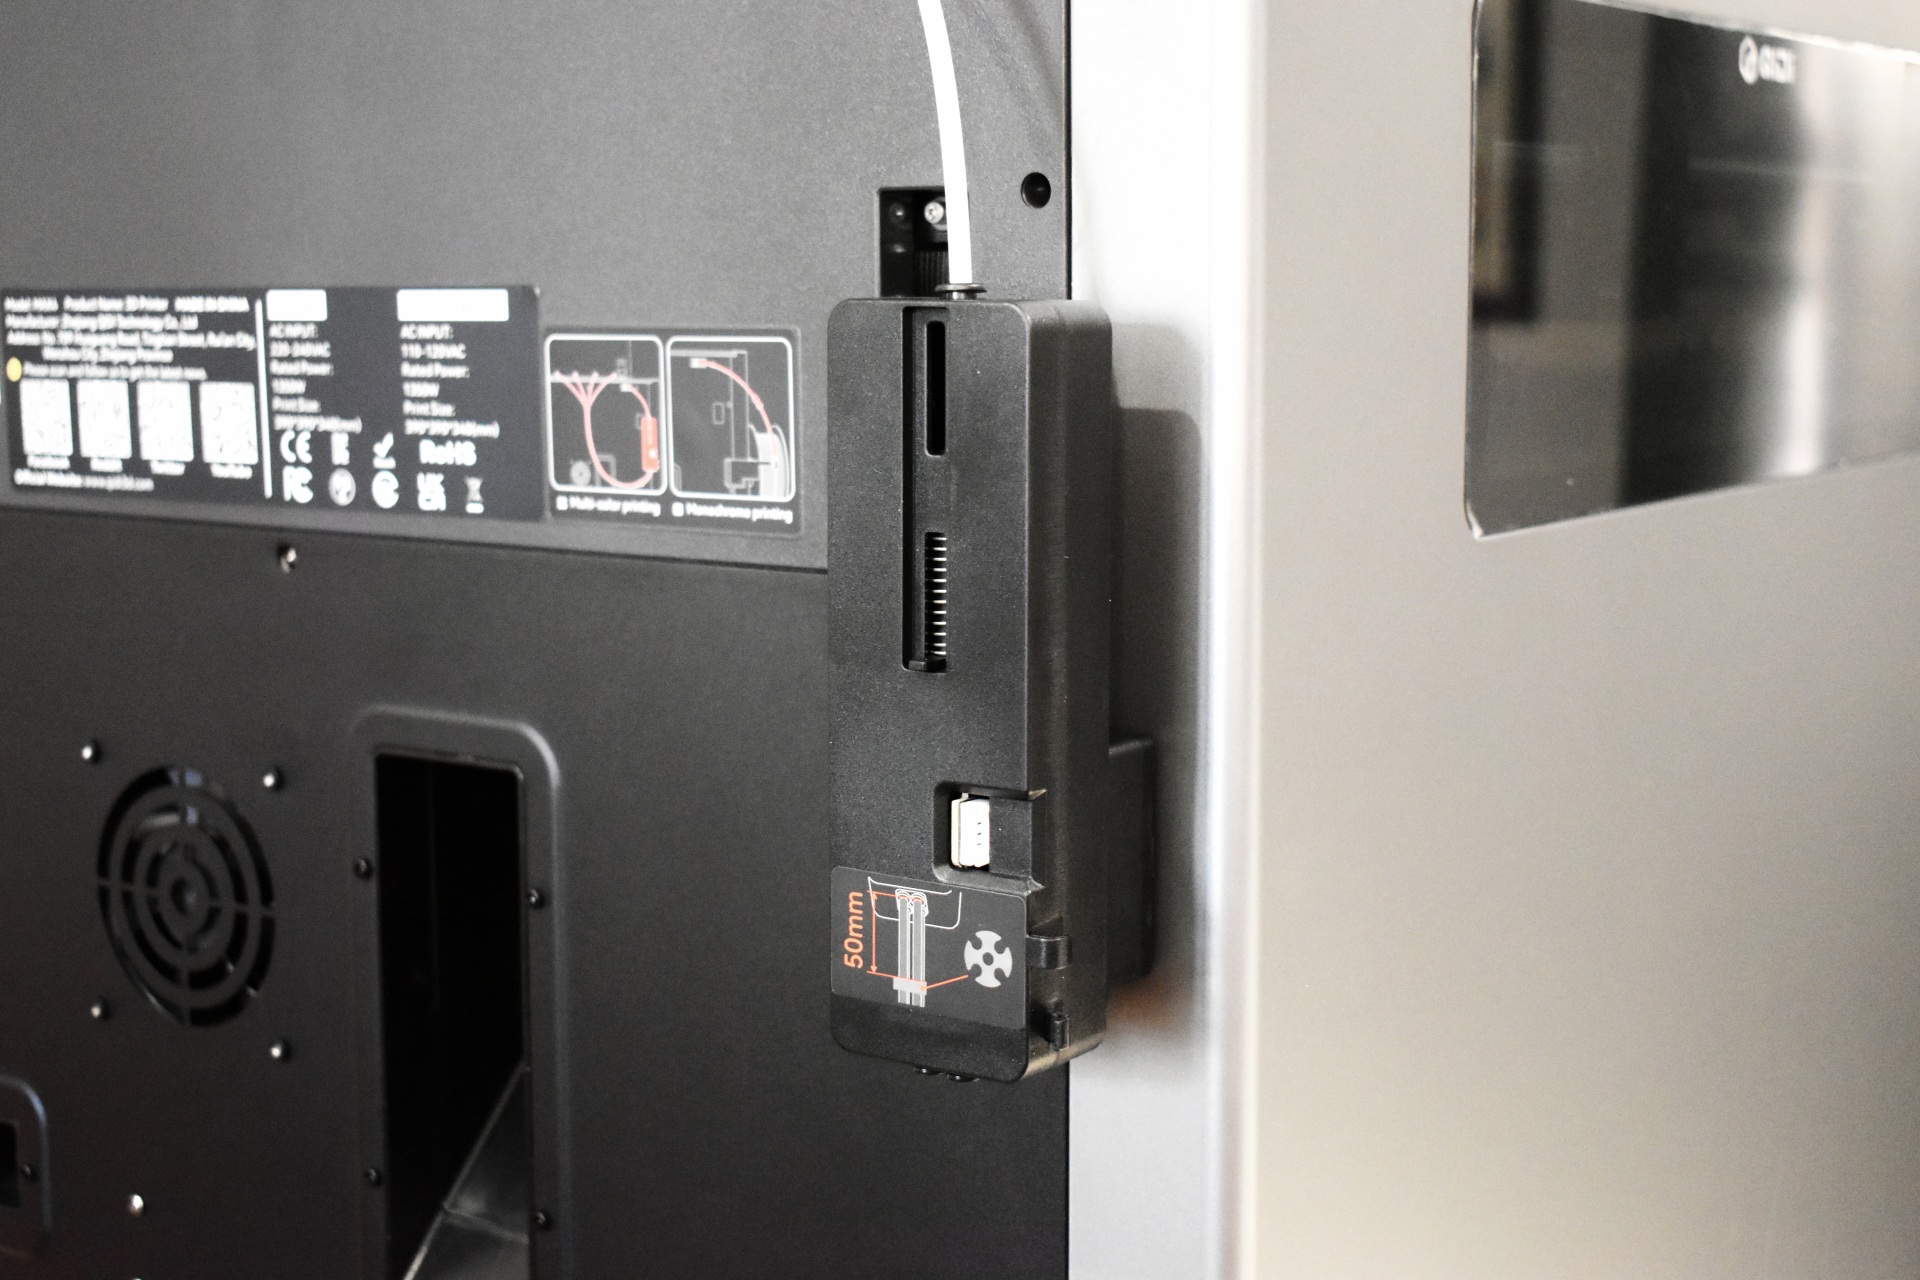
- Short 3D Printer To CFS Cable


❌
❌