ENERMAX Revolution III S 1000W ATX 3.1 Power Supply Unit Review
INTRODUCTION
![]()
As PC hardware continues to scale in complexity, the role of the power supply has expanded from a passive provider to an active guardian of system health. Clean rails, fast transient handling, and efficient conversion are now essential traits rather than luxuries. Builders looking for a PSU that can keep pace with today’s power‑hungry components will likely turn their attention to the Revolution III S 1000W by ENERMAX, a model crafted to meet these modern expectations.
ENERMAX was founded in Taiwan in 1990 and is a world-renowned PC Power Supply manufacturer and maker of award-winning PC components such as chassis, coolers, fans, and peripherals, with recognition from consumers around the world. Our farsighted R&D capability is our key strength, and we stick to our spirit of “Technical Innovation” and “Quality First” to create products that unleash the full potential of the system for every PC enthusiast. For more information, please visit us at www.ENERMAX.com
The Revolution III S line of power supply units currently includes only a 1000W output variant available in both black and white colors. This is an ATX 3.1 & PCIe 5.1 compliant and 80 PLUS Platinum certified (up to 92% efficiency) model that features a single 12V-2x6 power connector, four 6+2 pin PCIe power connectors, single +12V rail (83.3A) capable of delivering 99.9% of the units’ power output (999.6W) and has a total power output of no less than 1119W (peak should be up to 2240W for up to 100ms - once again however this is not something I can test). Other features and specifications include Full-Bridge & LLC Resonant Converter paired with synchronous rectification and DC‑to‑DC regulation (thus allowing the unit to sustain stable voltage output even under rapid load shifts), active PFC, smart semi-fanless mode for the 120mm fan (starts spinning after a specific load), and a full array of electrical protections including over-current (OCP), over-voltage (OVP), under-voltage (UVP), short-circuit (SCP), over-temperature (OTP), and over-power (OPP). Just like with their other premium Lines ENERMAX covers the Revolution III S 1000W with a very generous 13-year limited warranty.
SPECIFICATIONS AND FEATURES
![]()
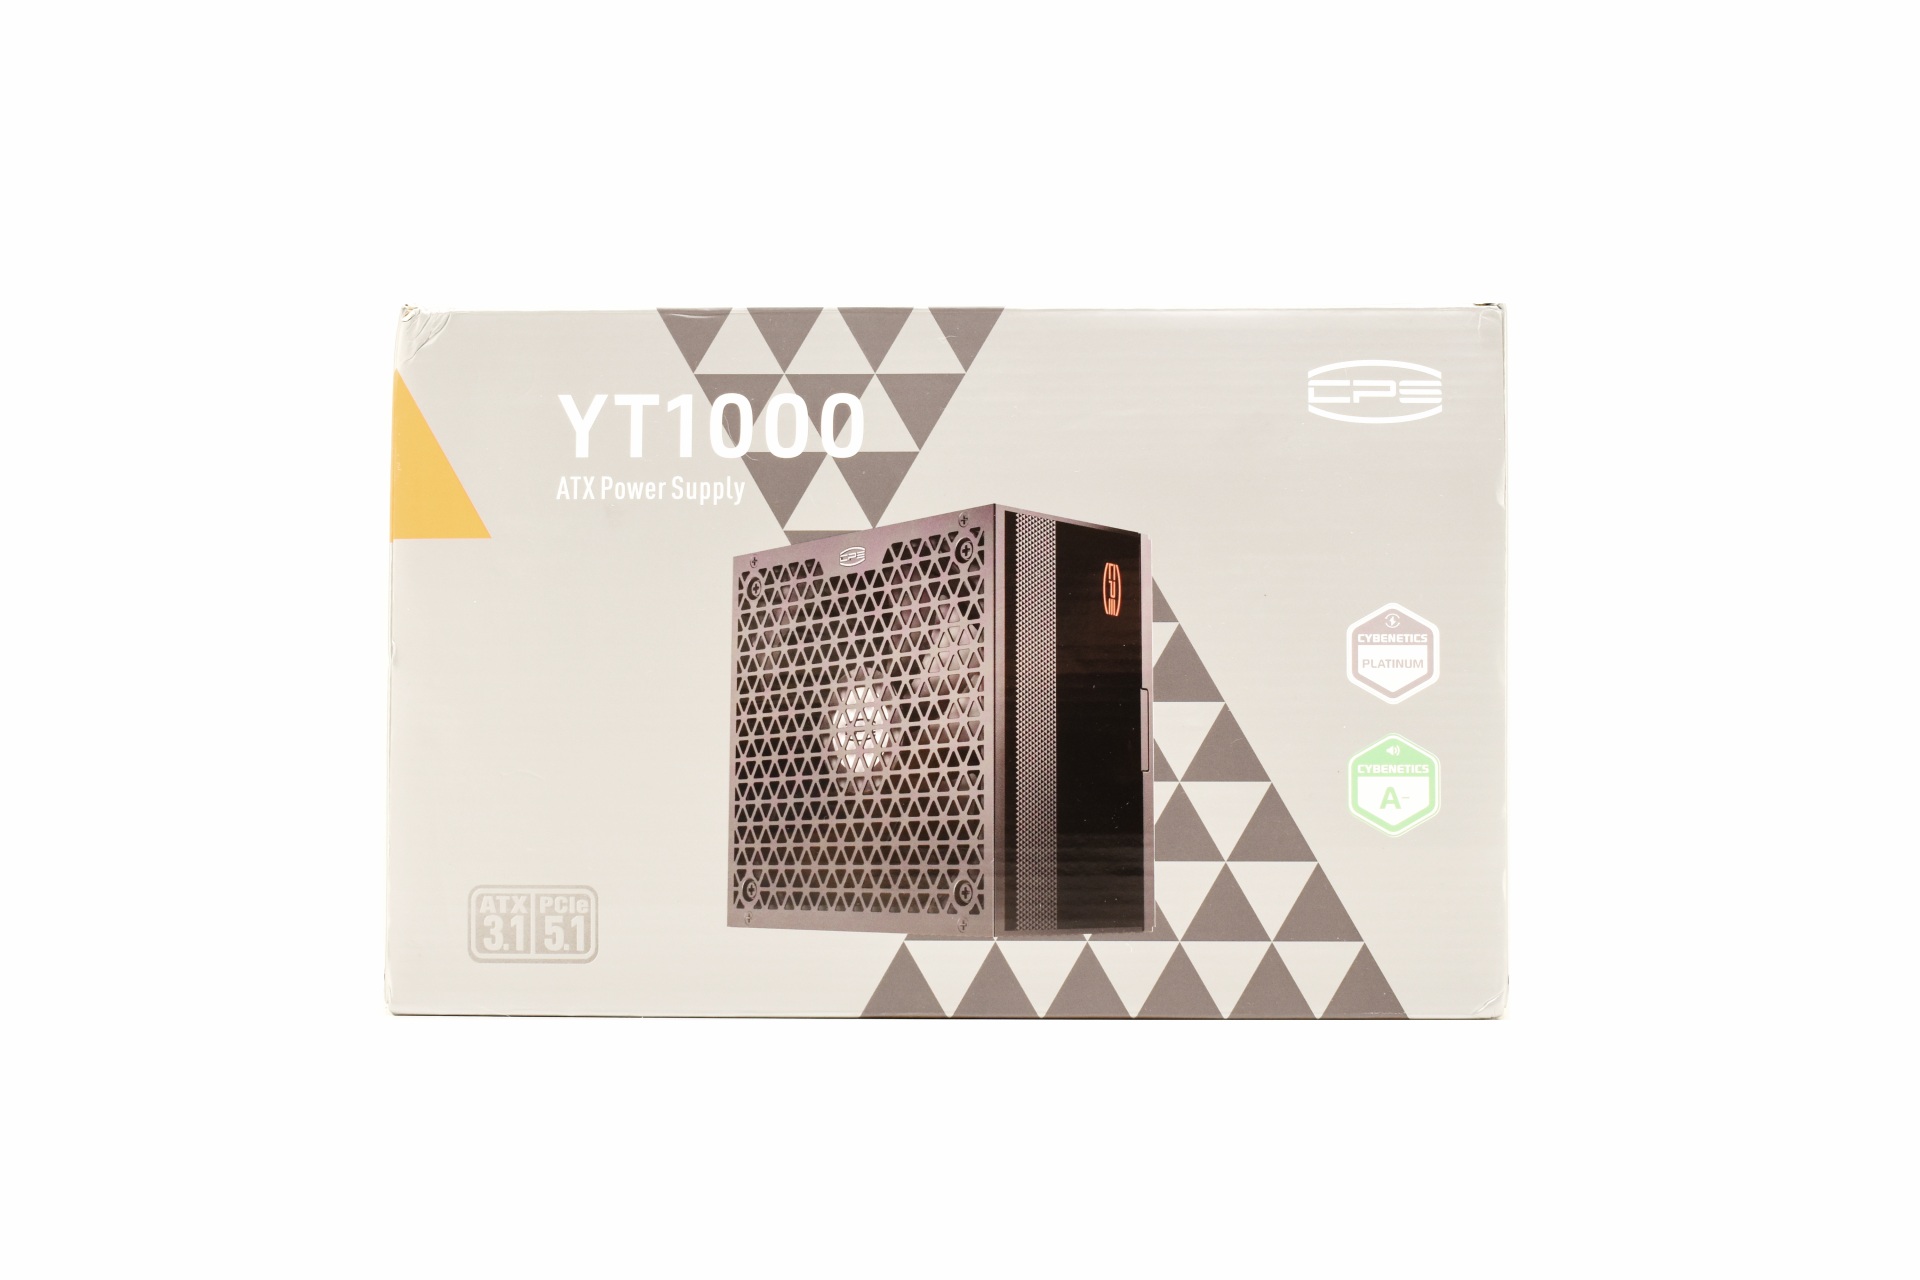
PACKAGING AND CONTENTS

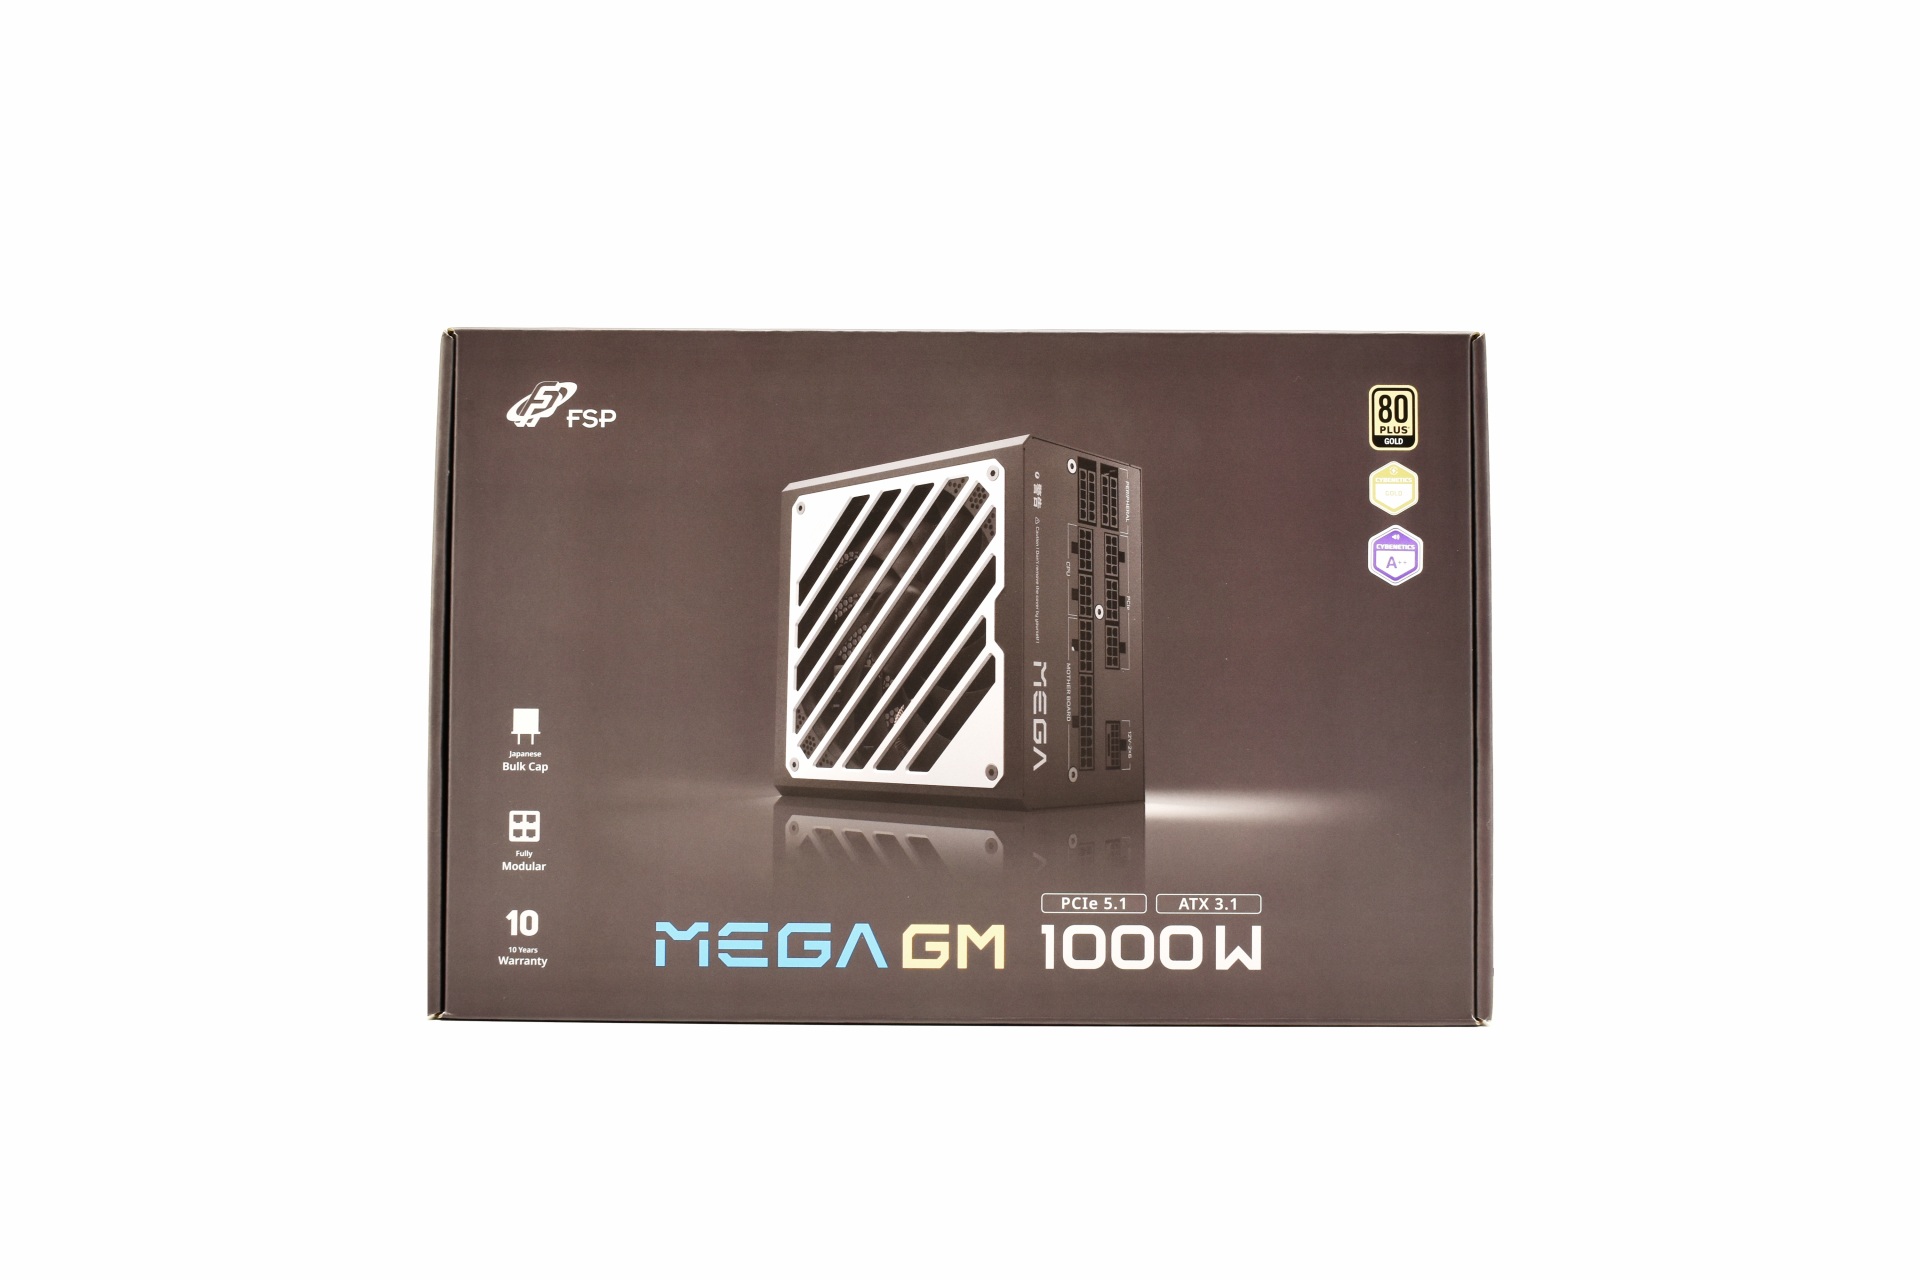
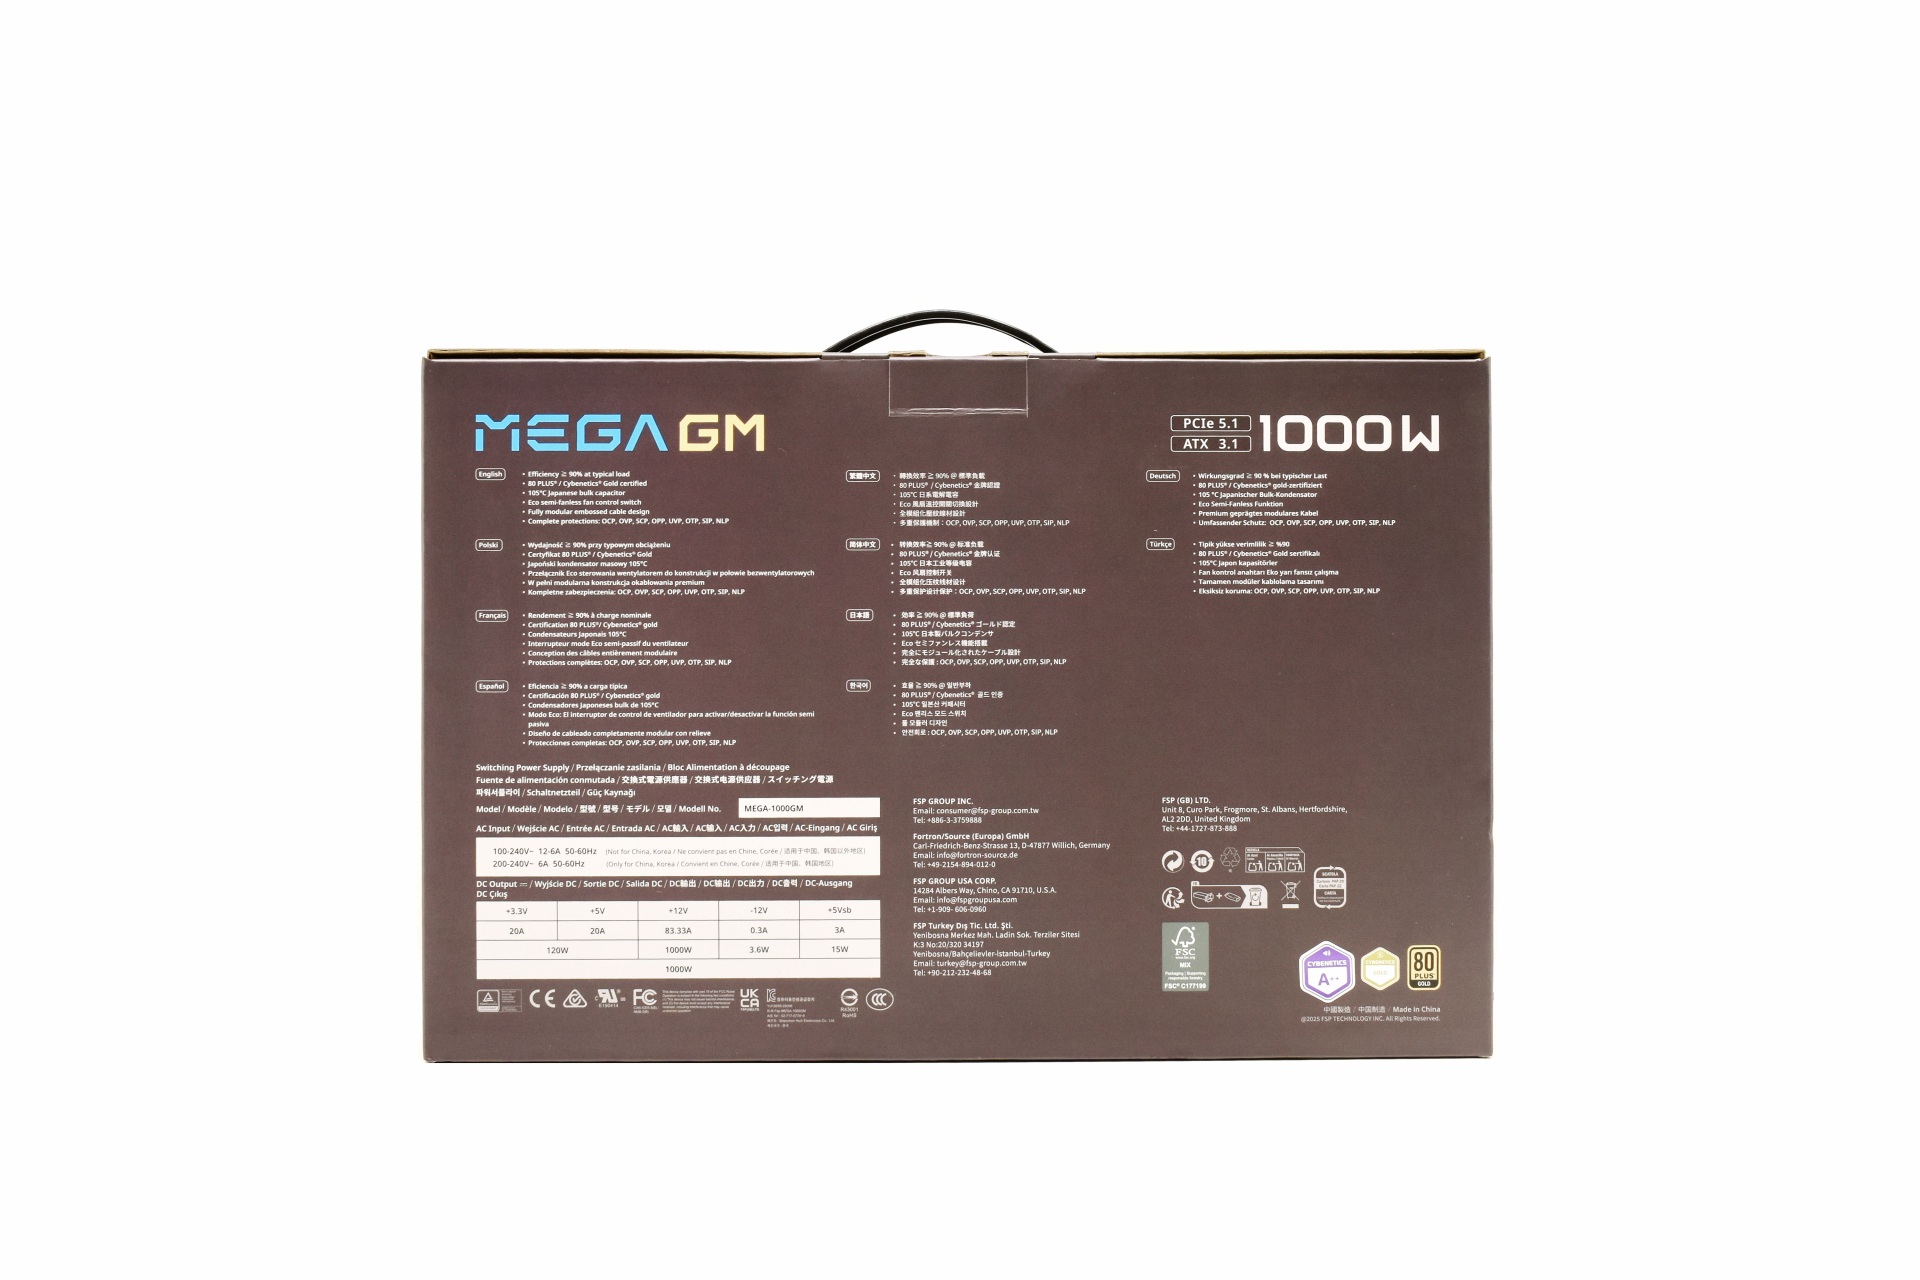
The Revolution III S is packed inside a brown and black box that has a drawing of the product at the front along with its output and main features.

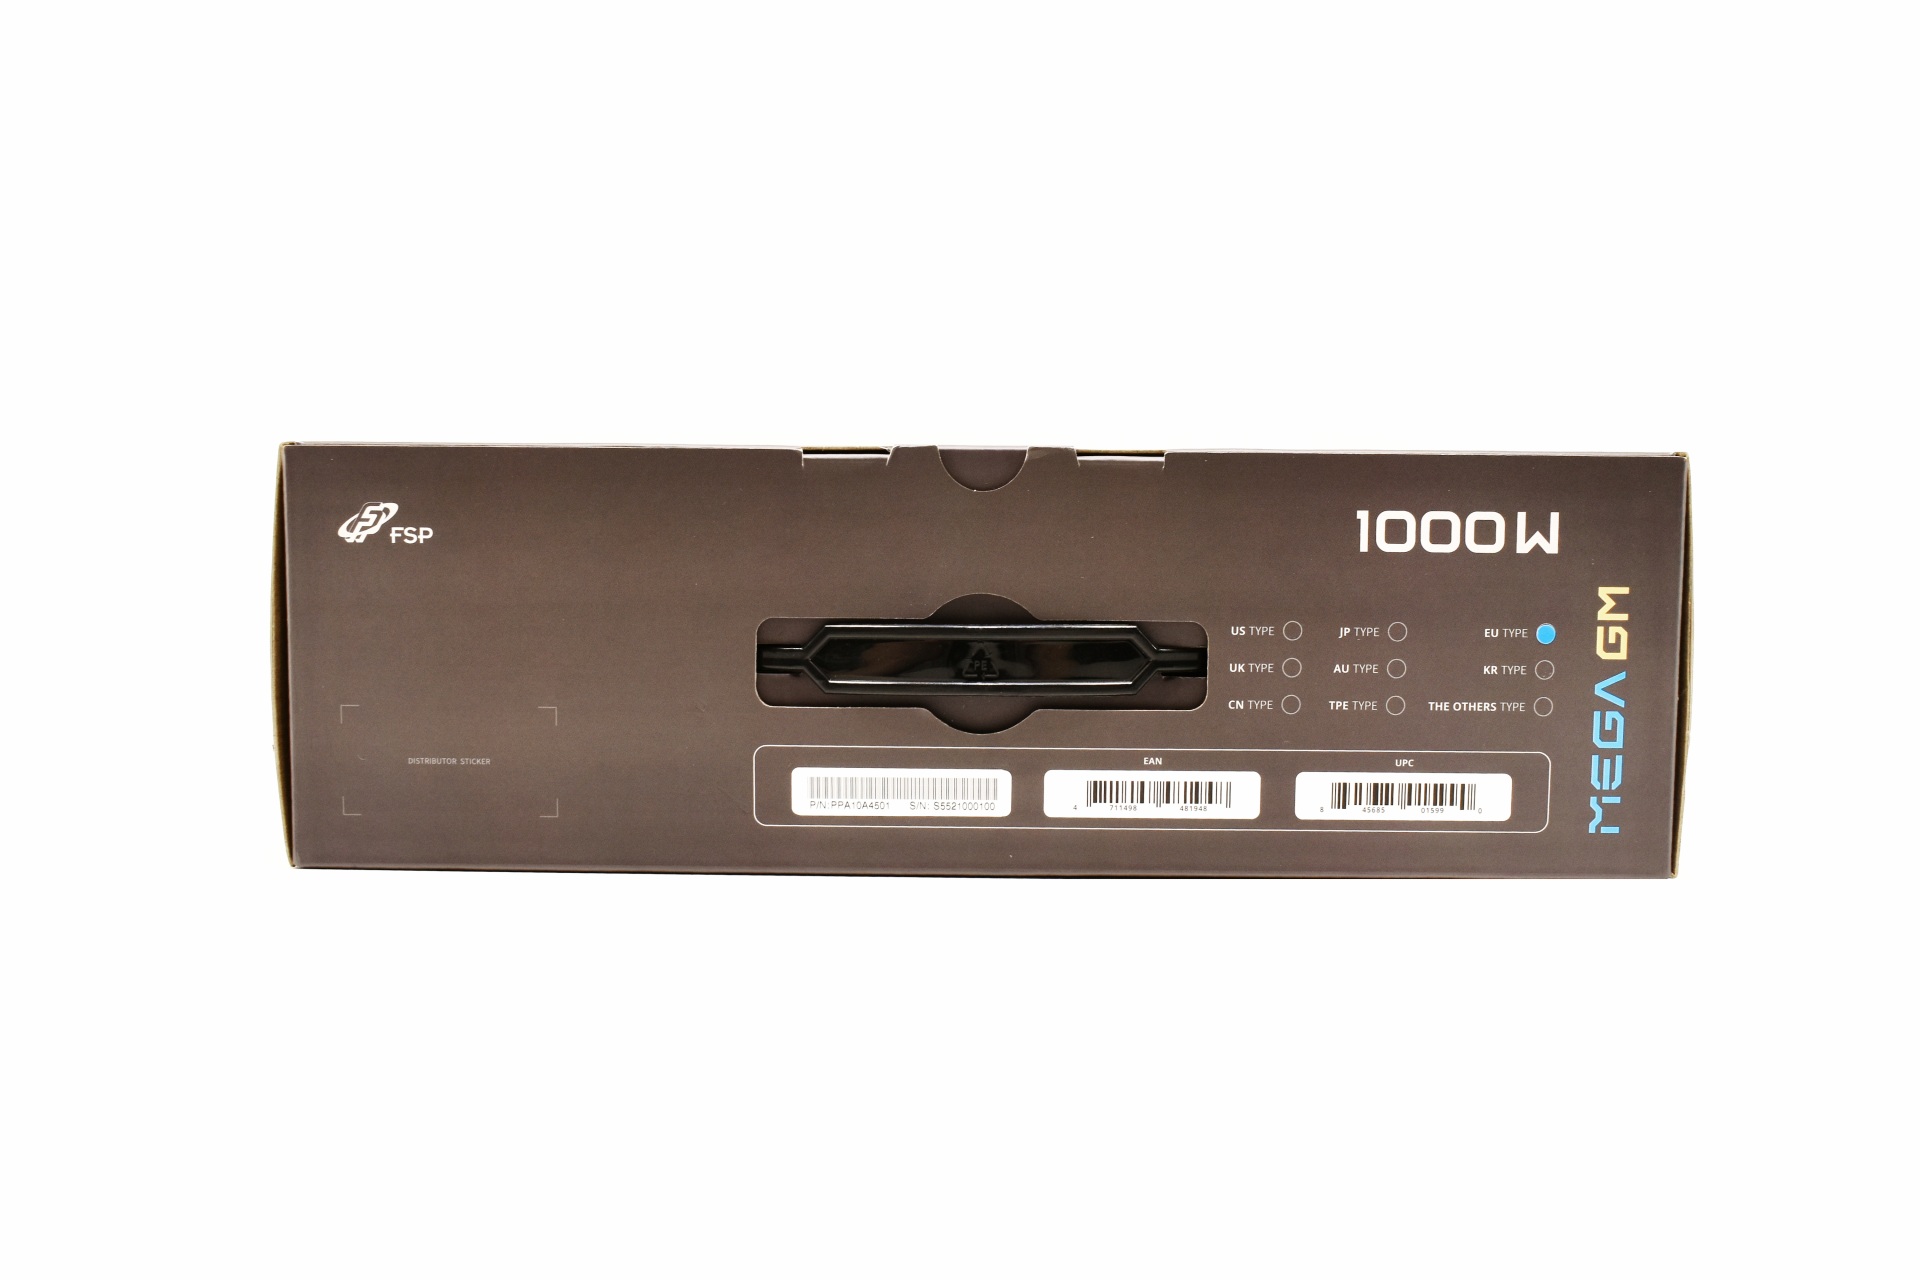
The color selection is located on the left side of the box.

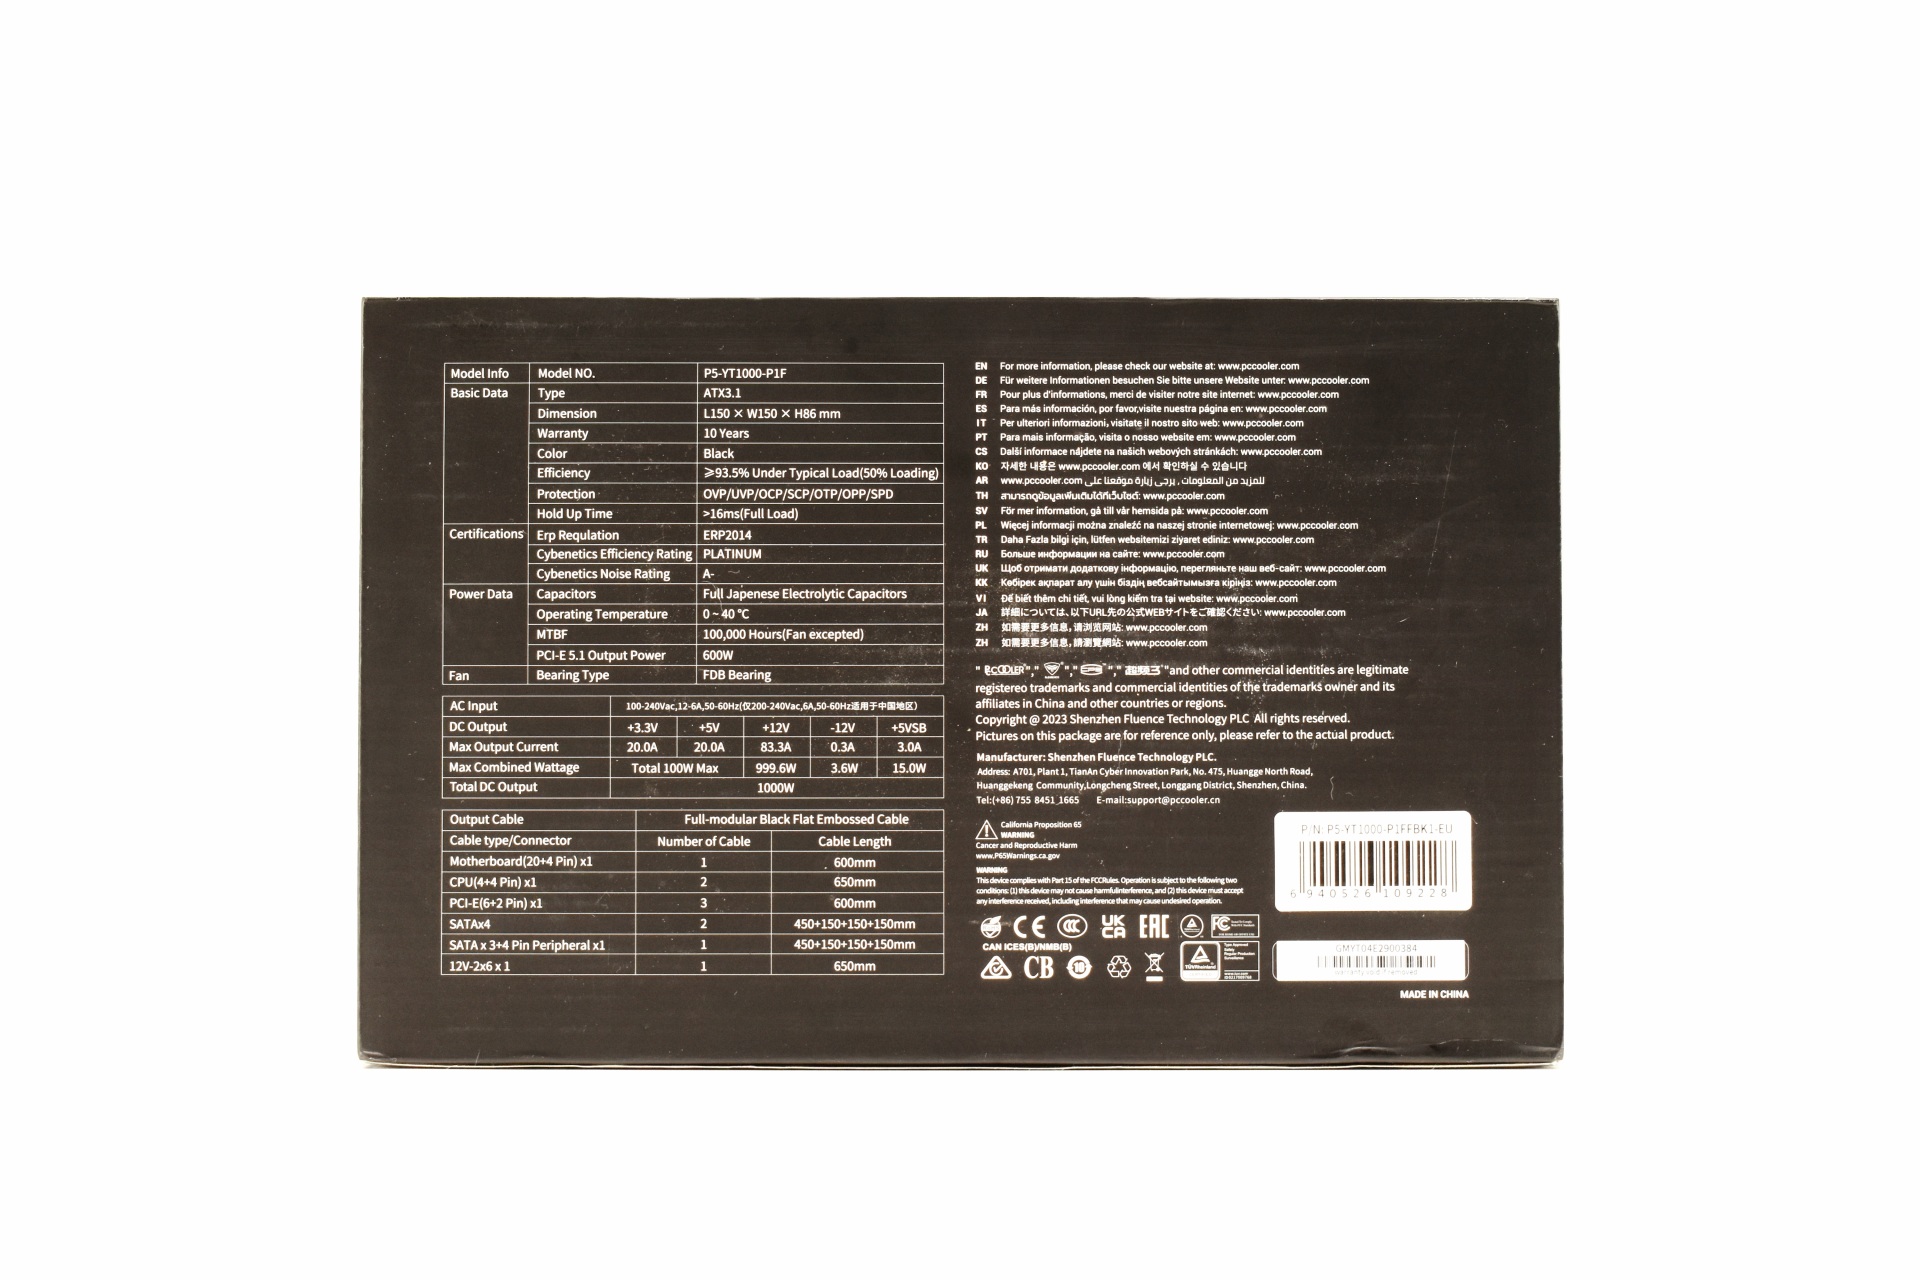
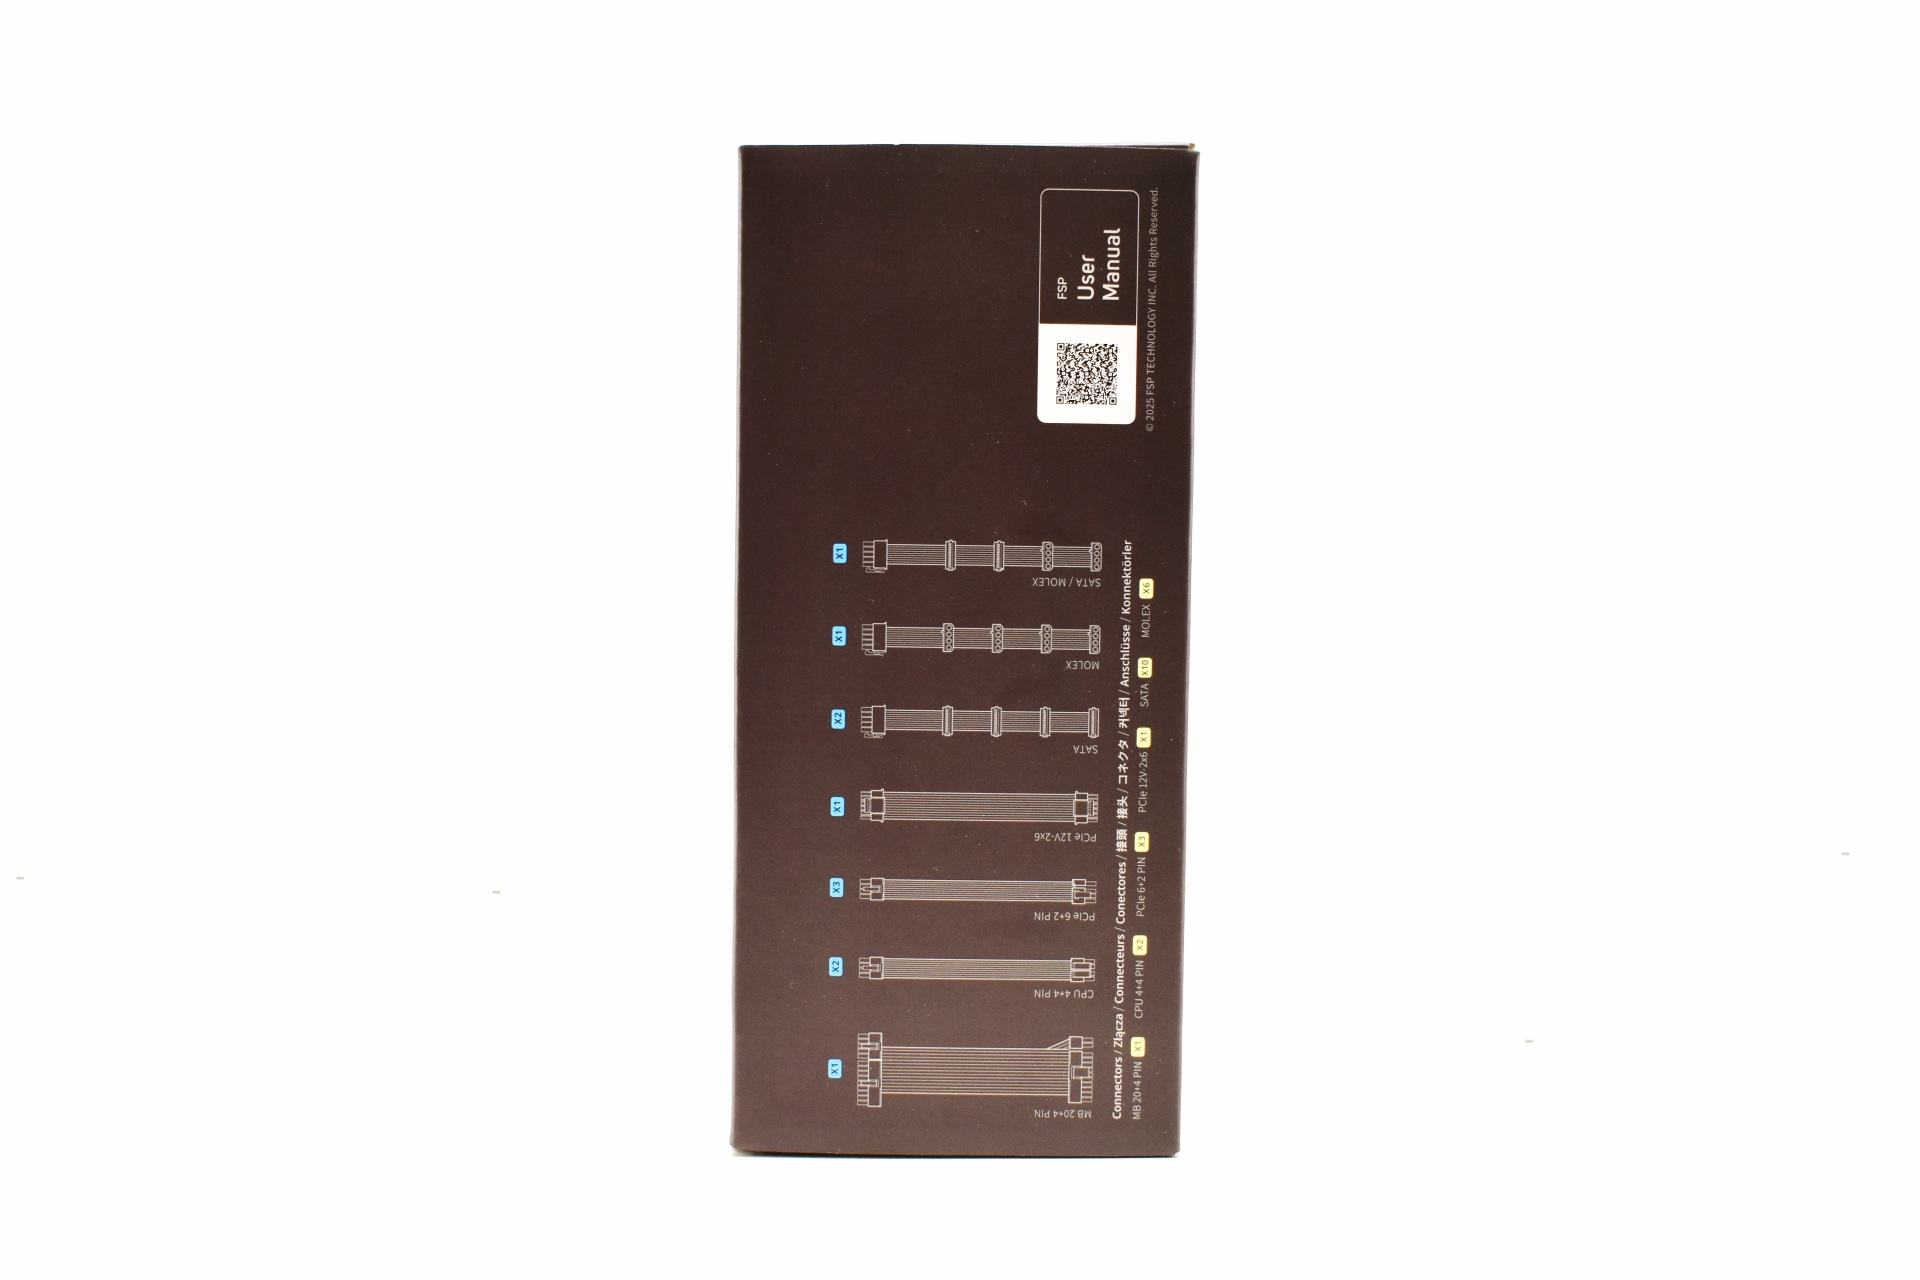
At the rear of the box ENERMAX has placed the features table, electrical table and the cables and connectors table.

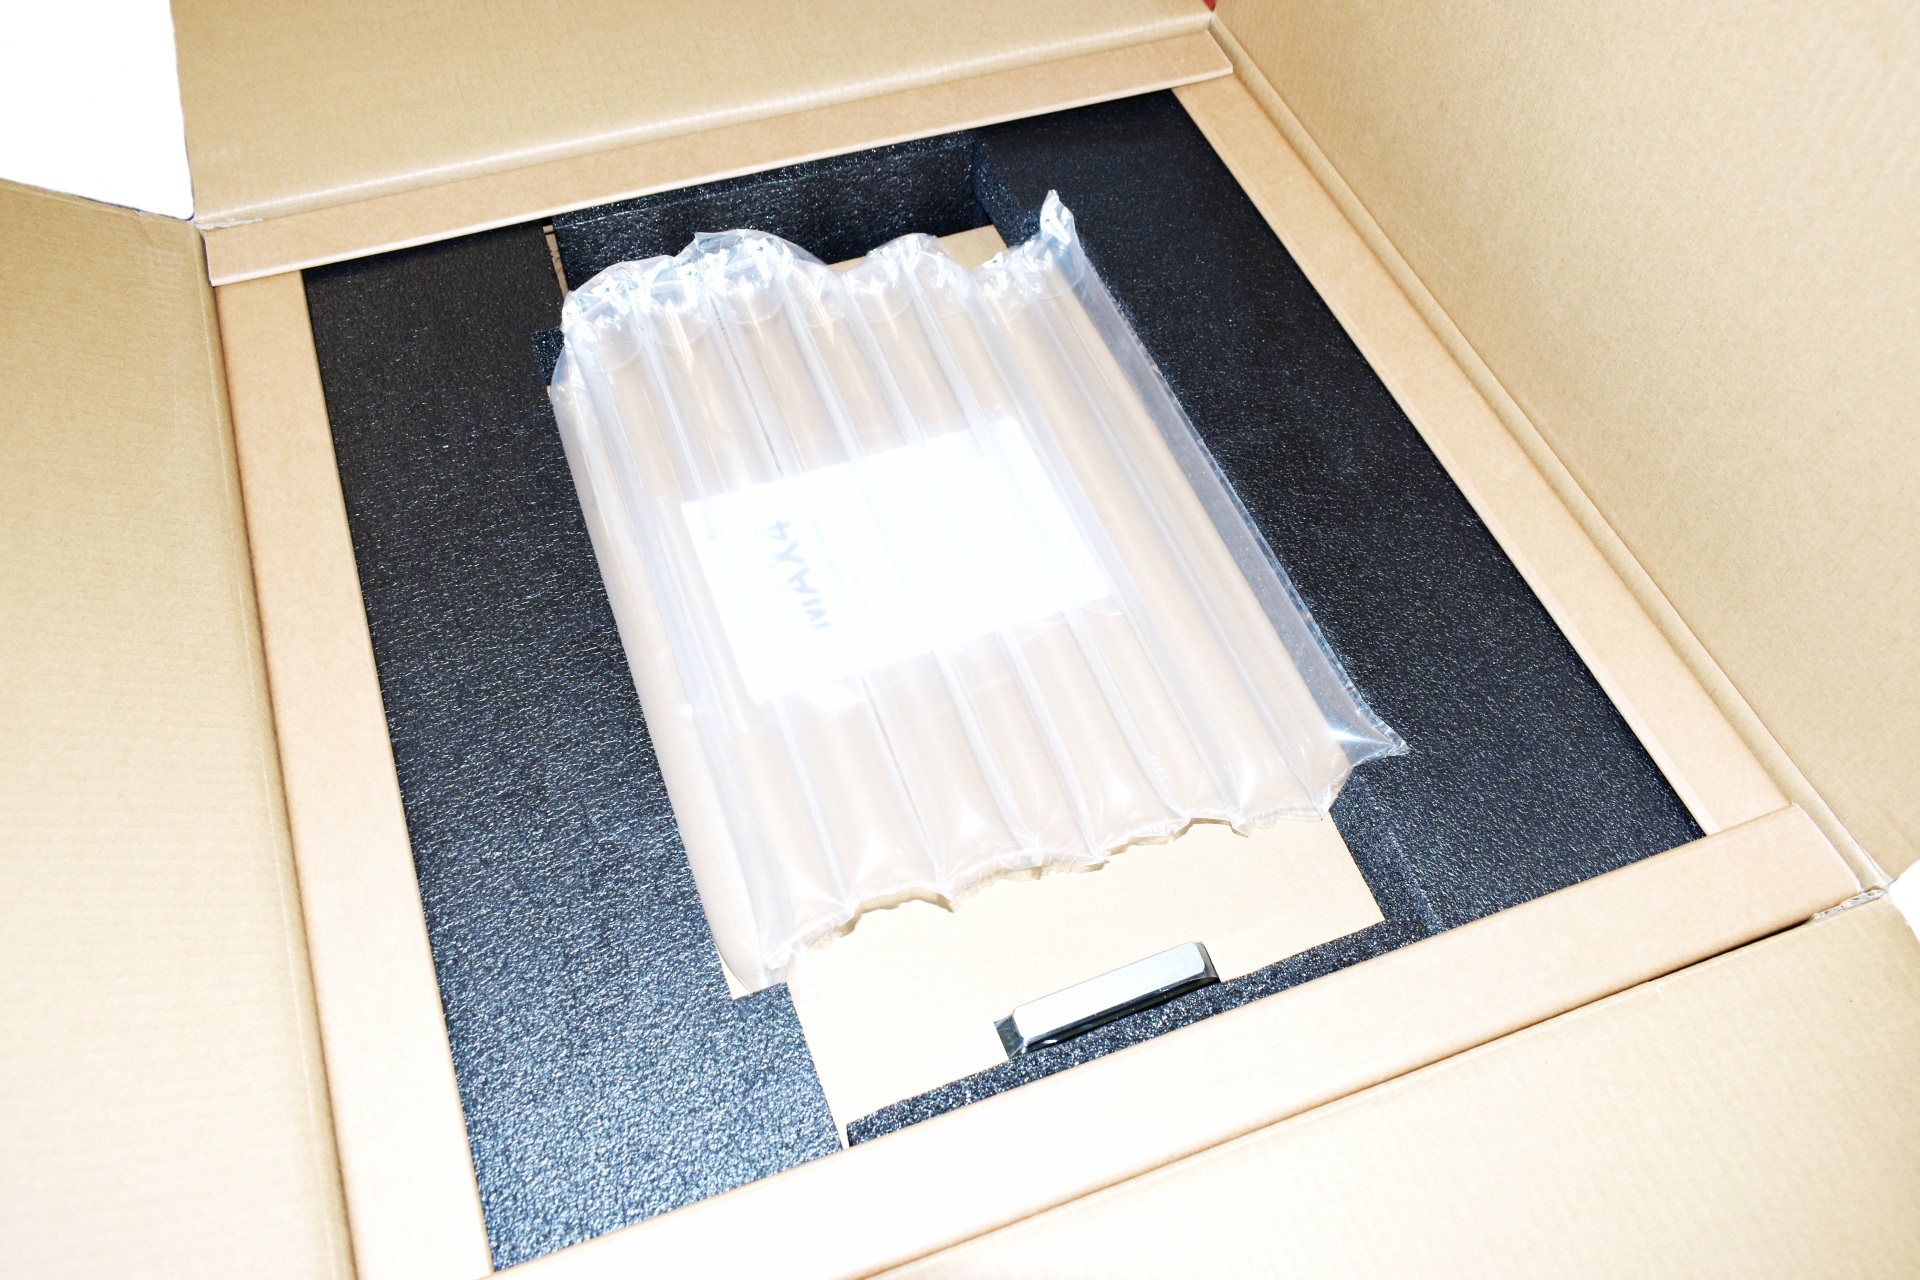
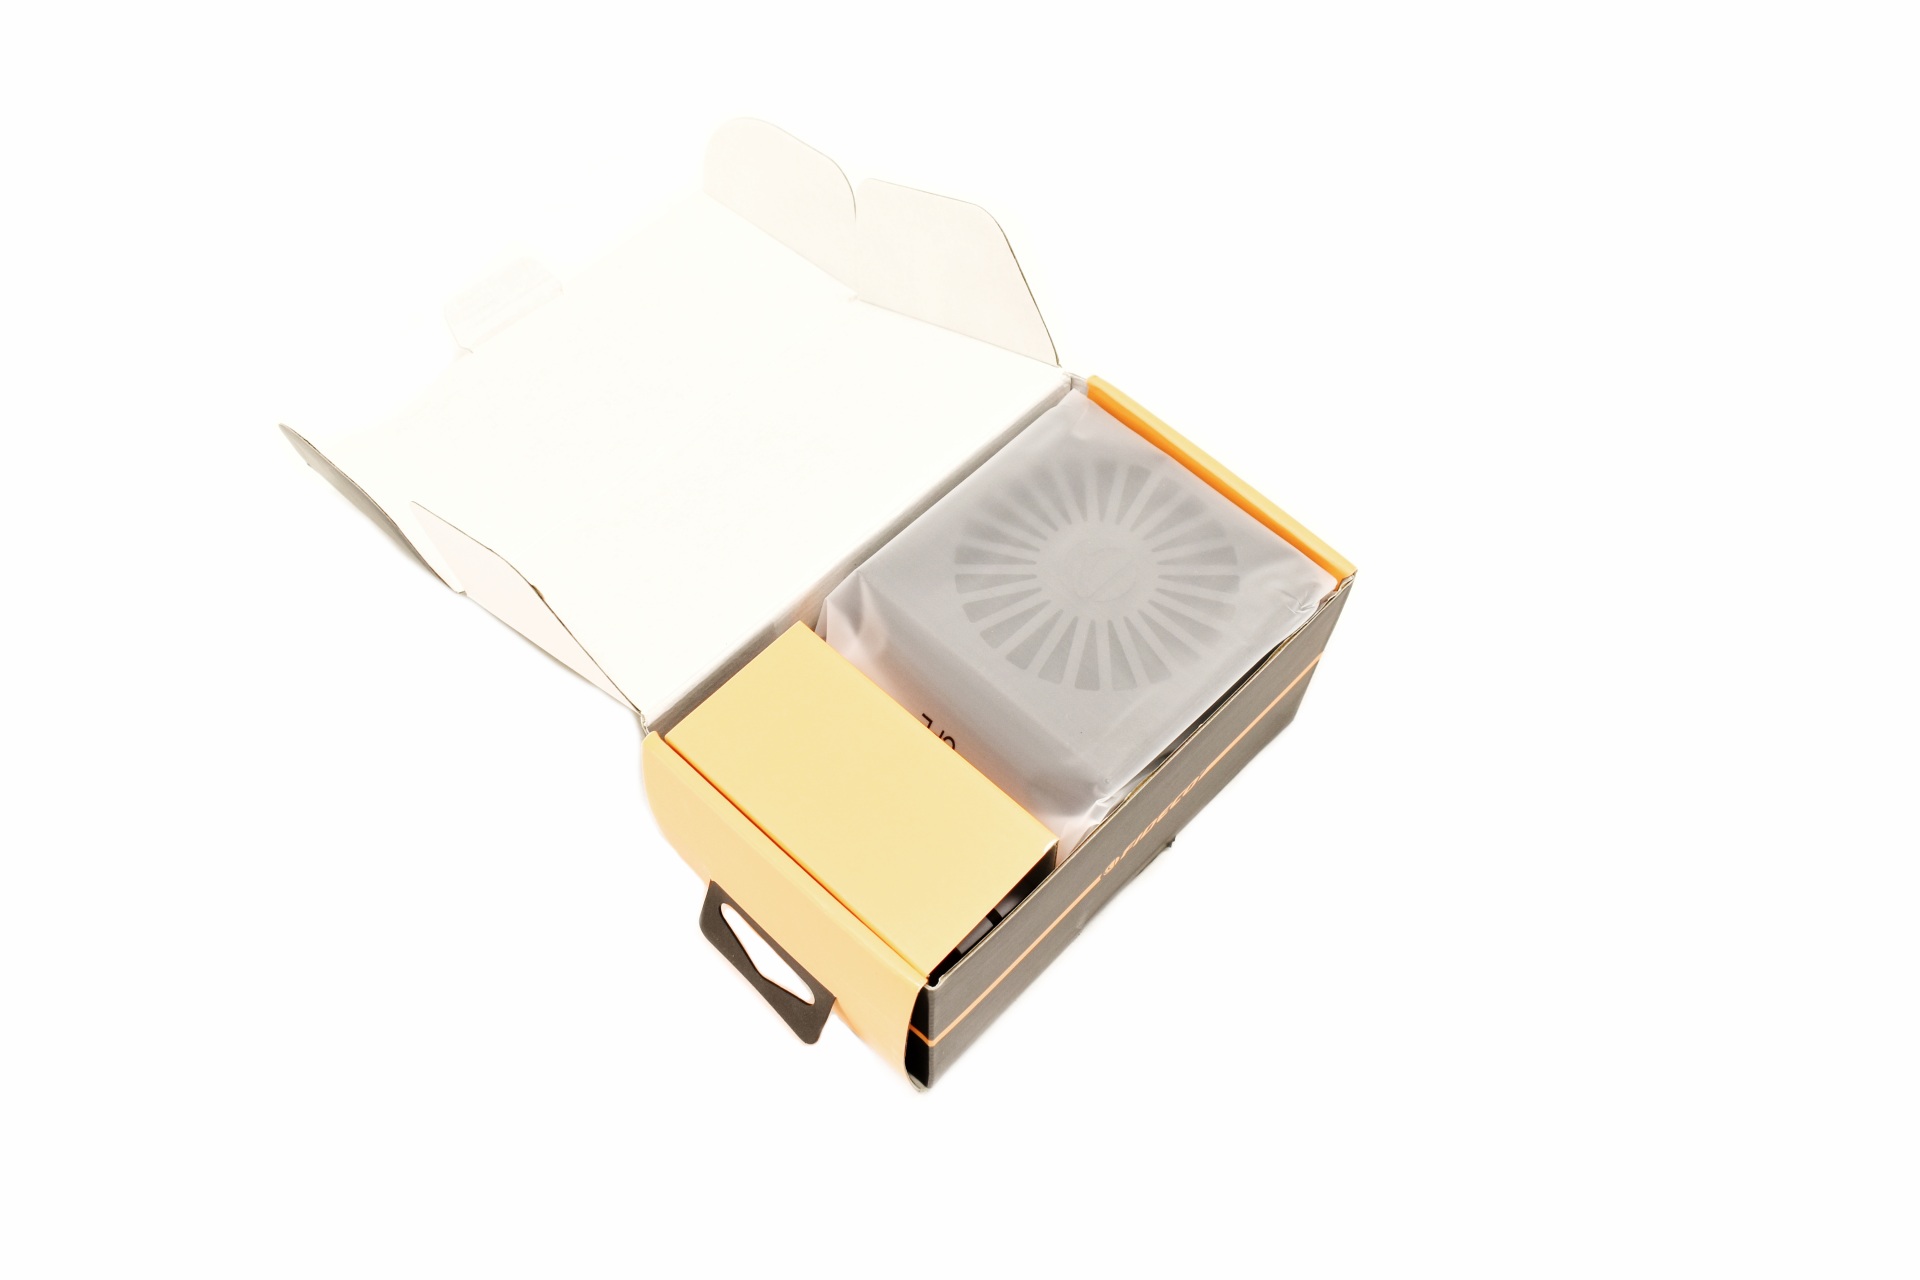
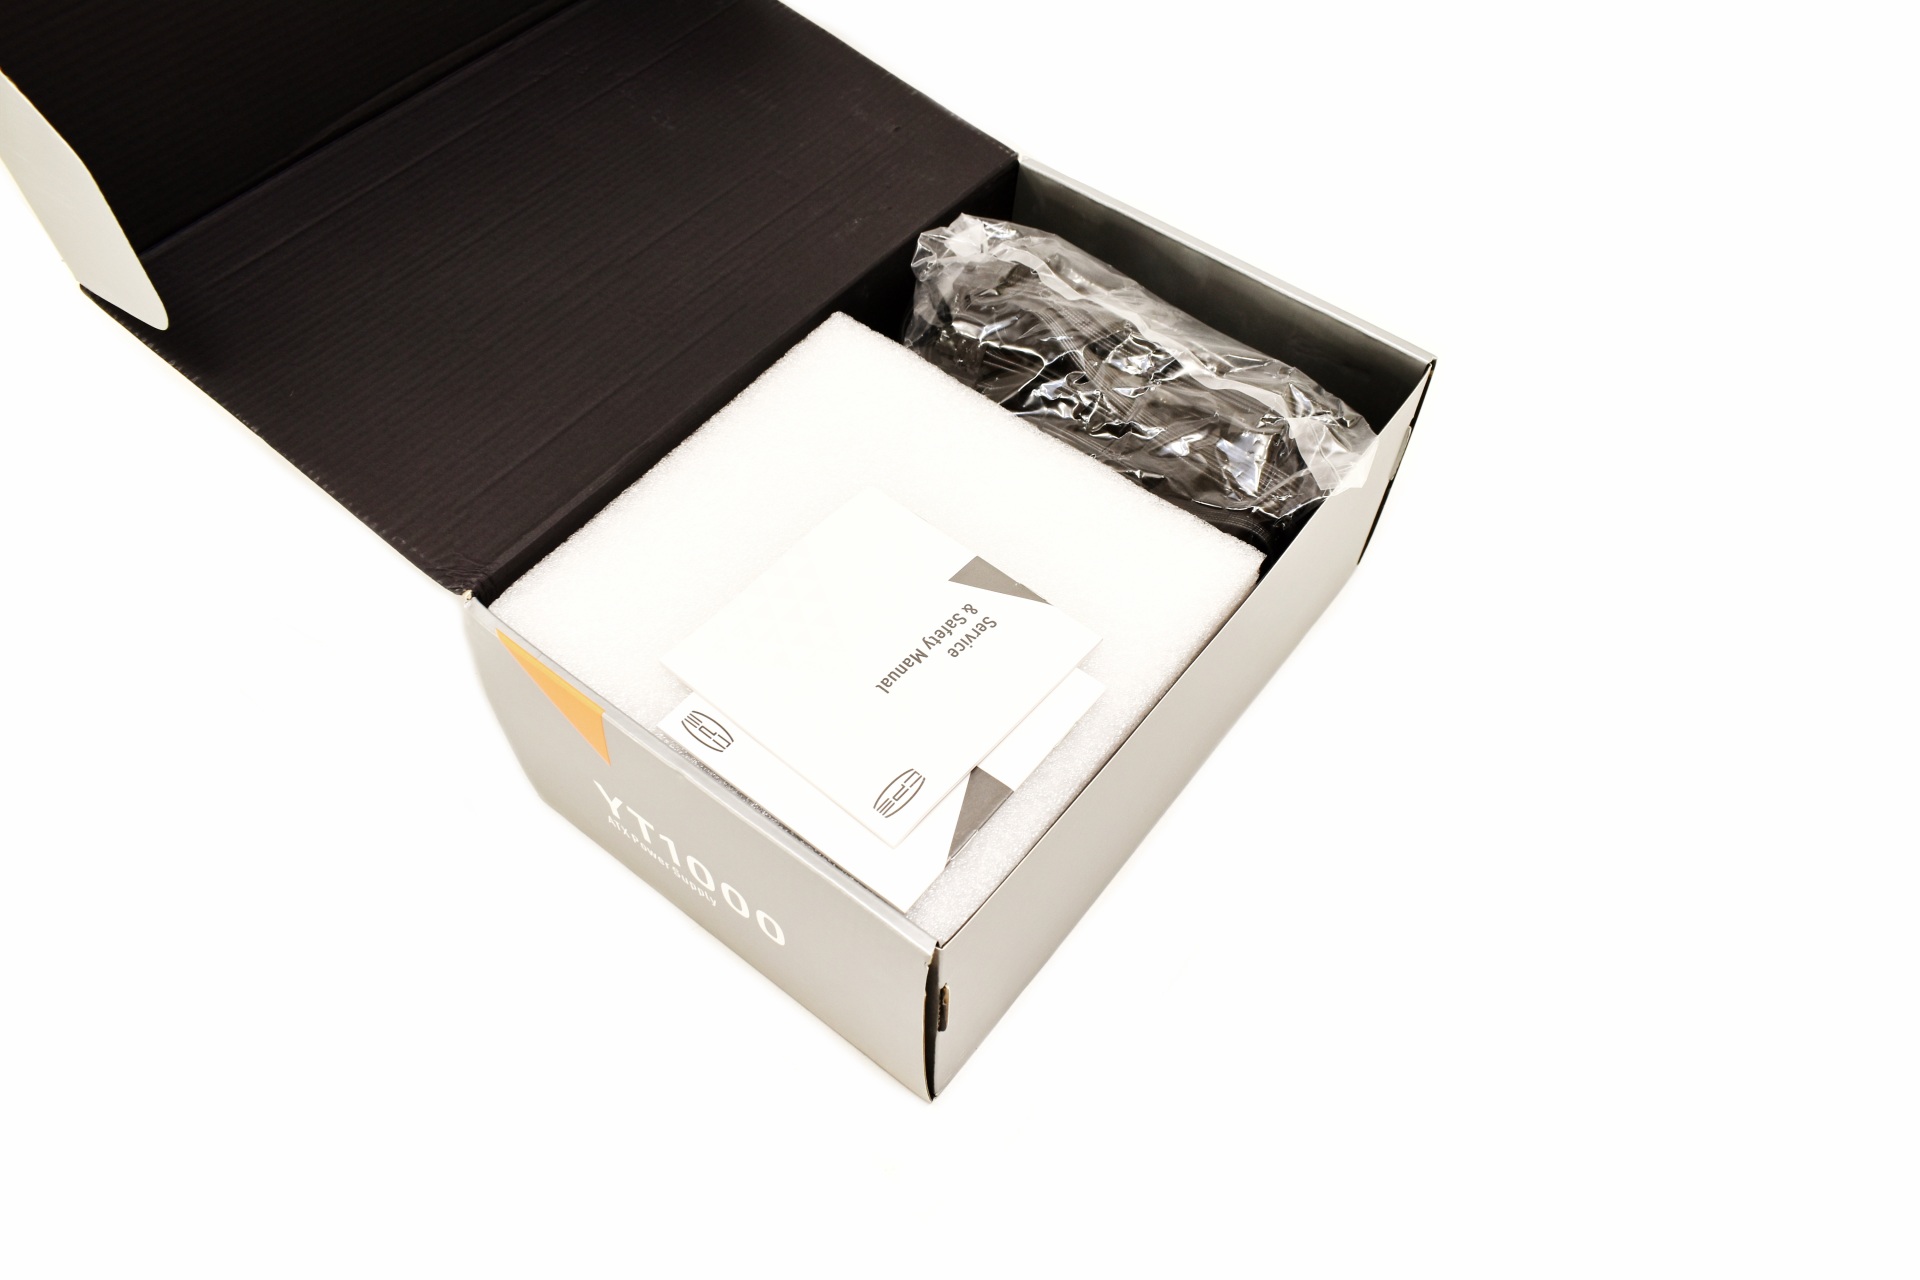
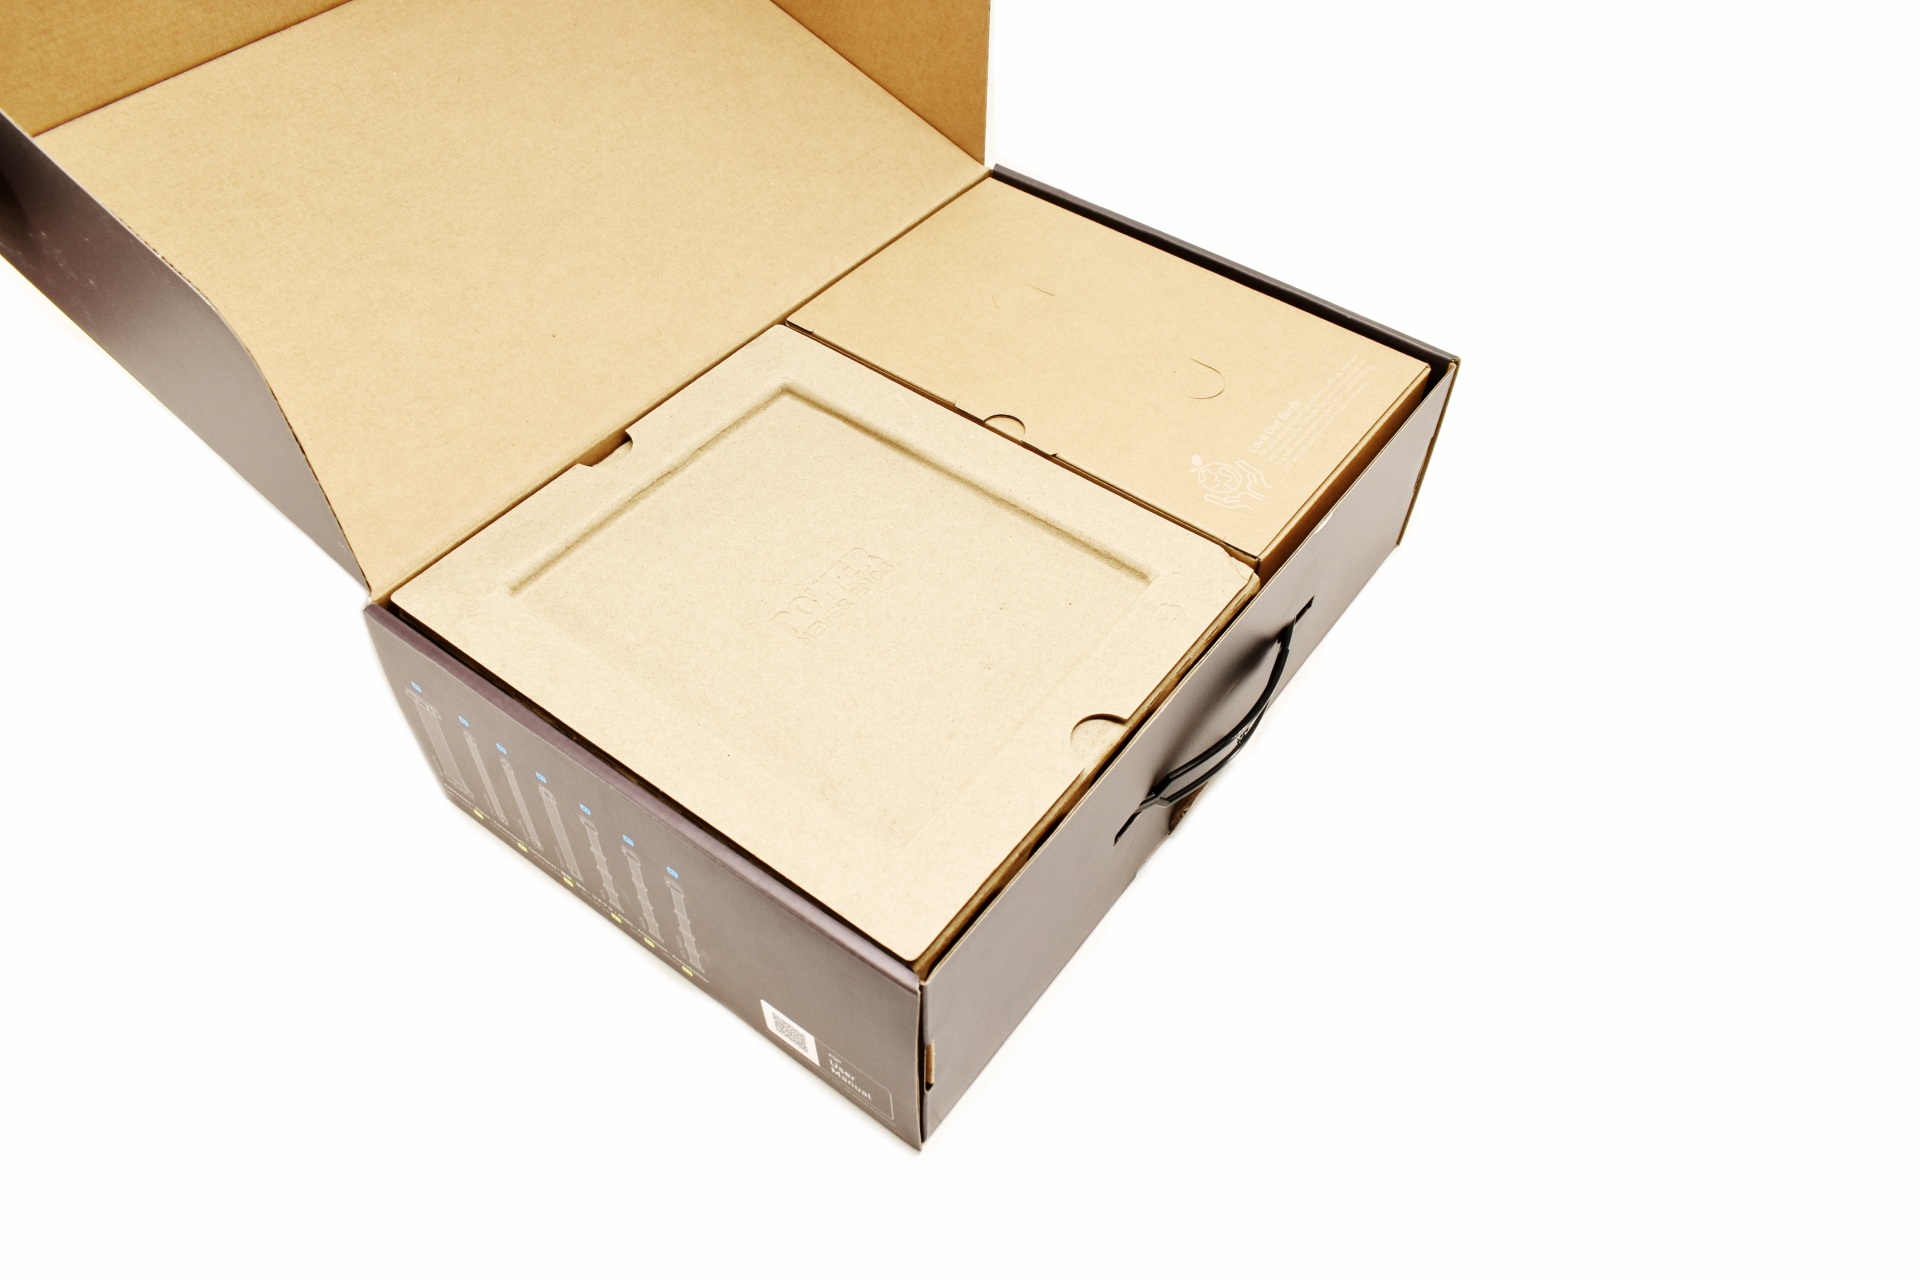
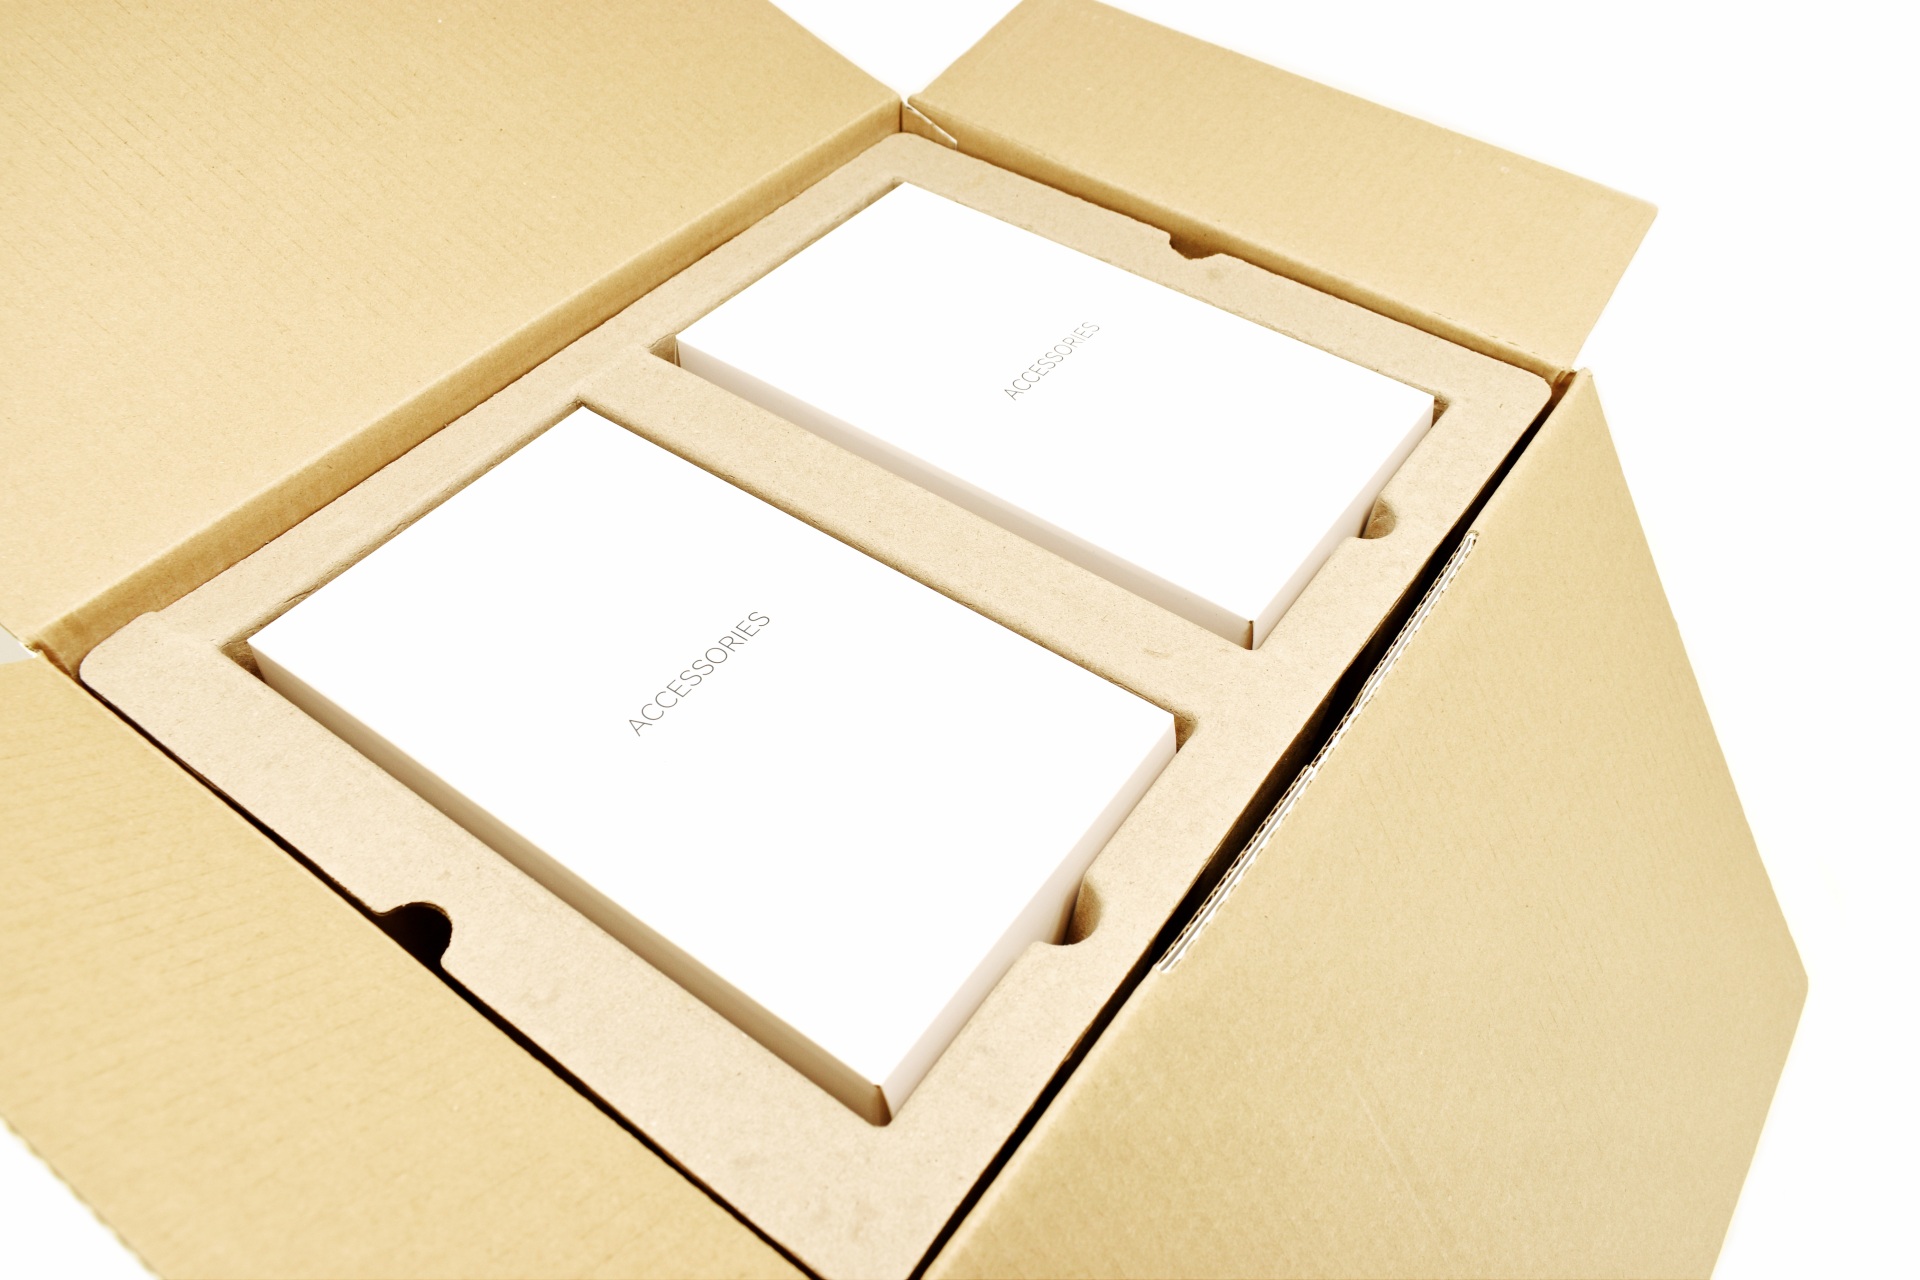
Typically, the unit is placed between two pieces of foam.

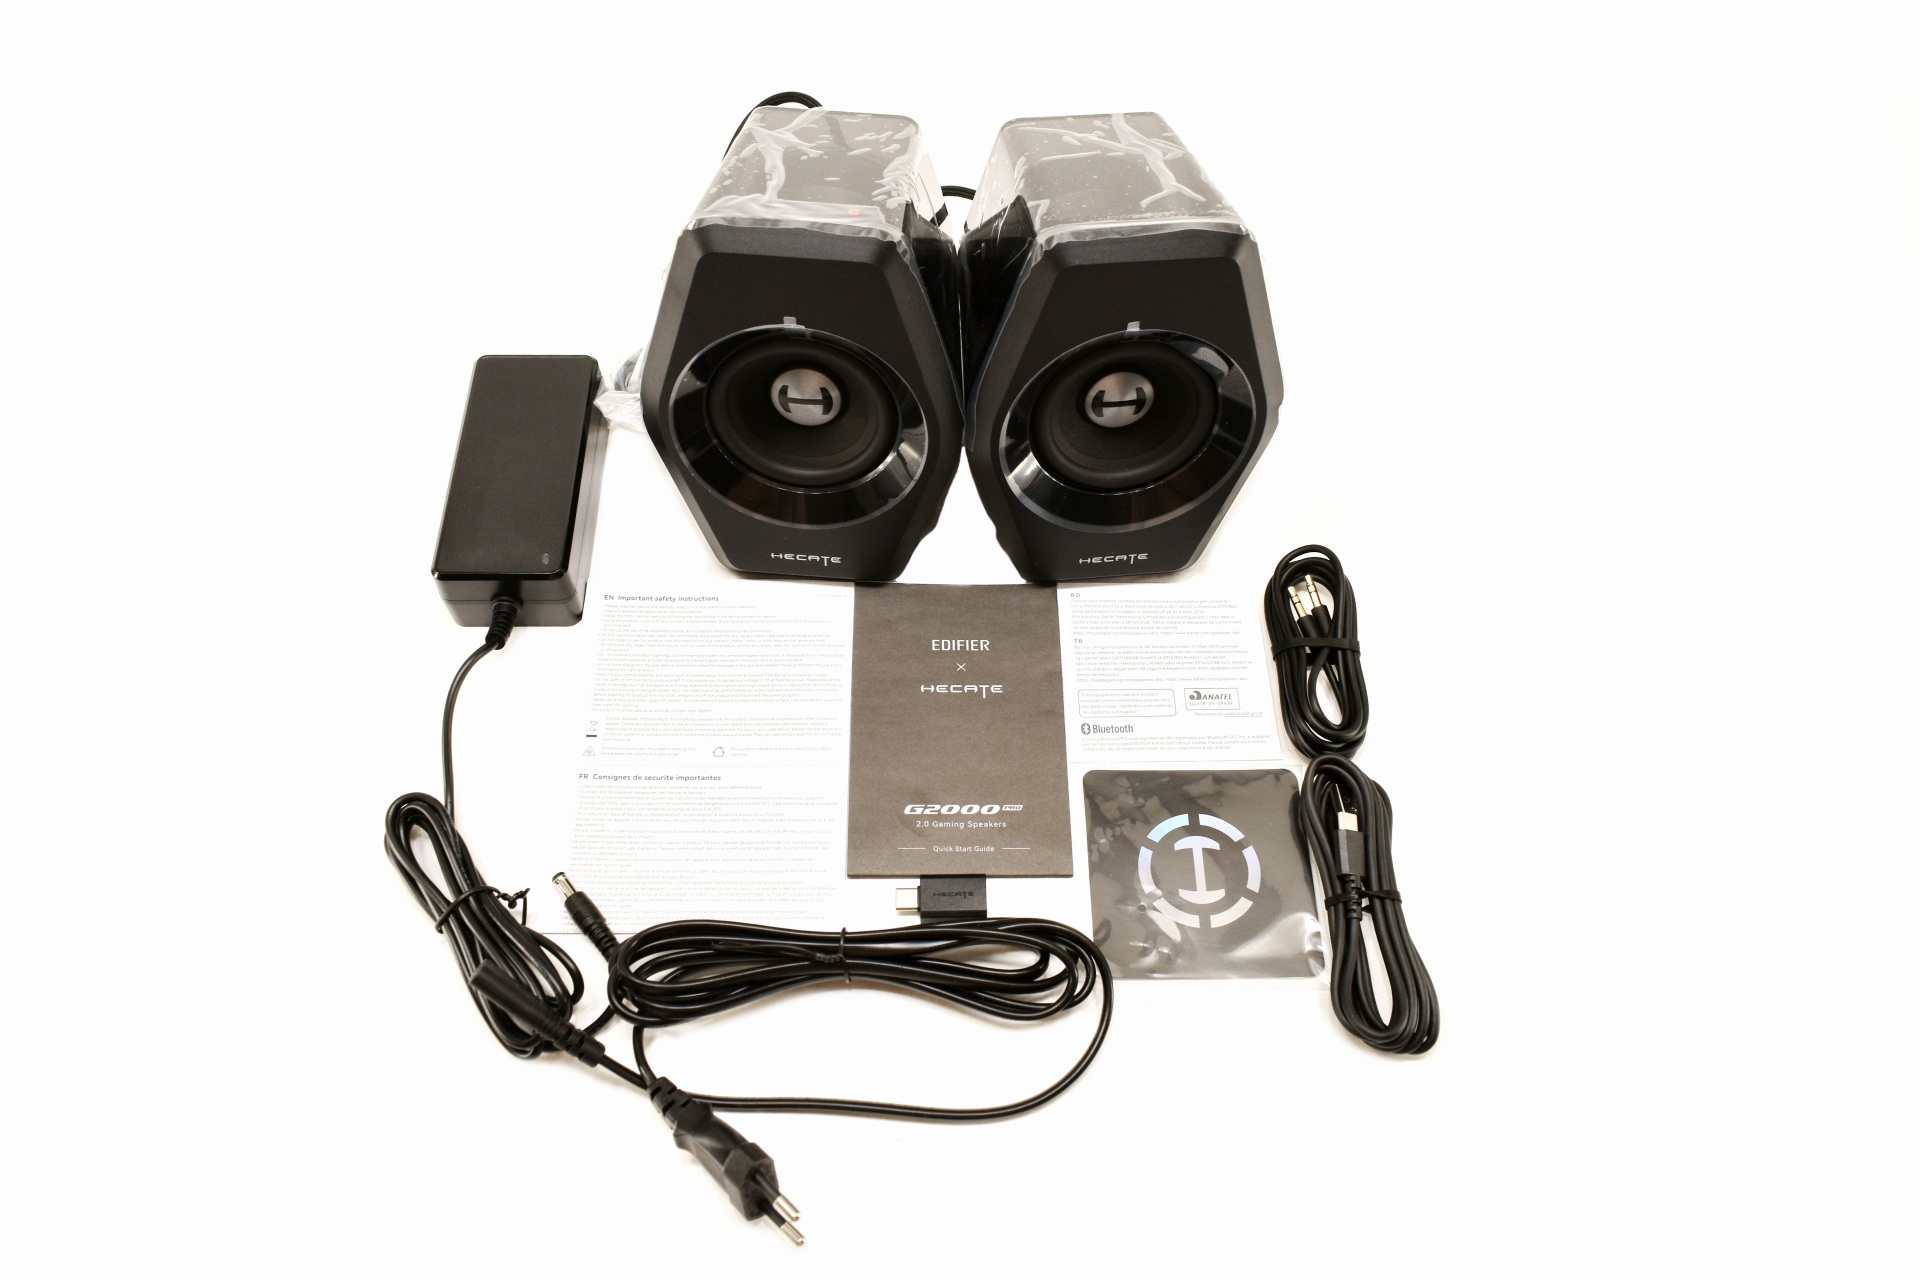
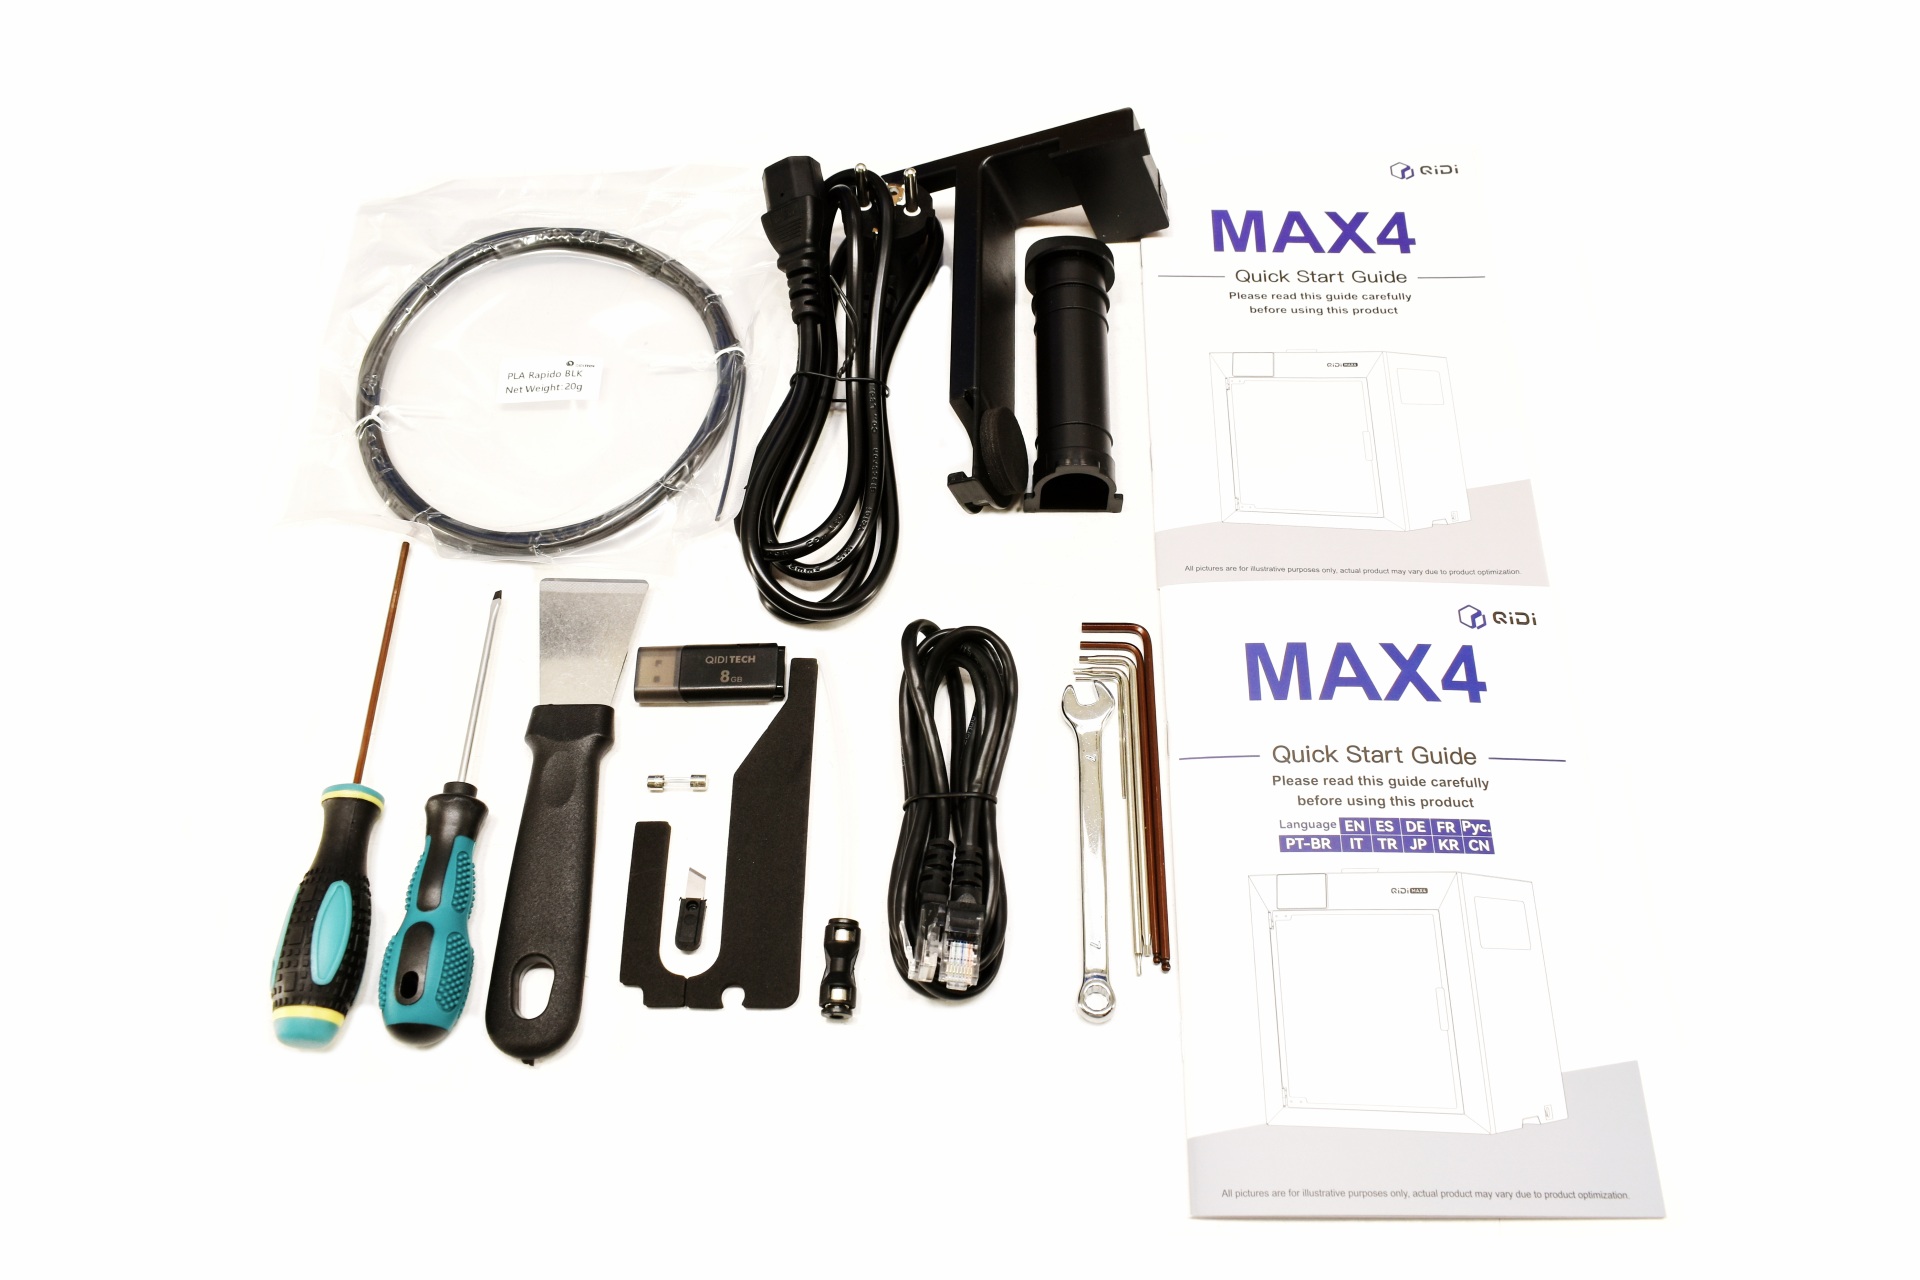
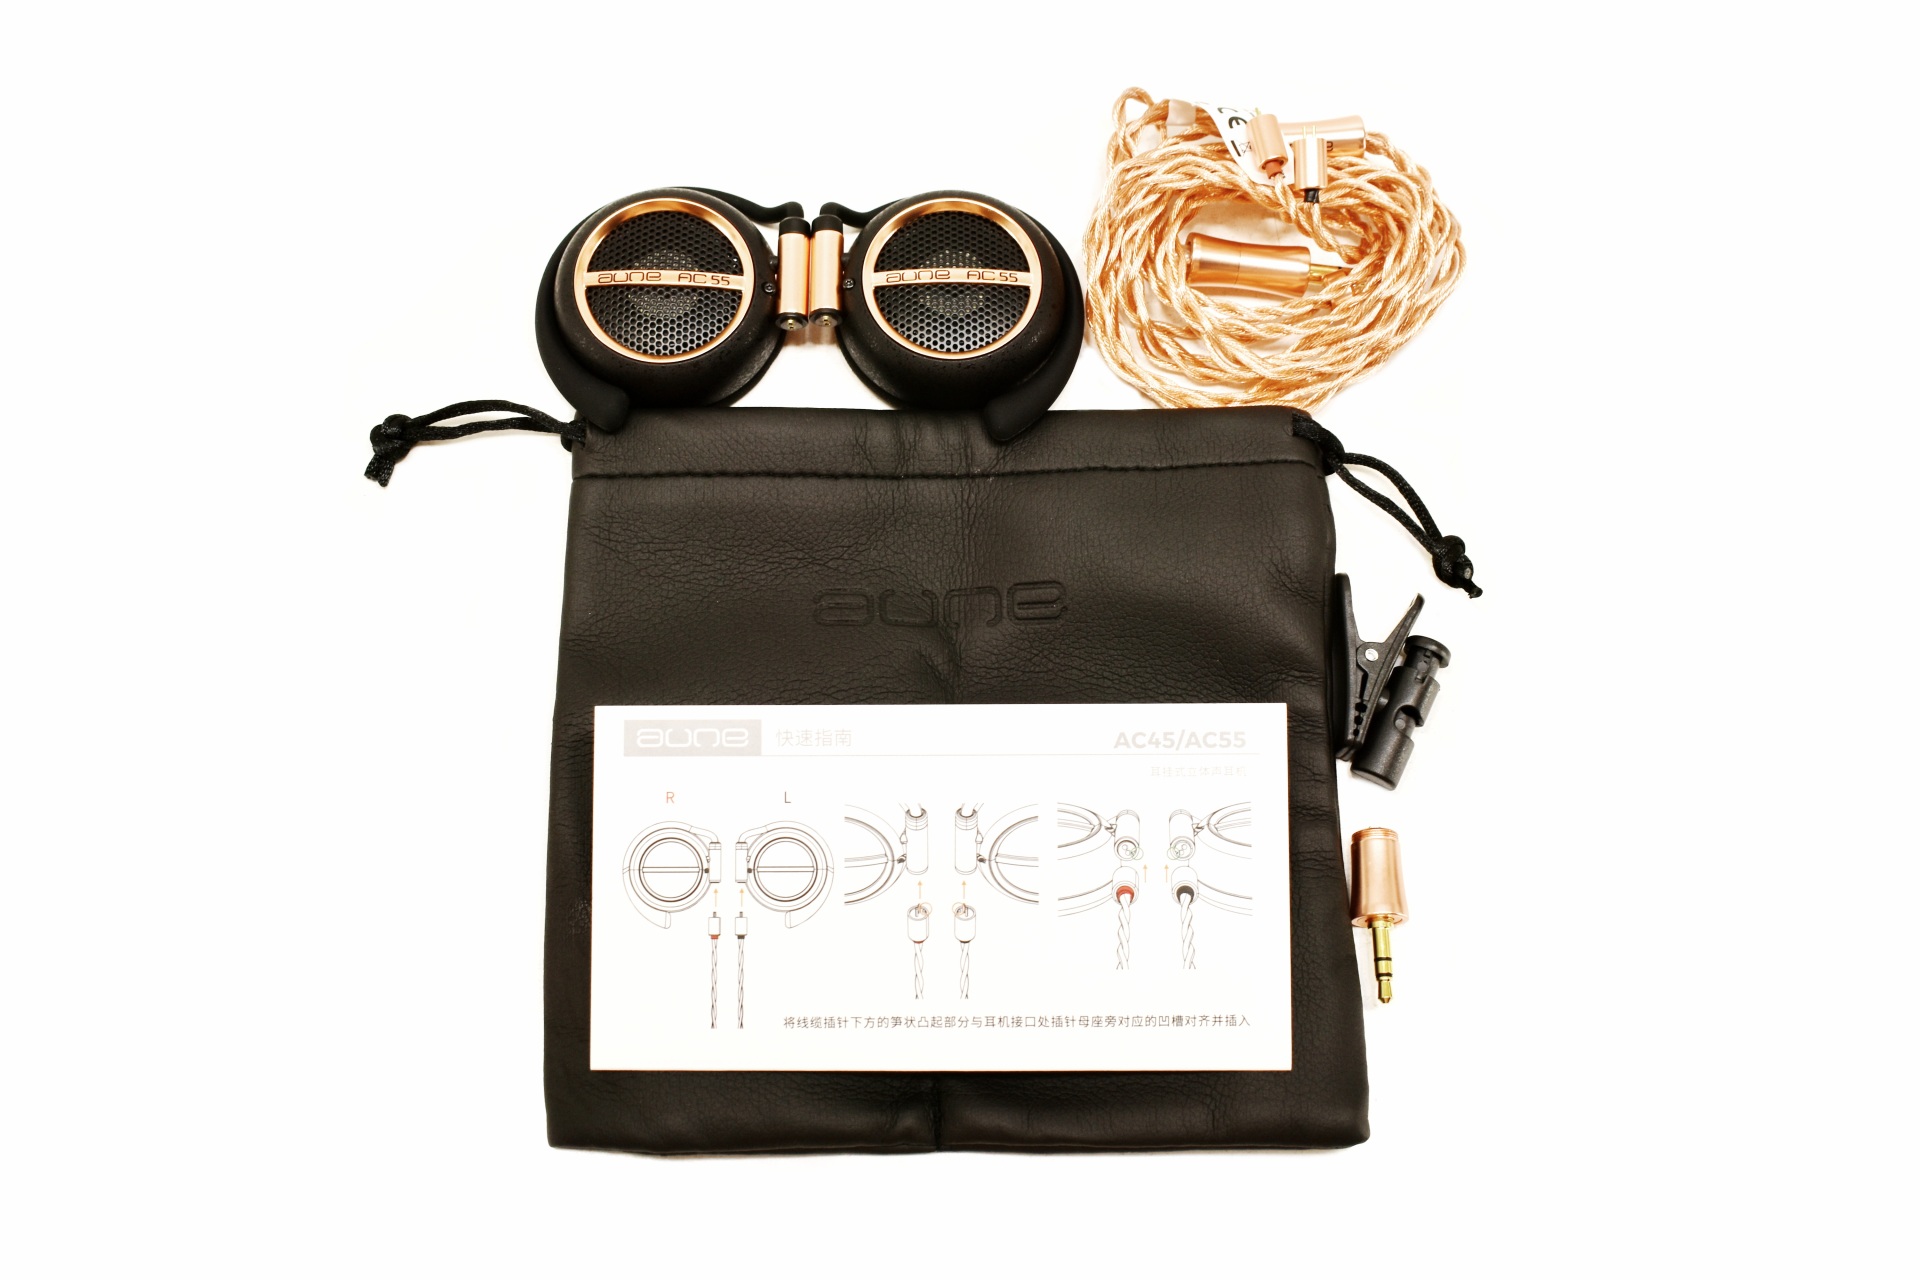
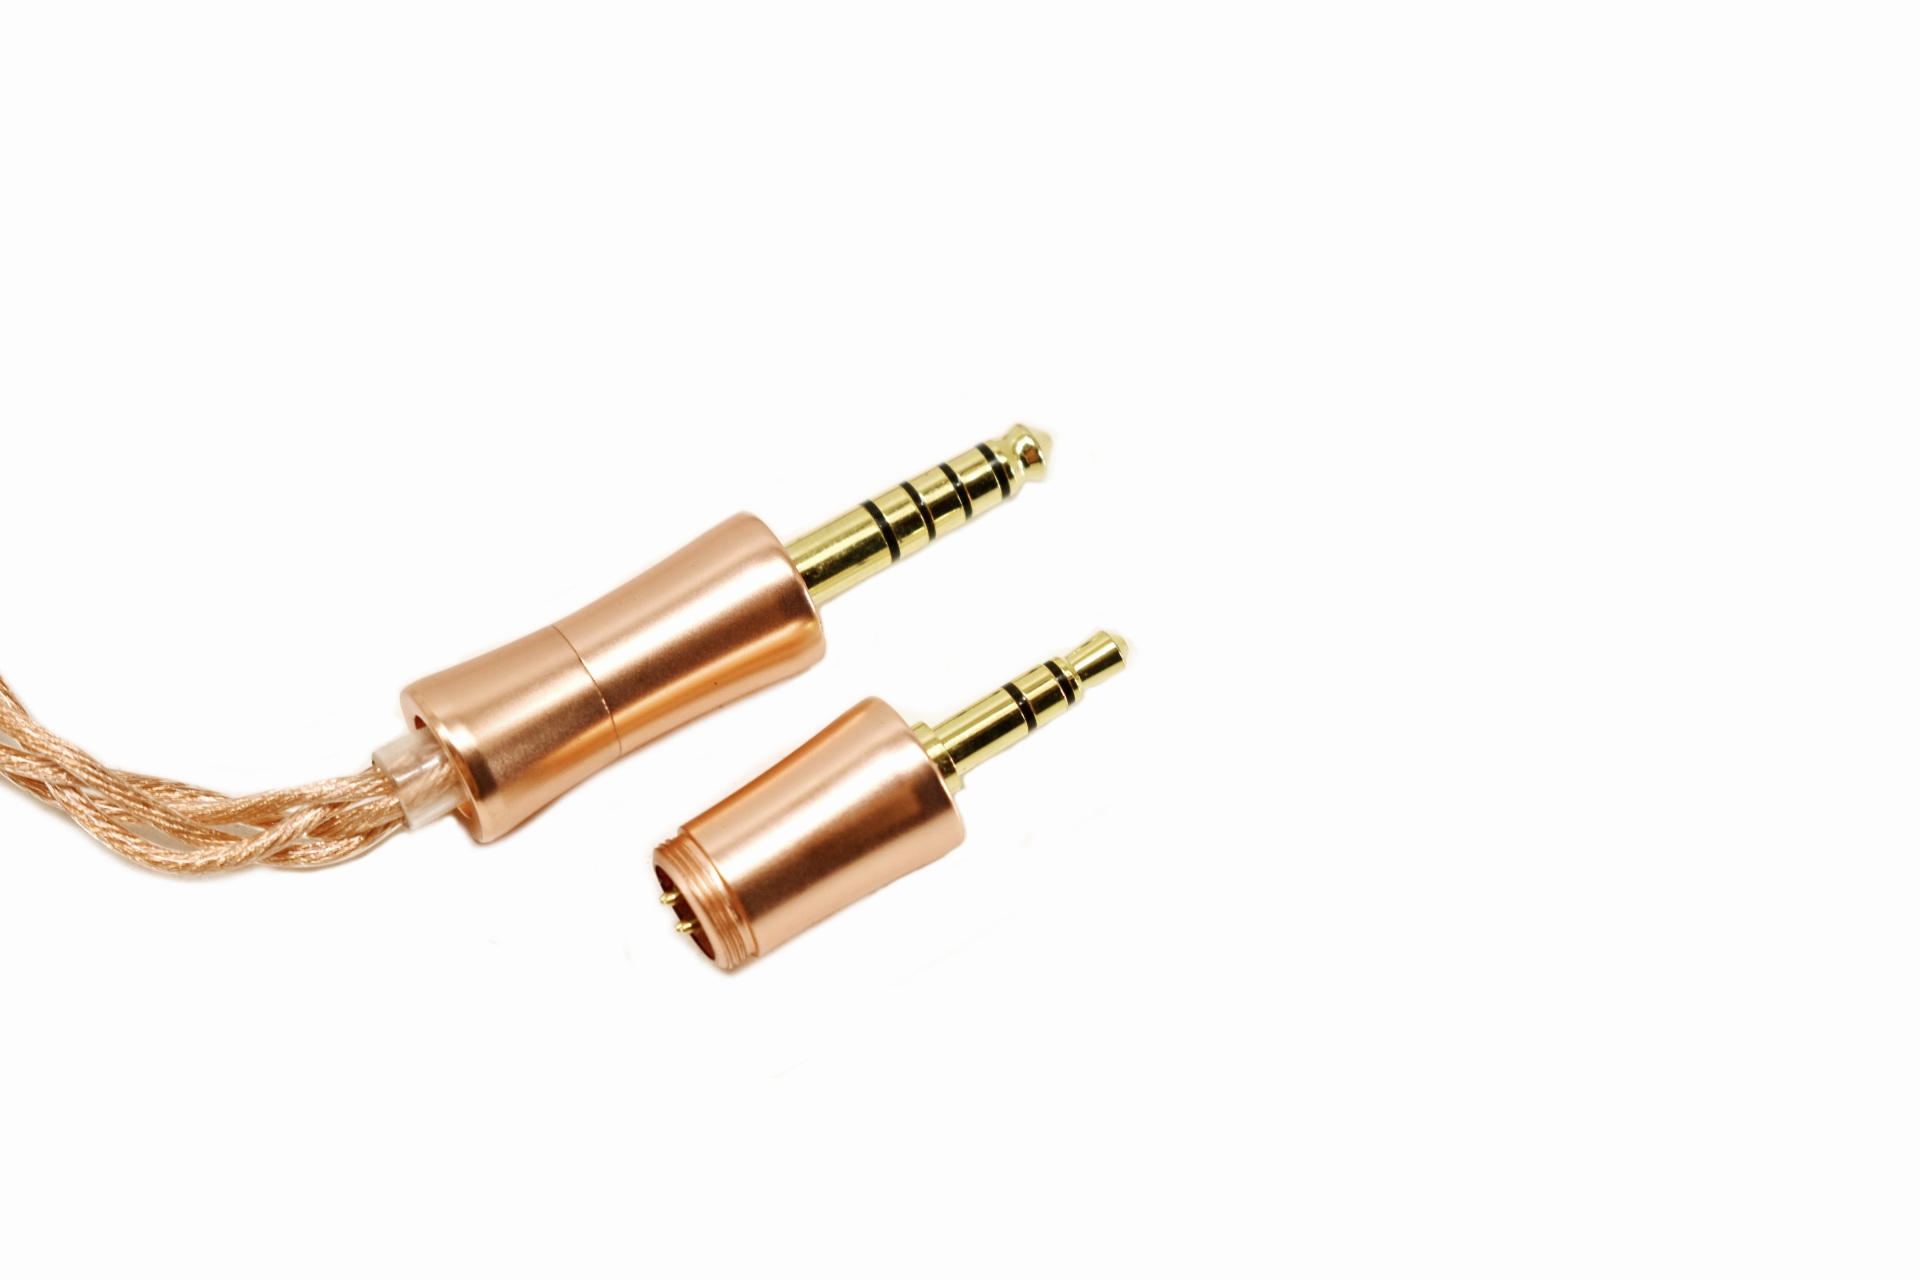
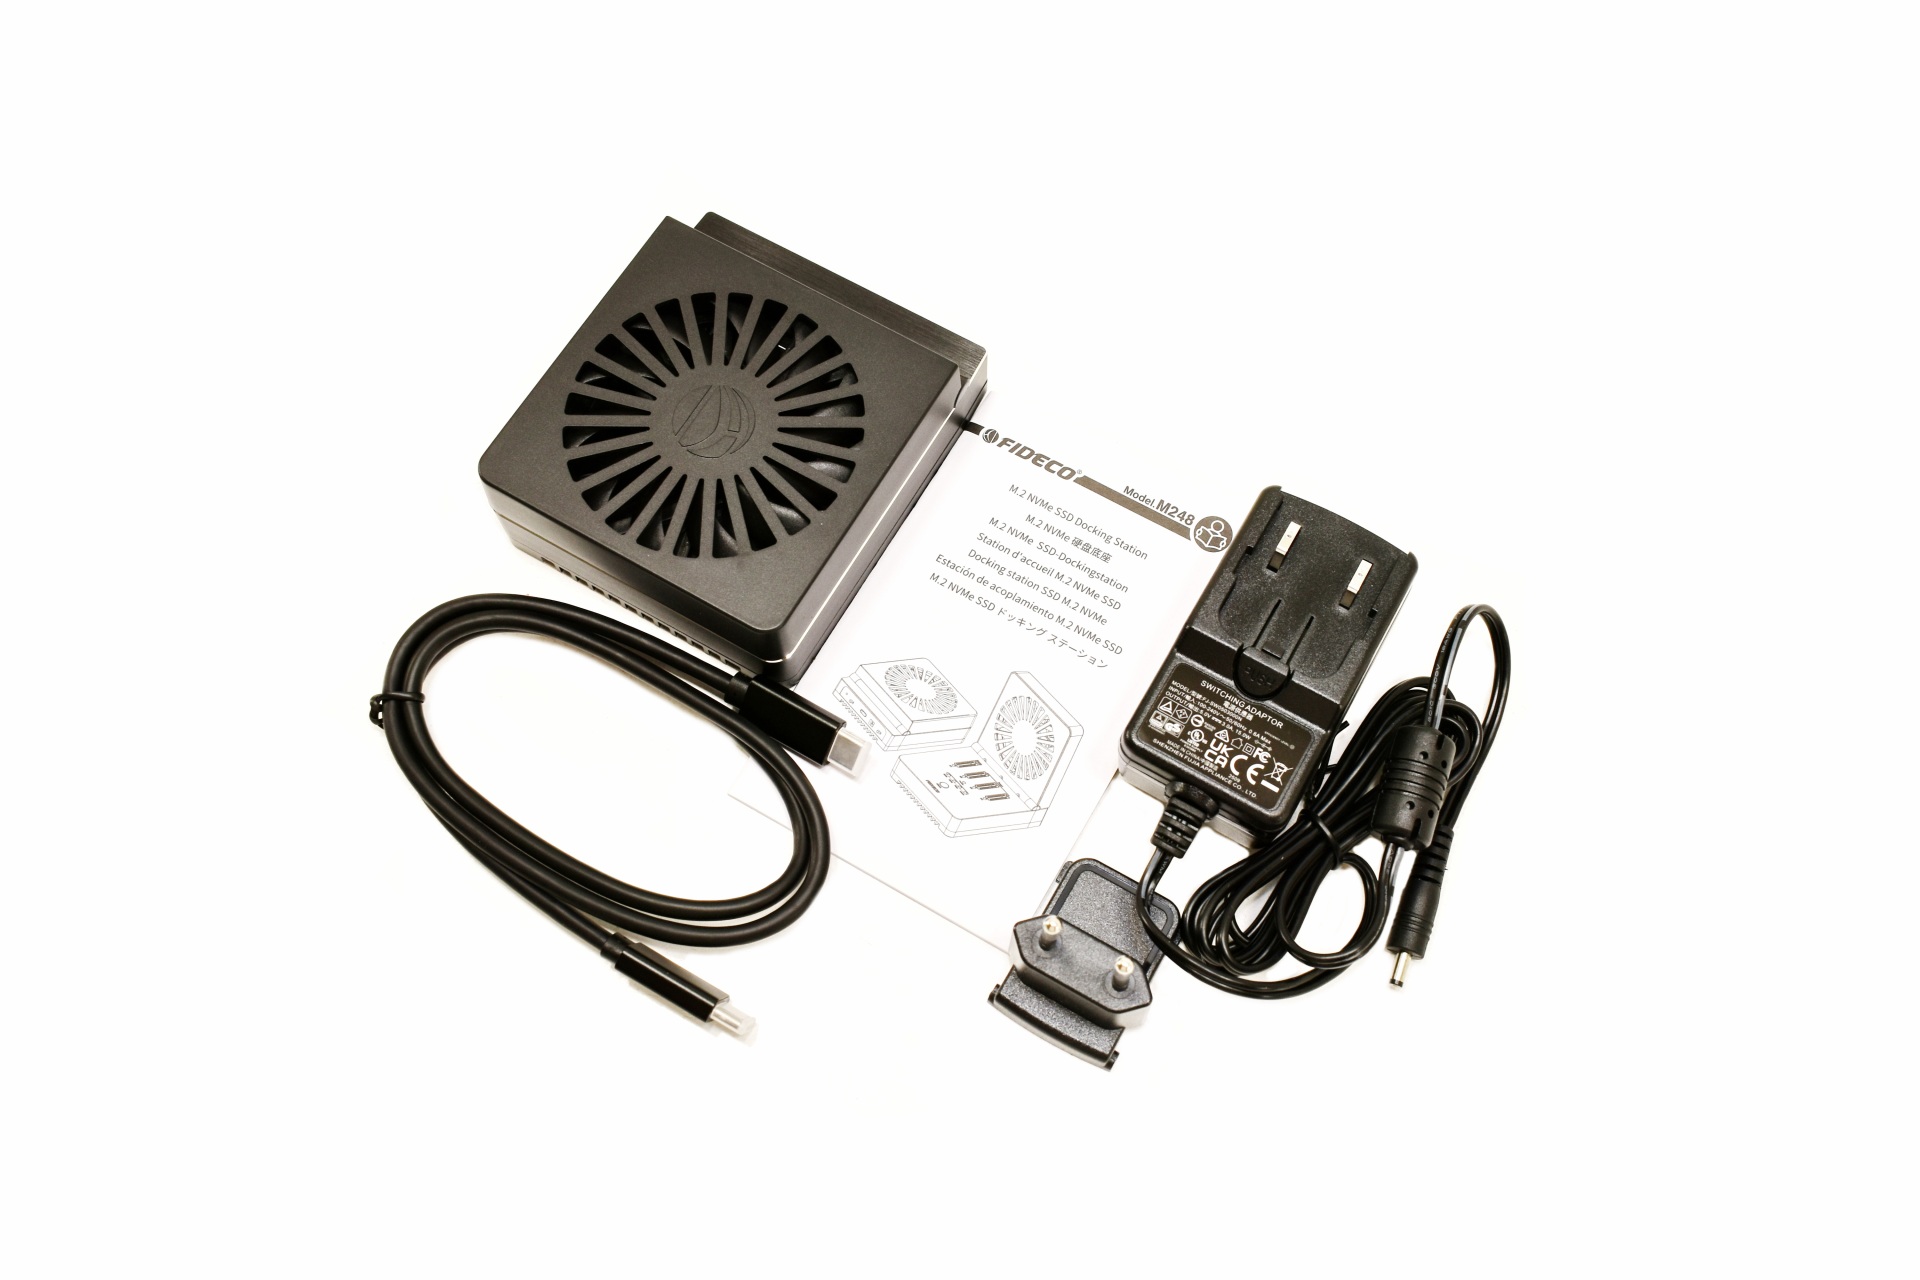
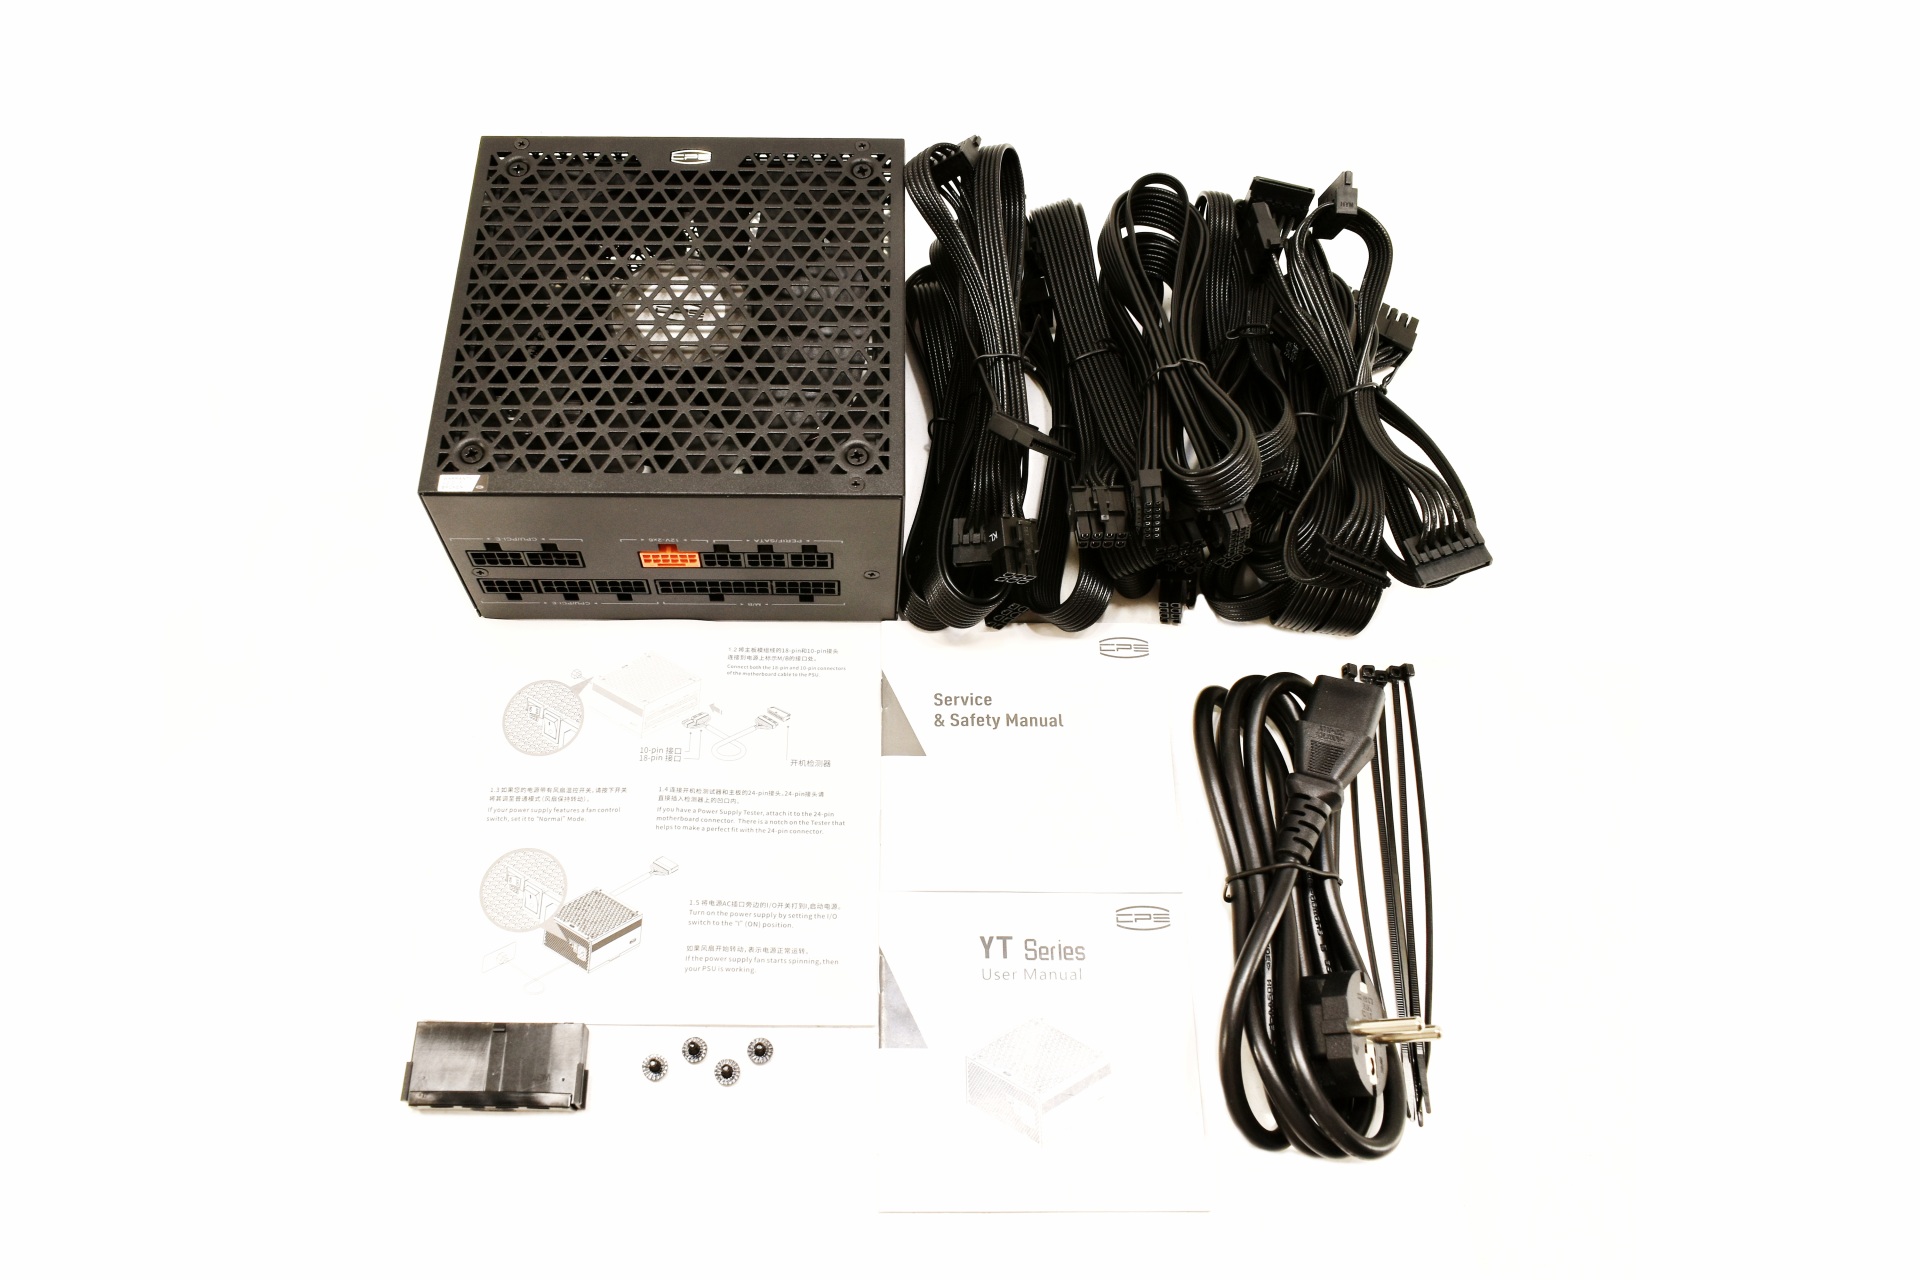
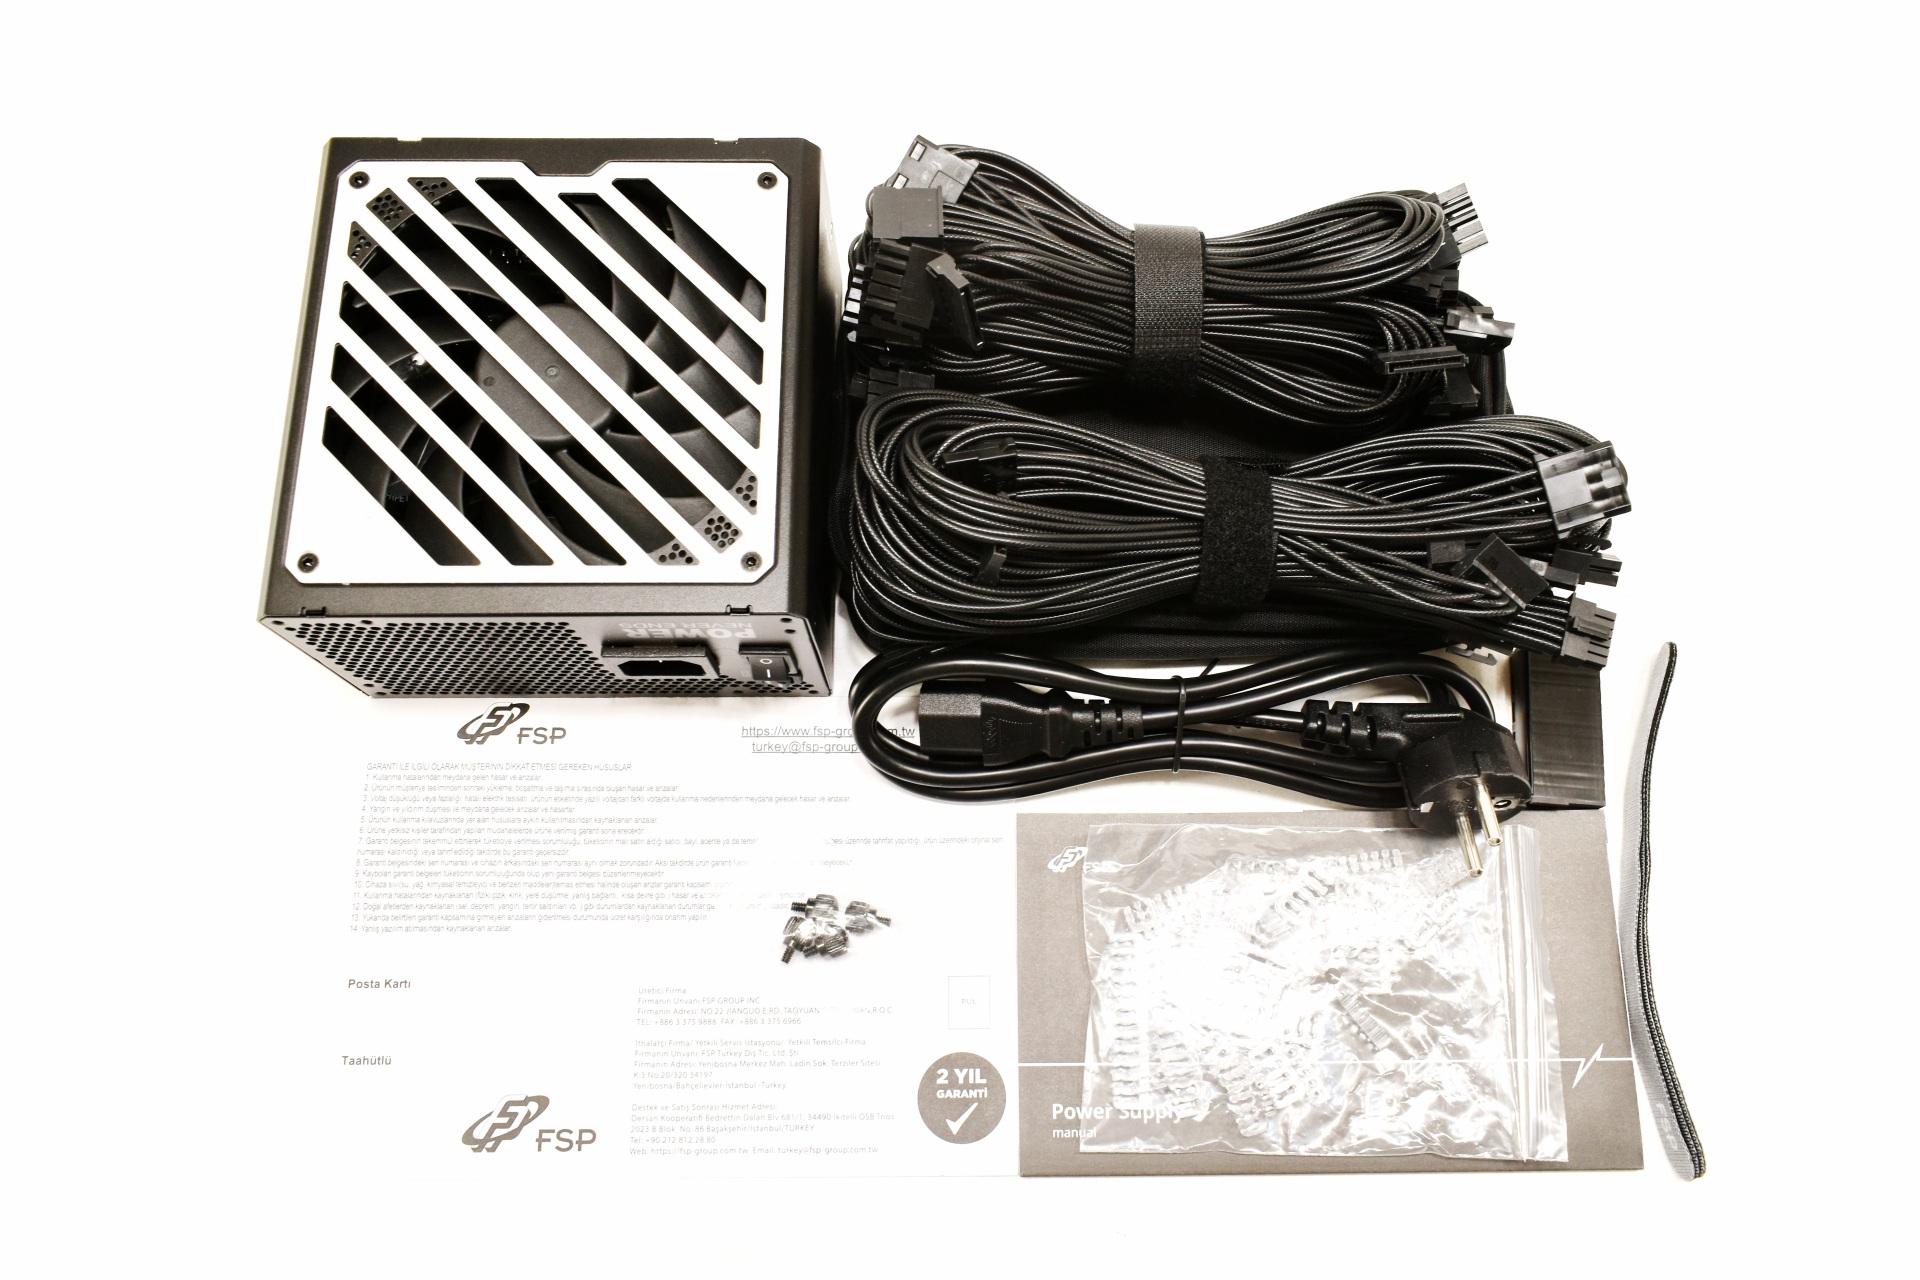
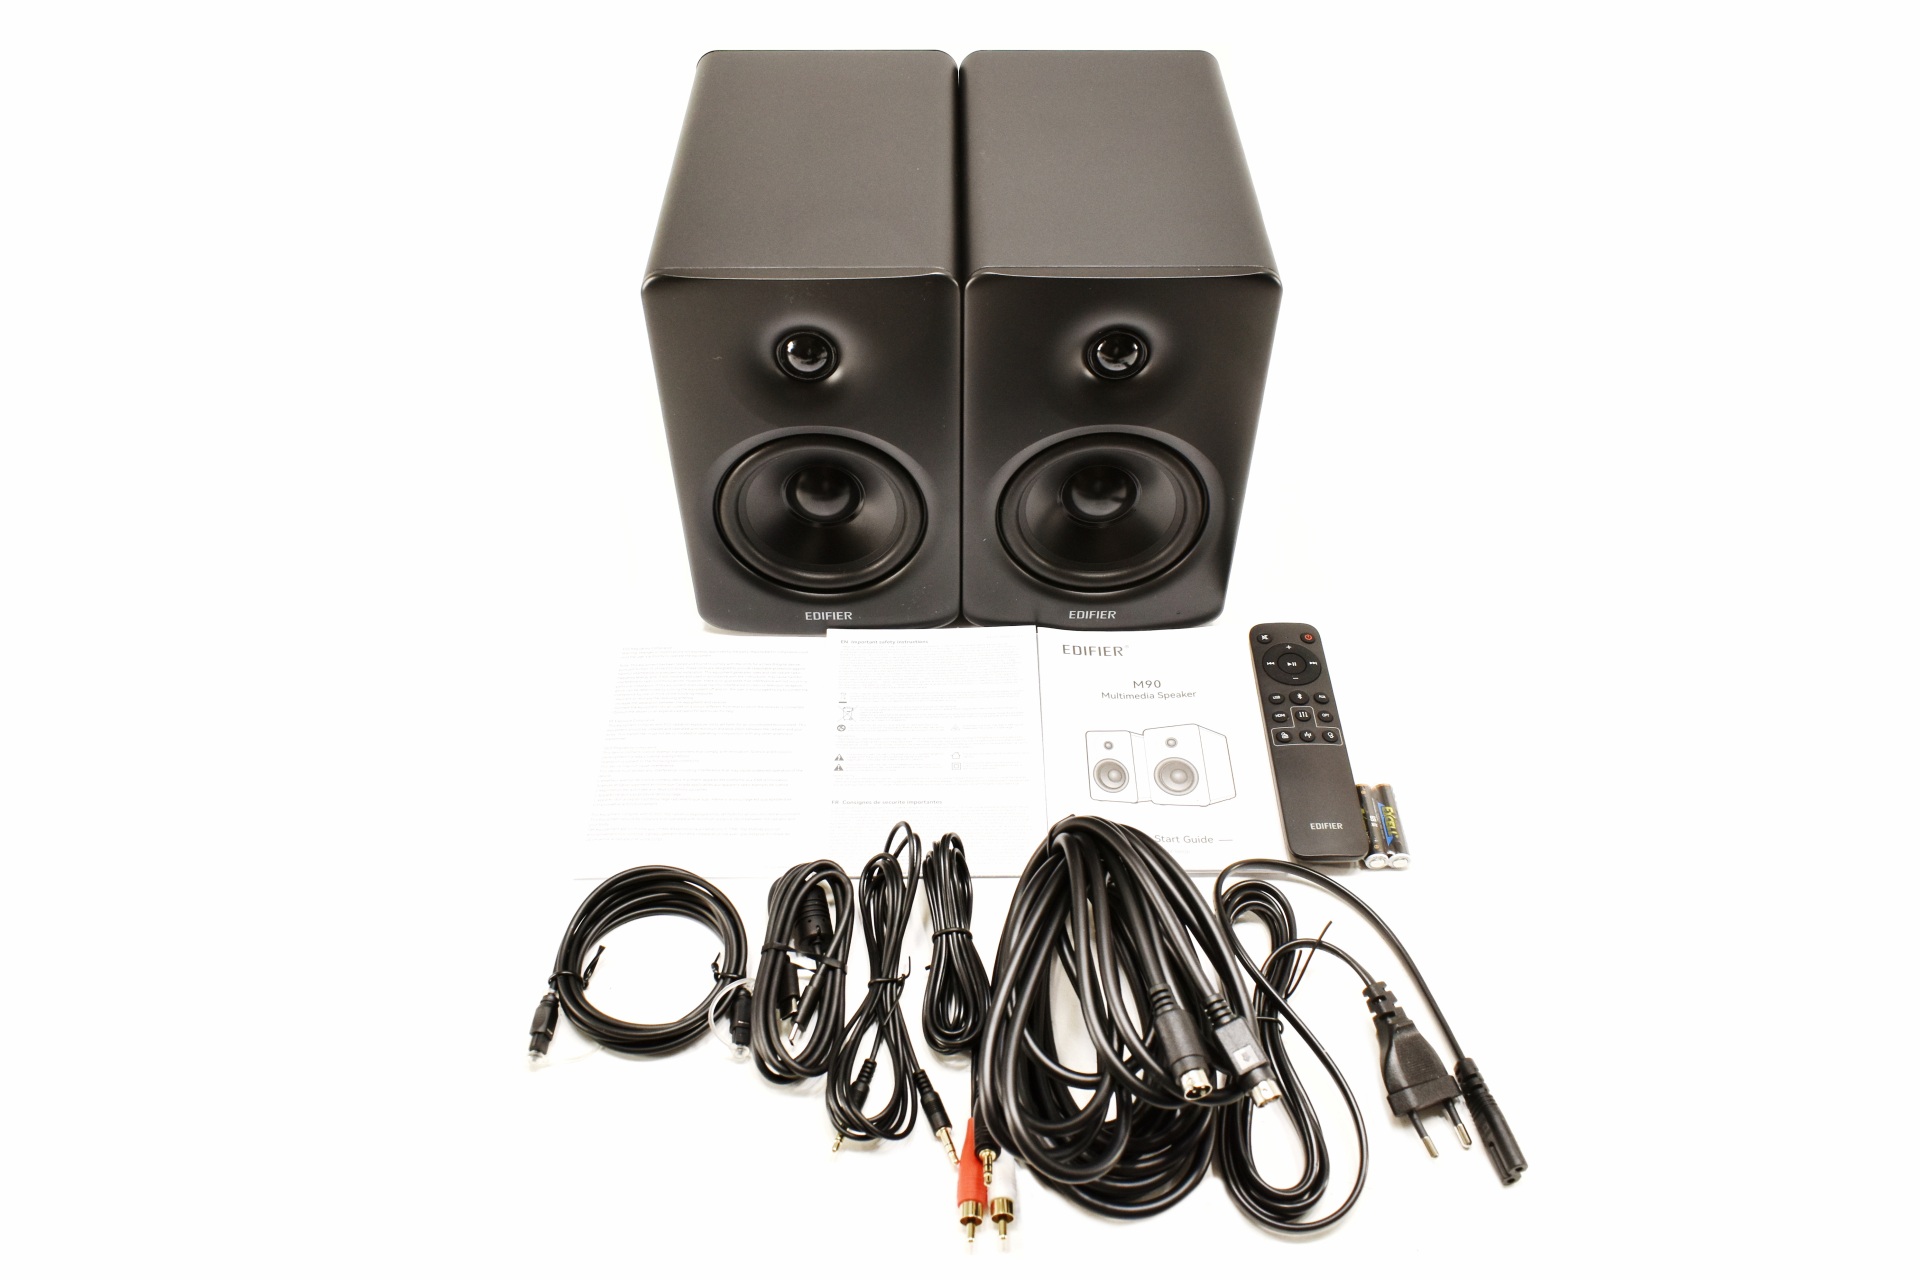
Along with the Revolution III S 1000W and its power cord inside the box you'll find the modular cables, 4 cable ties, 4 mounting screws and the user manual.
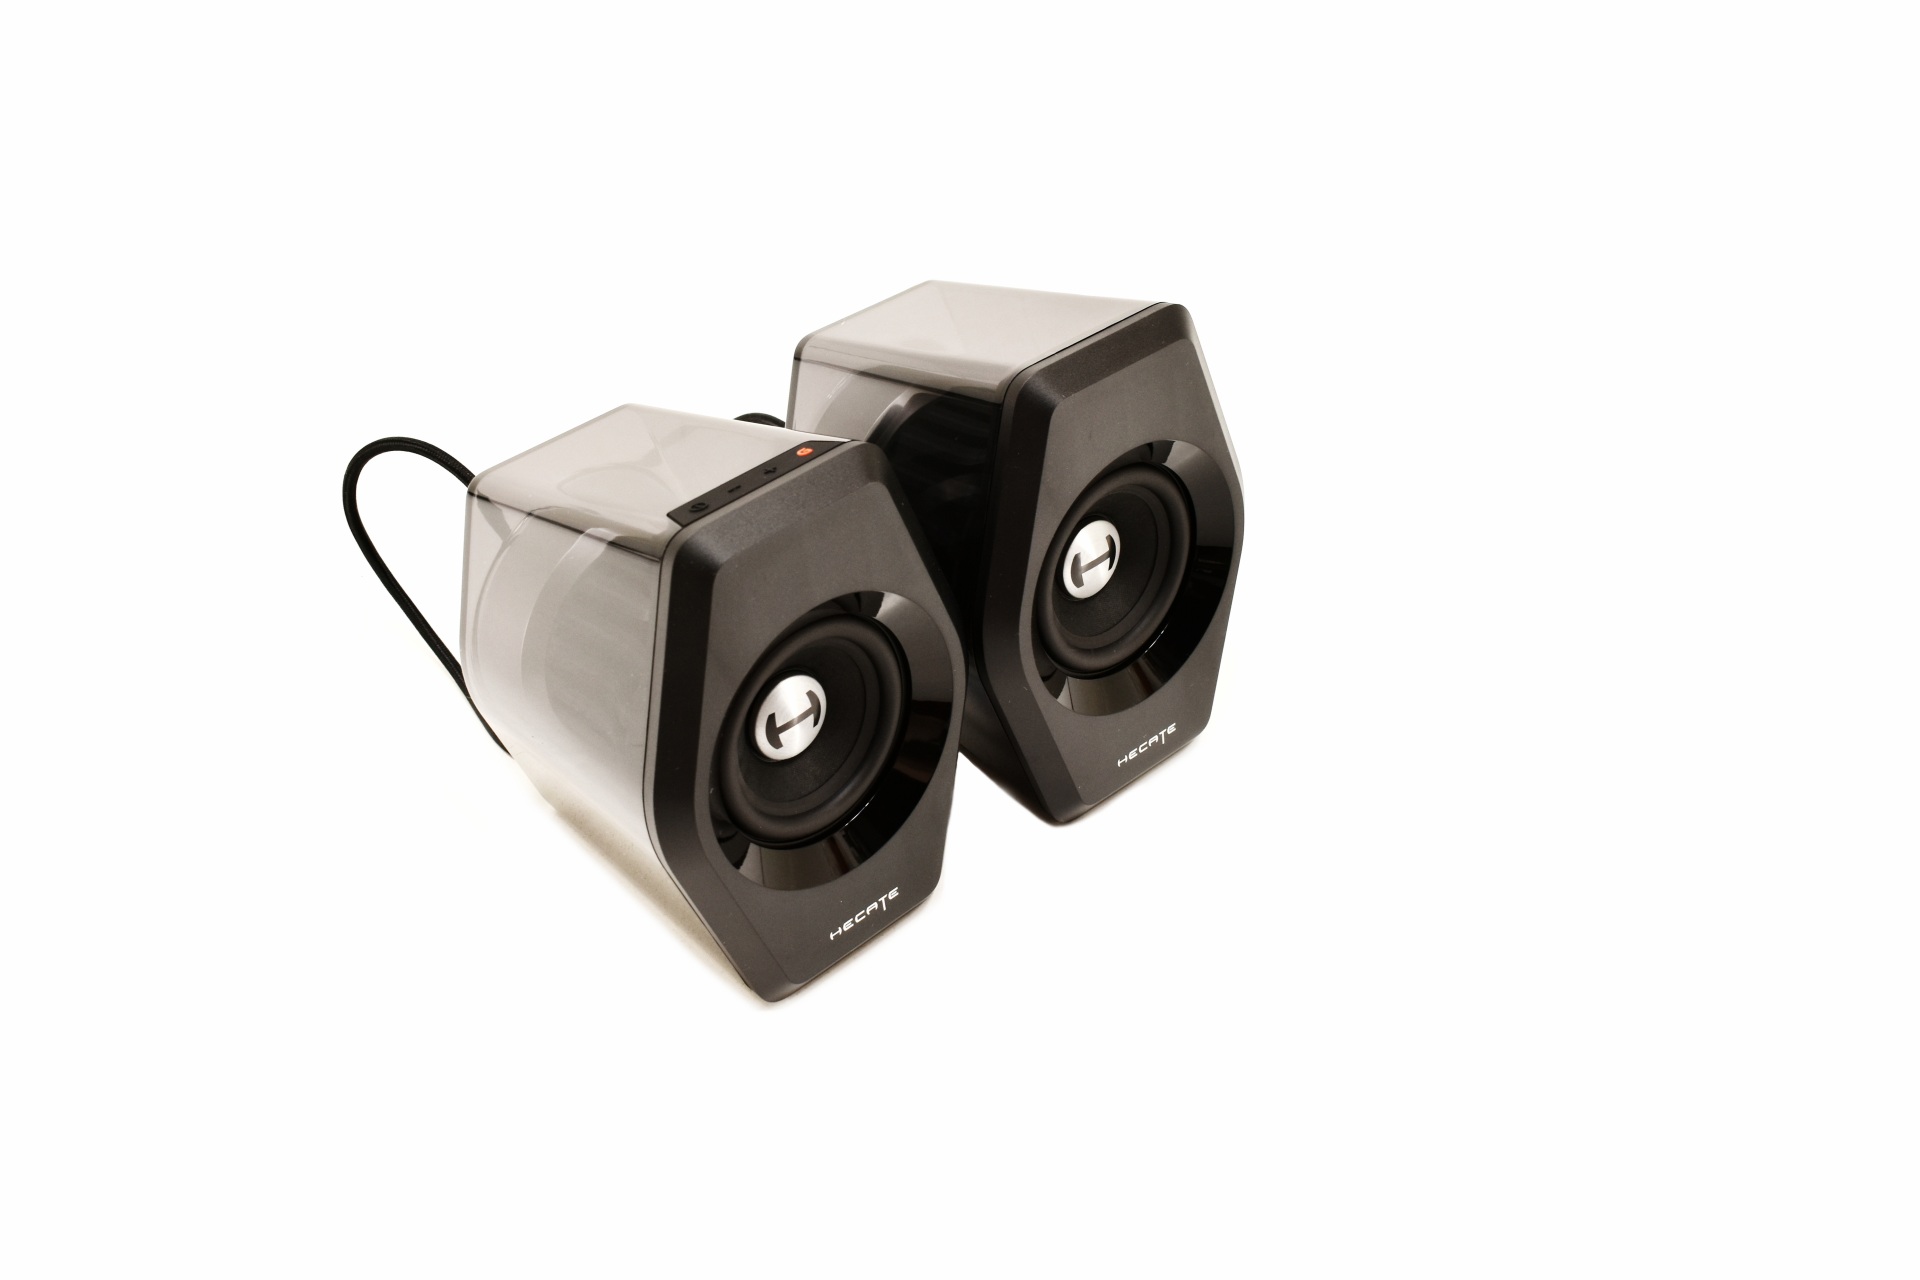
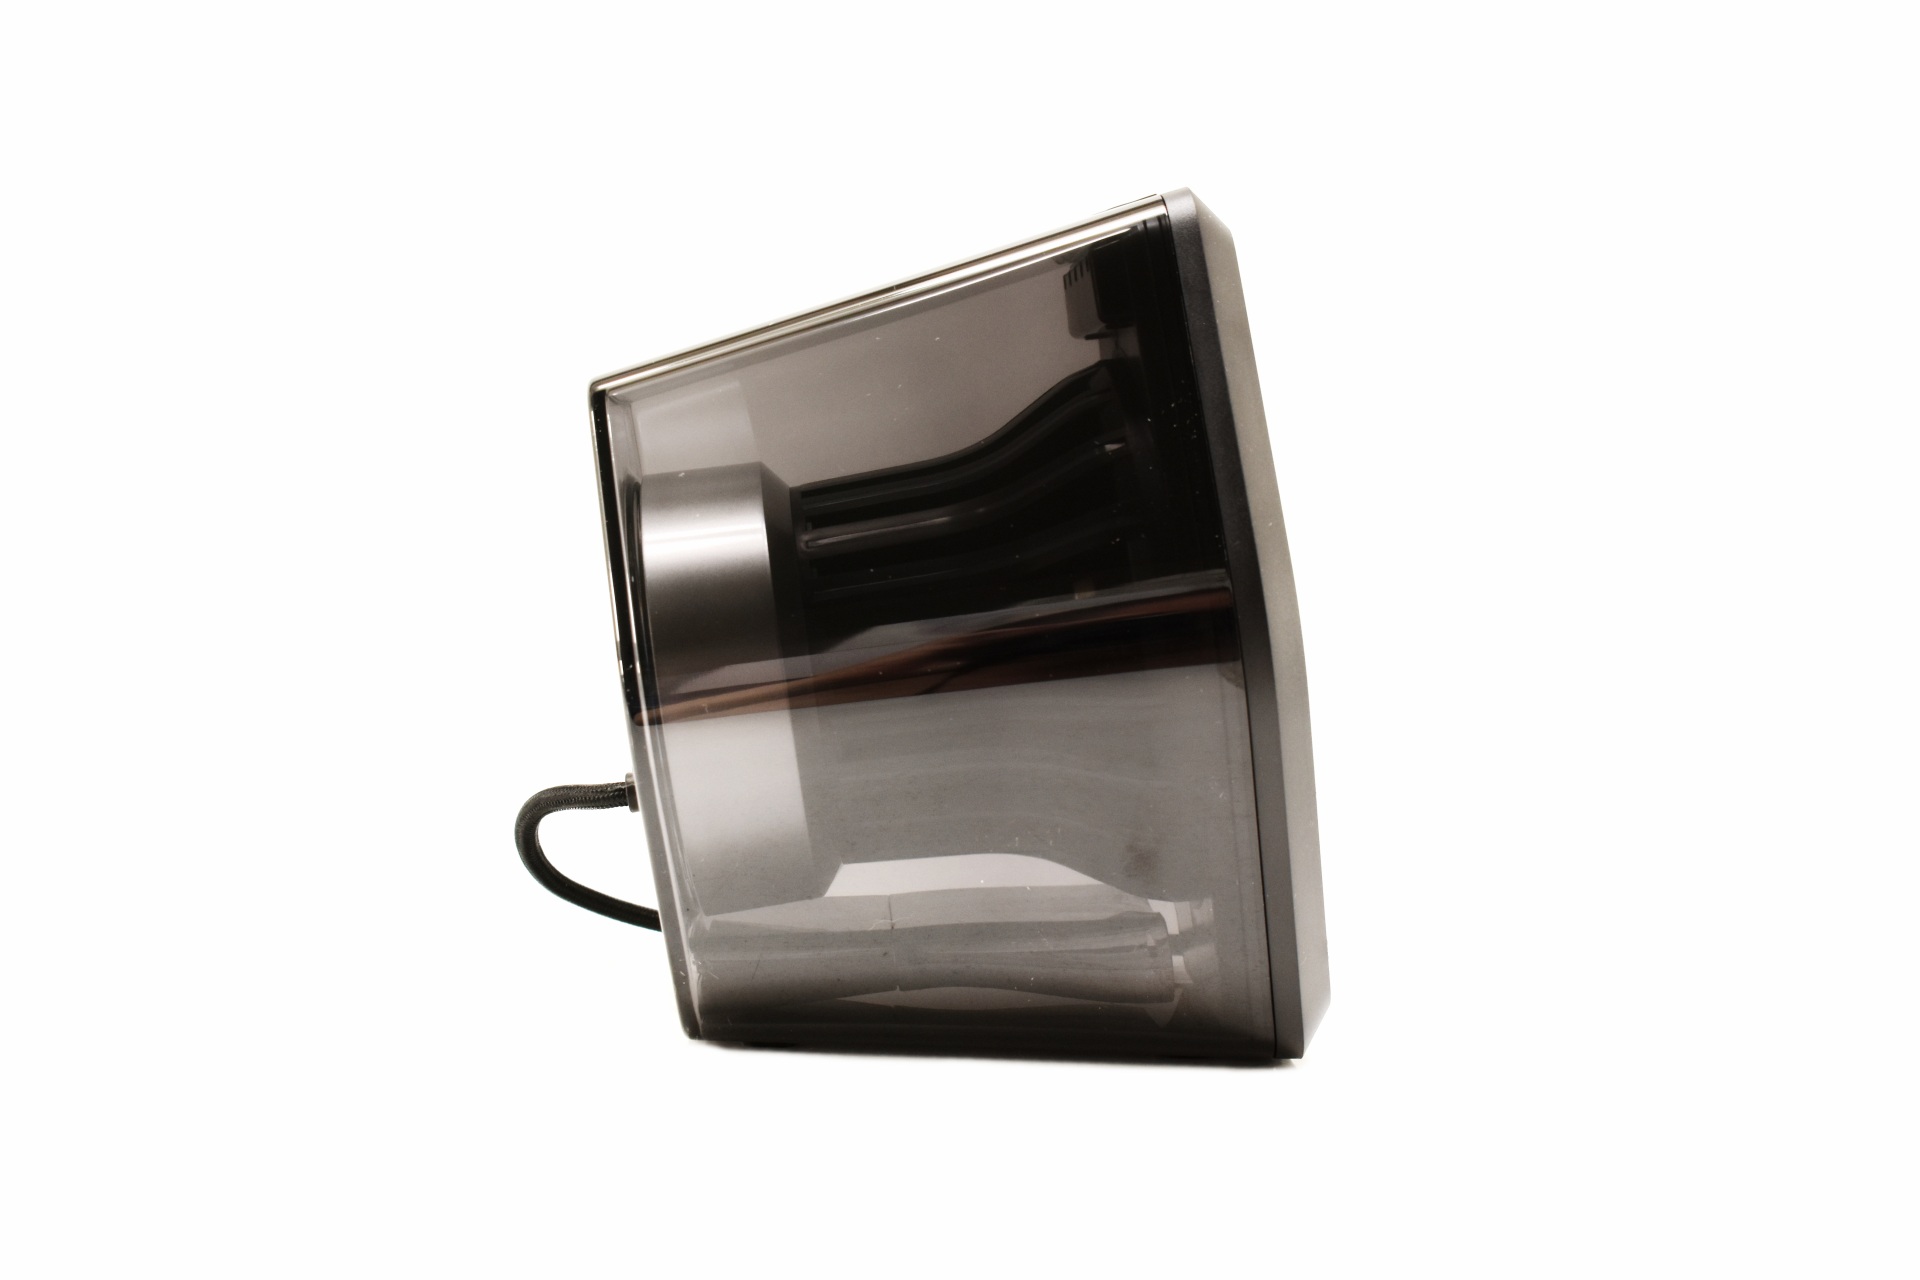
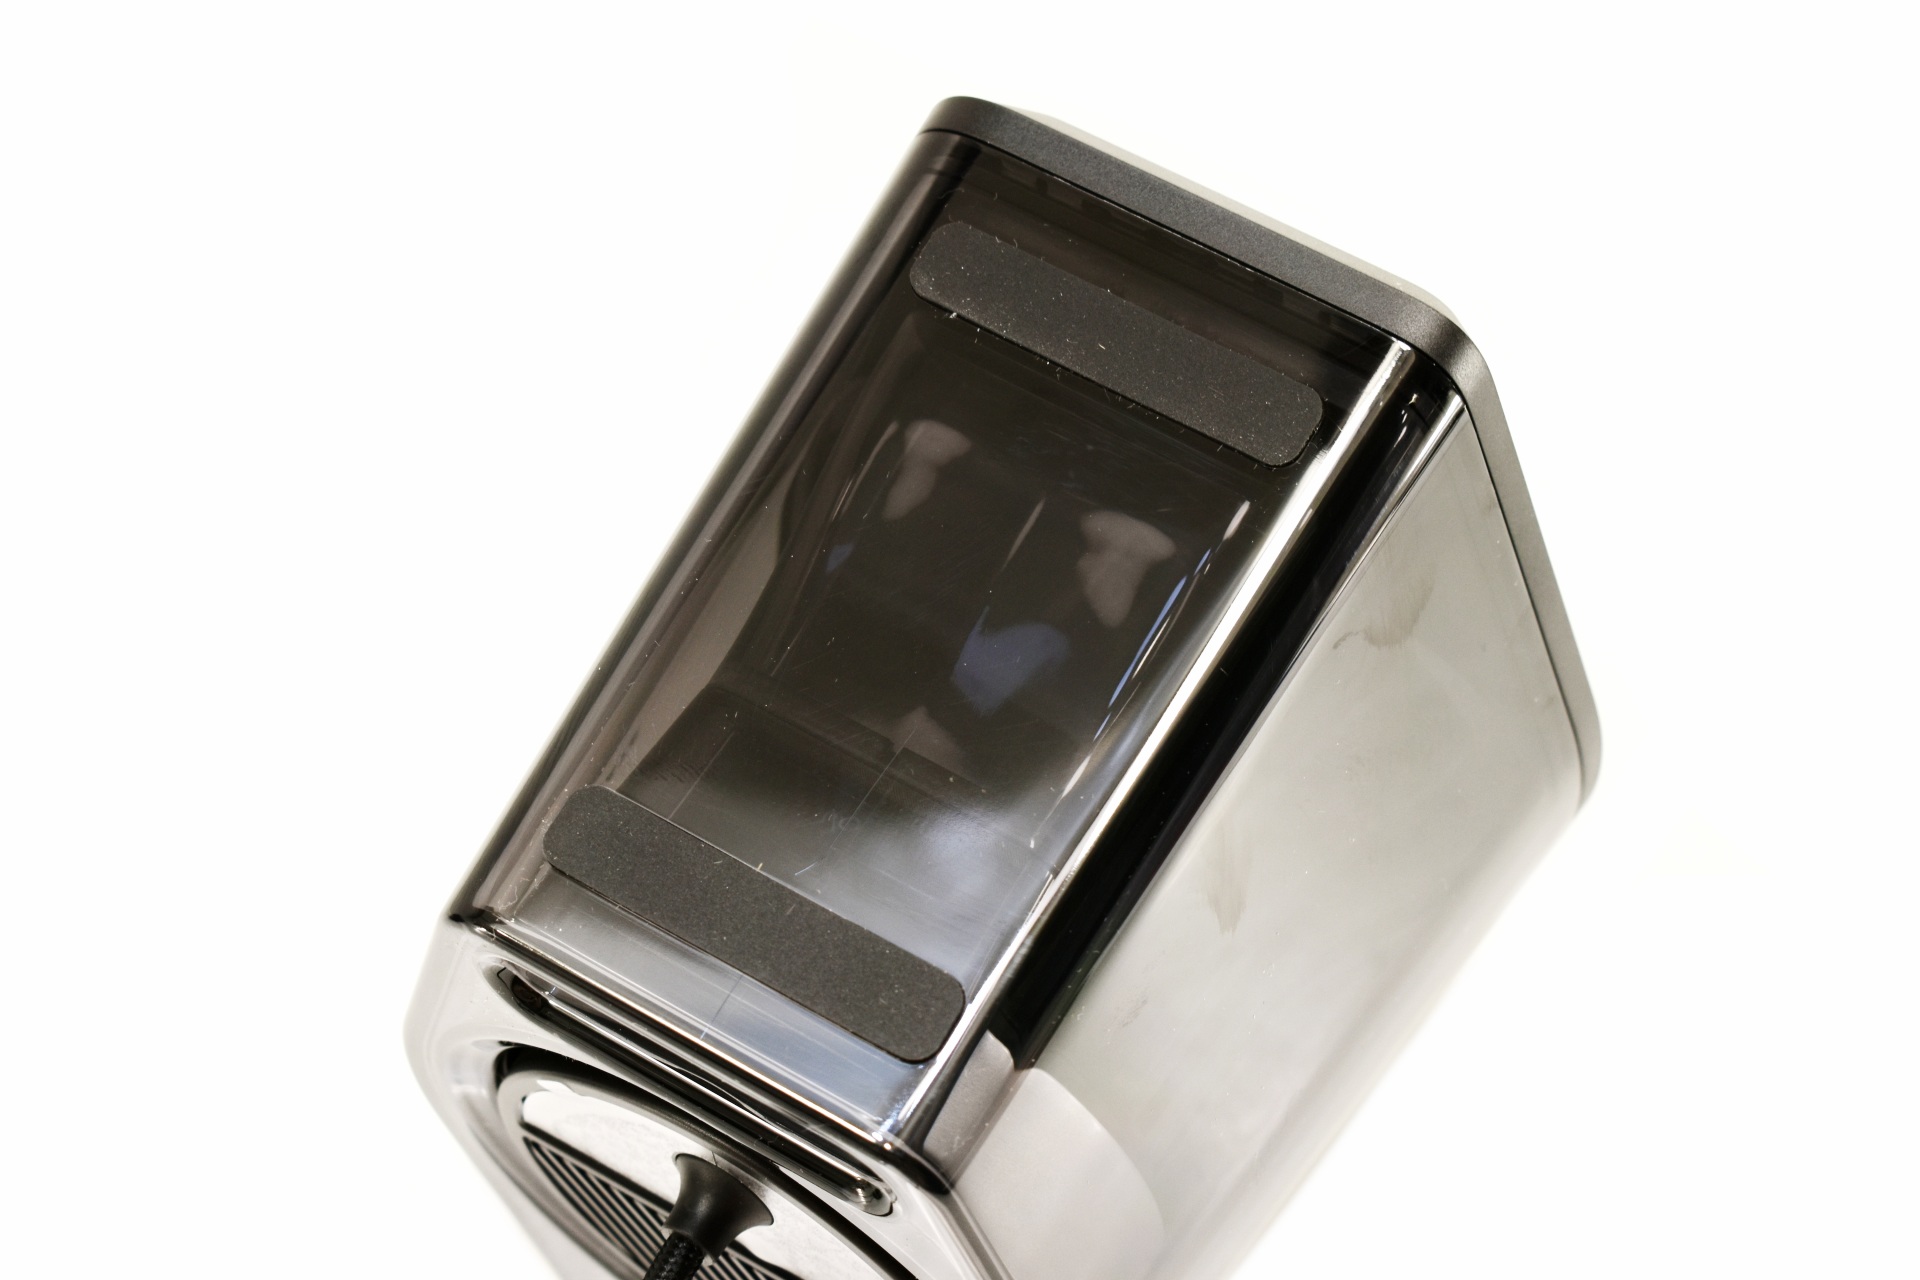
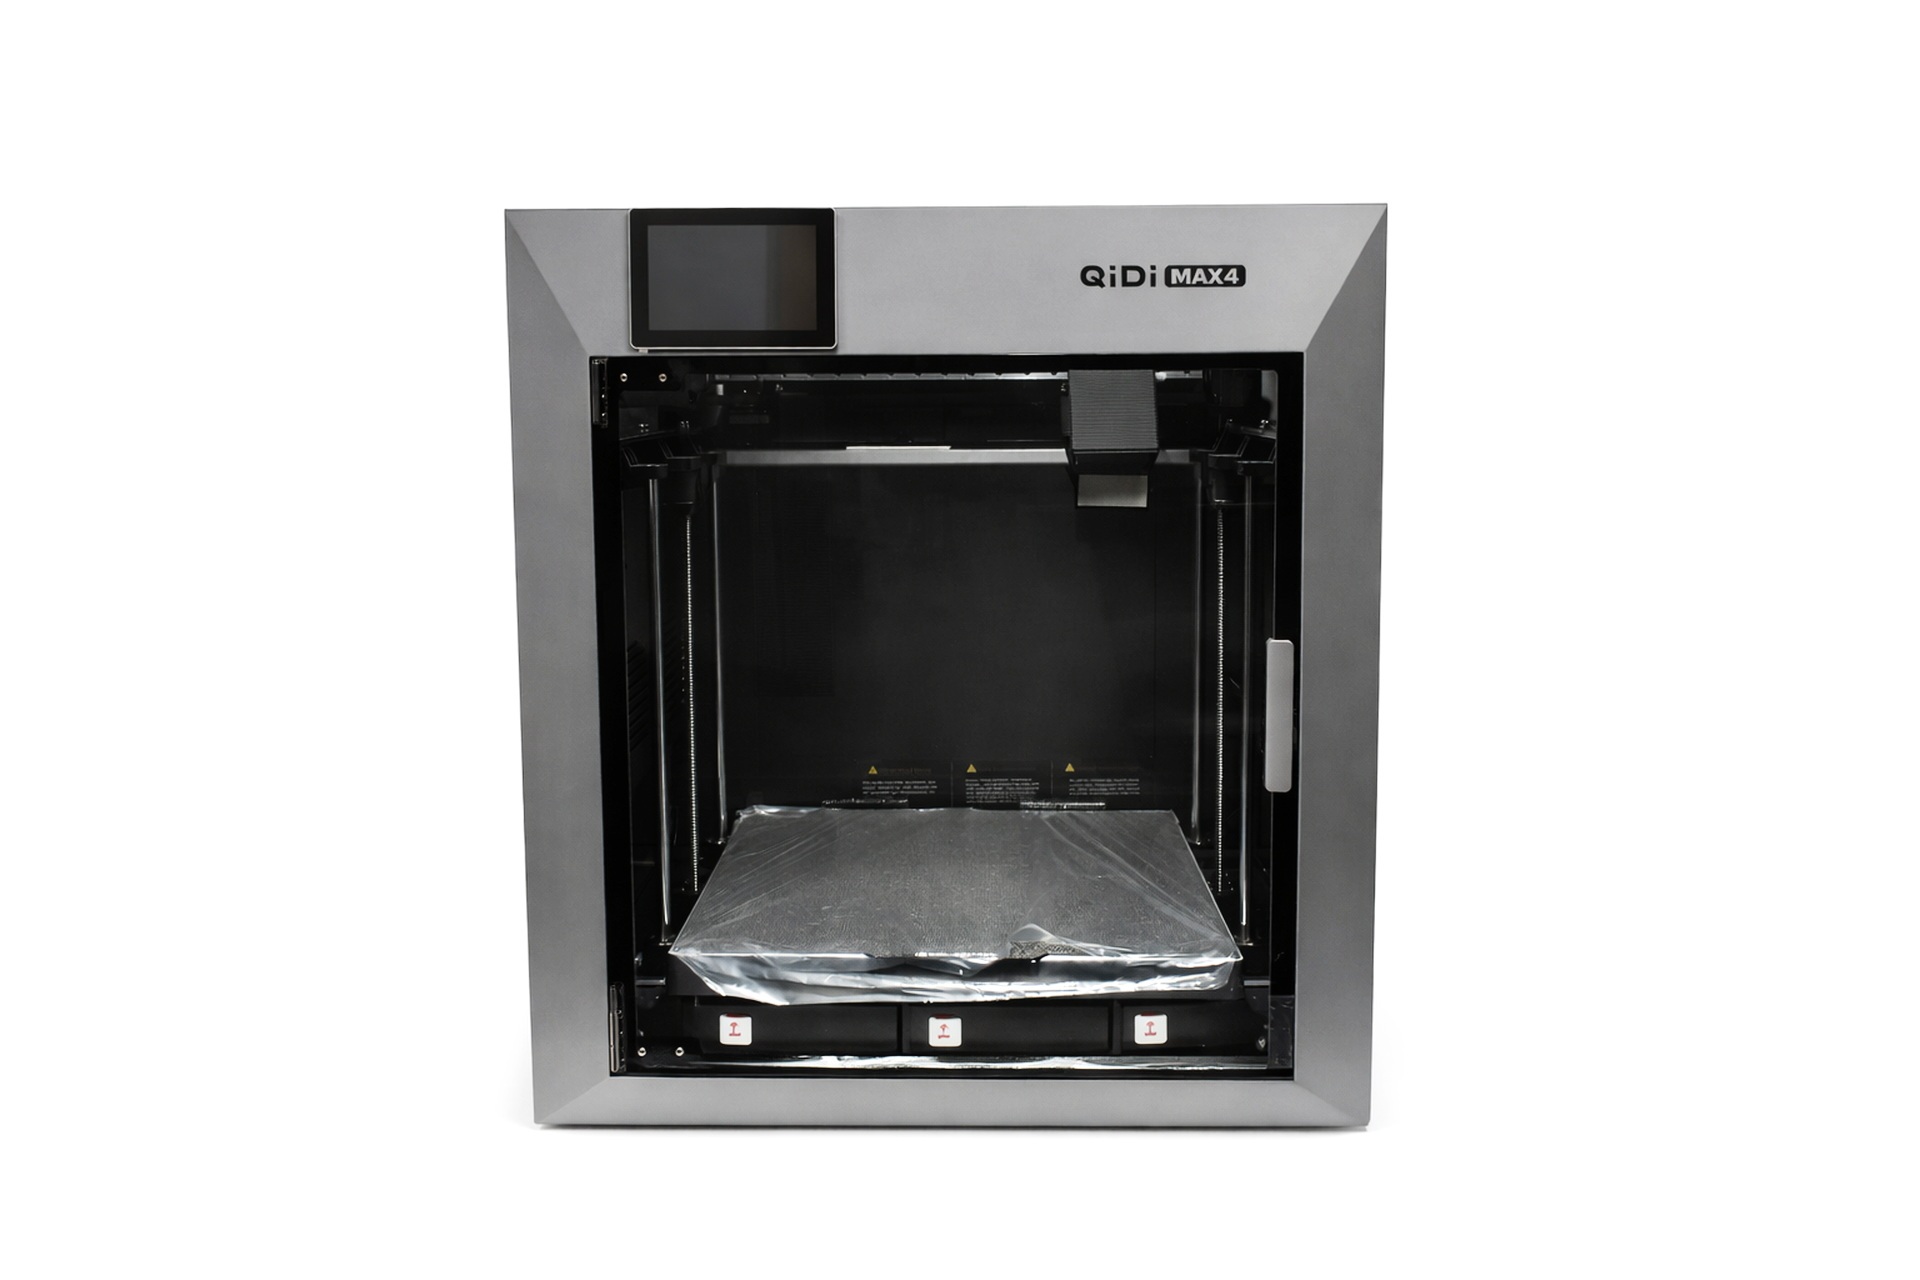
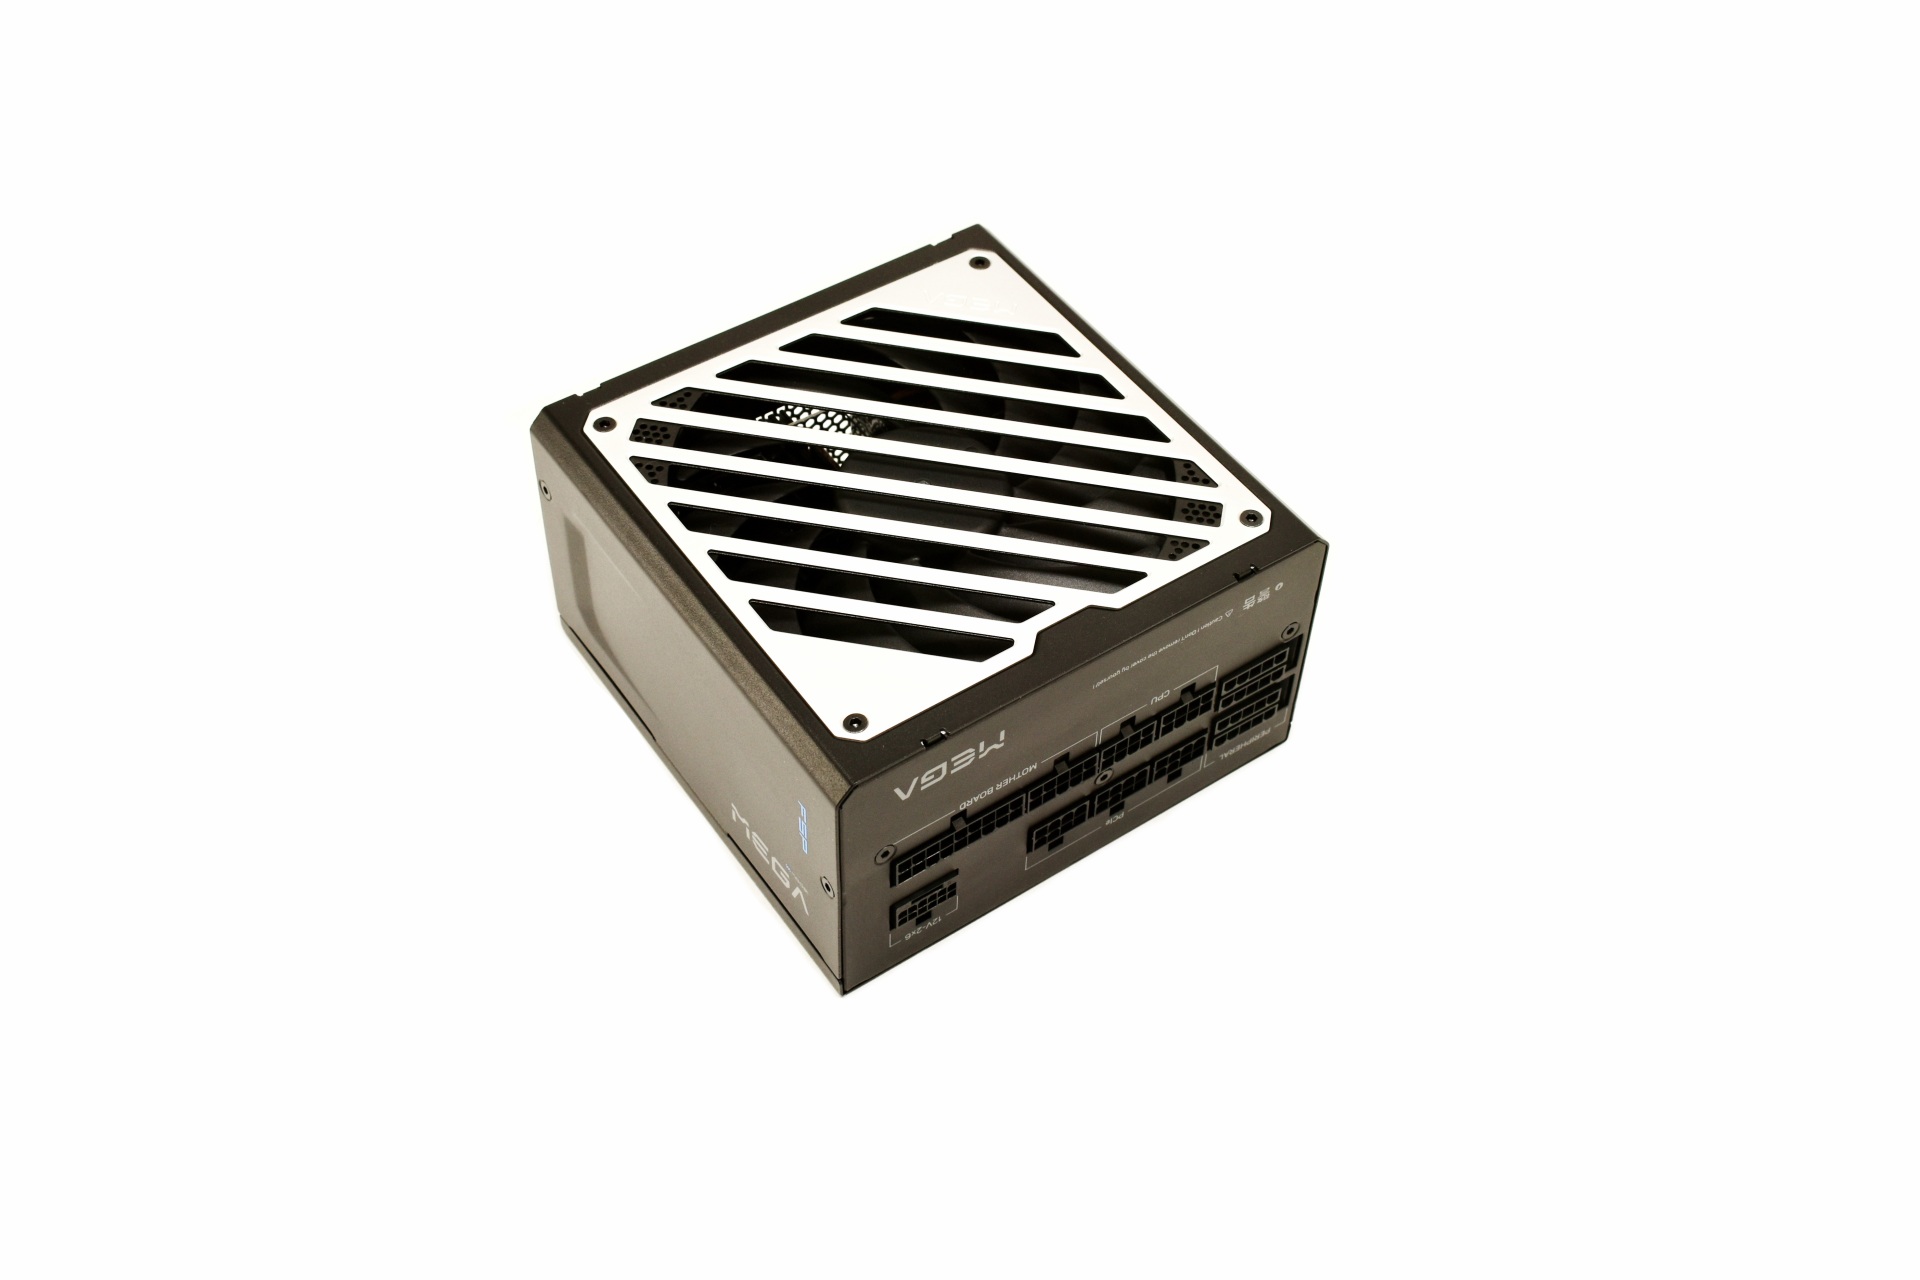
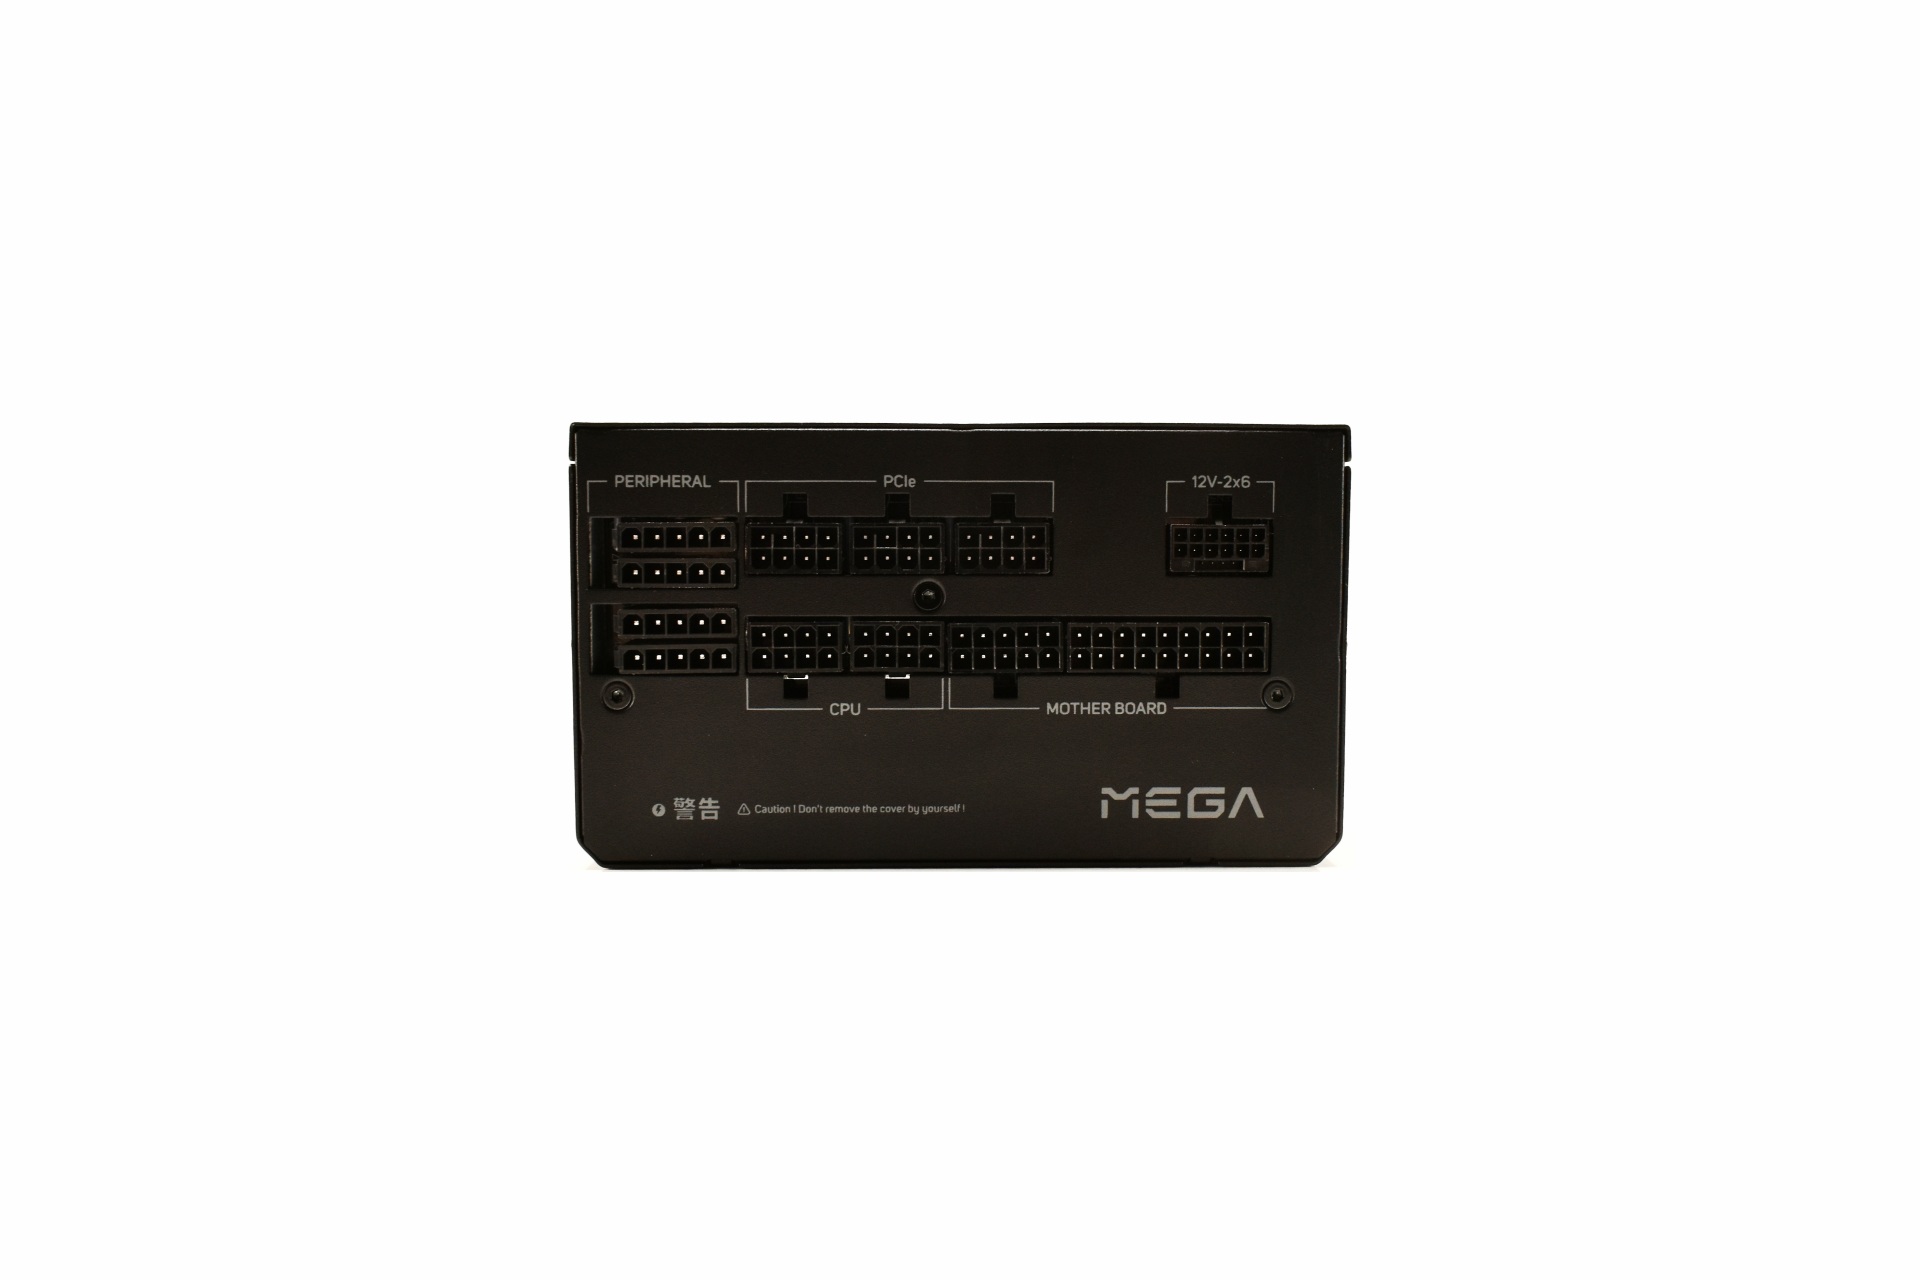
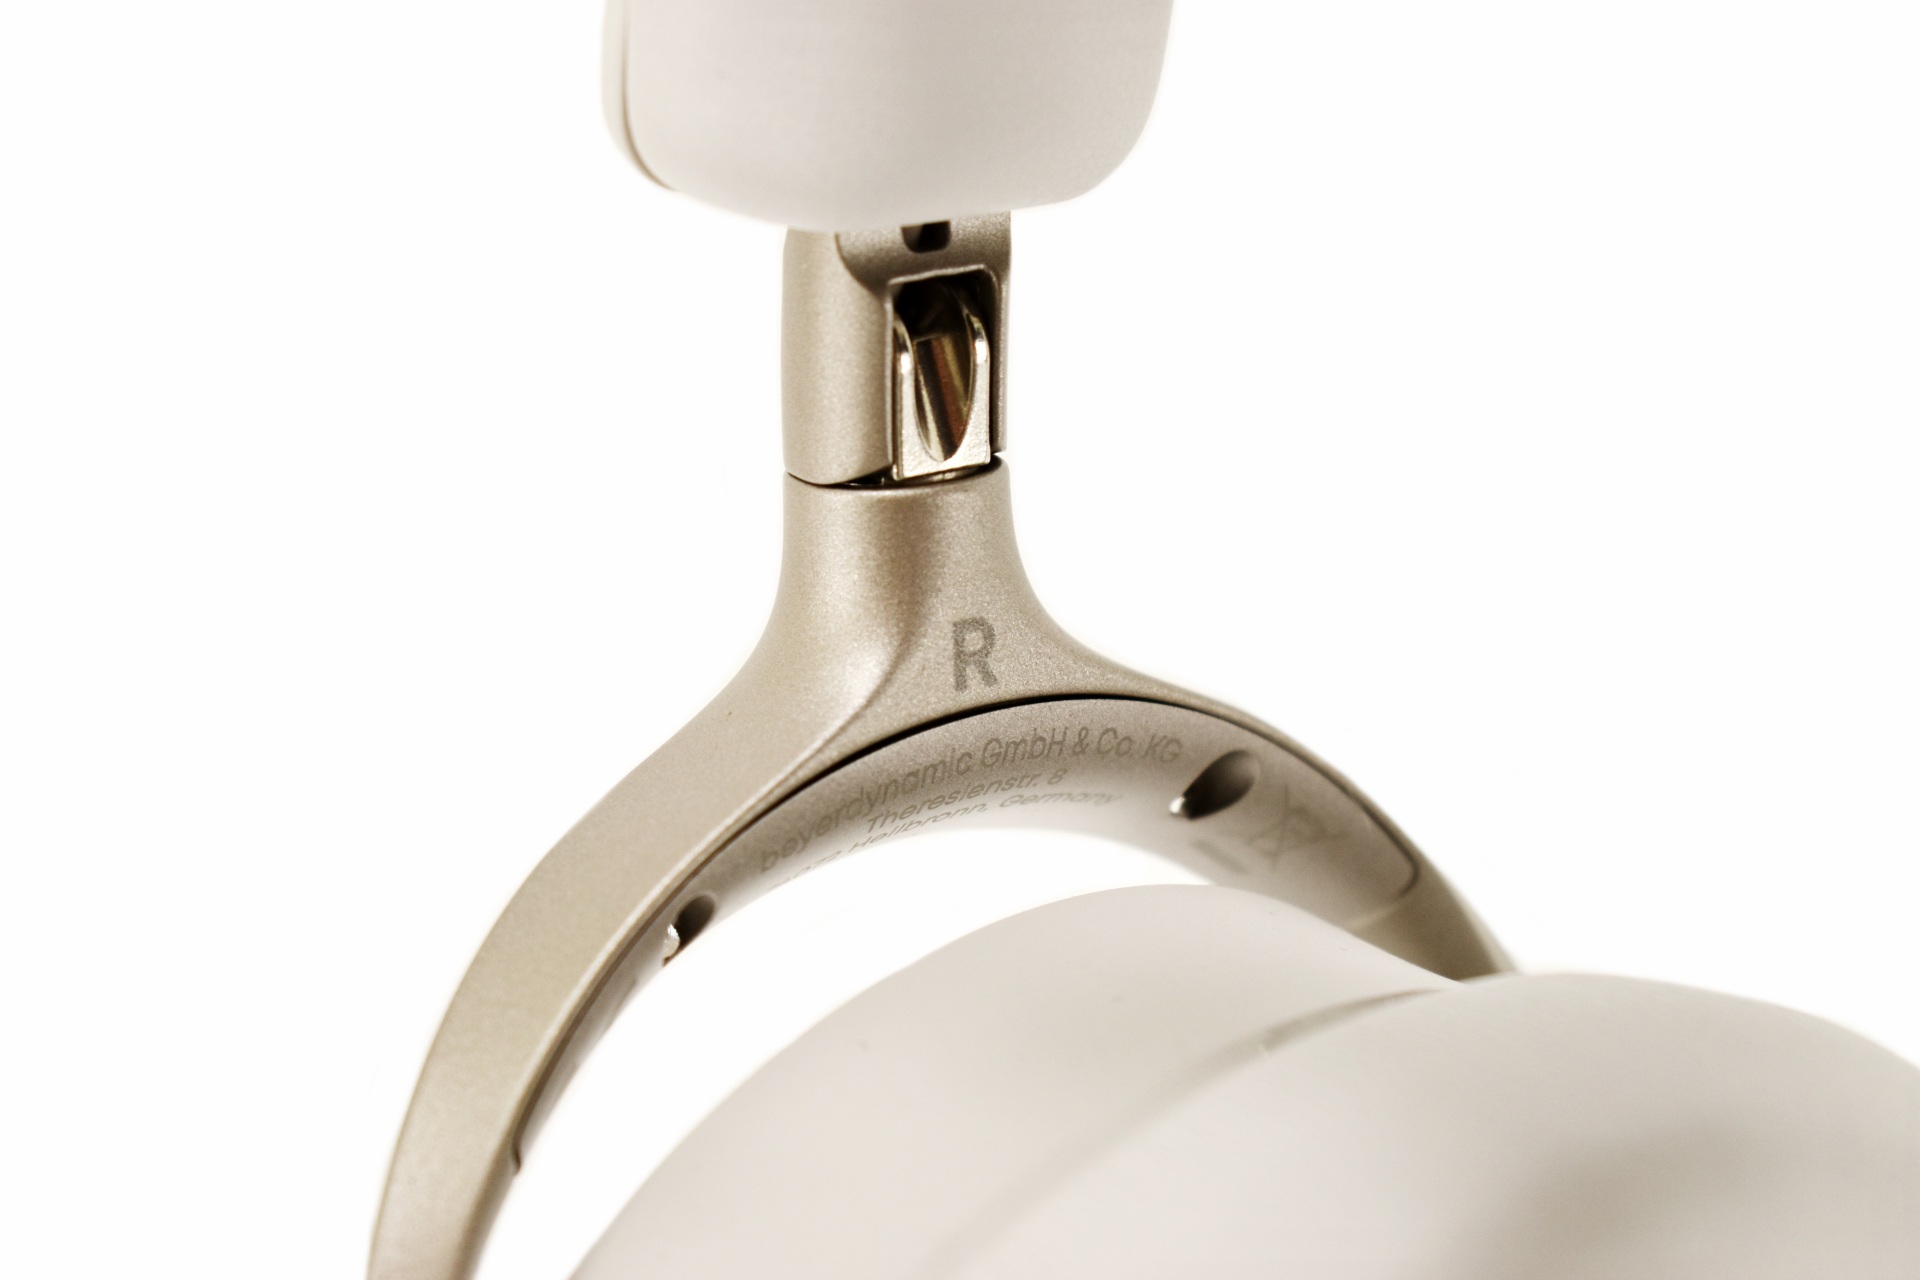
THE REVOLUTION III S 1000W EXTERIOR

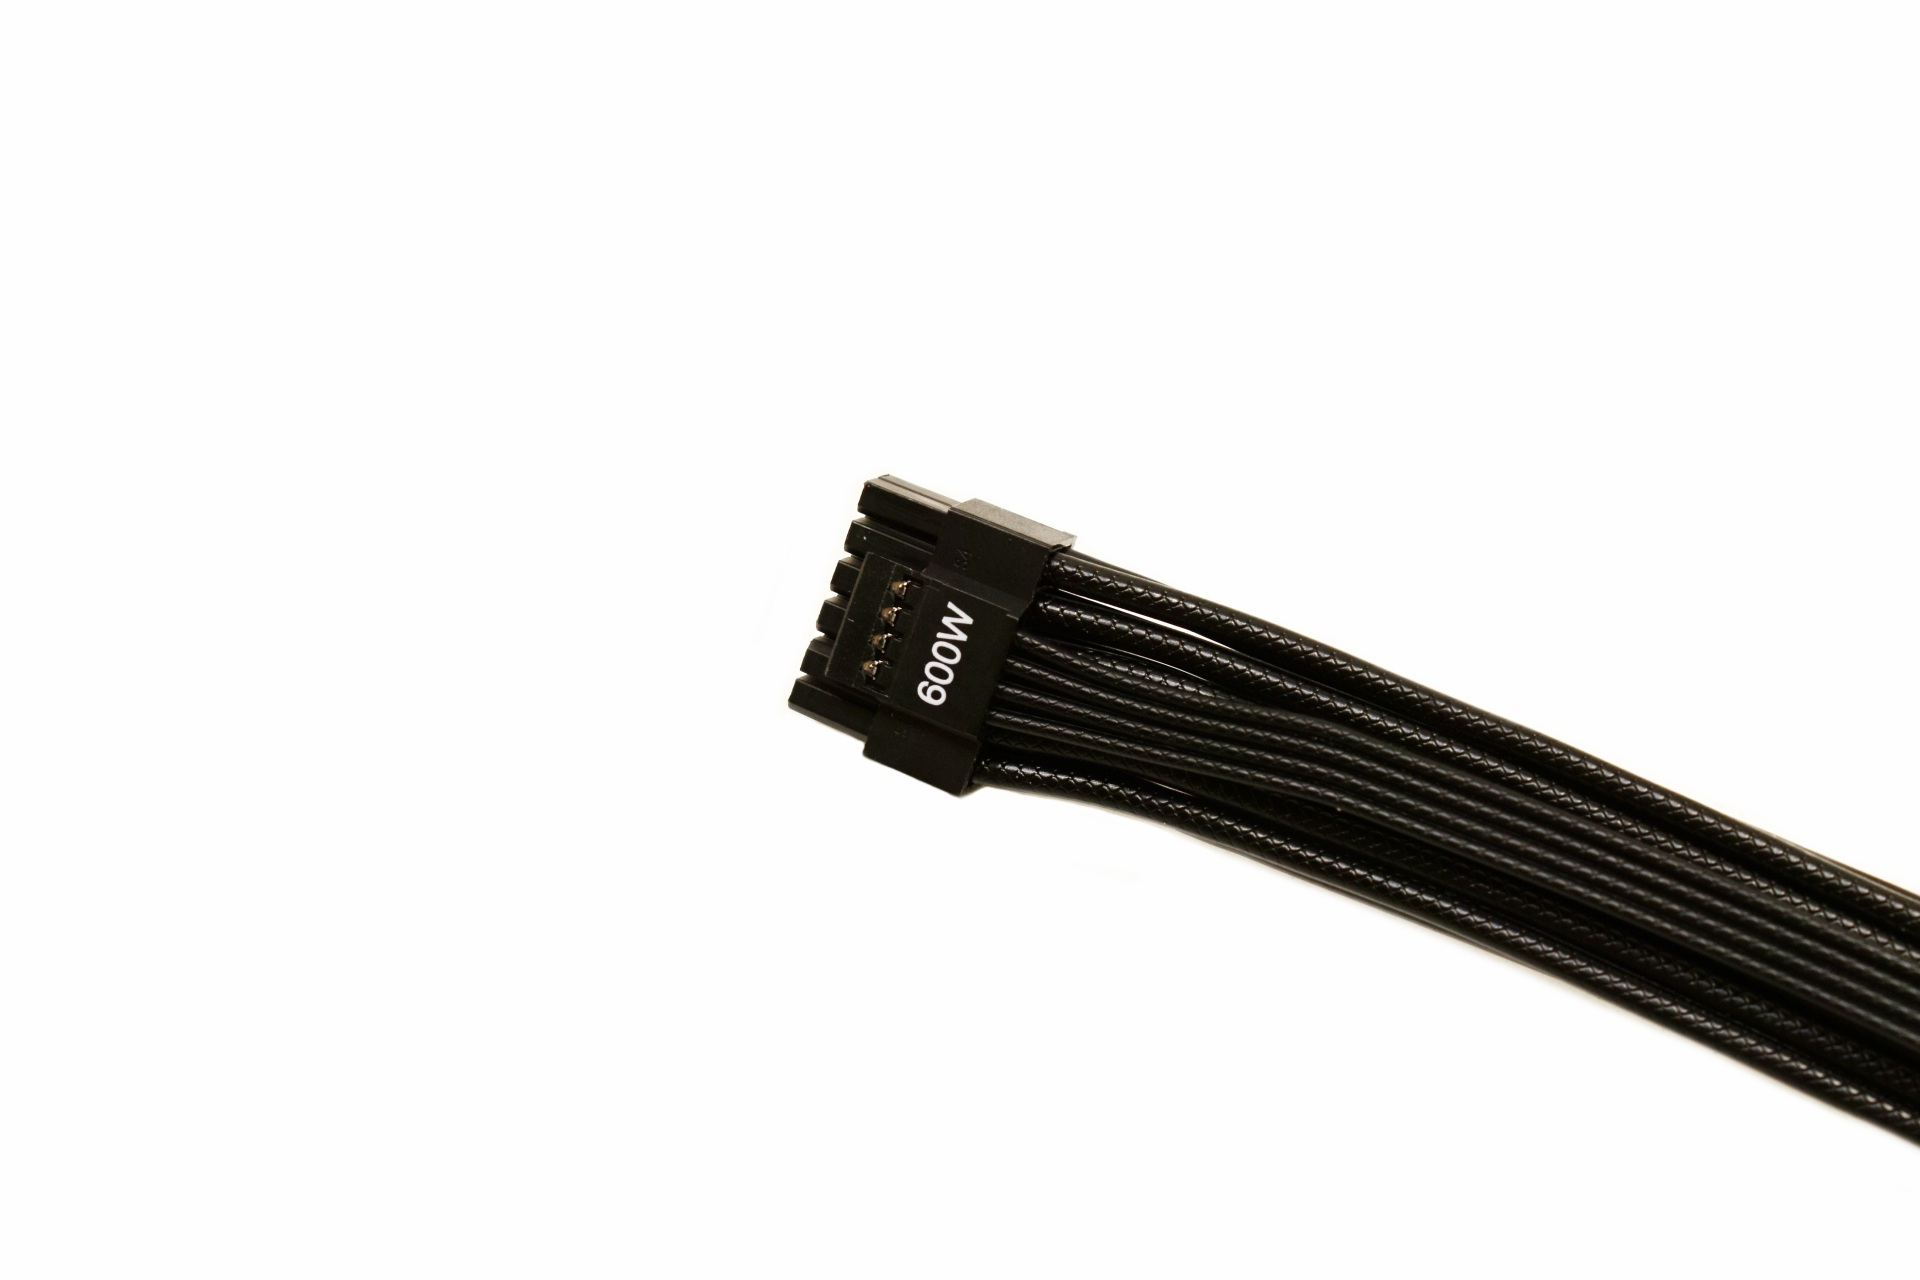
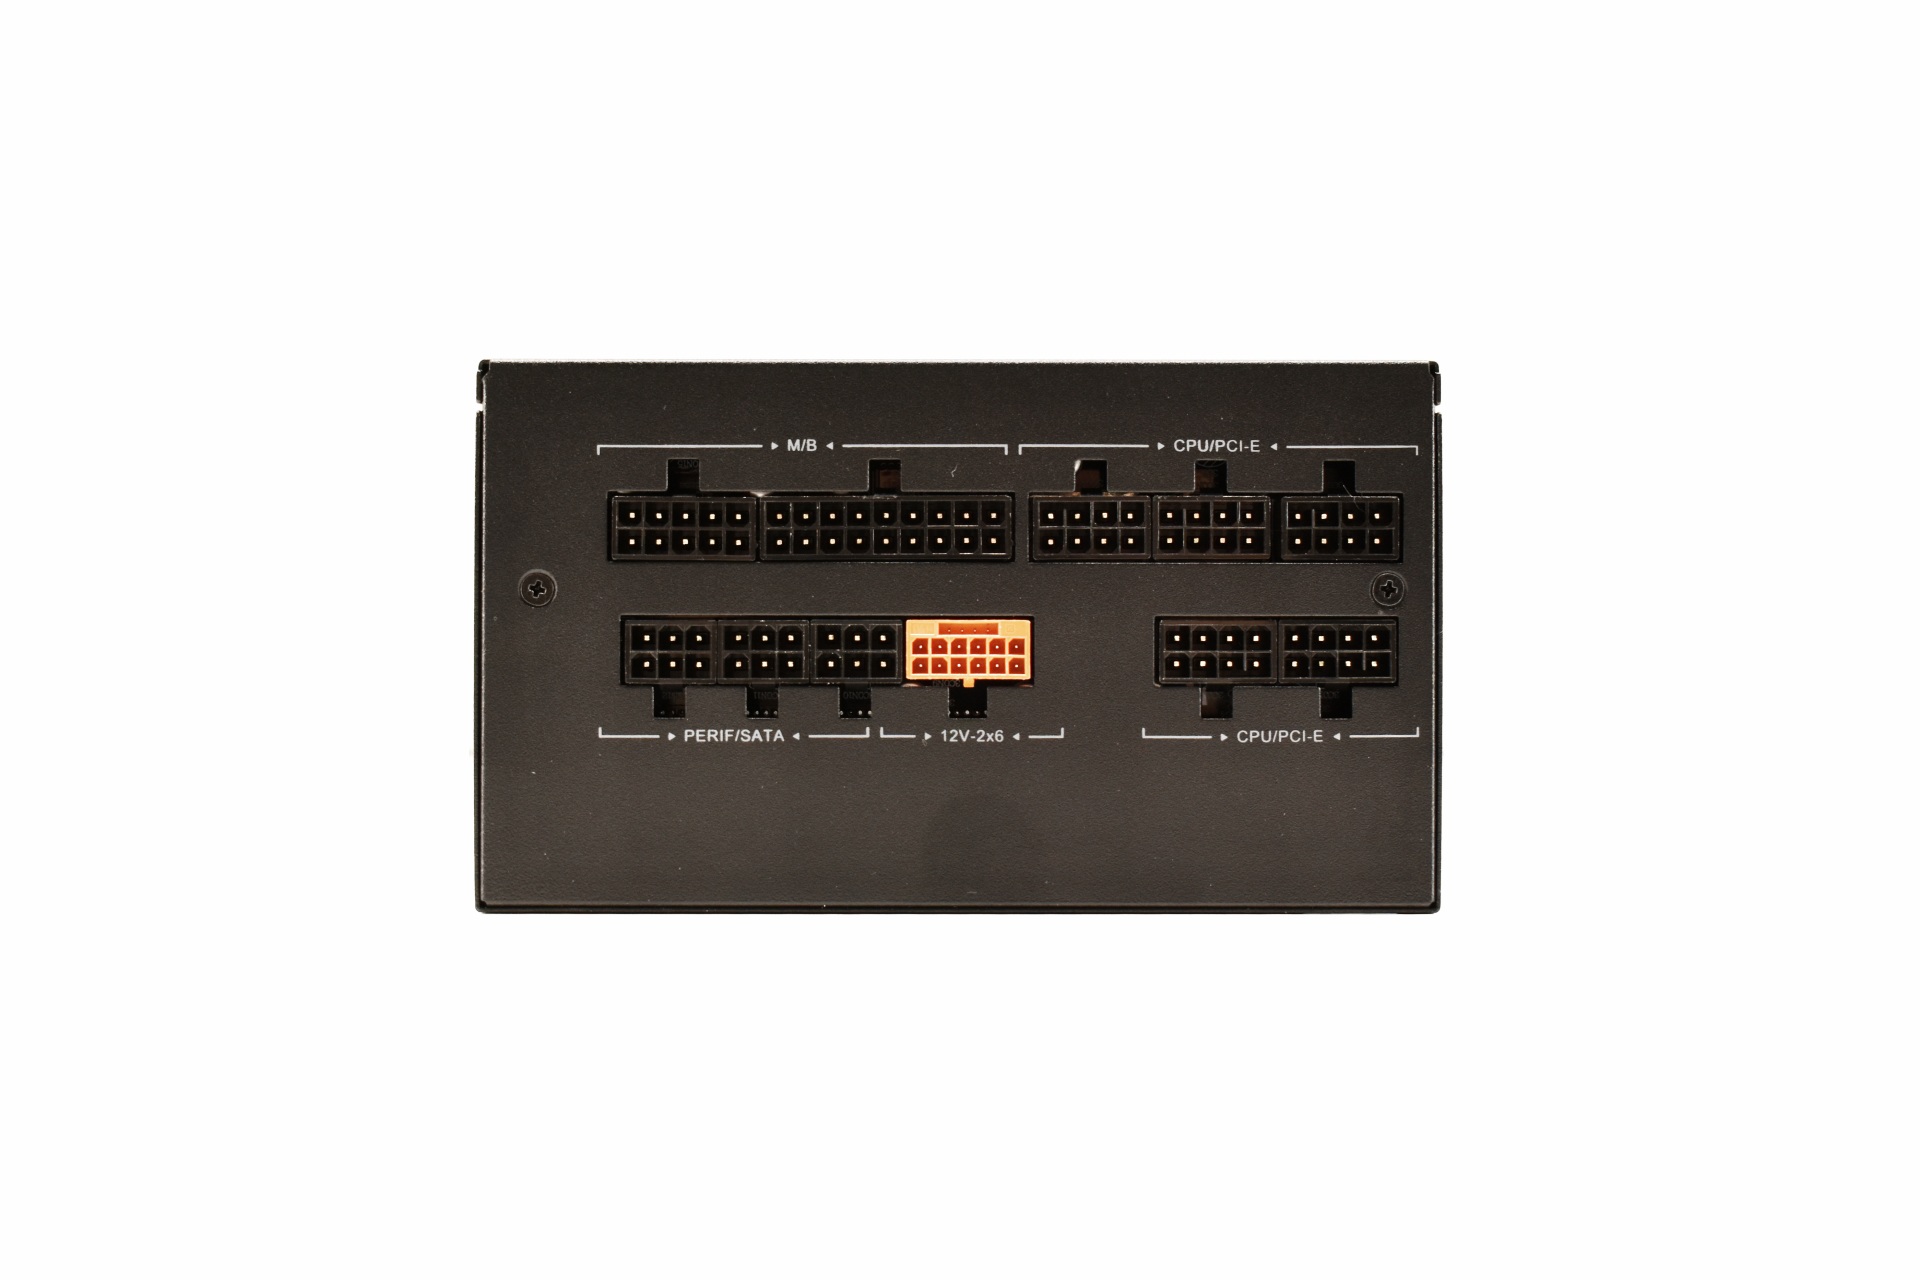
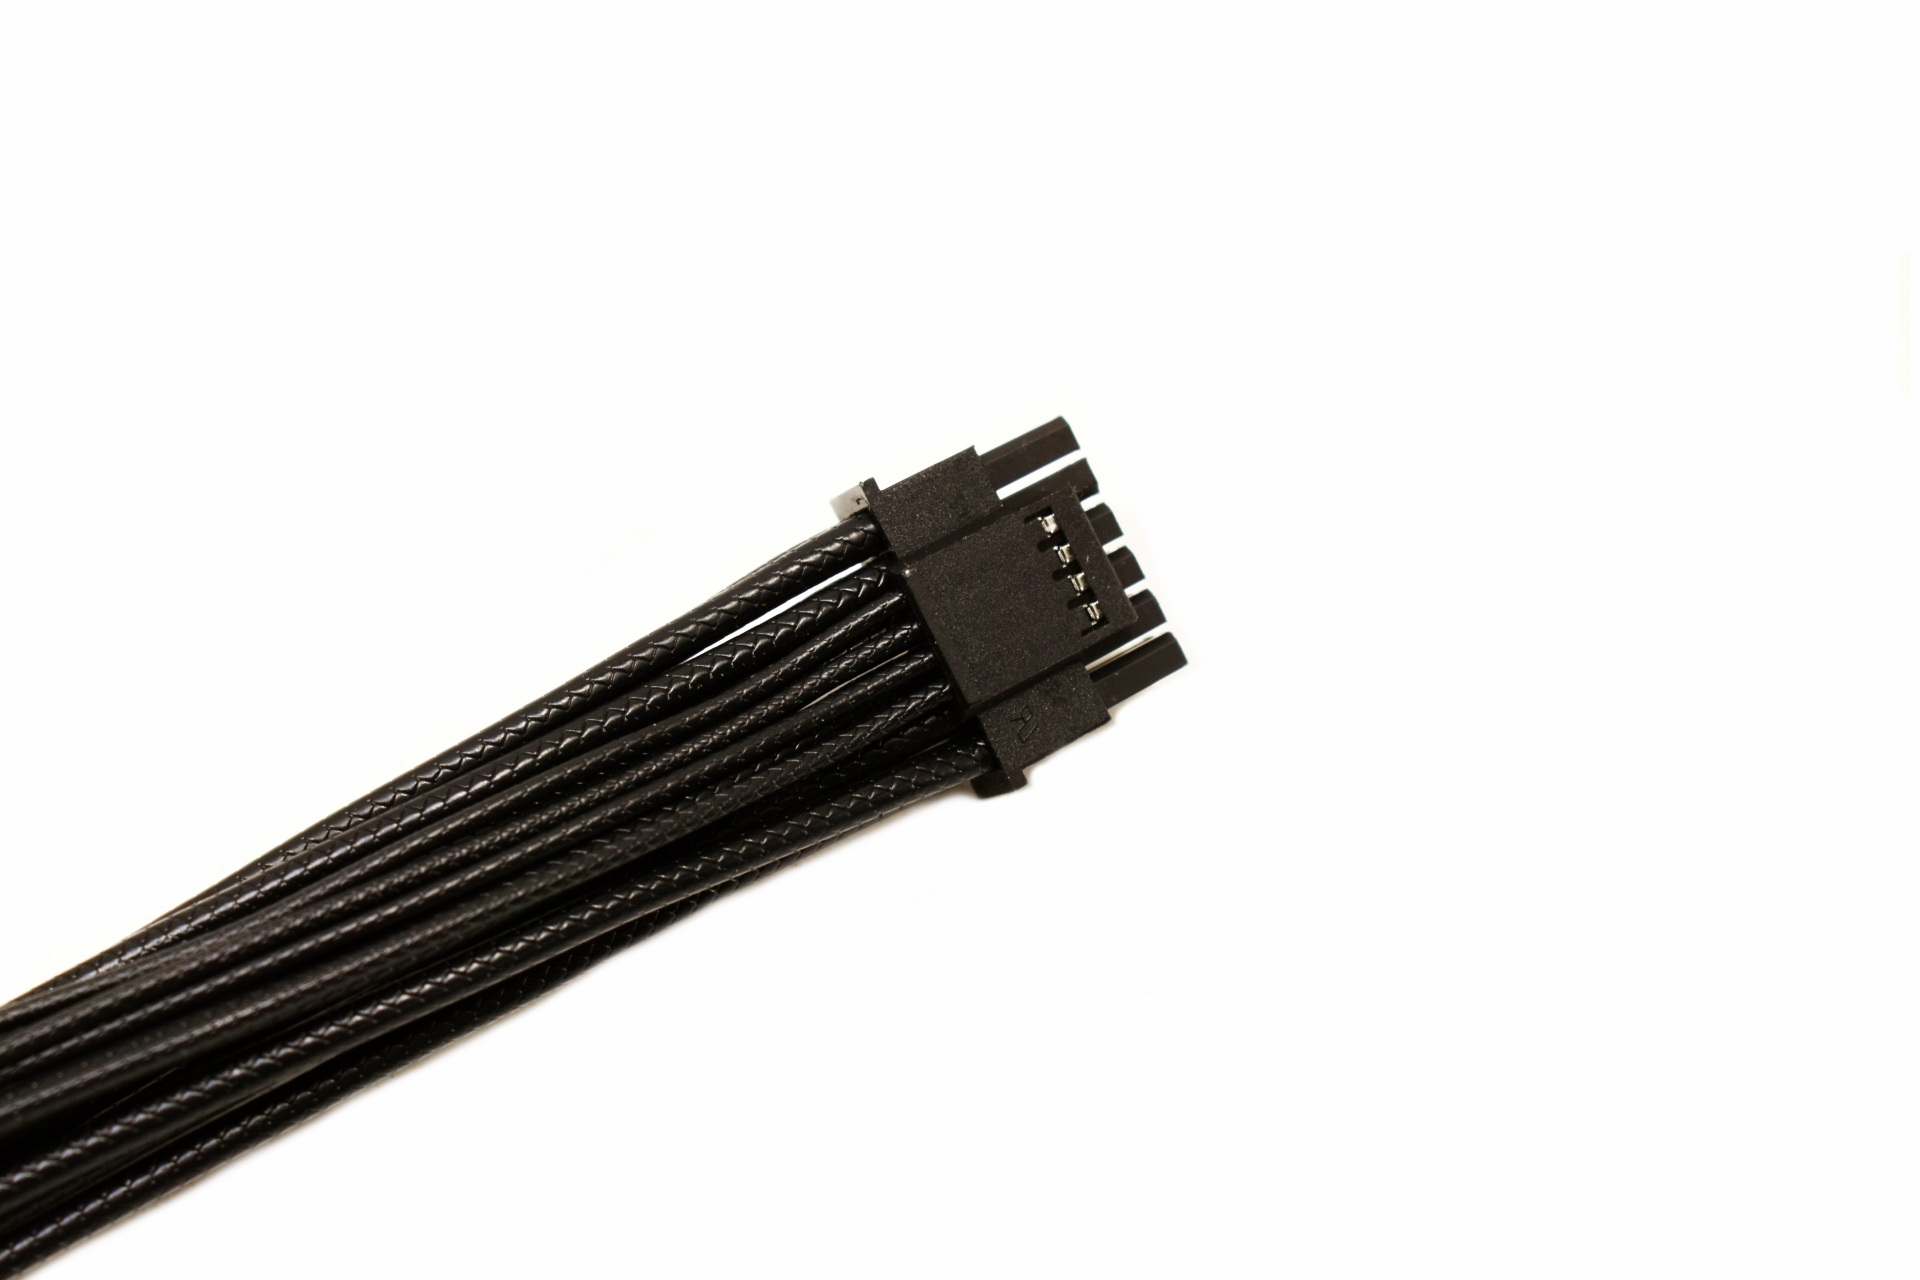
All of the cables are individually braided, including the 12V-2X6 600W connector.

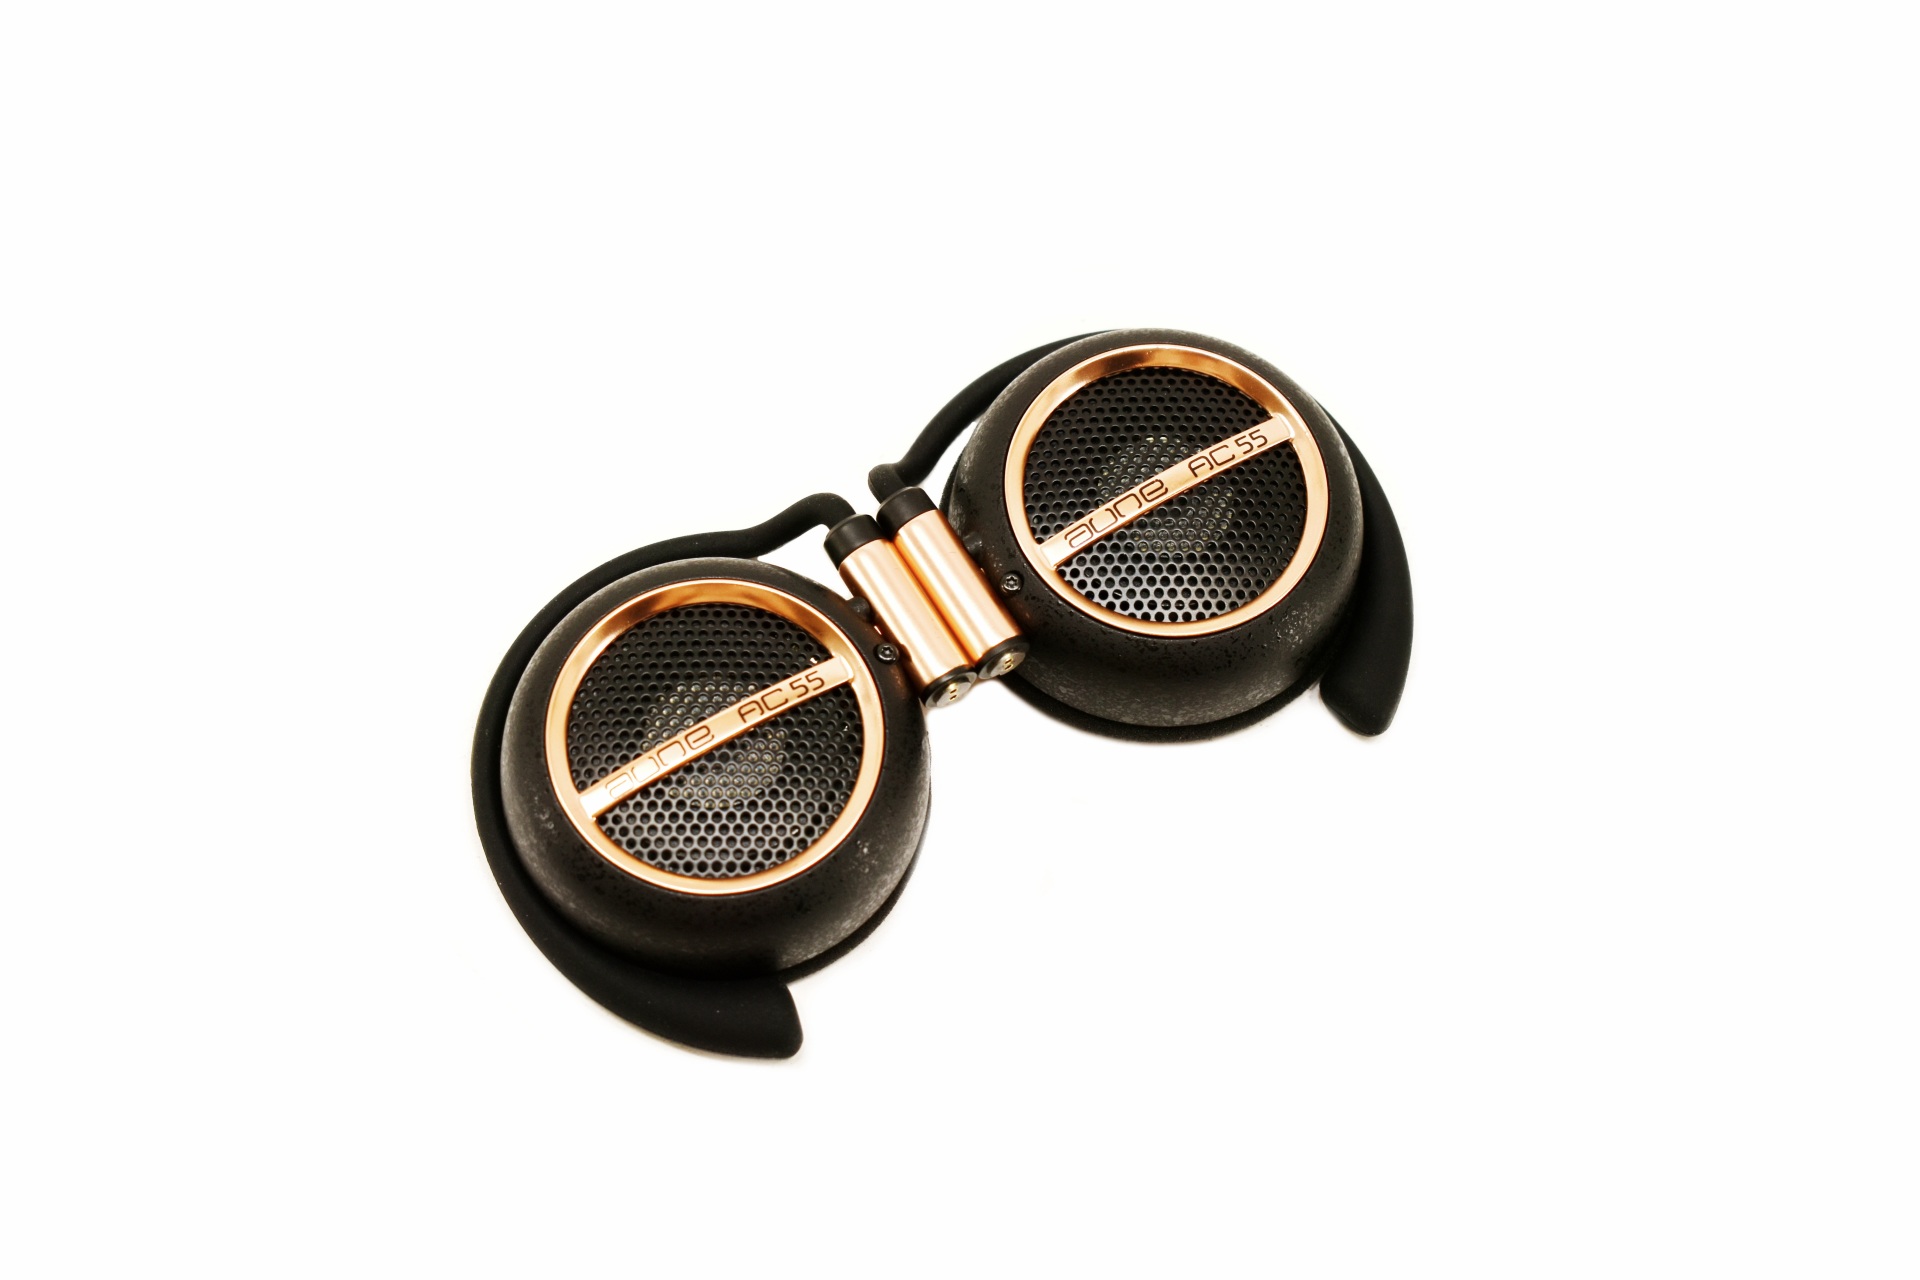
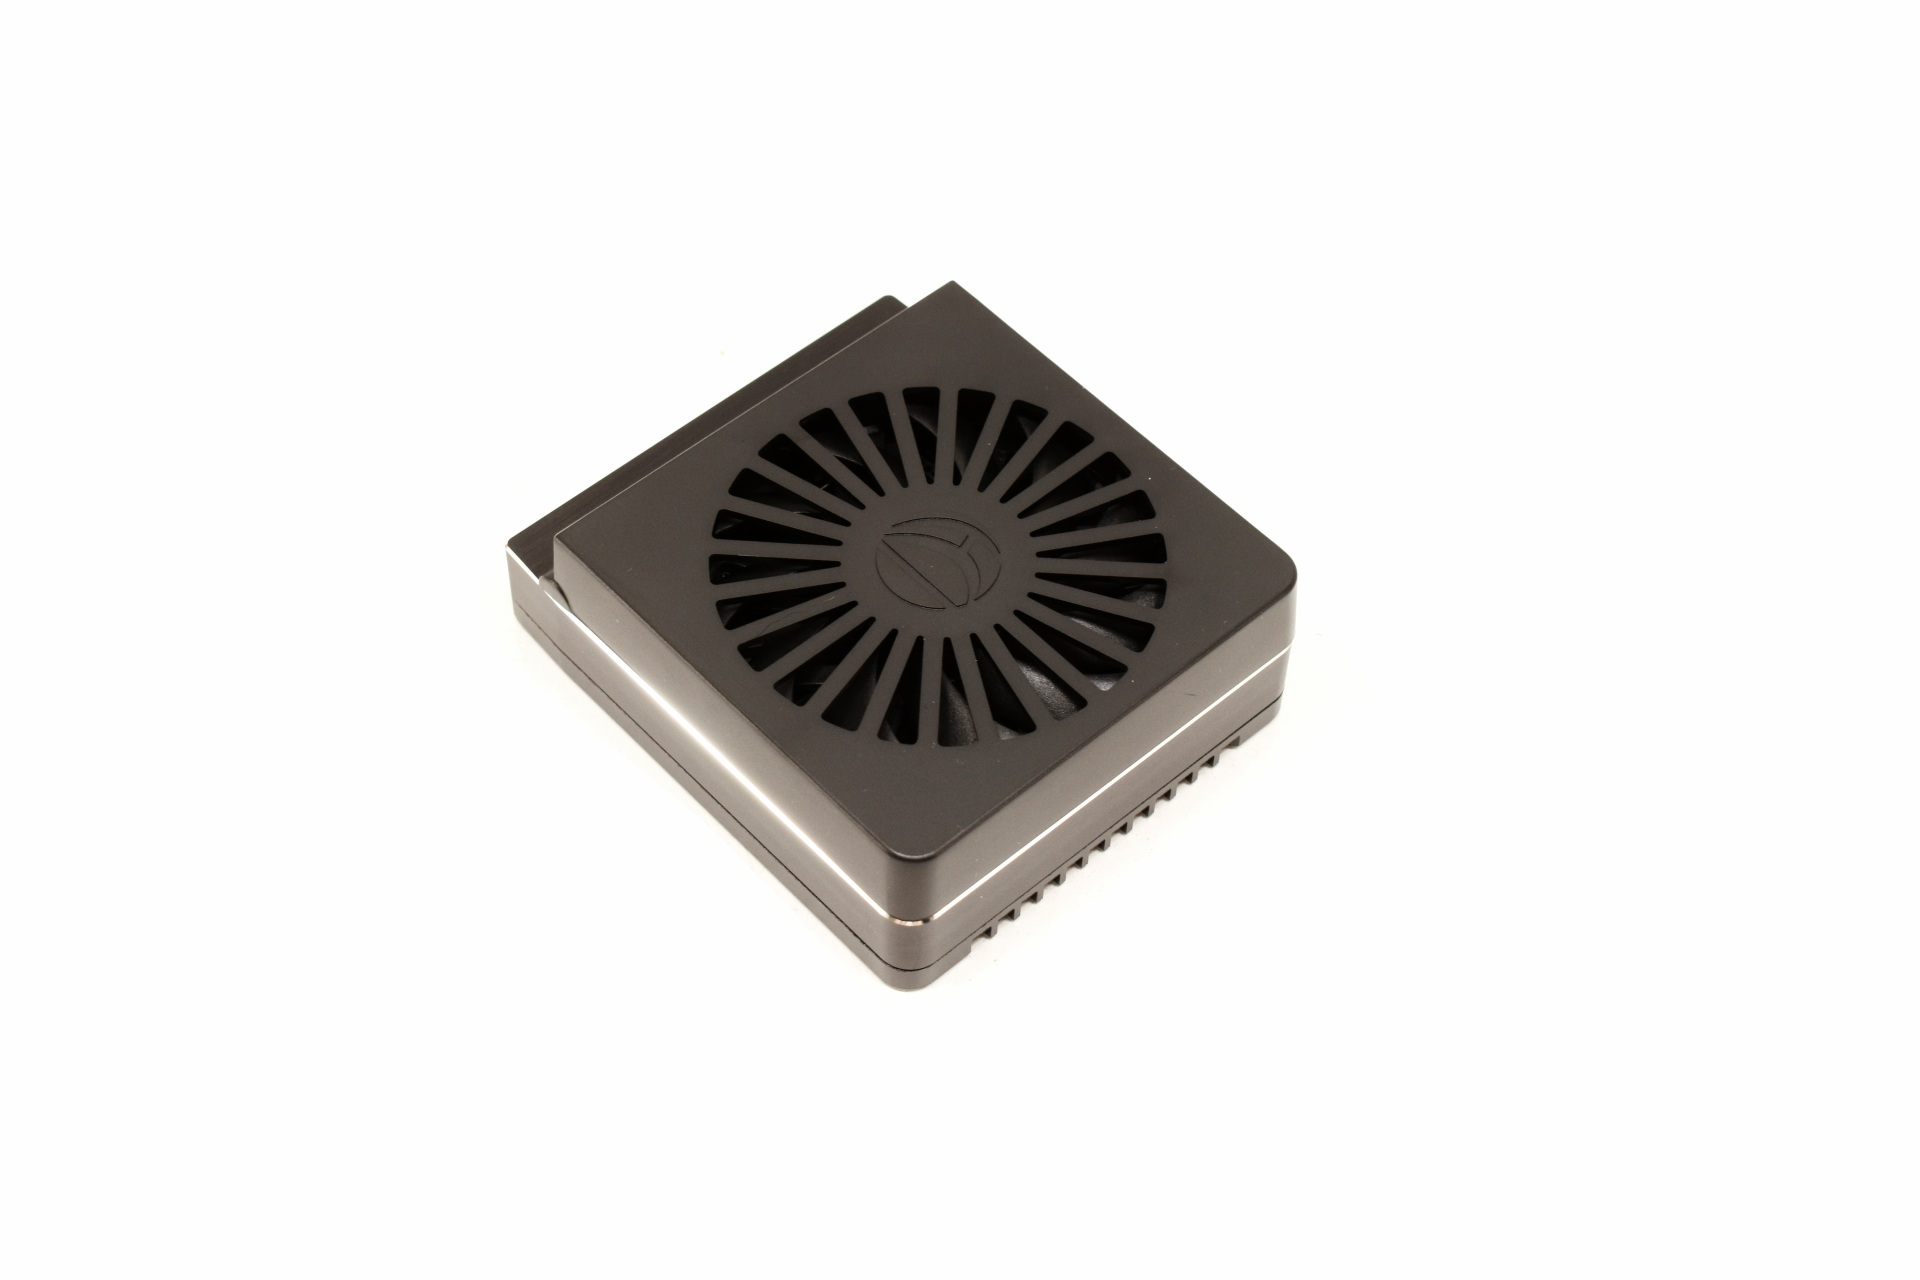
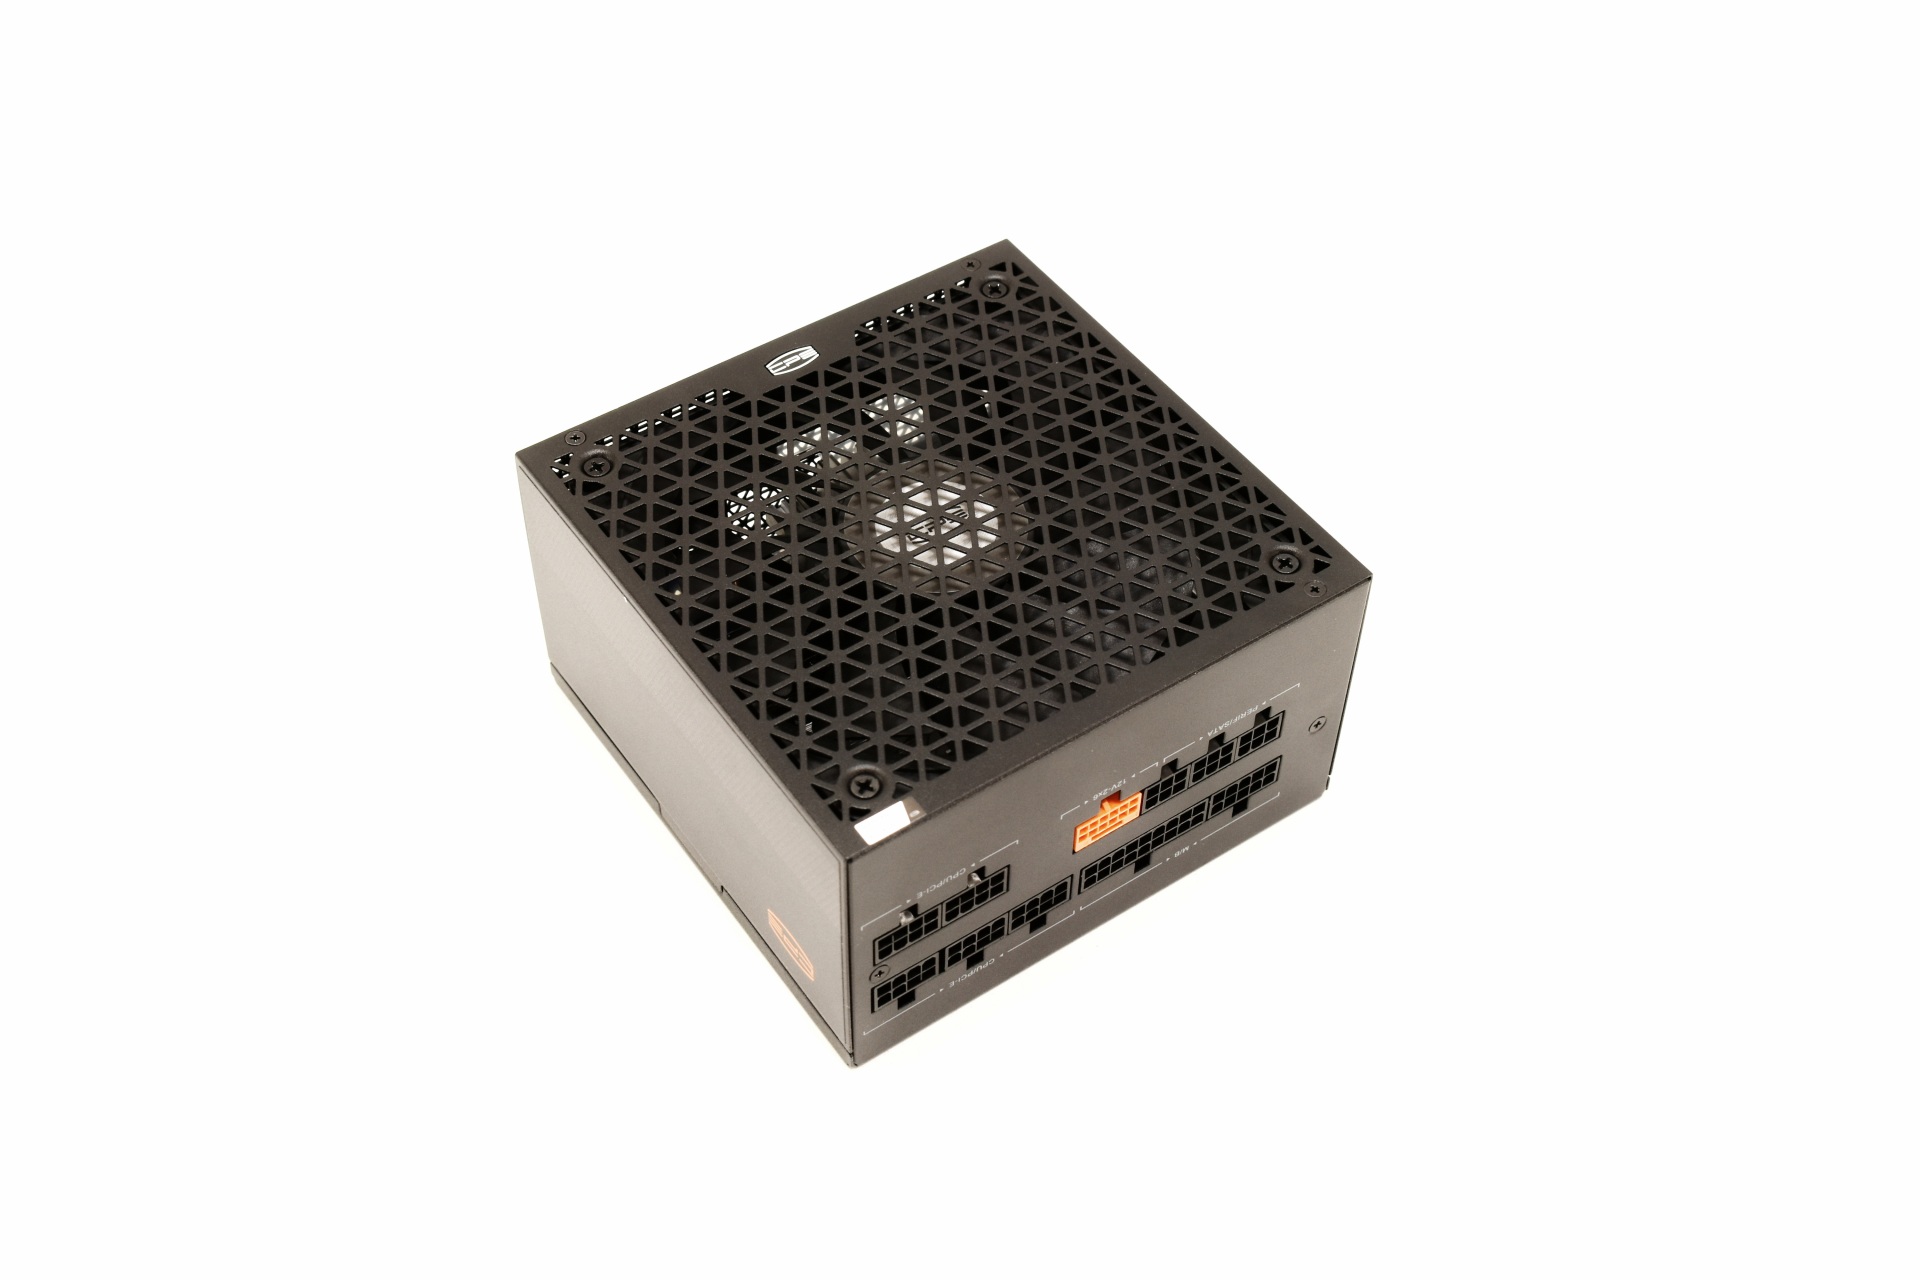
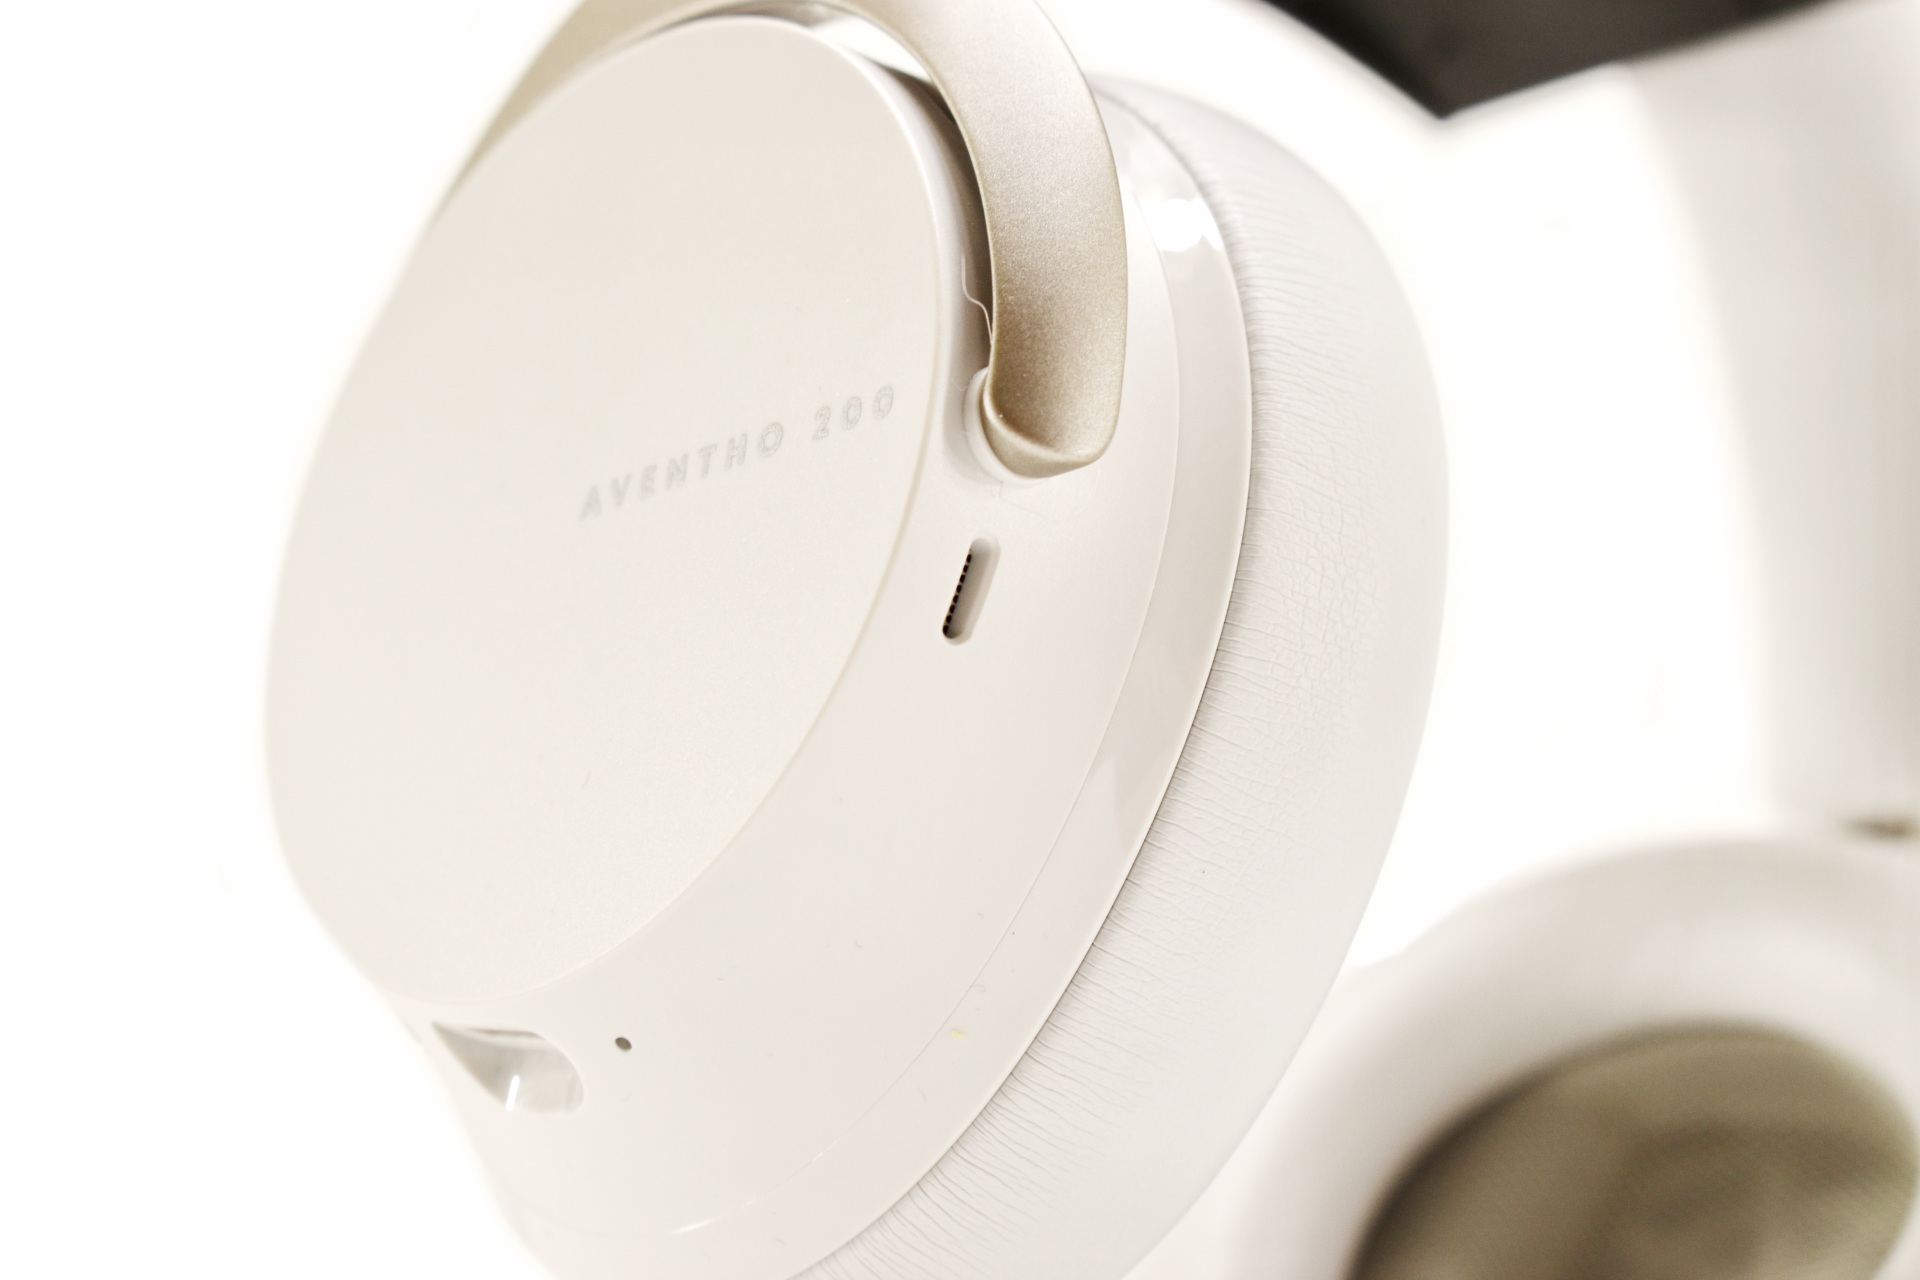
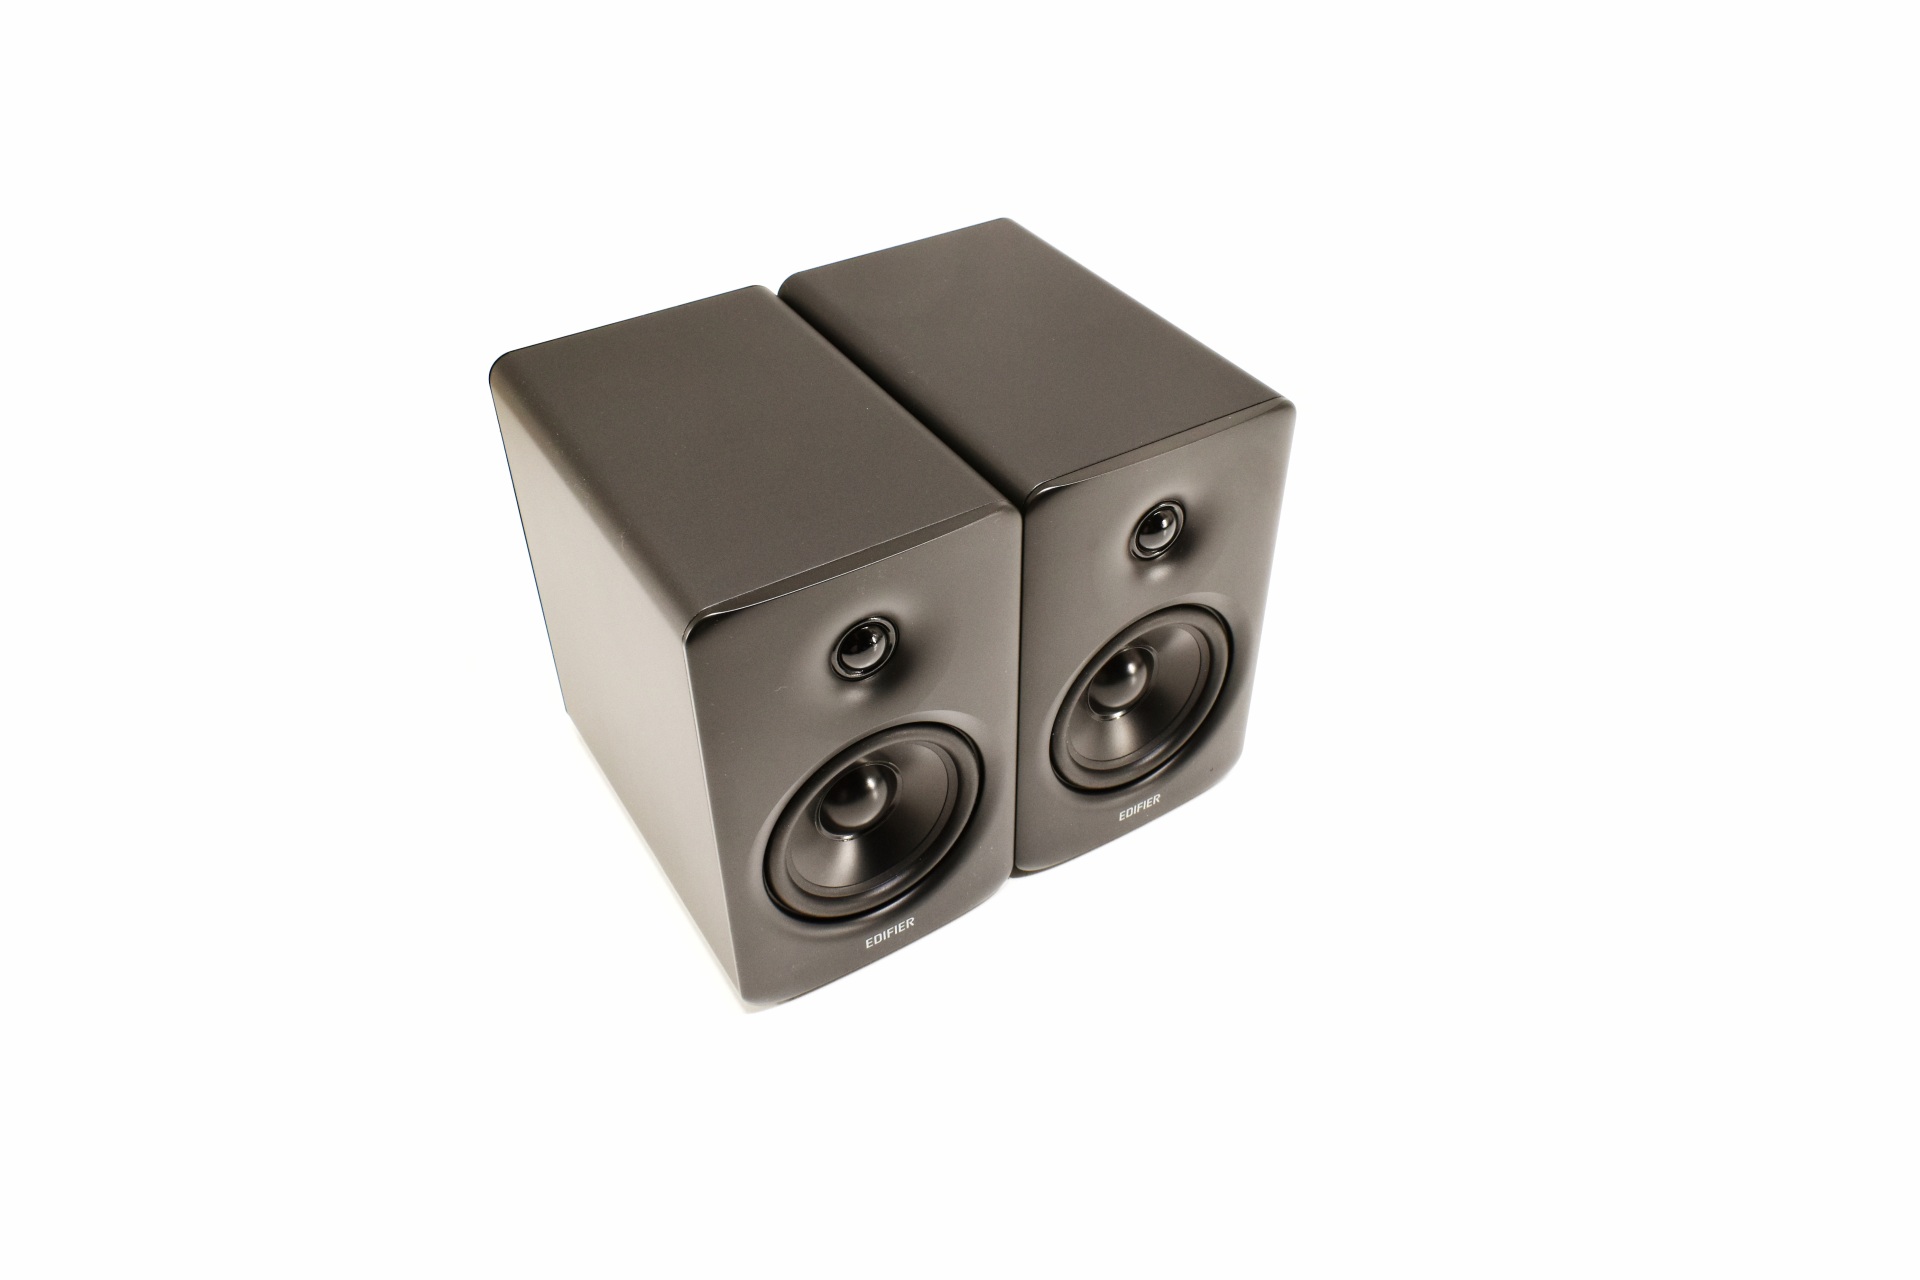
Just like many other compact PSUs currently the Revolution III S 1000W measures only 150mm in width, 140mm in length and 86mm in height.

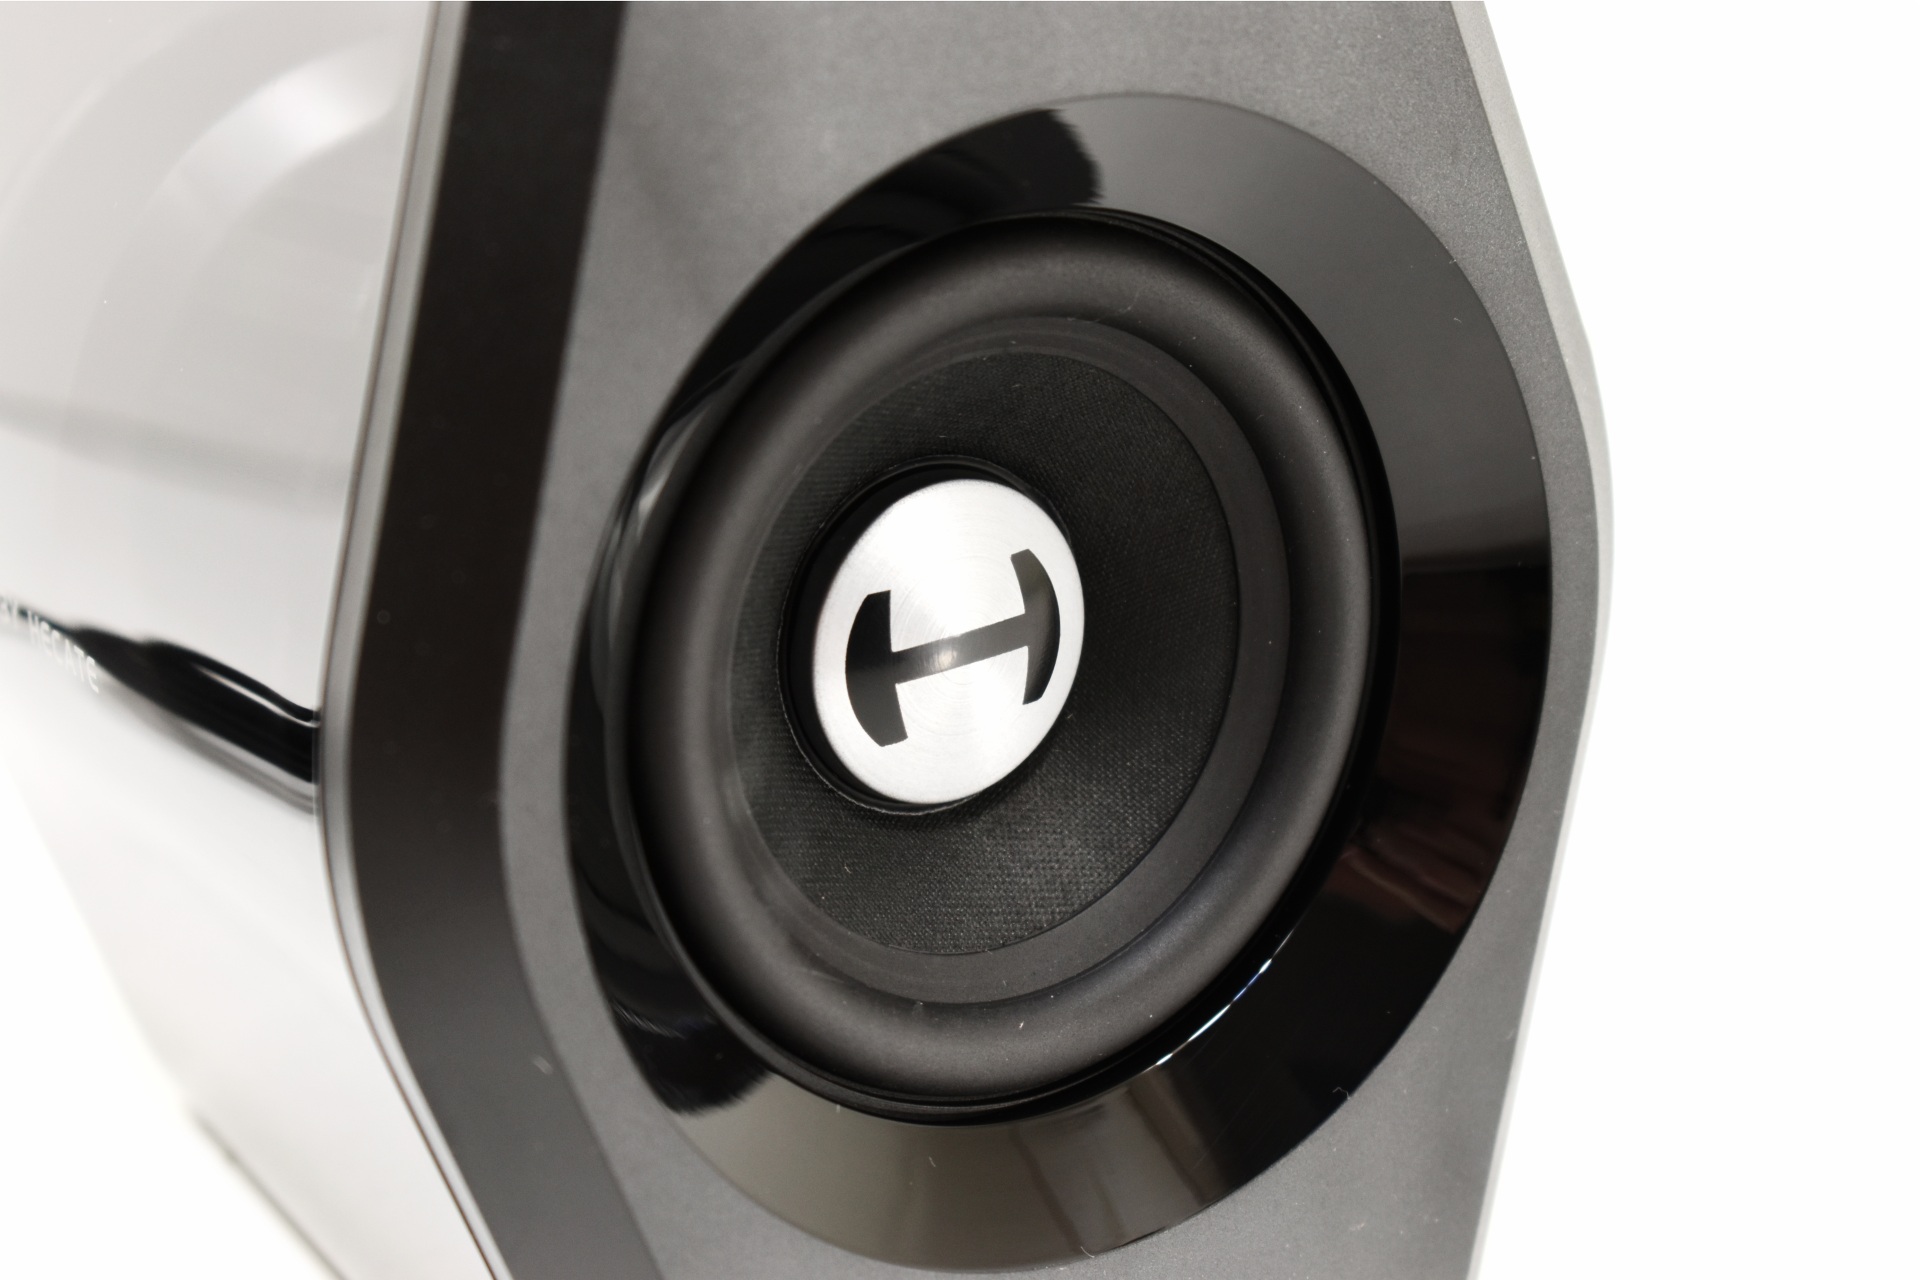
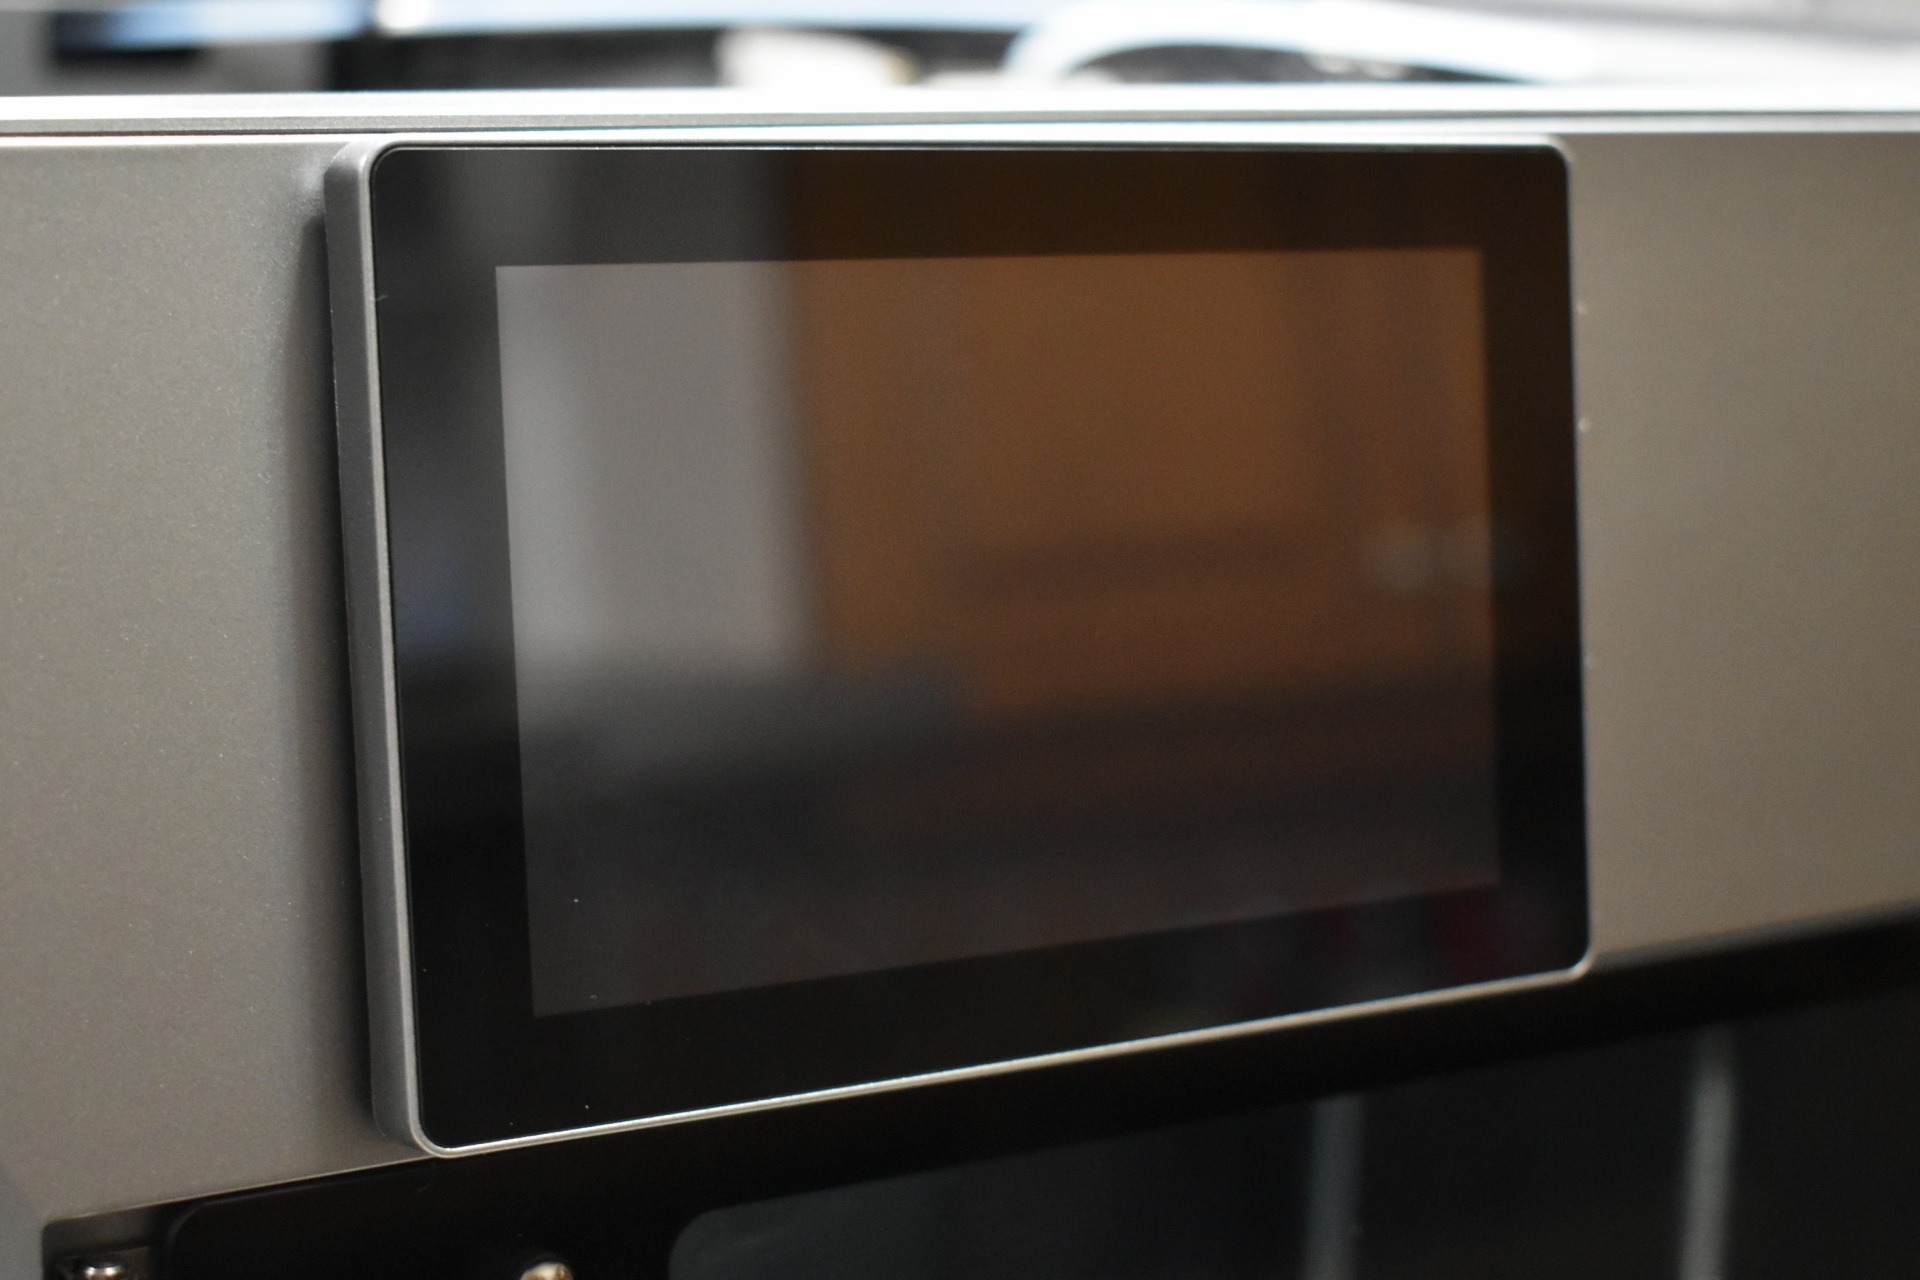
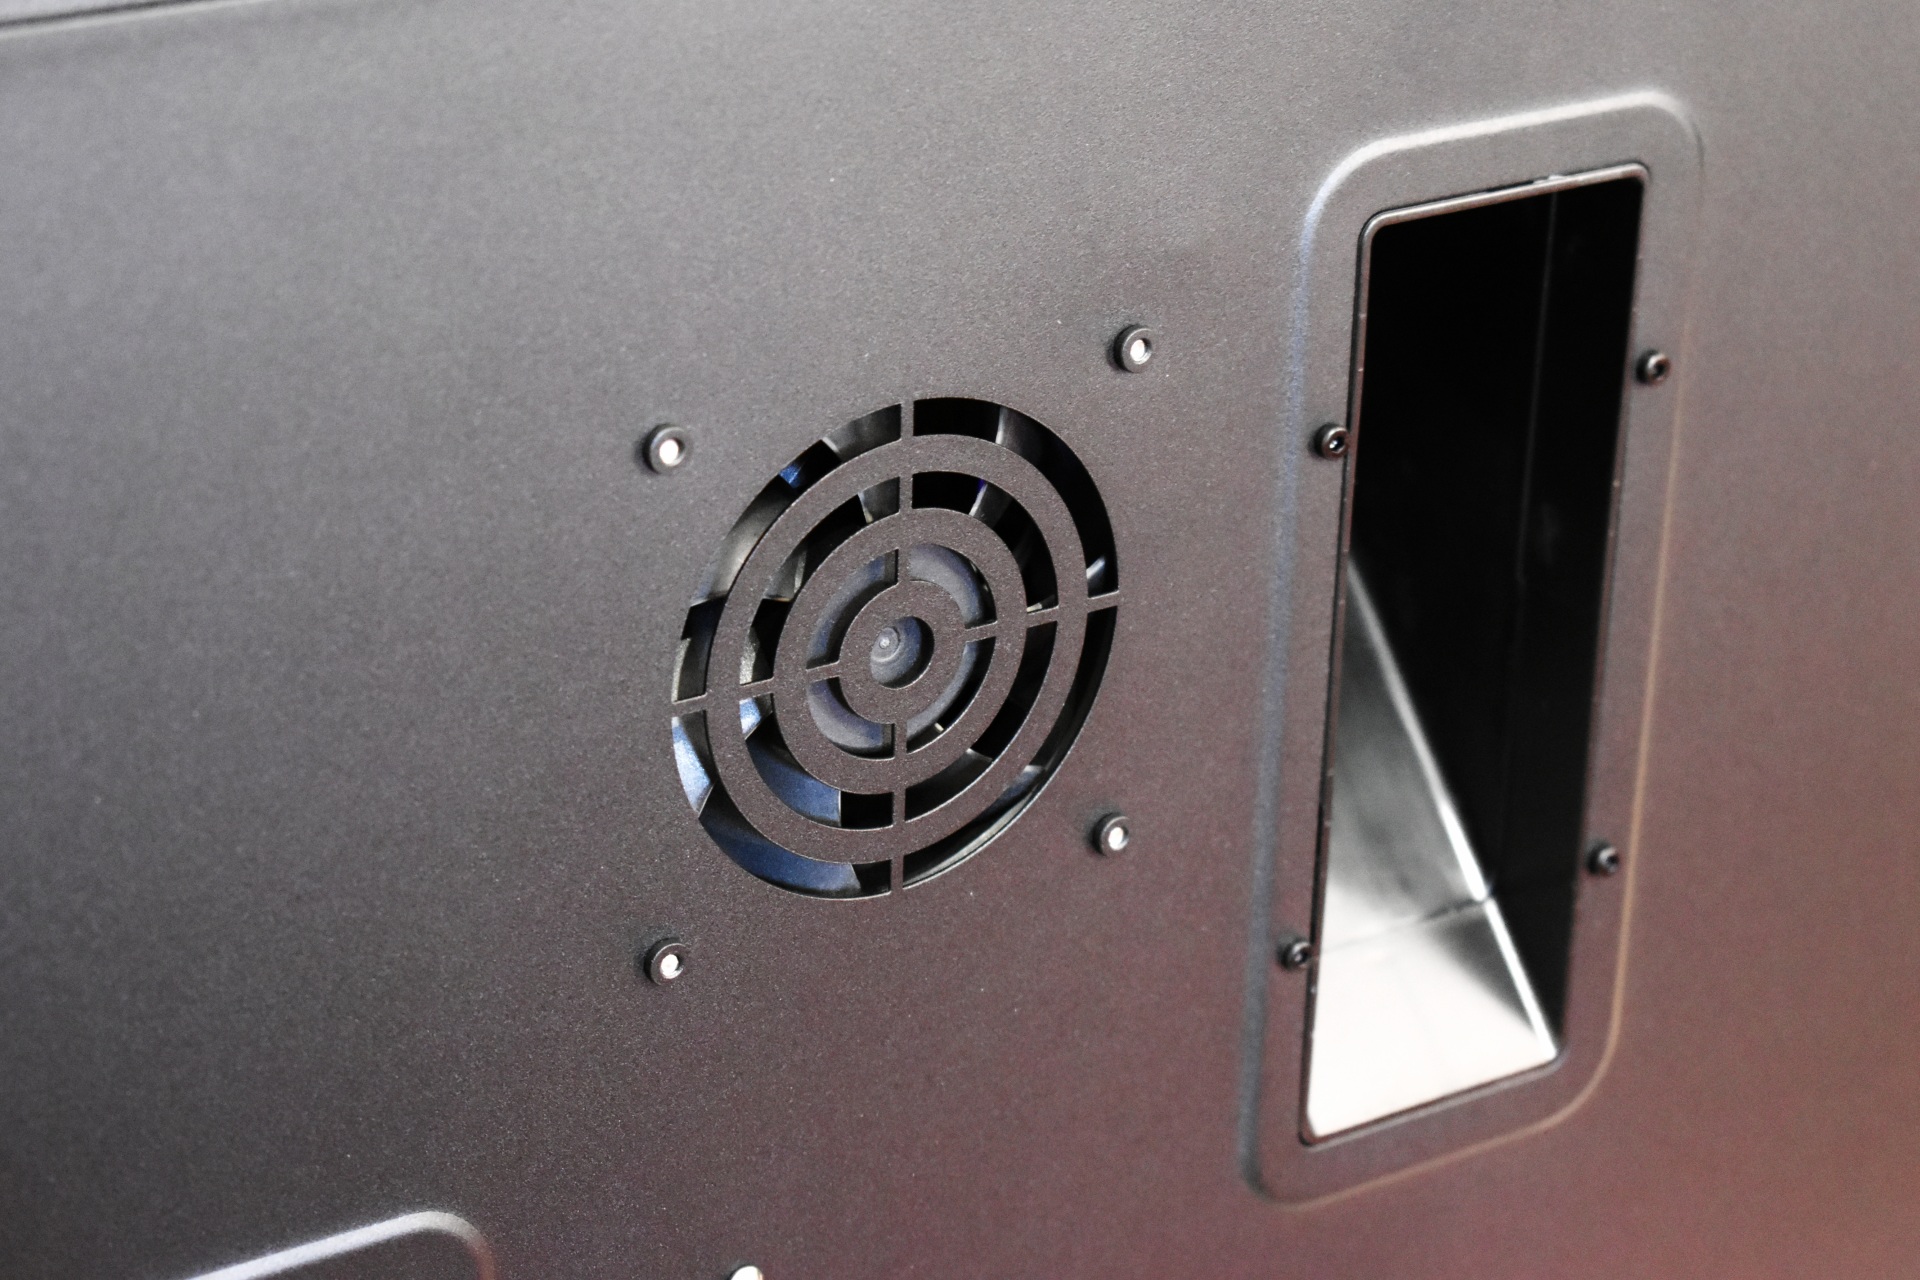
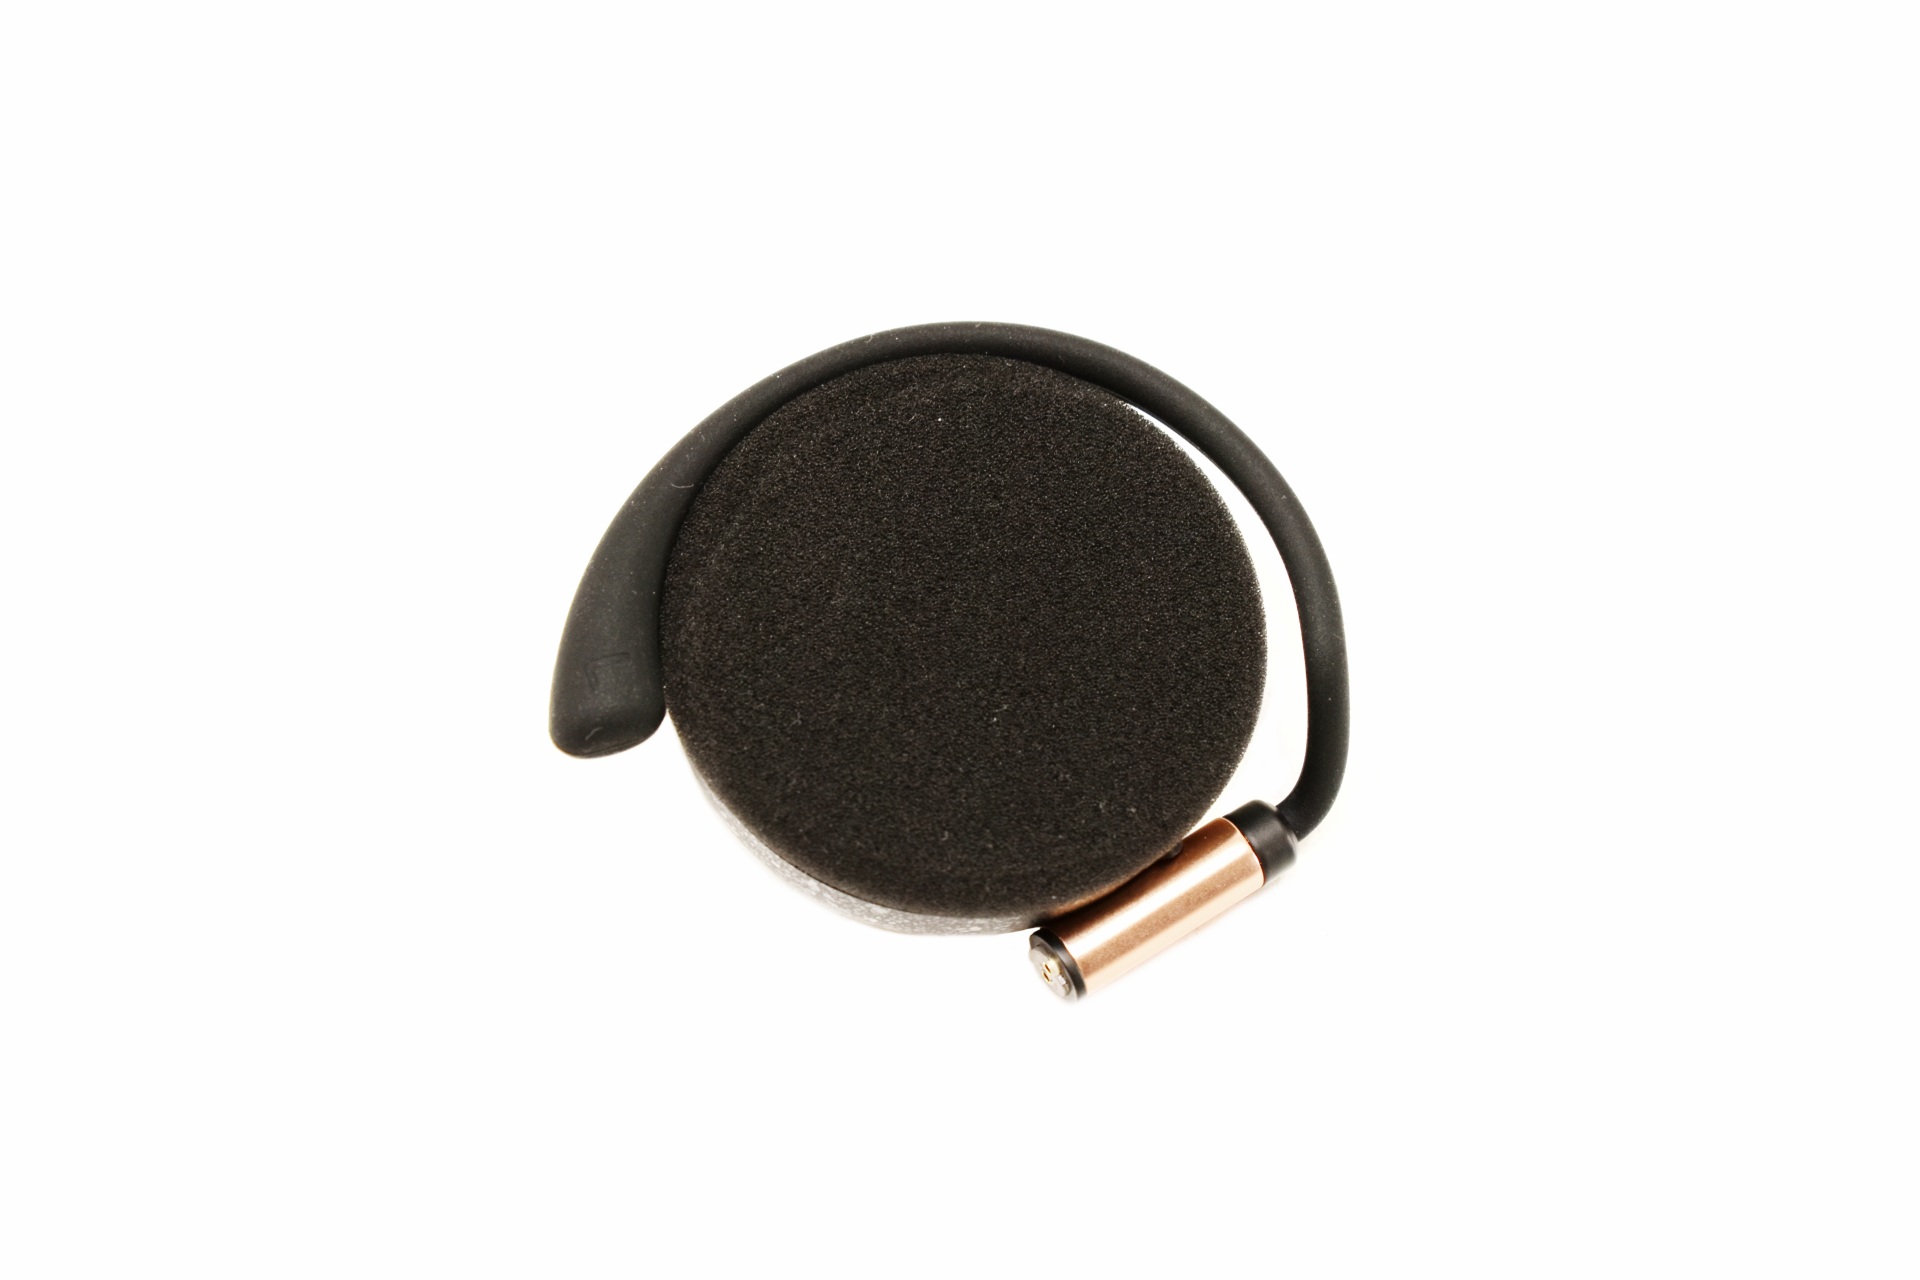
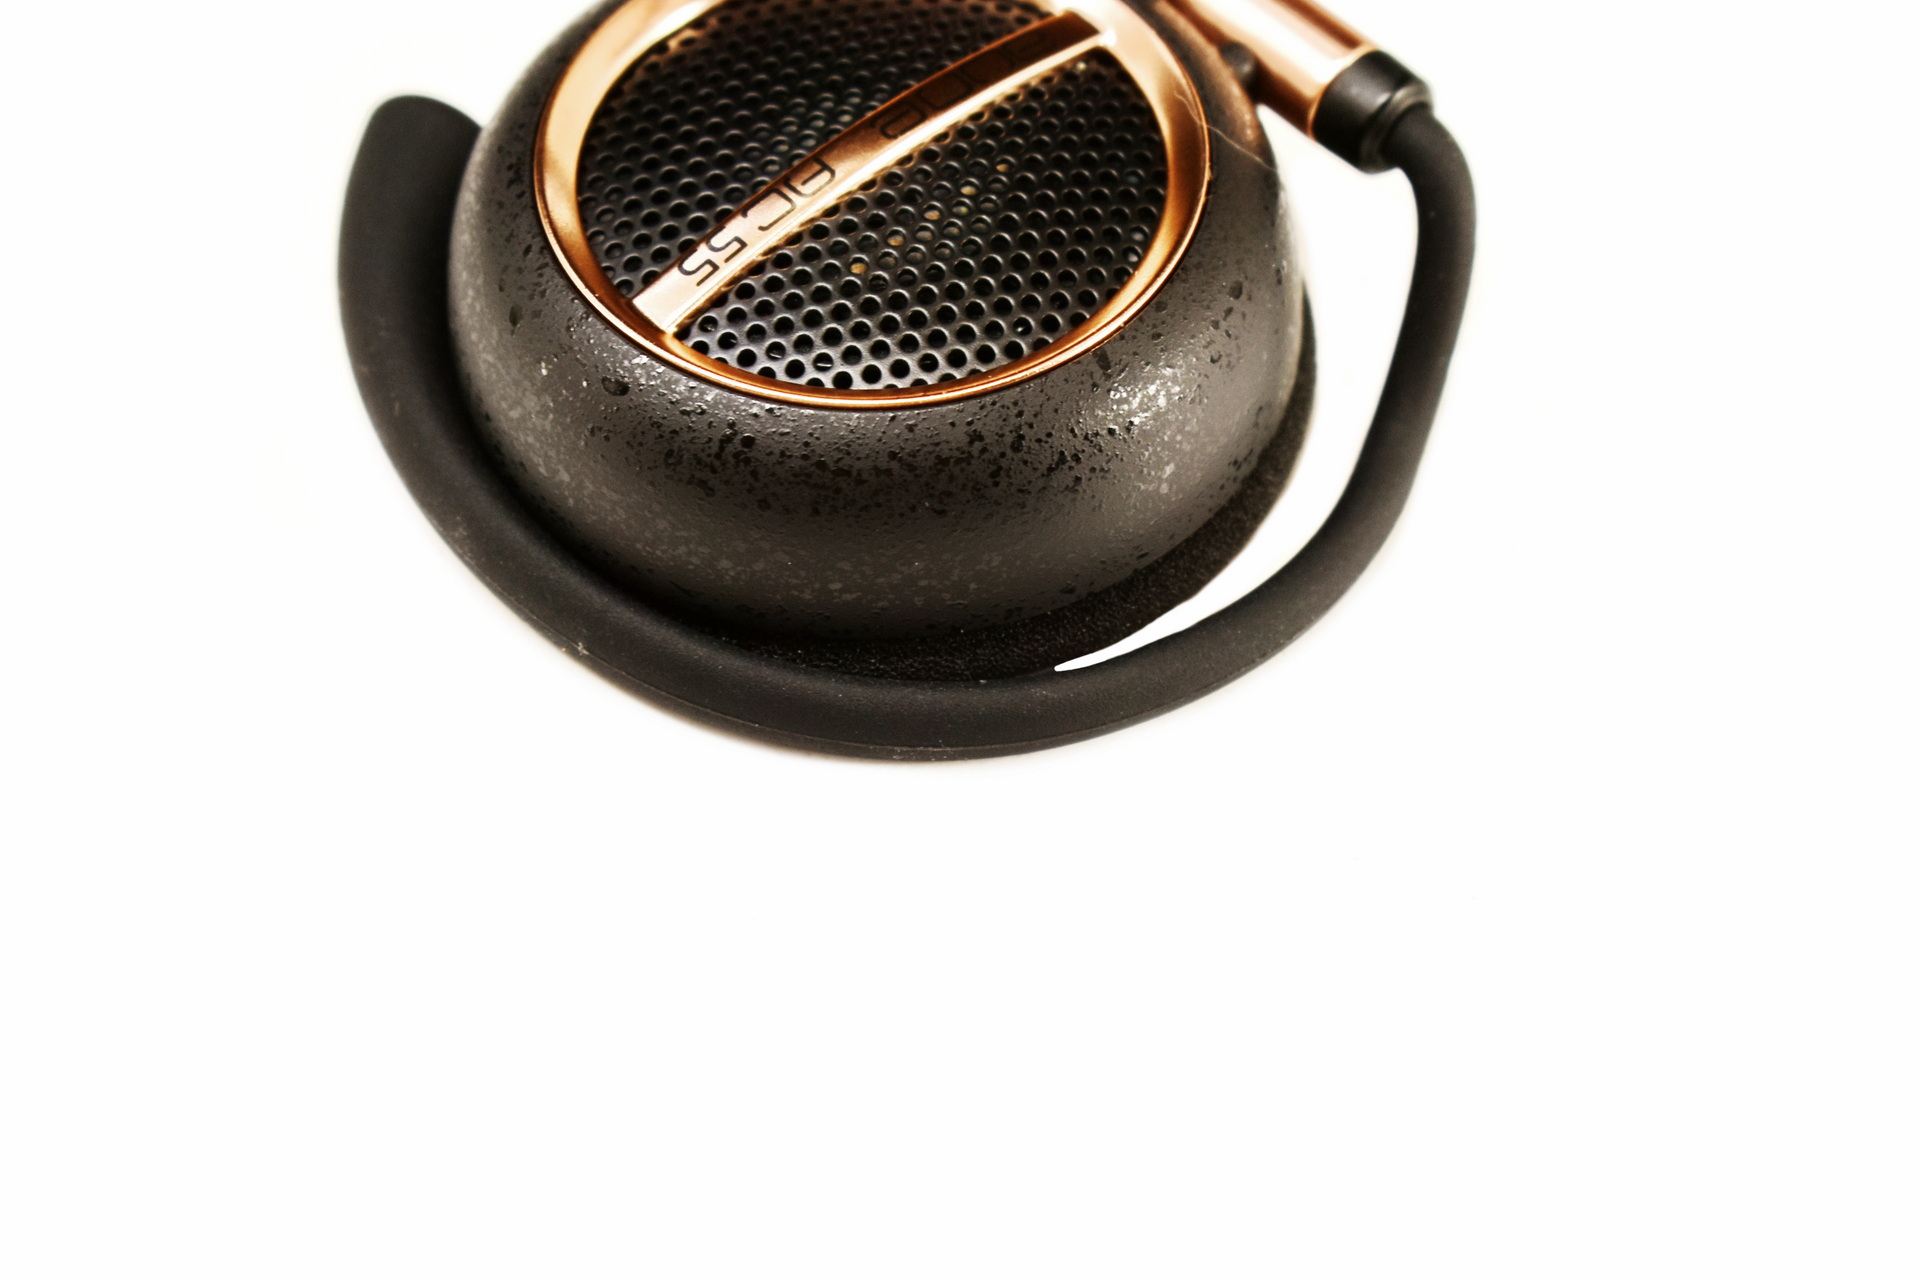
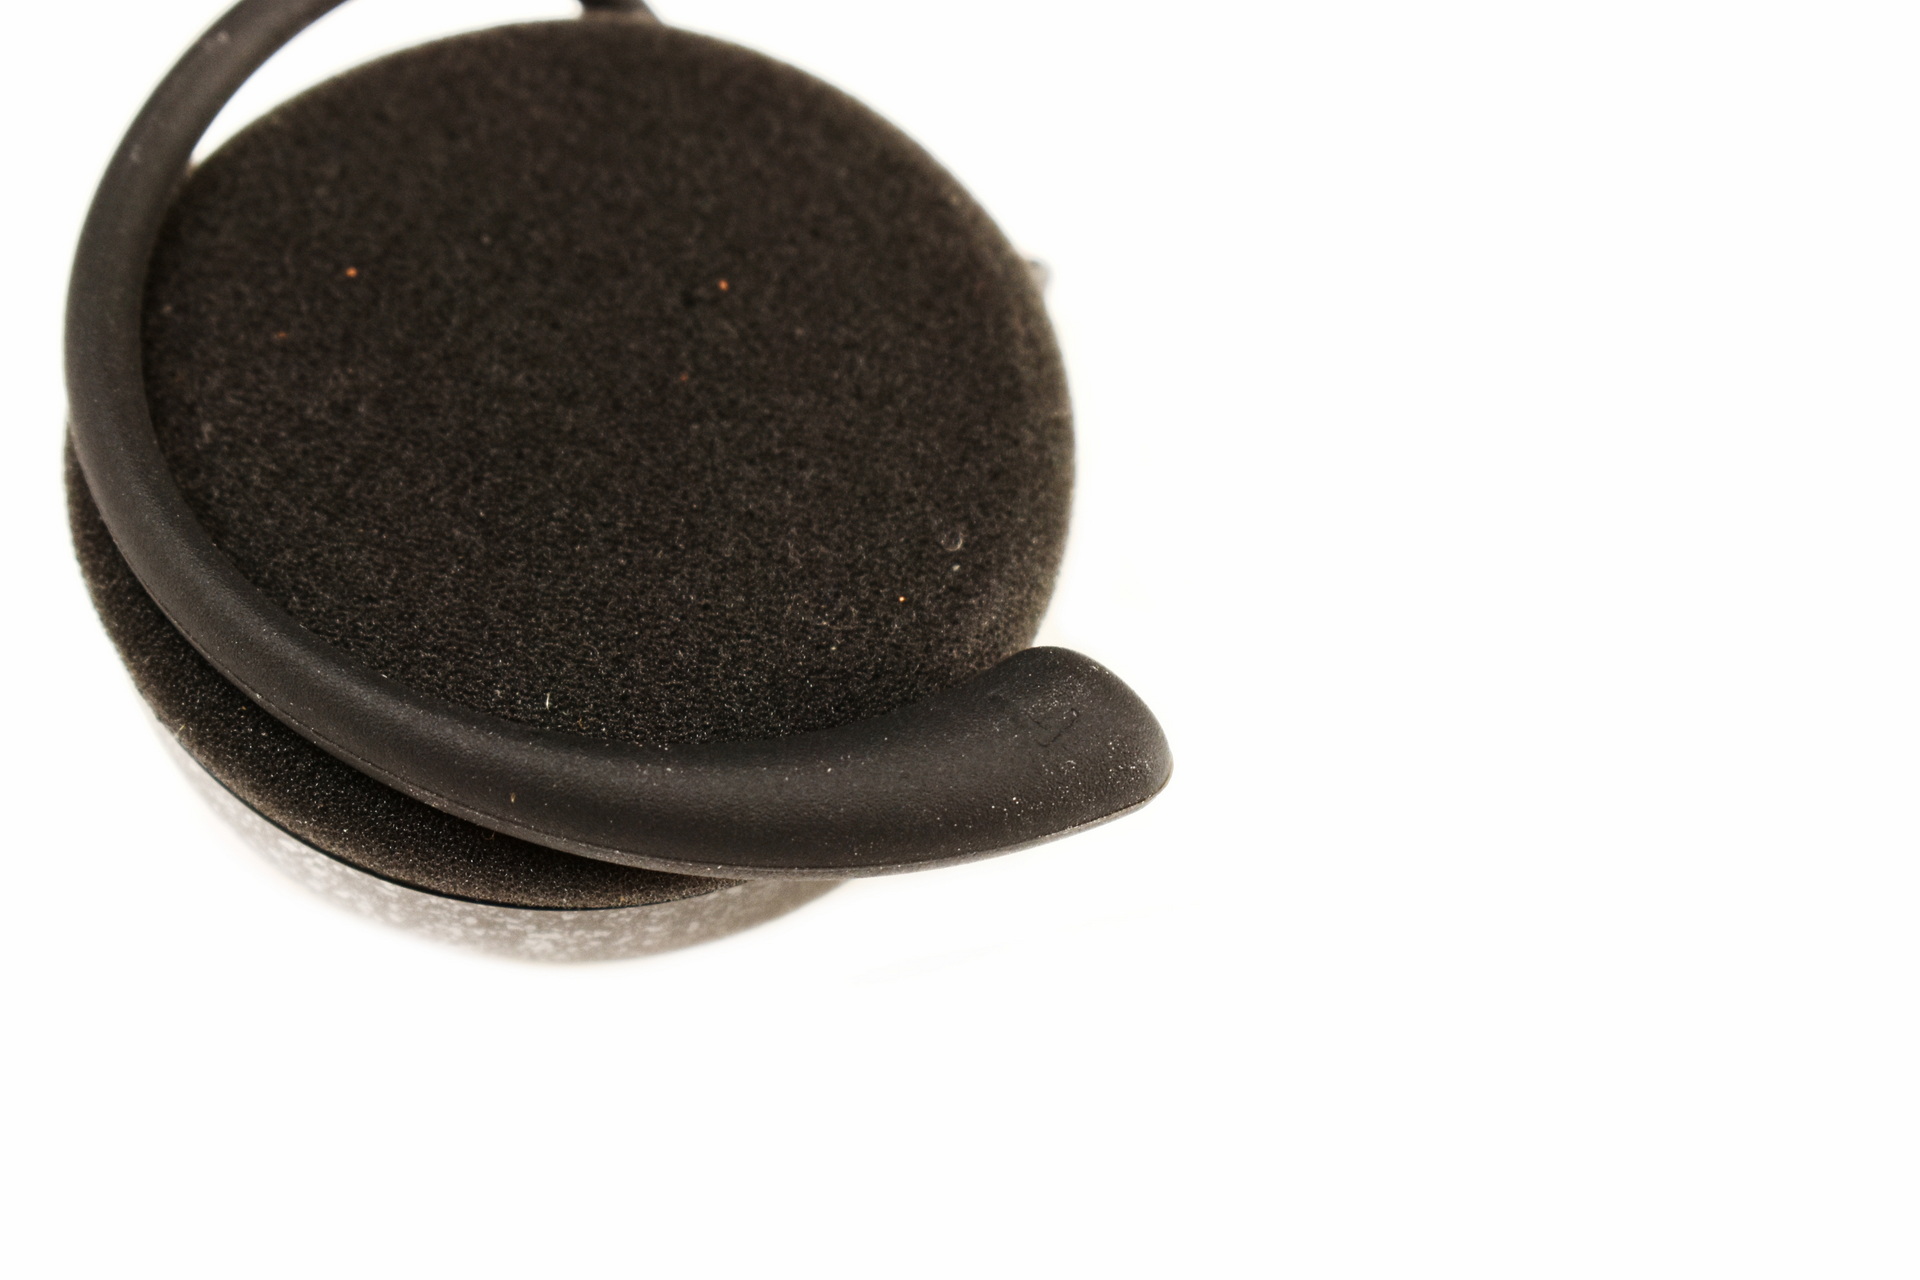
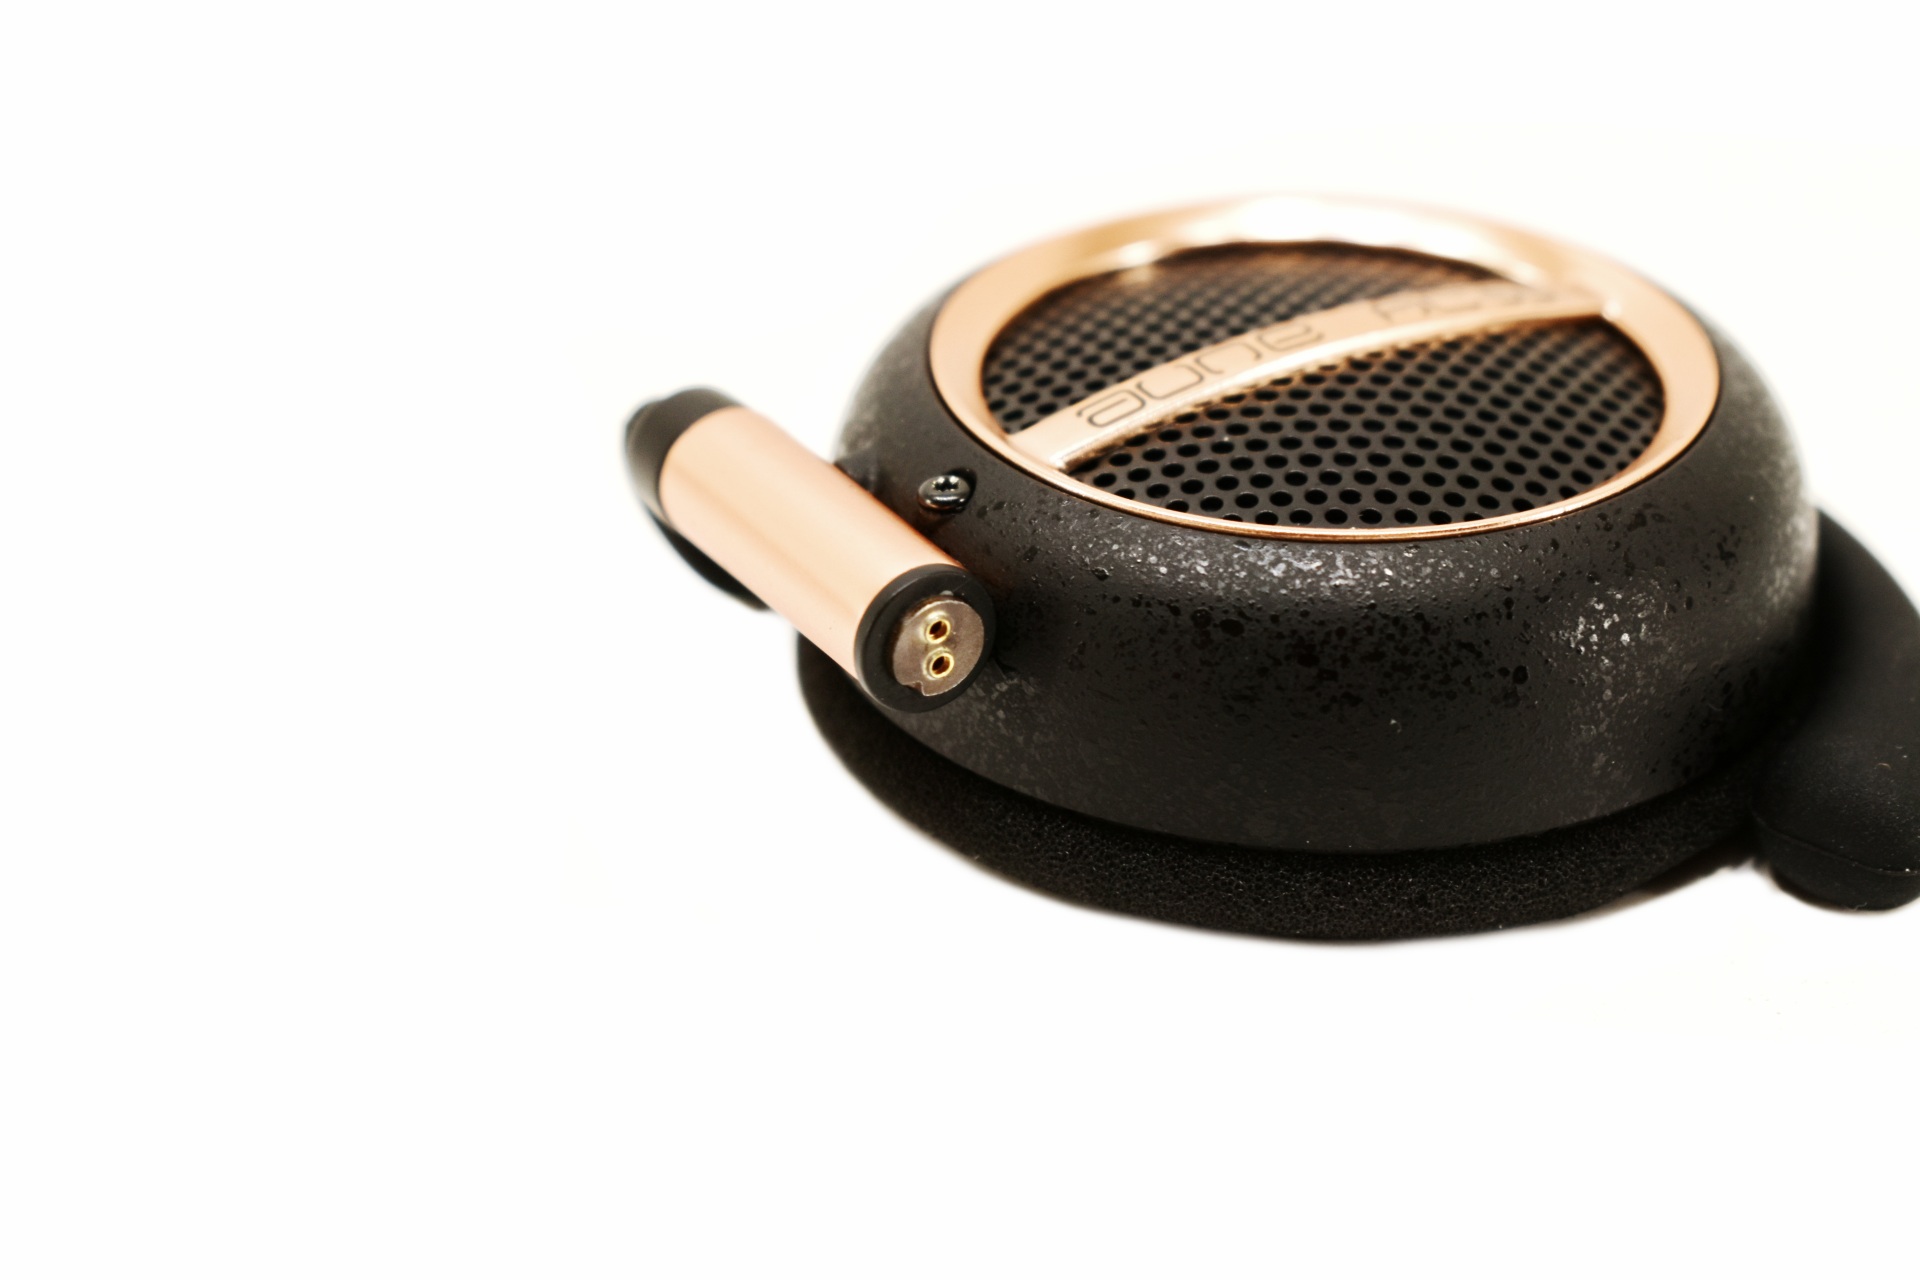
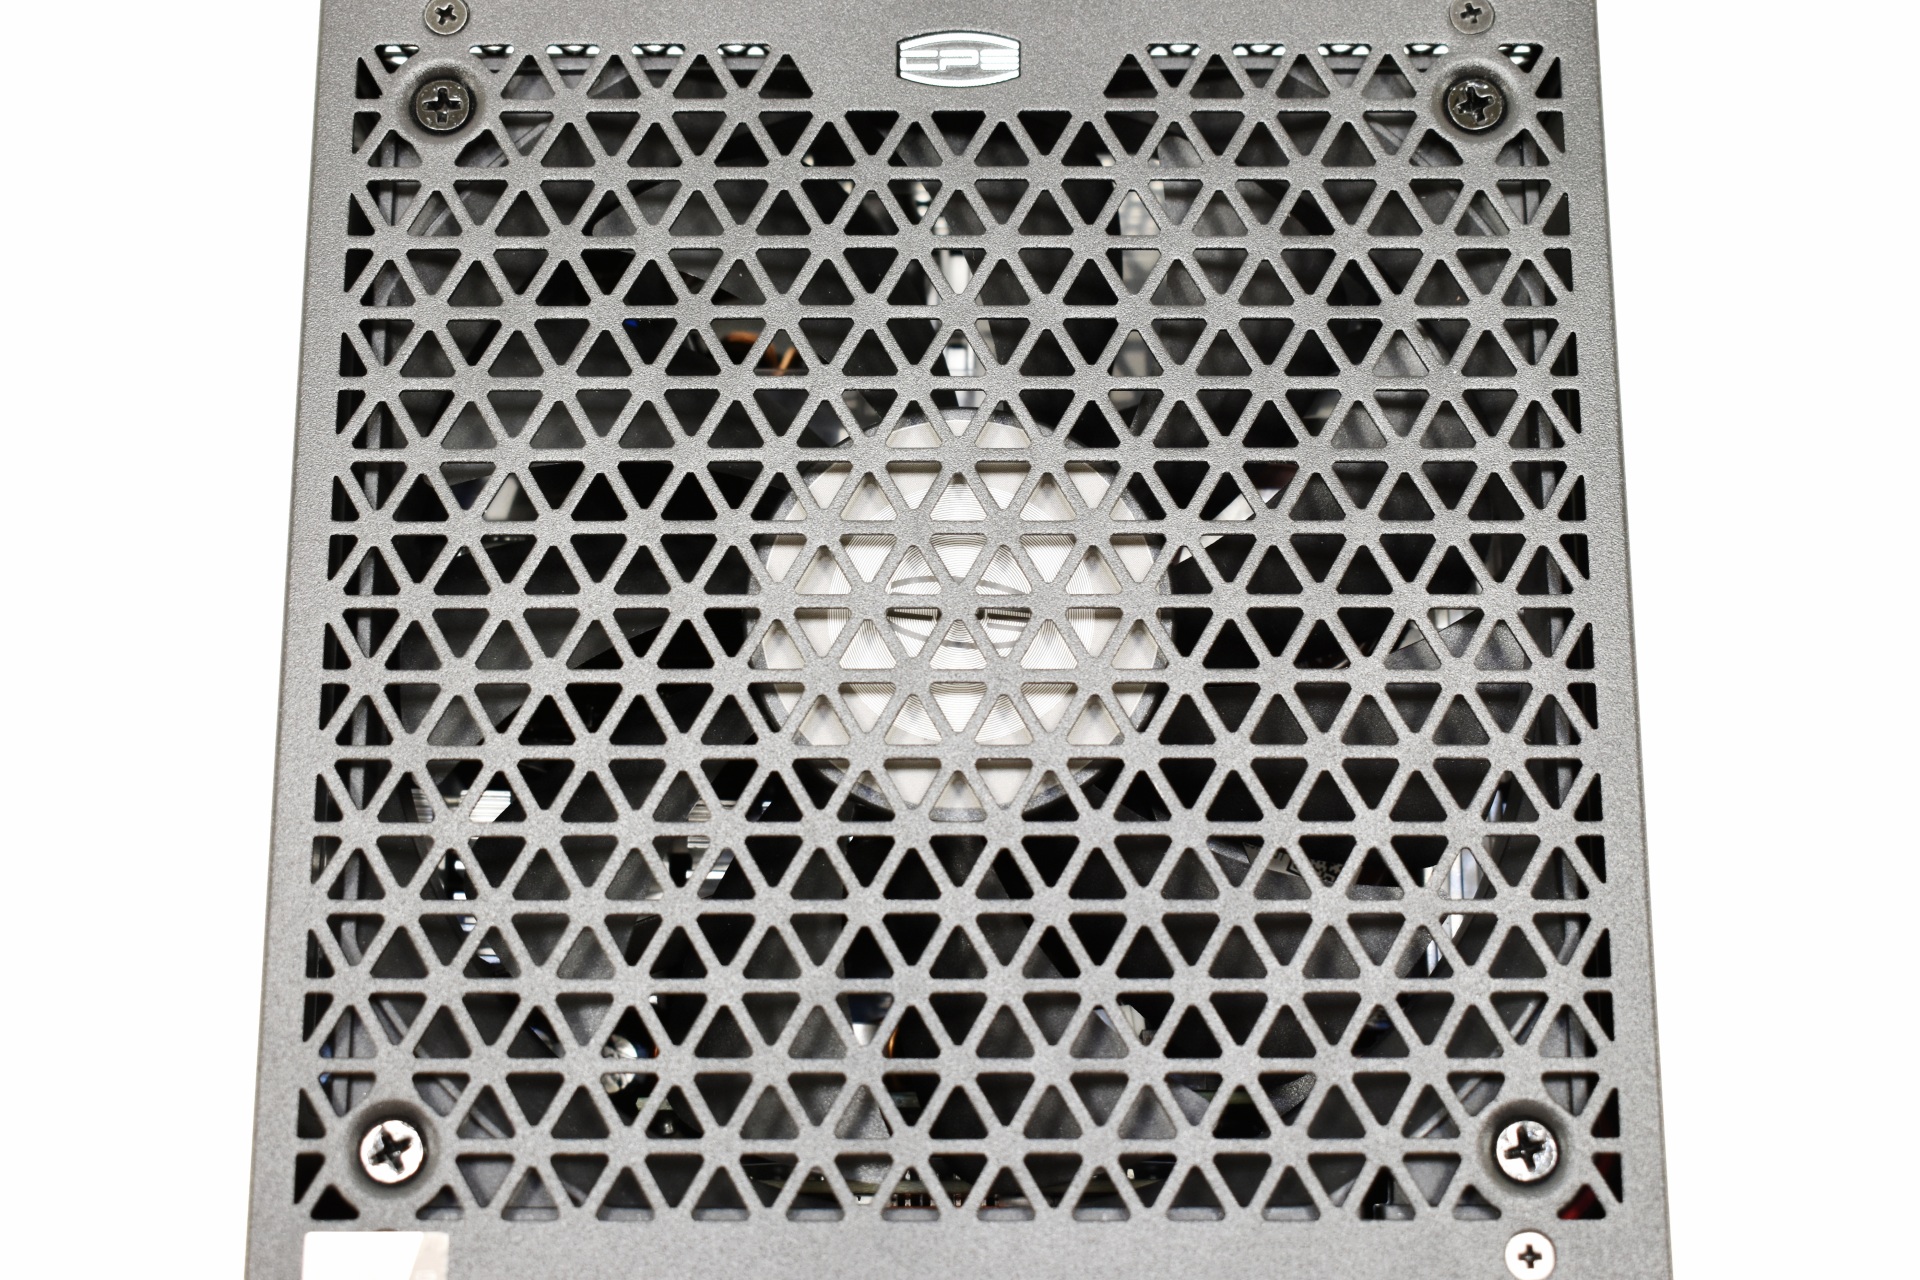
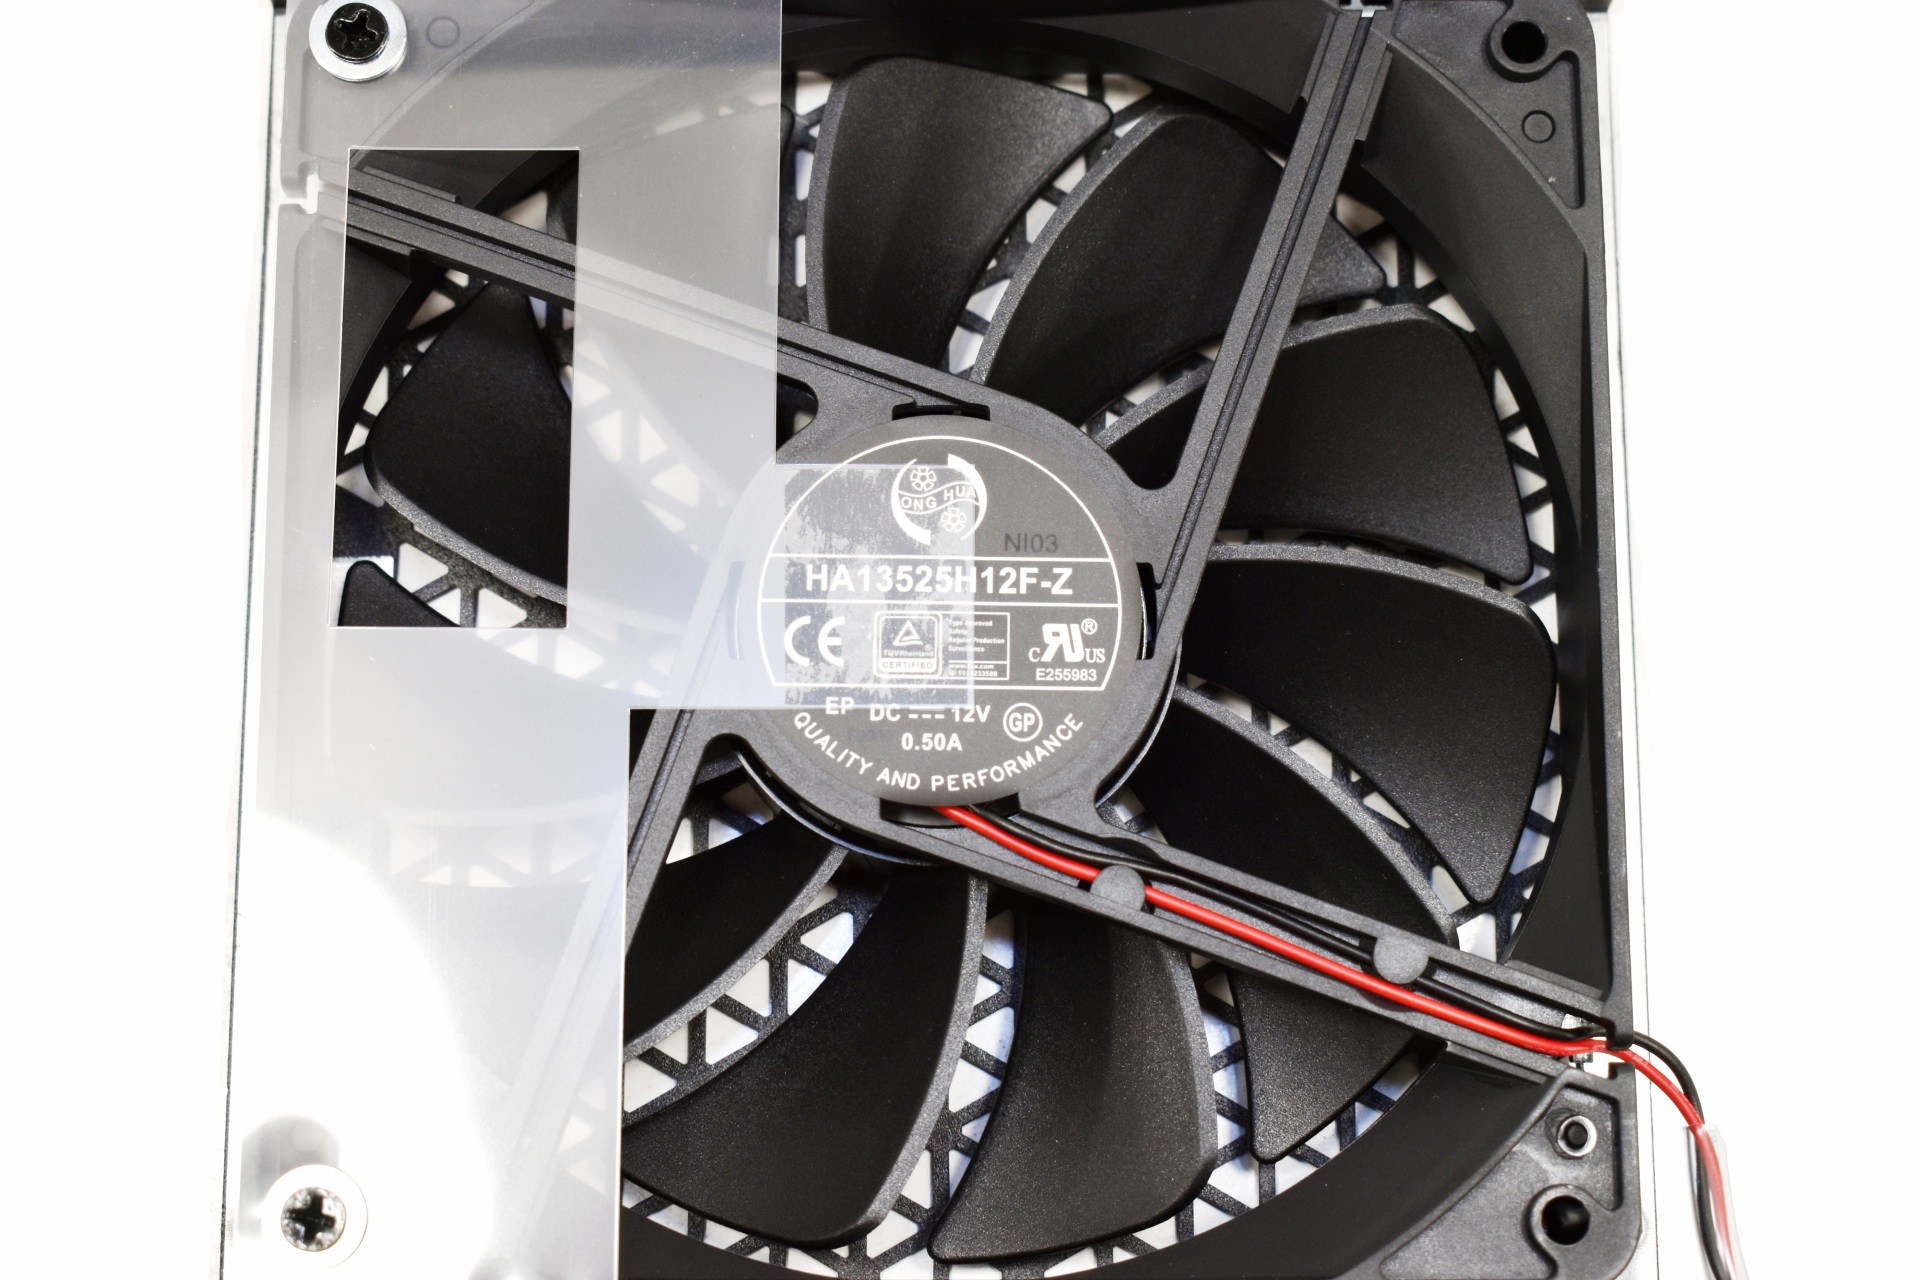
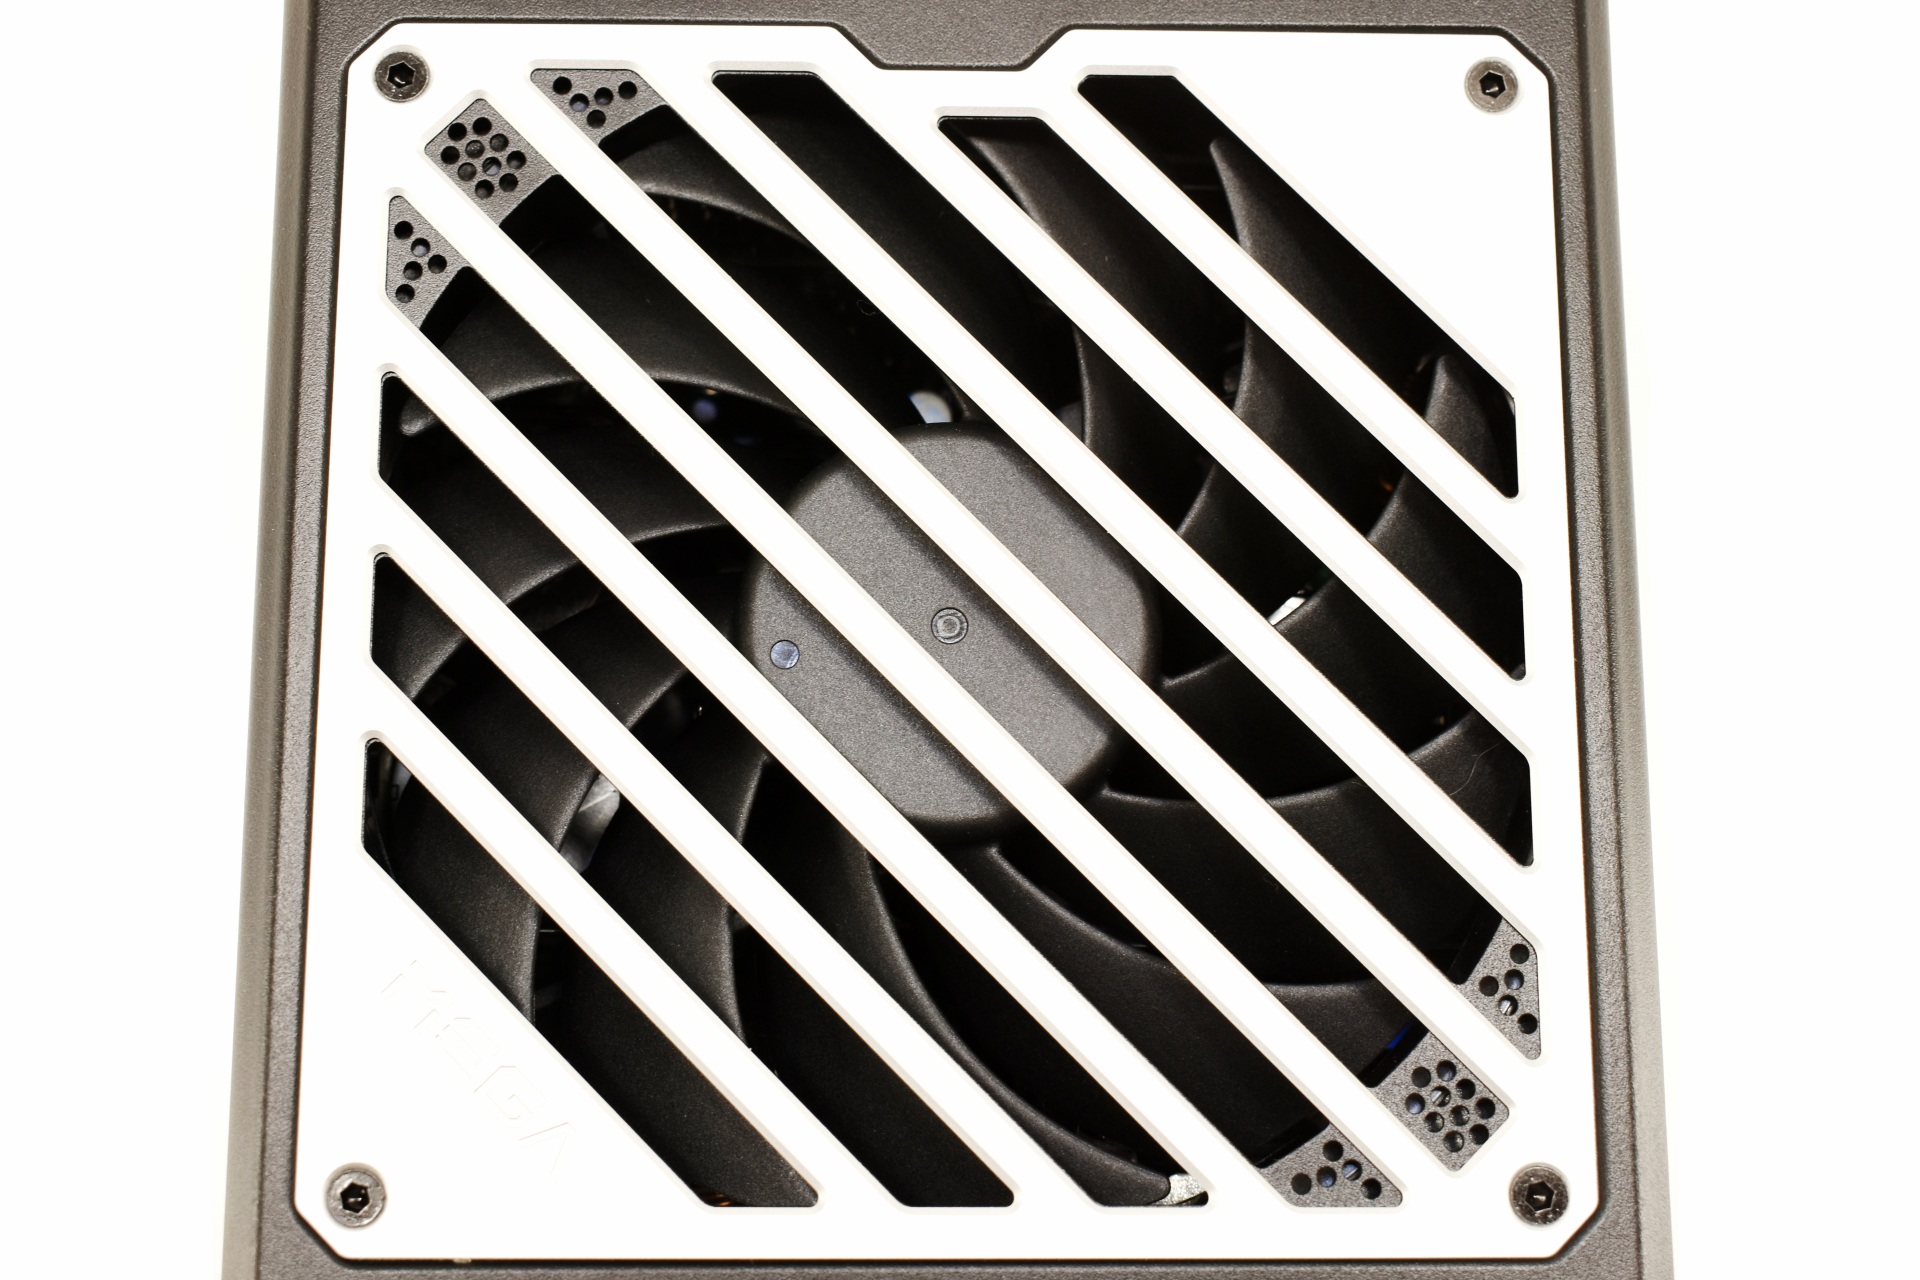
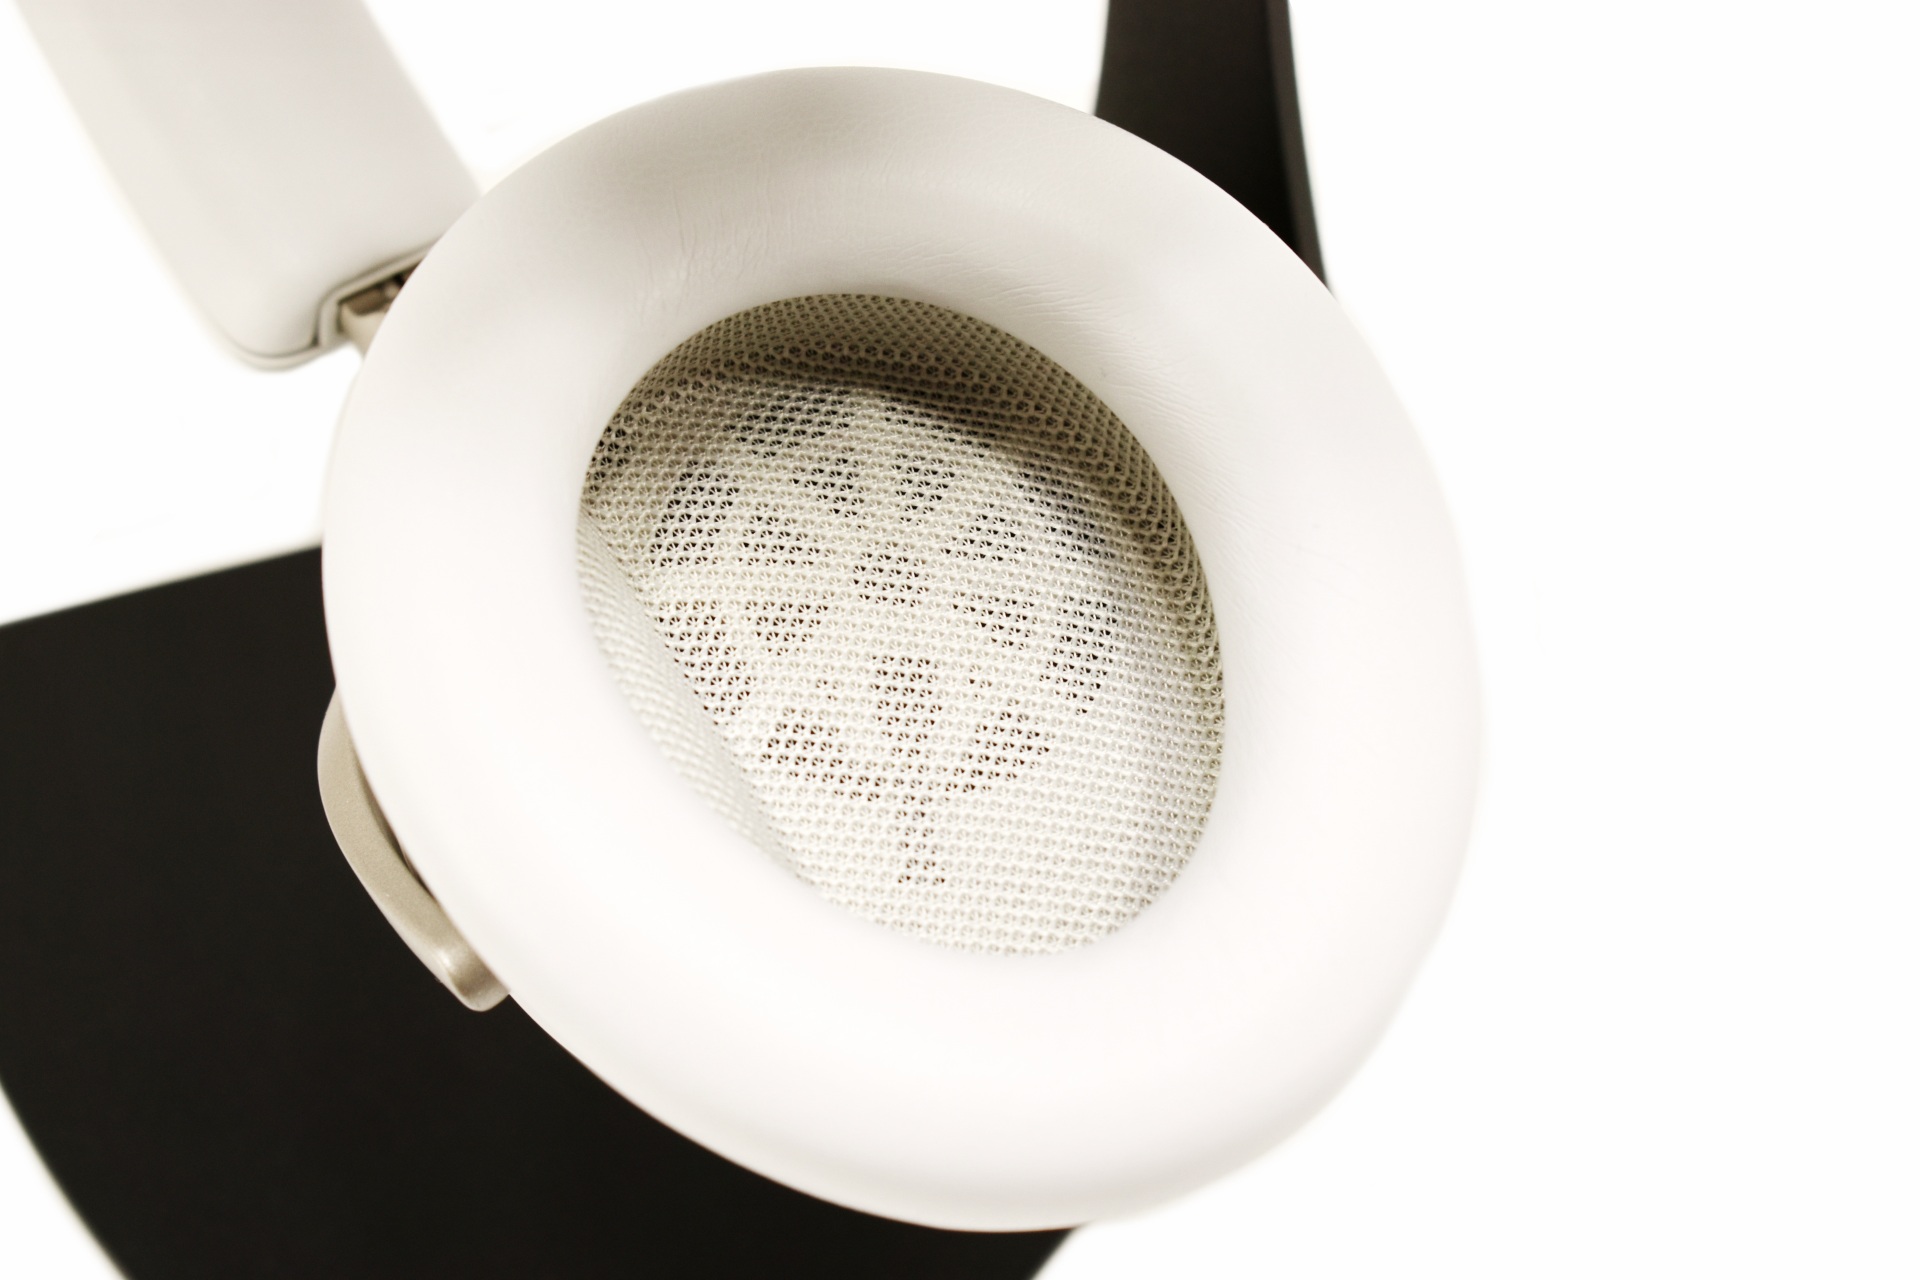
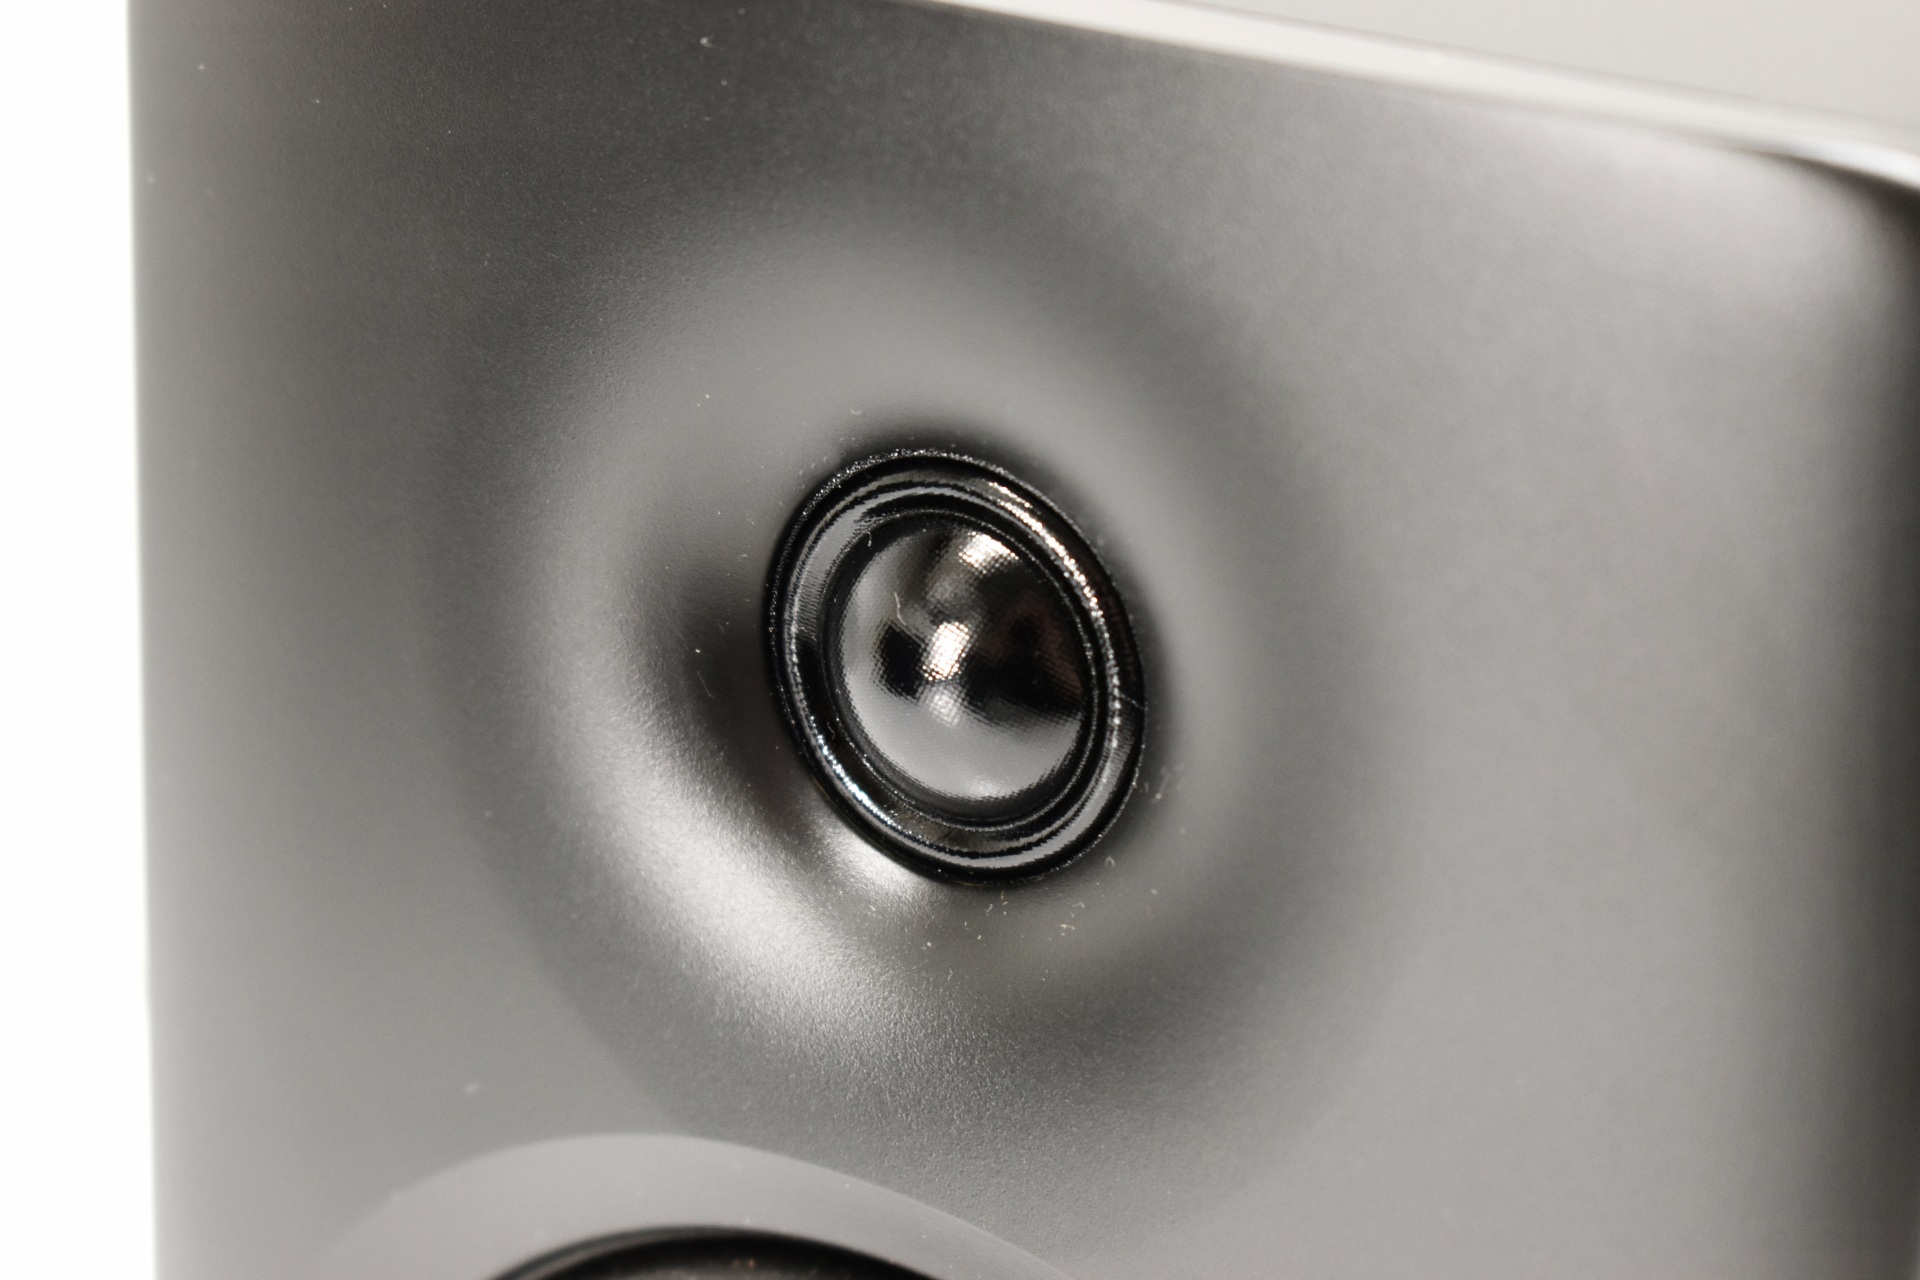
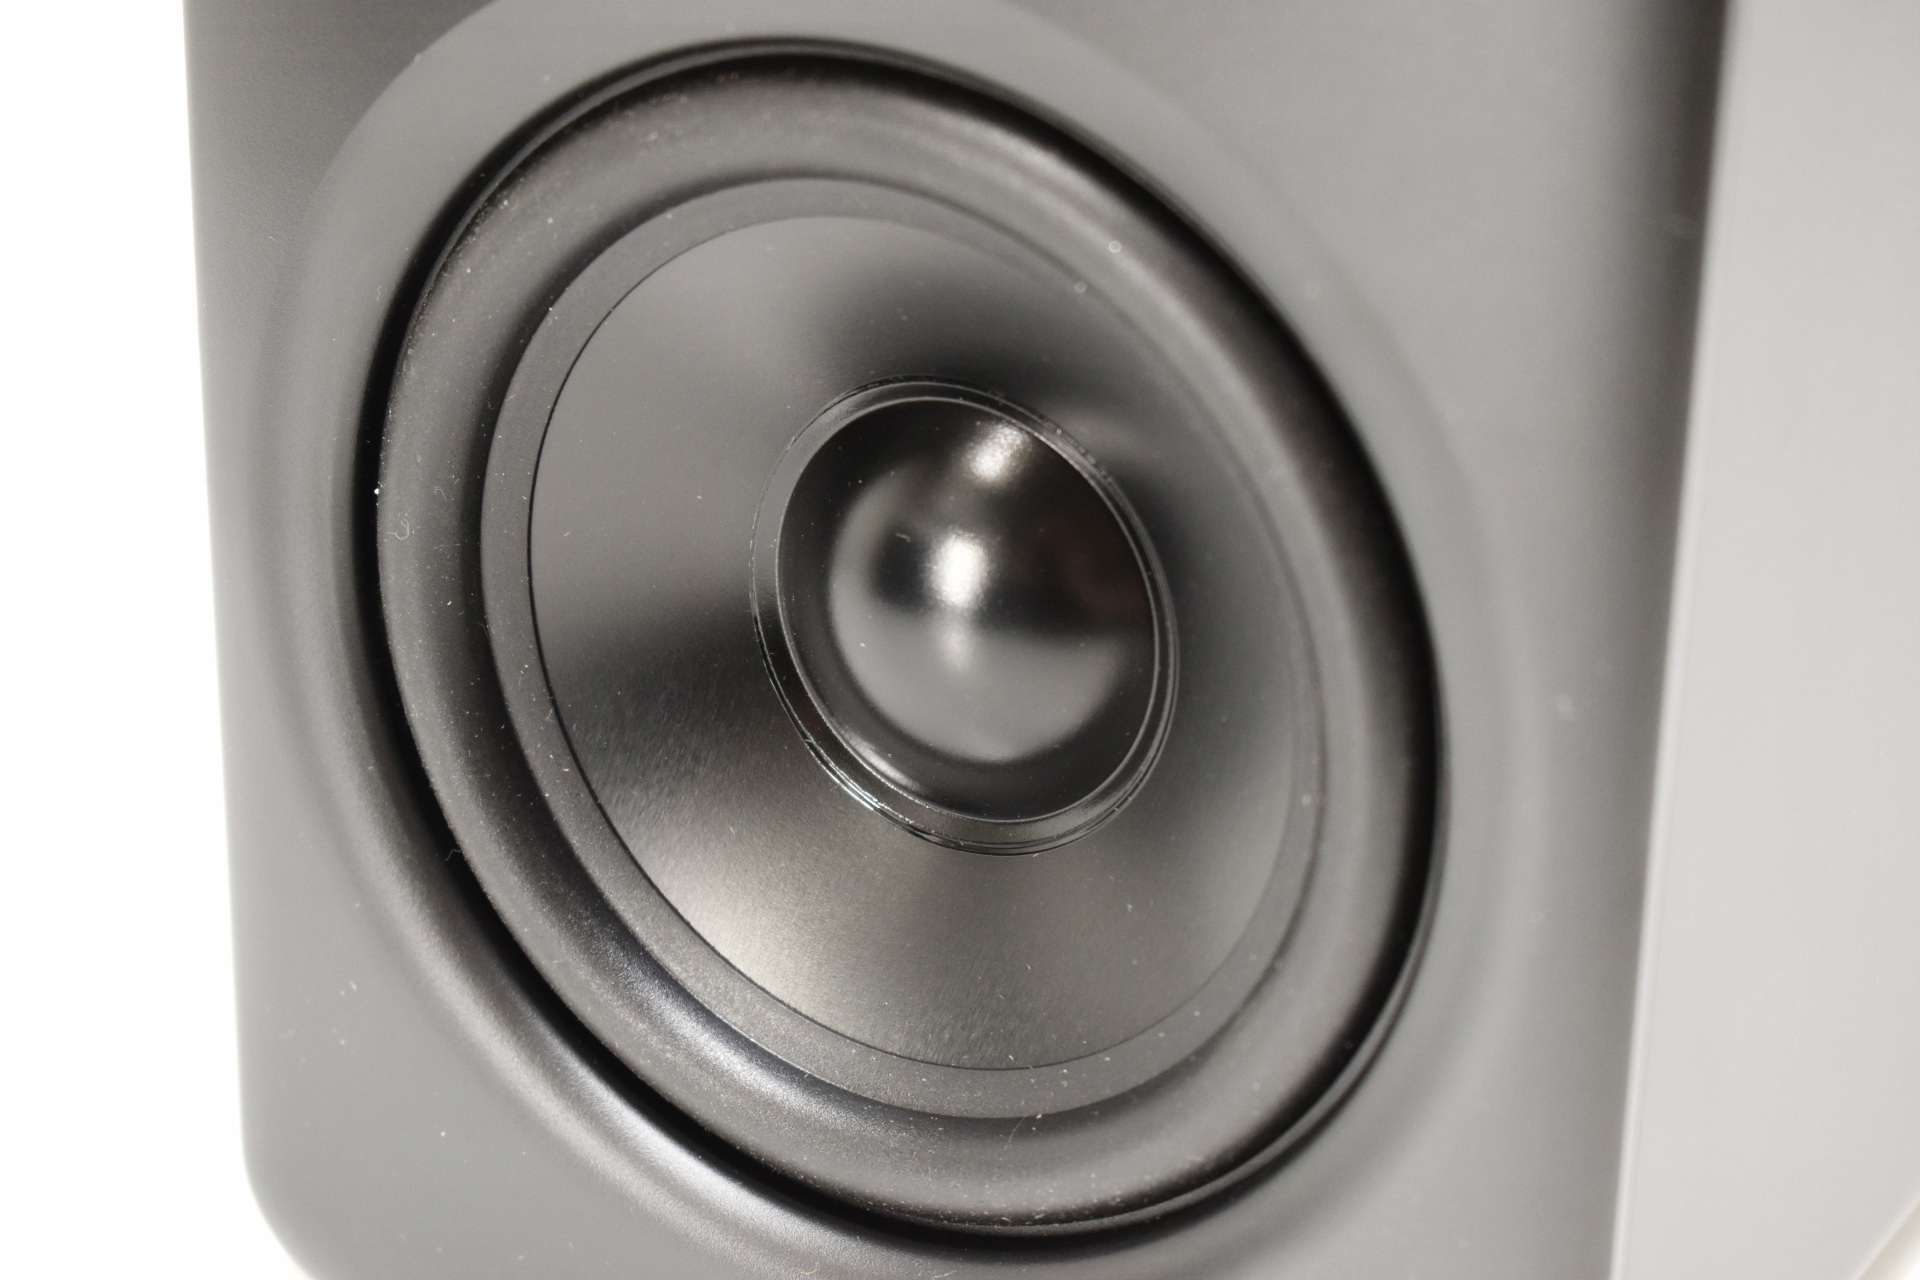
The 120mm FDB fan sits beneath a grille with the company logo at its center.

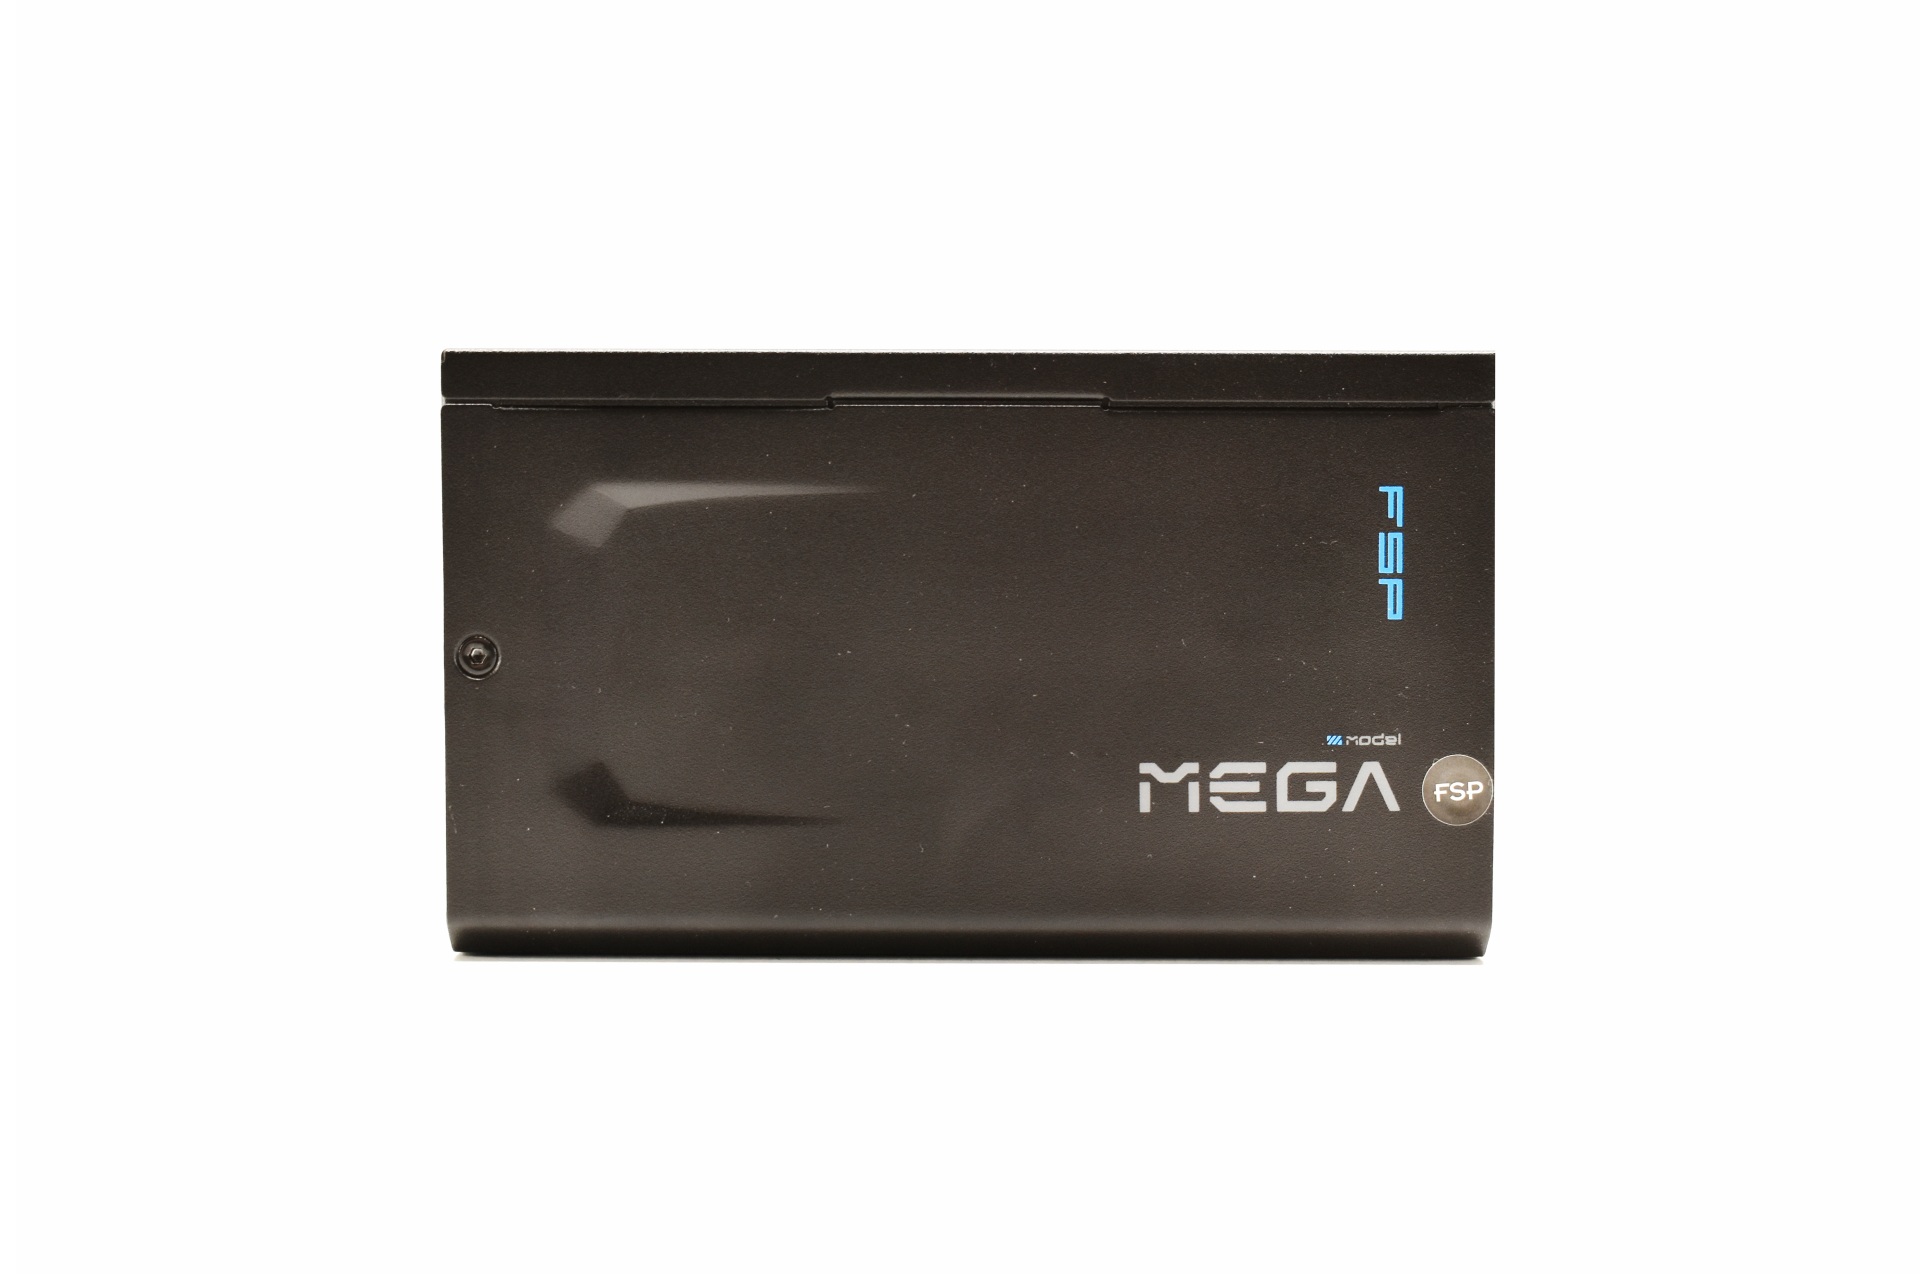
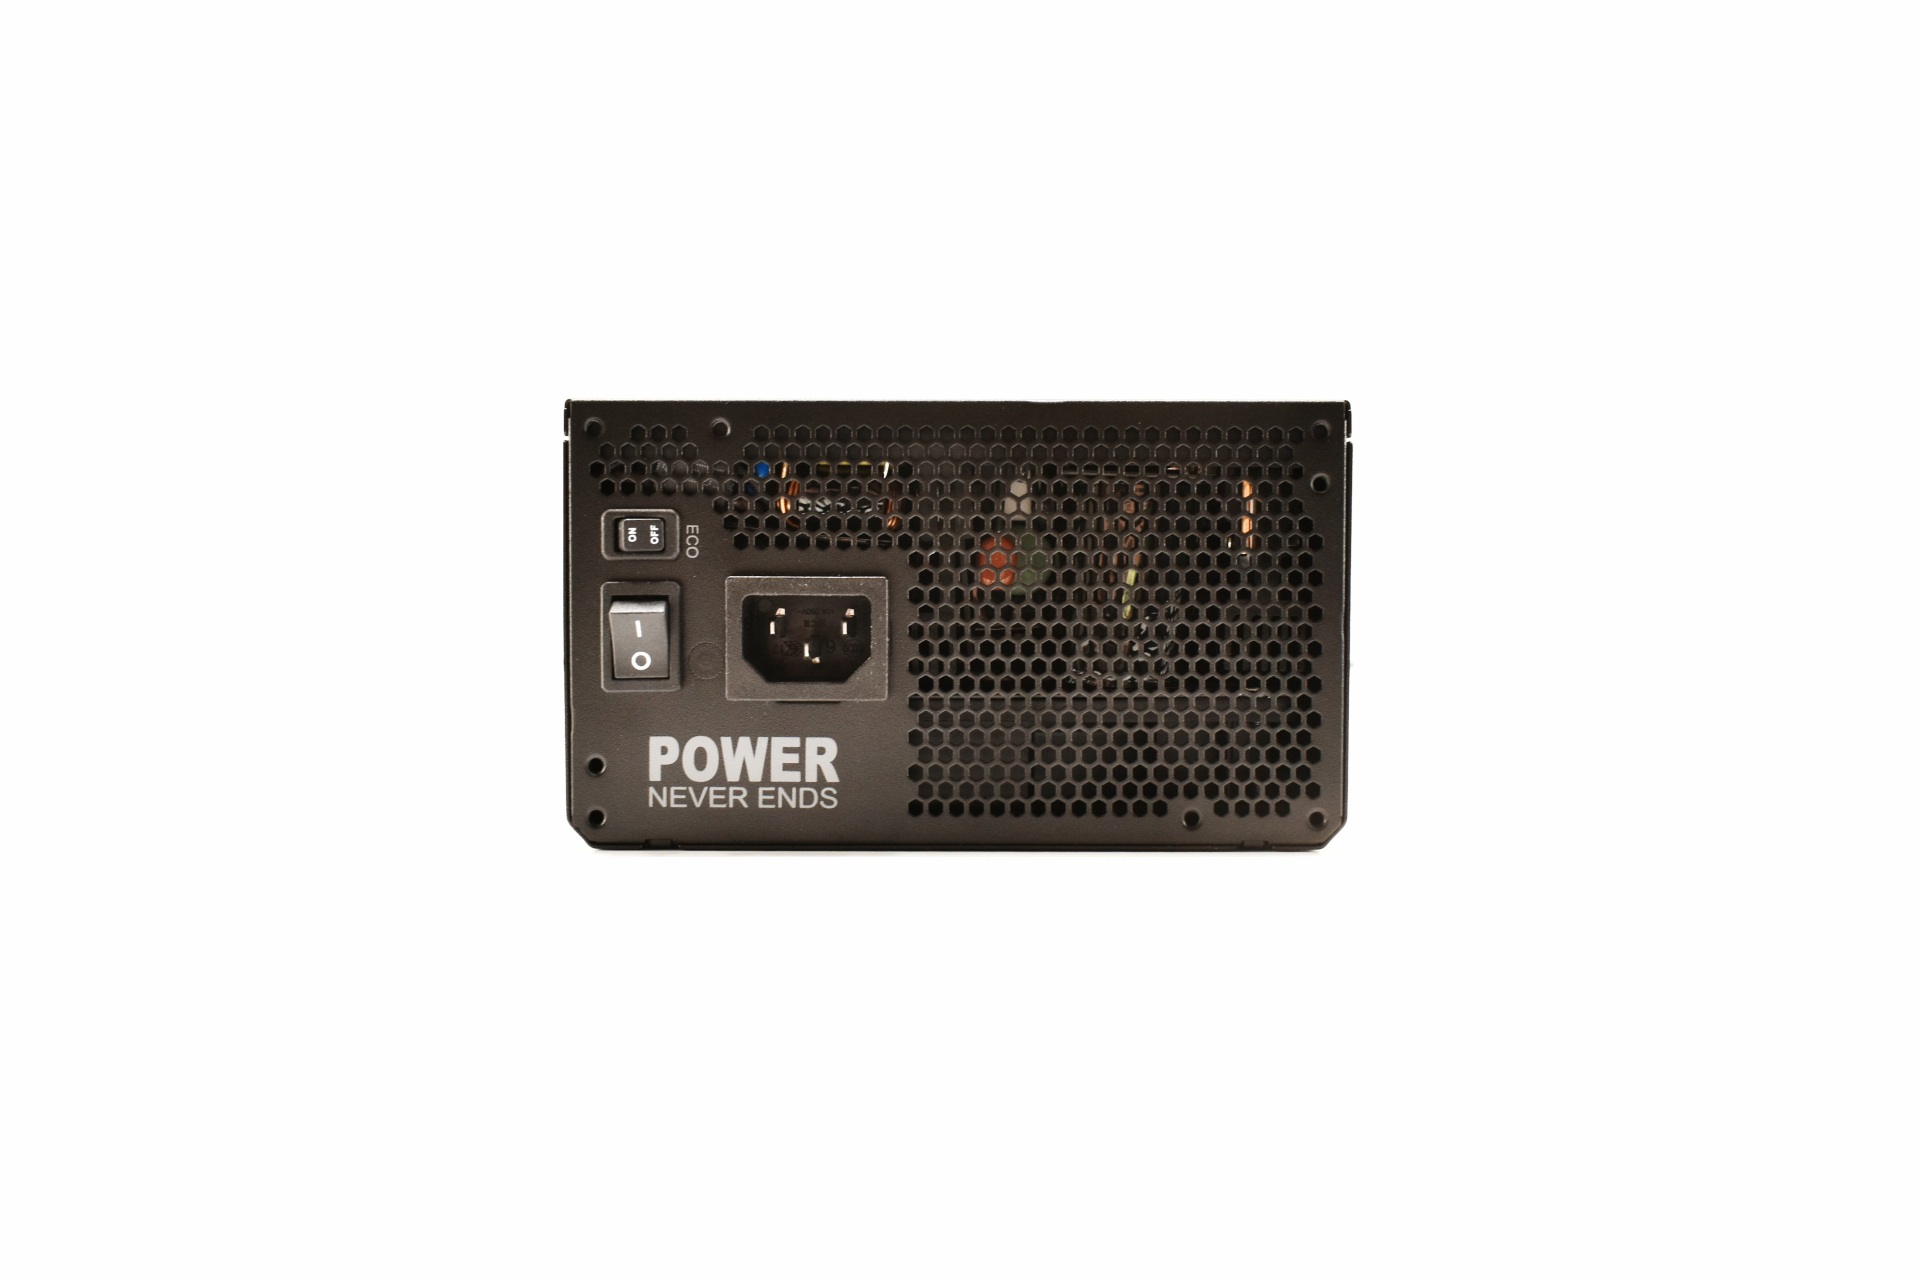
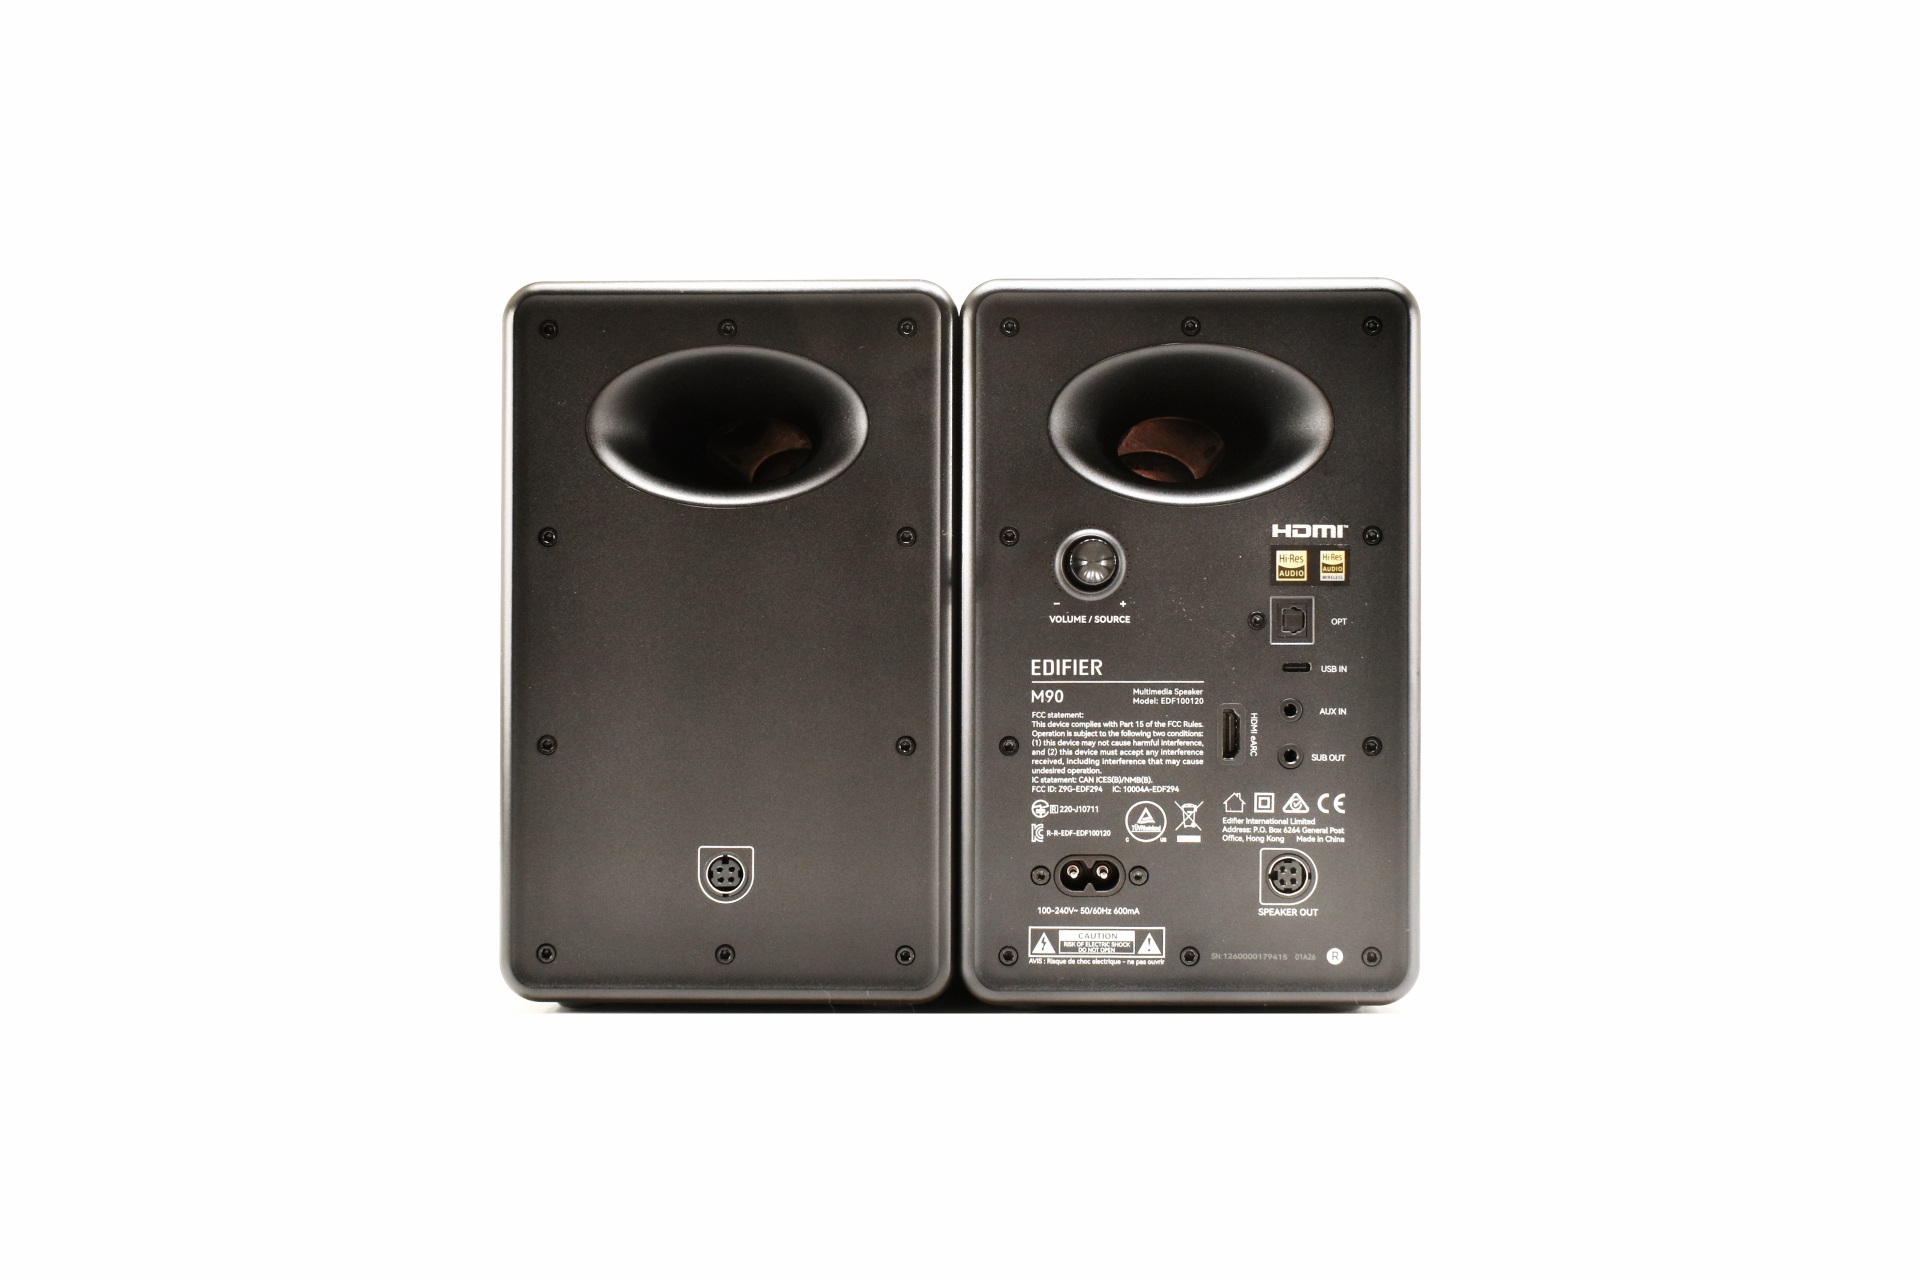
Printed on both sides is the company logo, model name and output.

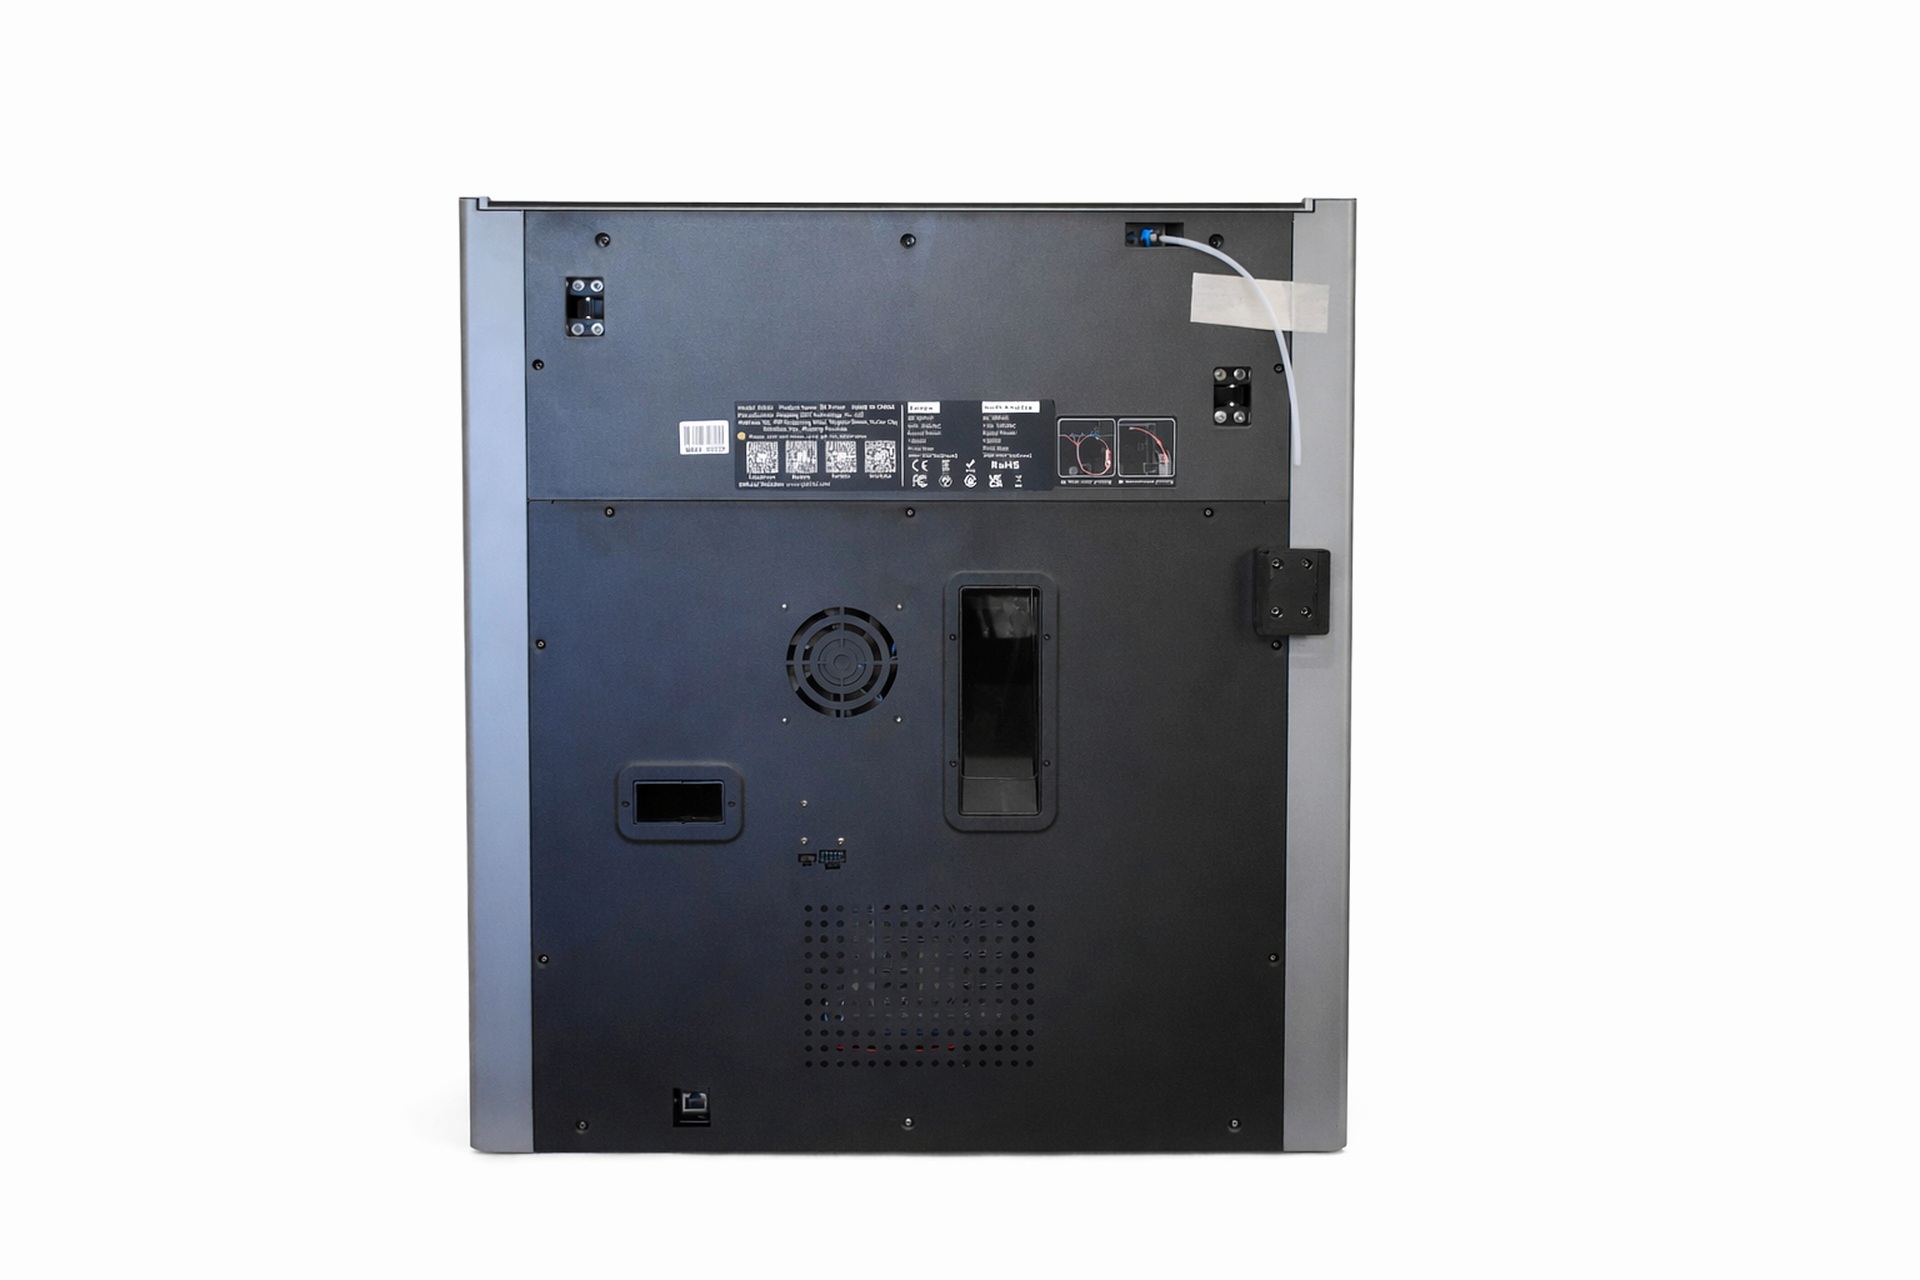
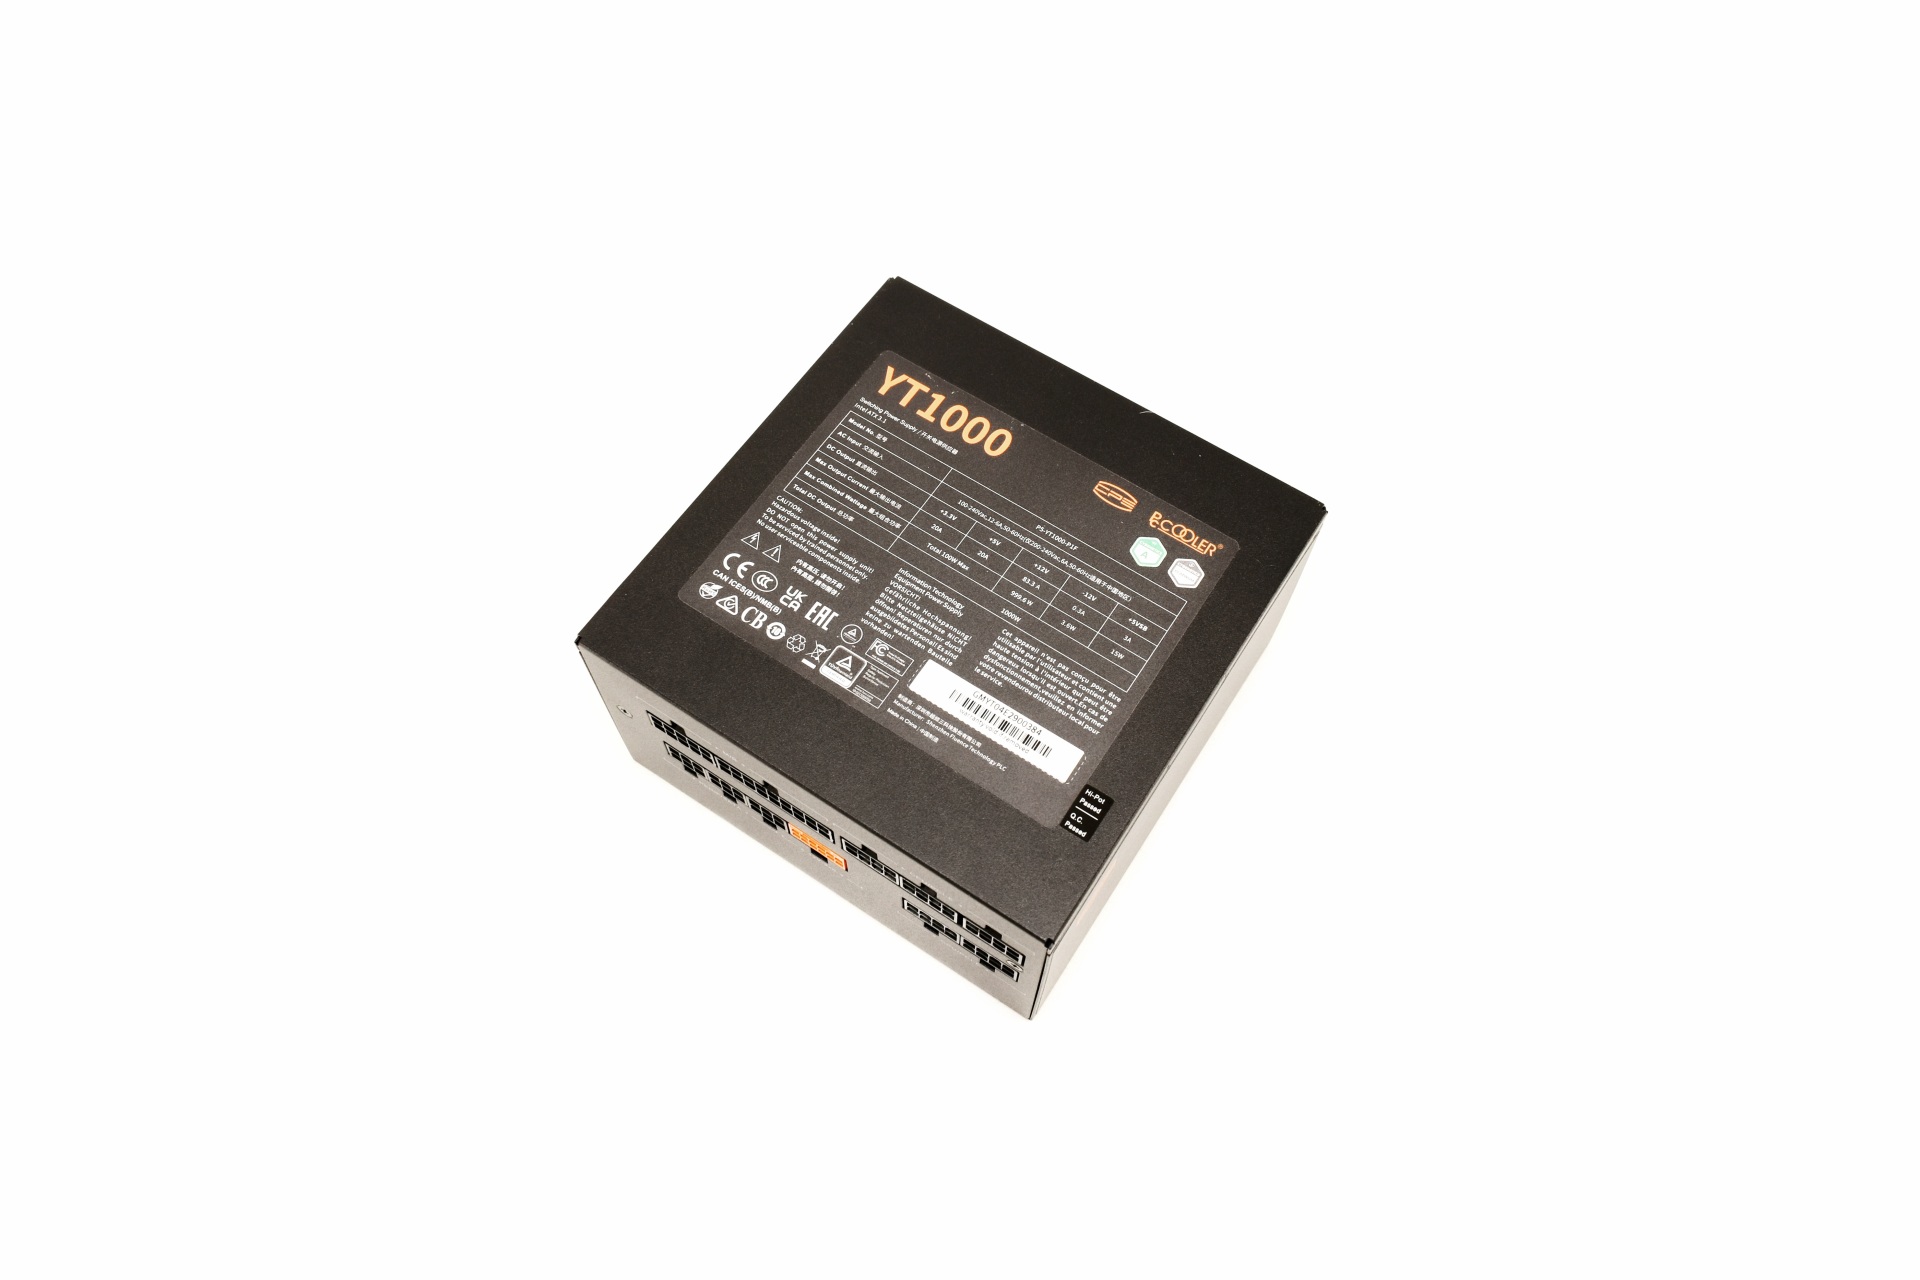
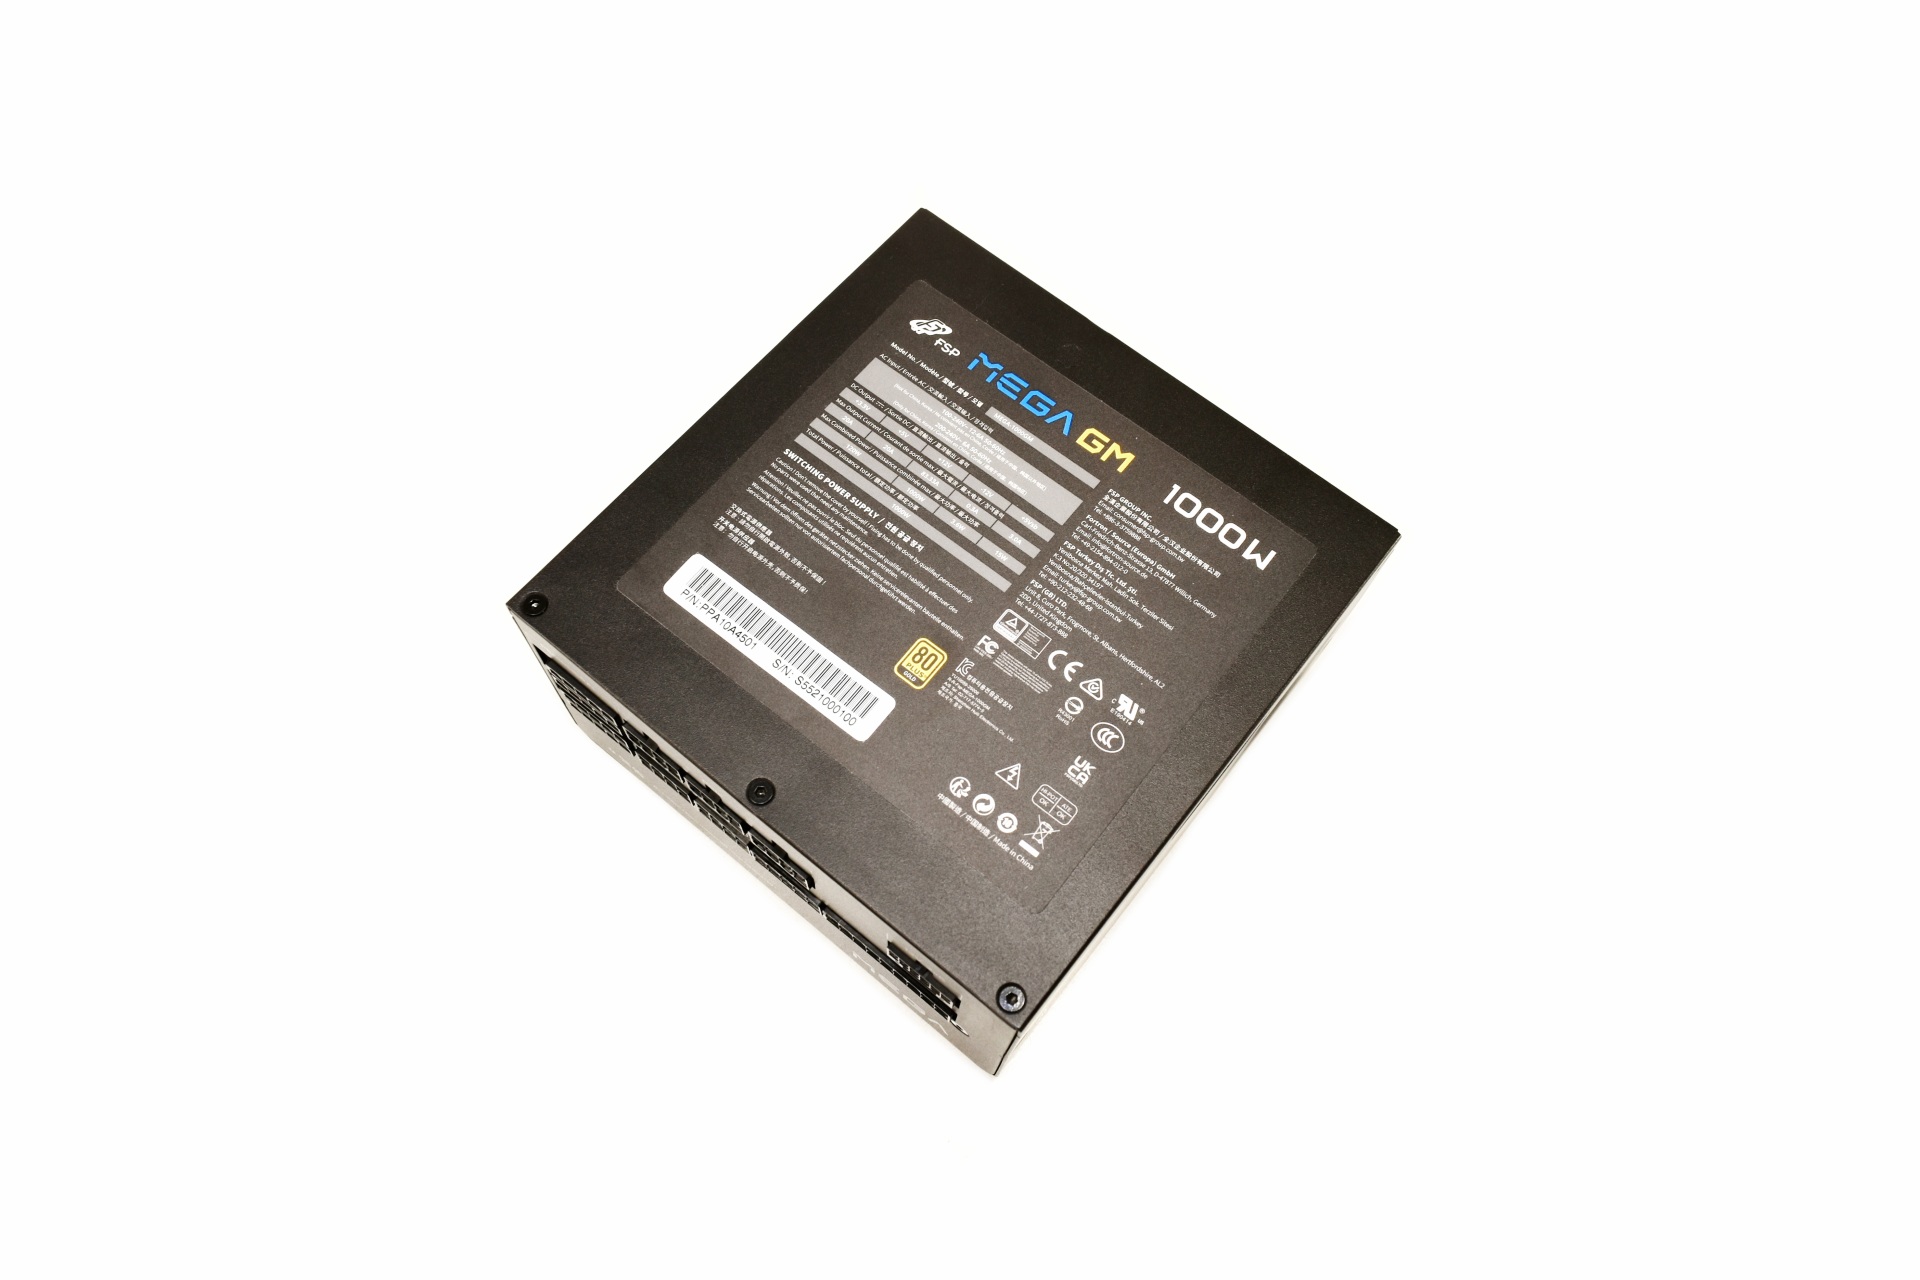
The electrical table is located on a sticker placed on the belly of the enclosure.

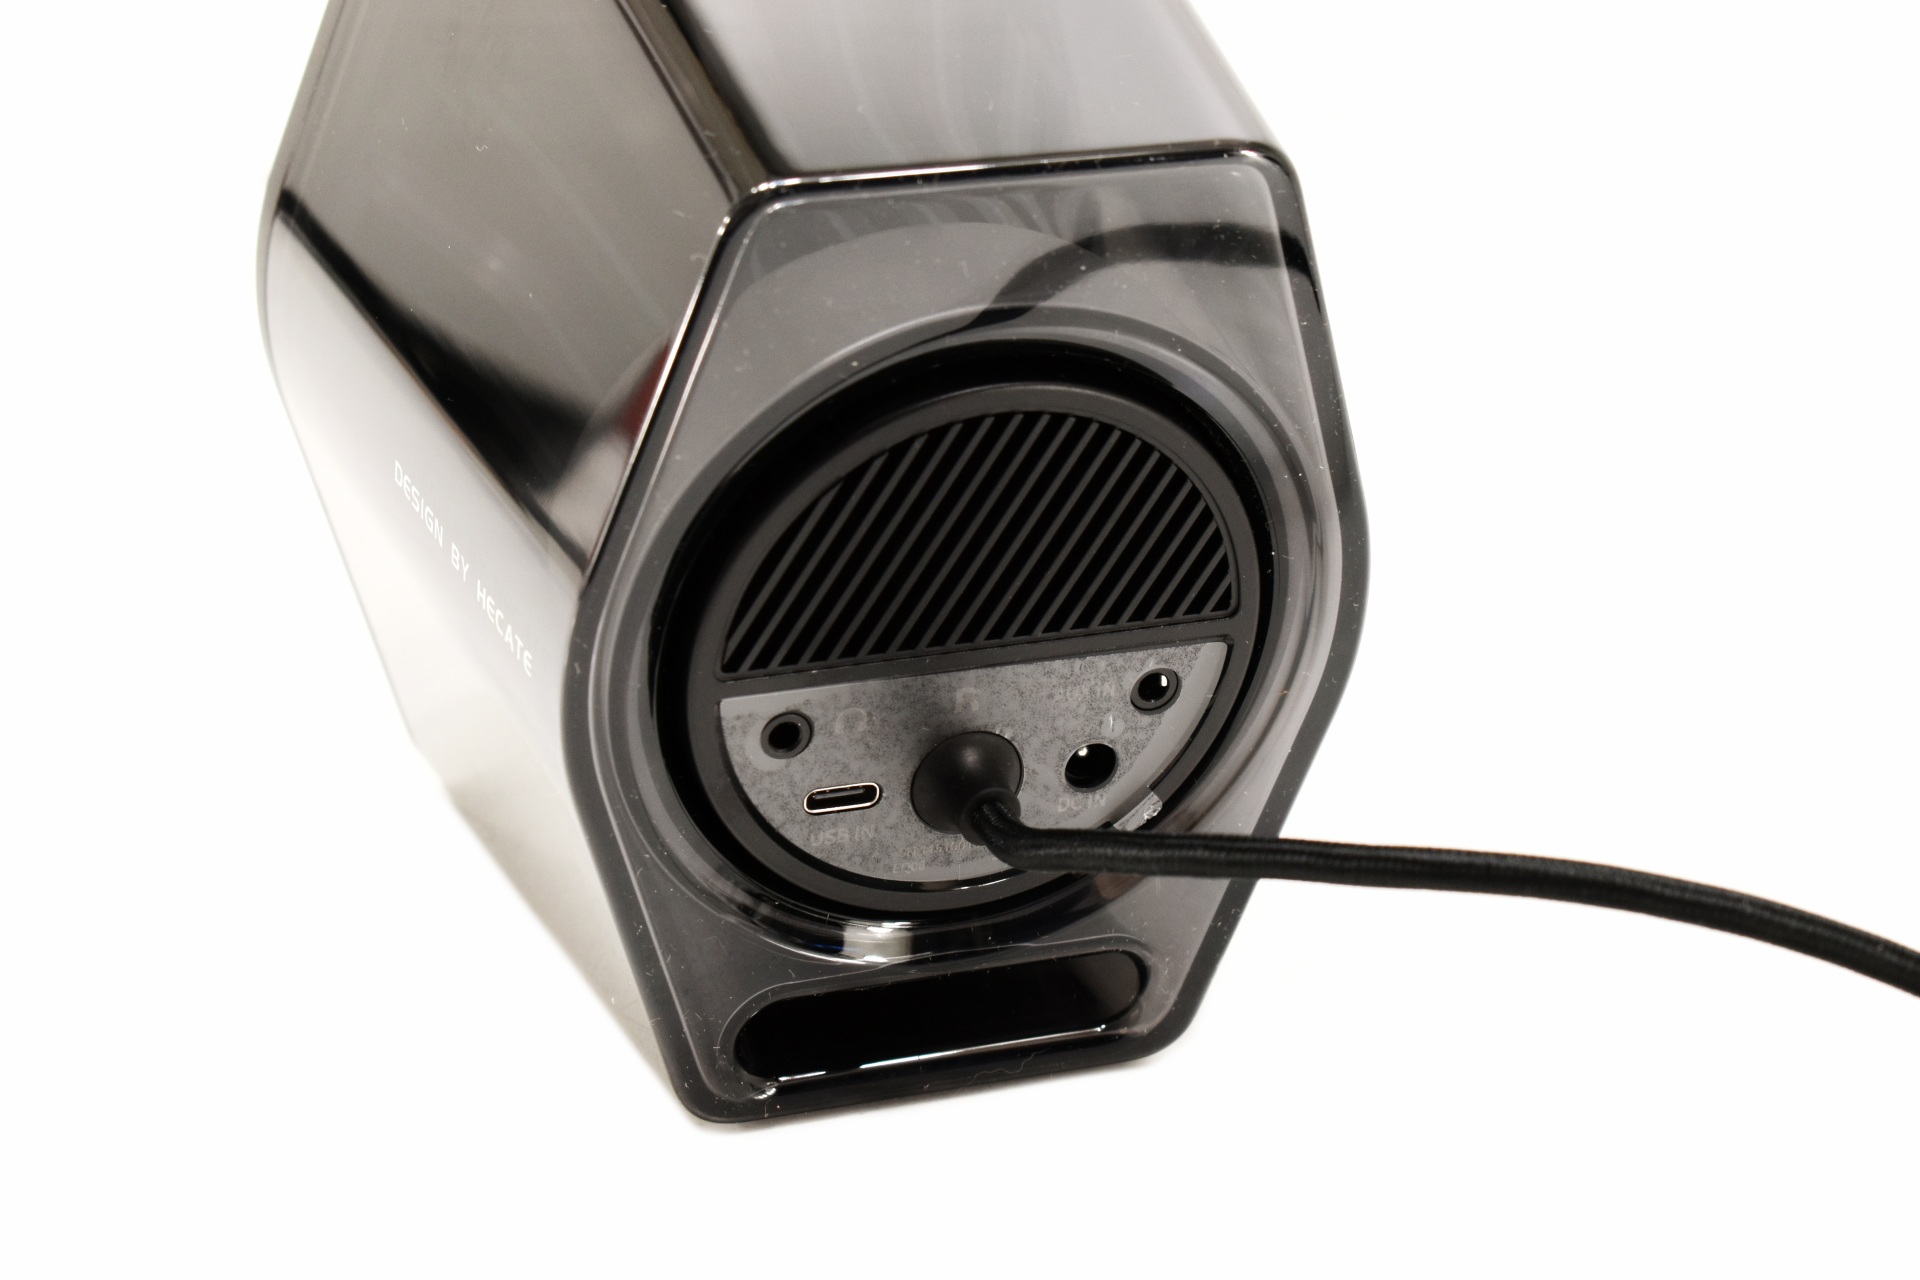
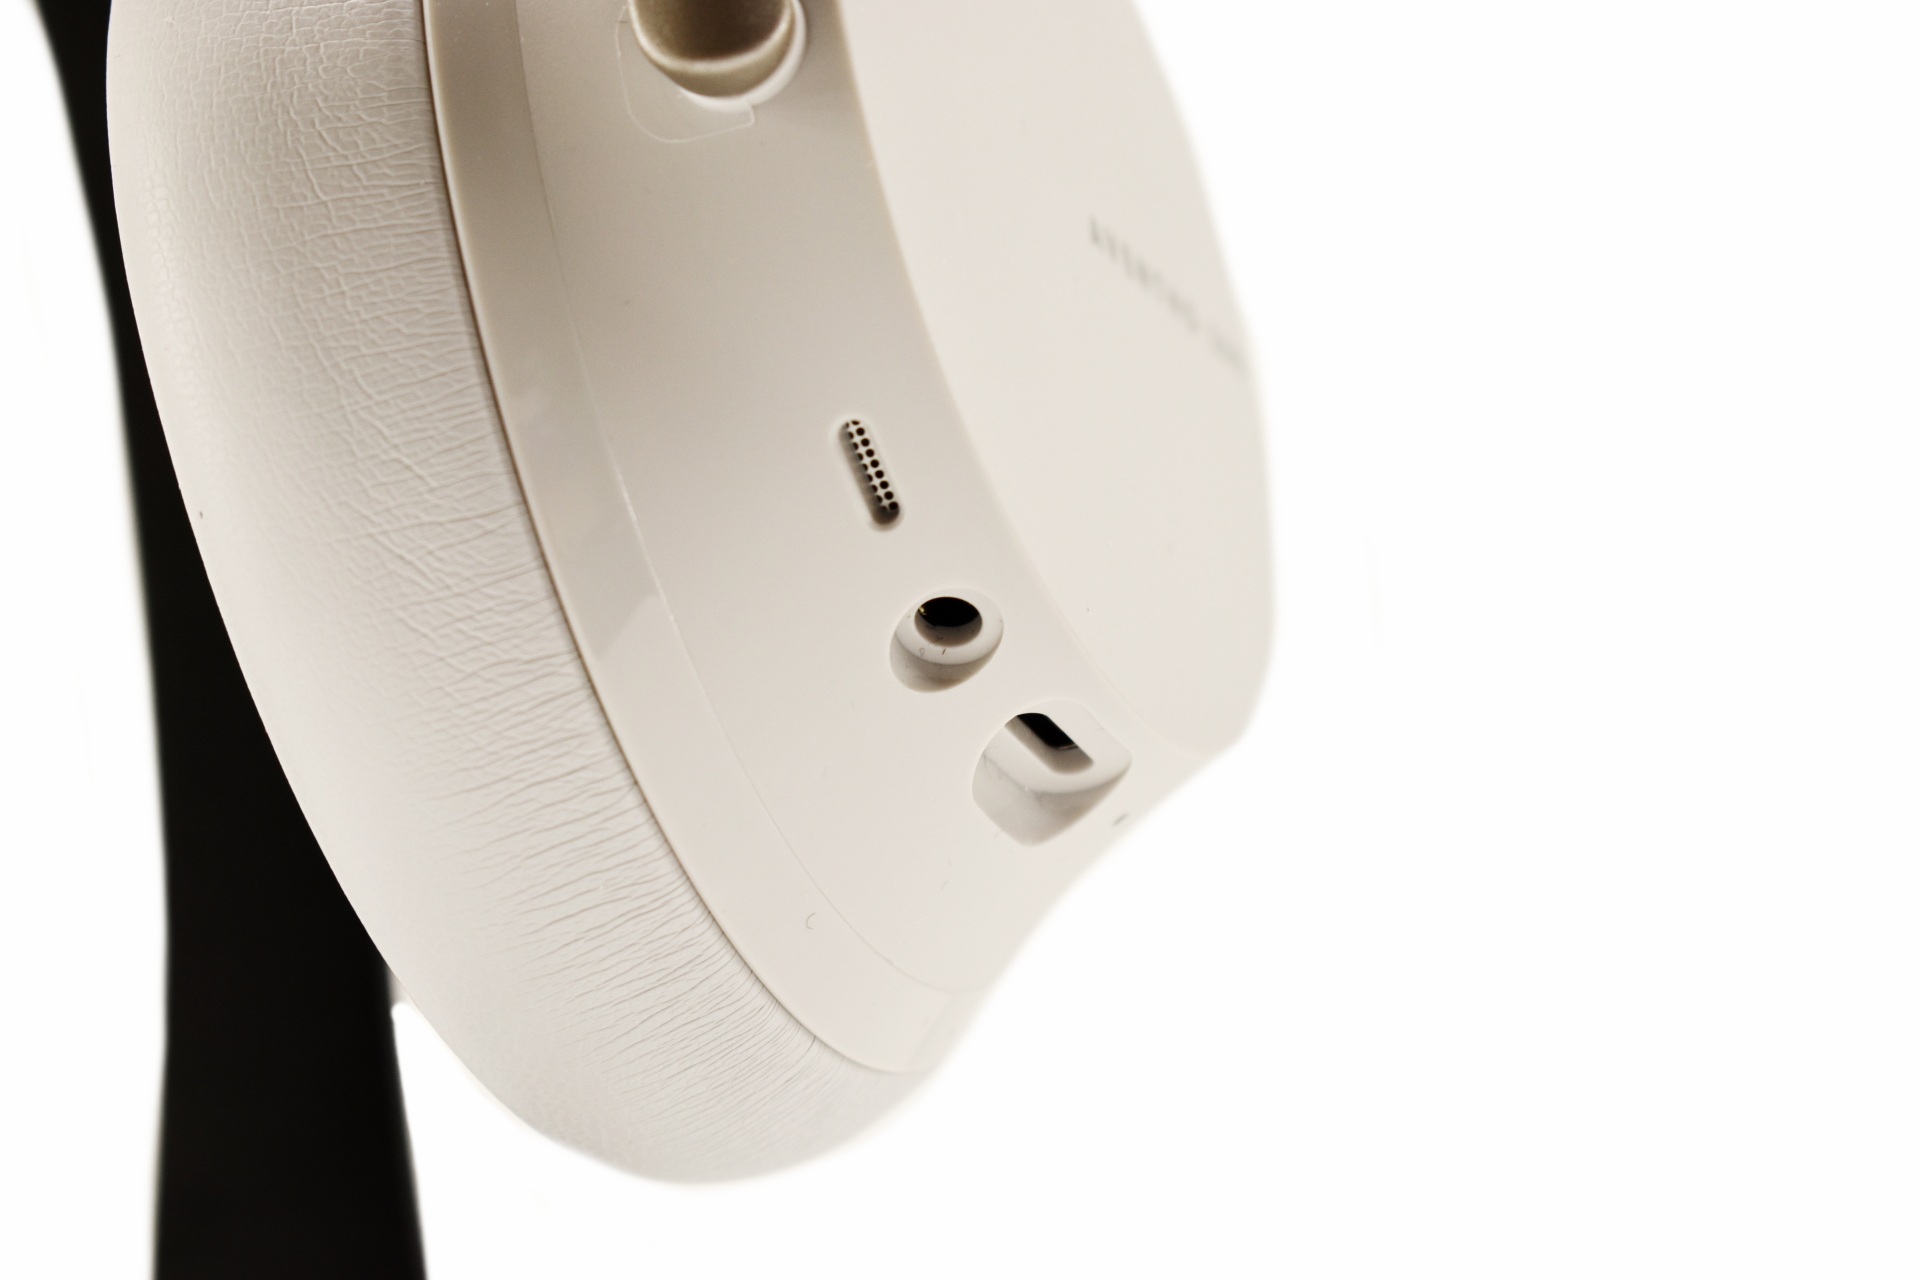
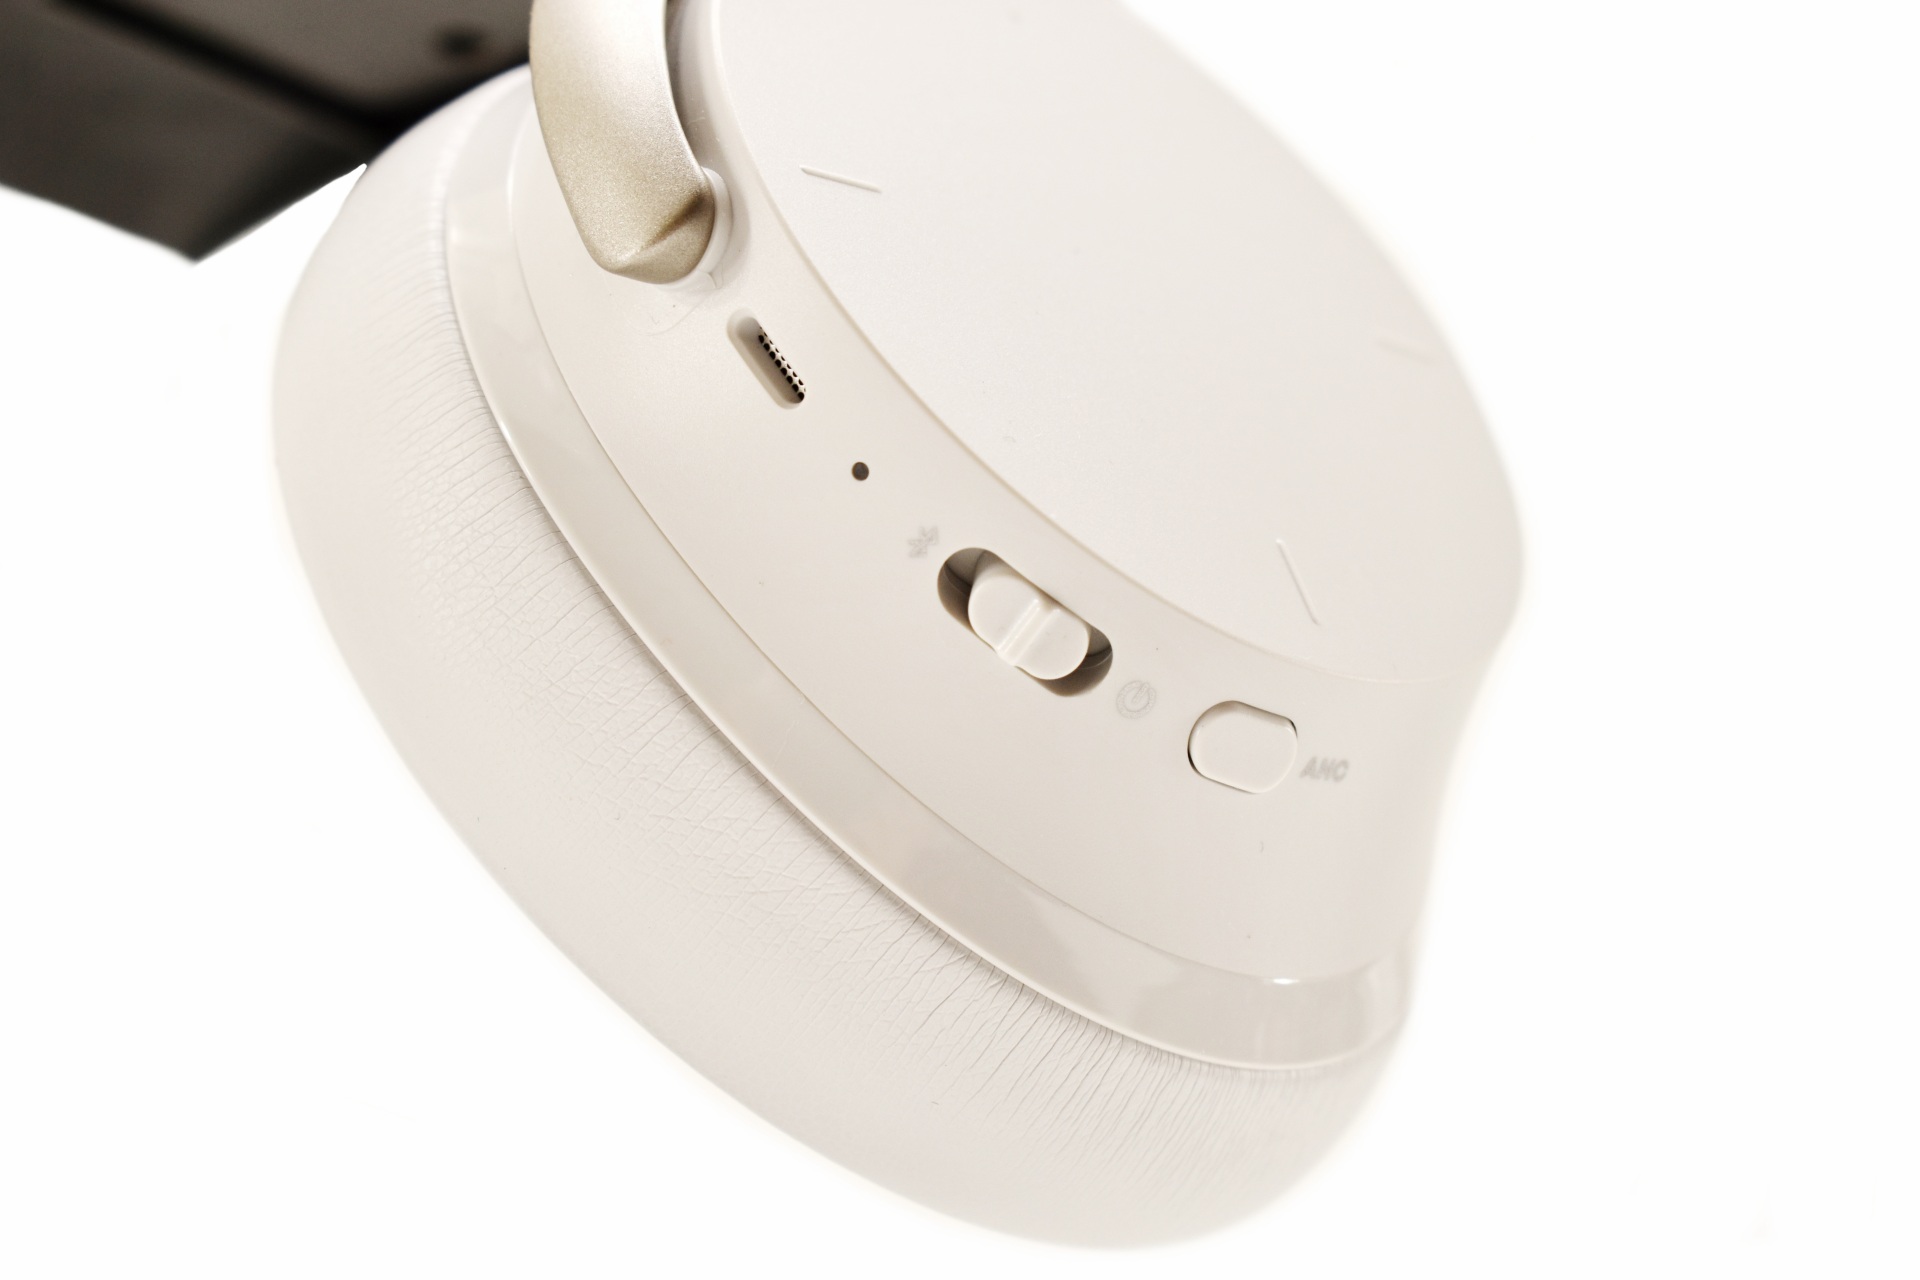
All 10 modular ports at the front of the unit are tagged.

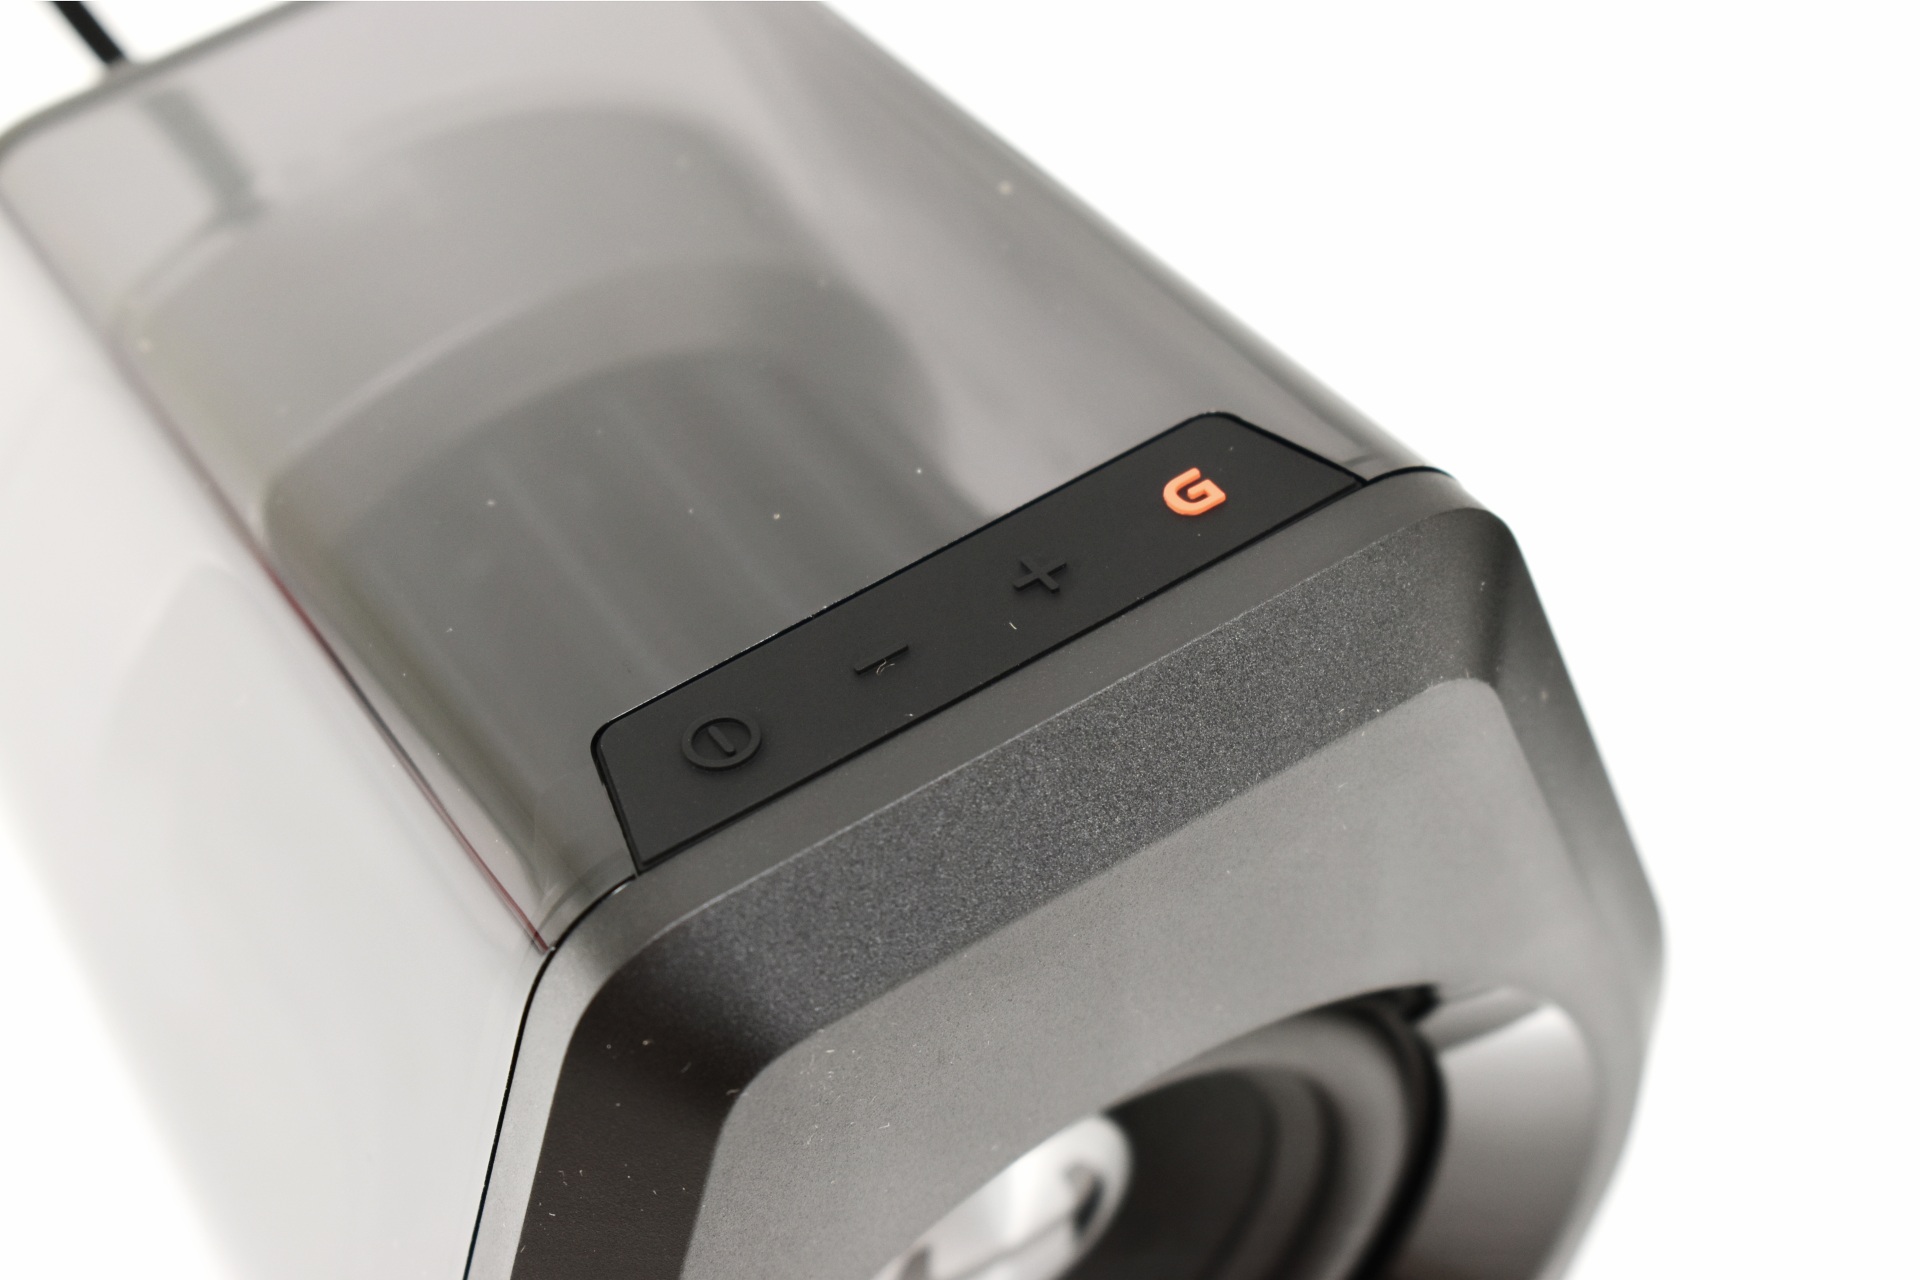
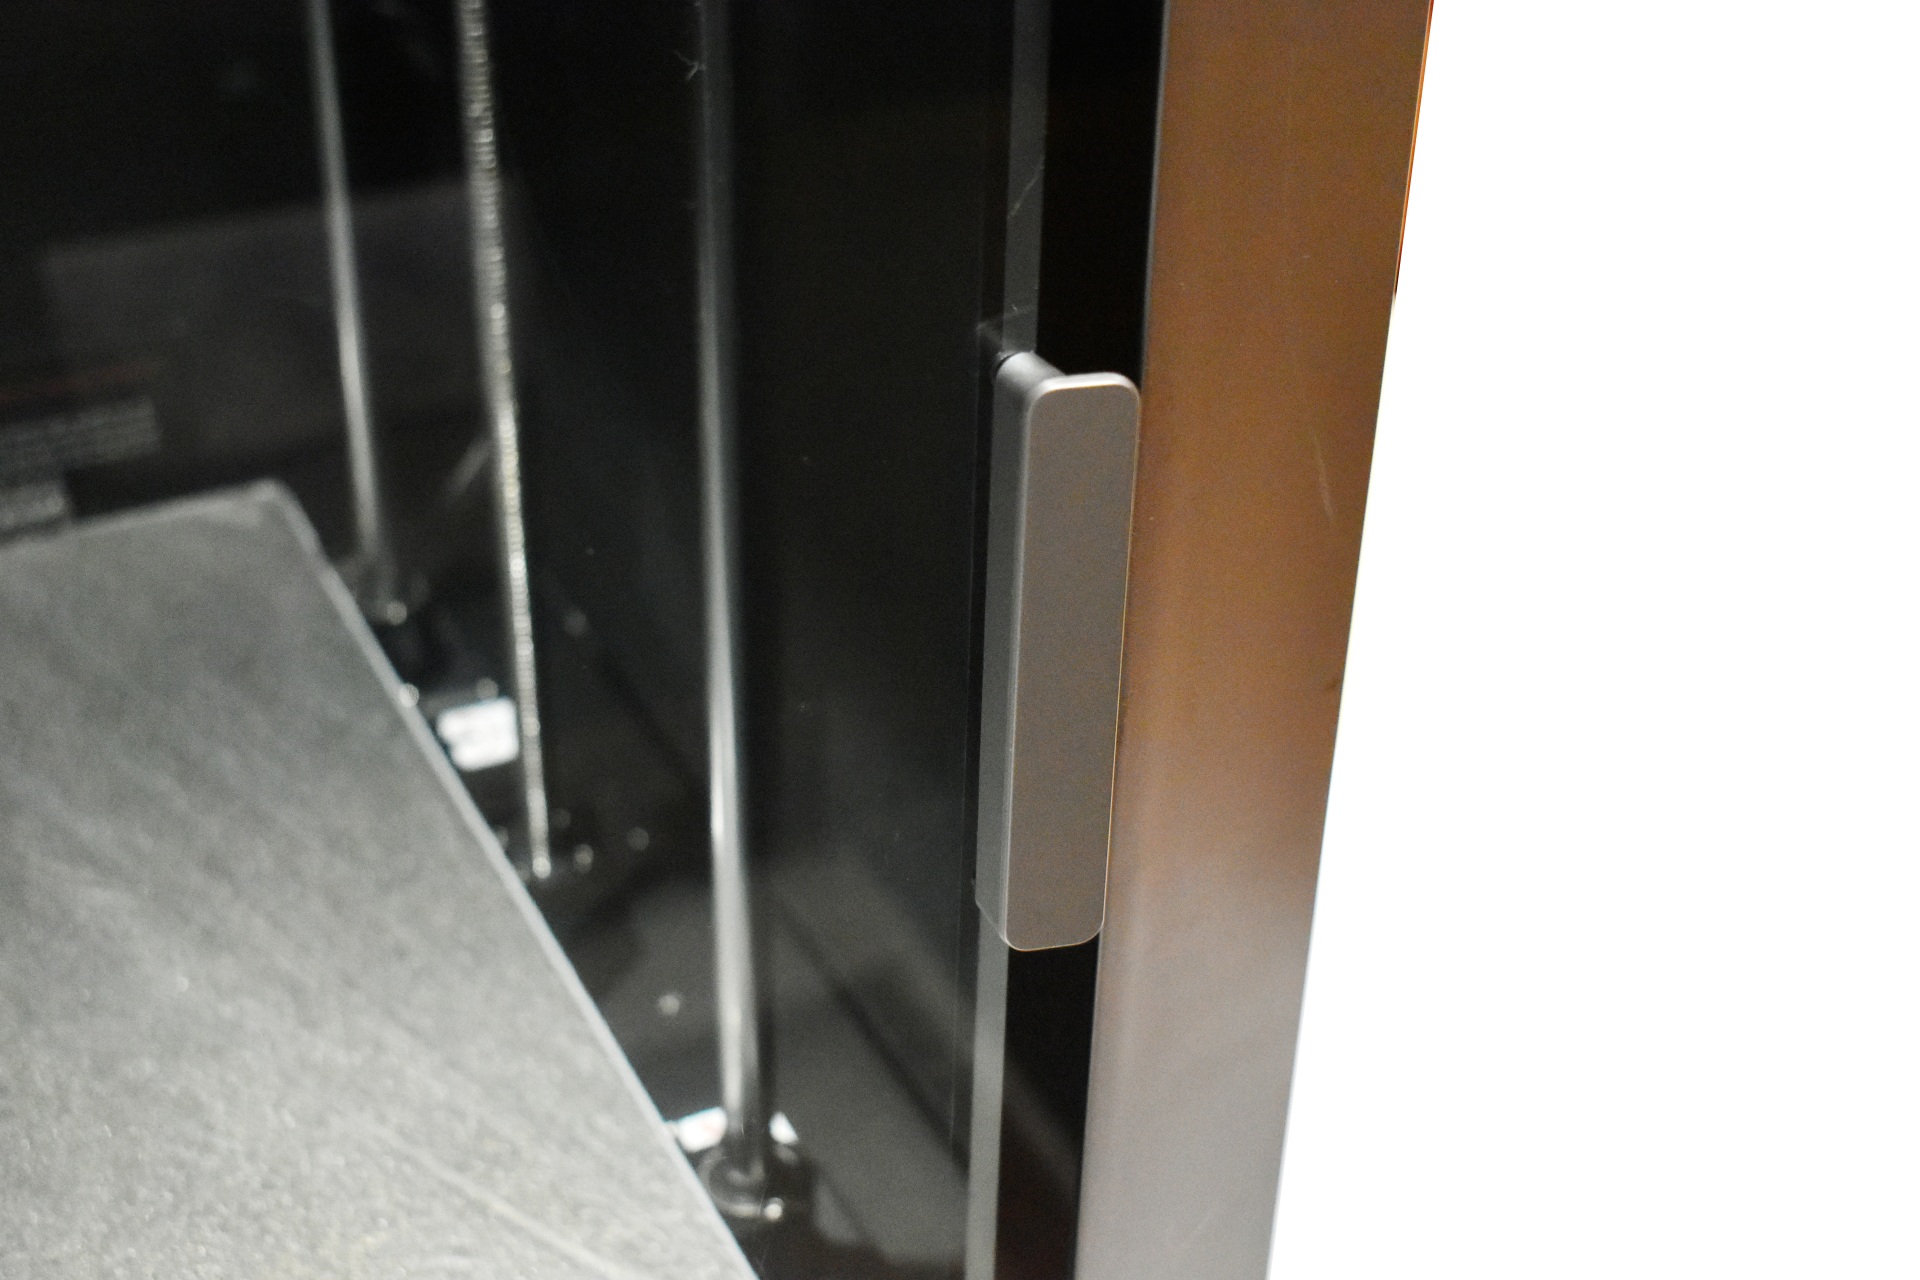
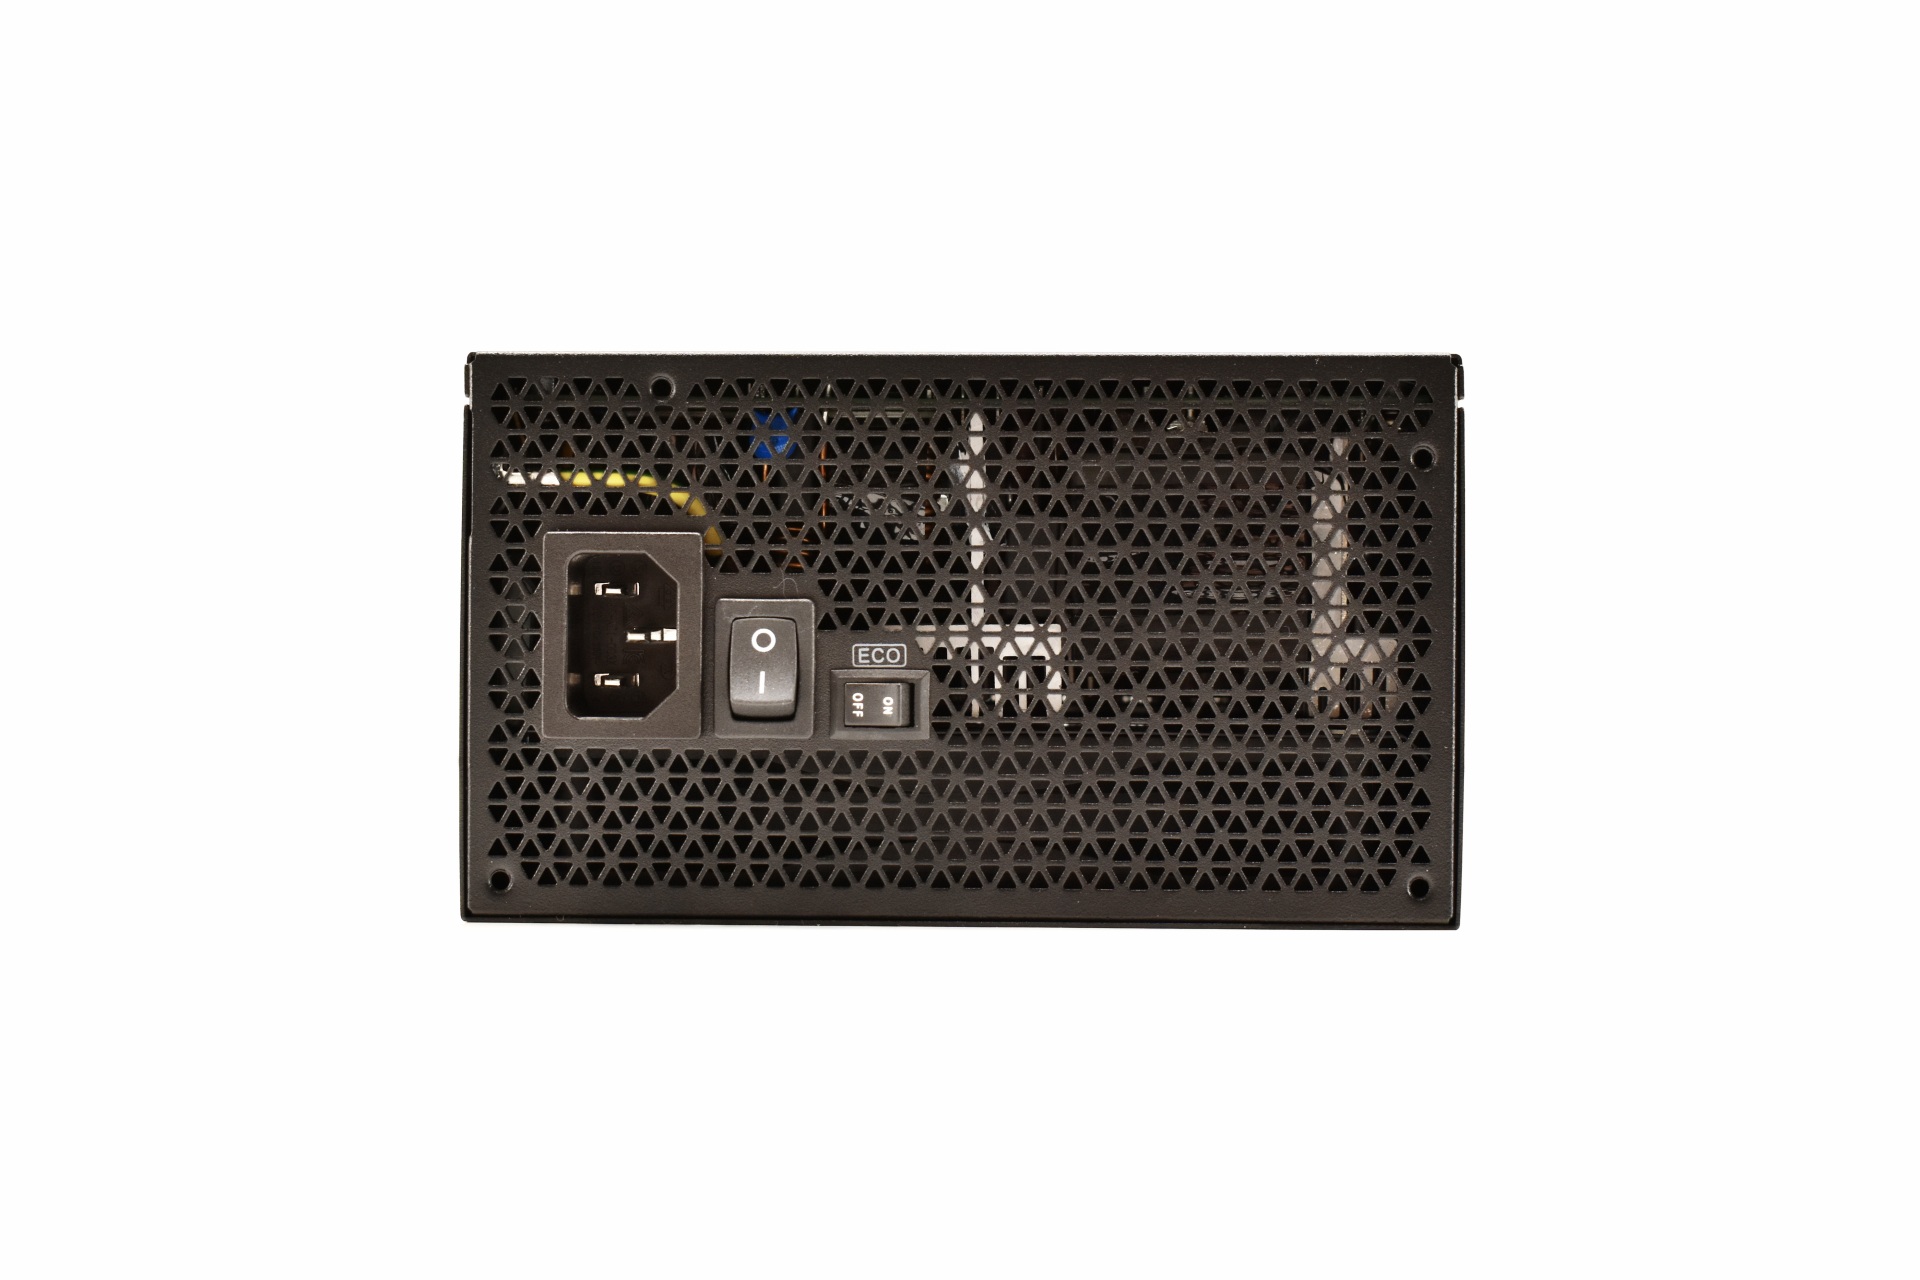
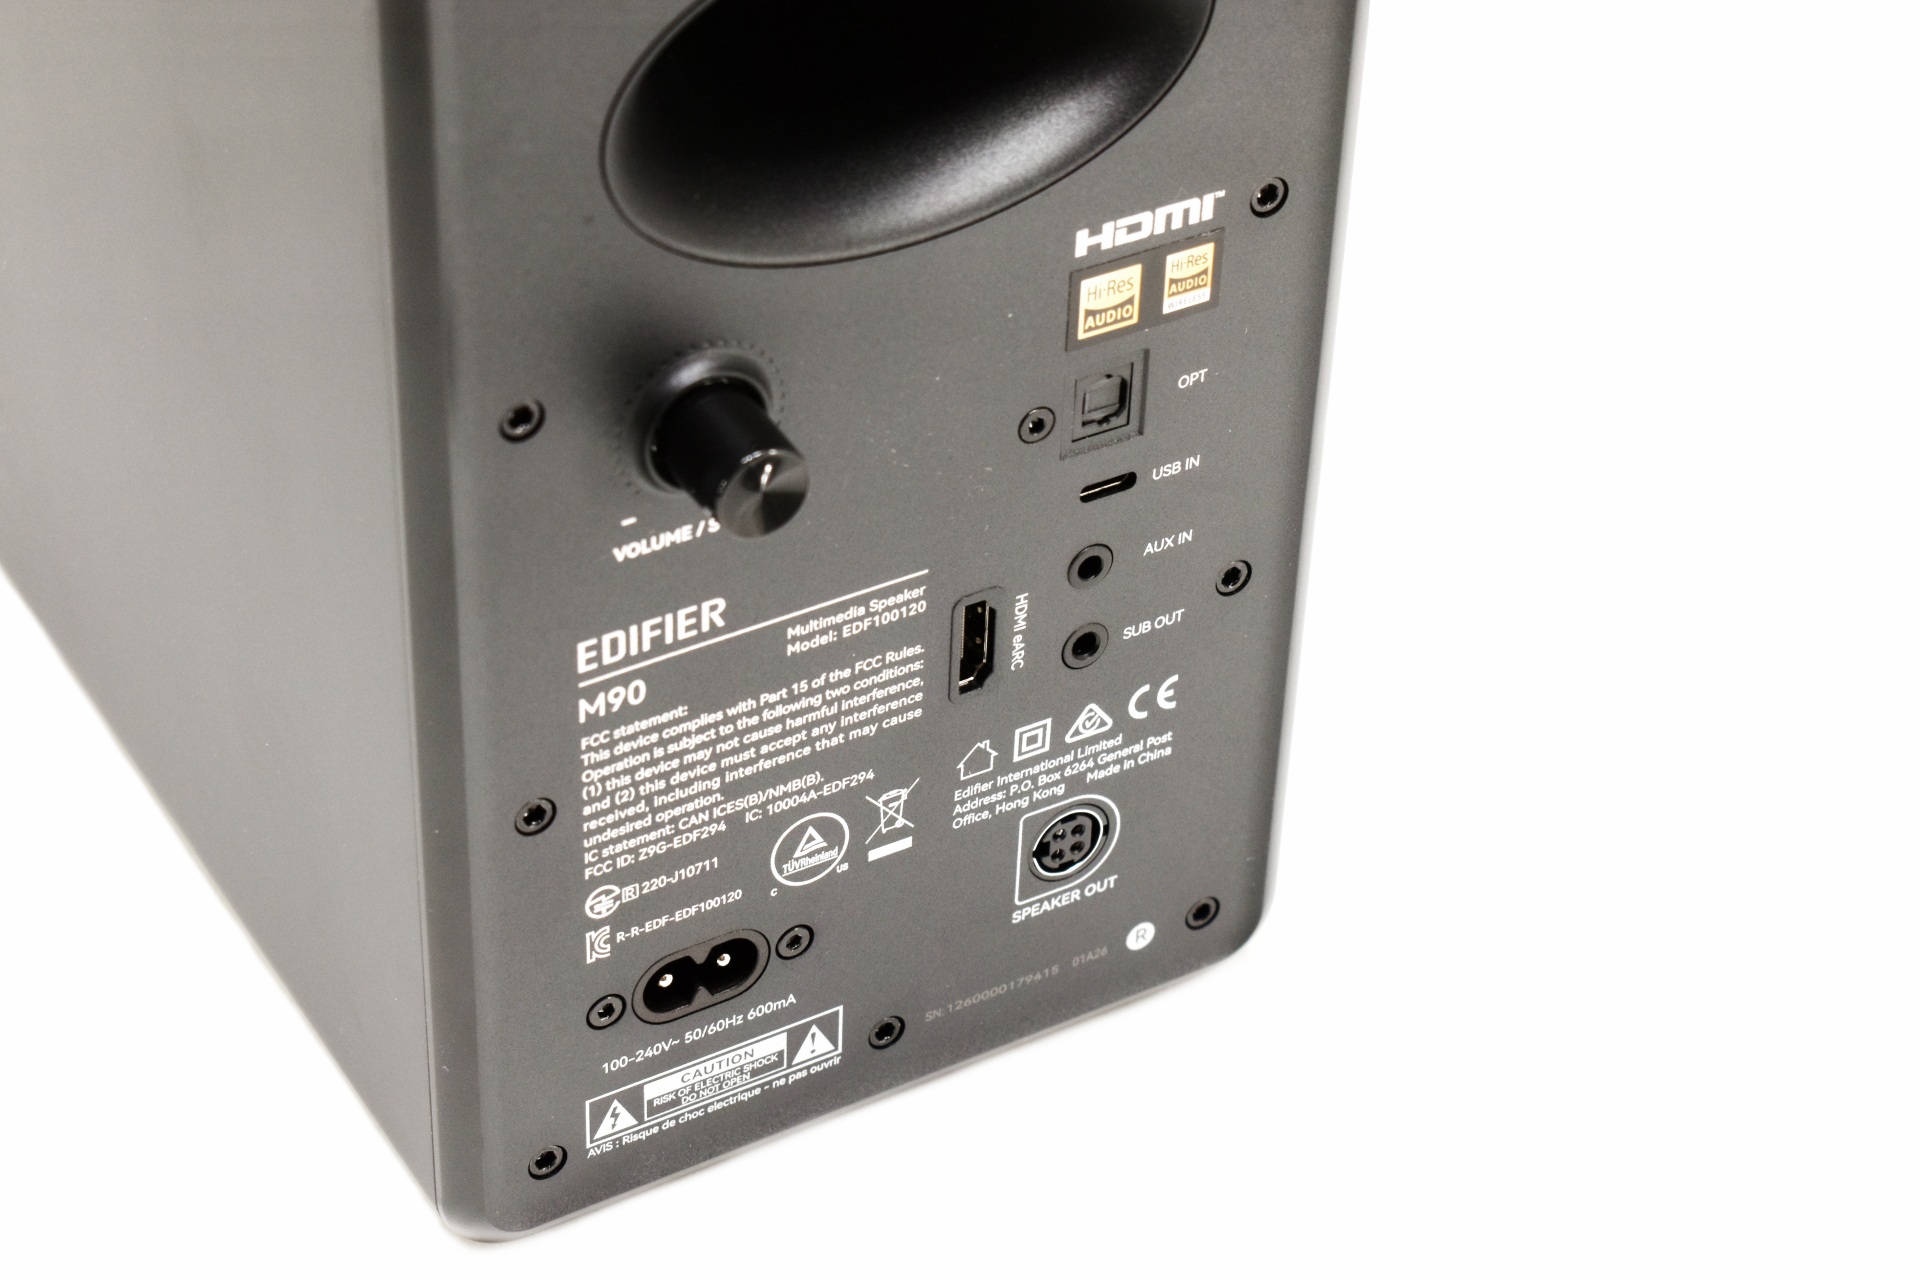
Moving at the rear we just find the power port and the on/off switch.
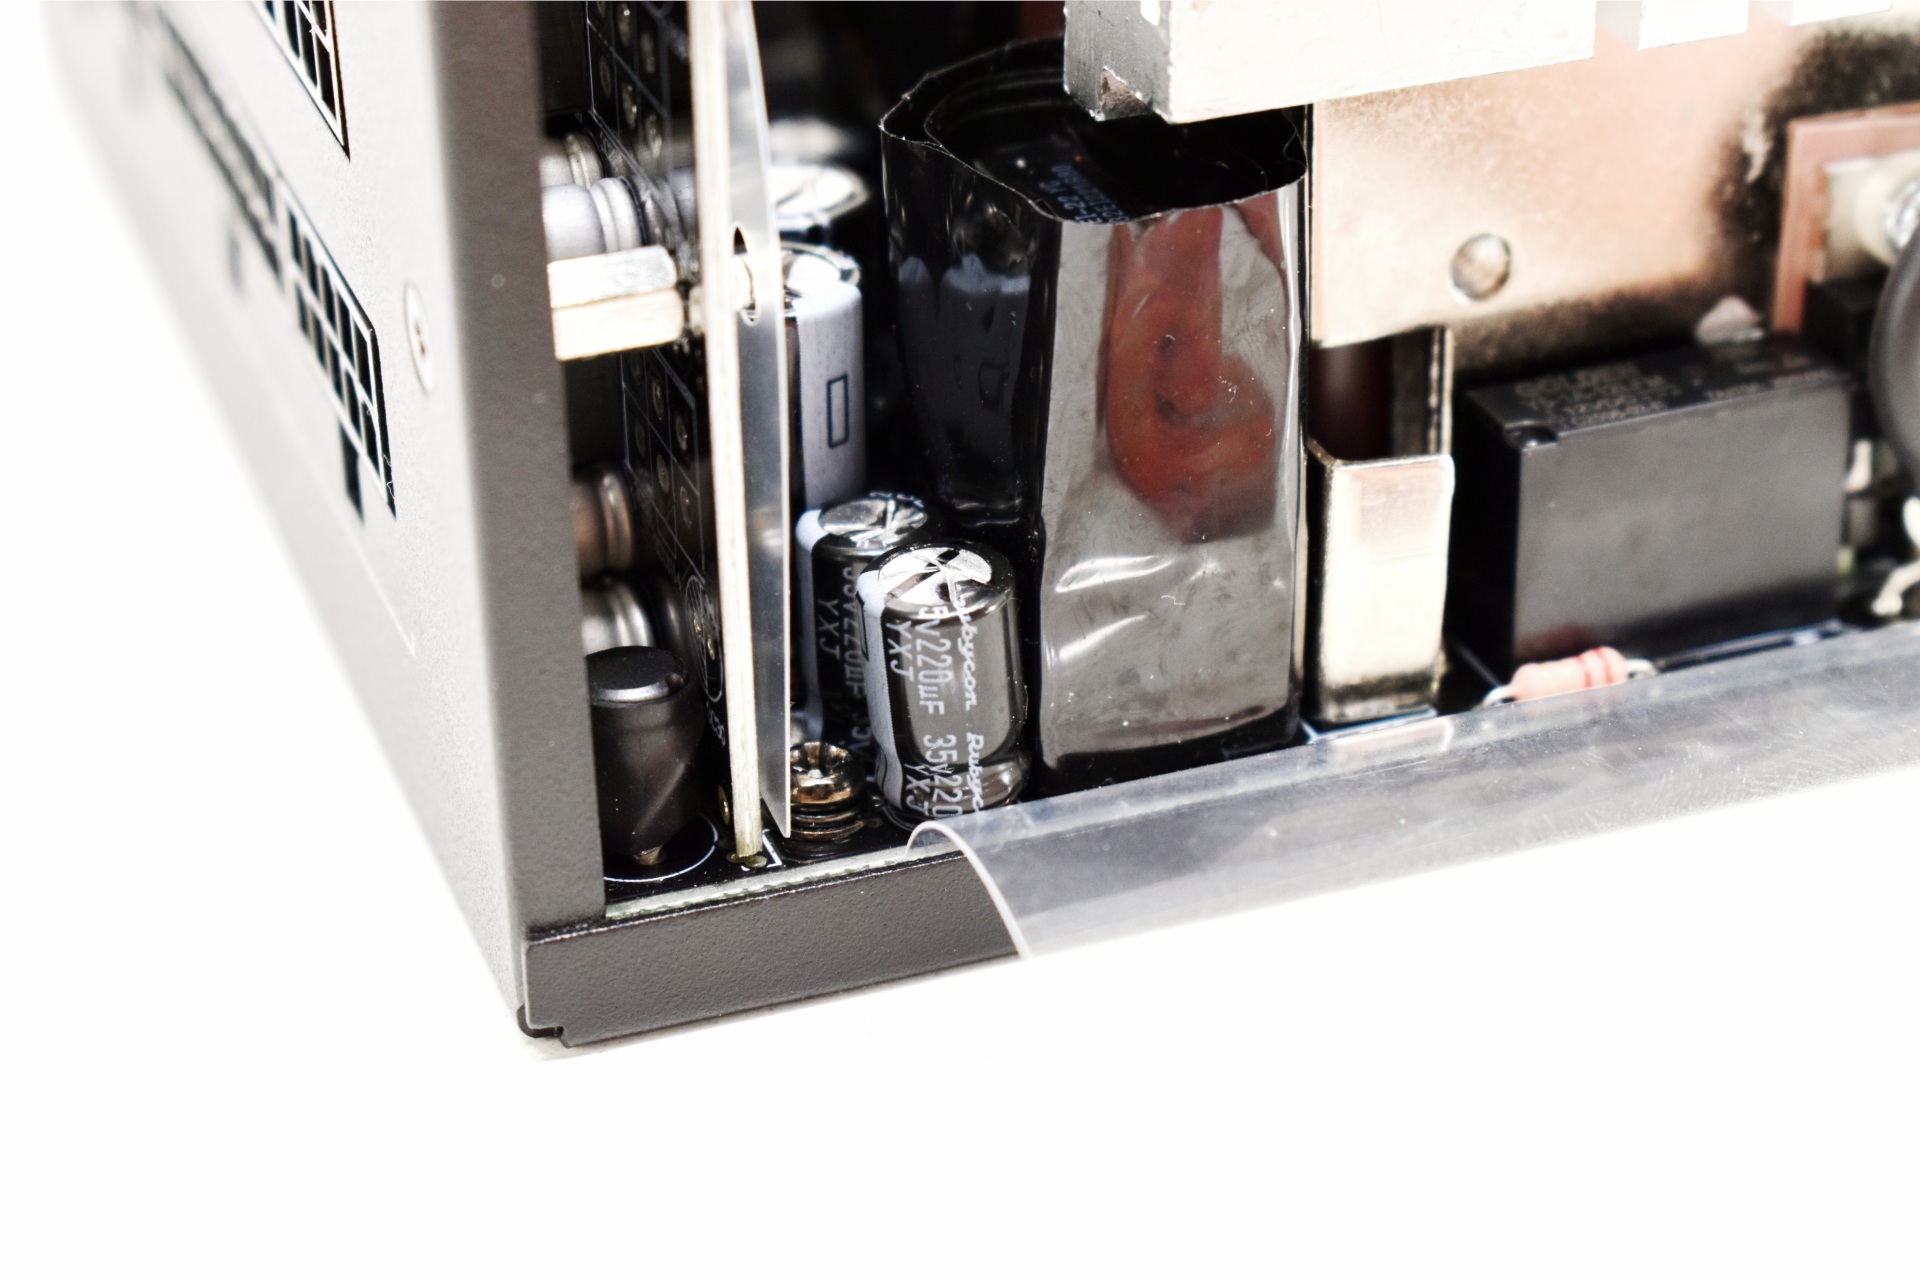
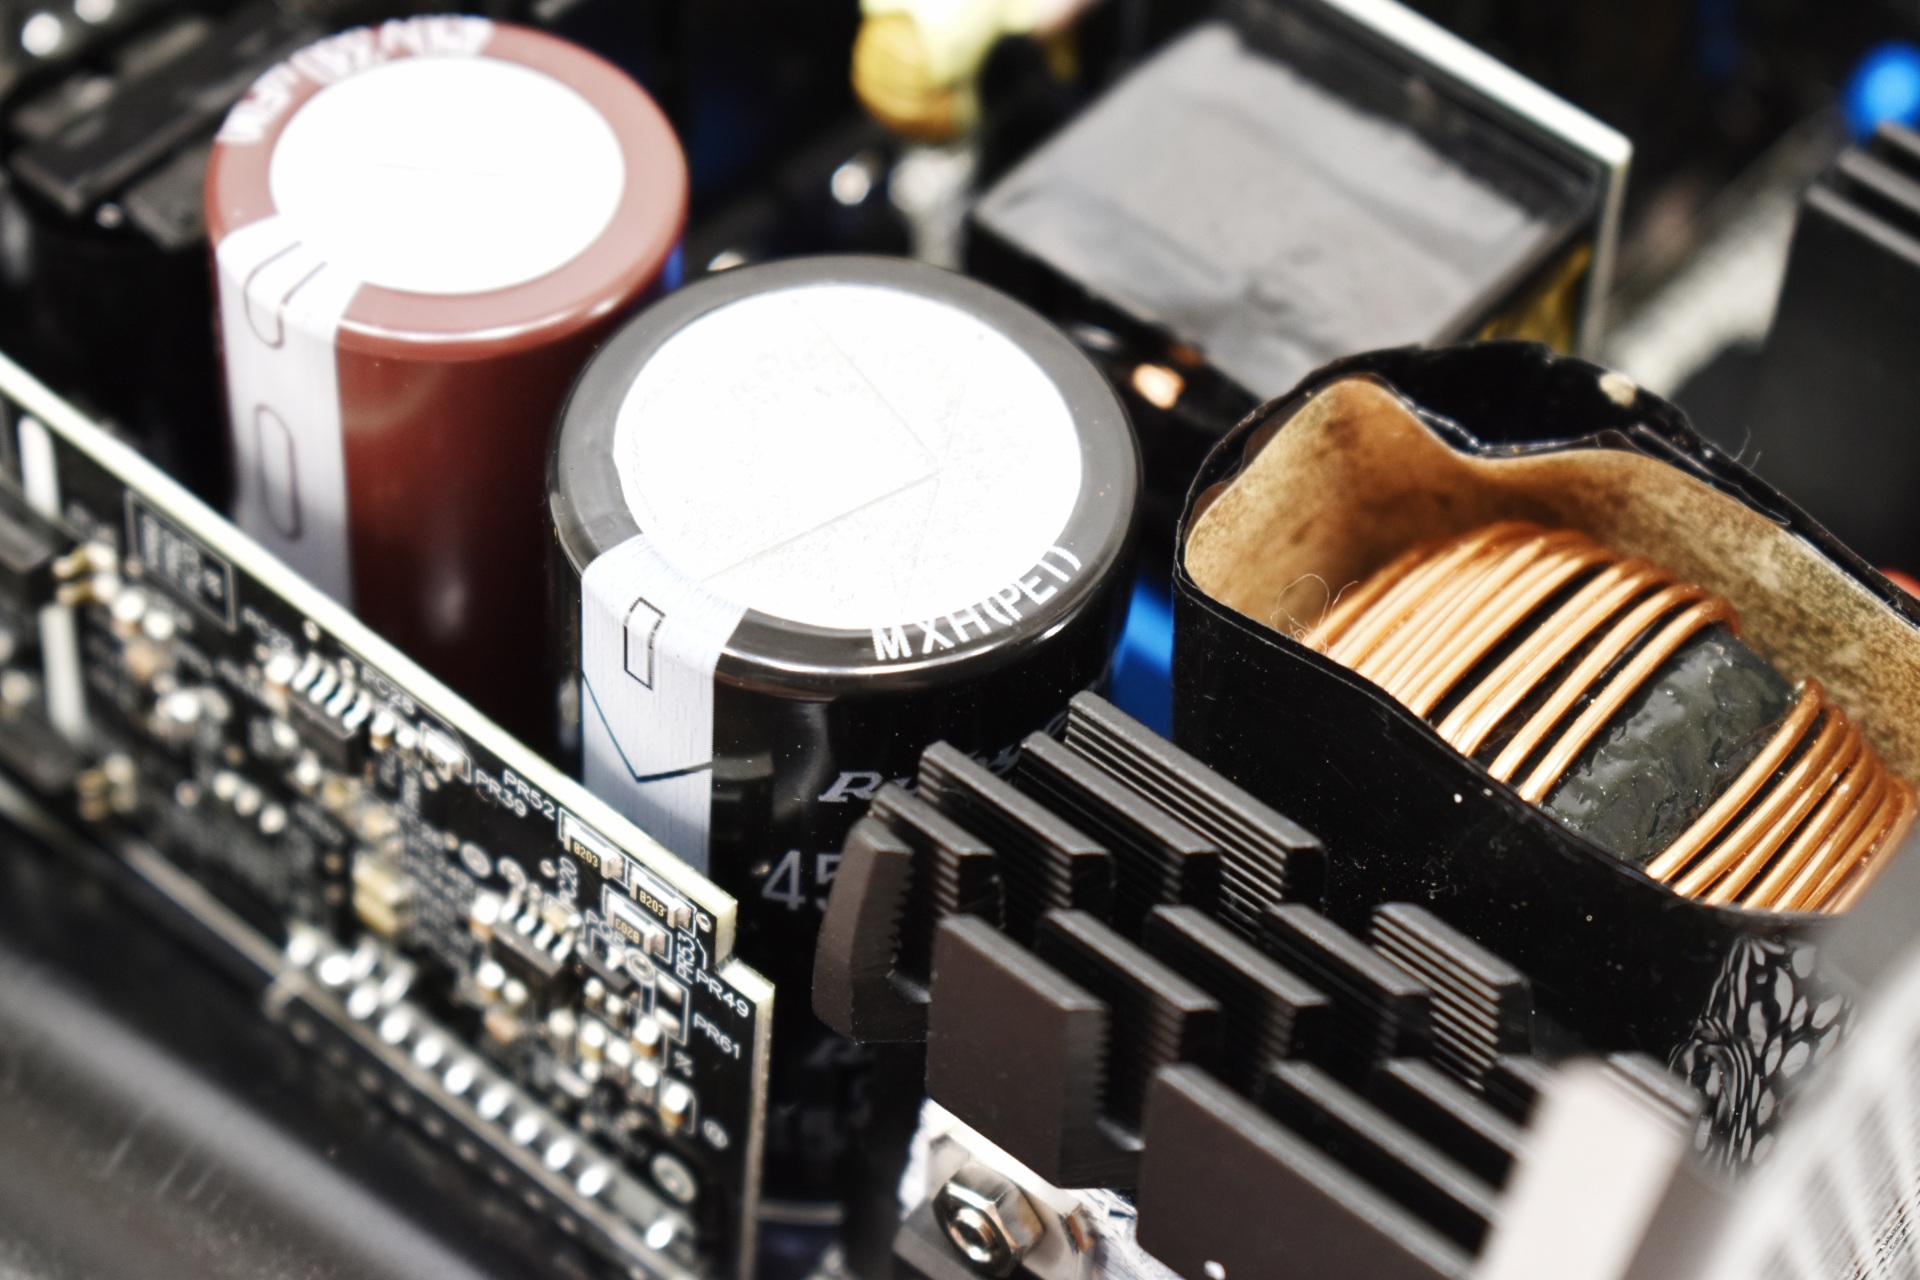
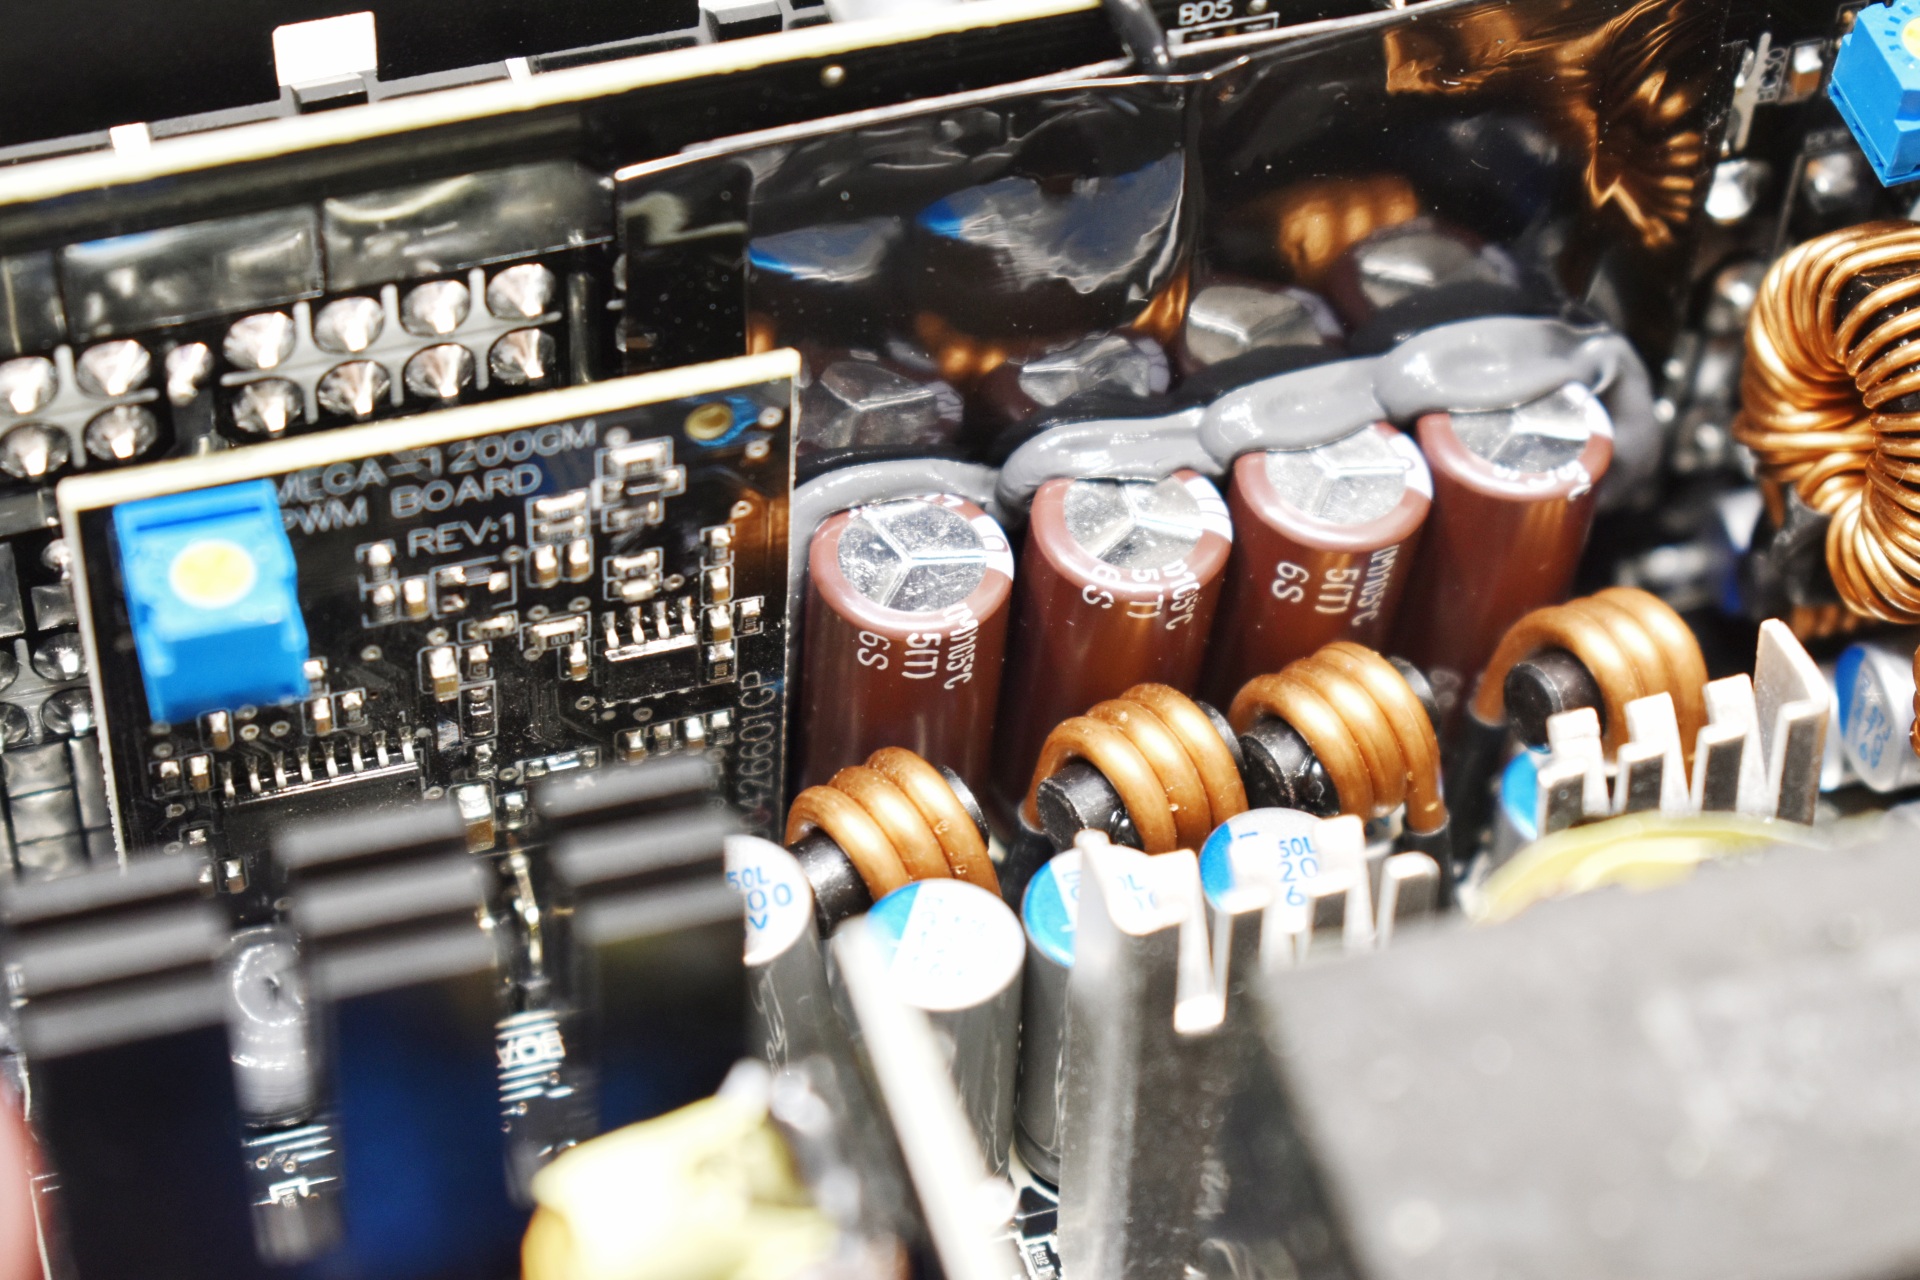
THE REVOLUTION III S 1000W INTERIOR

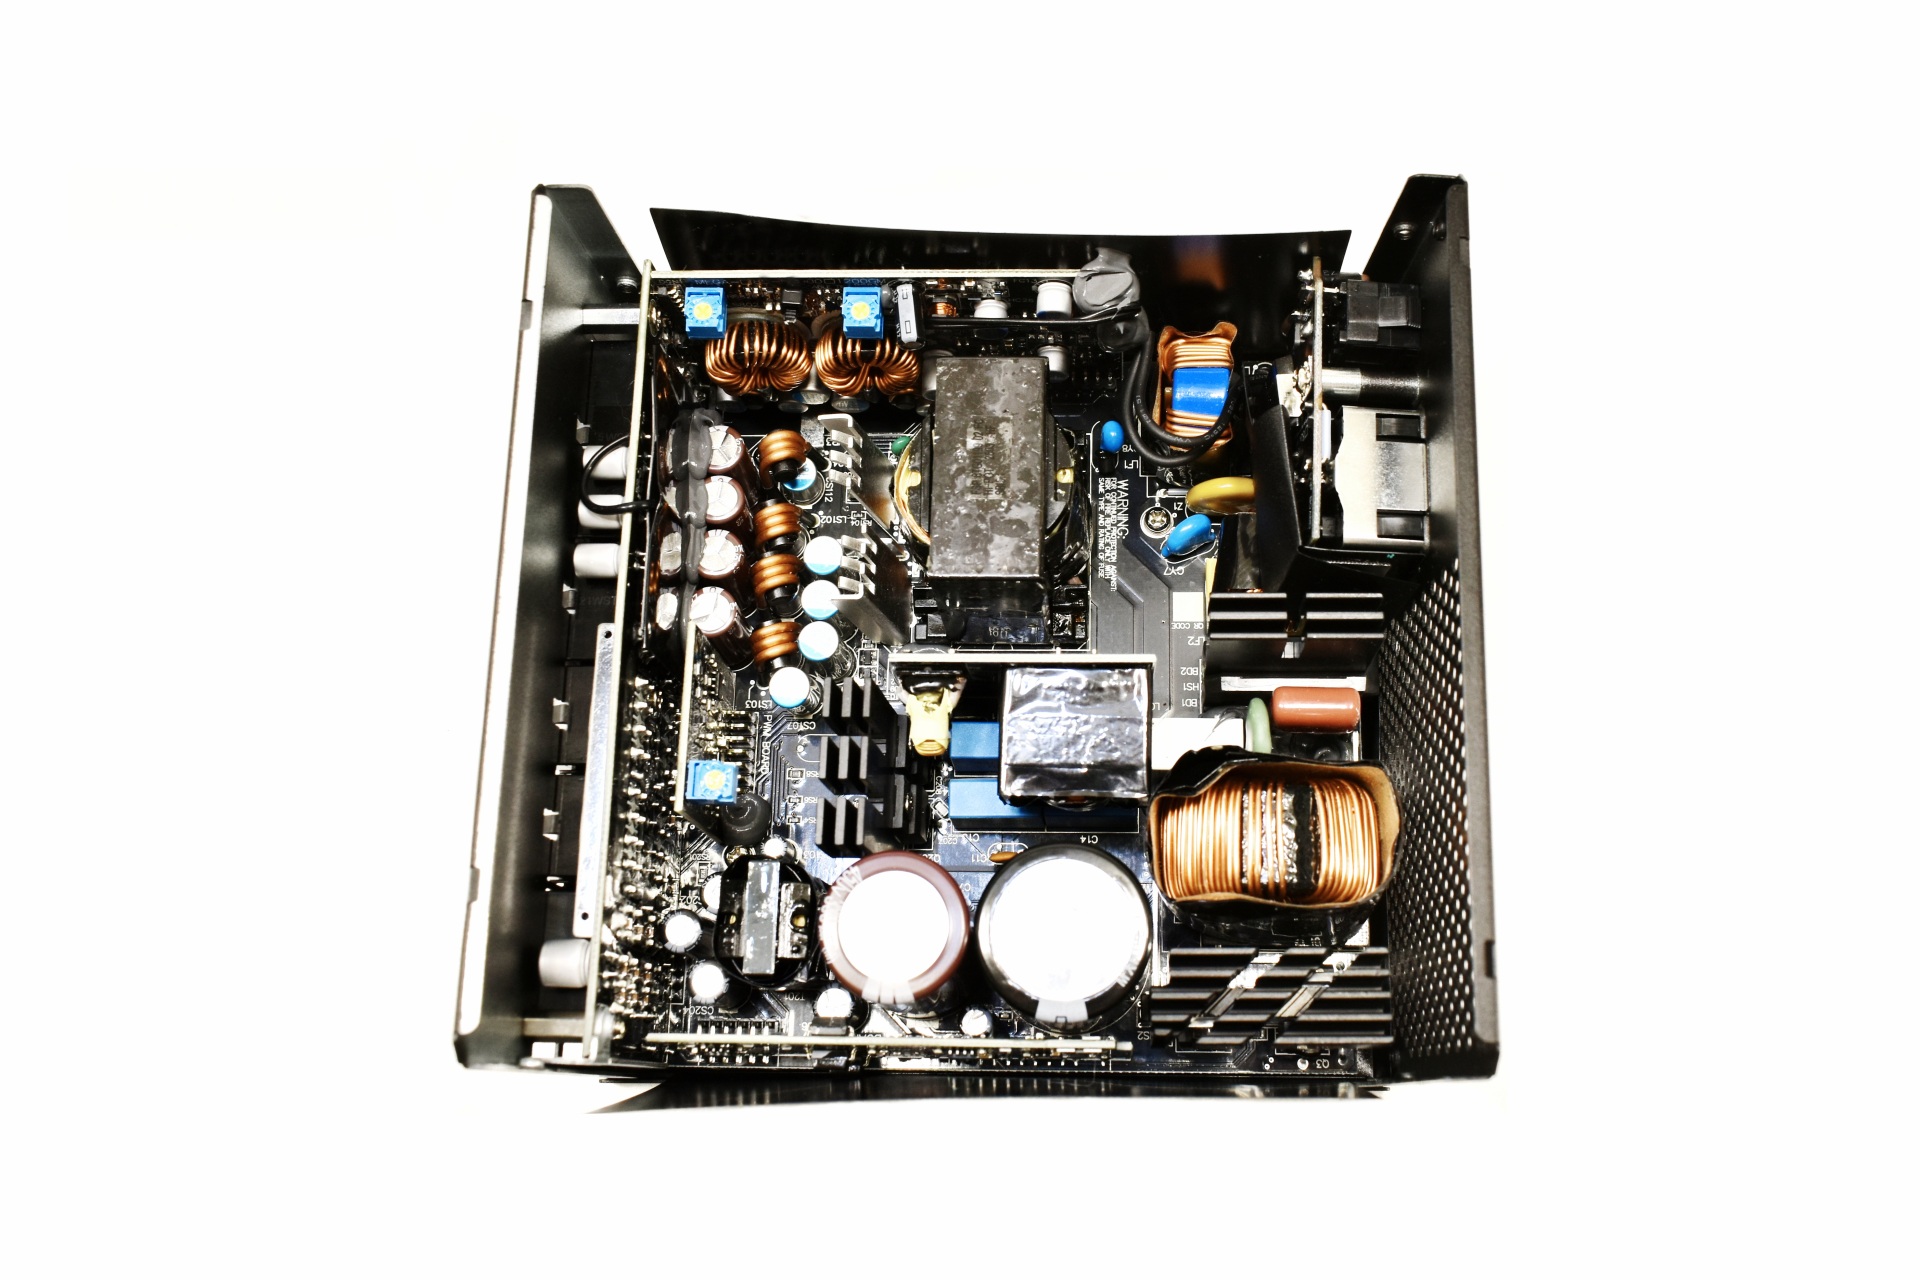
The 120mm fluid dynamic bearing fan is made by GLOBE FAN.

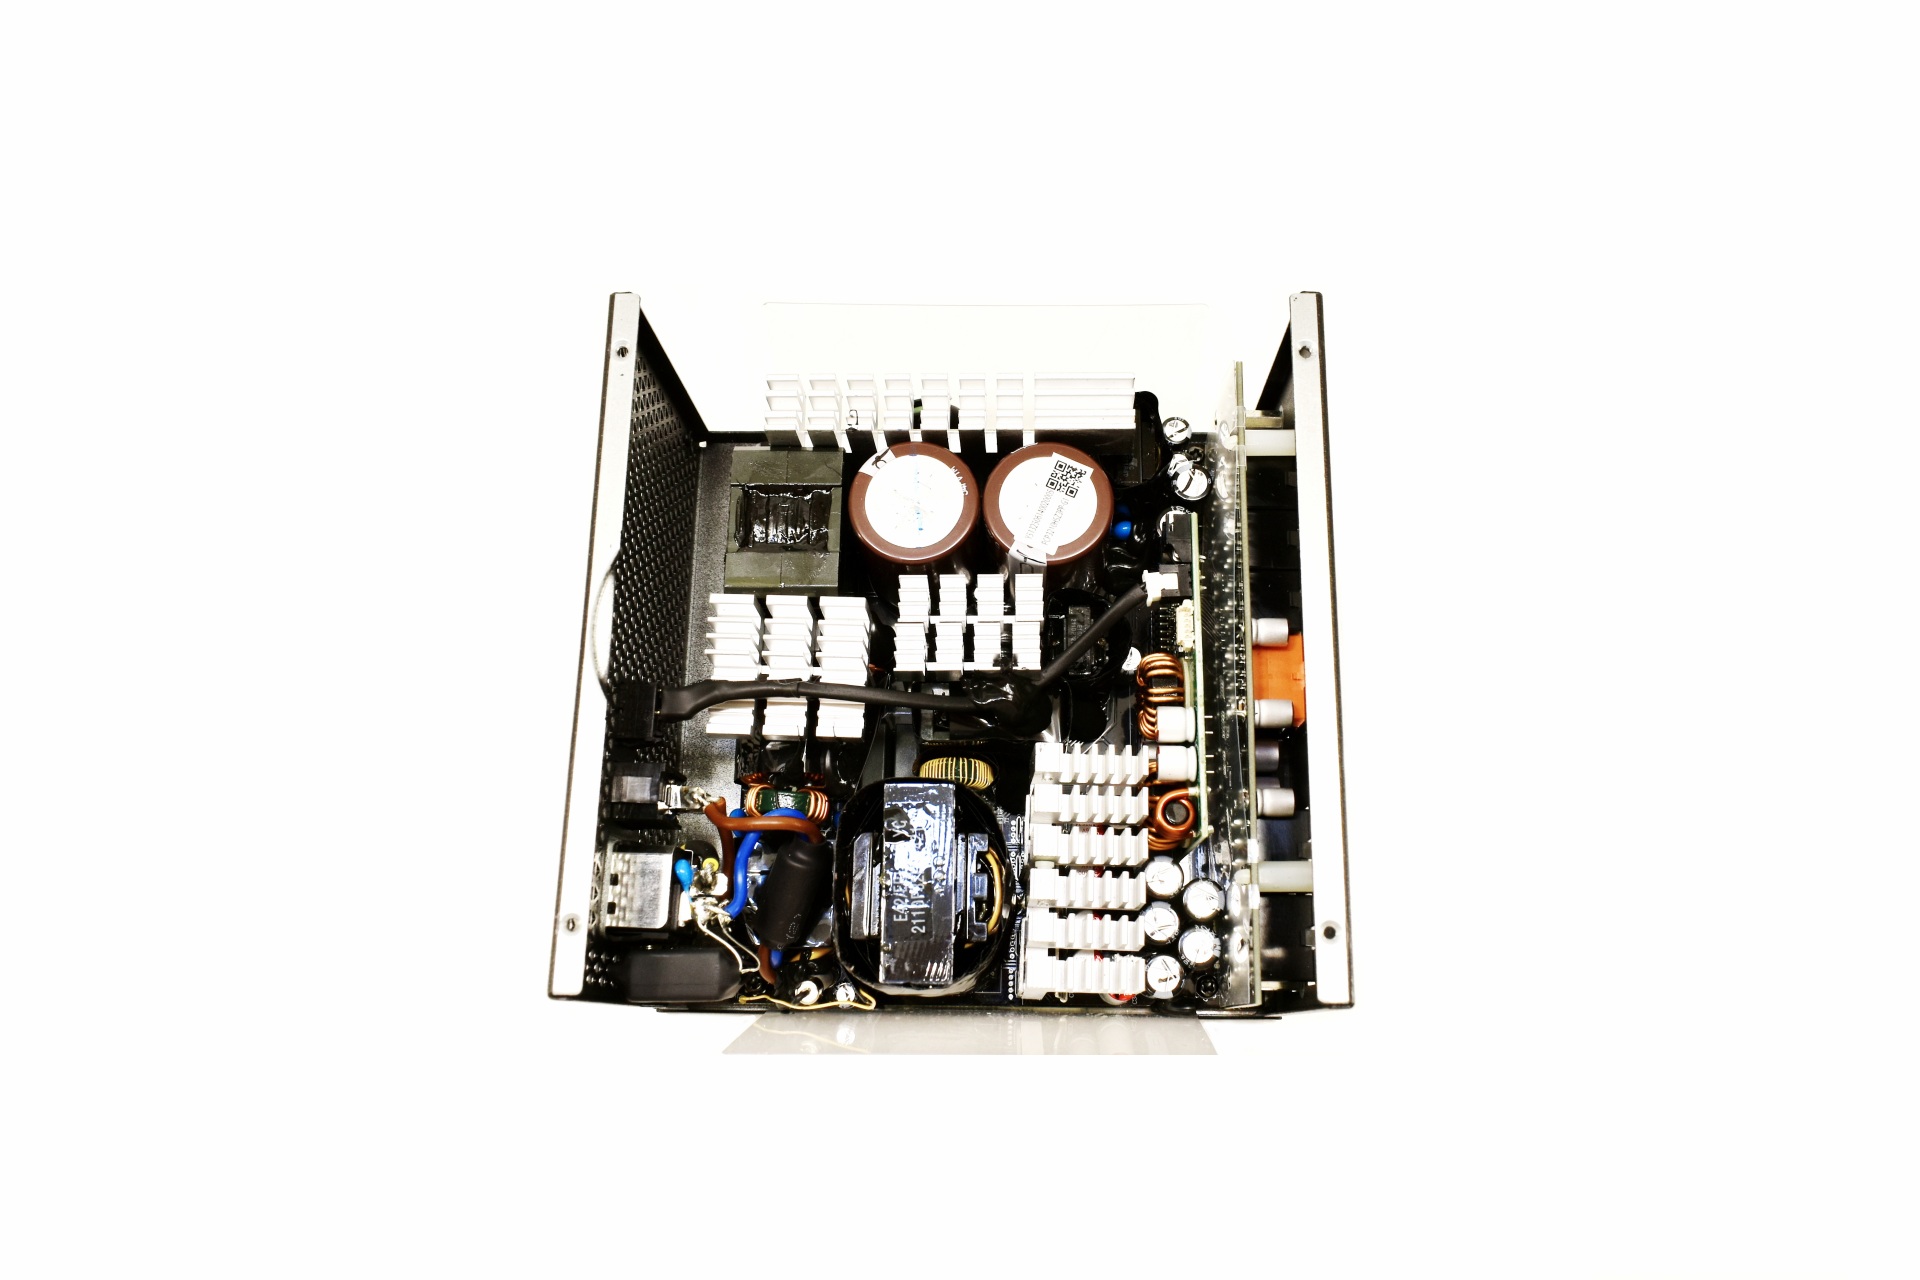
The OEM behind the Revolution III S 1000W is Shenzhen RSY (we keep seeing a lot platforms by them lately).

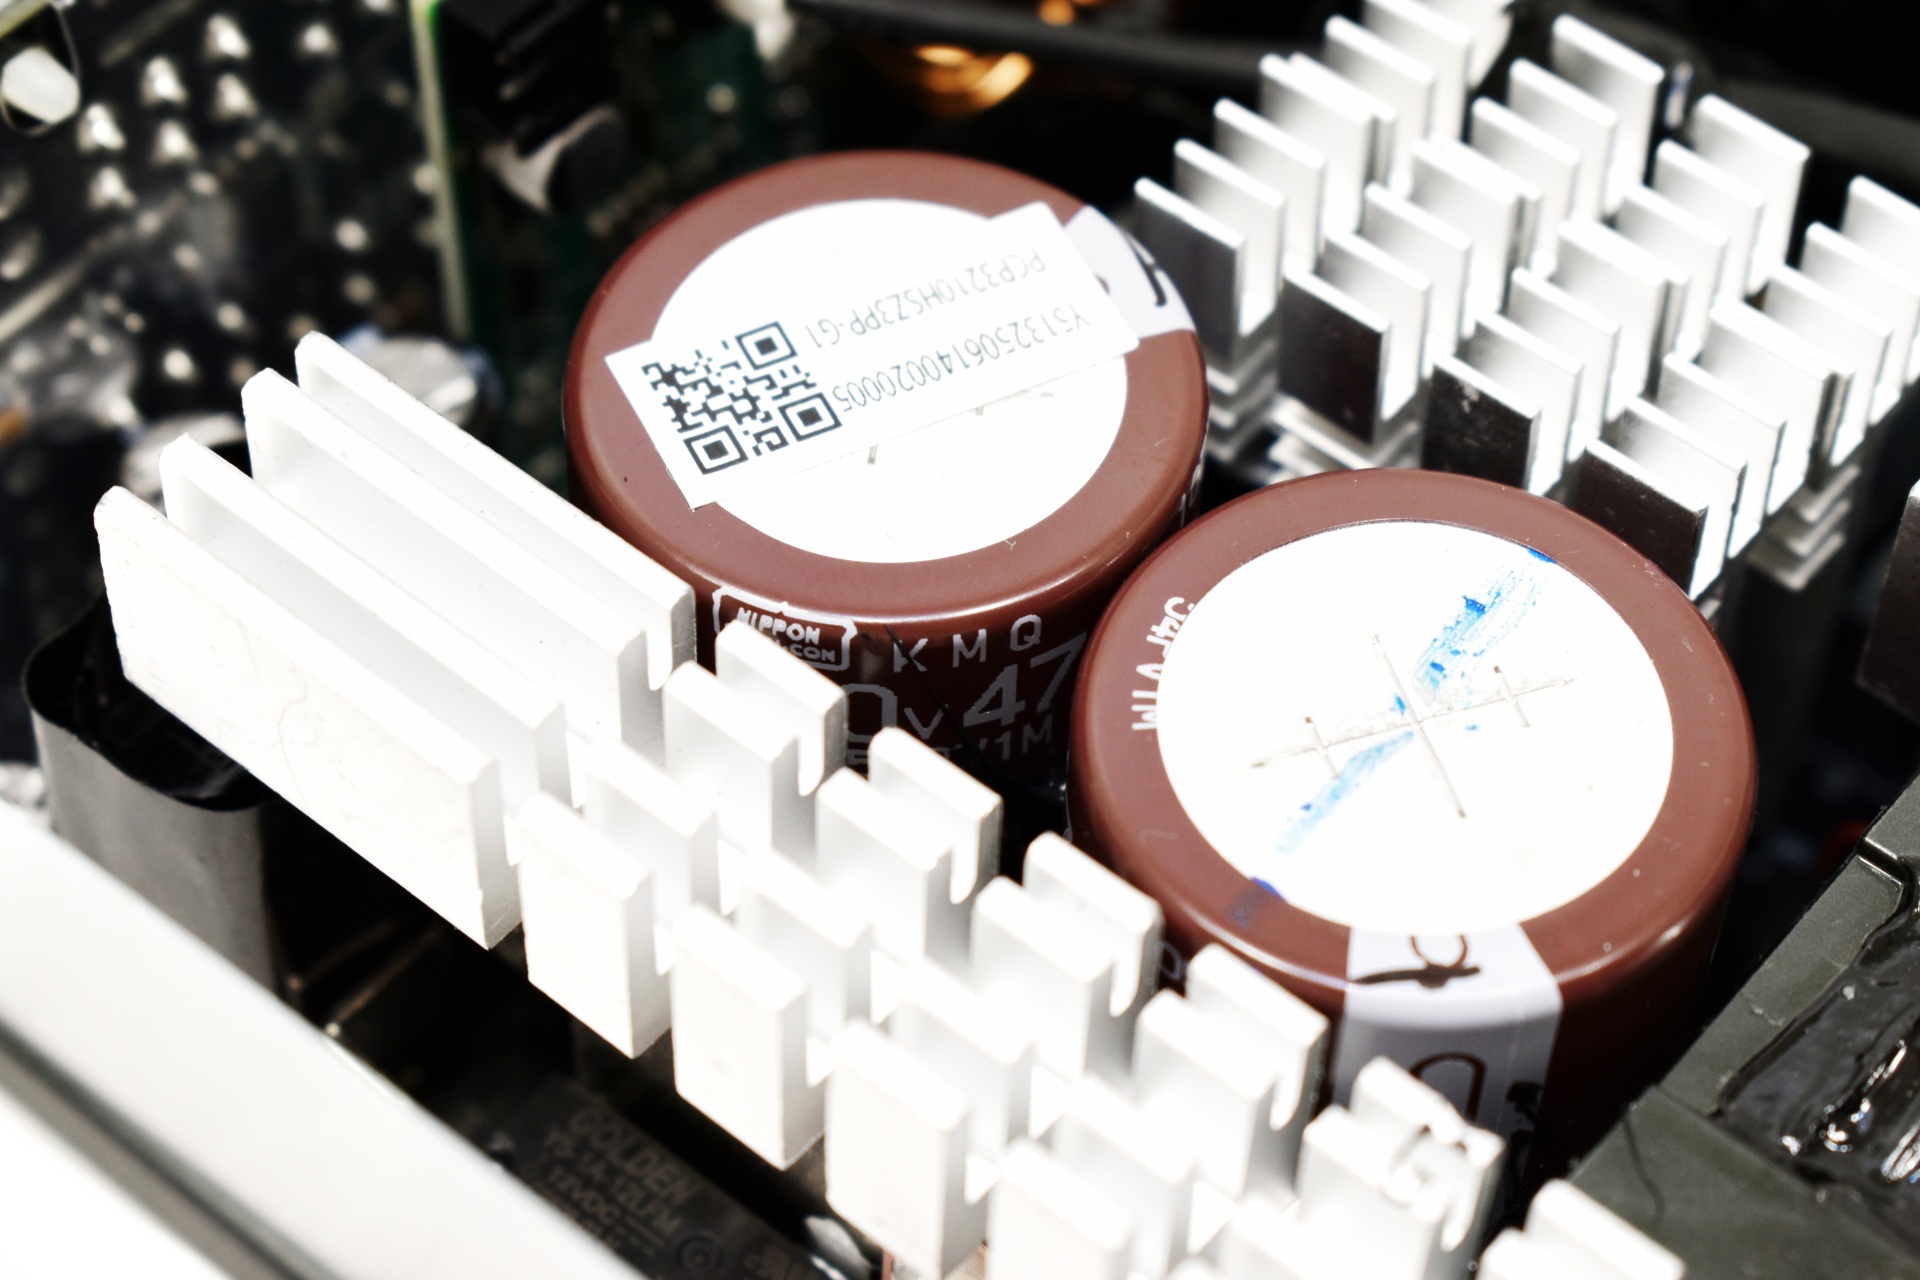
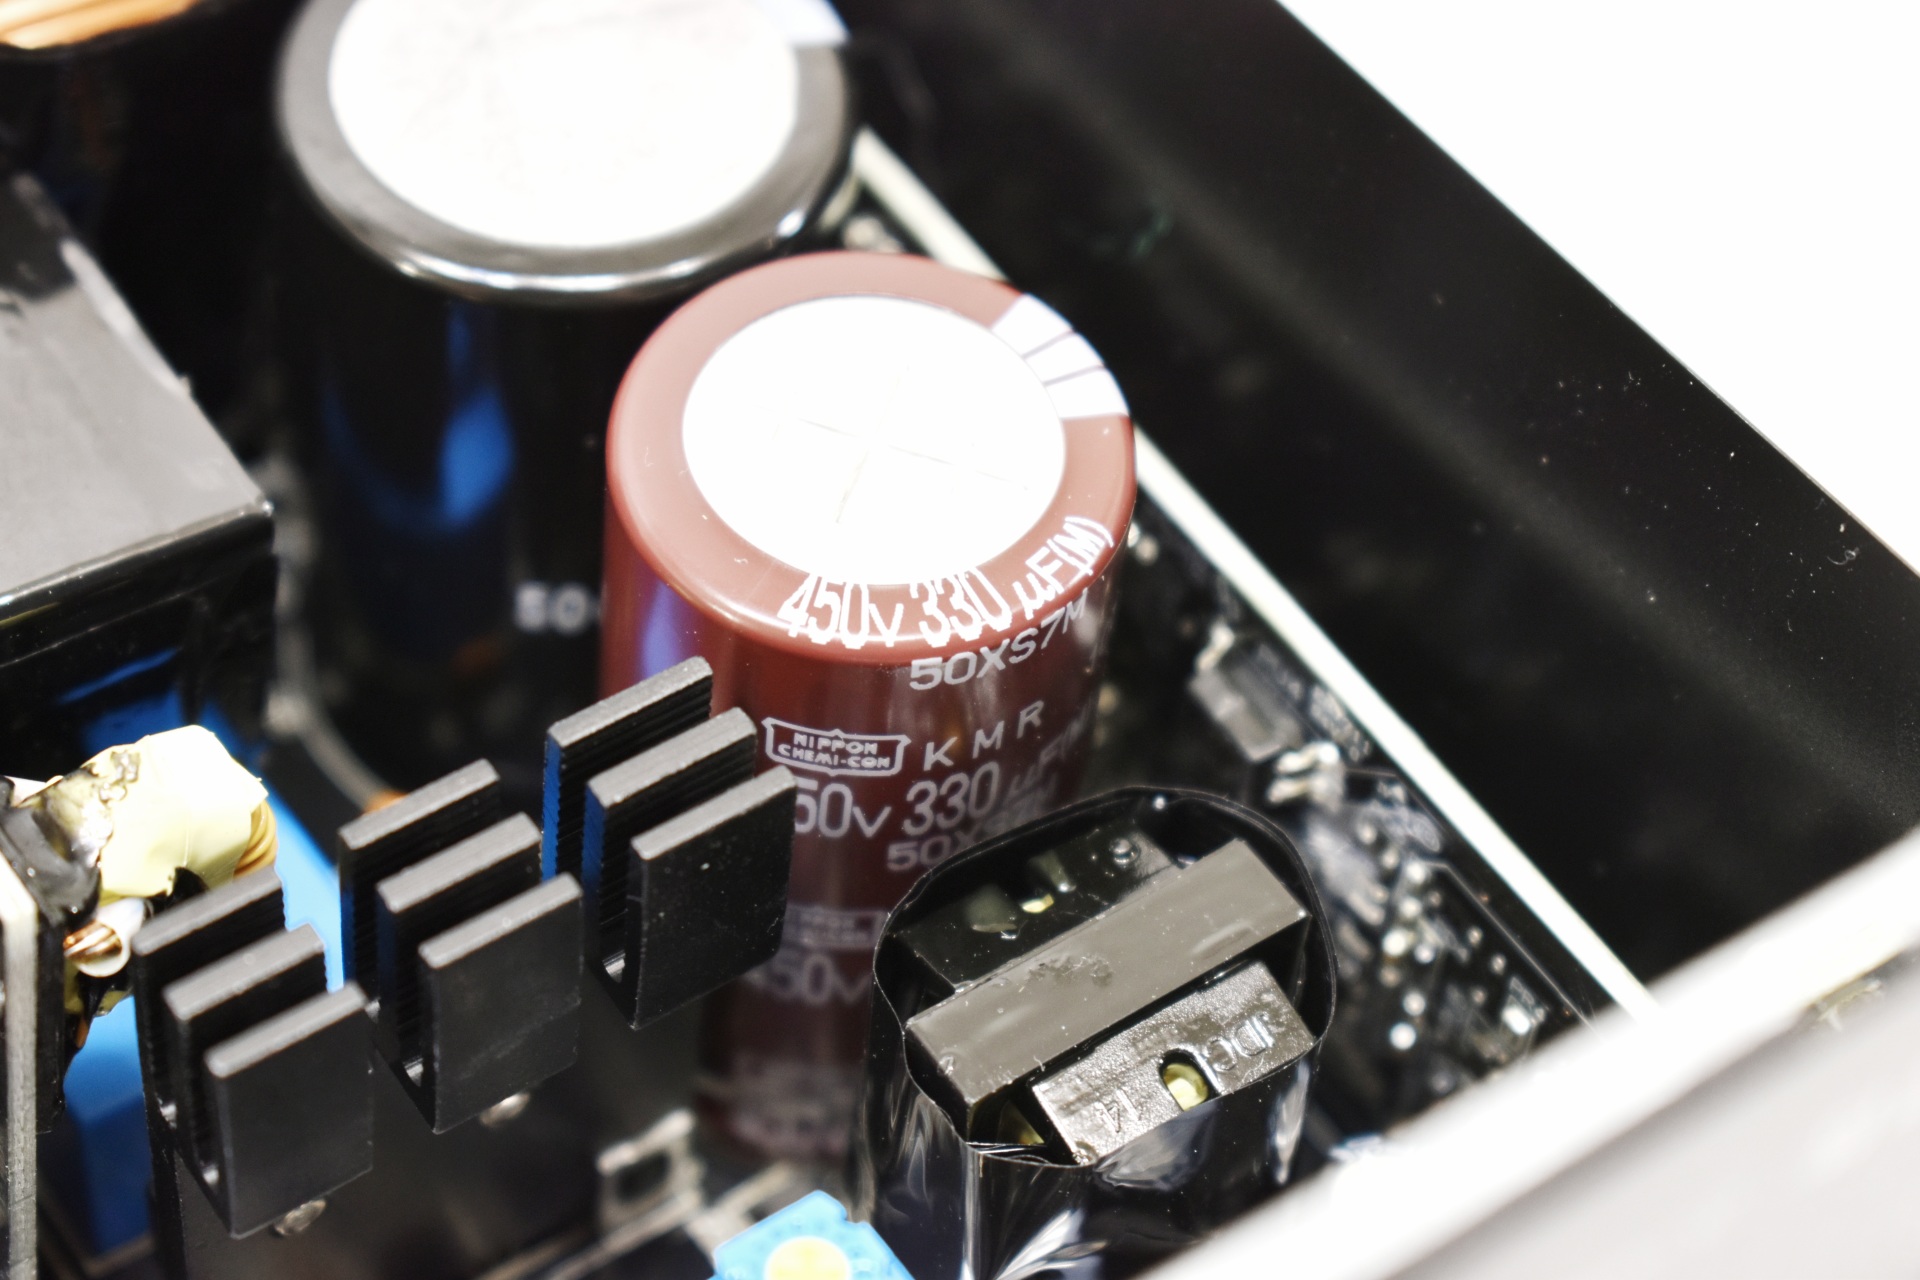
Primary capacitor is manufactured by the Japanese Rubycon and is rated for use up to 105 degrees Celsius.

Secondary capacitors are also manufactured by Rubycon and are also rated for use 105 degrees Celsius.
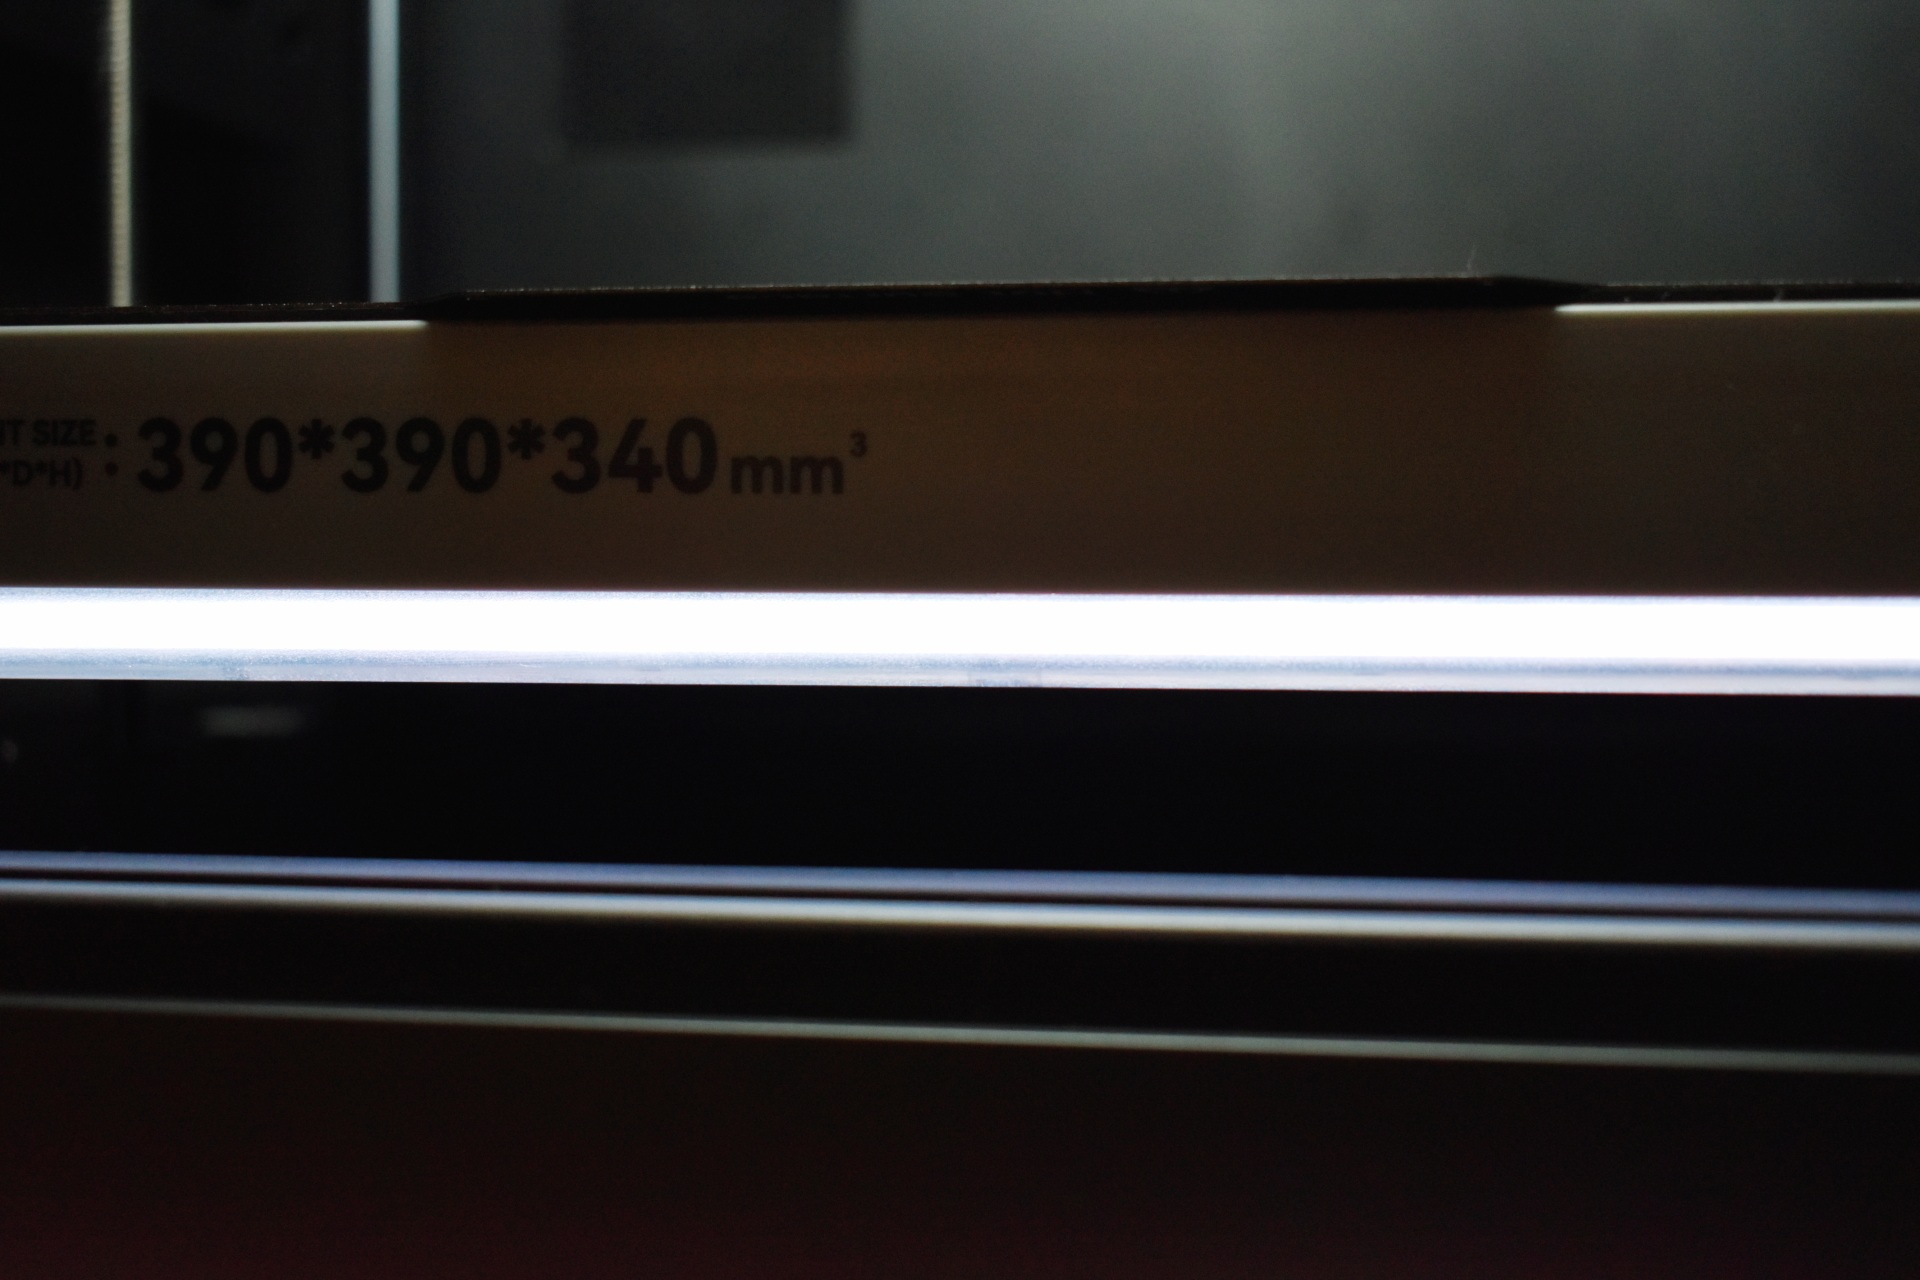
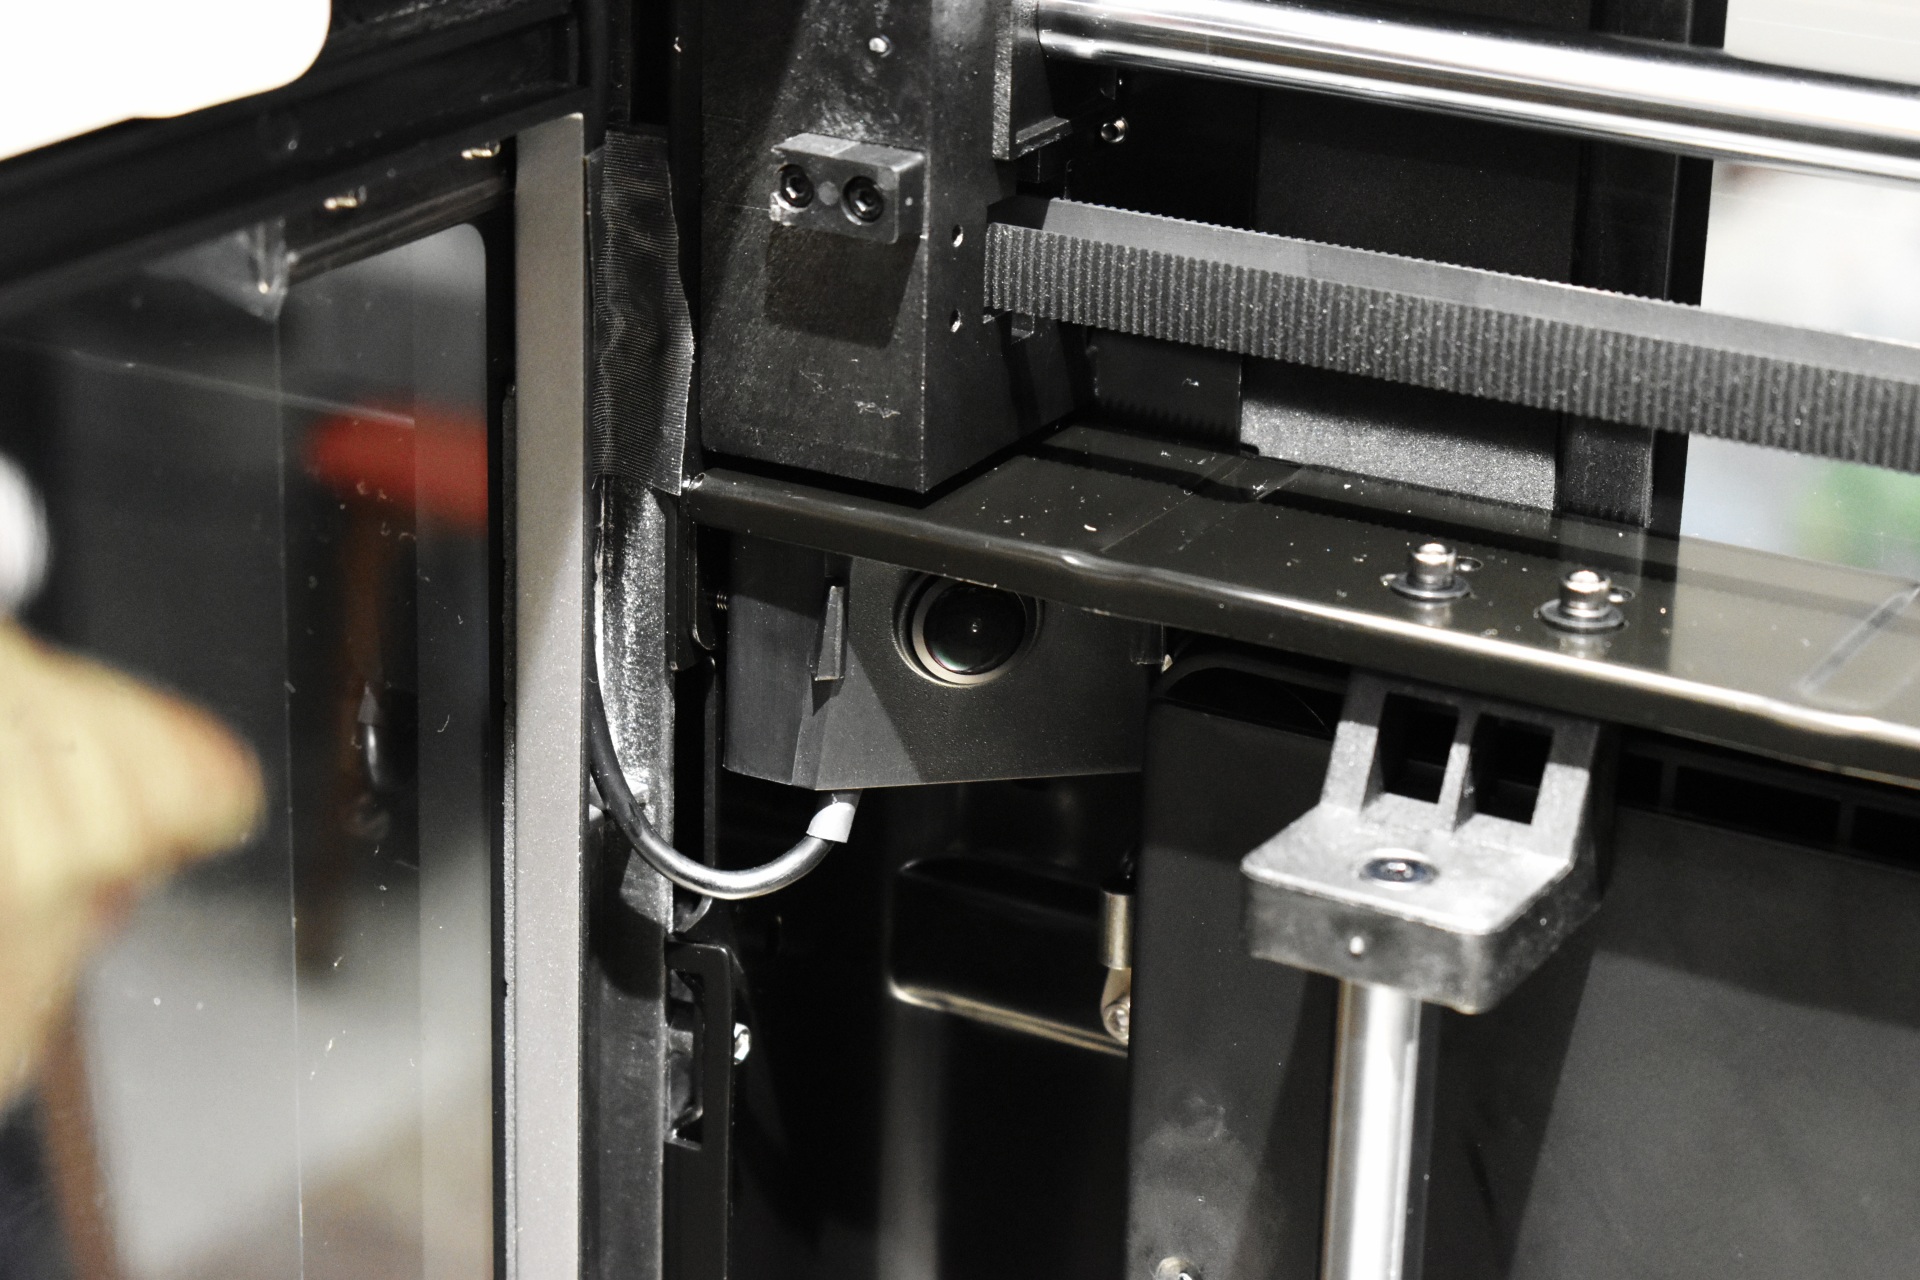
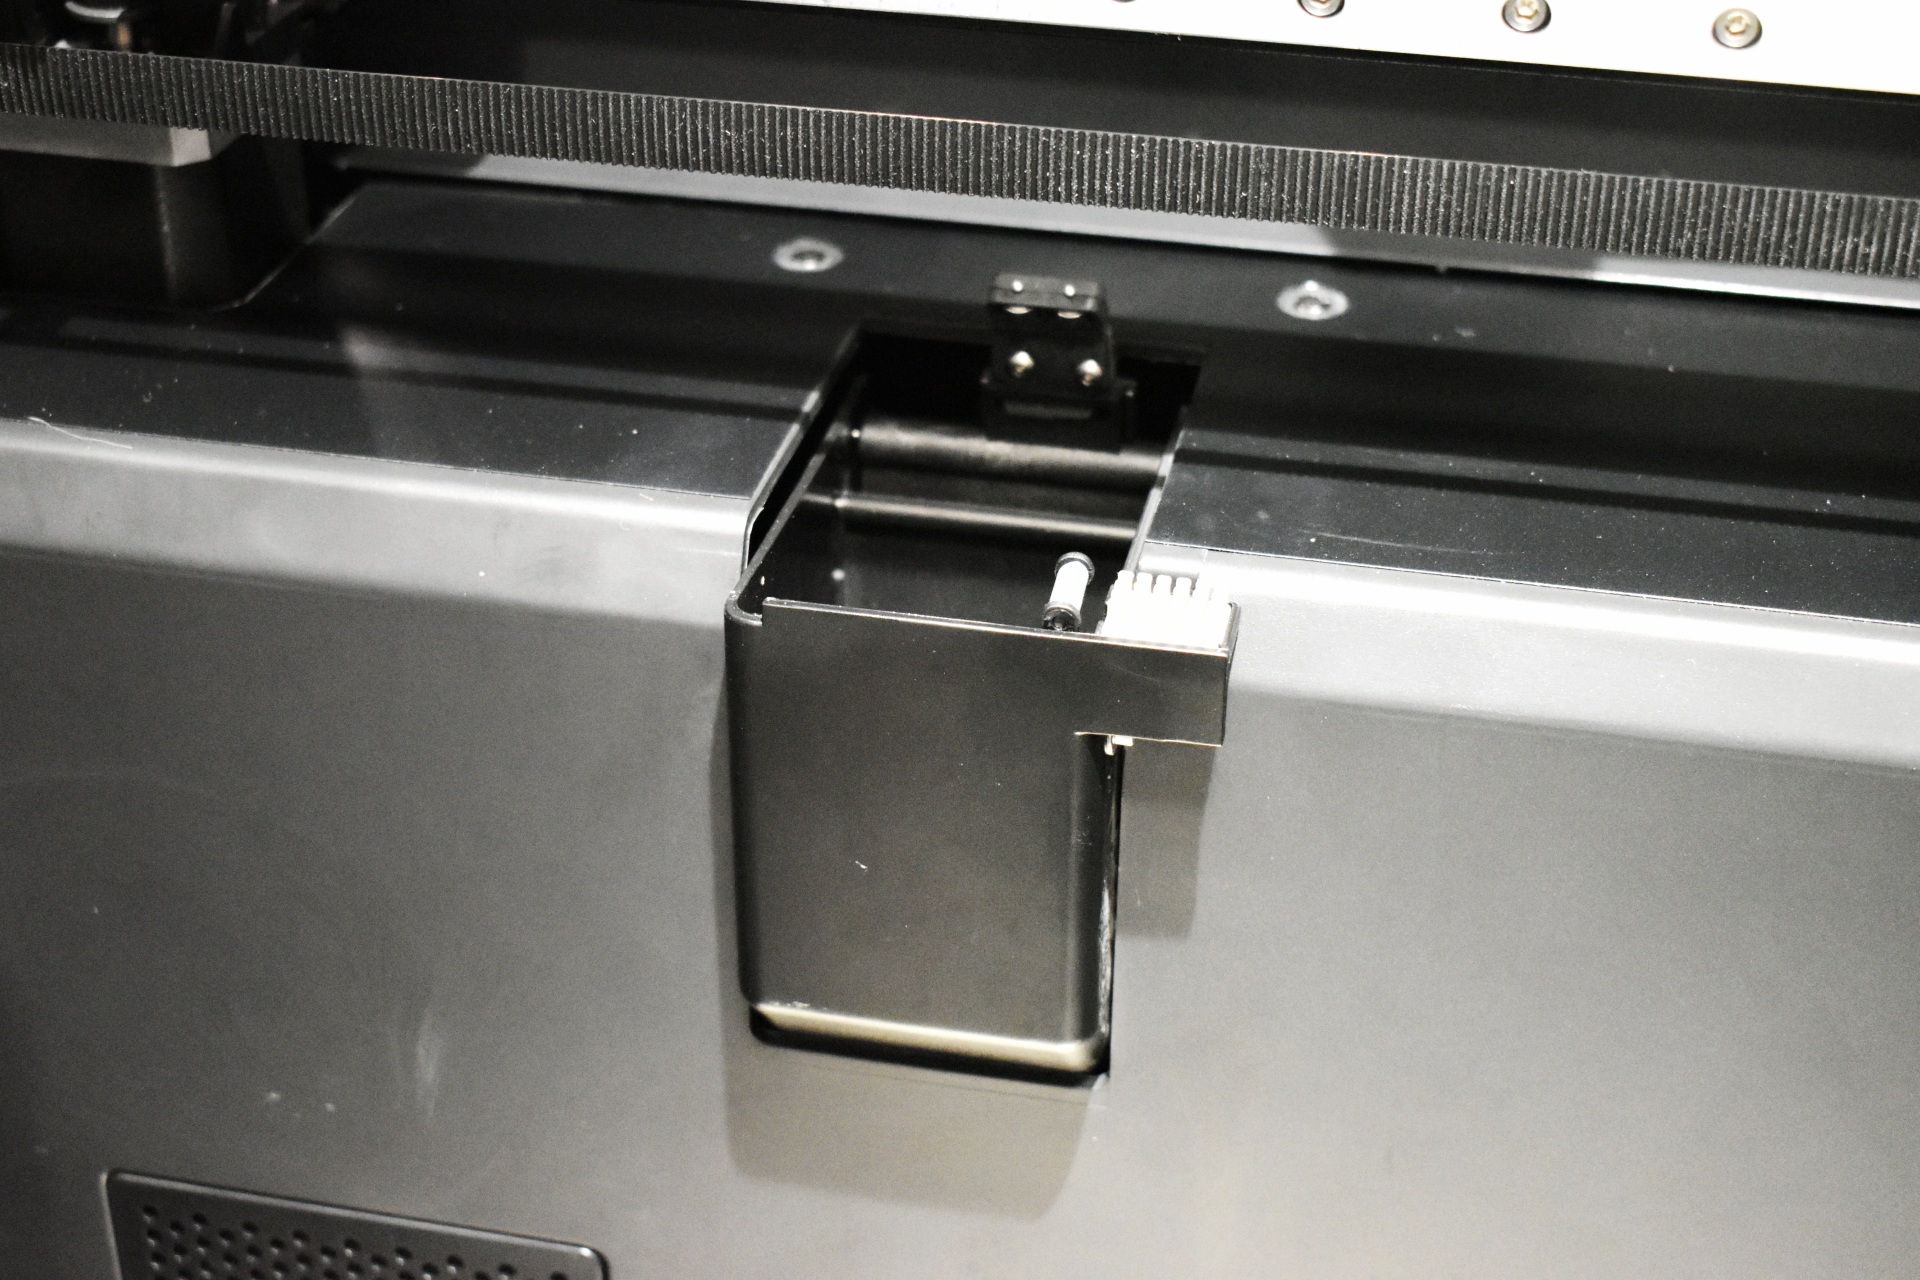
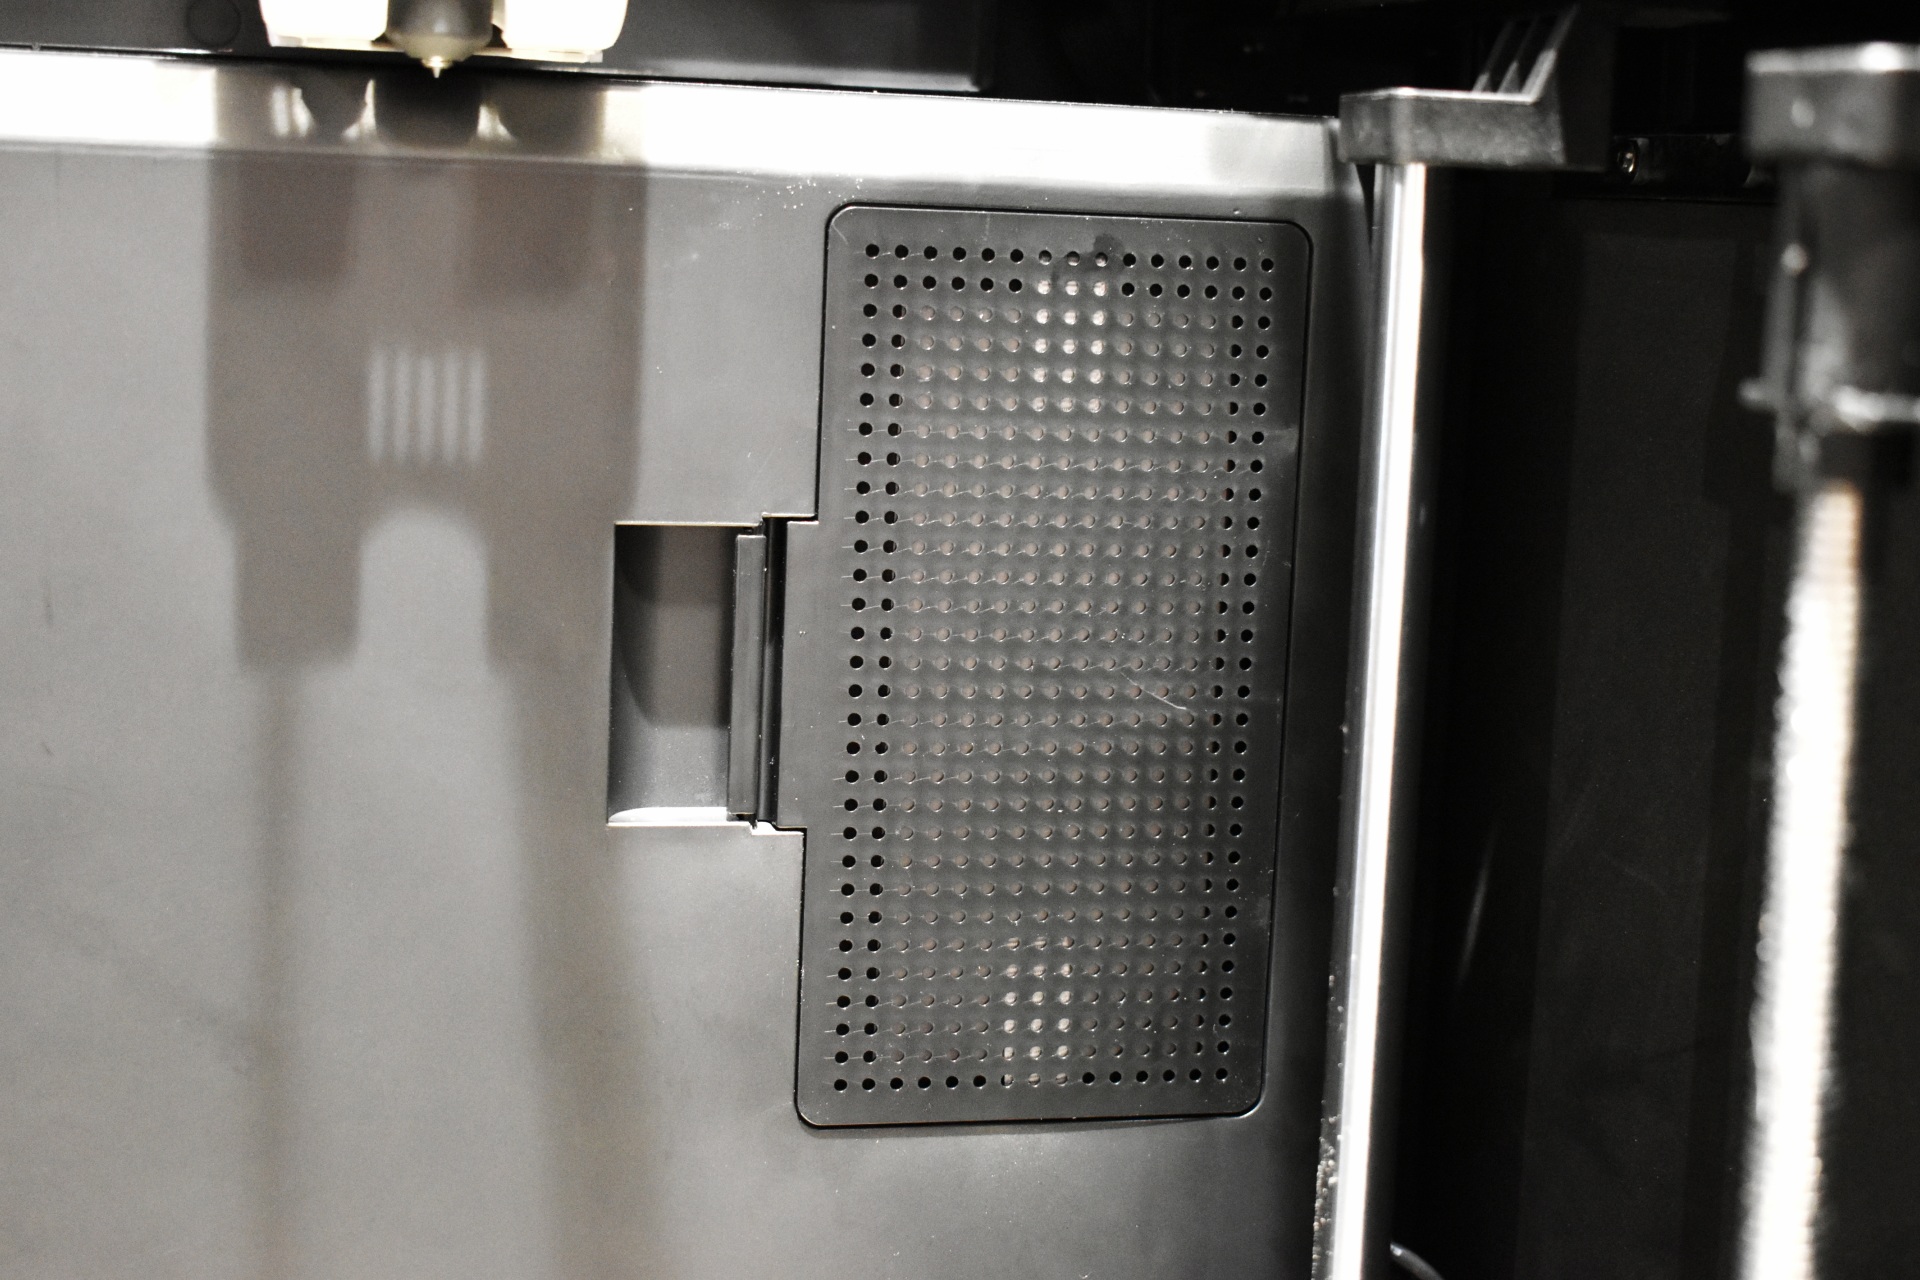
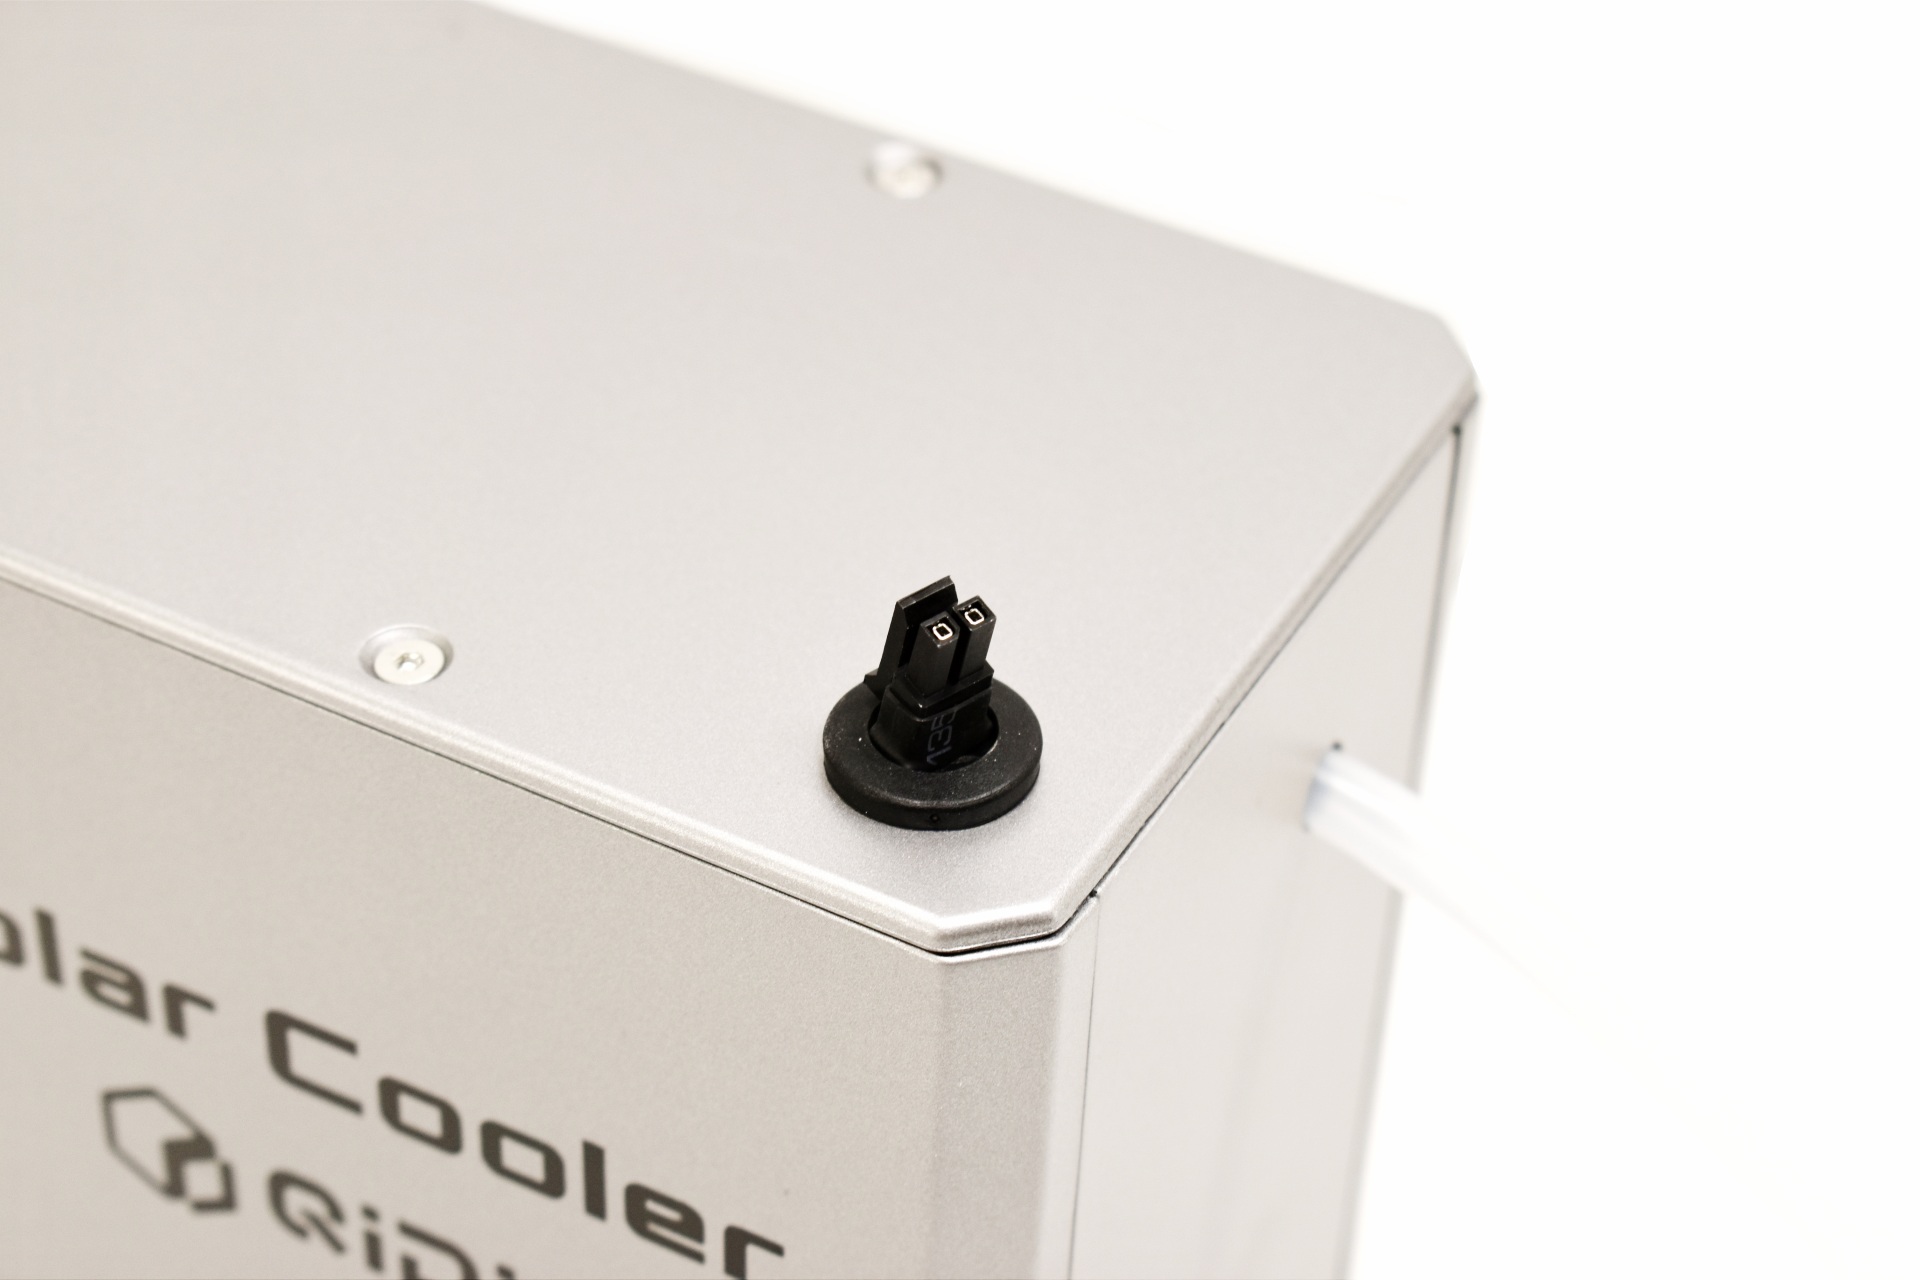
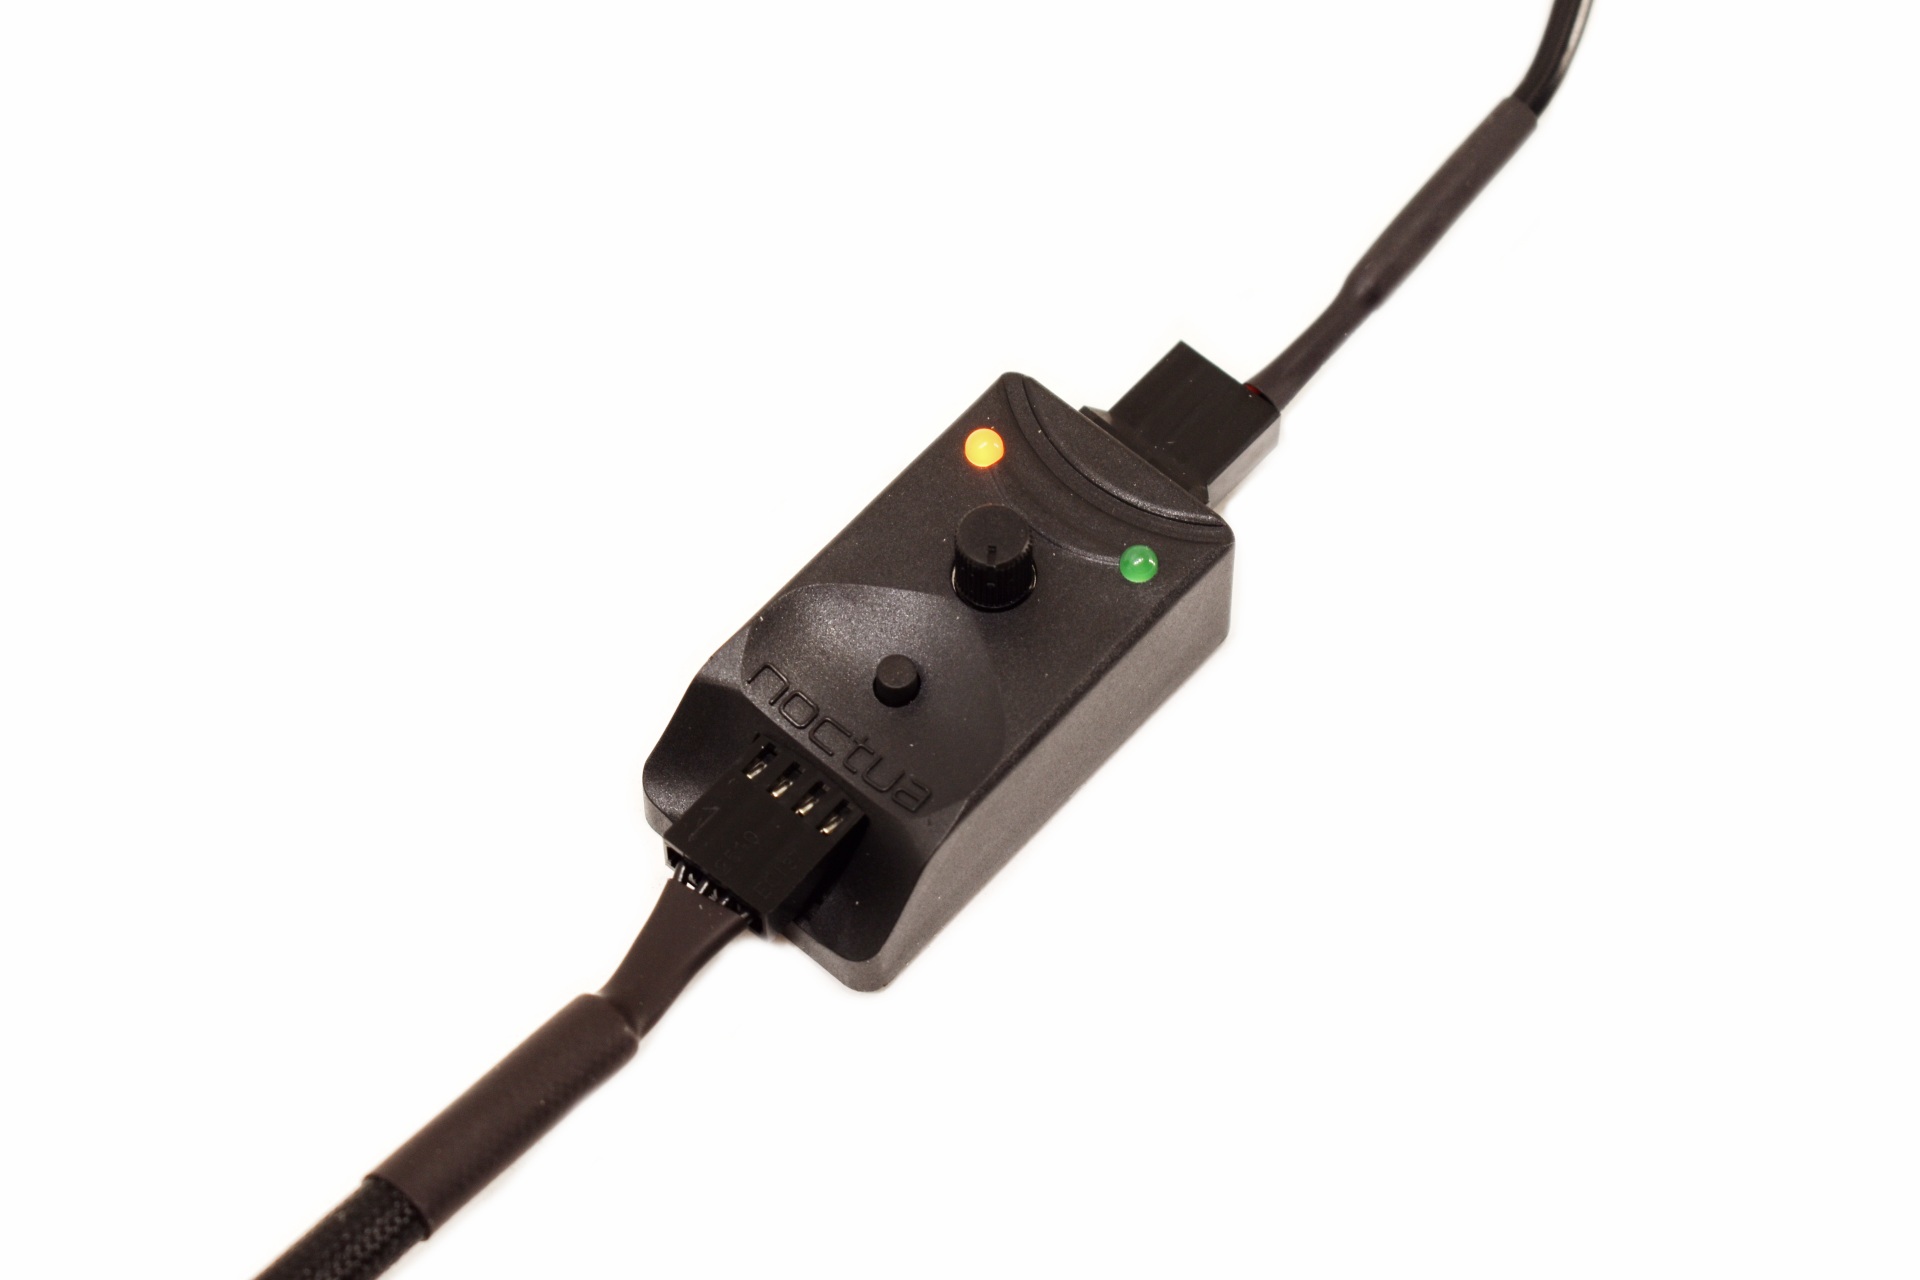
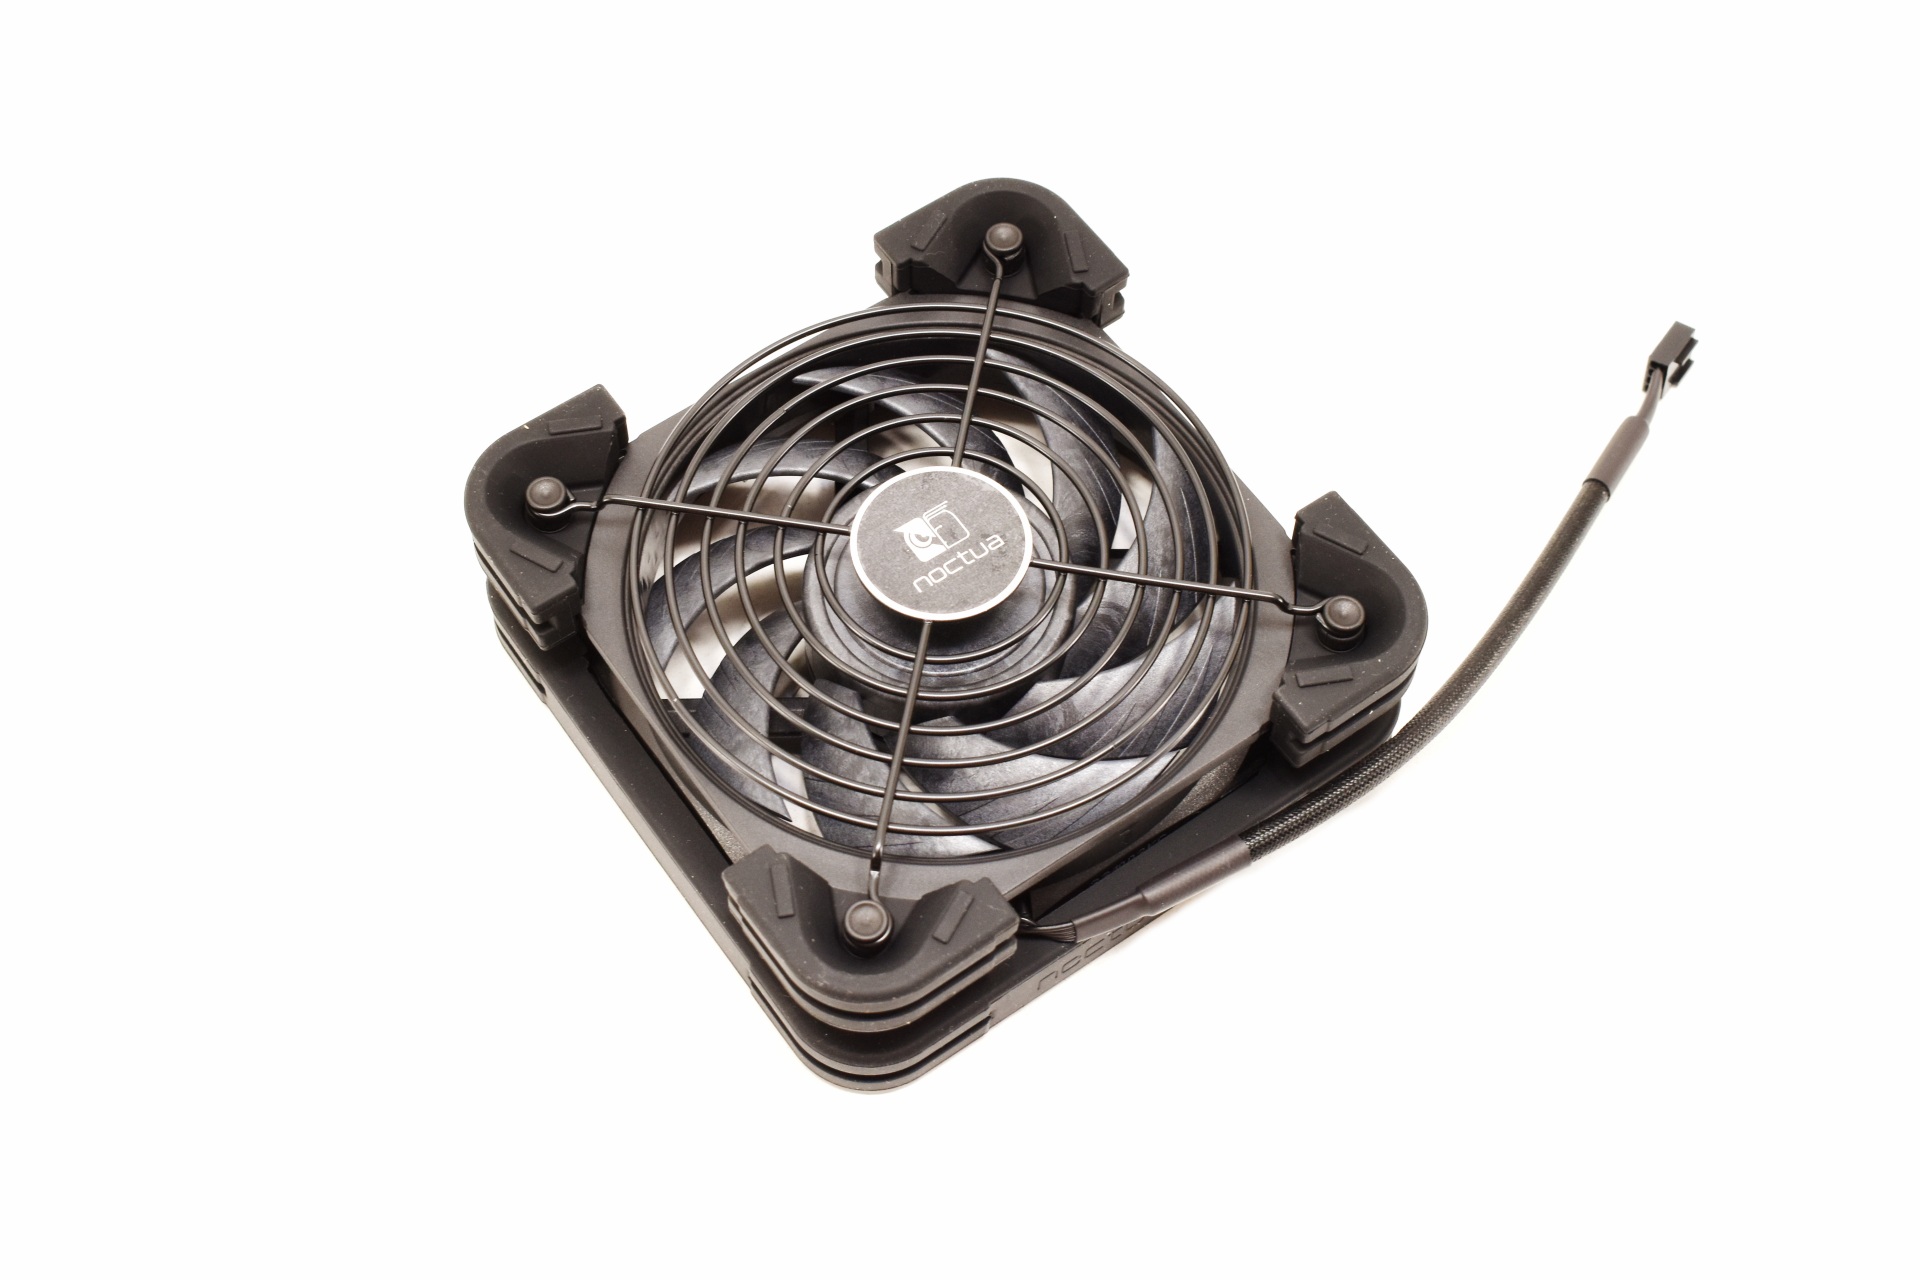
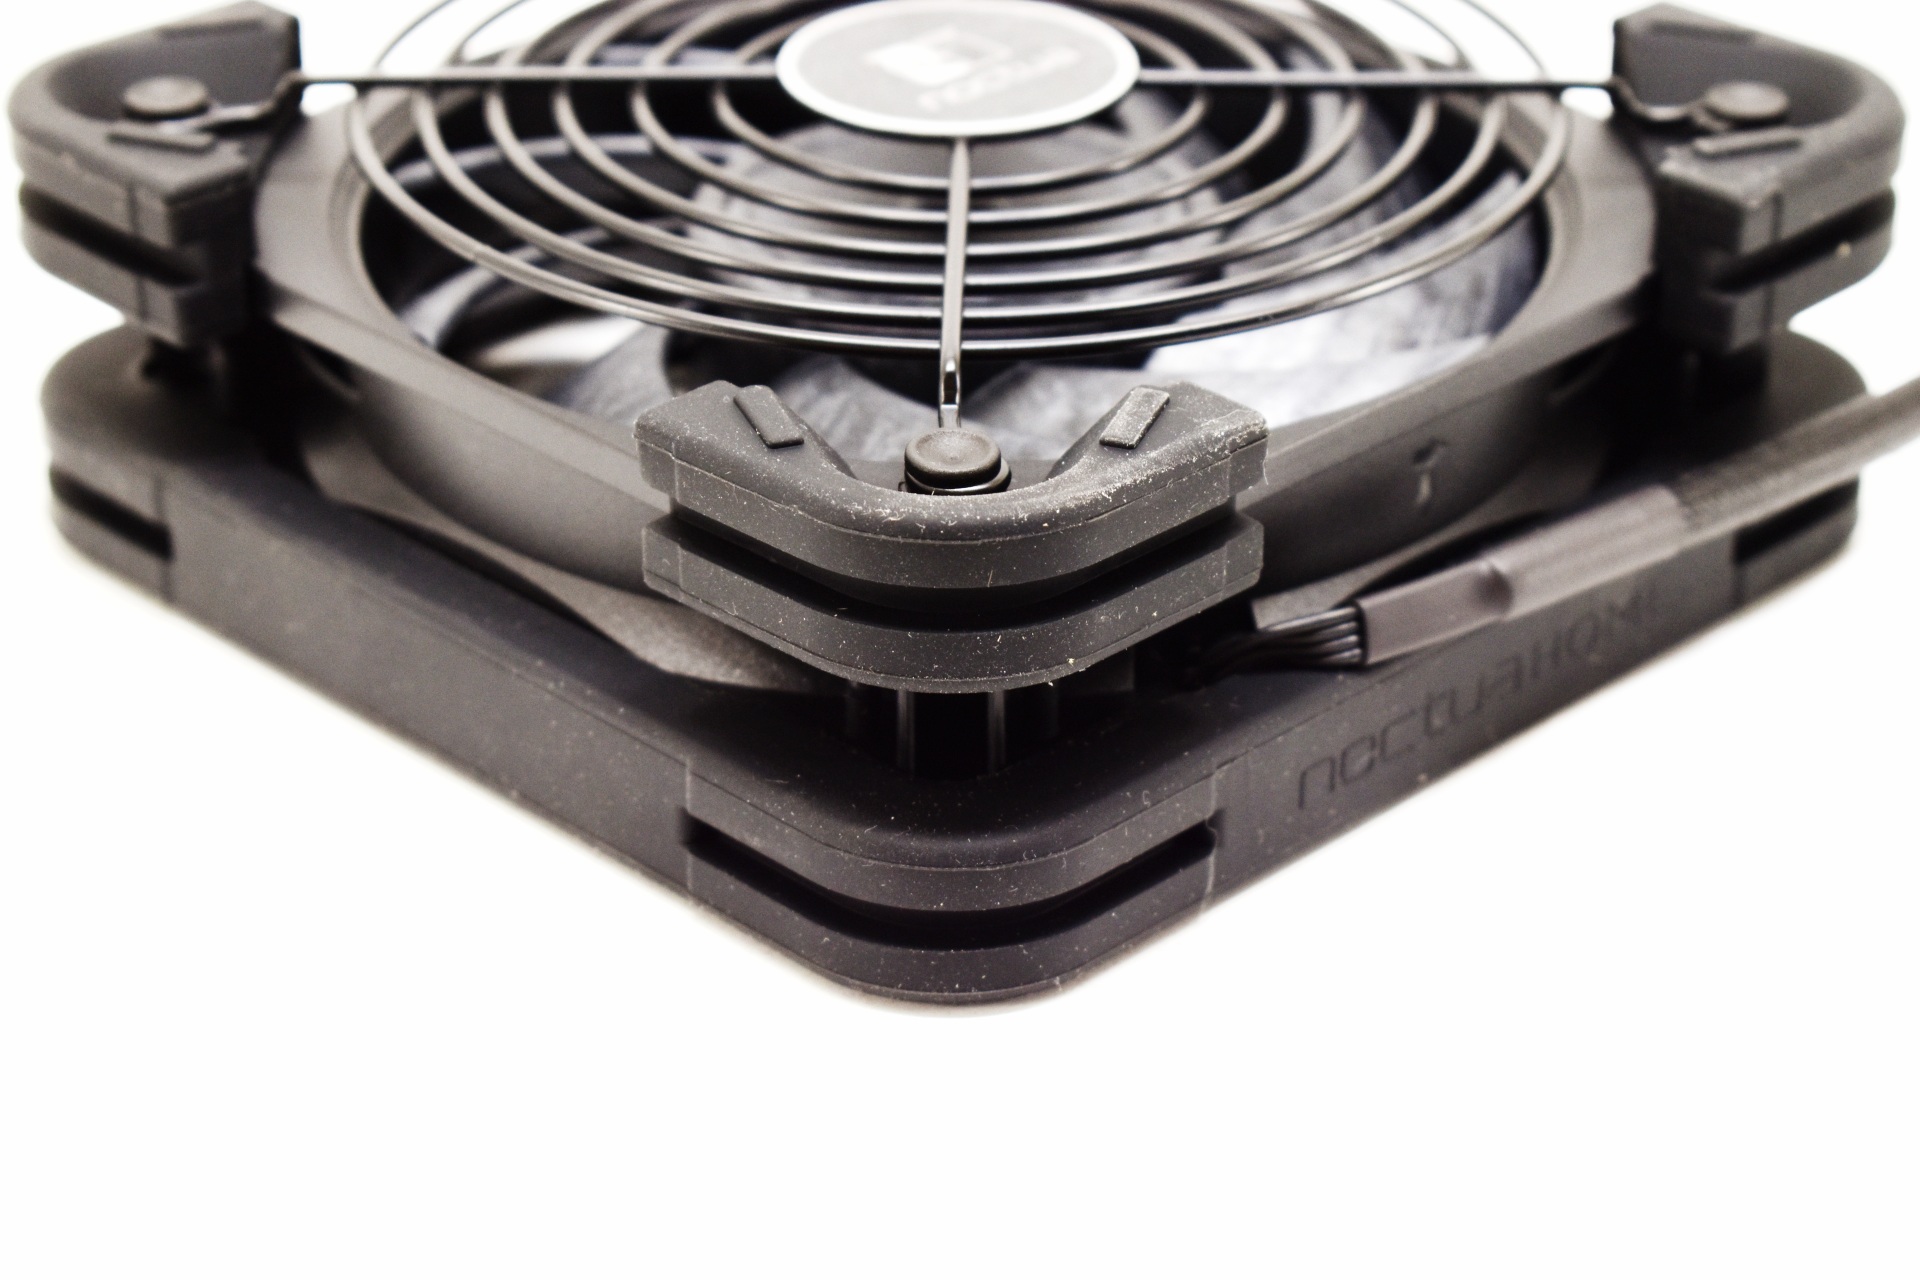
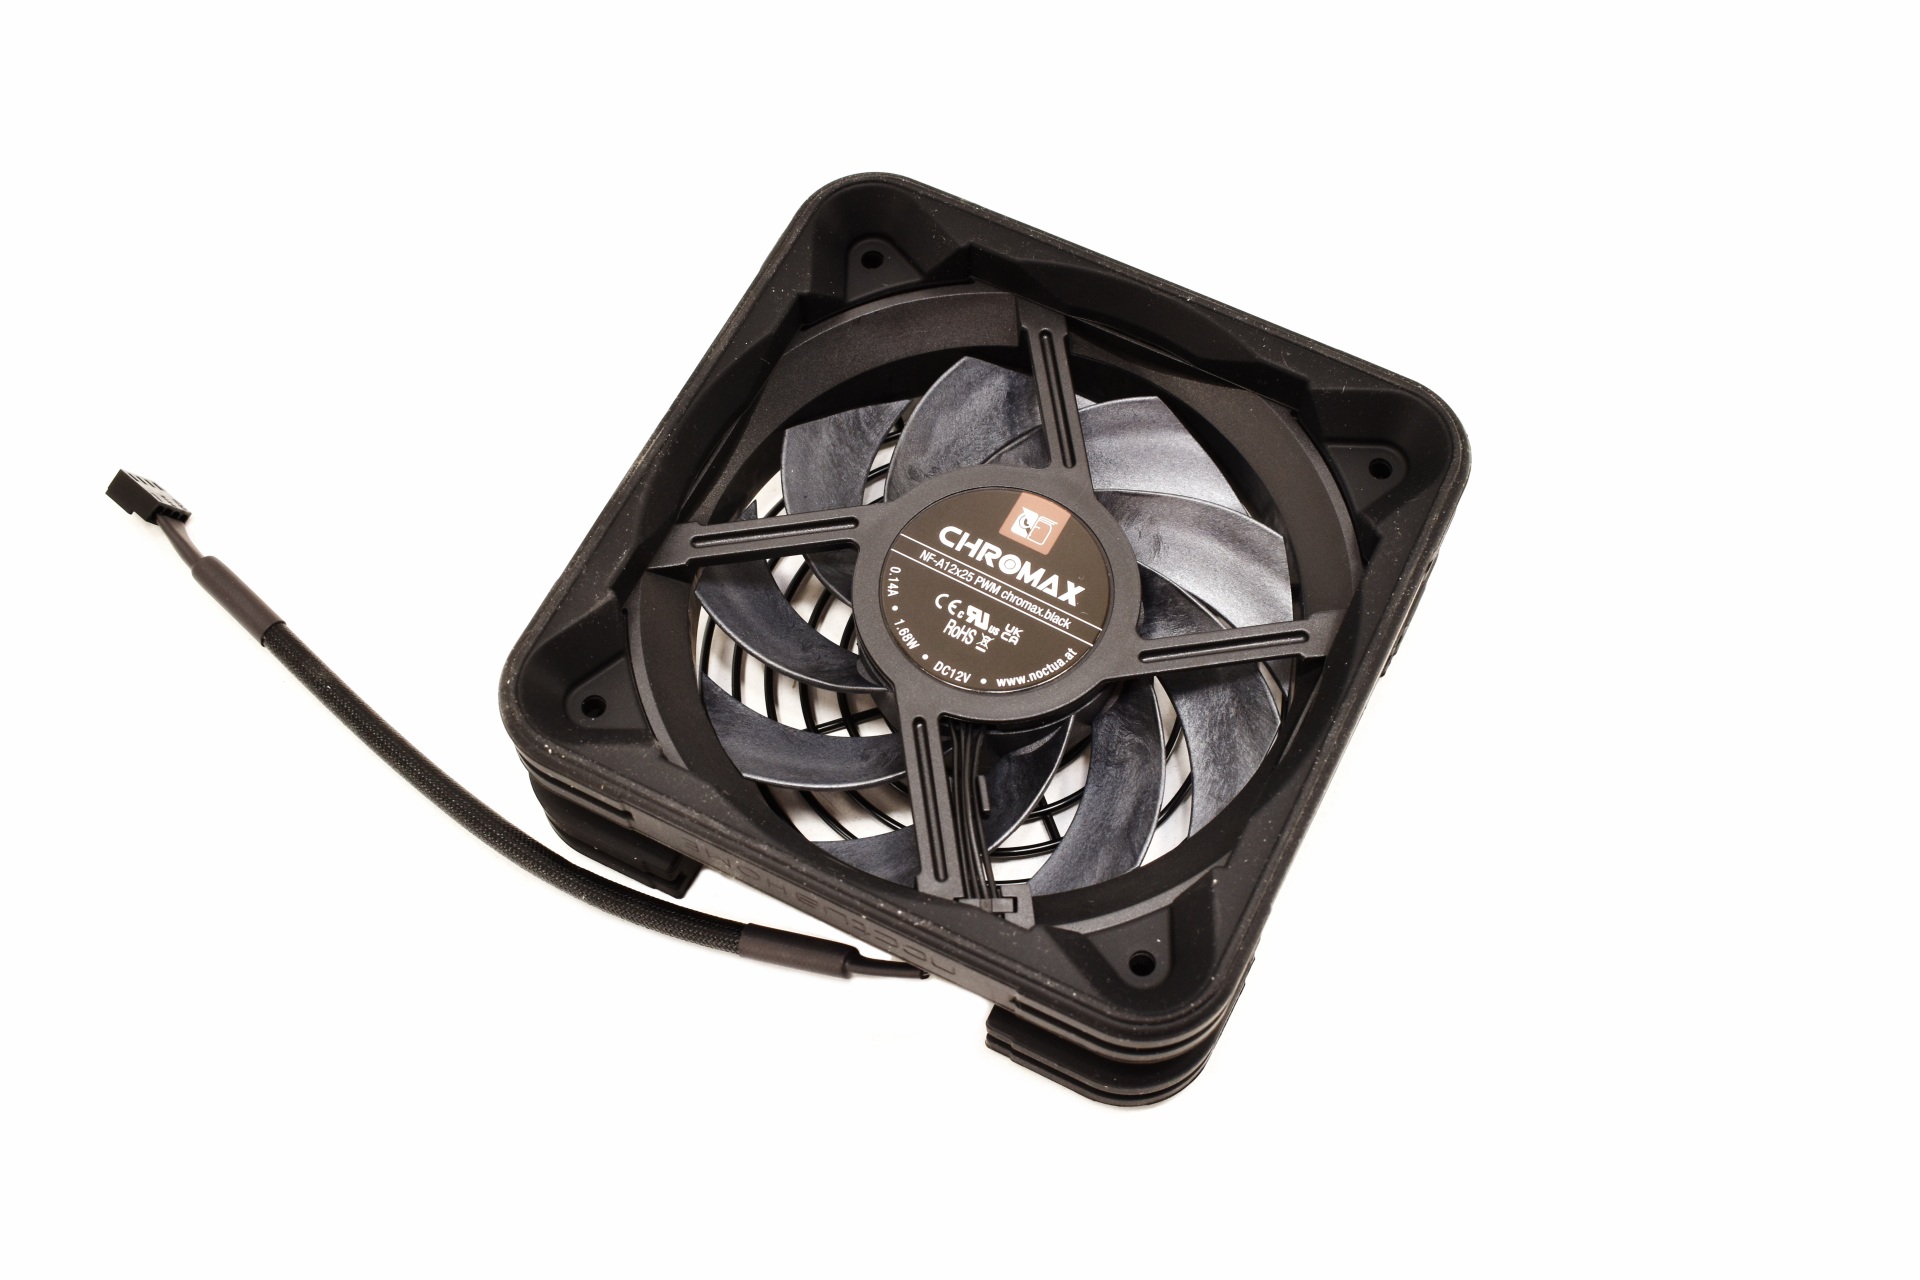
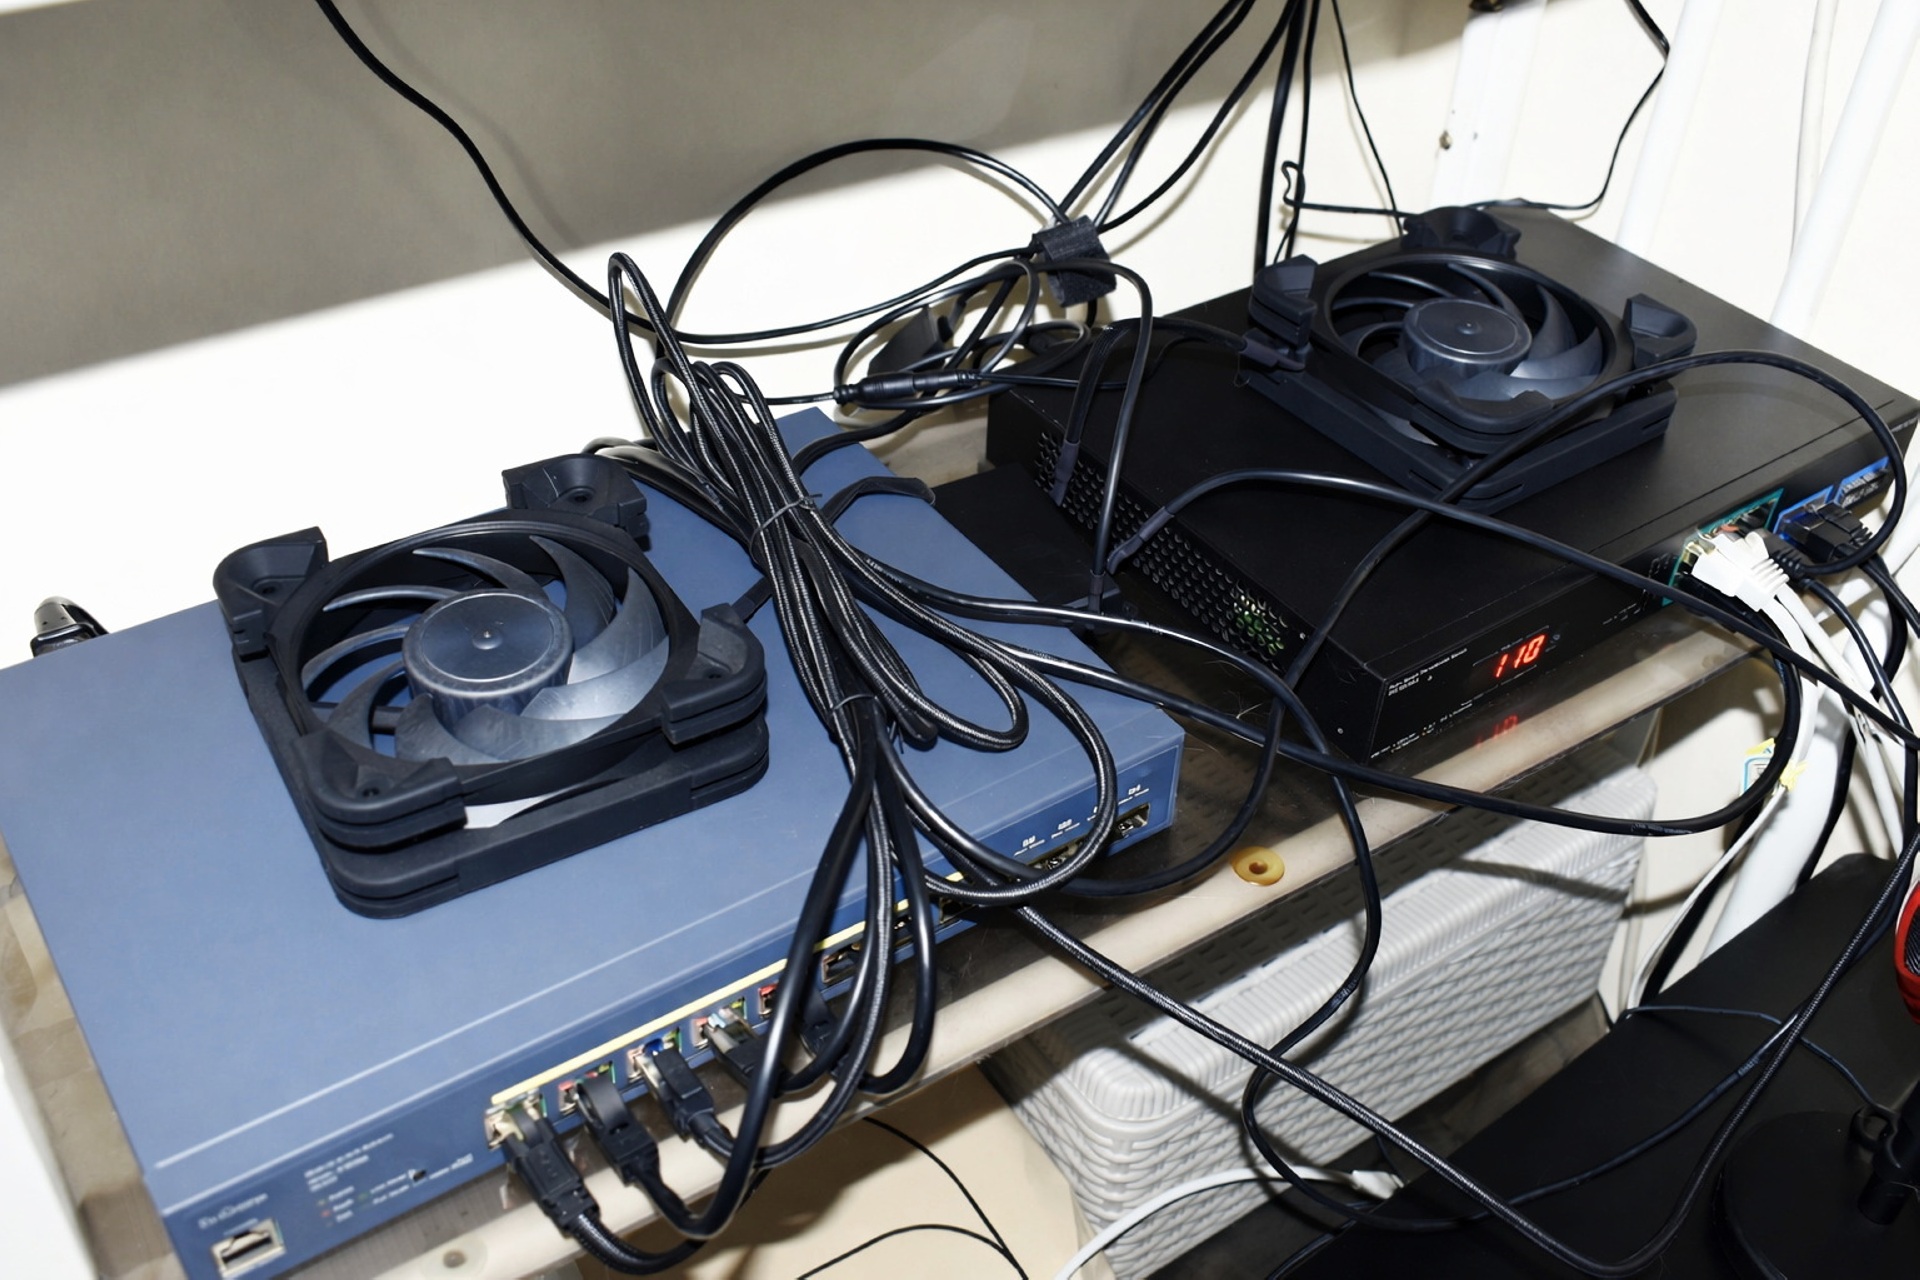
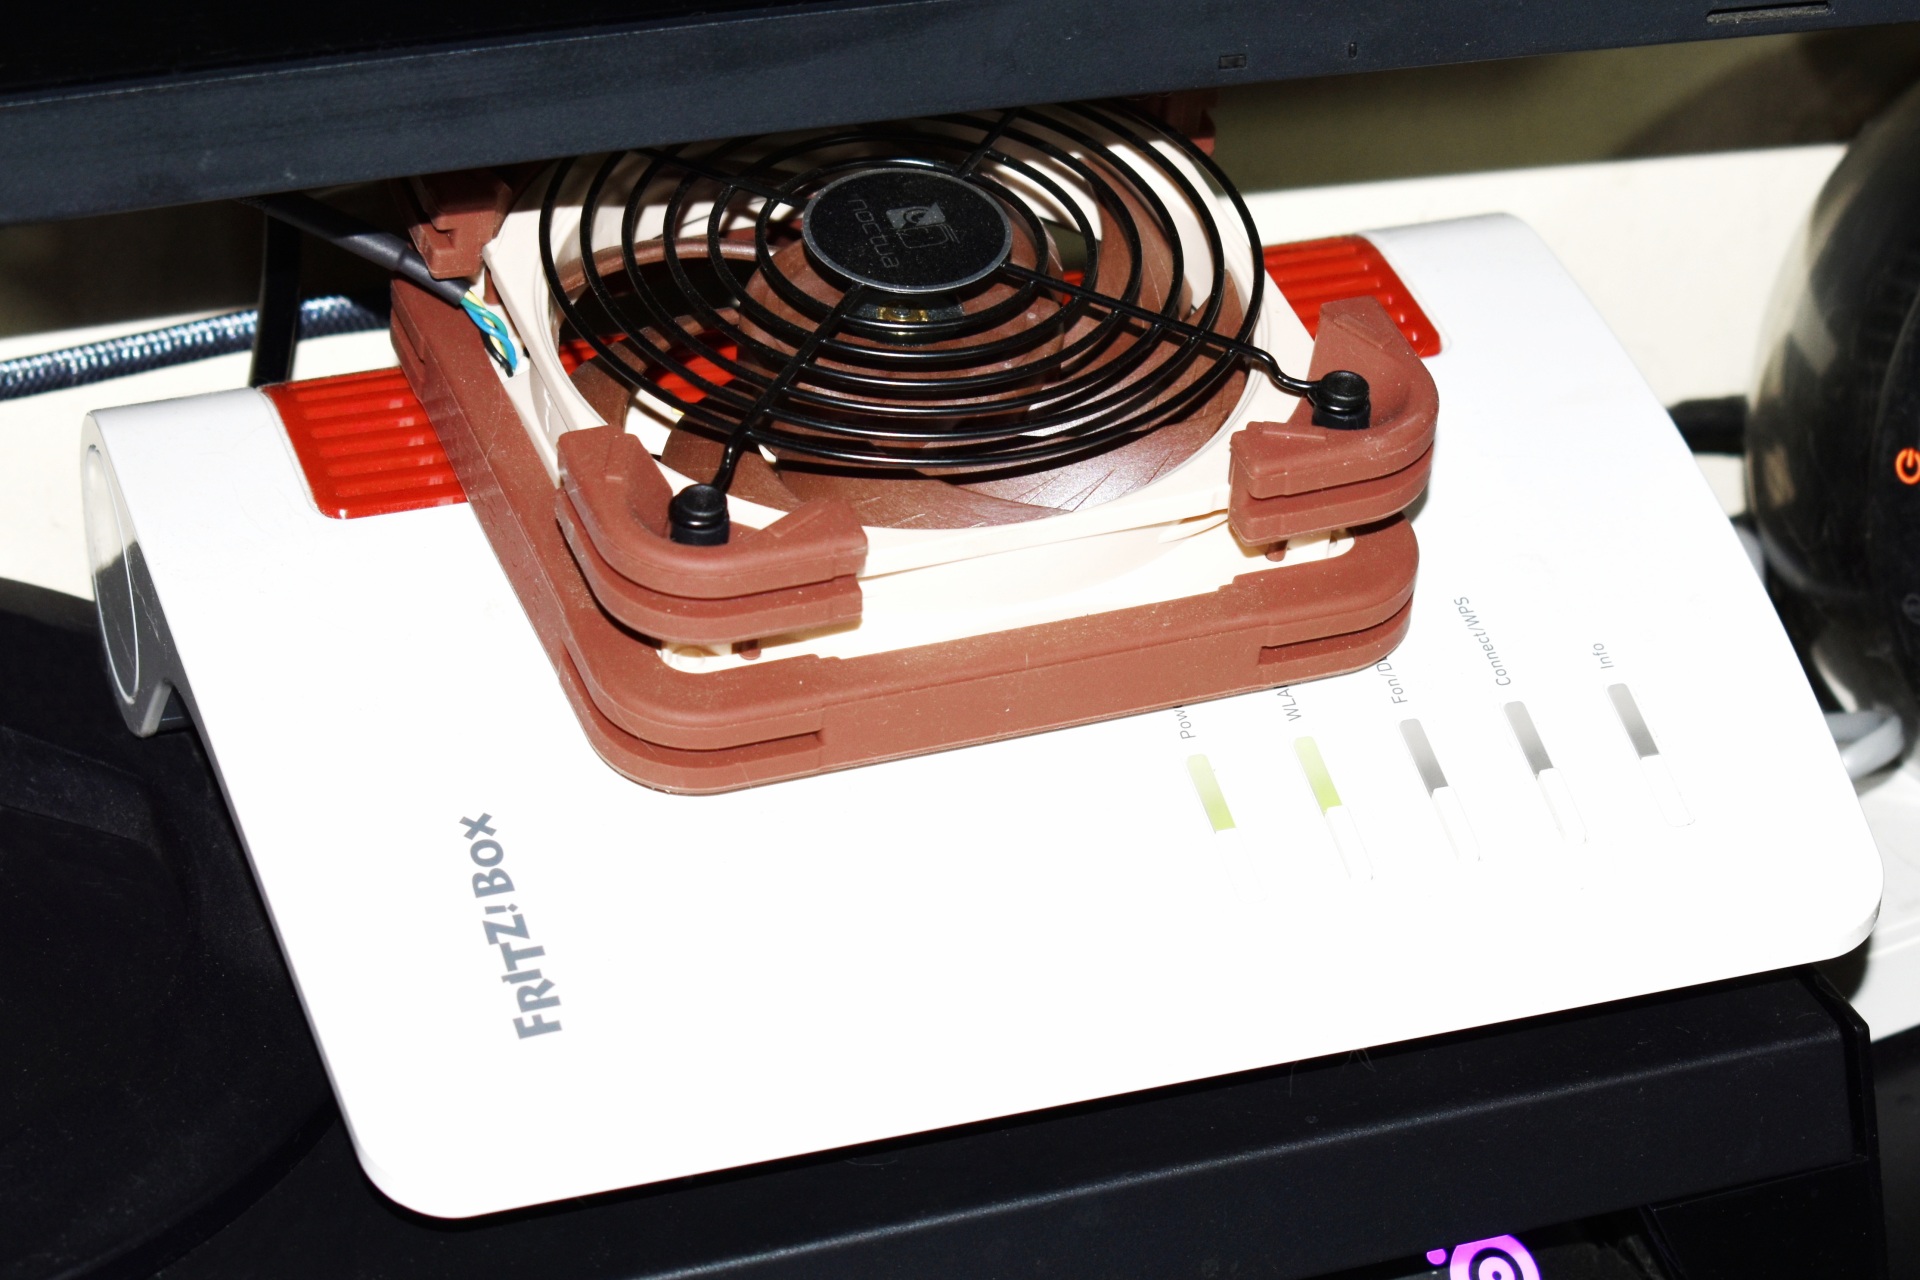
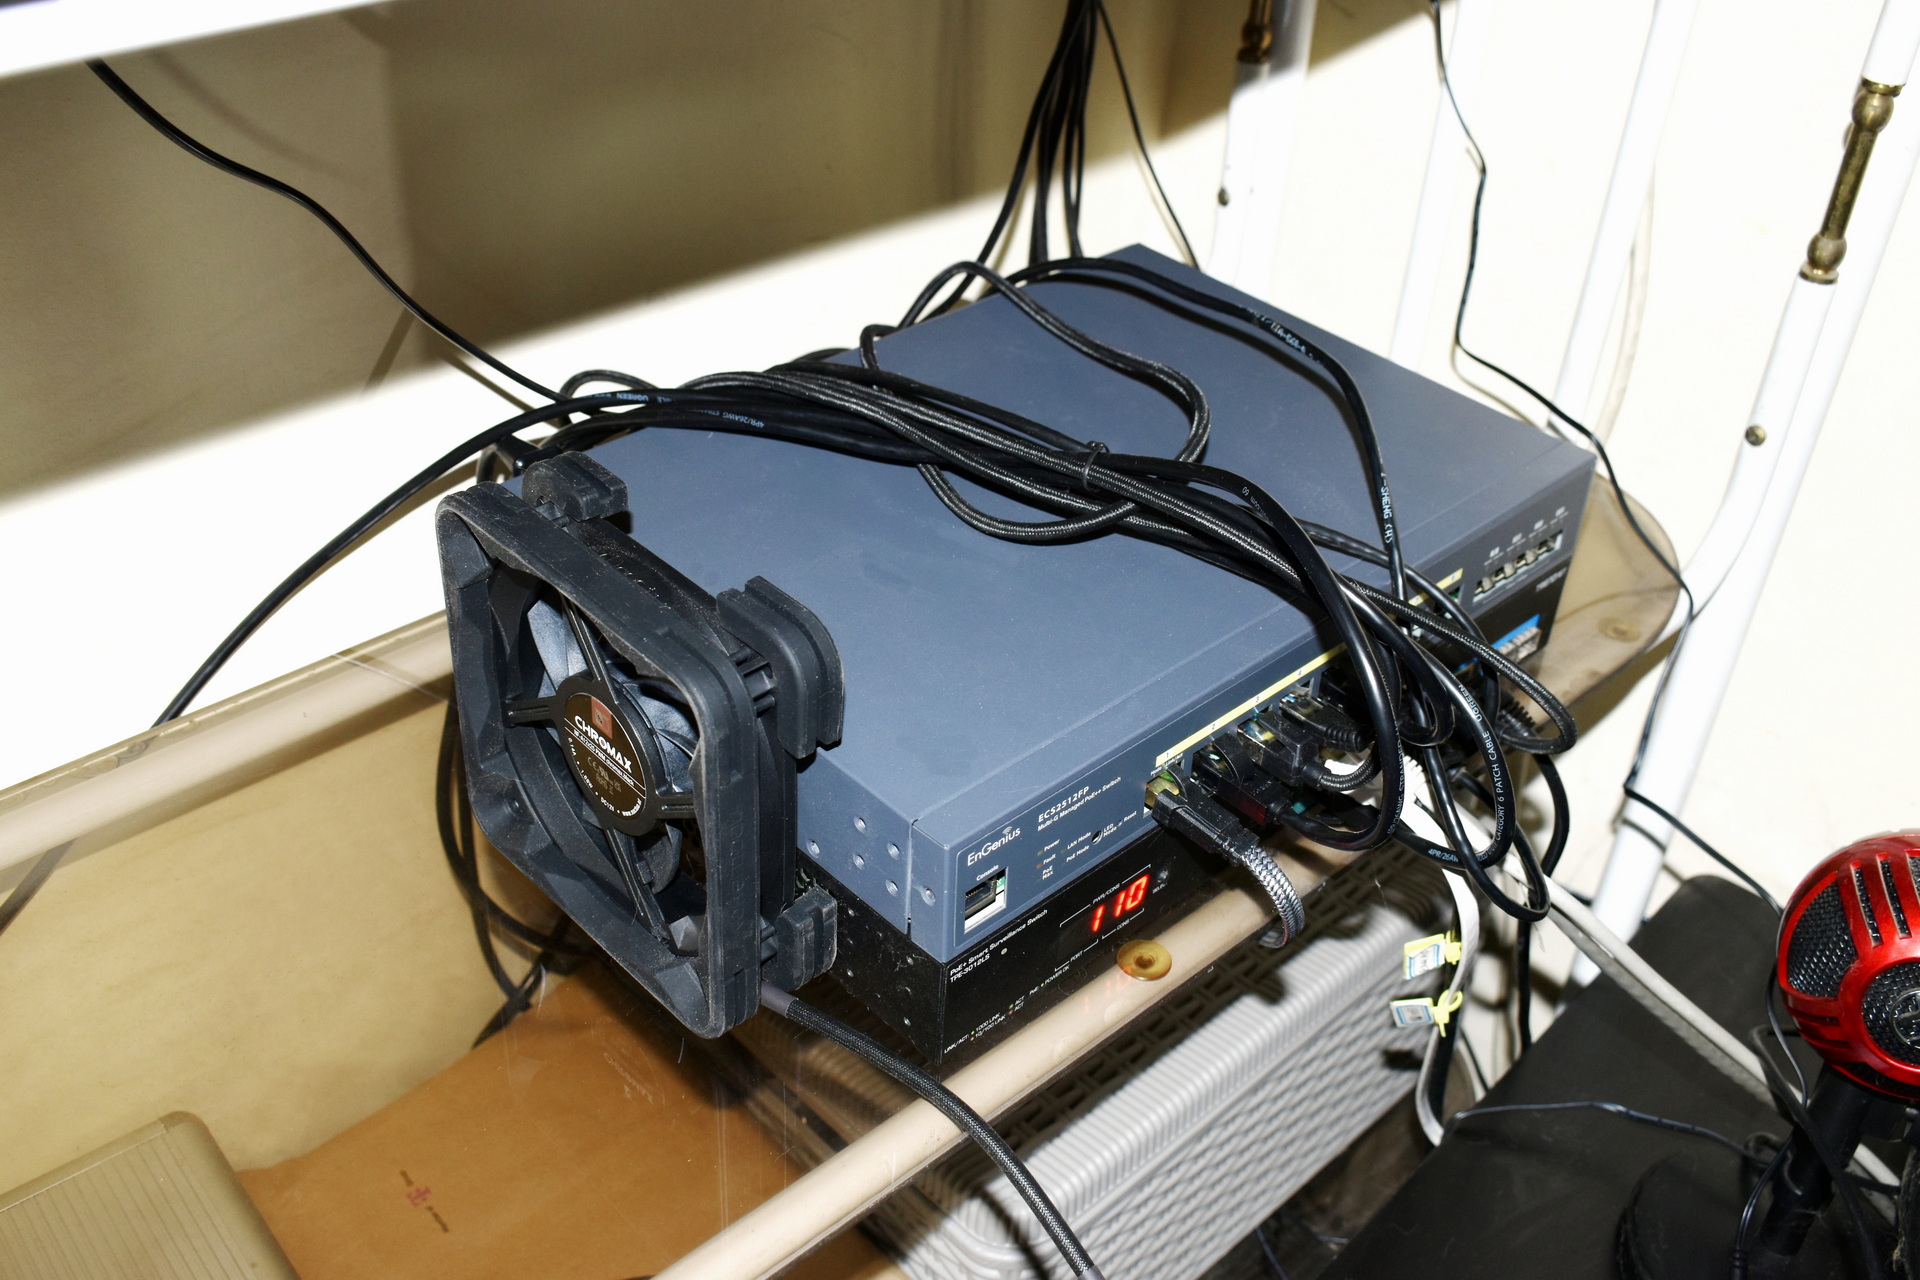
TEST BED
![]()
![]()
TESTING METHODOLOGY
Using a dedicated measurement instrument such as a Chroma or a SunMoon to test power supply units is without doubt the most ideal and accurate way (not to mention the fastest) to do that currently. However, it's certainly not the only way there is and so pretty much anyone can test a power supply unit just by using a test rig. Certainly, limitations do apply and so you can't really push a 1000W power supply to its limits if your system only uses 500W at peak loads and that's why over the years we saved certain hardware components for the purpose of building a dedicated PSU test rig. True it may not be as accurate as the above-mentioned solutions, but it comes really close and is in fact much closer to real world usage. So as always, we ran several games with maximum graphic options enabled at a resolution of 2560x1600 in order to stress every hardware component and increase the overall power demands of the system. The Passmark BurnIn Test was also used to overstress the components in an effort to provide the most accurate results possible. As a final test we also used the latest OCCT software and its dedicated PSU testing suite since it can really bring a power supply to its knees after inside a few minutes.
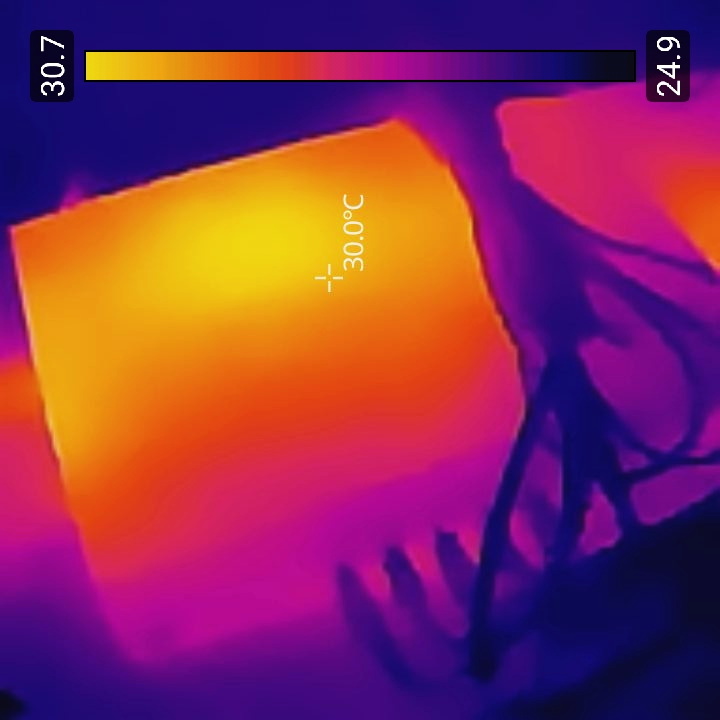
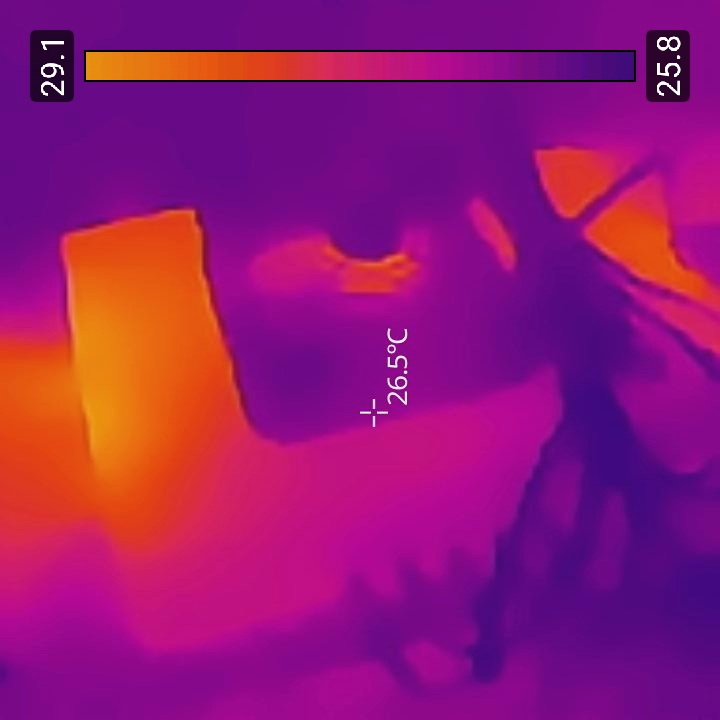
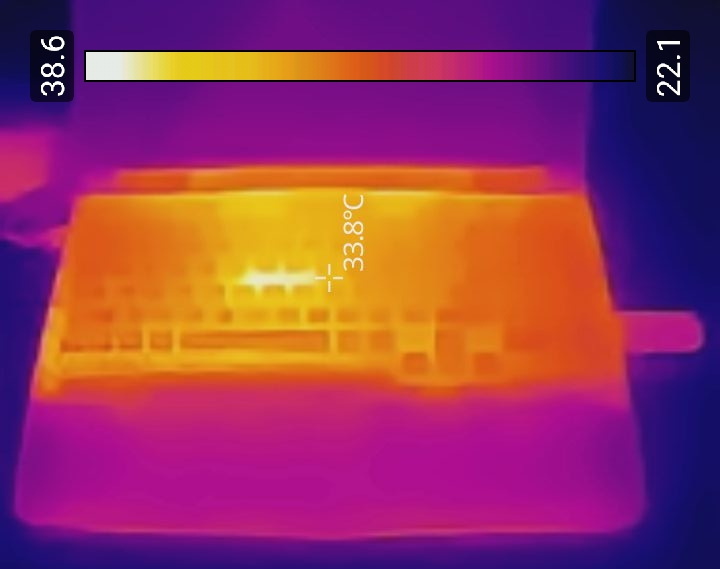
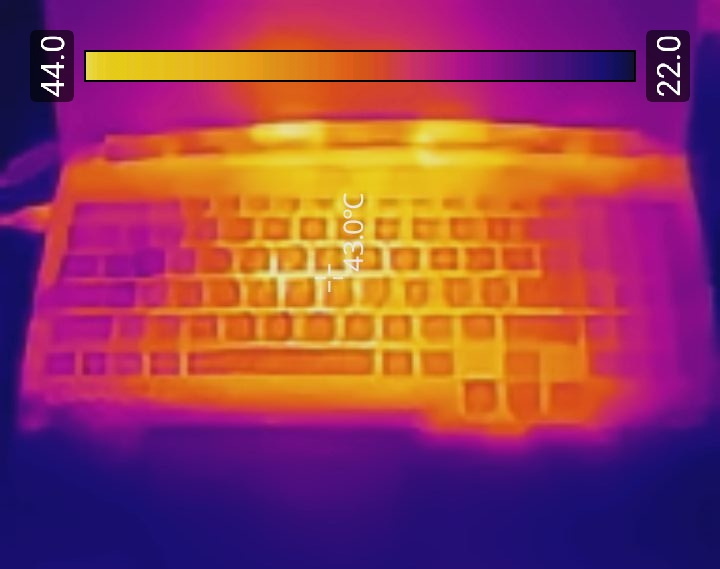
Rail stability was checked/measured with the CPUID Hardware monitor and a Metex multimeter which also recorded the system load in idle and in load. As always try to remember that the power consumption numbers listed in the graph are the highest (Peak) ones recorded during the entire duration of the tests and not the average ones. Noise levels coming from the fan were recorded using the high precision HD600 ExTech Sound dBA Meter from the rear of the unit and at a range of no more than 5-10cm. Readings under load are recorded the exact moment we manually switch the fans of all graphics cards from full speed to almost zero, that way the fan of the power supply does not have enough time to slow its RPM and so by doing this we get very accurate noise level readings. Needless to say, in order to get 100% accurate readings, you need to have a noise isolated room for that exact purpose, something which is quite impossible unless you are working inside a real lab (some people use very small noise insulated boxes but due to their size both heat and noise exceed normal levels and so the results can't really be considered to be 100% accurate, nor realistic for that matter). Also do take into account that since all noise measurements take place from just 5-10cm away the final noise levels to reach your ears will be considerably less.
* After well over 10 years of testing PSUs the Intel Core i7-920 CPU of this rig failed and so we replaced it with a Xeon X5660 (we also swapped the GA-X58A-UD7 for the G1. Assassin).
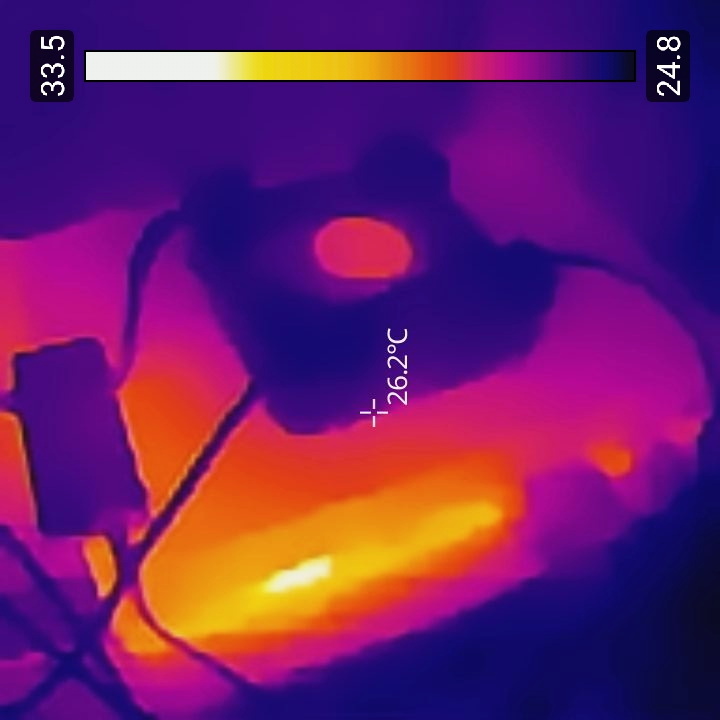
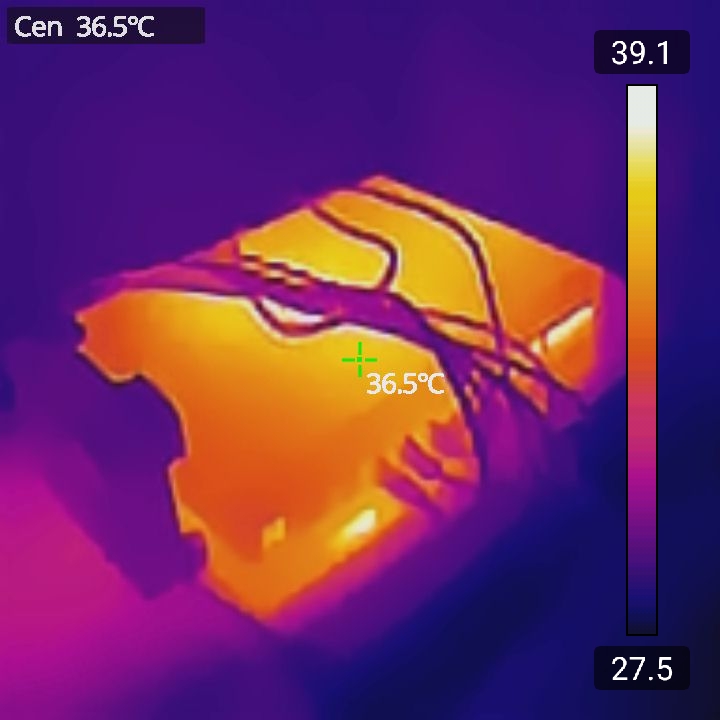
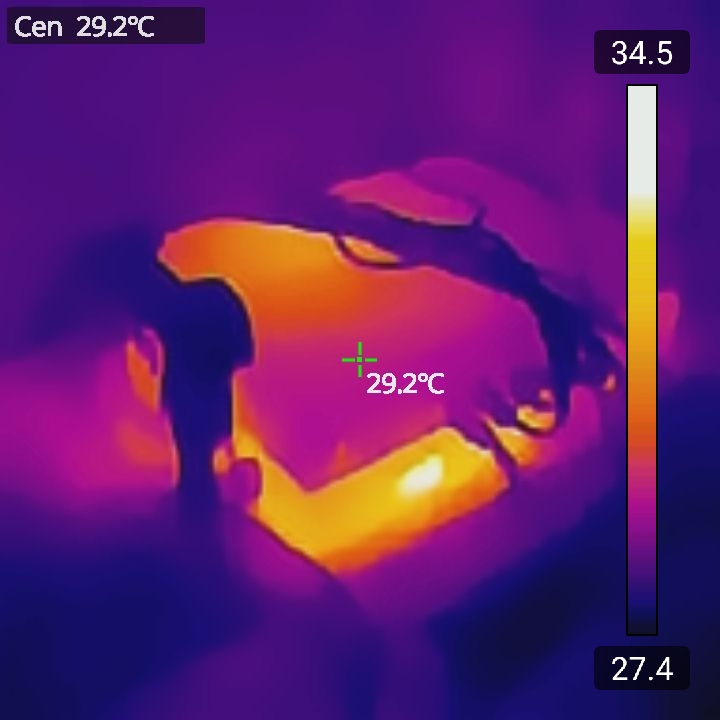
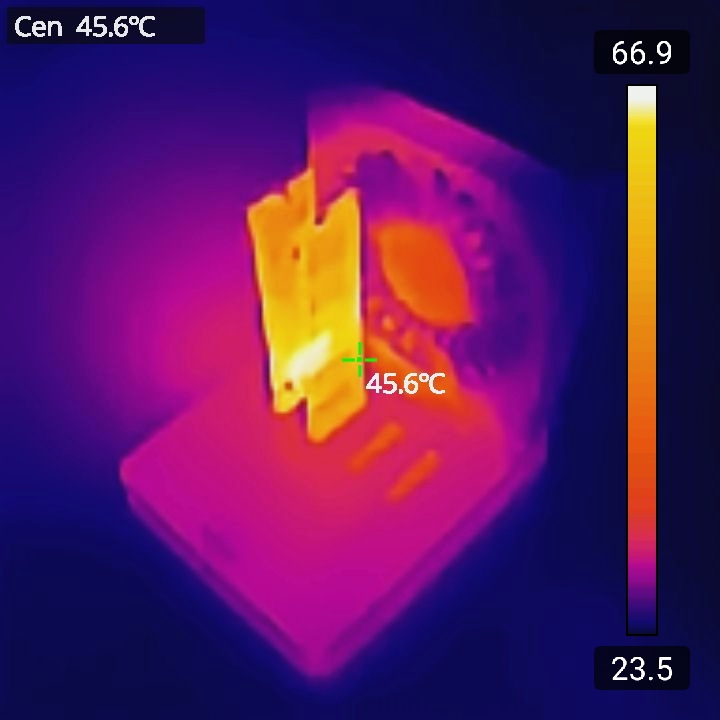
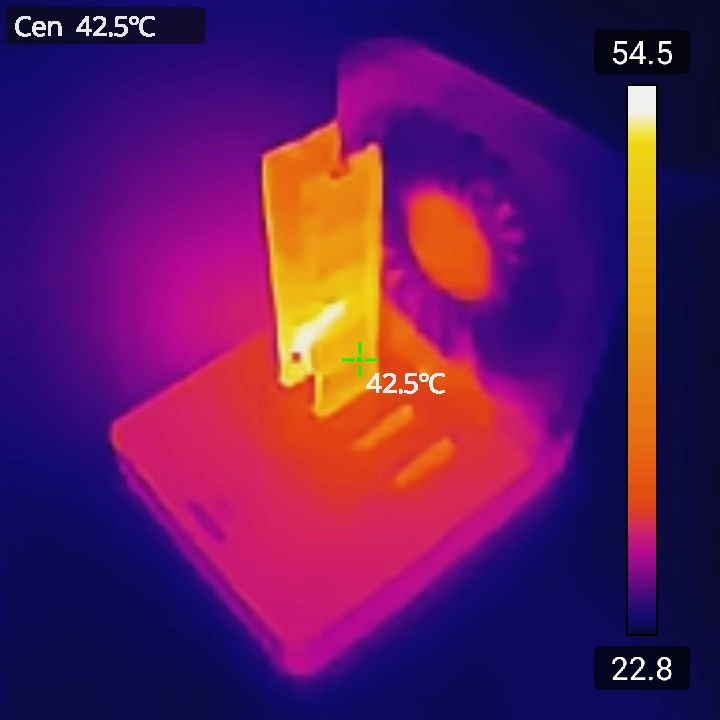
TEST RESULTS
![]()
![]()
![]()
CONCLUSION
![]()
The Enermax Revolution III S 1000W brings a few meaningful strengths to the table, starting with its 80 PLUS Platinum certification. The high efficiency rating helps reduce wasted energy and keeps thermal output under control, which is especially useful in systems that spend long hours under mixed workloads. Its rail stability is also generally very good, providing clean power during gaming, rendering, and everyday use. Add the full ATX 3.1 and PCIe 5.1 support, and the unit is well‑equipped for modern GPUs that demand fast transient response and native high‑power connectors. There are, however, a few areas where the platform shows its limits. Noise levels rise faster than expected once the fan curve reaches the upper end, making the PSU noticeably louder during full‑load stress testing or synthetic benchmarks. And while Shenzhen RSY isn’t considered a top‑tier OEM, it’s worth noting that they’ve been producing a growing number of platforms lately, showing clear signs of refinement and broader industry presence. Their designs still sit a step below the most established manufacturers, but the trajectory is upward rather than stagnant, which softens the concern for users who simply want a capable, modern unit rather than absolute flagship pedigree. Taken together, the Revolution III S 1000W by ENERMAX offers solid efficiency, modern standards, and generally stable performance, but its acoustic profile and mid‑tier platform heritage keep it from competing with the very best options in the high‑end PSU space.
Retailing for around USD179 inside the USA and for 148.53Euros inside the EU (Amazon.de) the ENERMAX Revolution III S 1000W is priced just right. Overall the Revolution III S 1000W may not be the best model in the current lineup by ENERMAX but it delivers where it counts and for that it gets the Golden Award.
![]()
PROS
- Overall Quality (Japanese Capacitors)
- Very Good Rail Stability
- 80 PLUS Platinum Certified (Up To 92% Electrical Efficiency)
- Electrical Protections (OCP, OVP, UVP, SCP, OTP, OPP)
- 12V-2x6 Connector (600W)
- Smart Semi Fanless Mode
- Available In Black & White
- 13 Year Limited Warranty
CONS
- Noise Levels
- Current Availability (USA)
- Shenzhen RSY OEM (For Some)